
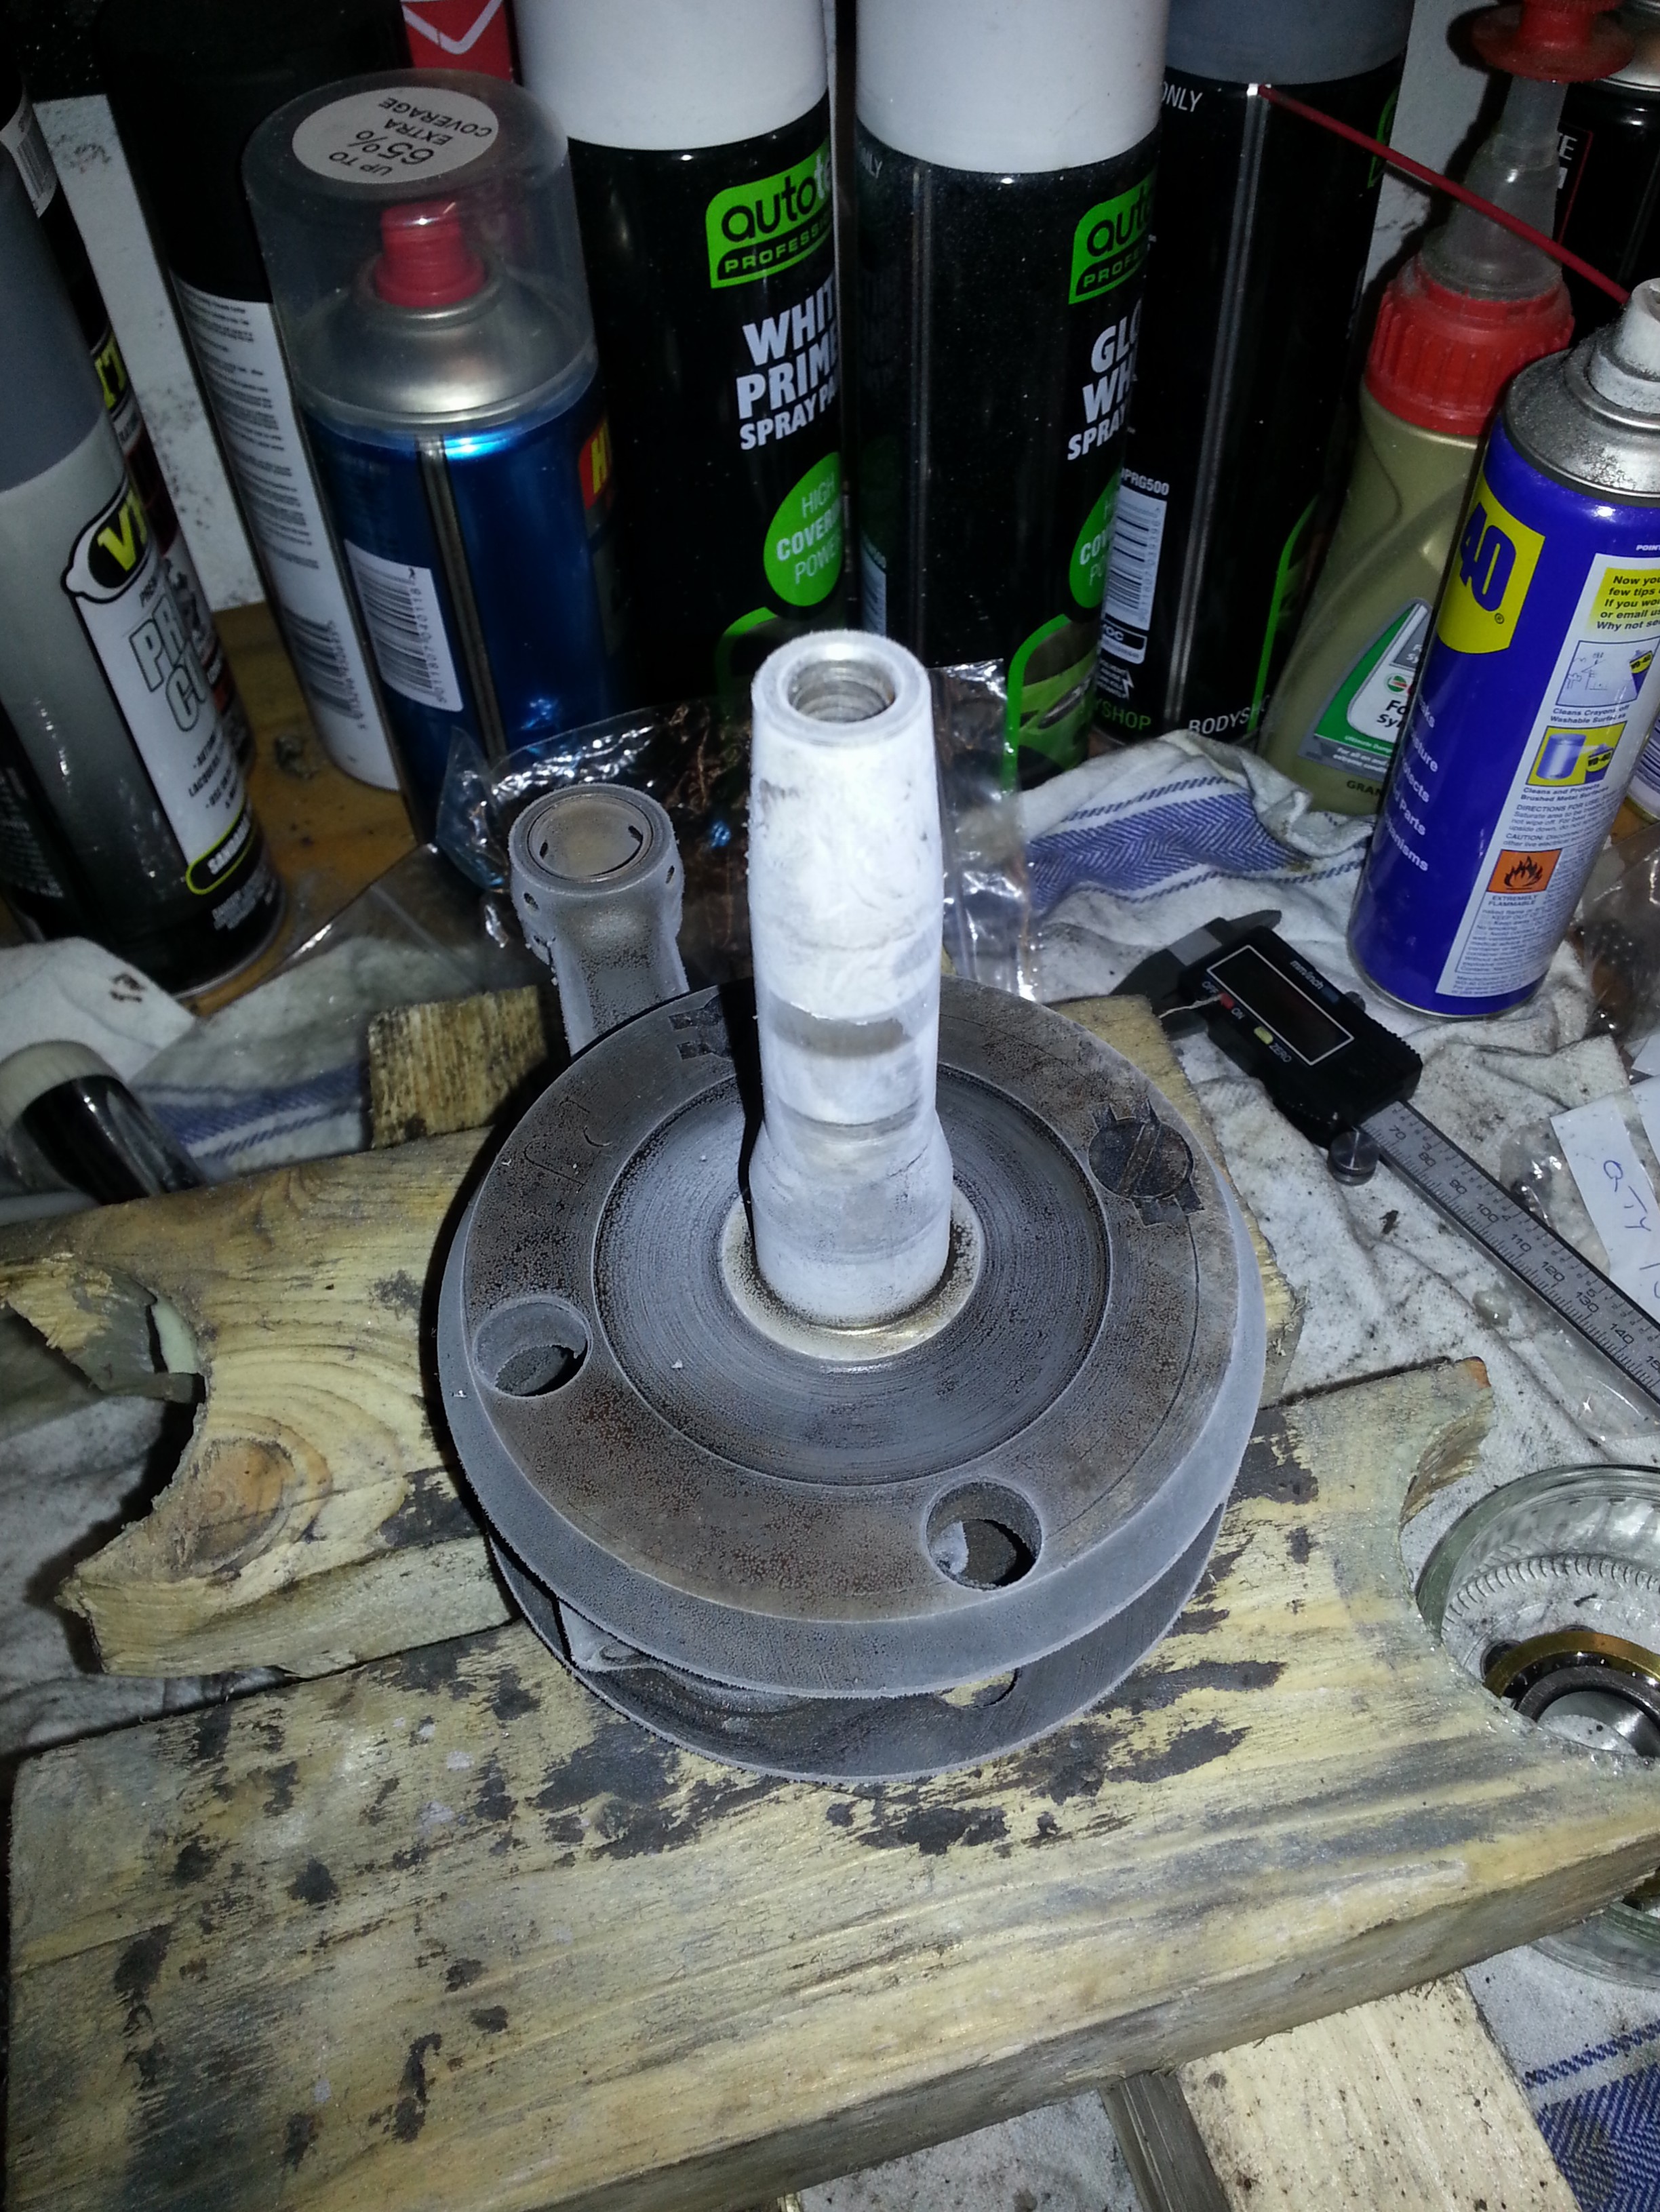
Time to re-assemble the engine. Let’s make sure everything is grease free and clean and start with the final drive shaft. This is a custom shaft and bearing so if this won’t work, there is a bigger problem than if a standard bearing gets ruined.
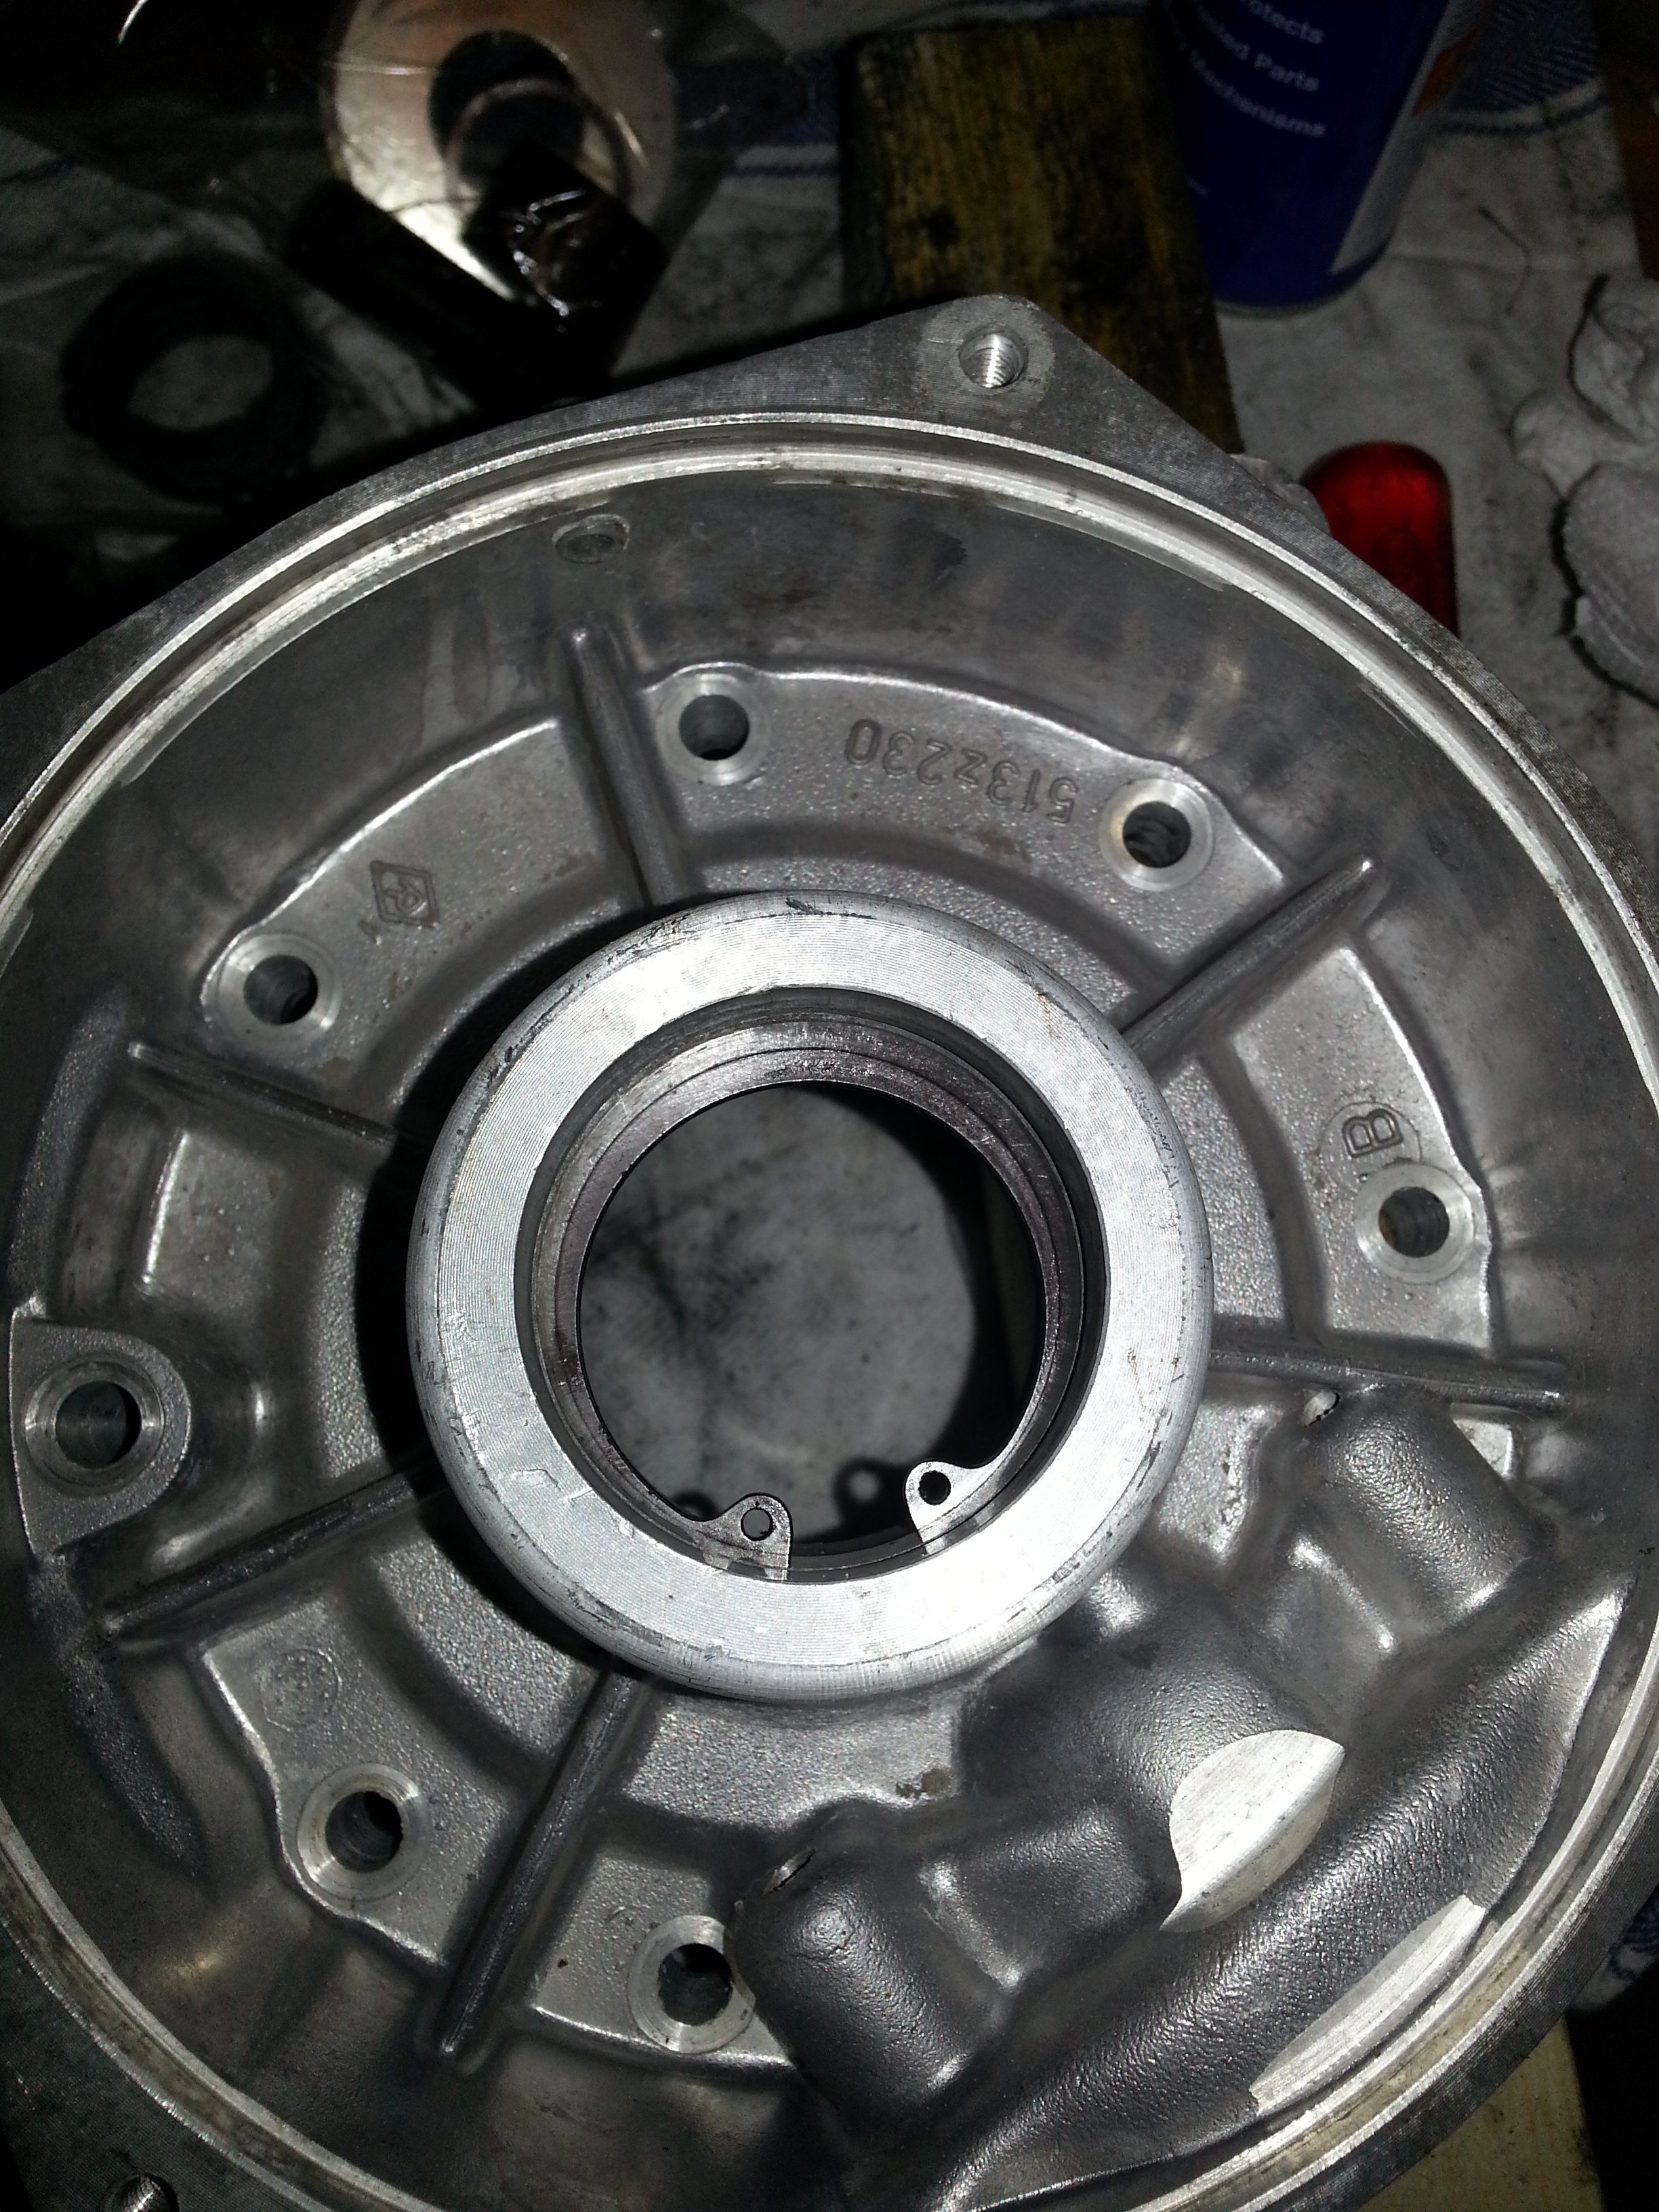
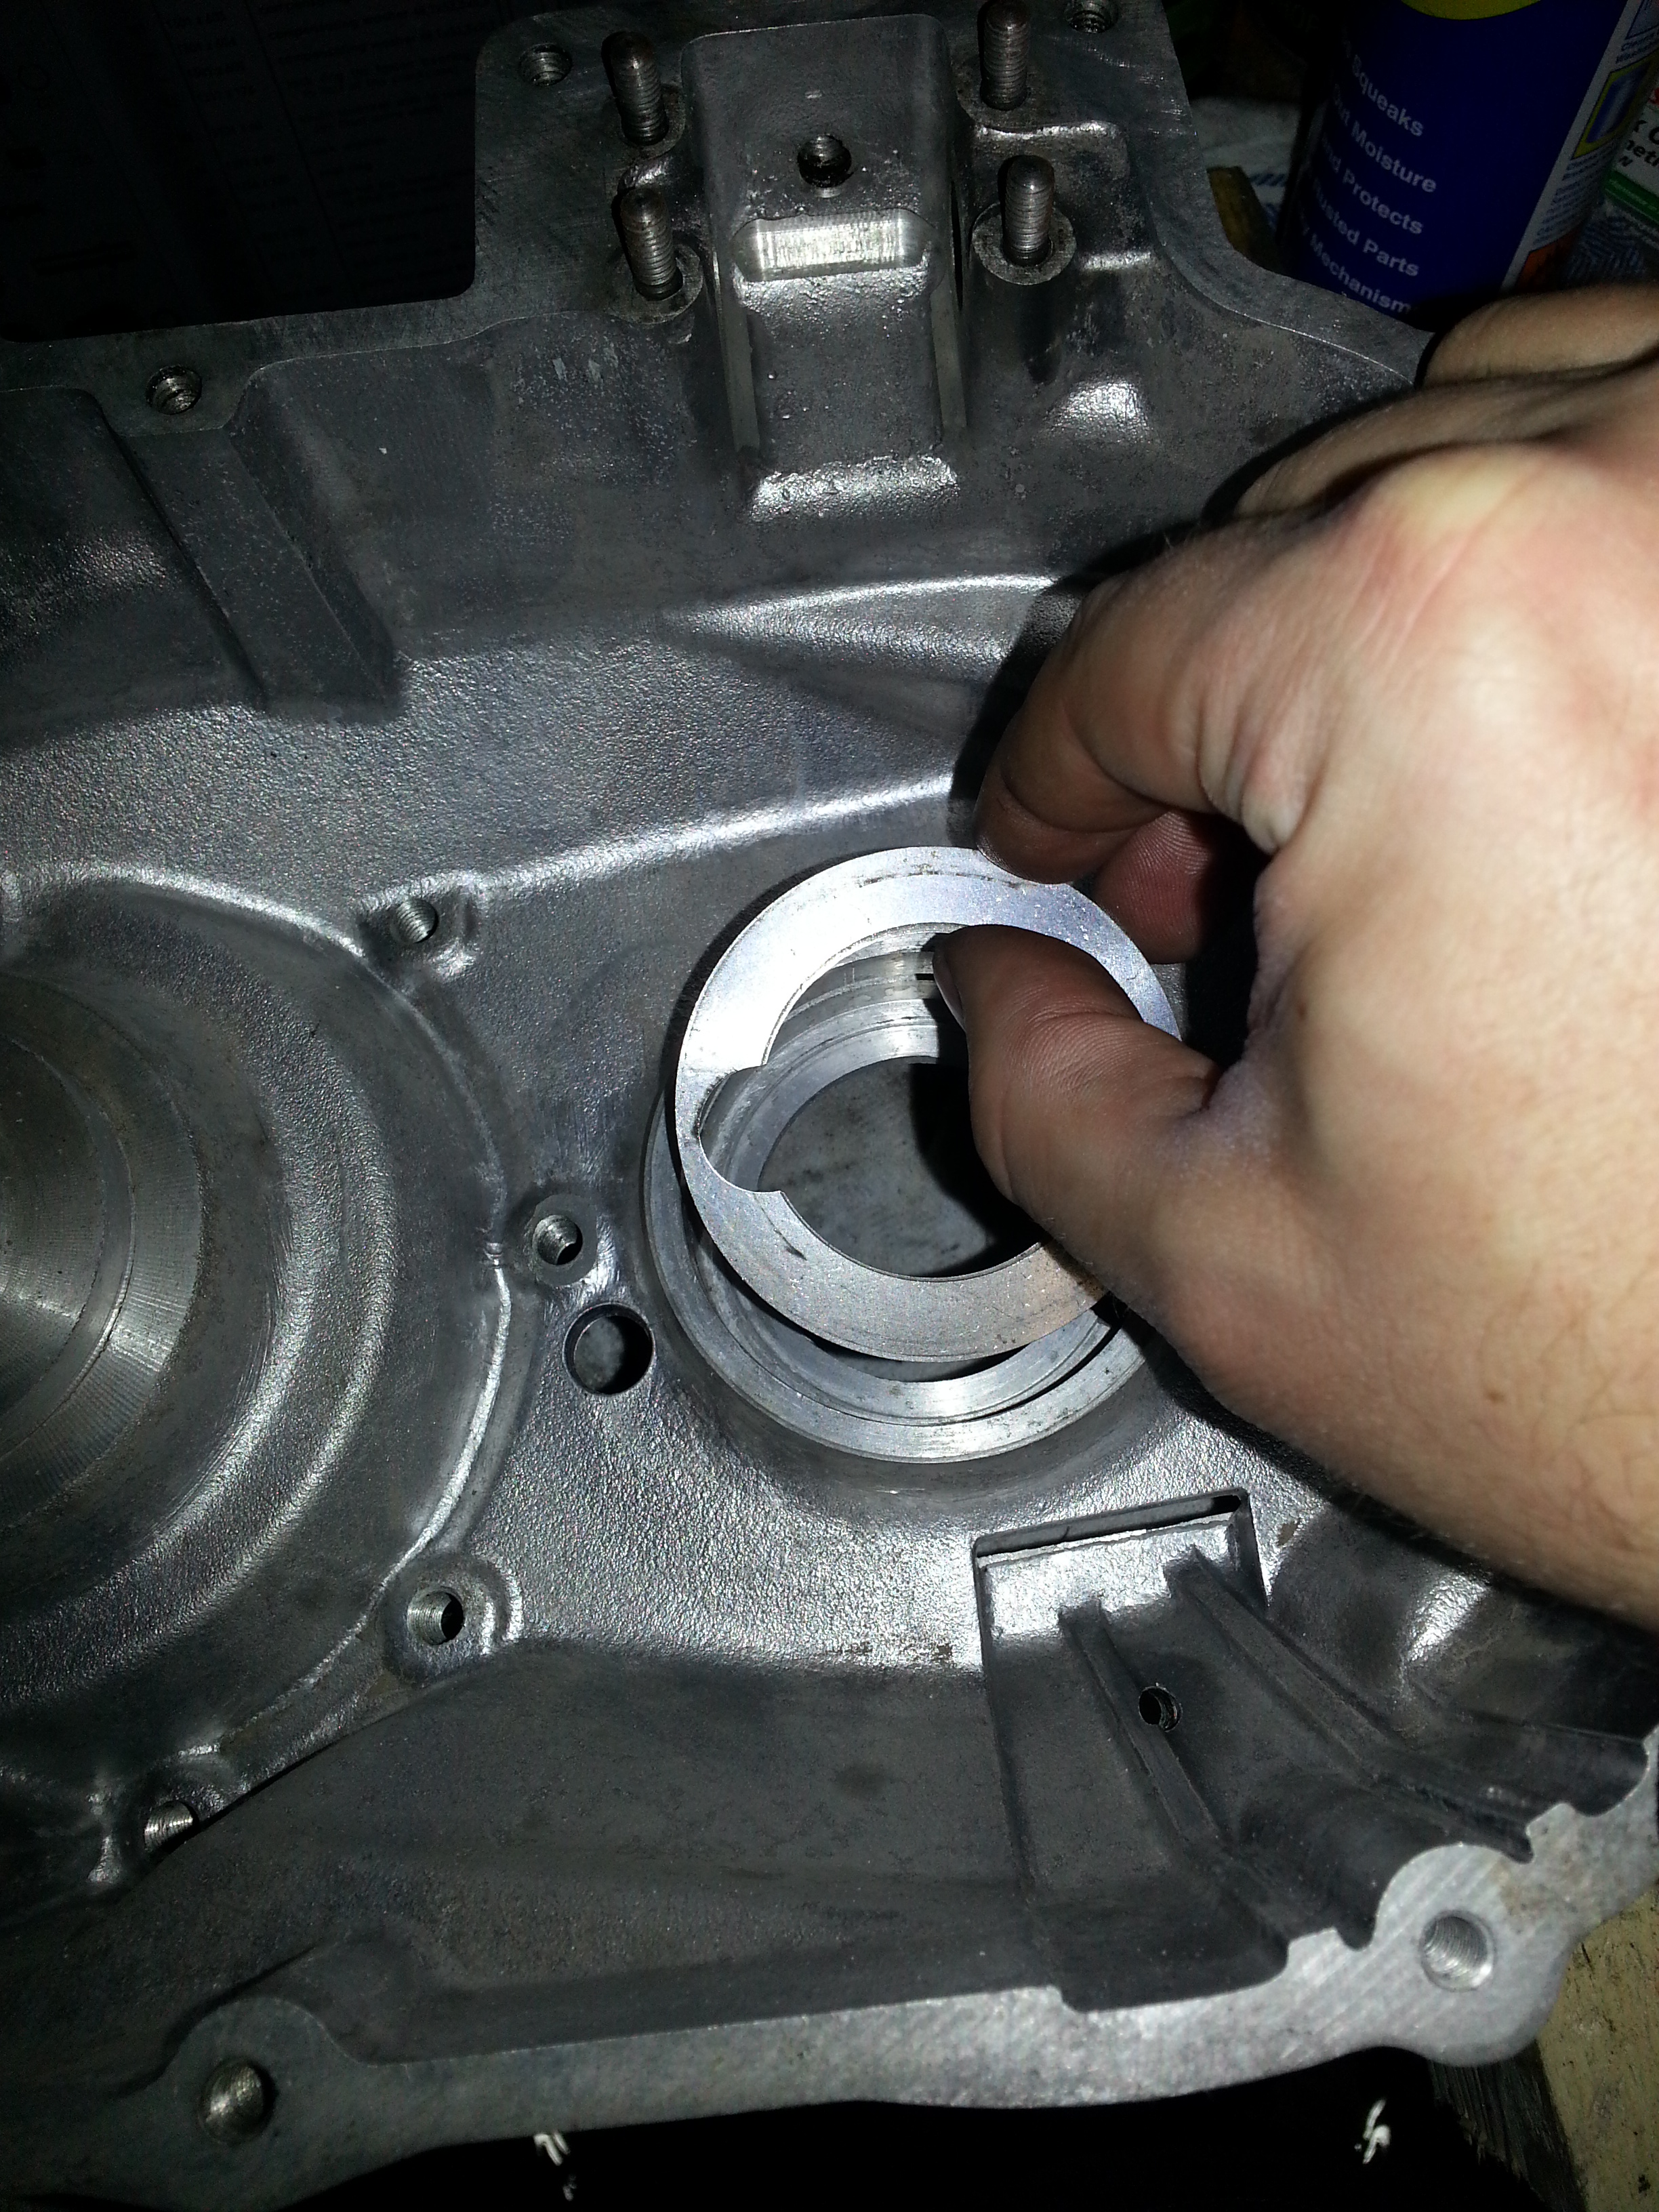
In my case I didn’t take the final drive shaft out as it was in very good condition and there was no need for replacing the rollers. I did however remove the snap ring and shim which we will re-install first:
There is a bit of measurement necessary if you install the final drive shaft from scratch for shim placement. The procedure is explained in the ‘working on two stroke engines’ booklet that is in the documentation section. Very handy to have so I scanned it.
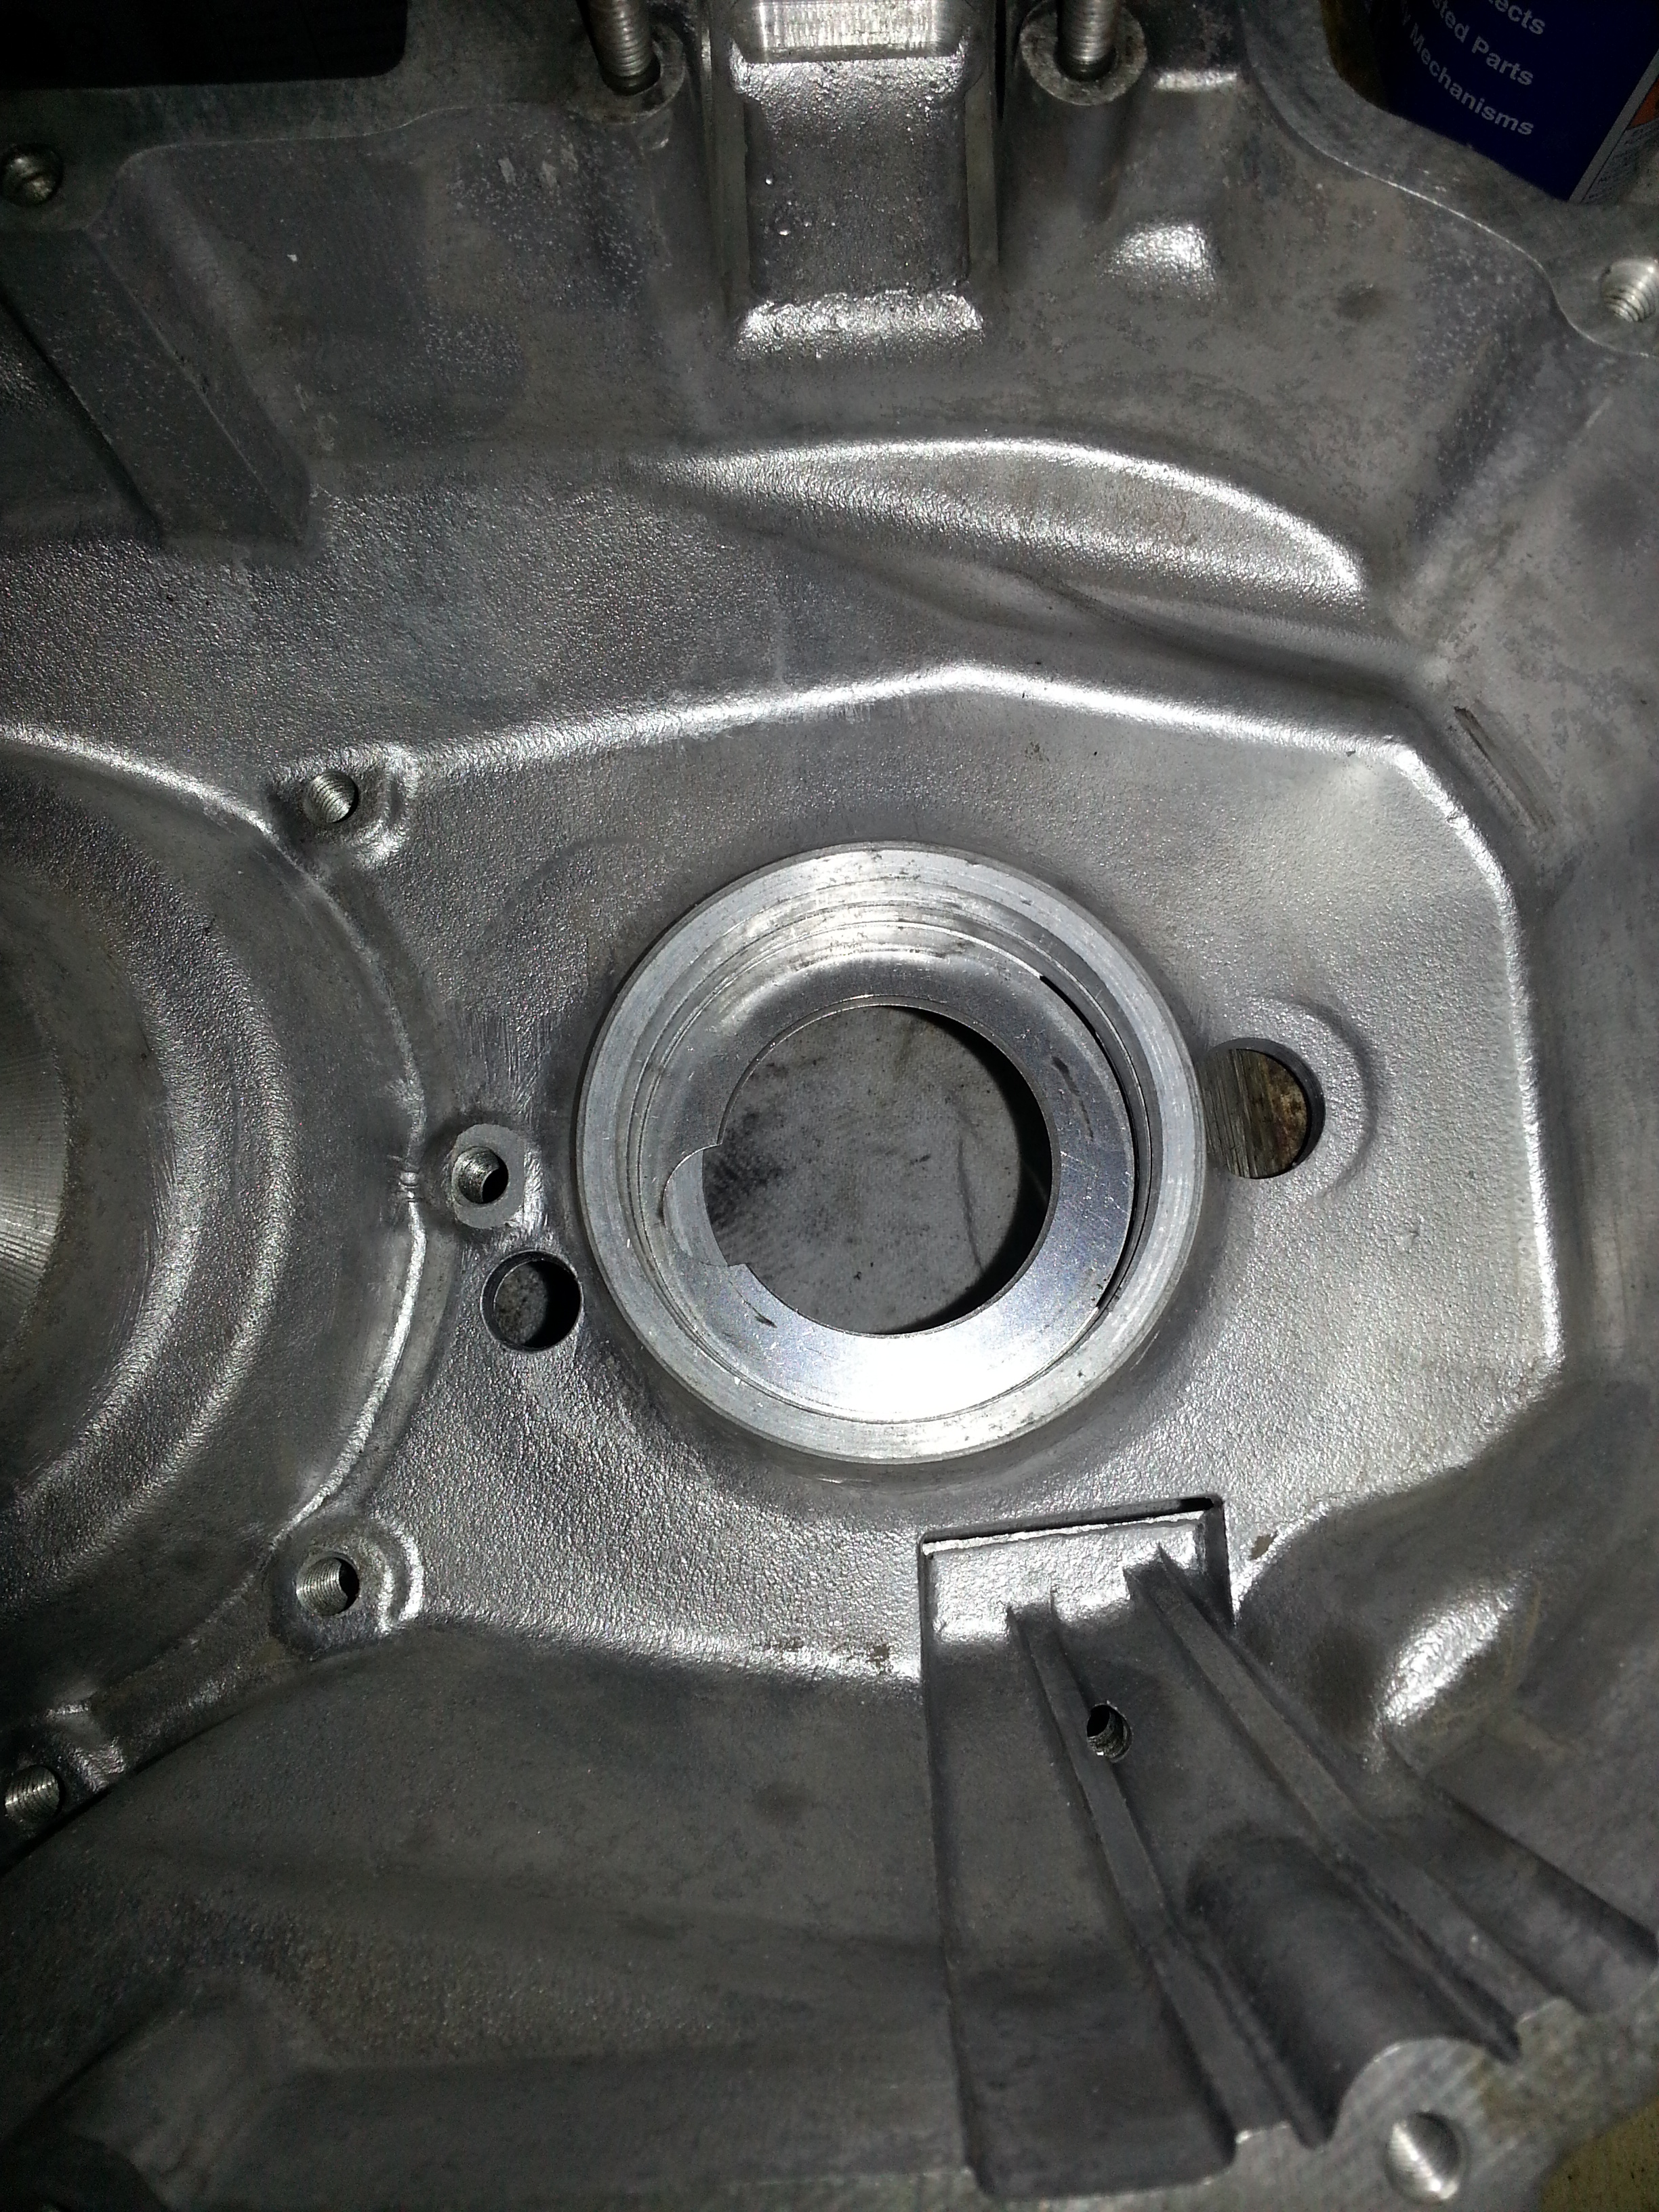
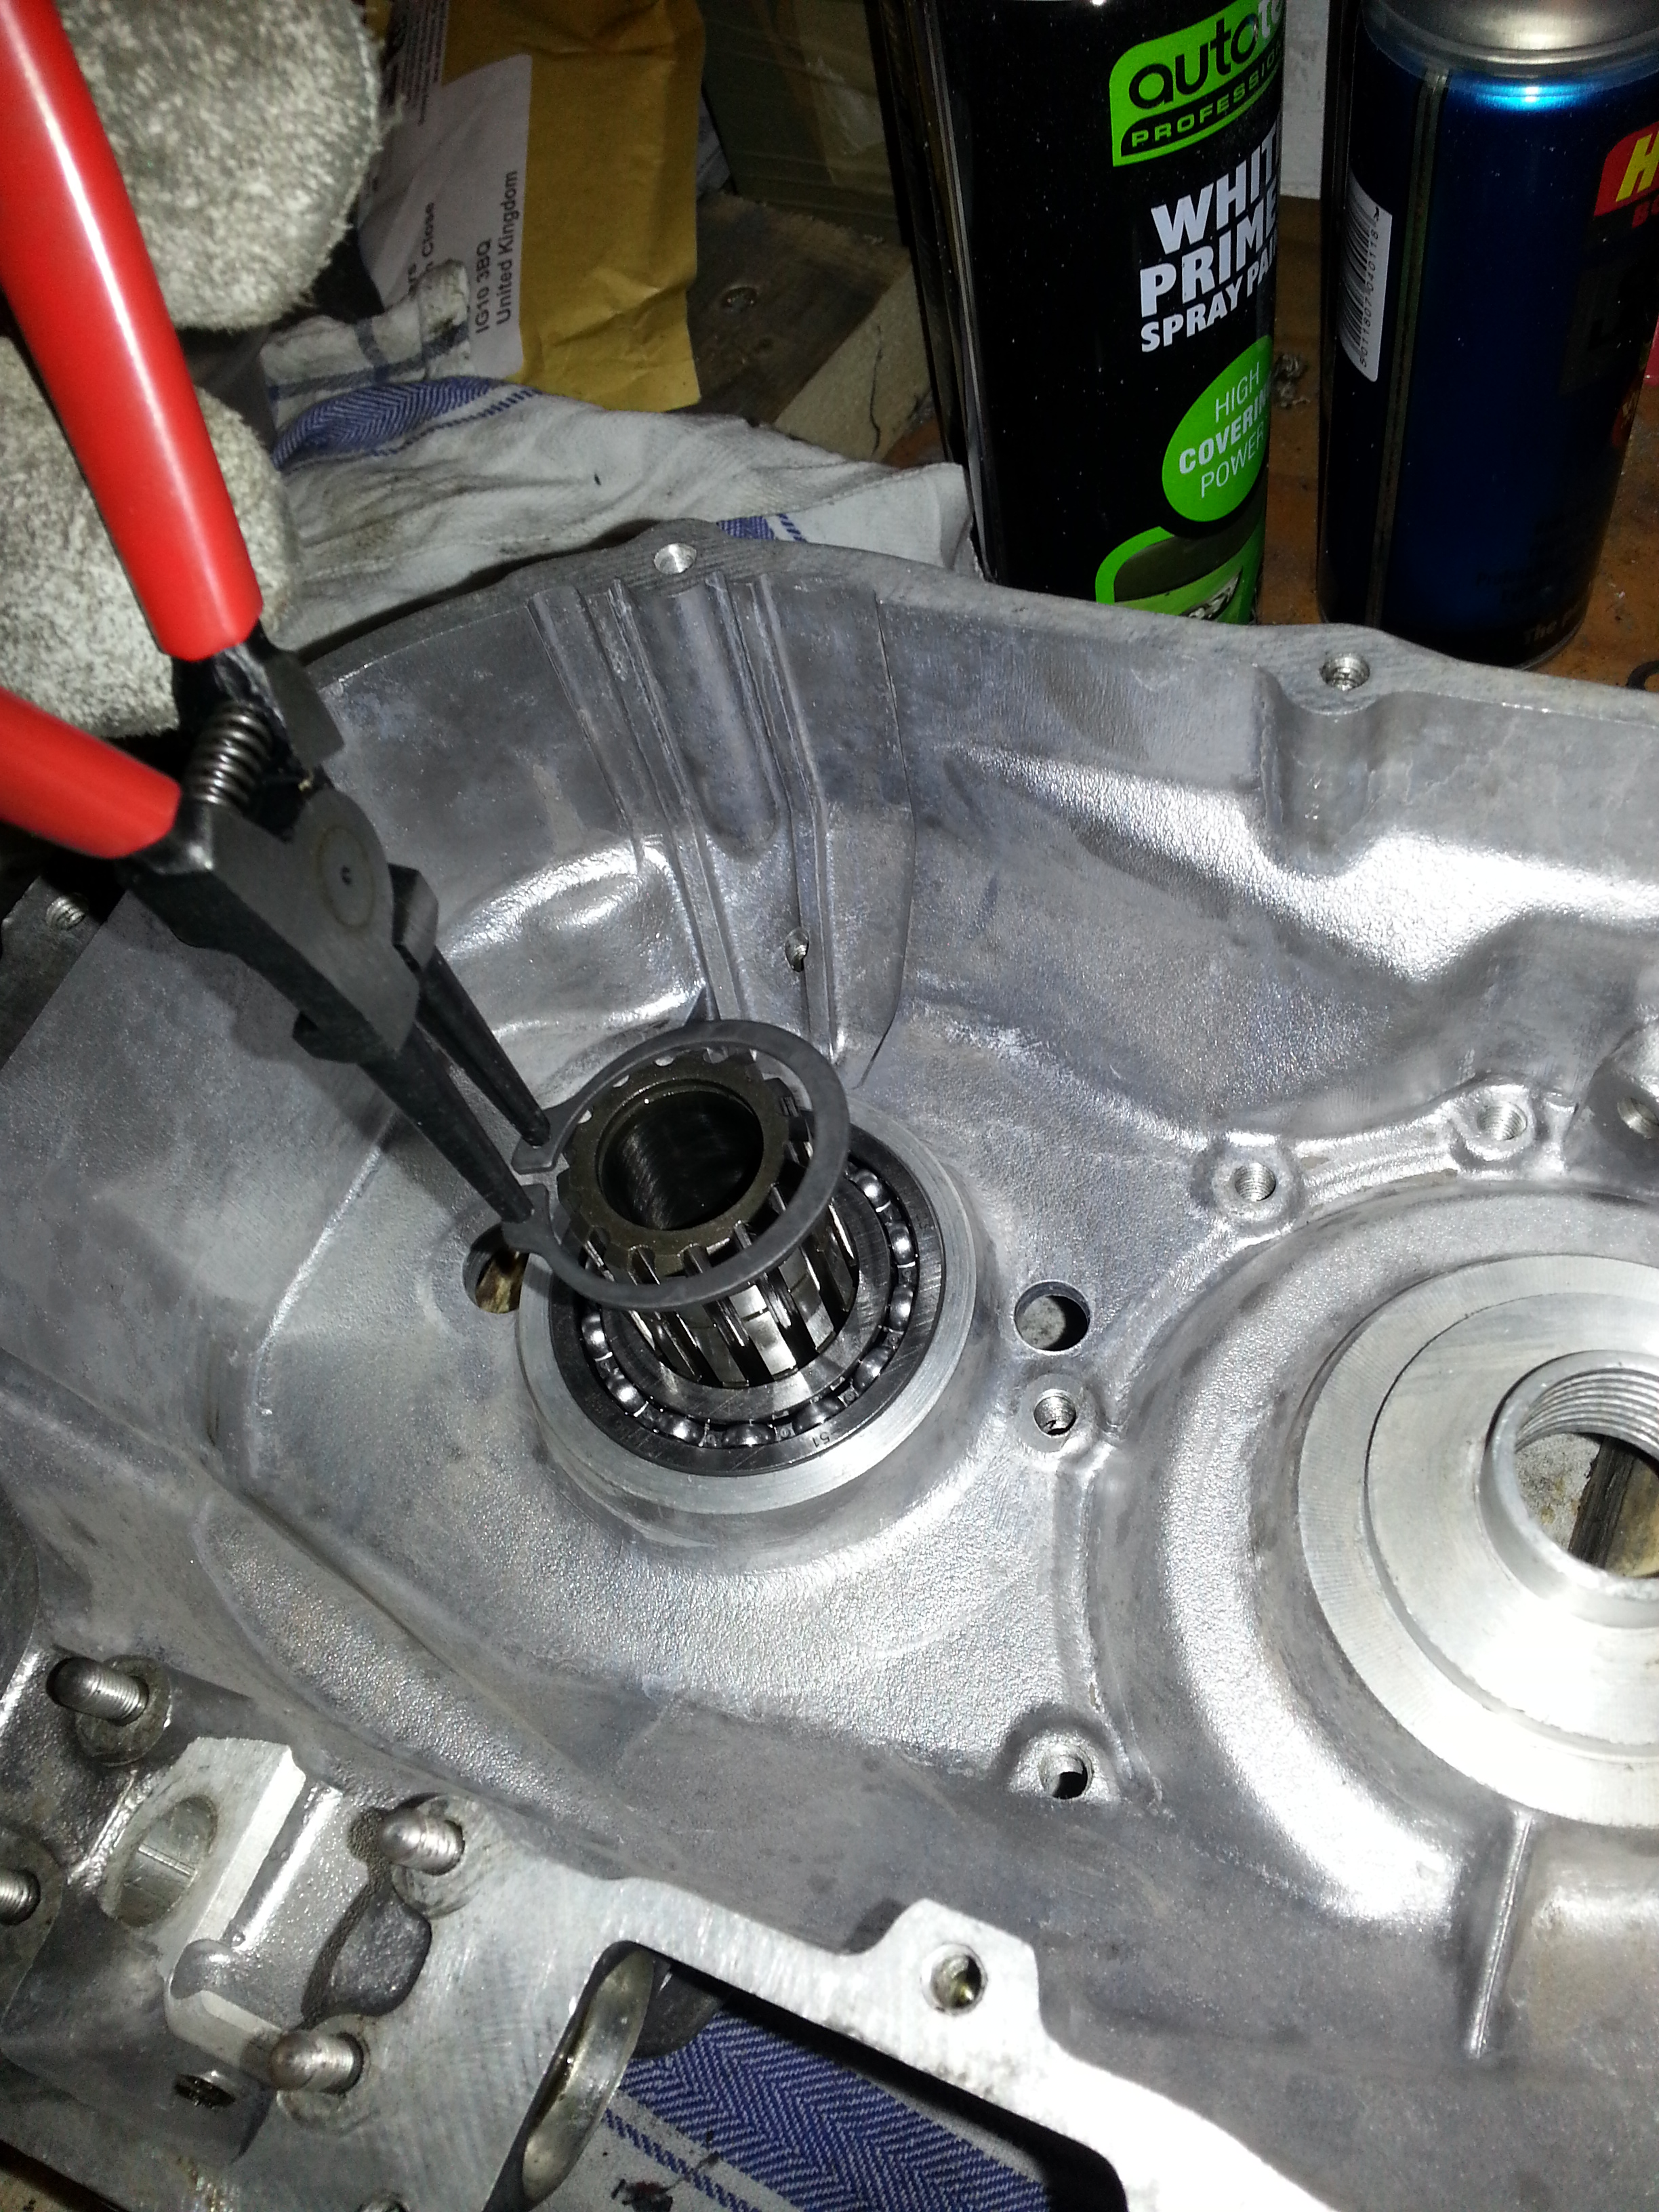
Next up we will prepare the first circlip for the generator bearing:
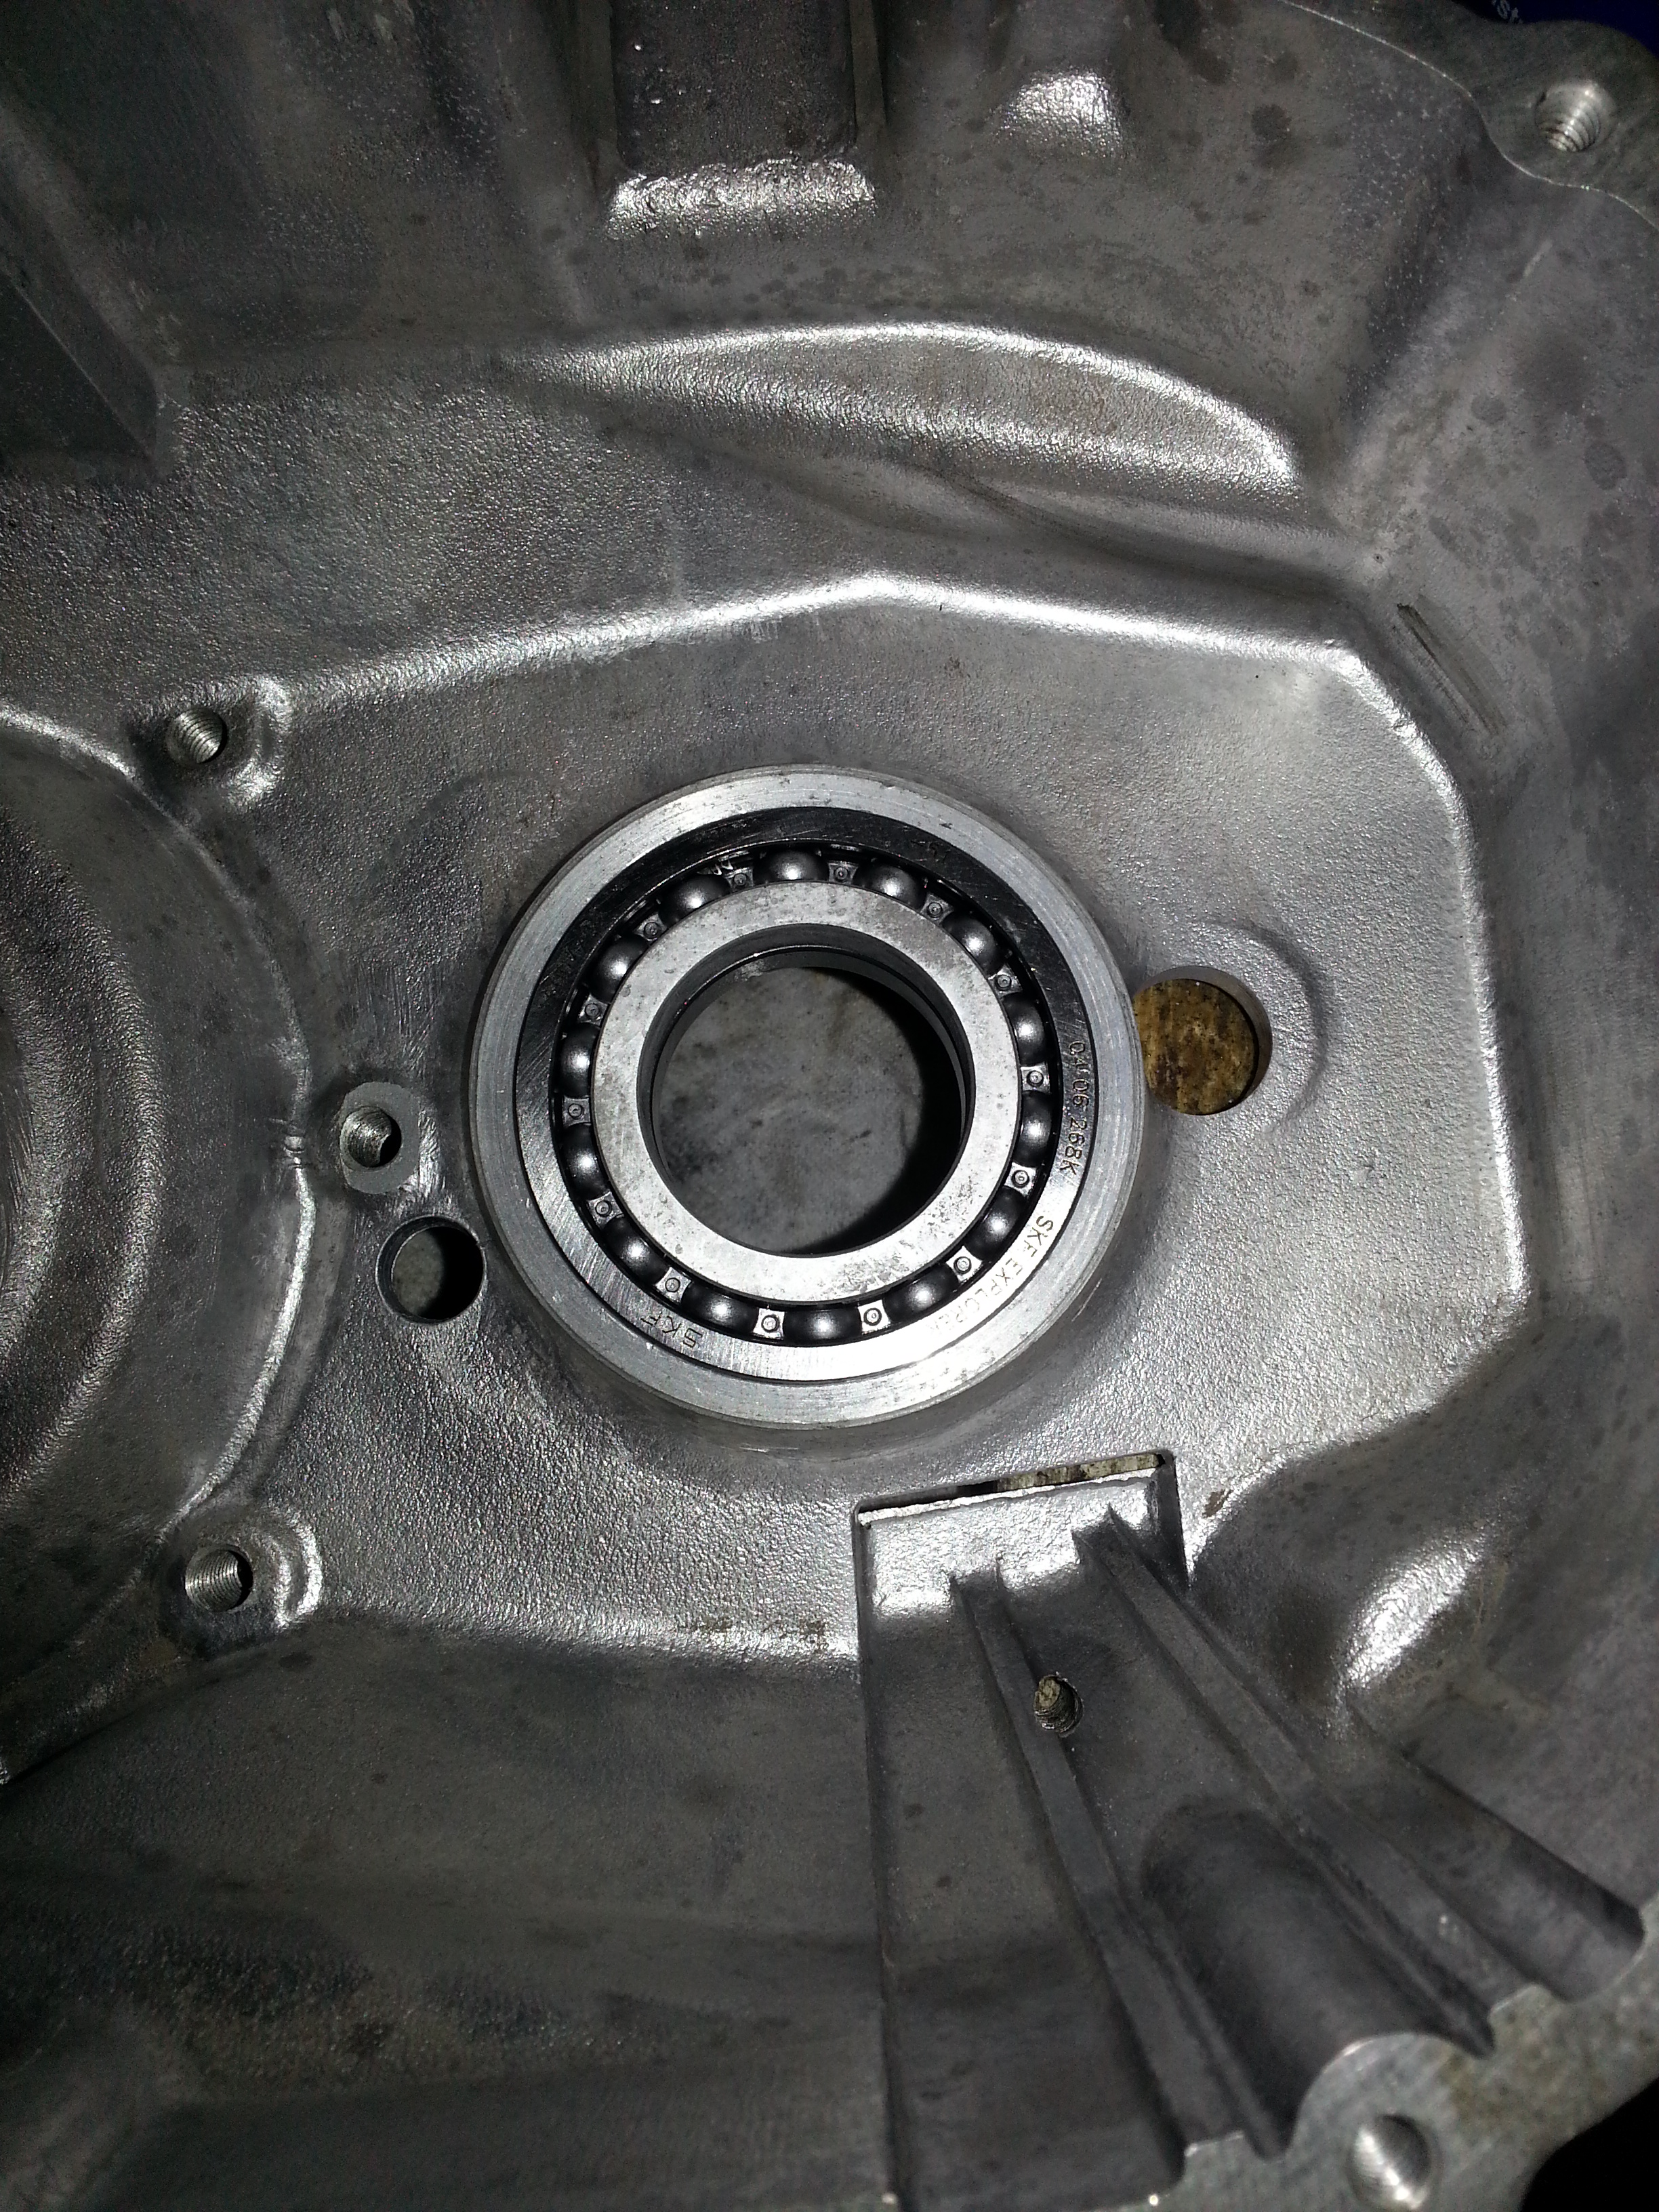
We won’t install the bearing just yet though as I forgot to order it… We’ll continue to install the gear hub bearings. First thing is to freeze the bearings thoroughly. Put them in the freezer 24 hours in advance, if possible in the coldest part of the freezer. Next we’ll do a little cooking at 100 degrees Celsius:
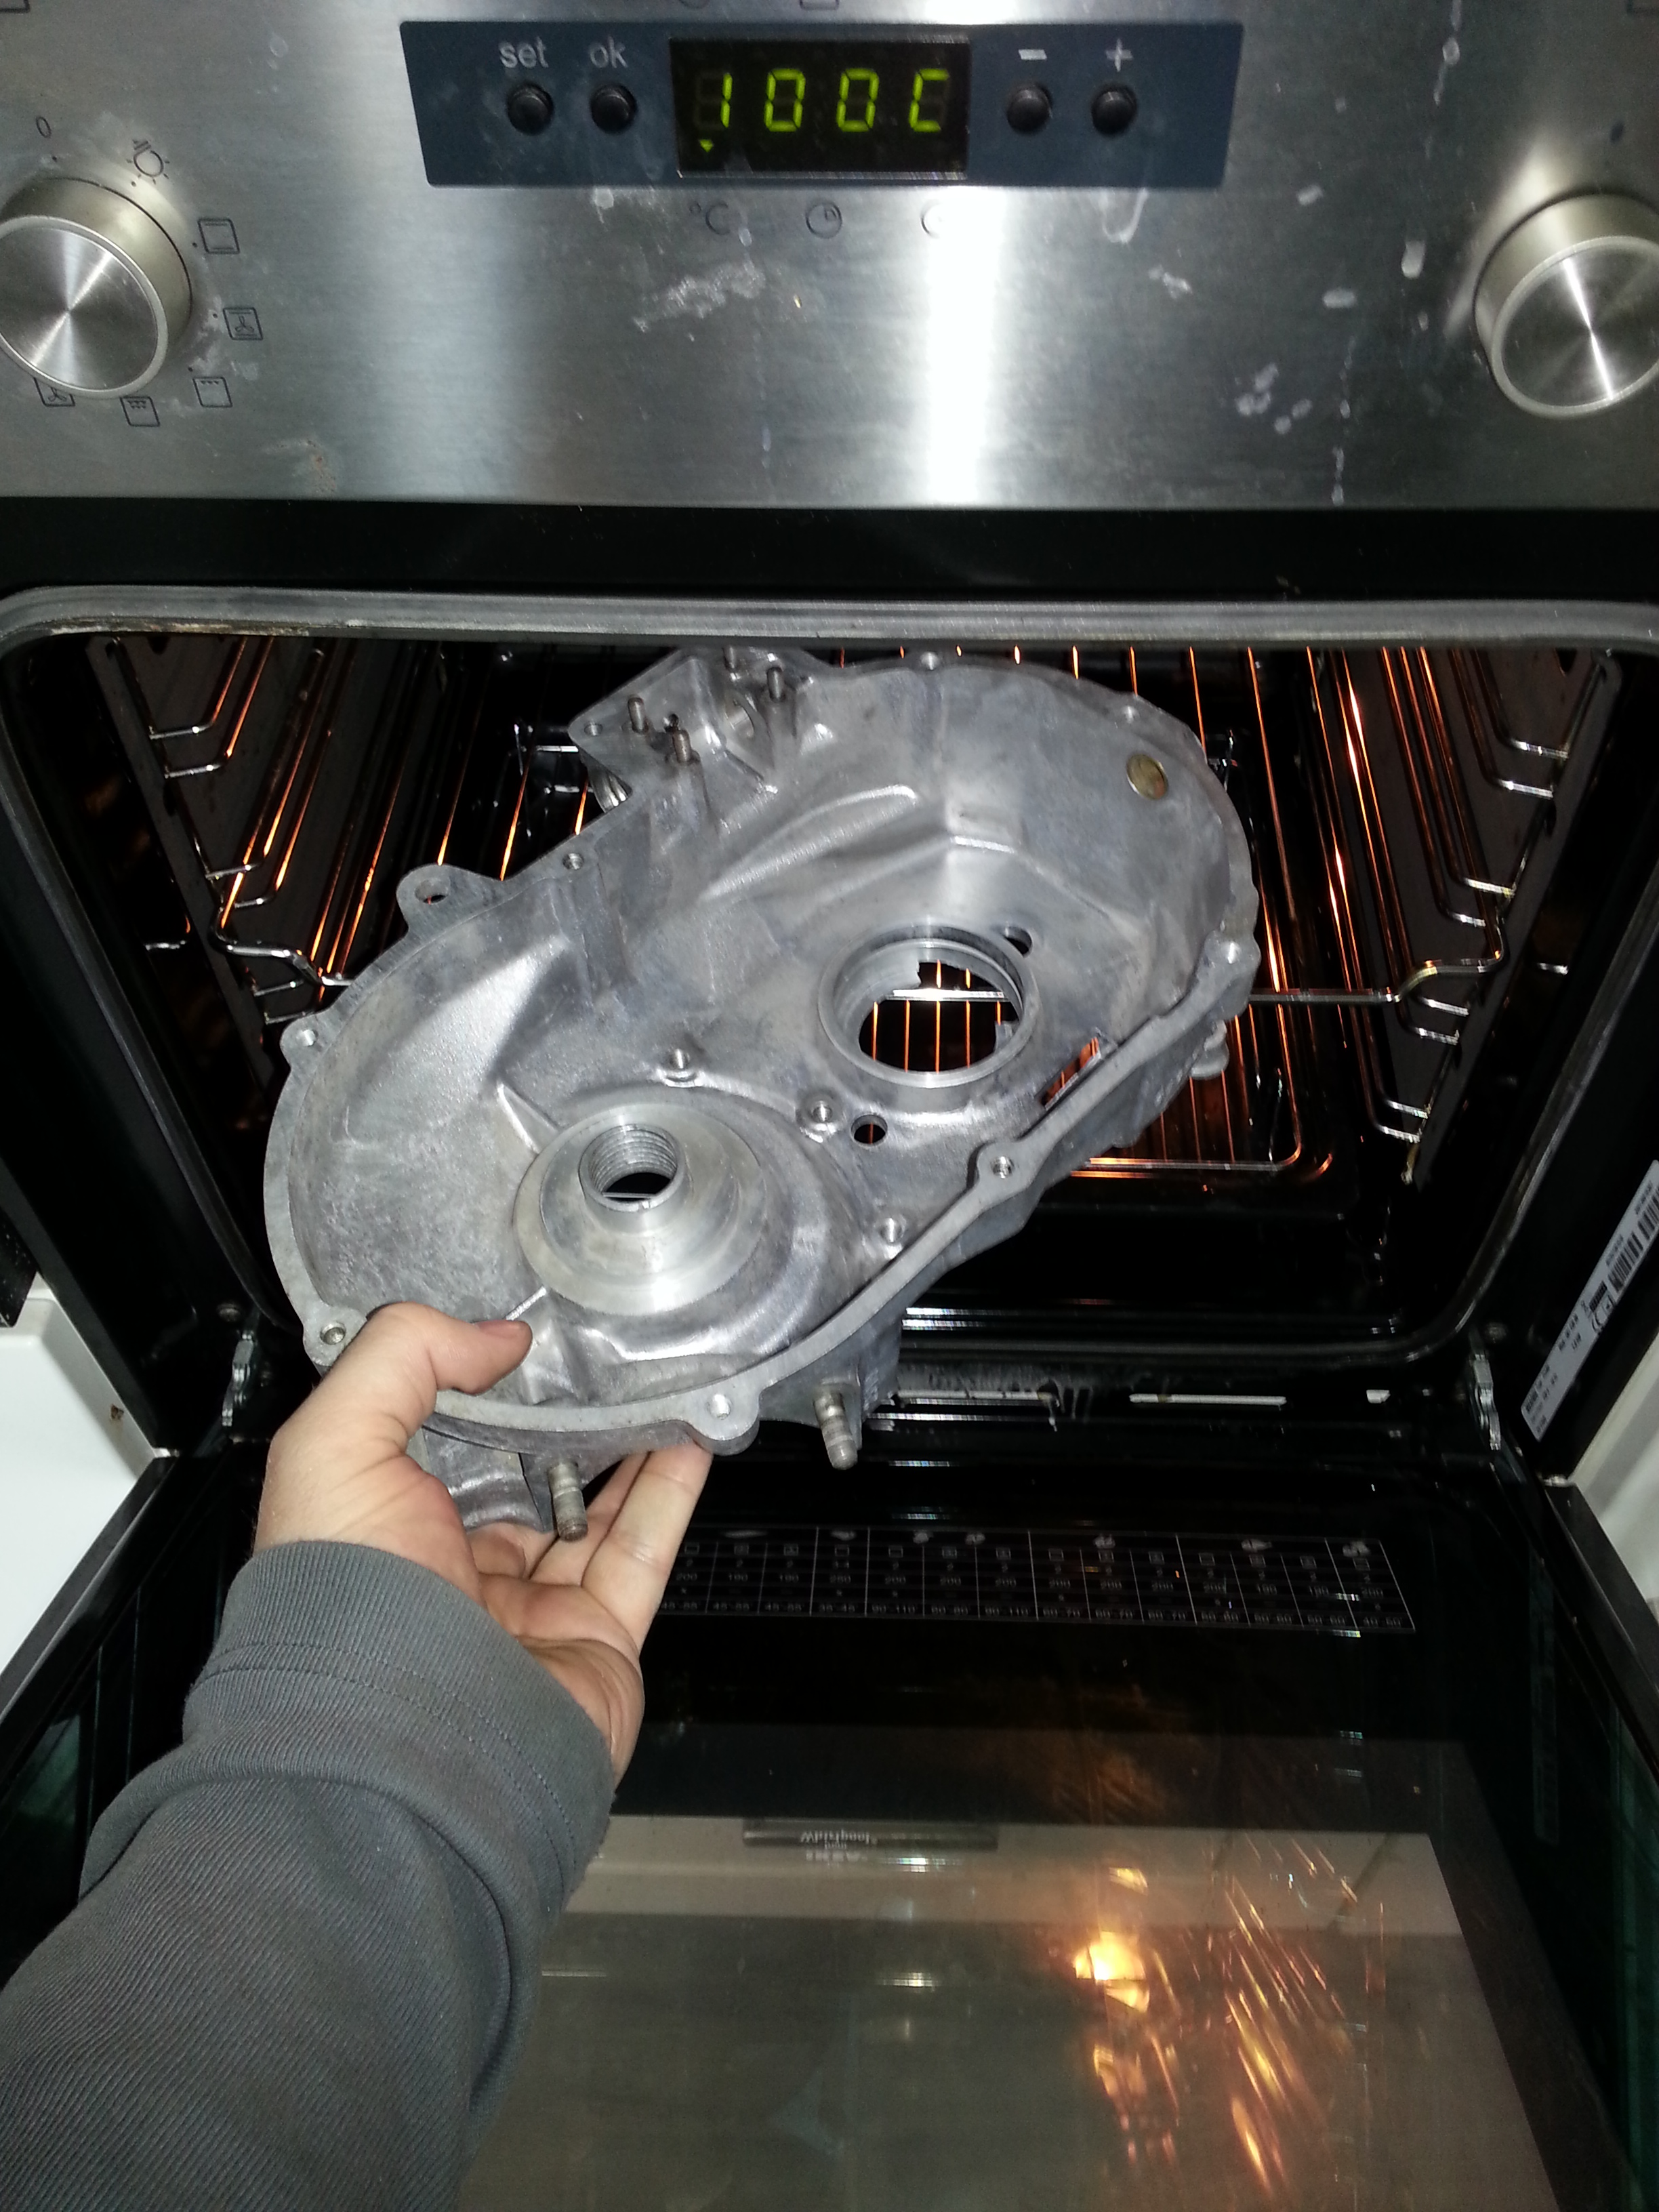
The combination of a hot engine half and a frozen bearing works wonders. The bearing will shrink a bit, the engine half expand and if you act quick you can install the bearings quickly and neatly. Make sure though you have the right bearing kit ready. If you need to find your tools when you have taken the parts out of the freezer and oven you will likely be too late. Don’t forget to put the gearshaft in the freezer too. All you need here is a bearing punch of the right size:
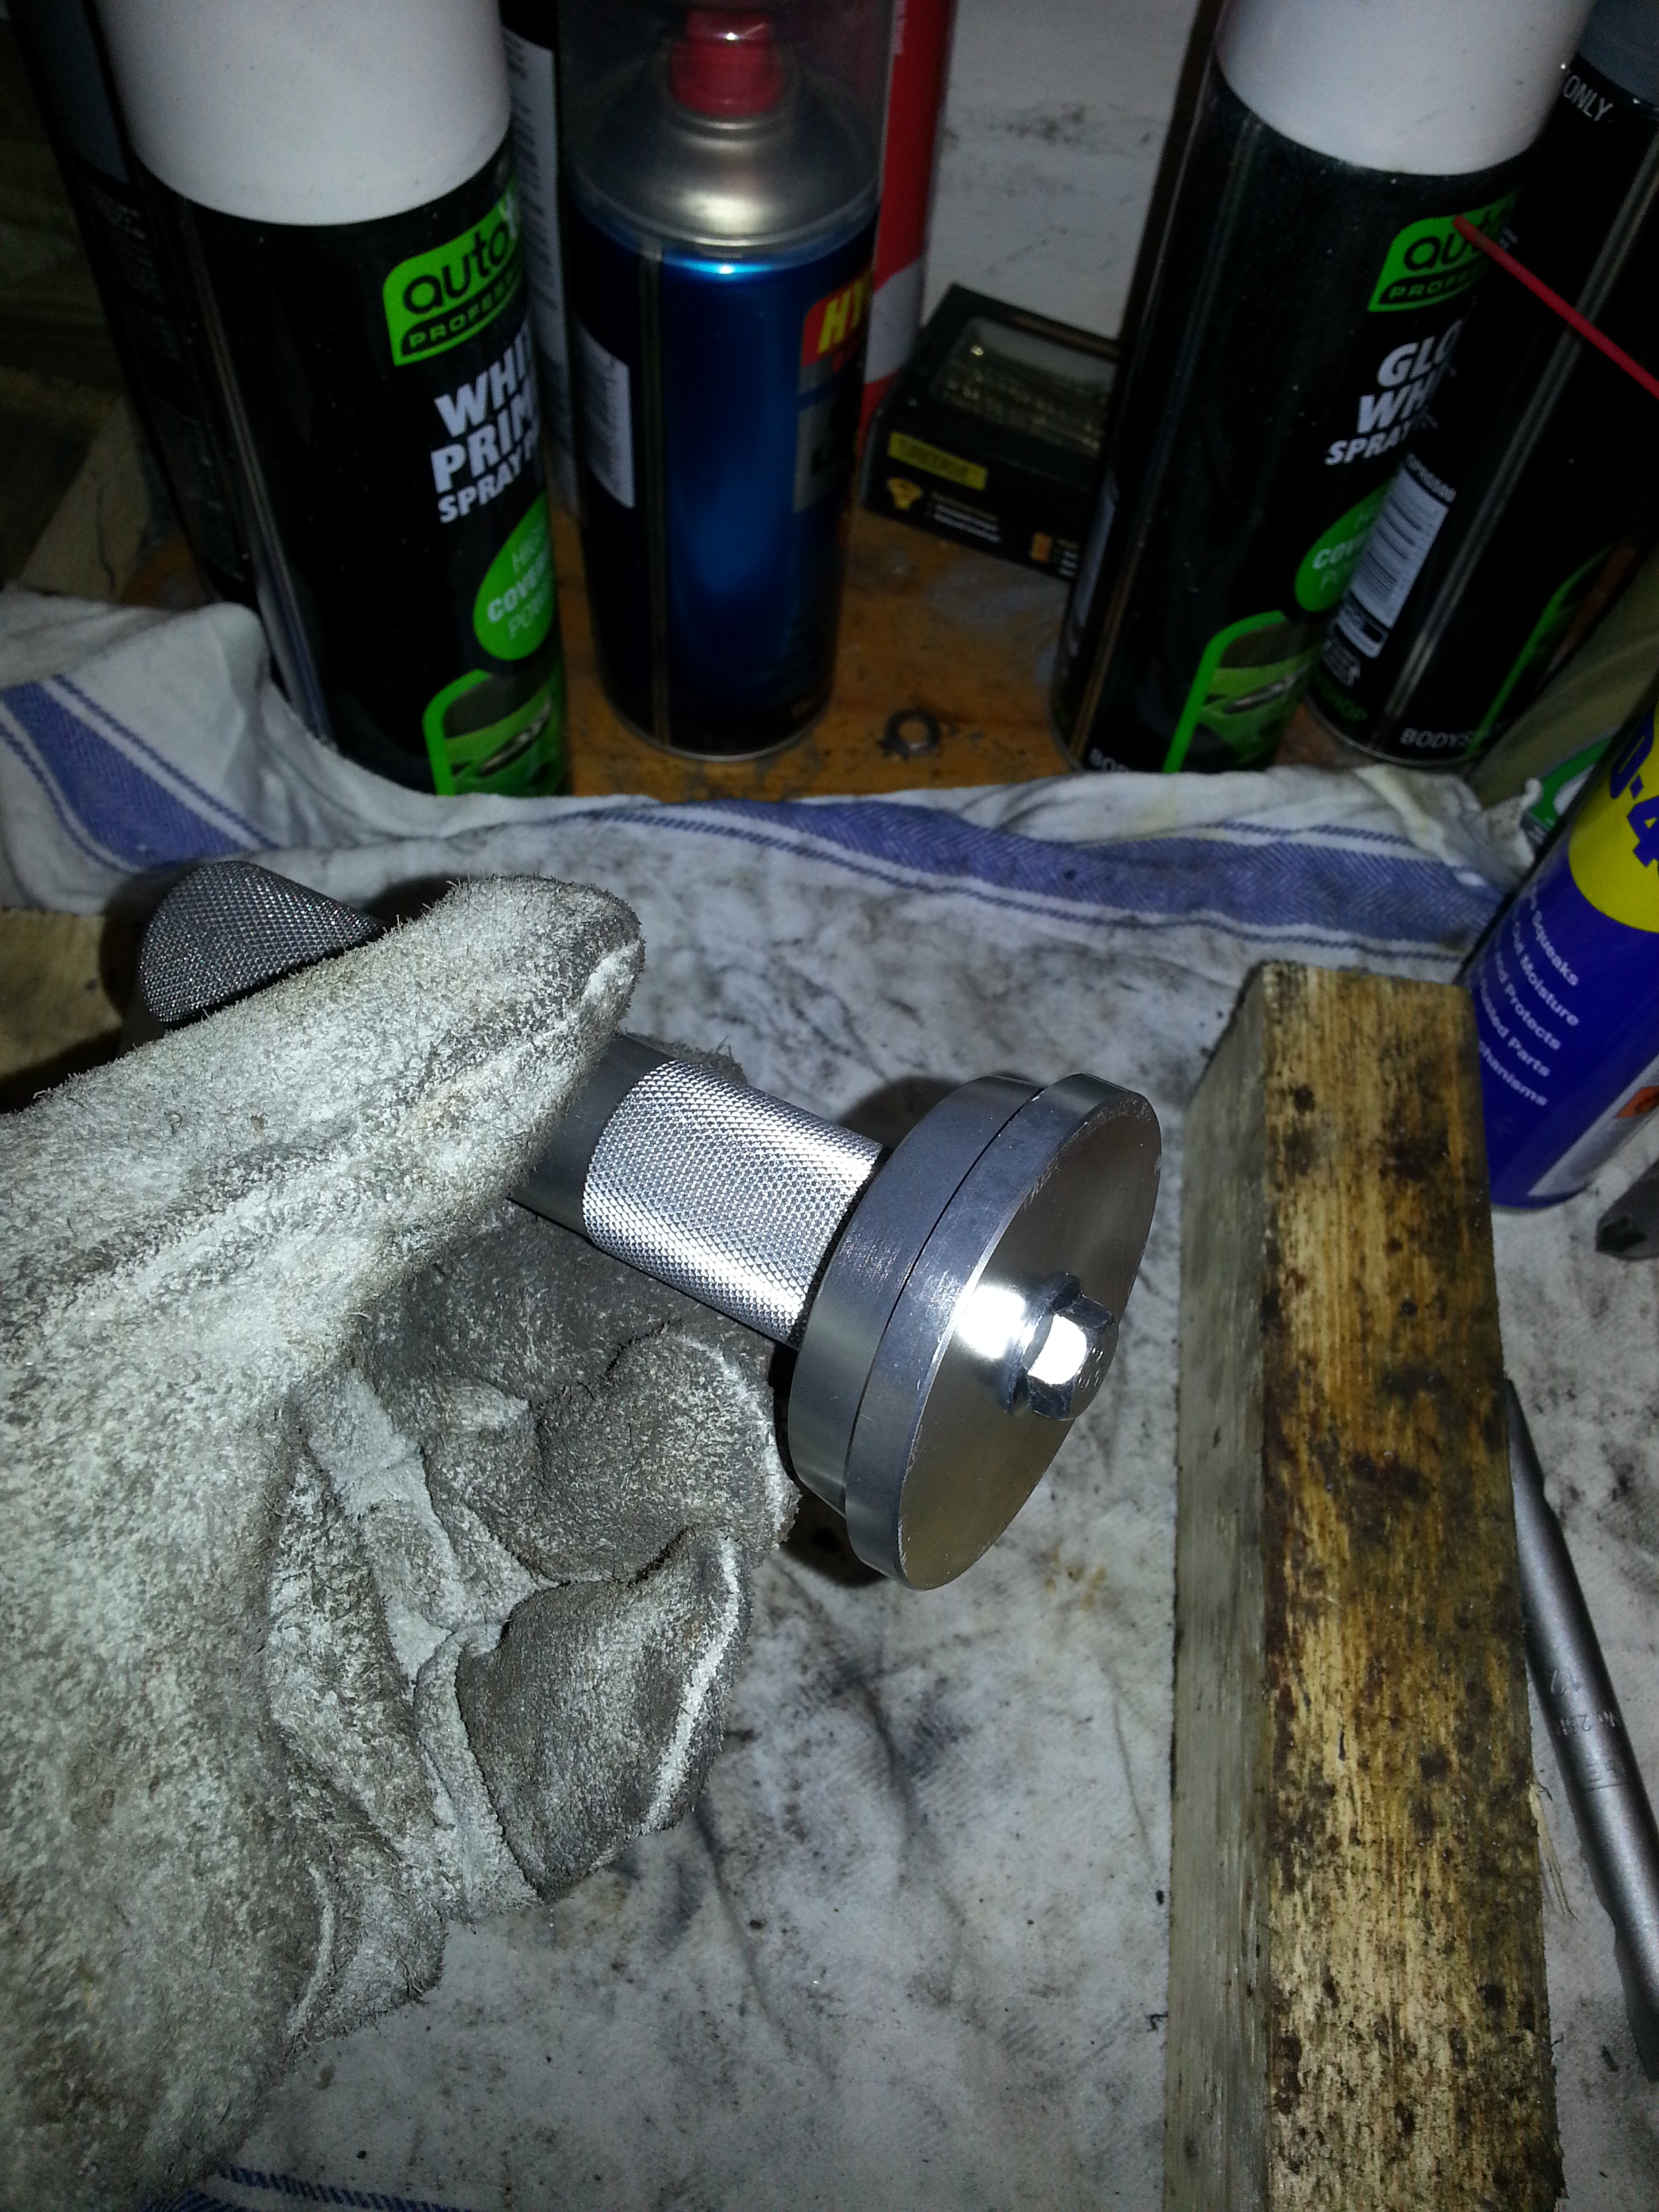
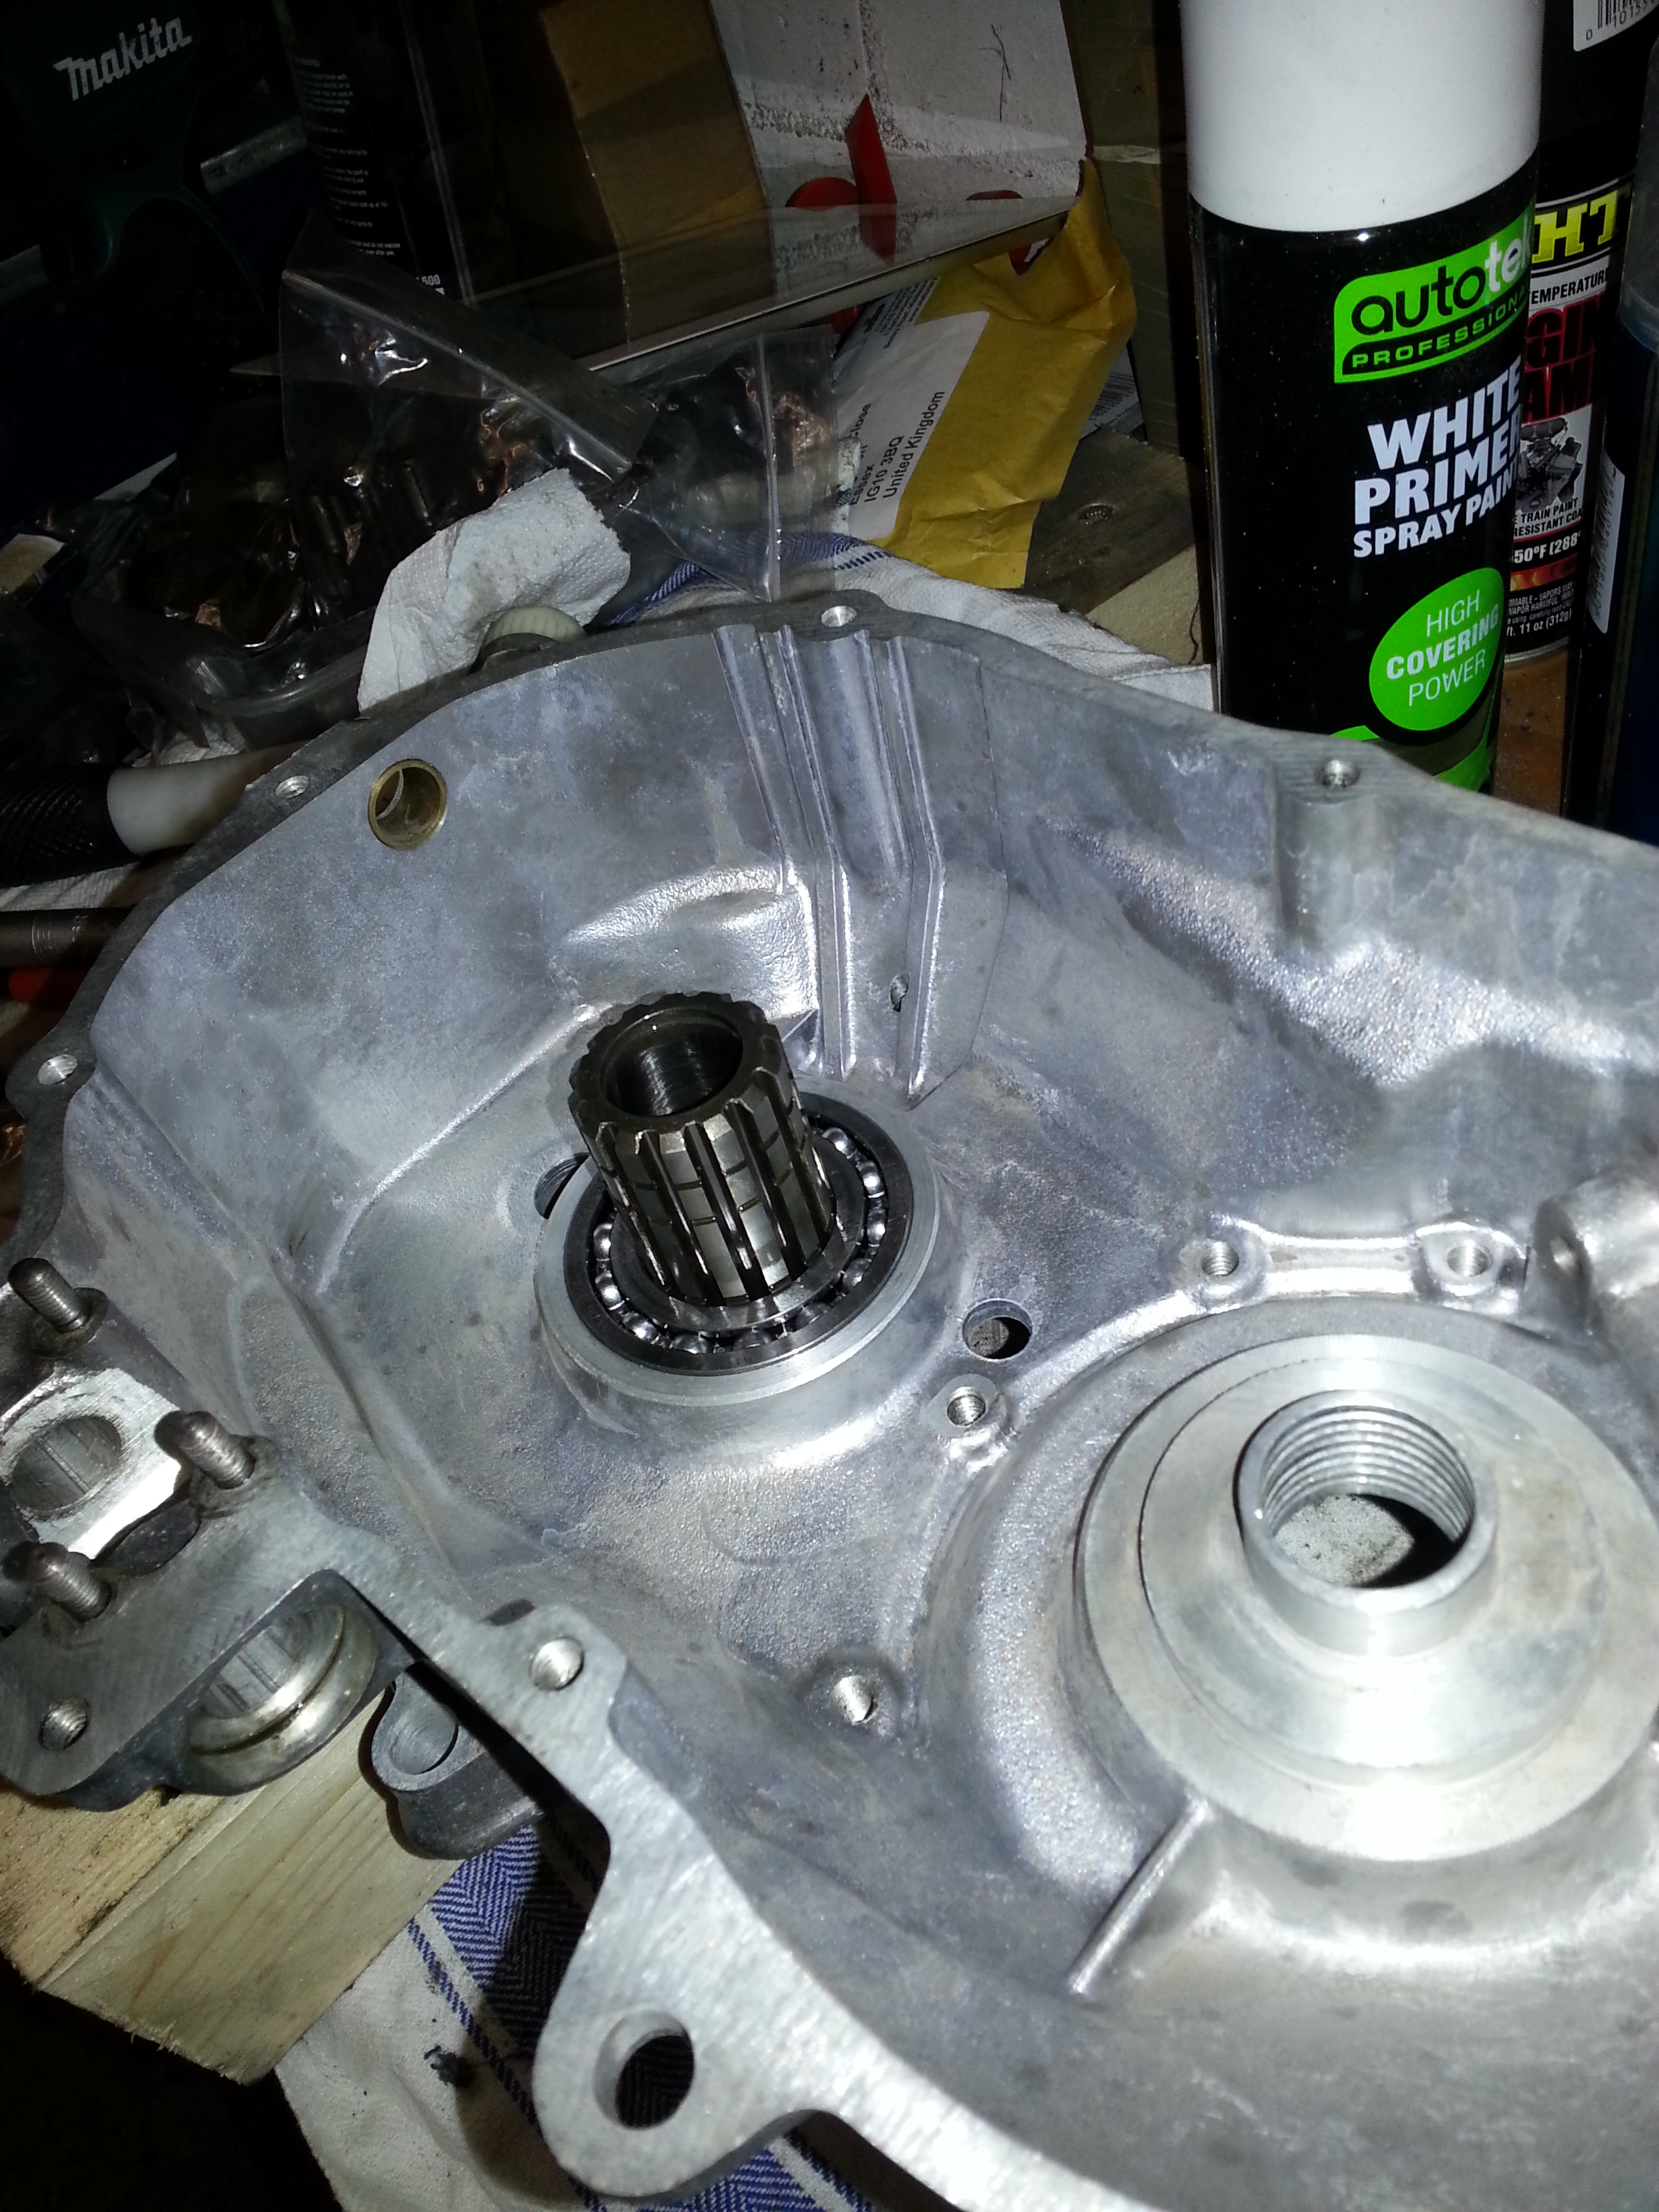
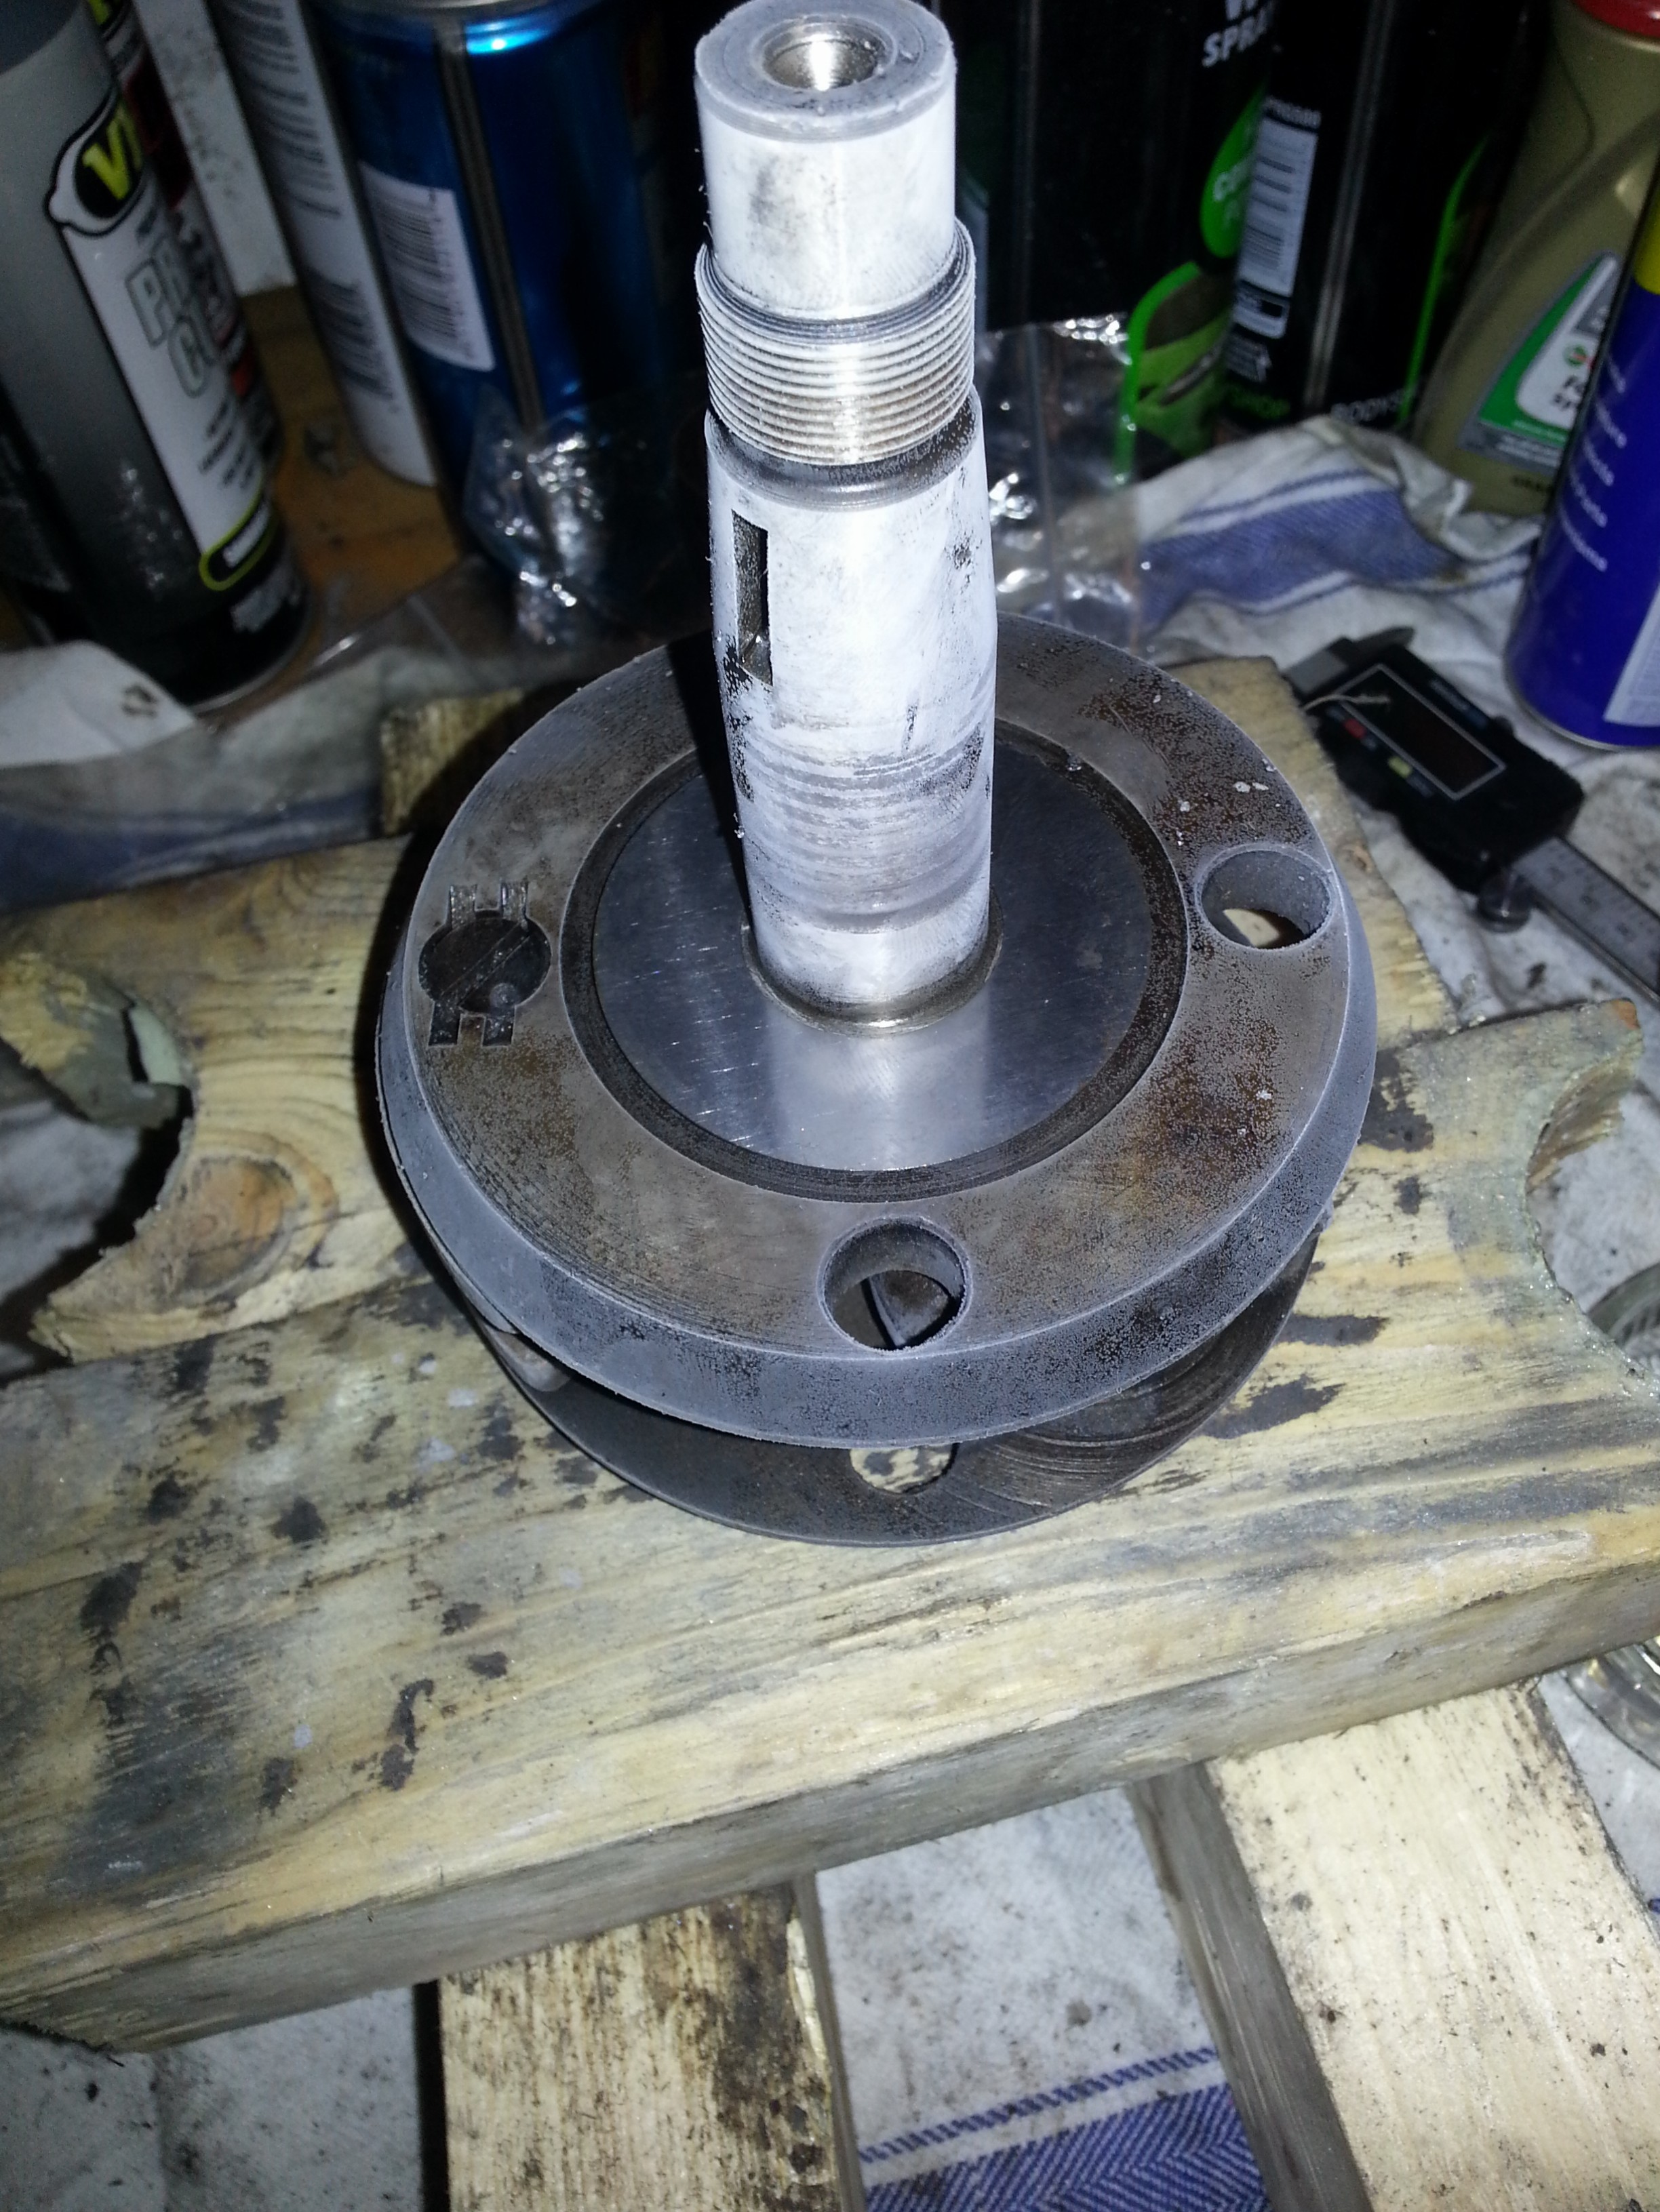
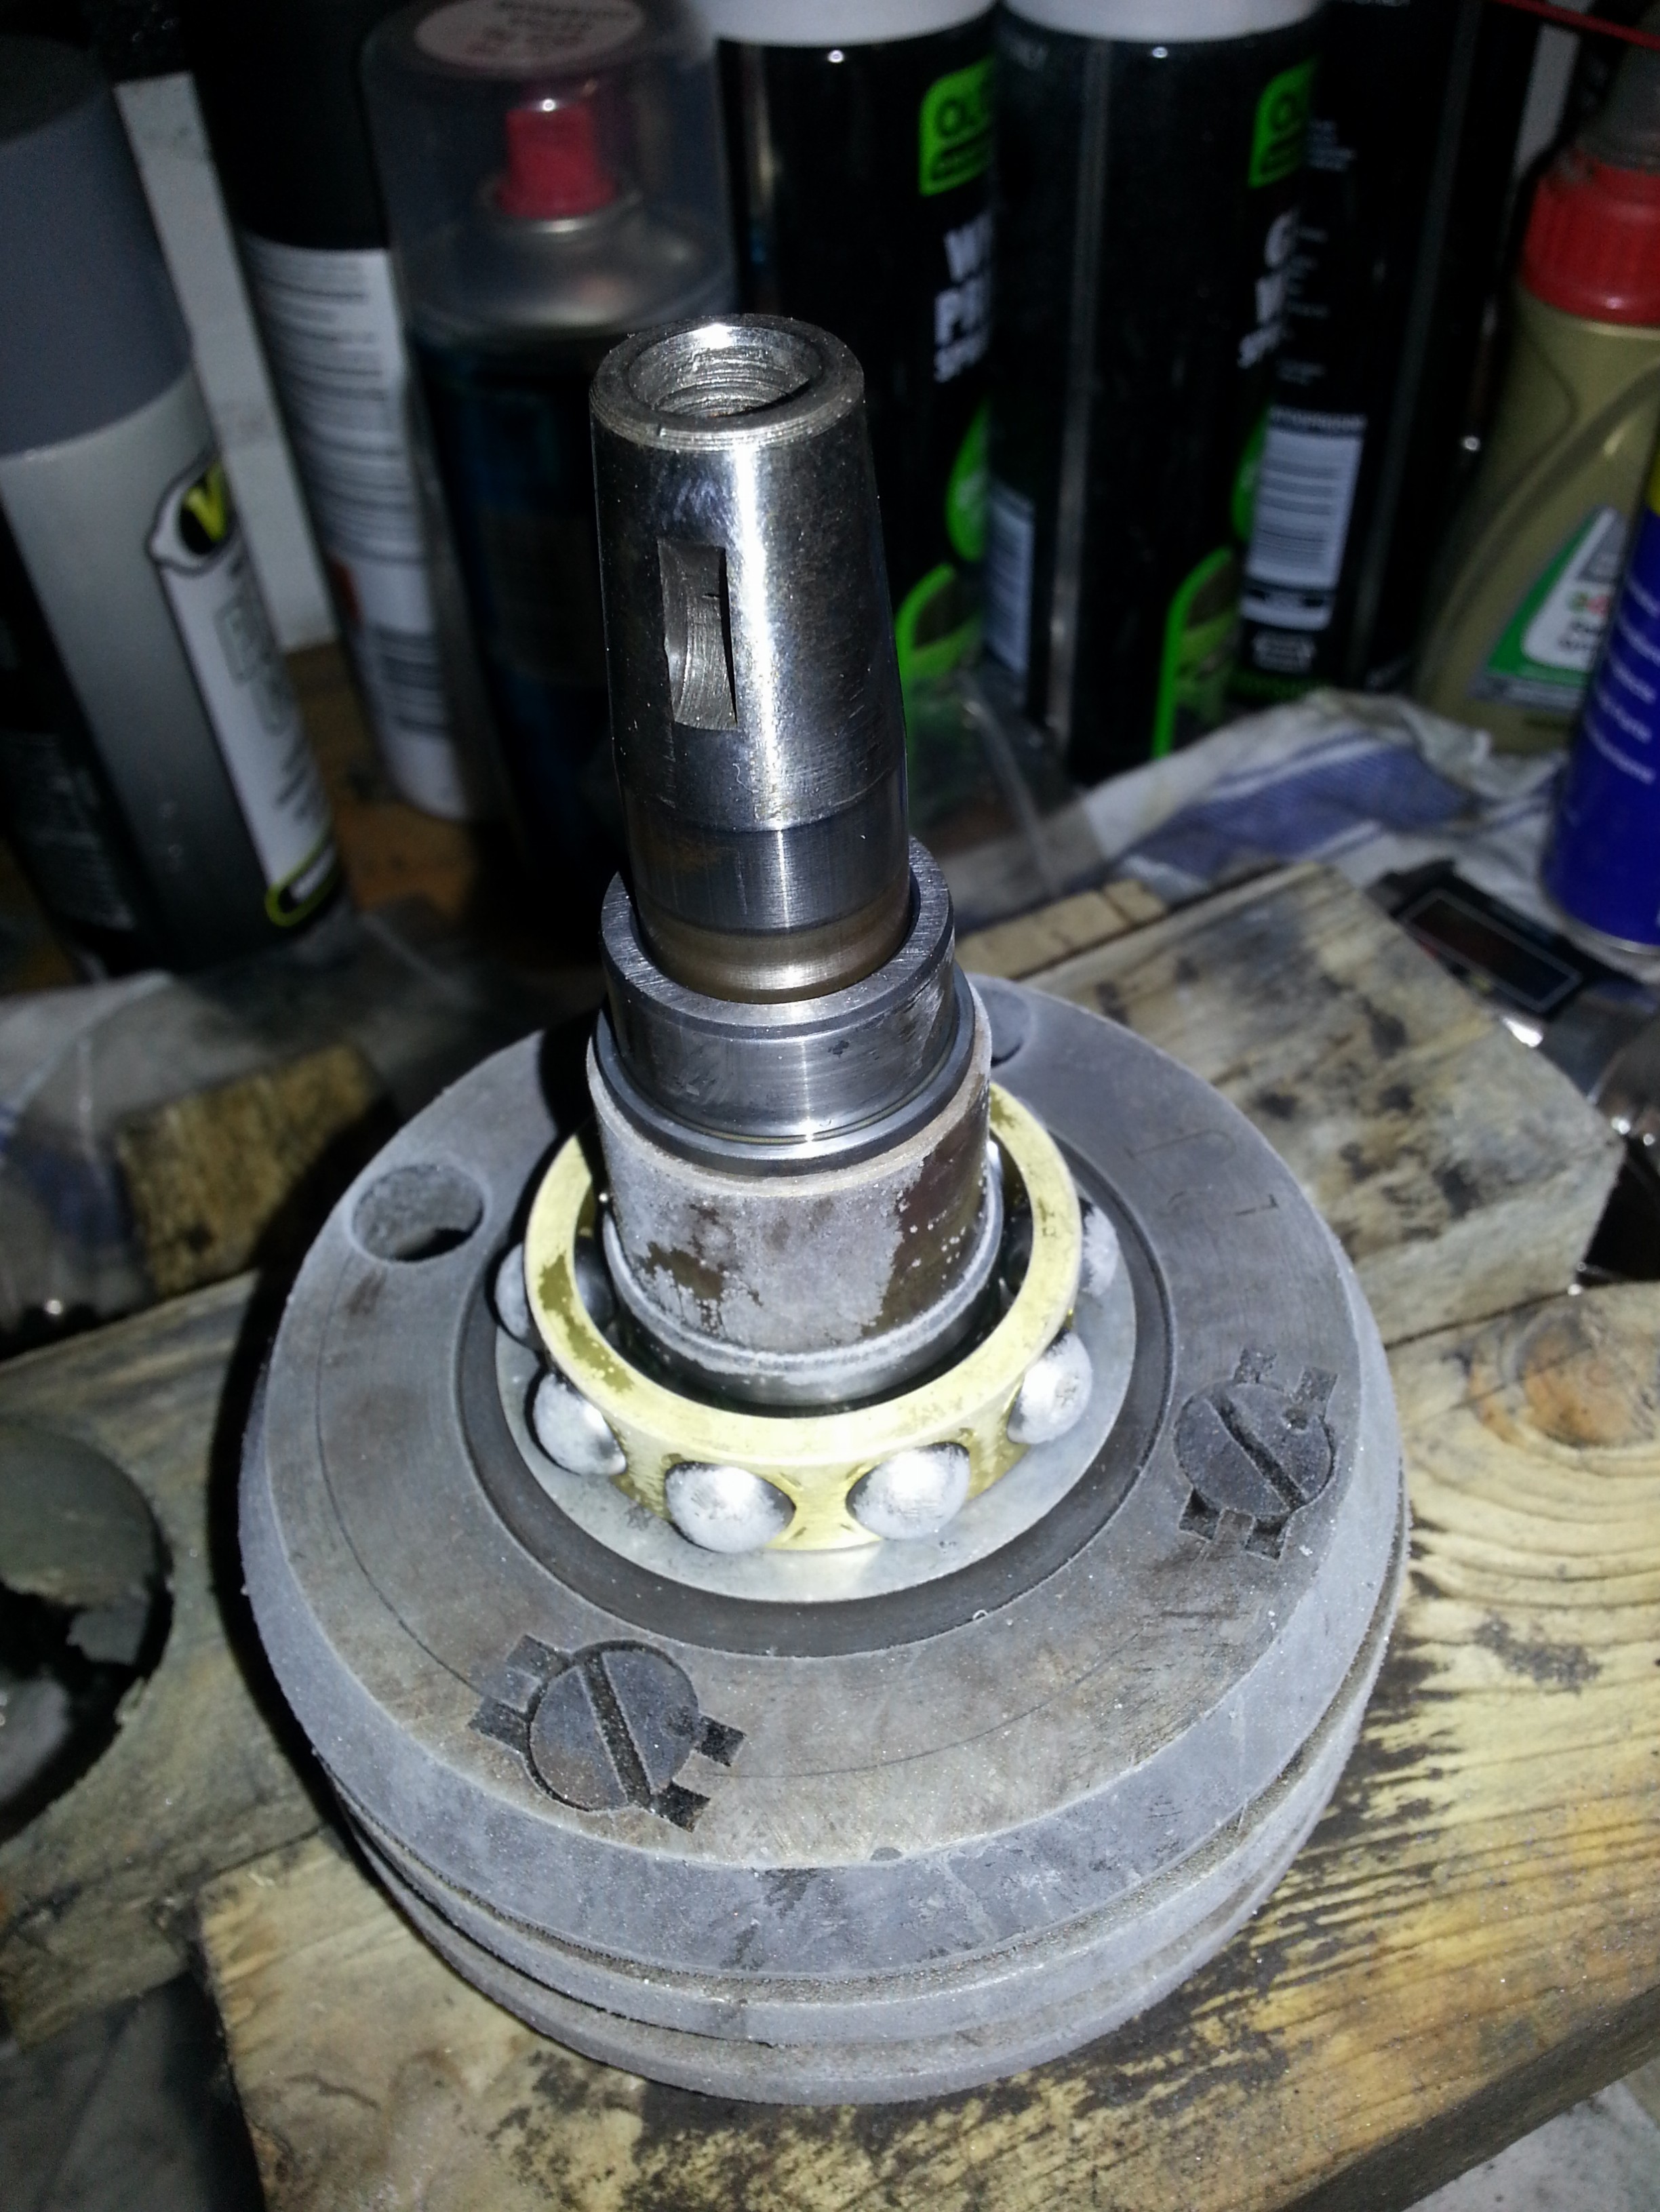
And a seal installer to support the inner bearing ring when hammering in the gear shaft. Here’s a picture of the installed shaft to get the idea:
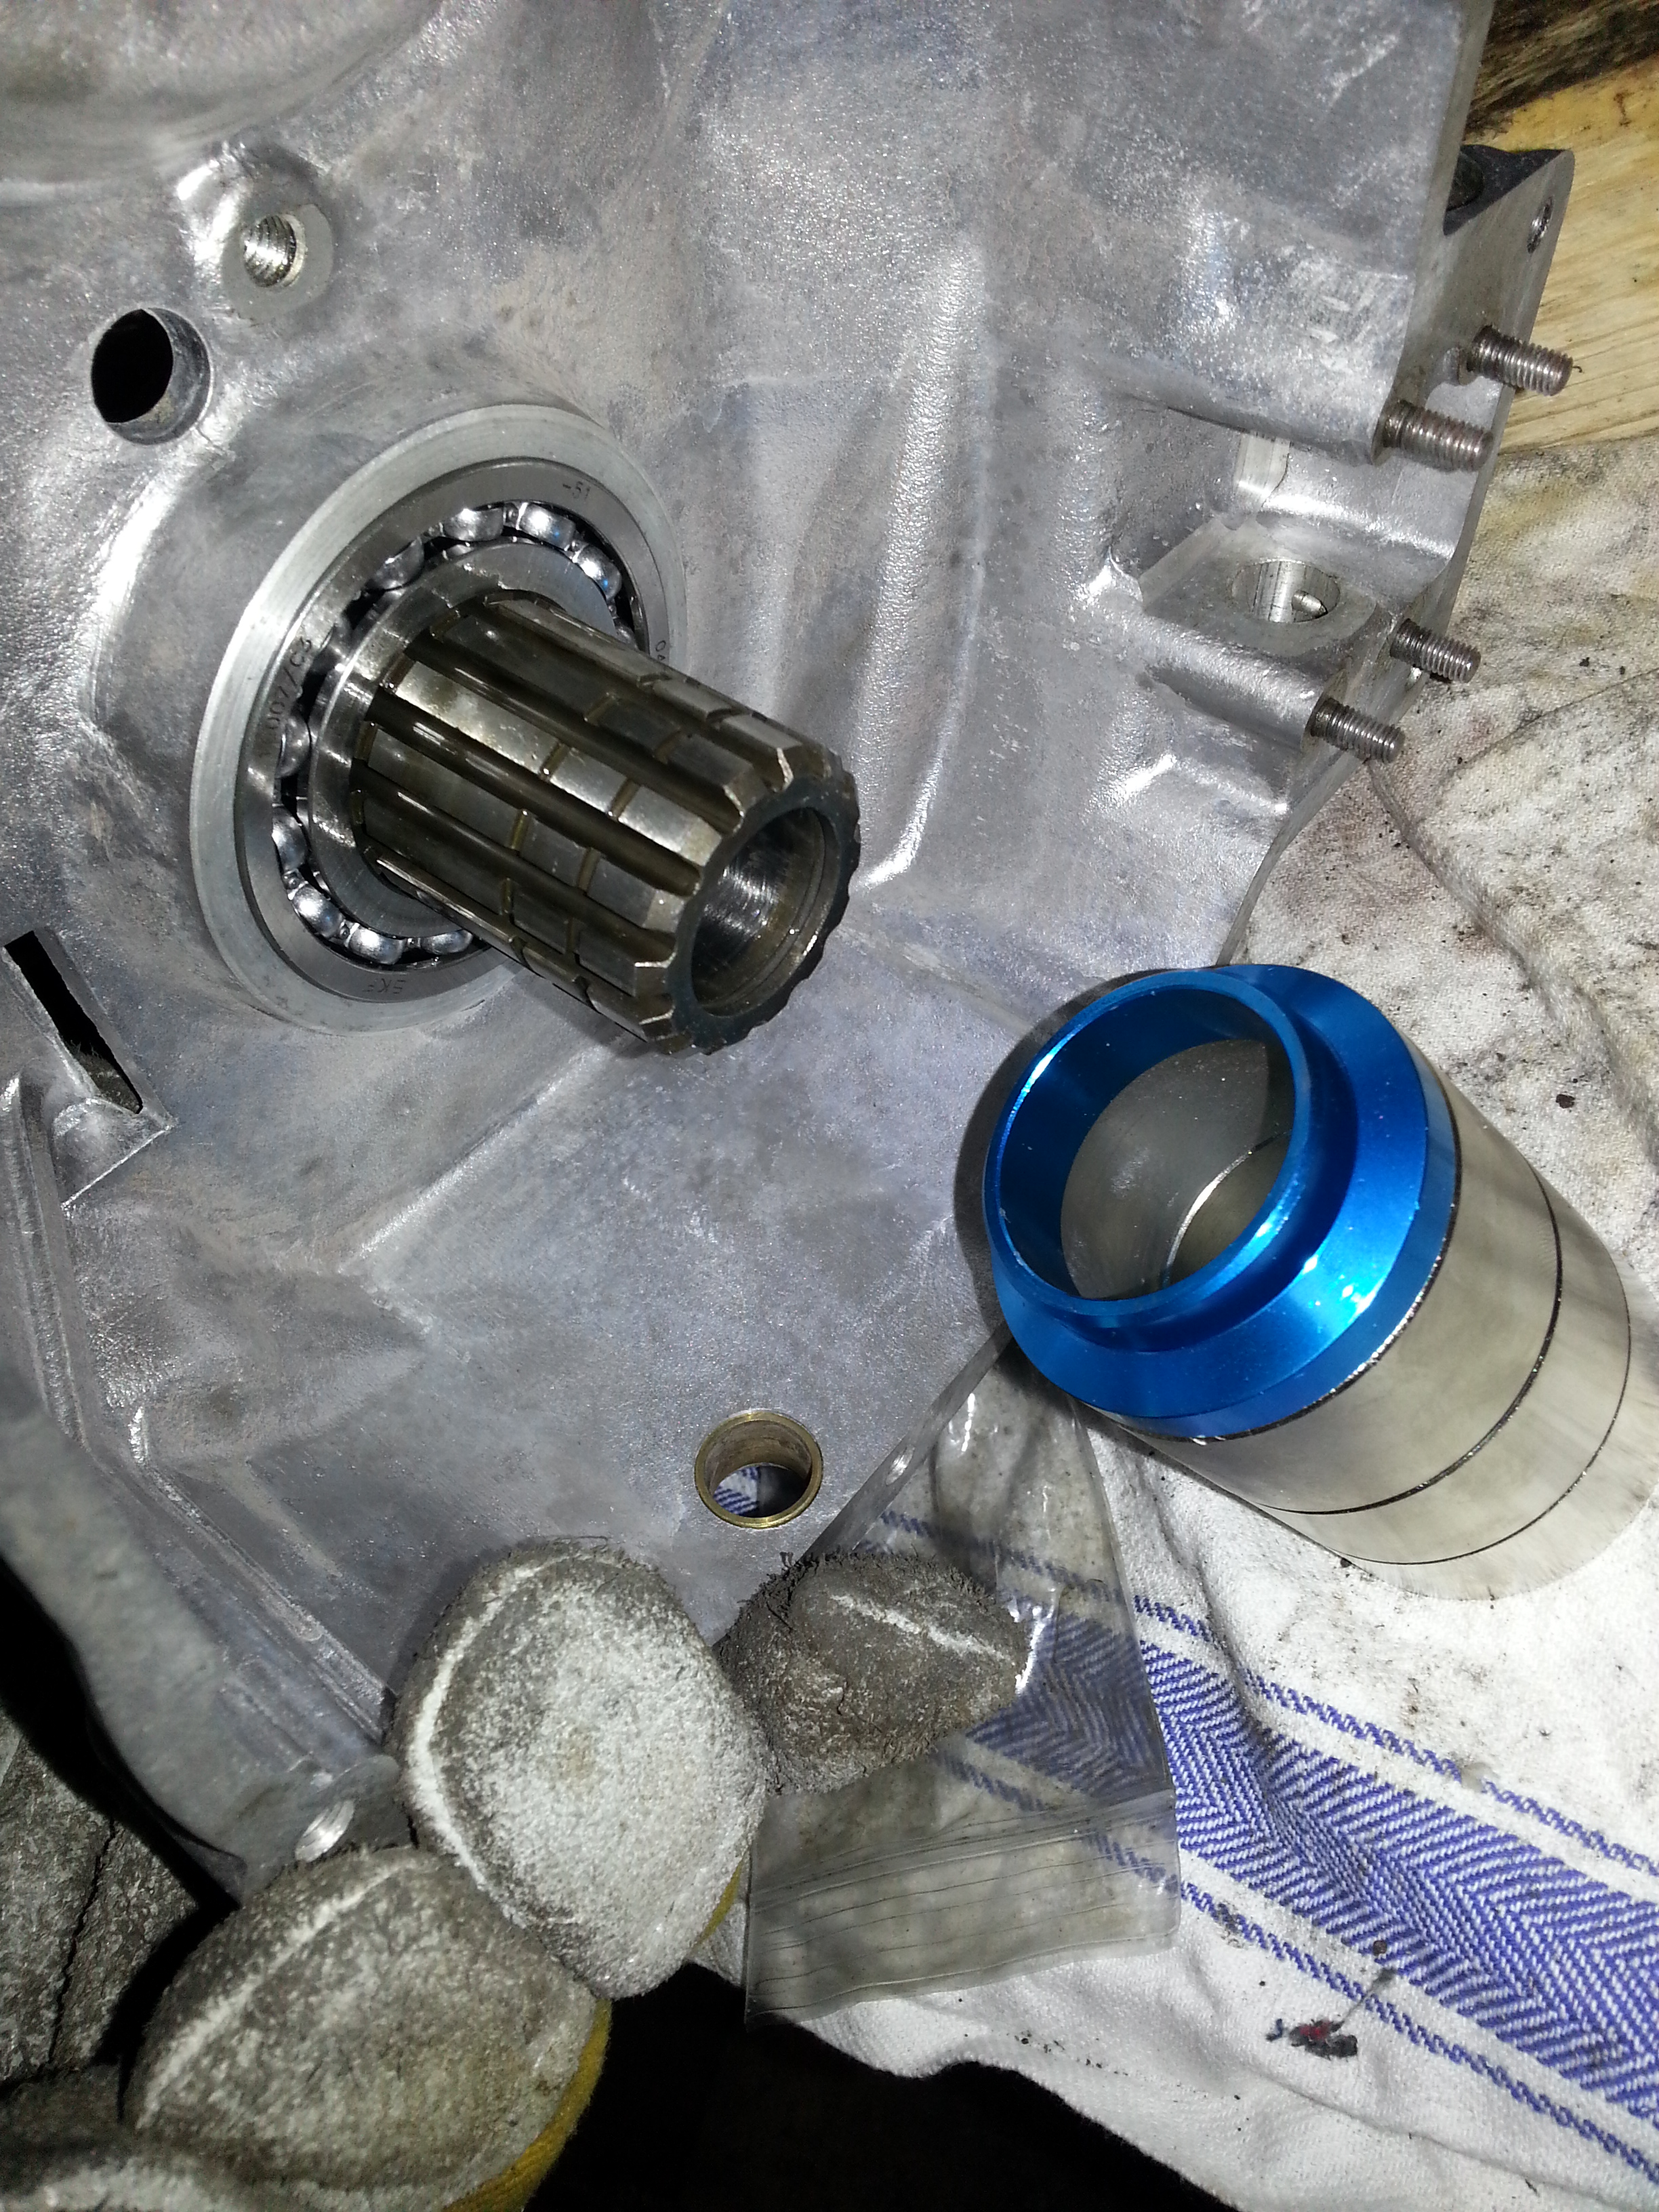
This is absolutely necessary as without supporting the inner ring the new bearings will be damaged in short order.
So with the engine half out of the oven and the bearings at hand and frozen, quickly progress. Put the washer in the engine half:
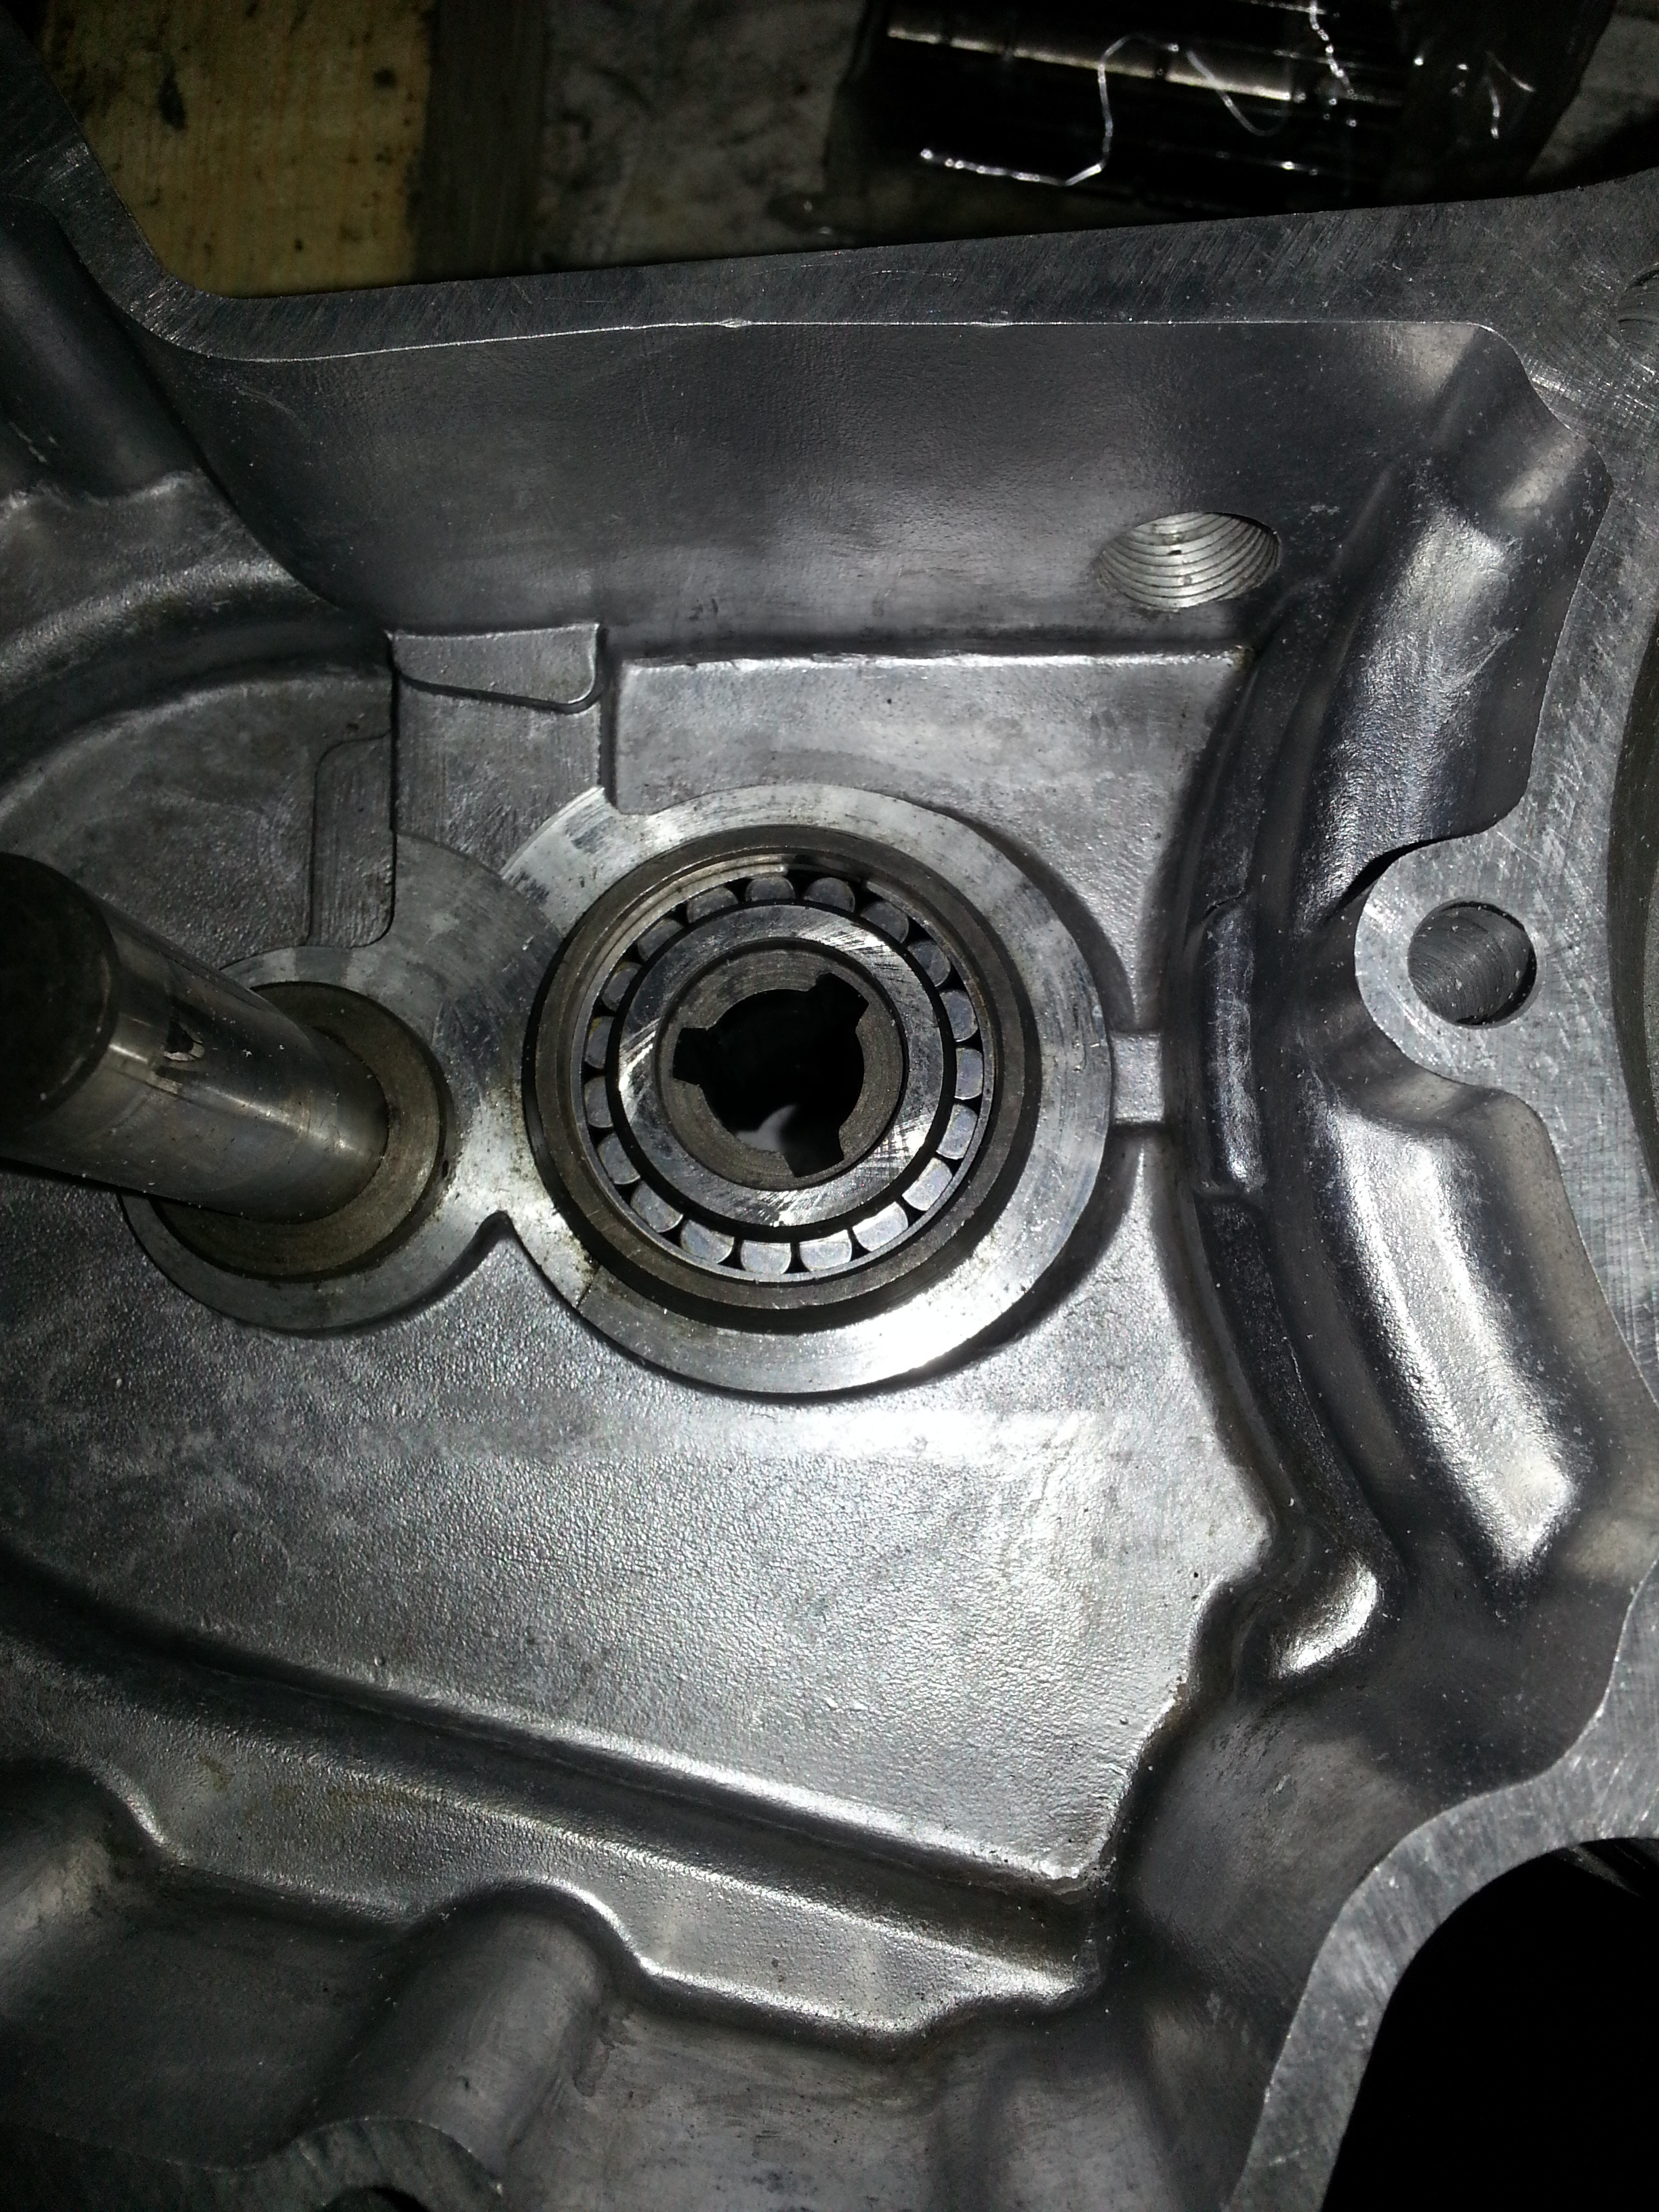
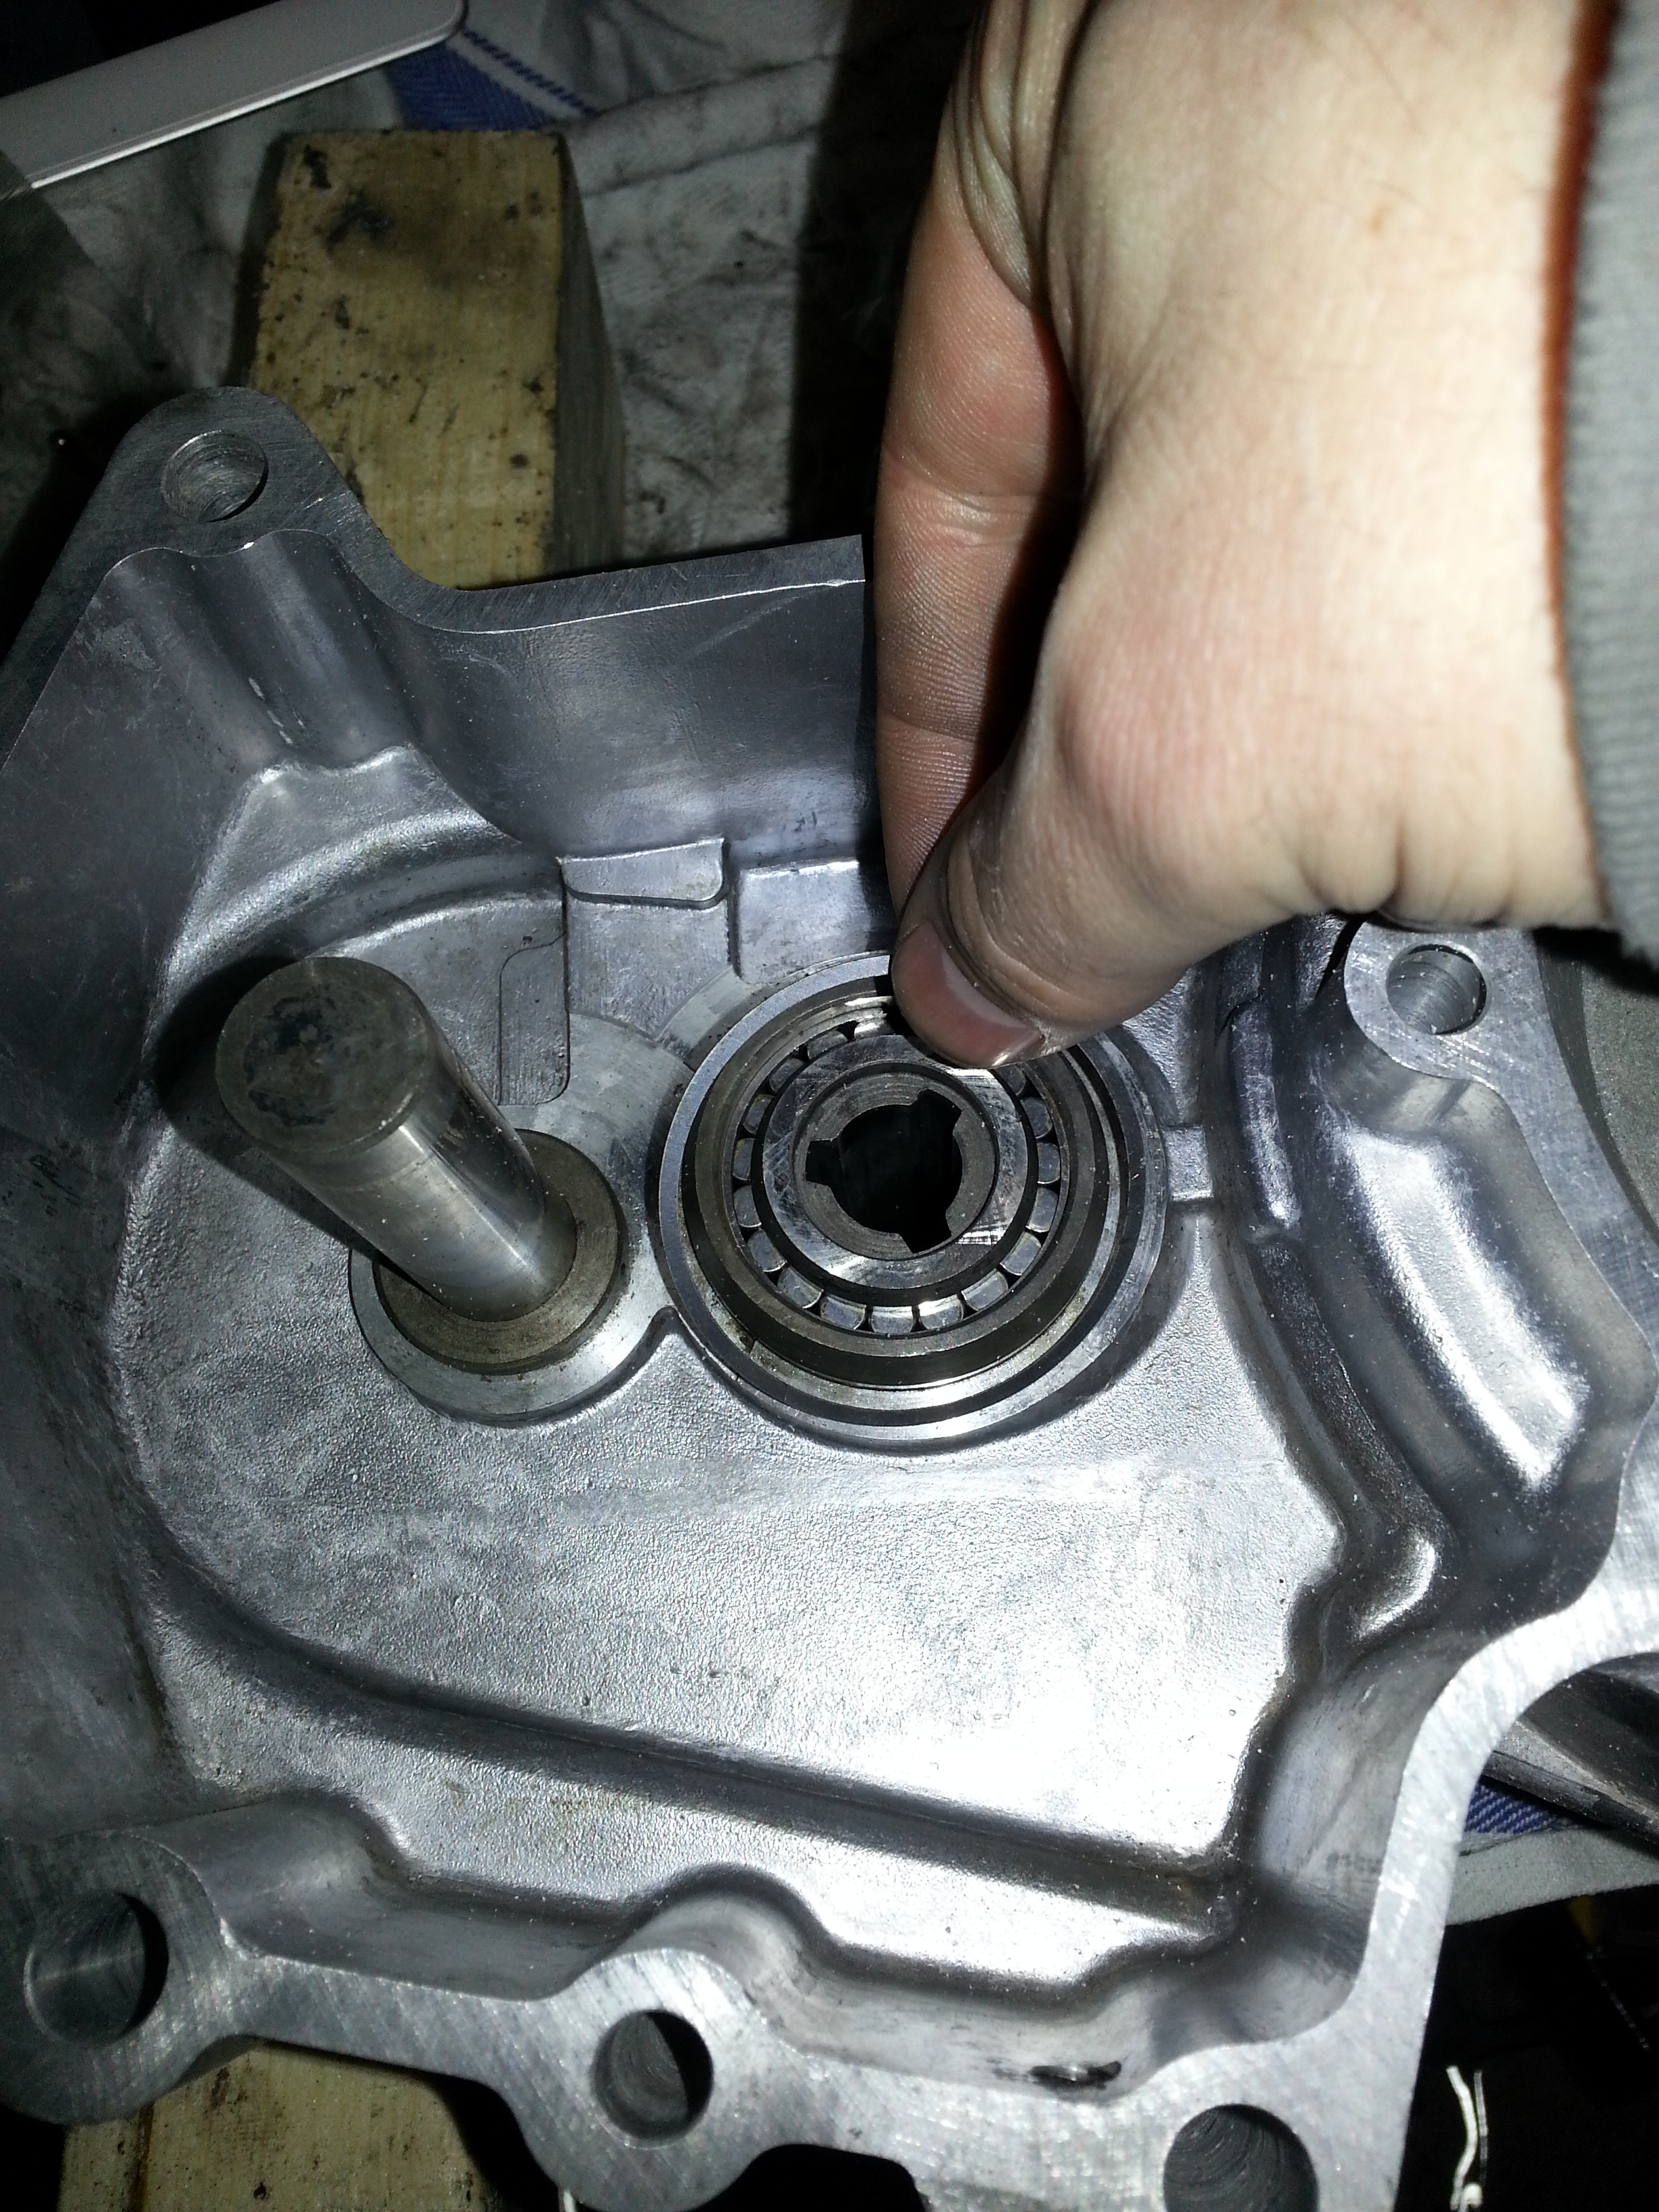
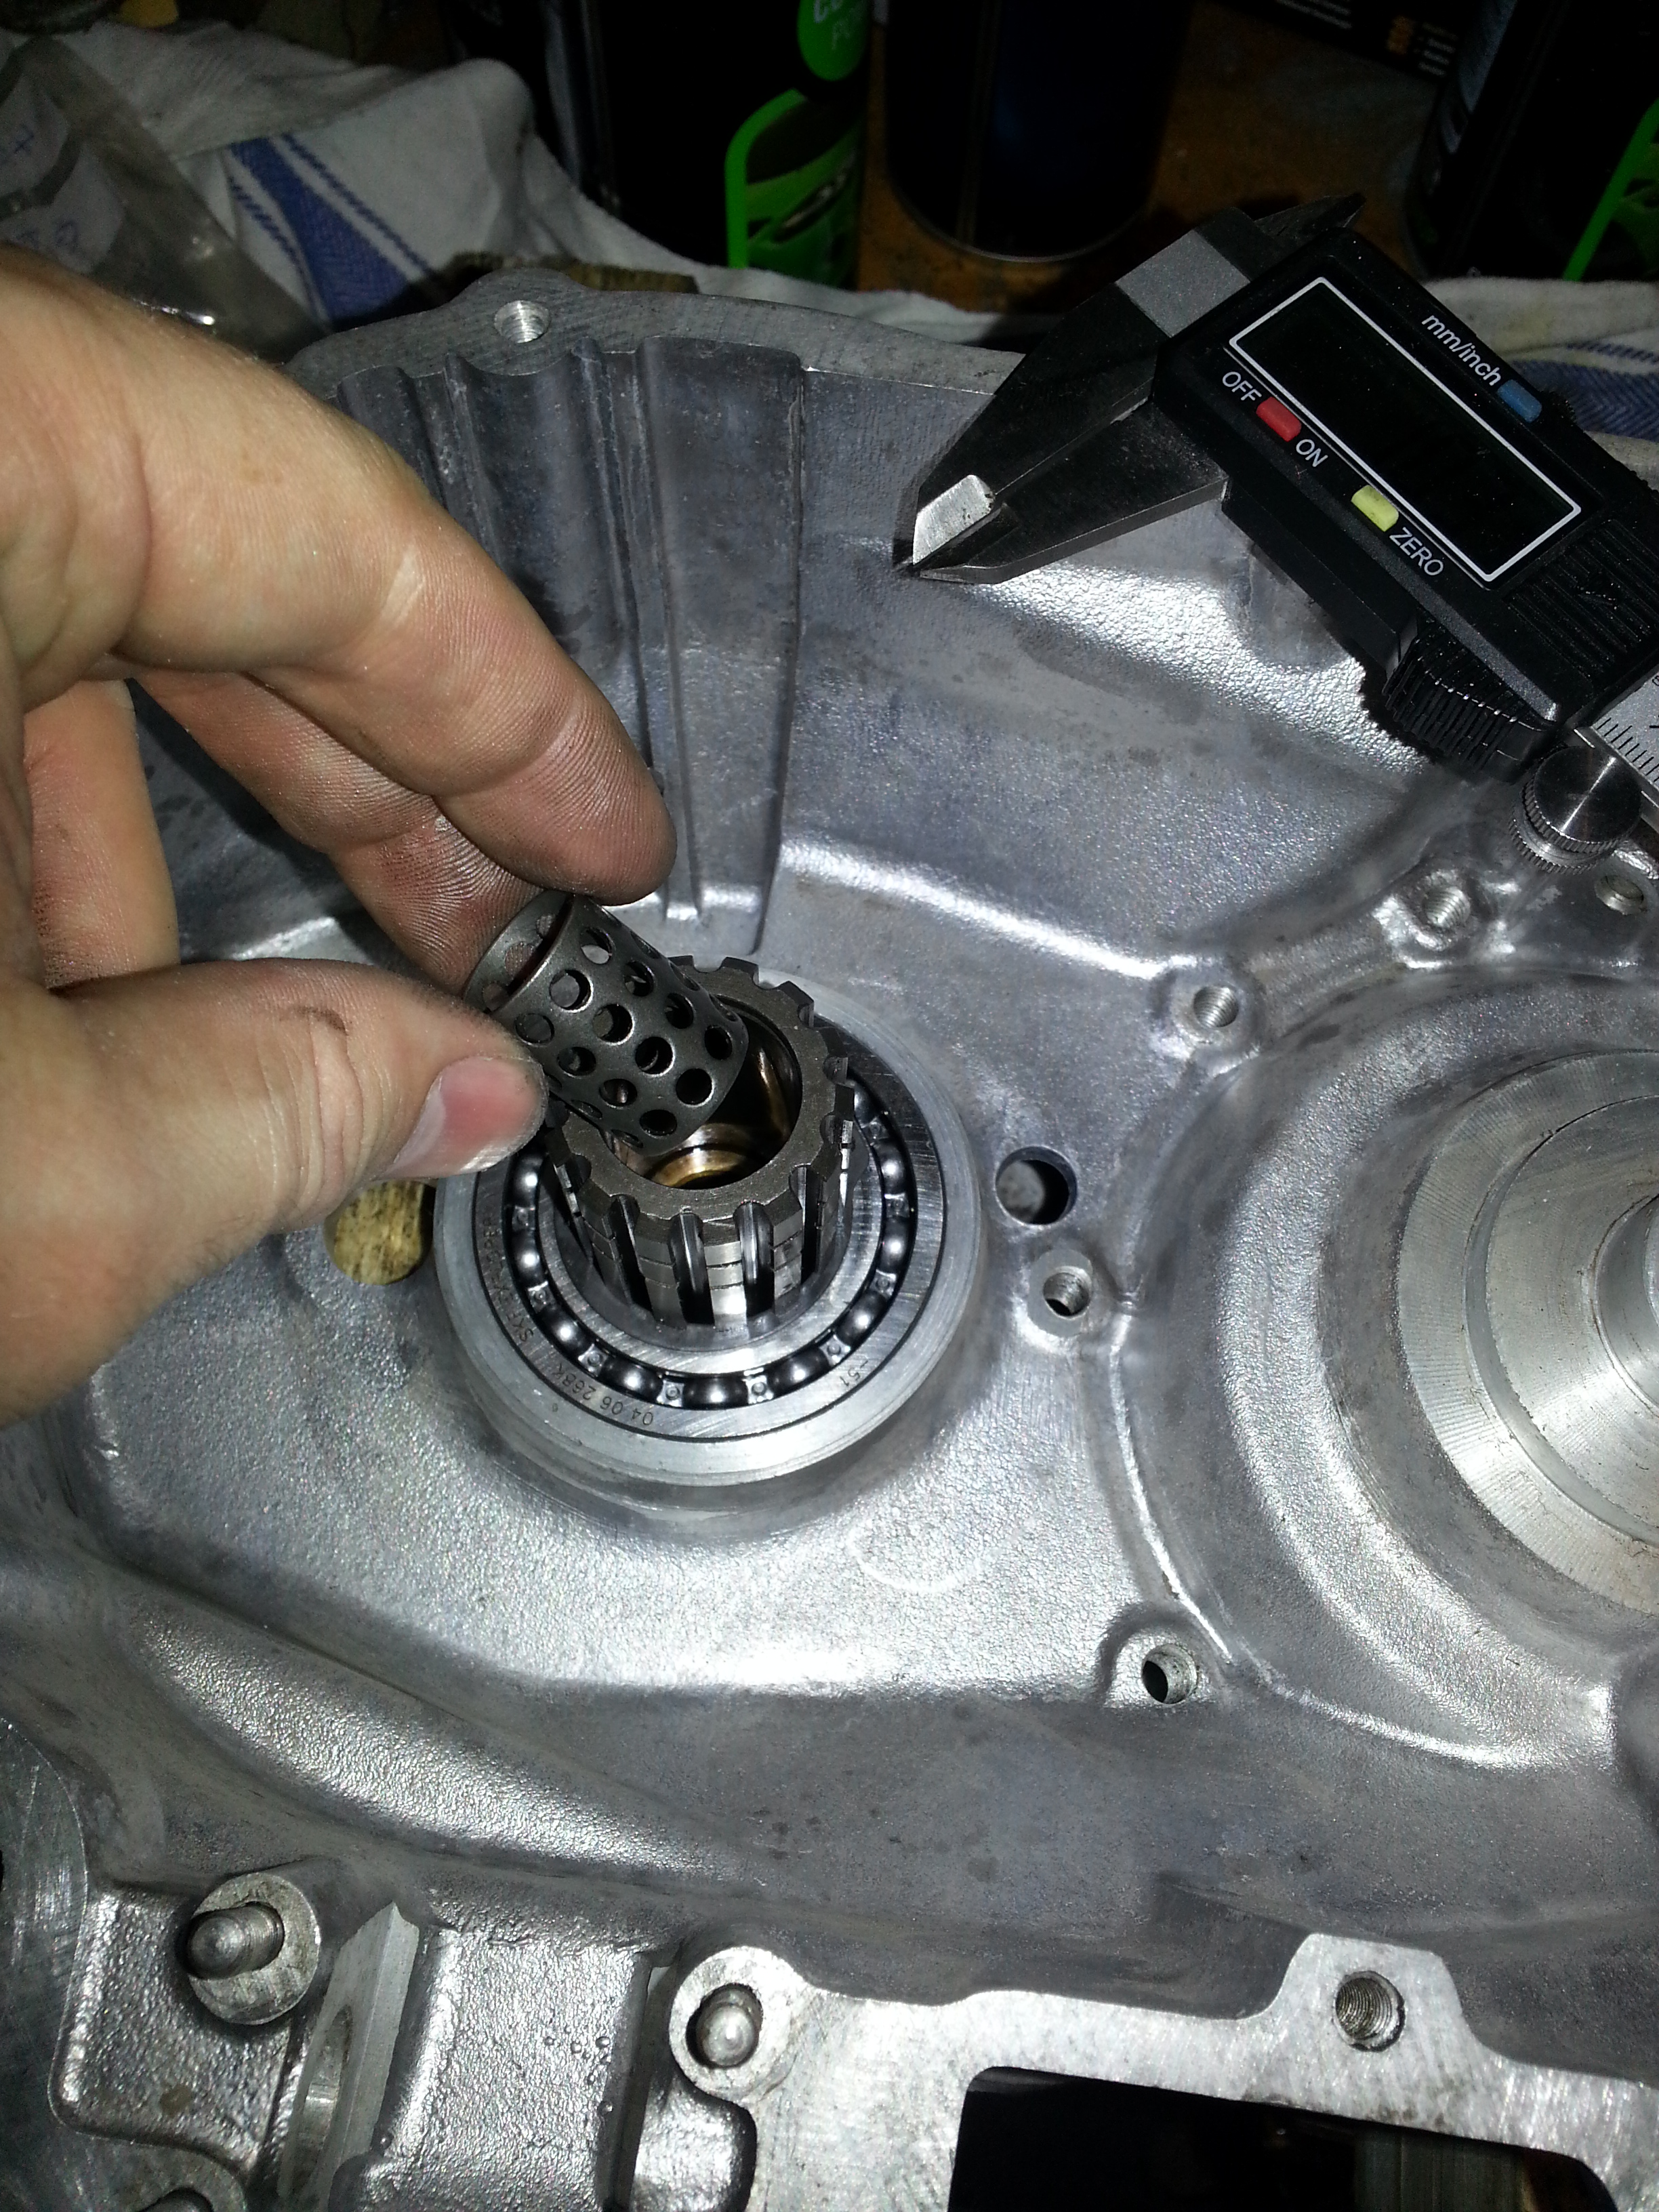
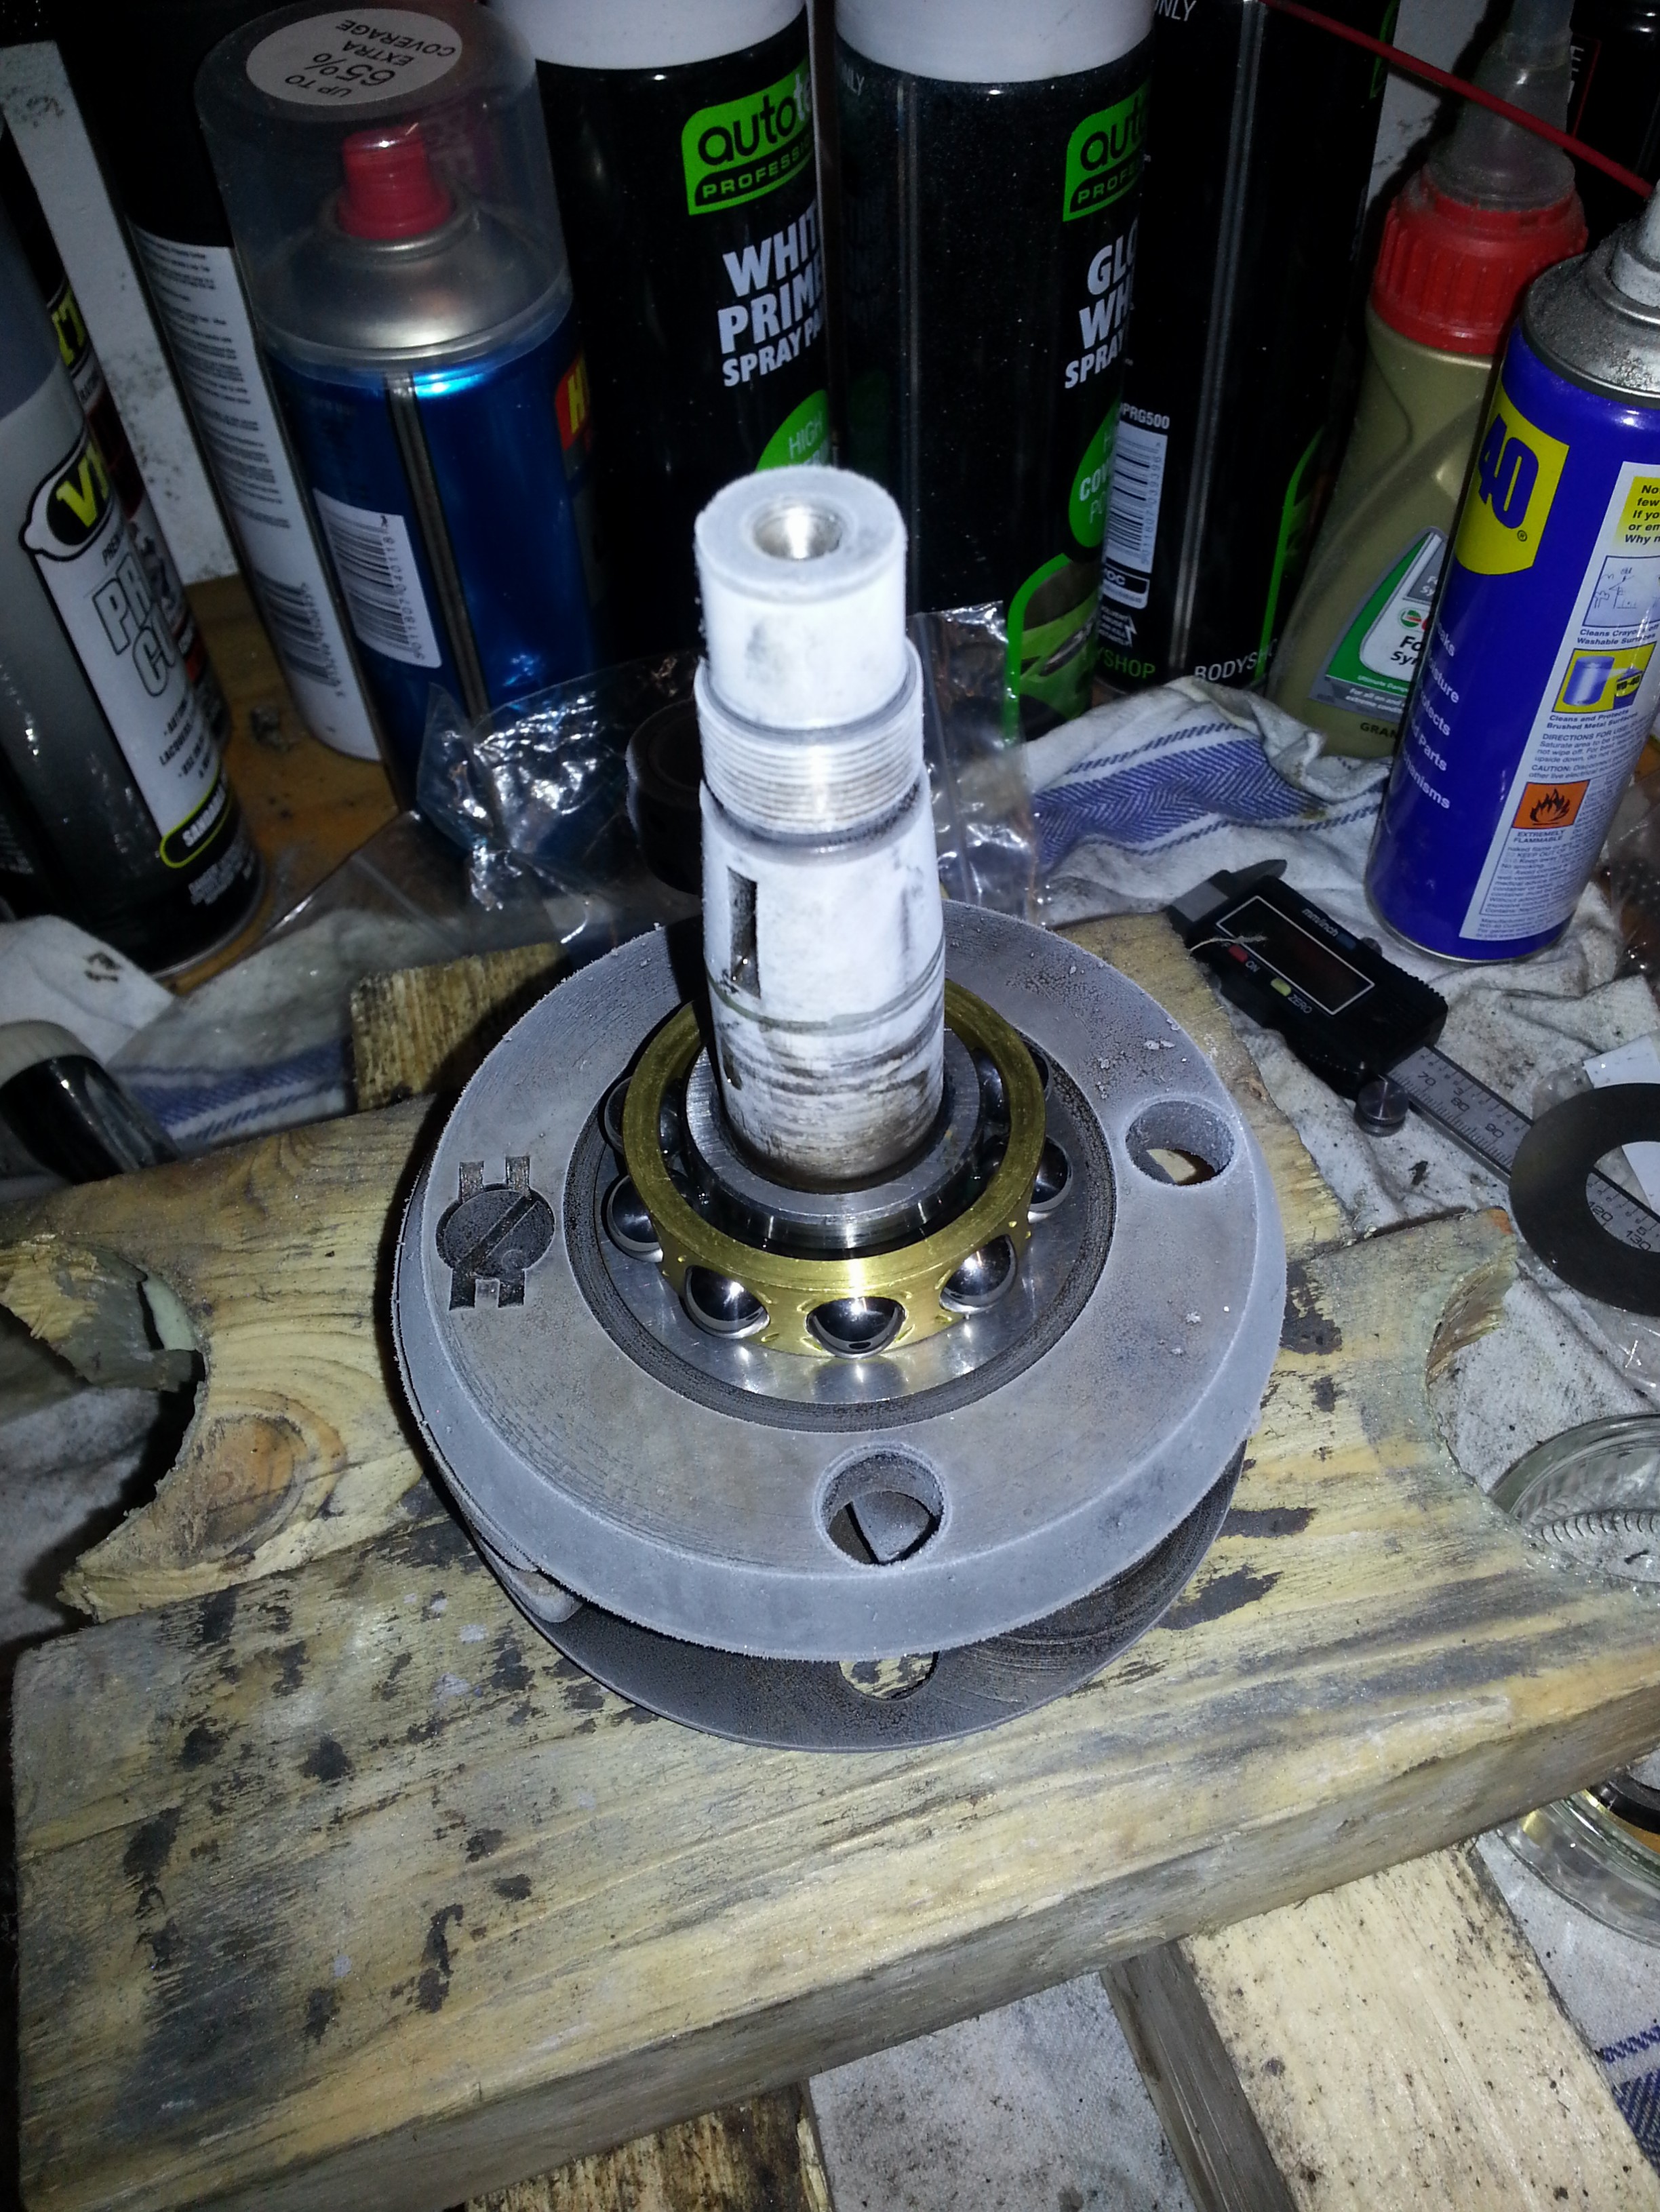
Quickly put the first bearing in and make sure it is seated with the punch. A few taps from a nylon hammer should do. Once the bearing is in, quickly install the circlip and the ring between the bearings. Do NOT forget this! Then put the second bearing in:
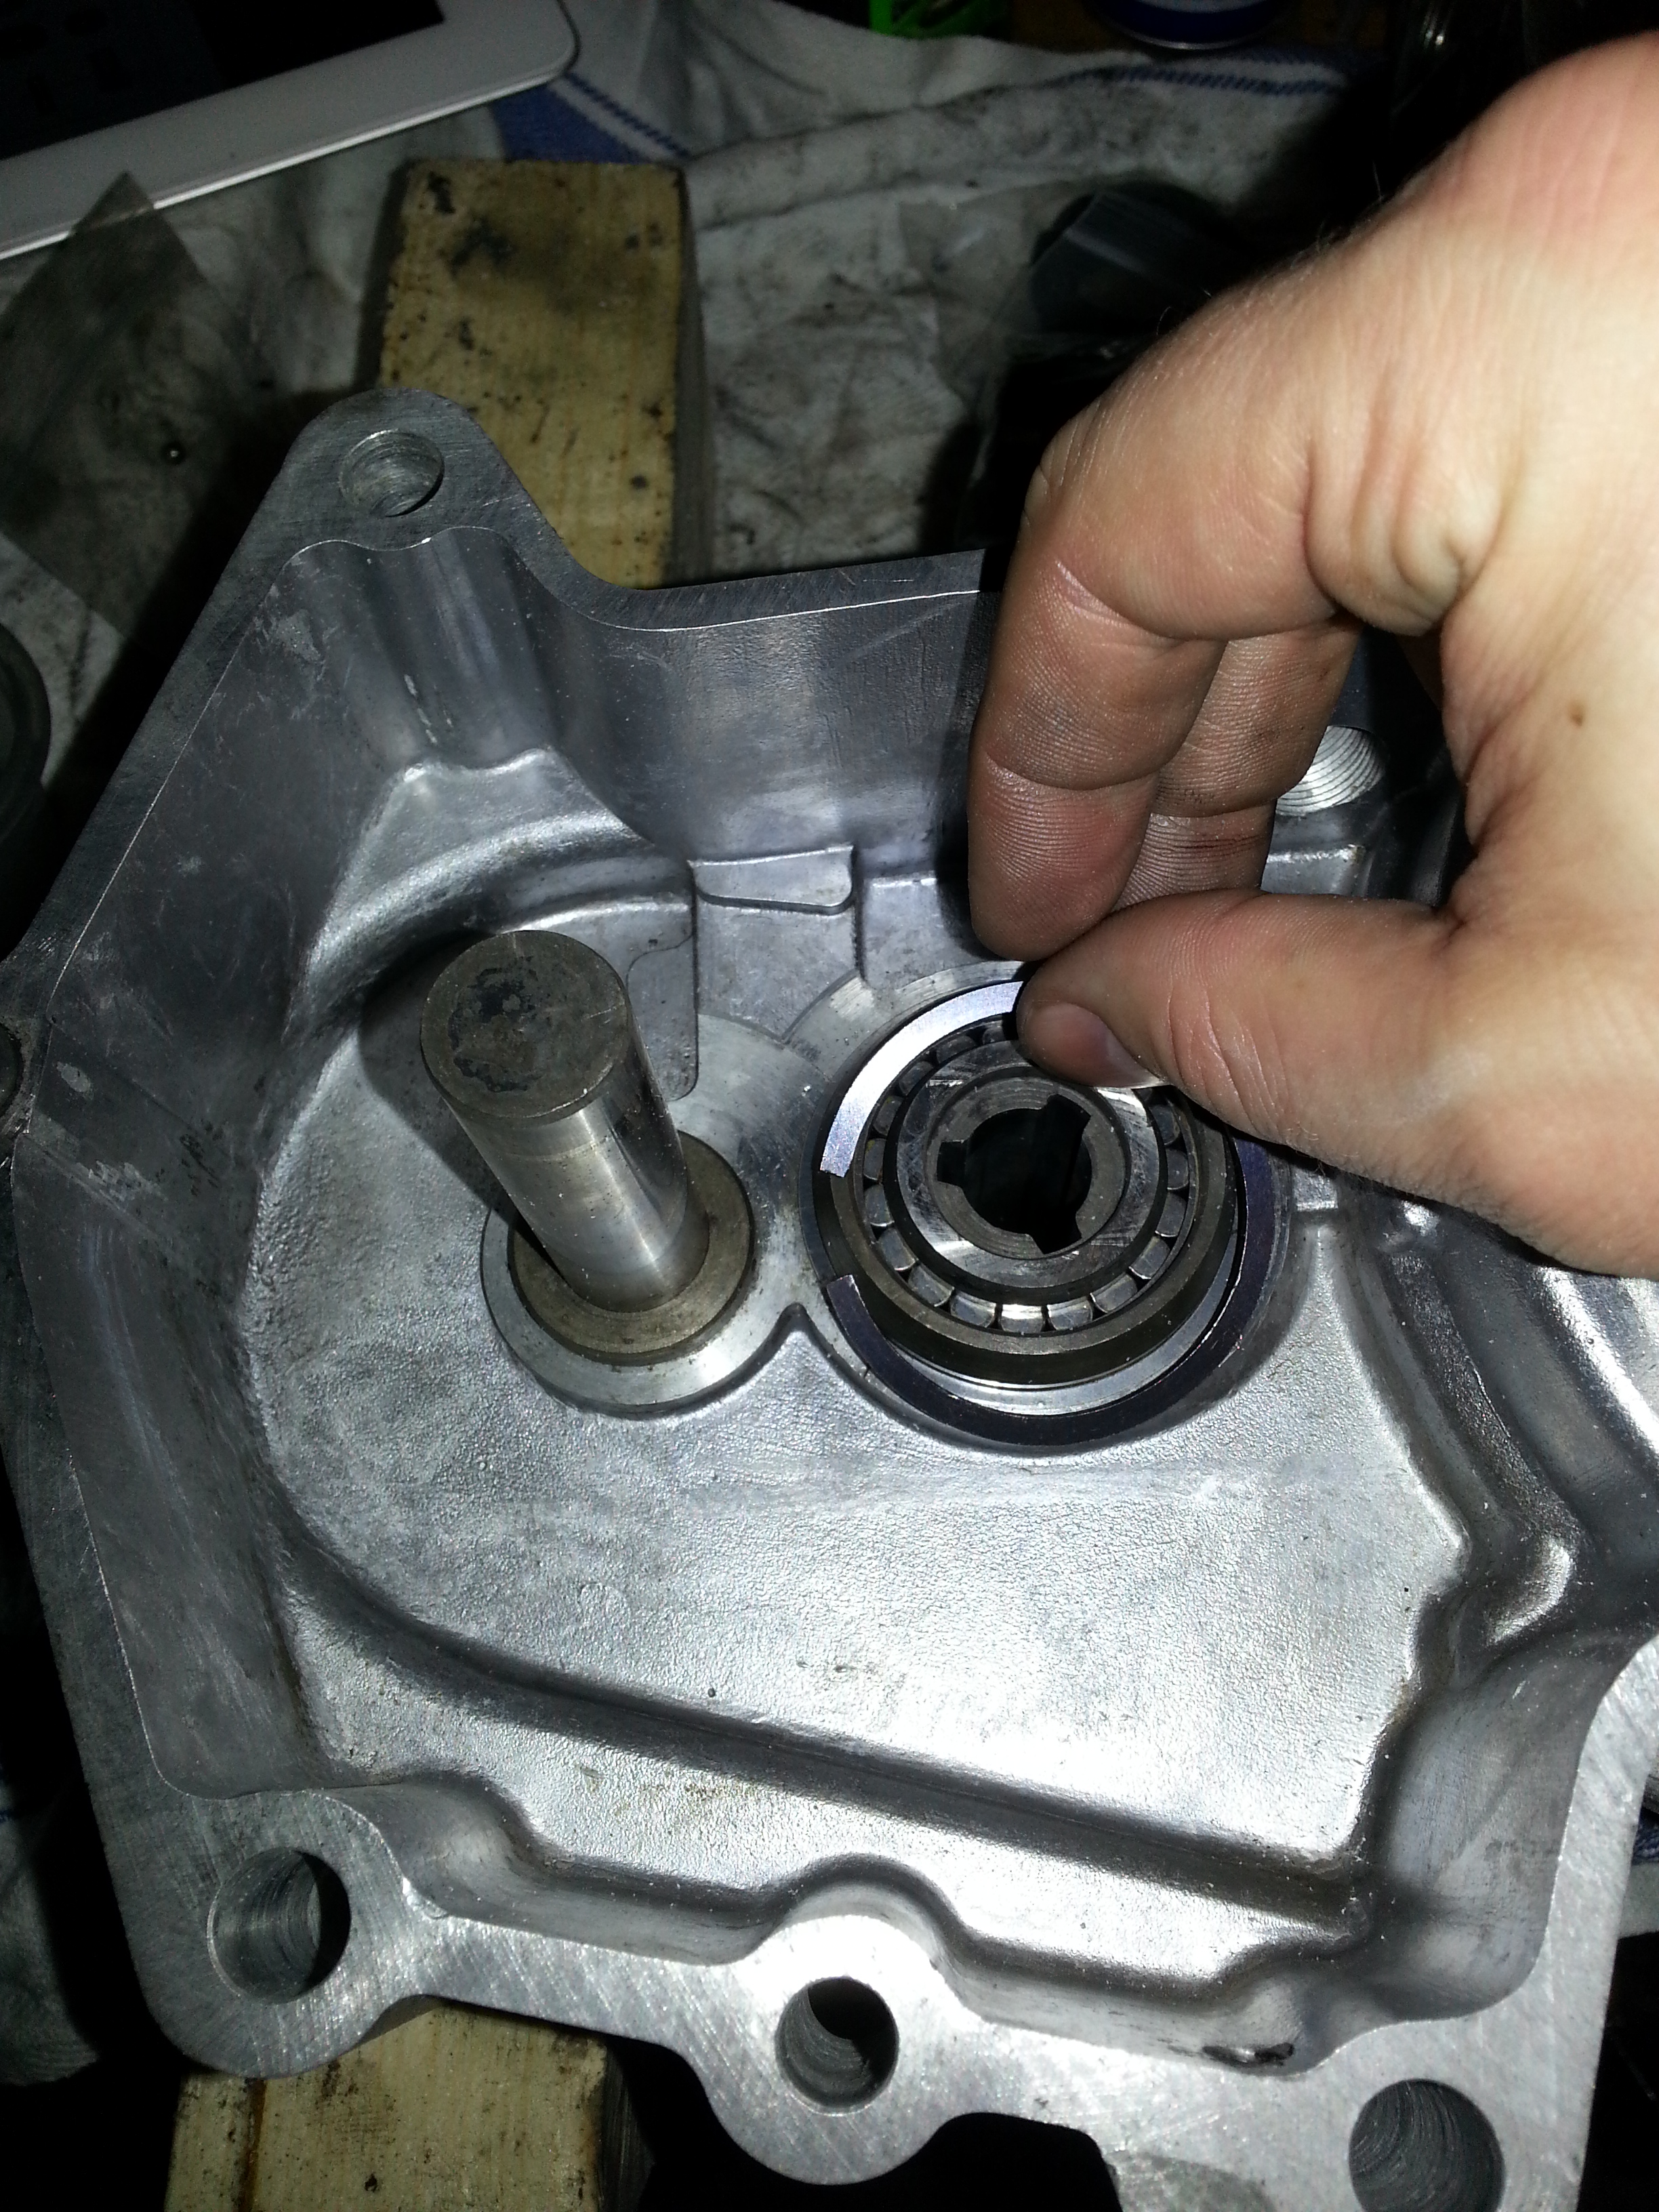
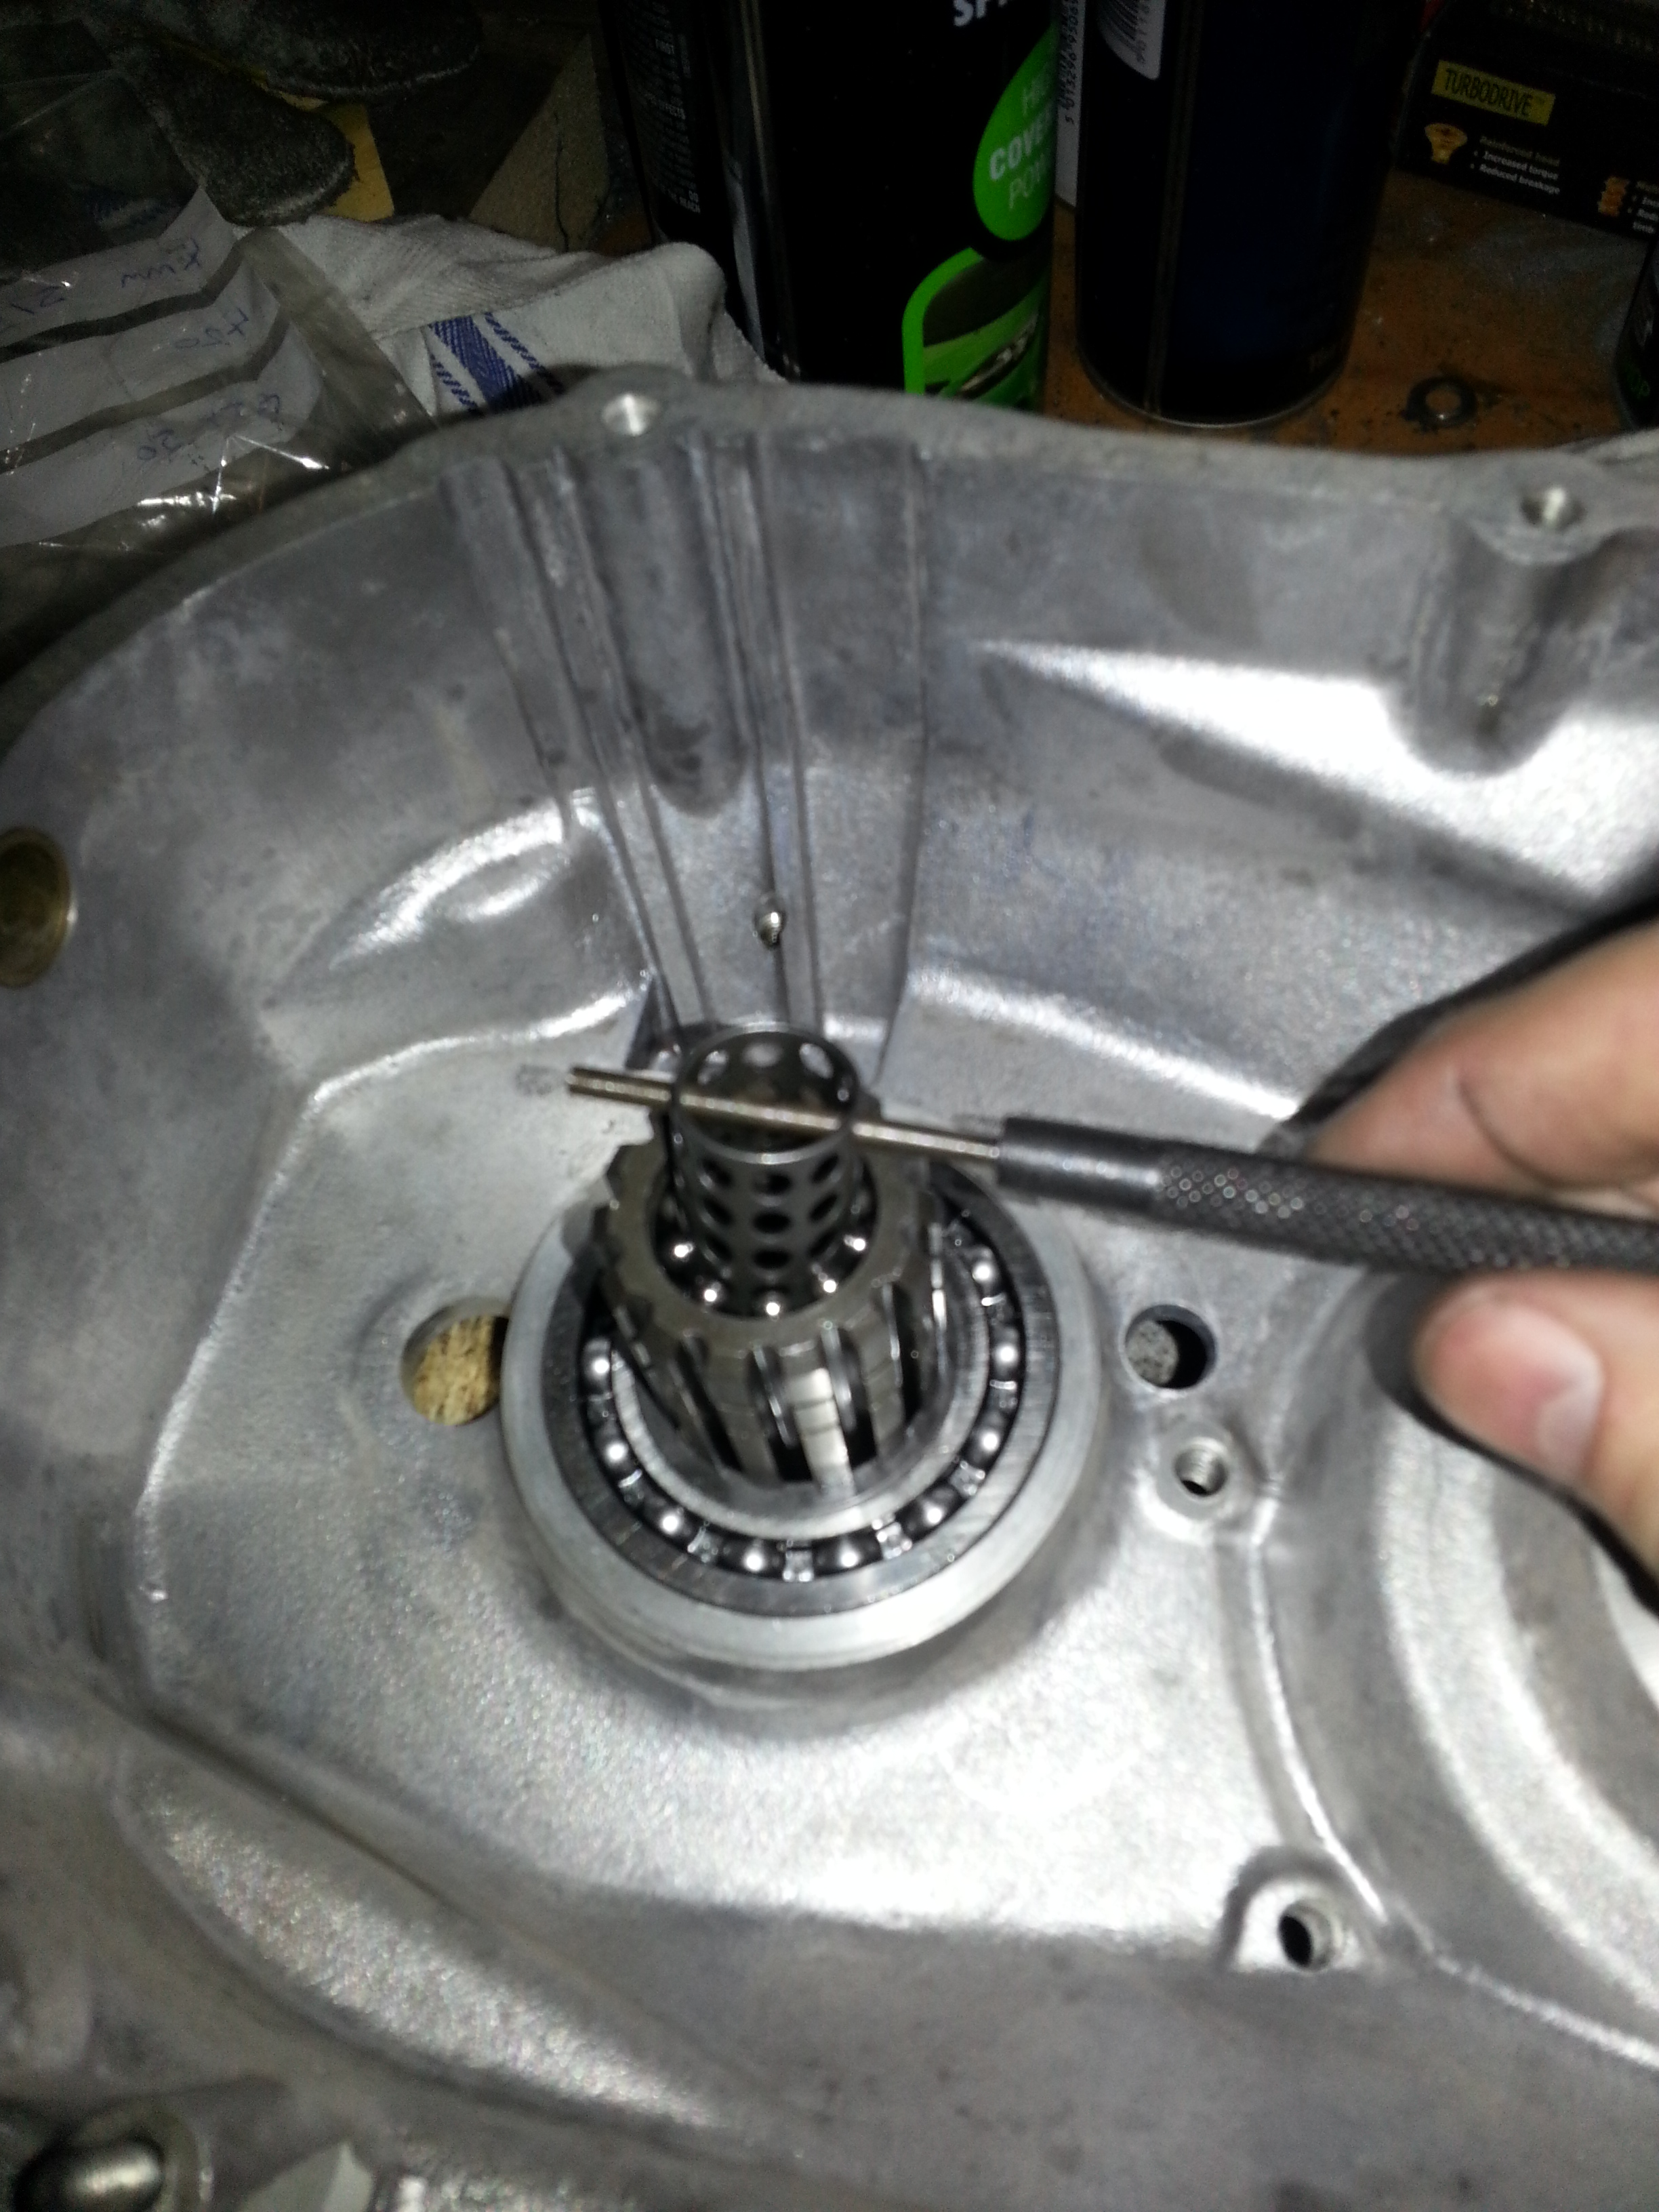
Time to install the gear shaft. Put the engine half back in the oven so the new bearings get hot and expand. That will fit the frozen gear shaft better. Use the seal installer to support the bearings from underneath and insert the gear shaft. Hammer it in with an nylon hammer. Once done, insert the circlip and you’re done with this shaft for now:

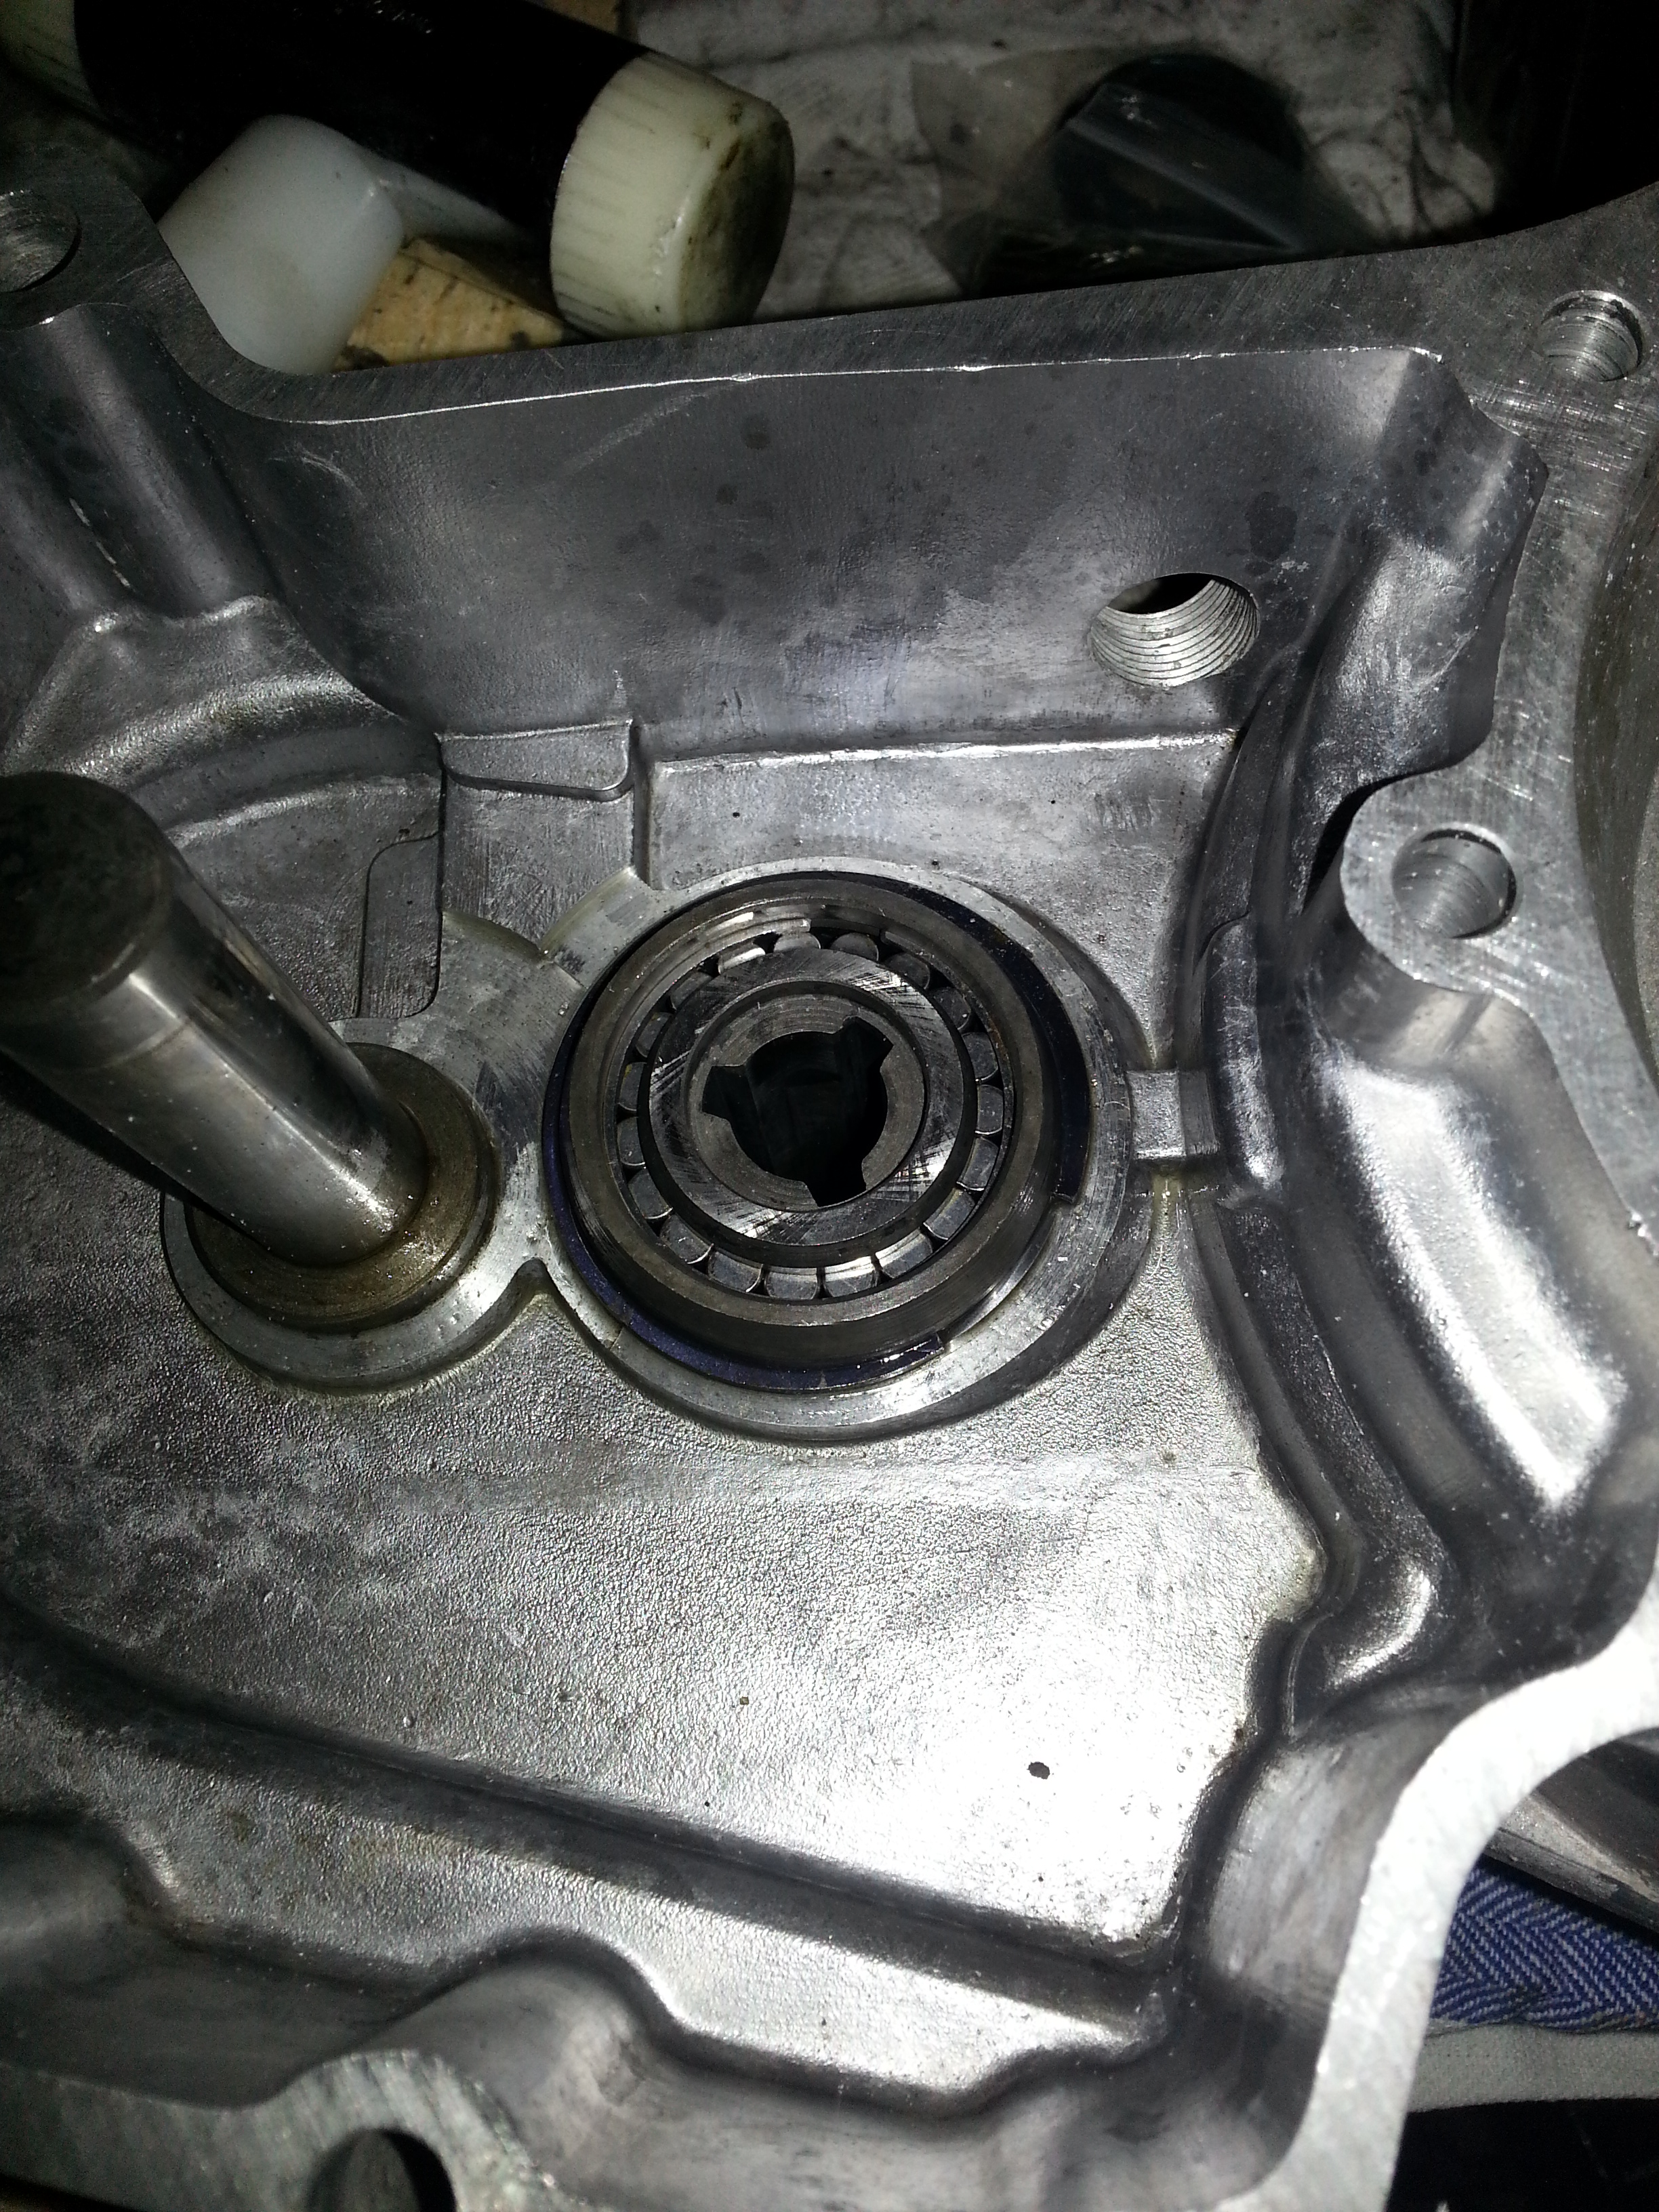
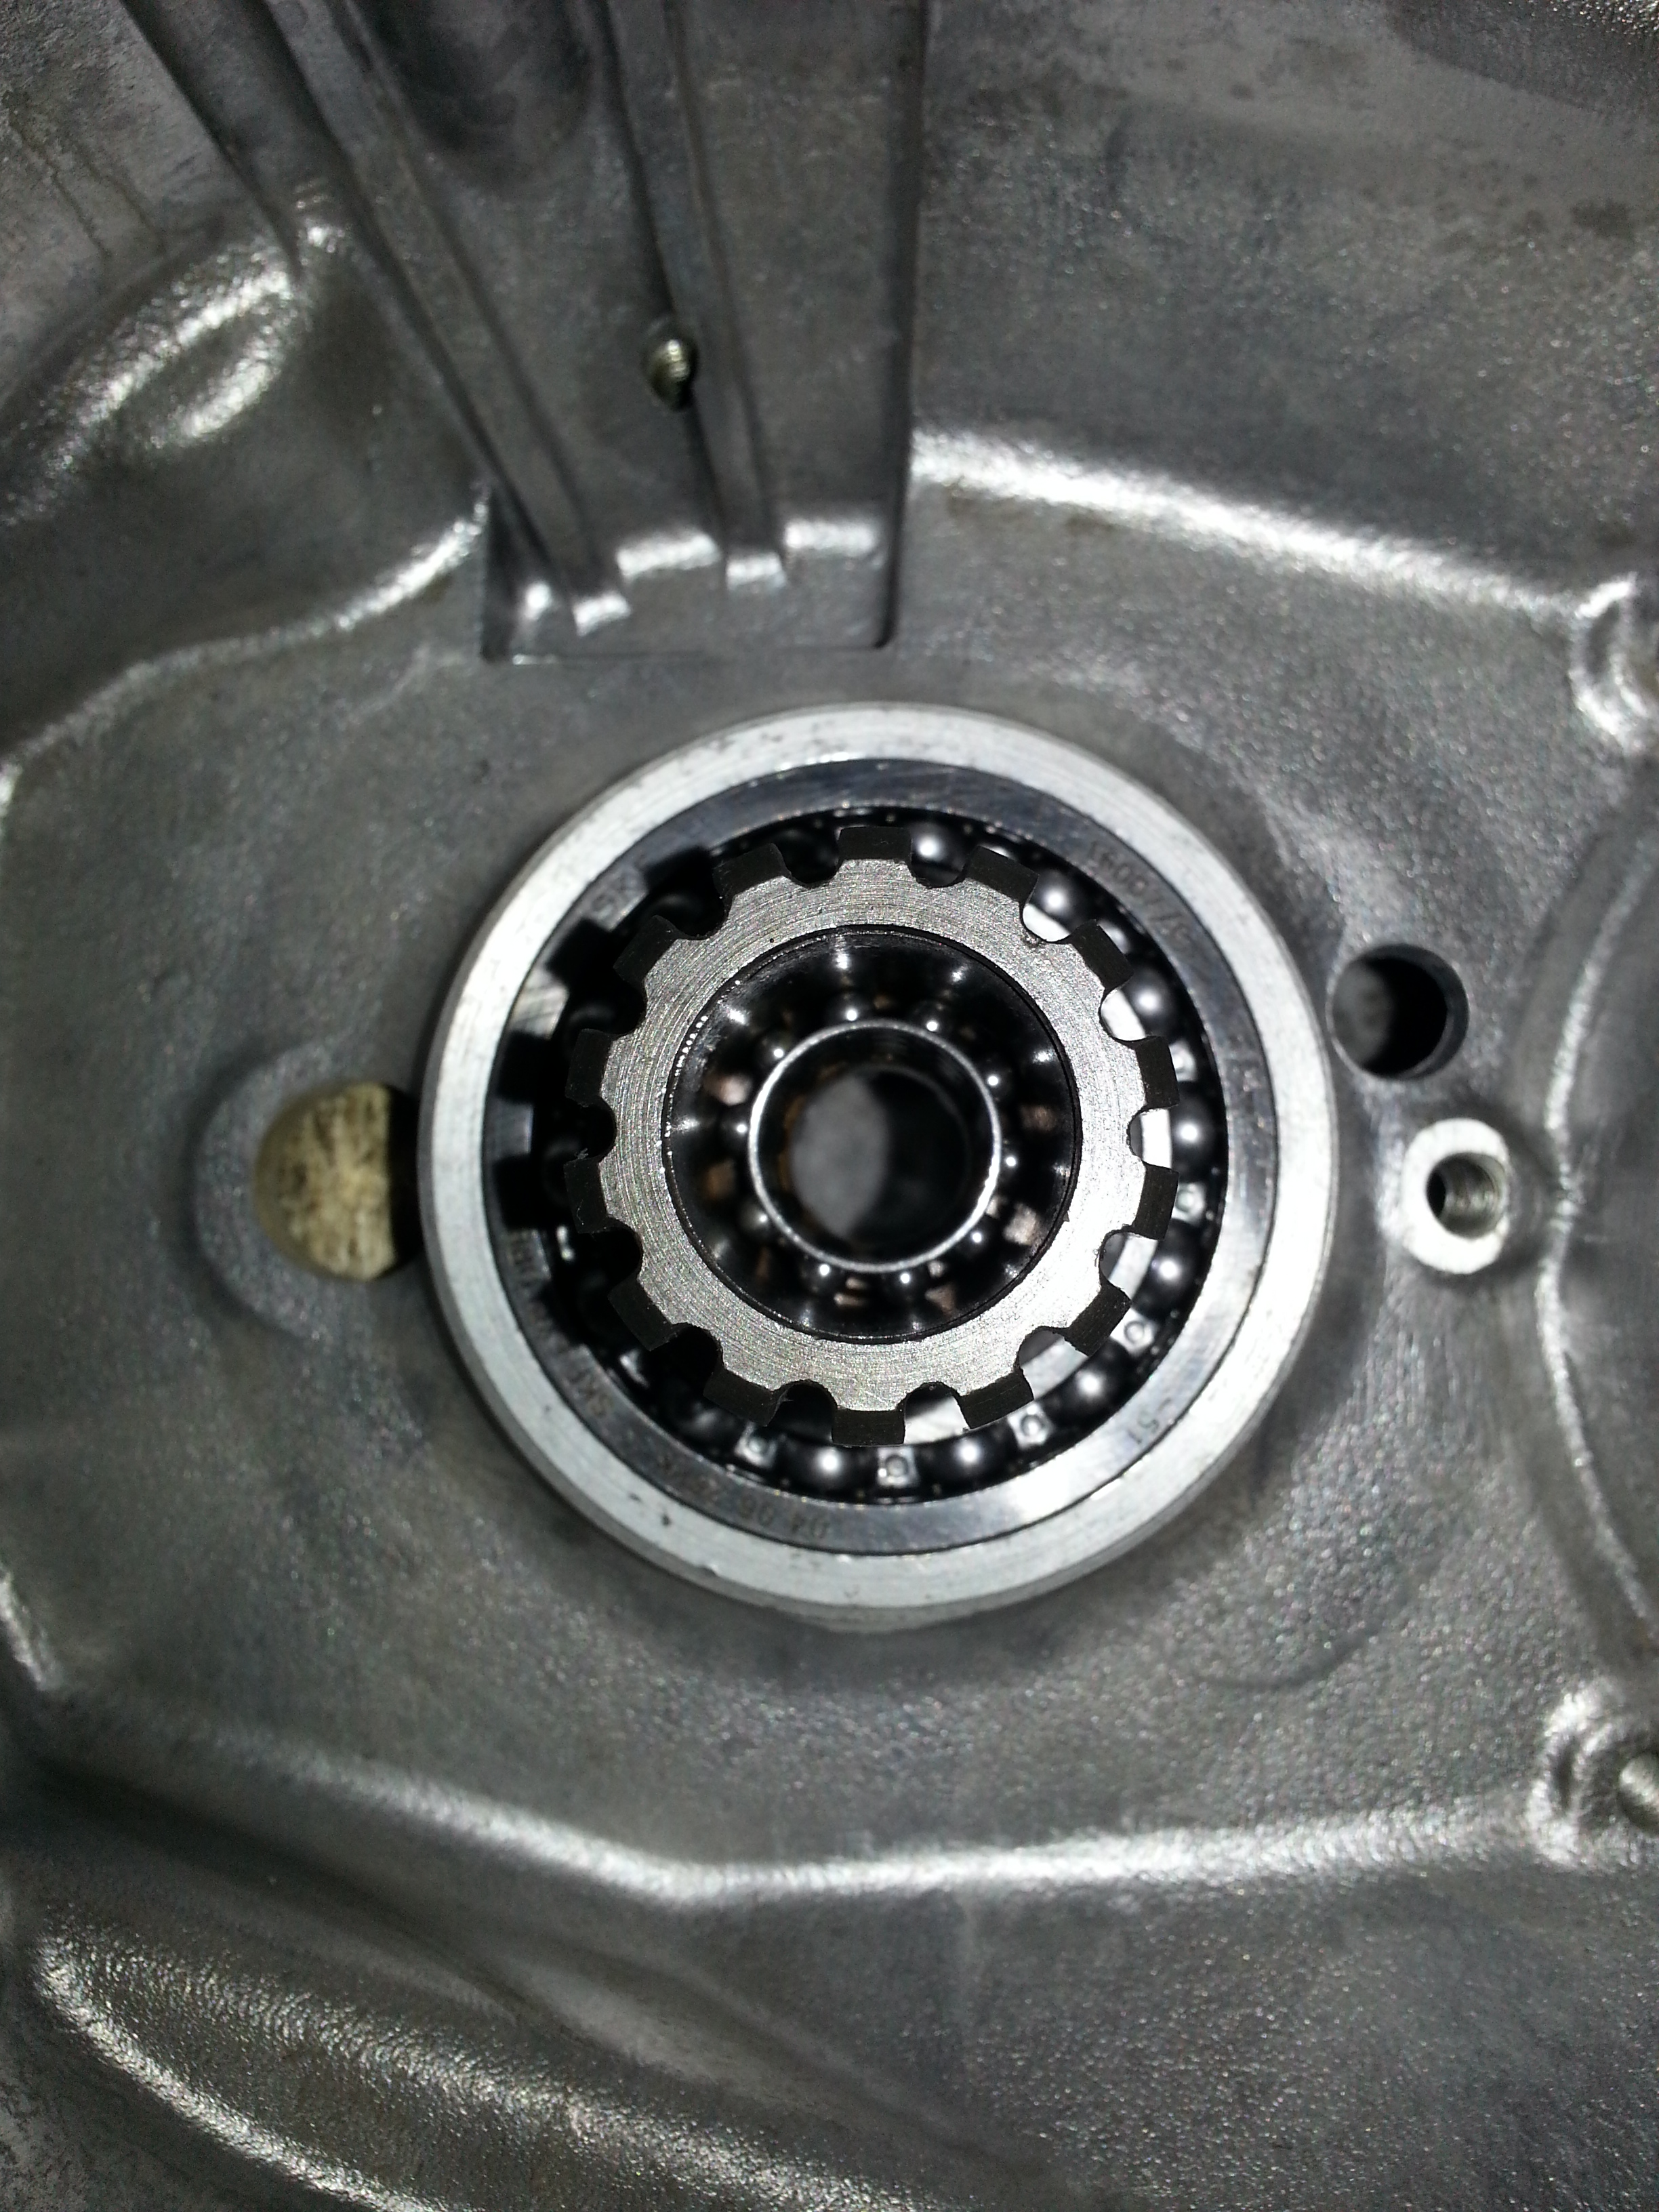
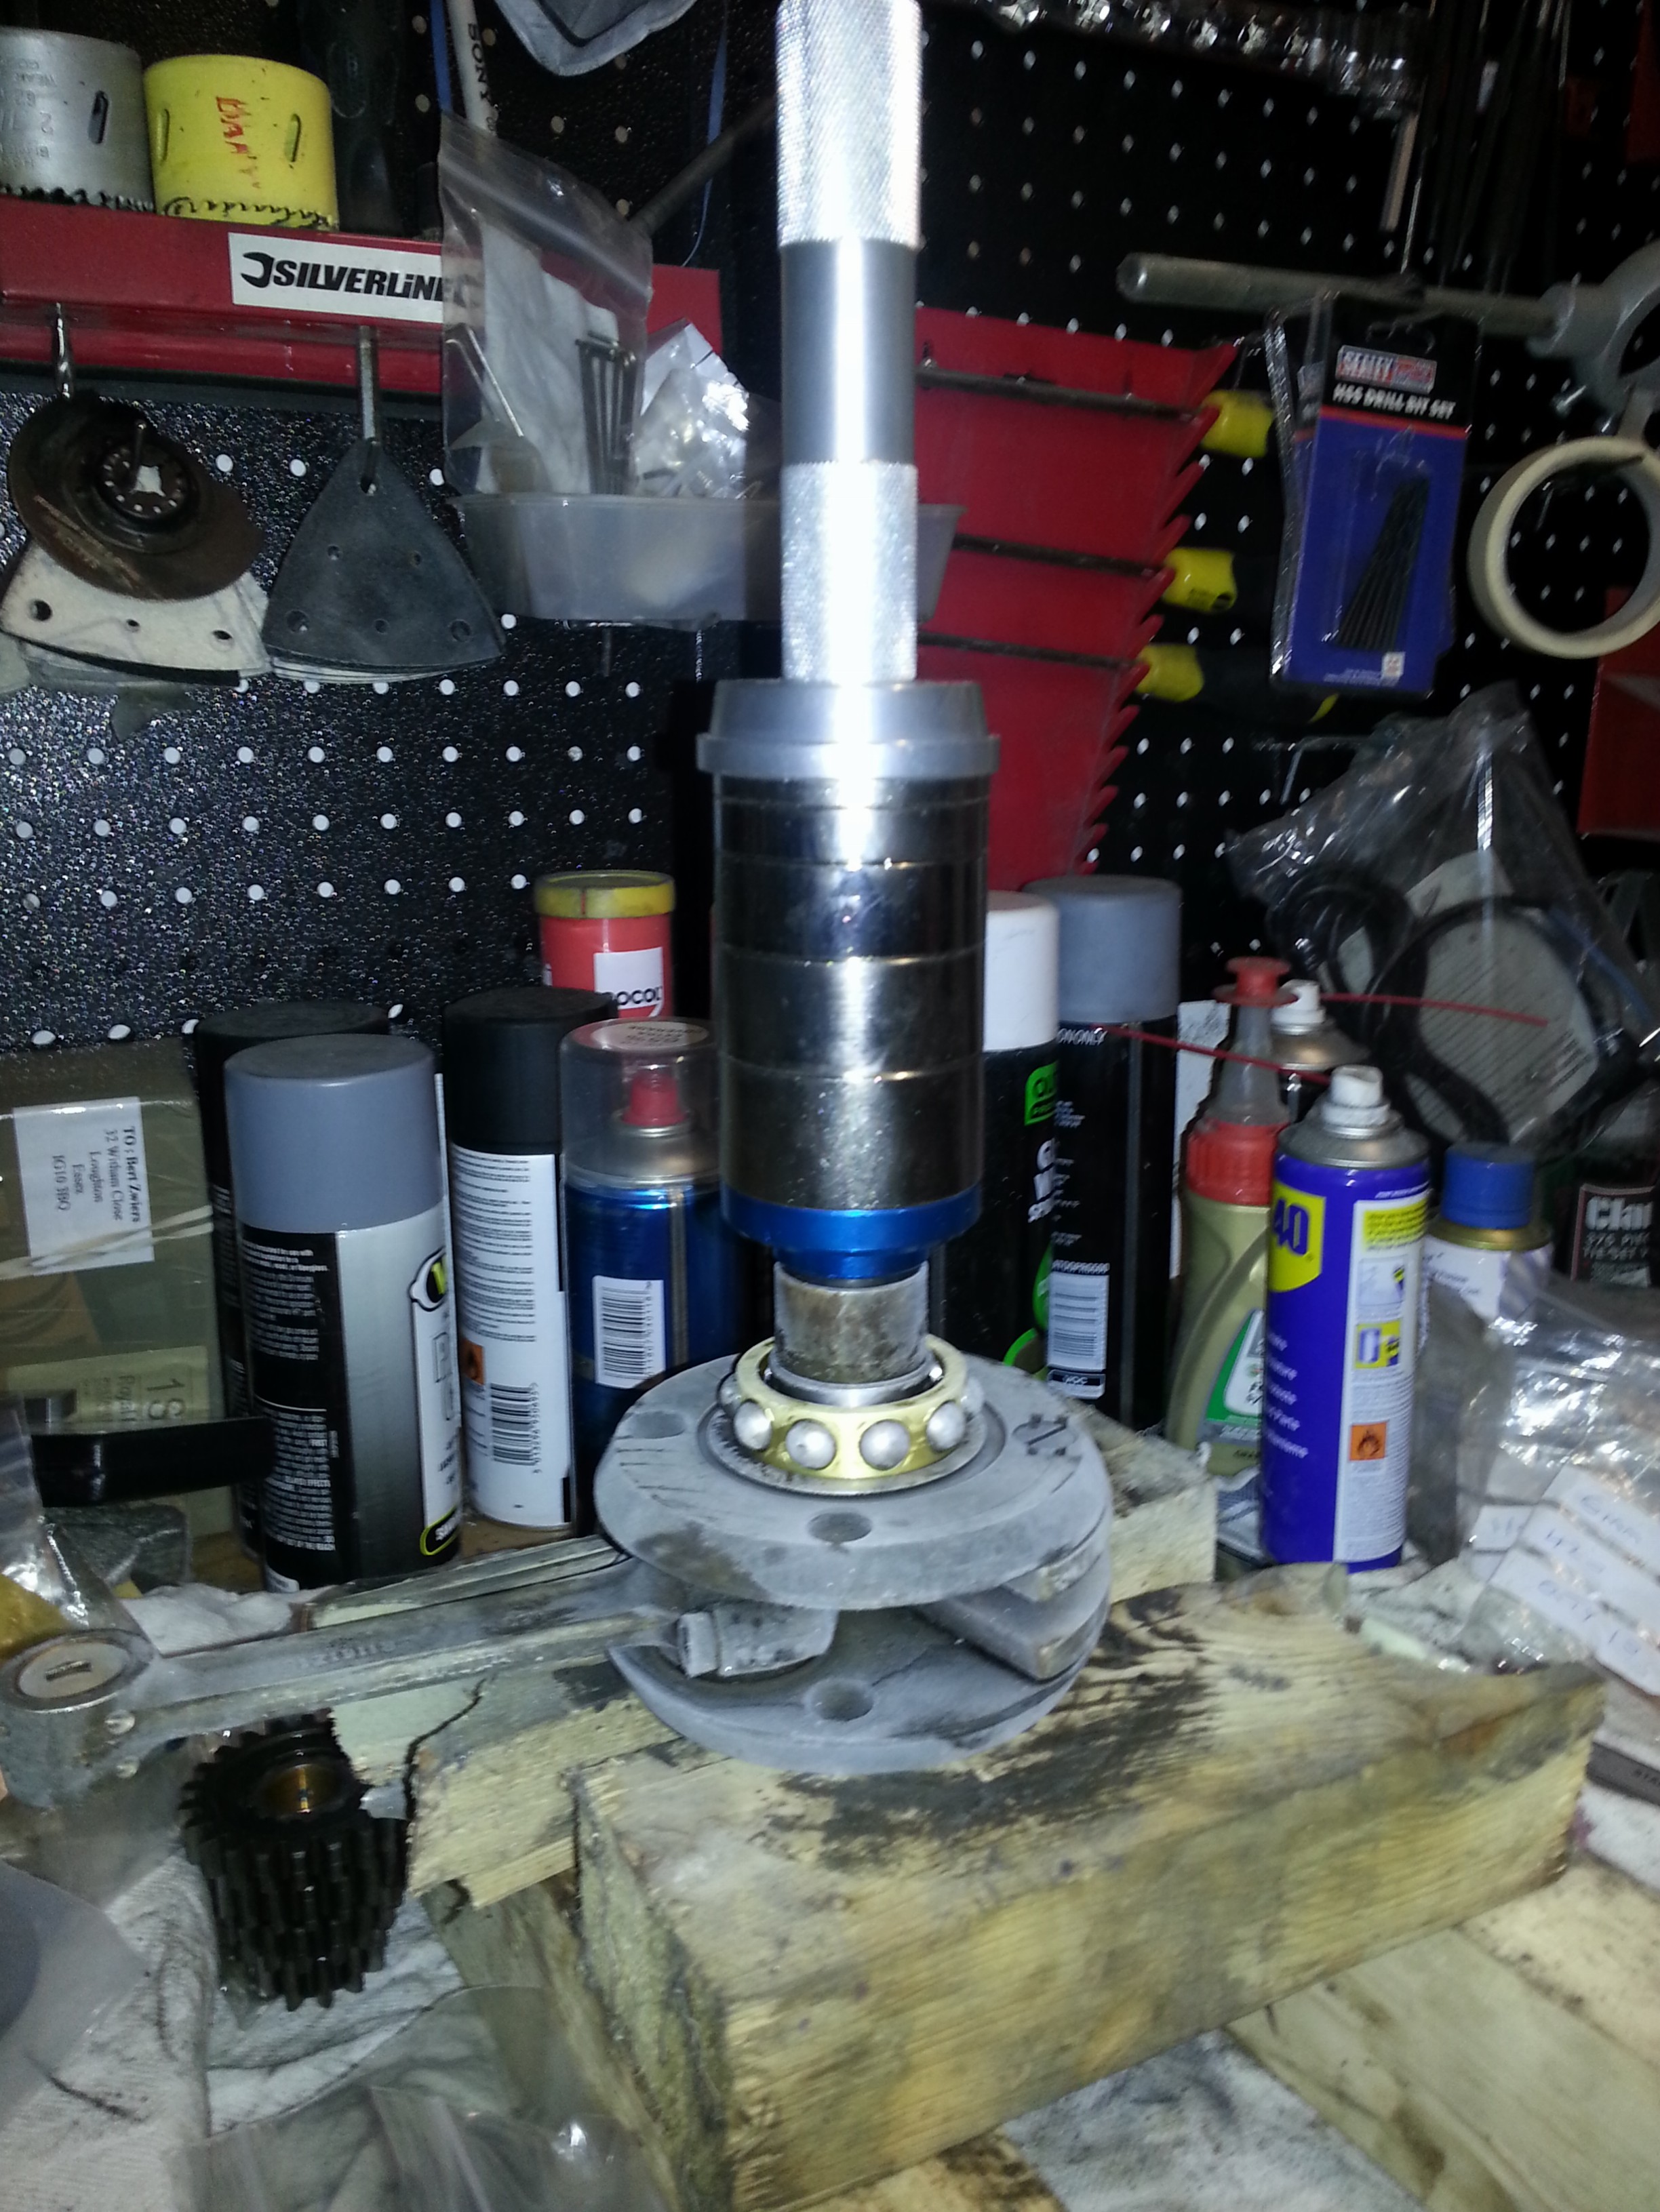
We can now install the cage bearing which is a bit of precision task. The cage can be held using a punch. By slightly gyrating the cage you can put the bearing balls in. When complete you can lower the cage into the shaft:
Not on the critical path, but it’s time to but new bearings on the crank-shaft. First step is to put the crankshaft in the freezer over-night:
Then a protective washer is needed. The old ones are hard to save, but replacements can be had from Germany. Note: the thickness may be different from the original and tolerances are tight so you may need different sized filling washers; measure carefully before you put them on as it’s hard to do after. My new ones were 0.3 mm and the old ones 0.25 mm. That means changing from a 0.6 mm filler washer to 0.5 mm for example. More on that later. First we put the washer on:
Then quickly slide on the inner cage of the bearing, pre-heated to 140 degrees (80 degrees will do, but this provides more margin and the bearing metal can stand it) and add on the roller cage:
Do the same for the other side:
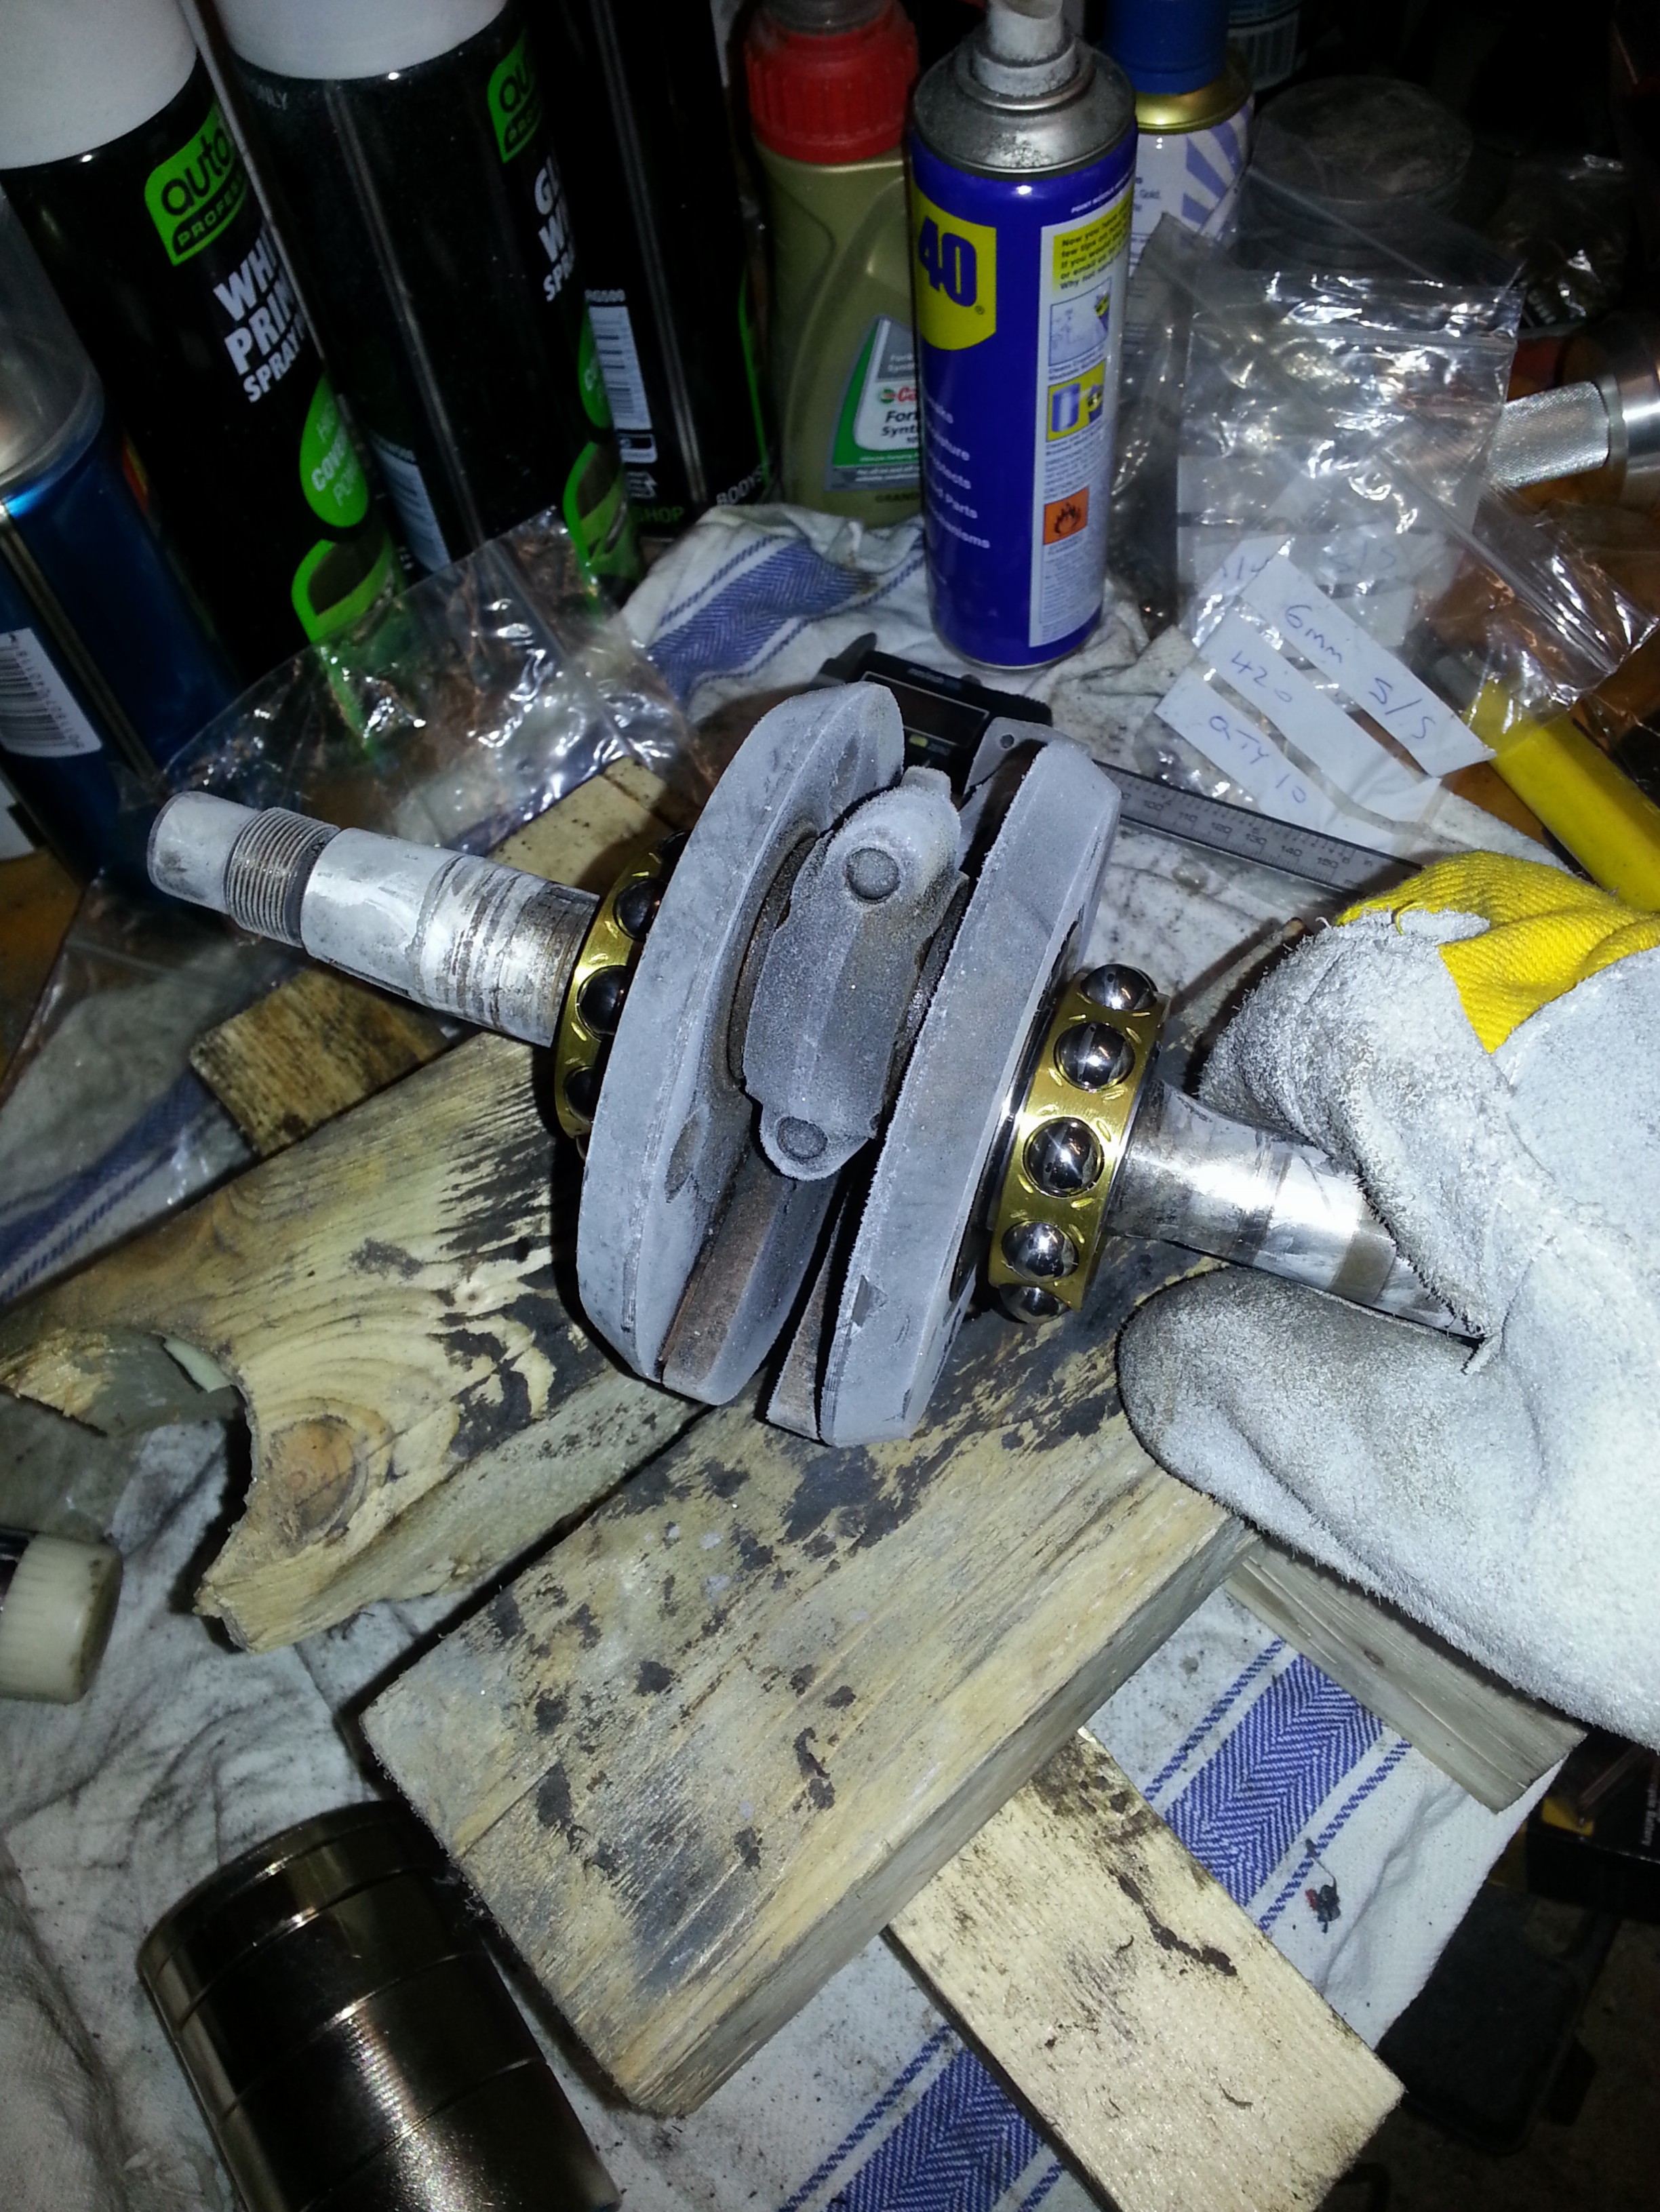
Then add the spacer and the second inner bearing cage for the dyna shaft. I used a seal installation kit for a little persuasion. It’s key to have this ready, just in case you need it:
After that the inner bearing cage of the small bearing slid on easily:
Job done; crankshaft ready for installation. The main trick here is to have everything ready at hand, including bearings, punches etc and to quickly complete the work. The outer bearing cage for the small bearing we already installed and the outer cager for the crank bearings we can insert easily into the engine halves by freezing the bearing cages and heating the halves. However, we can only do this after exact measurement which comes next.