
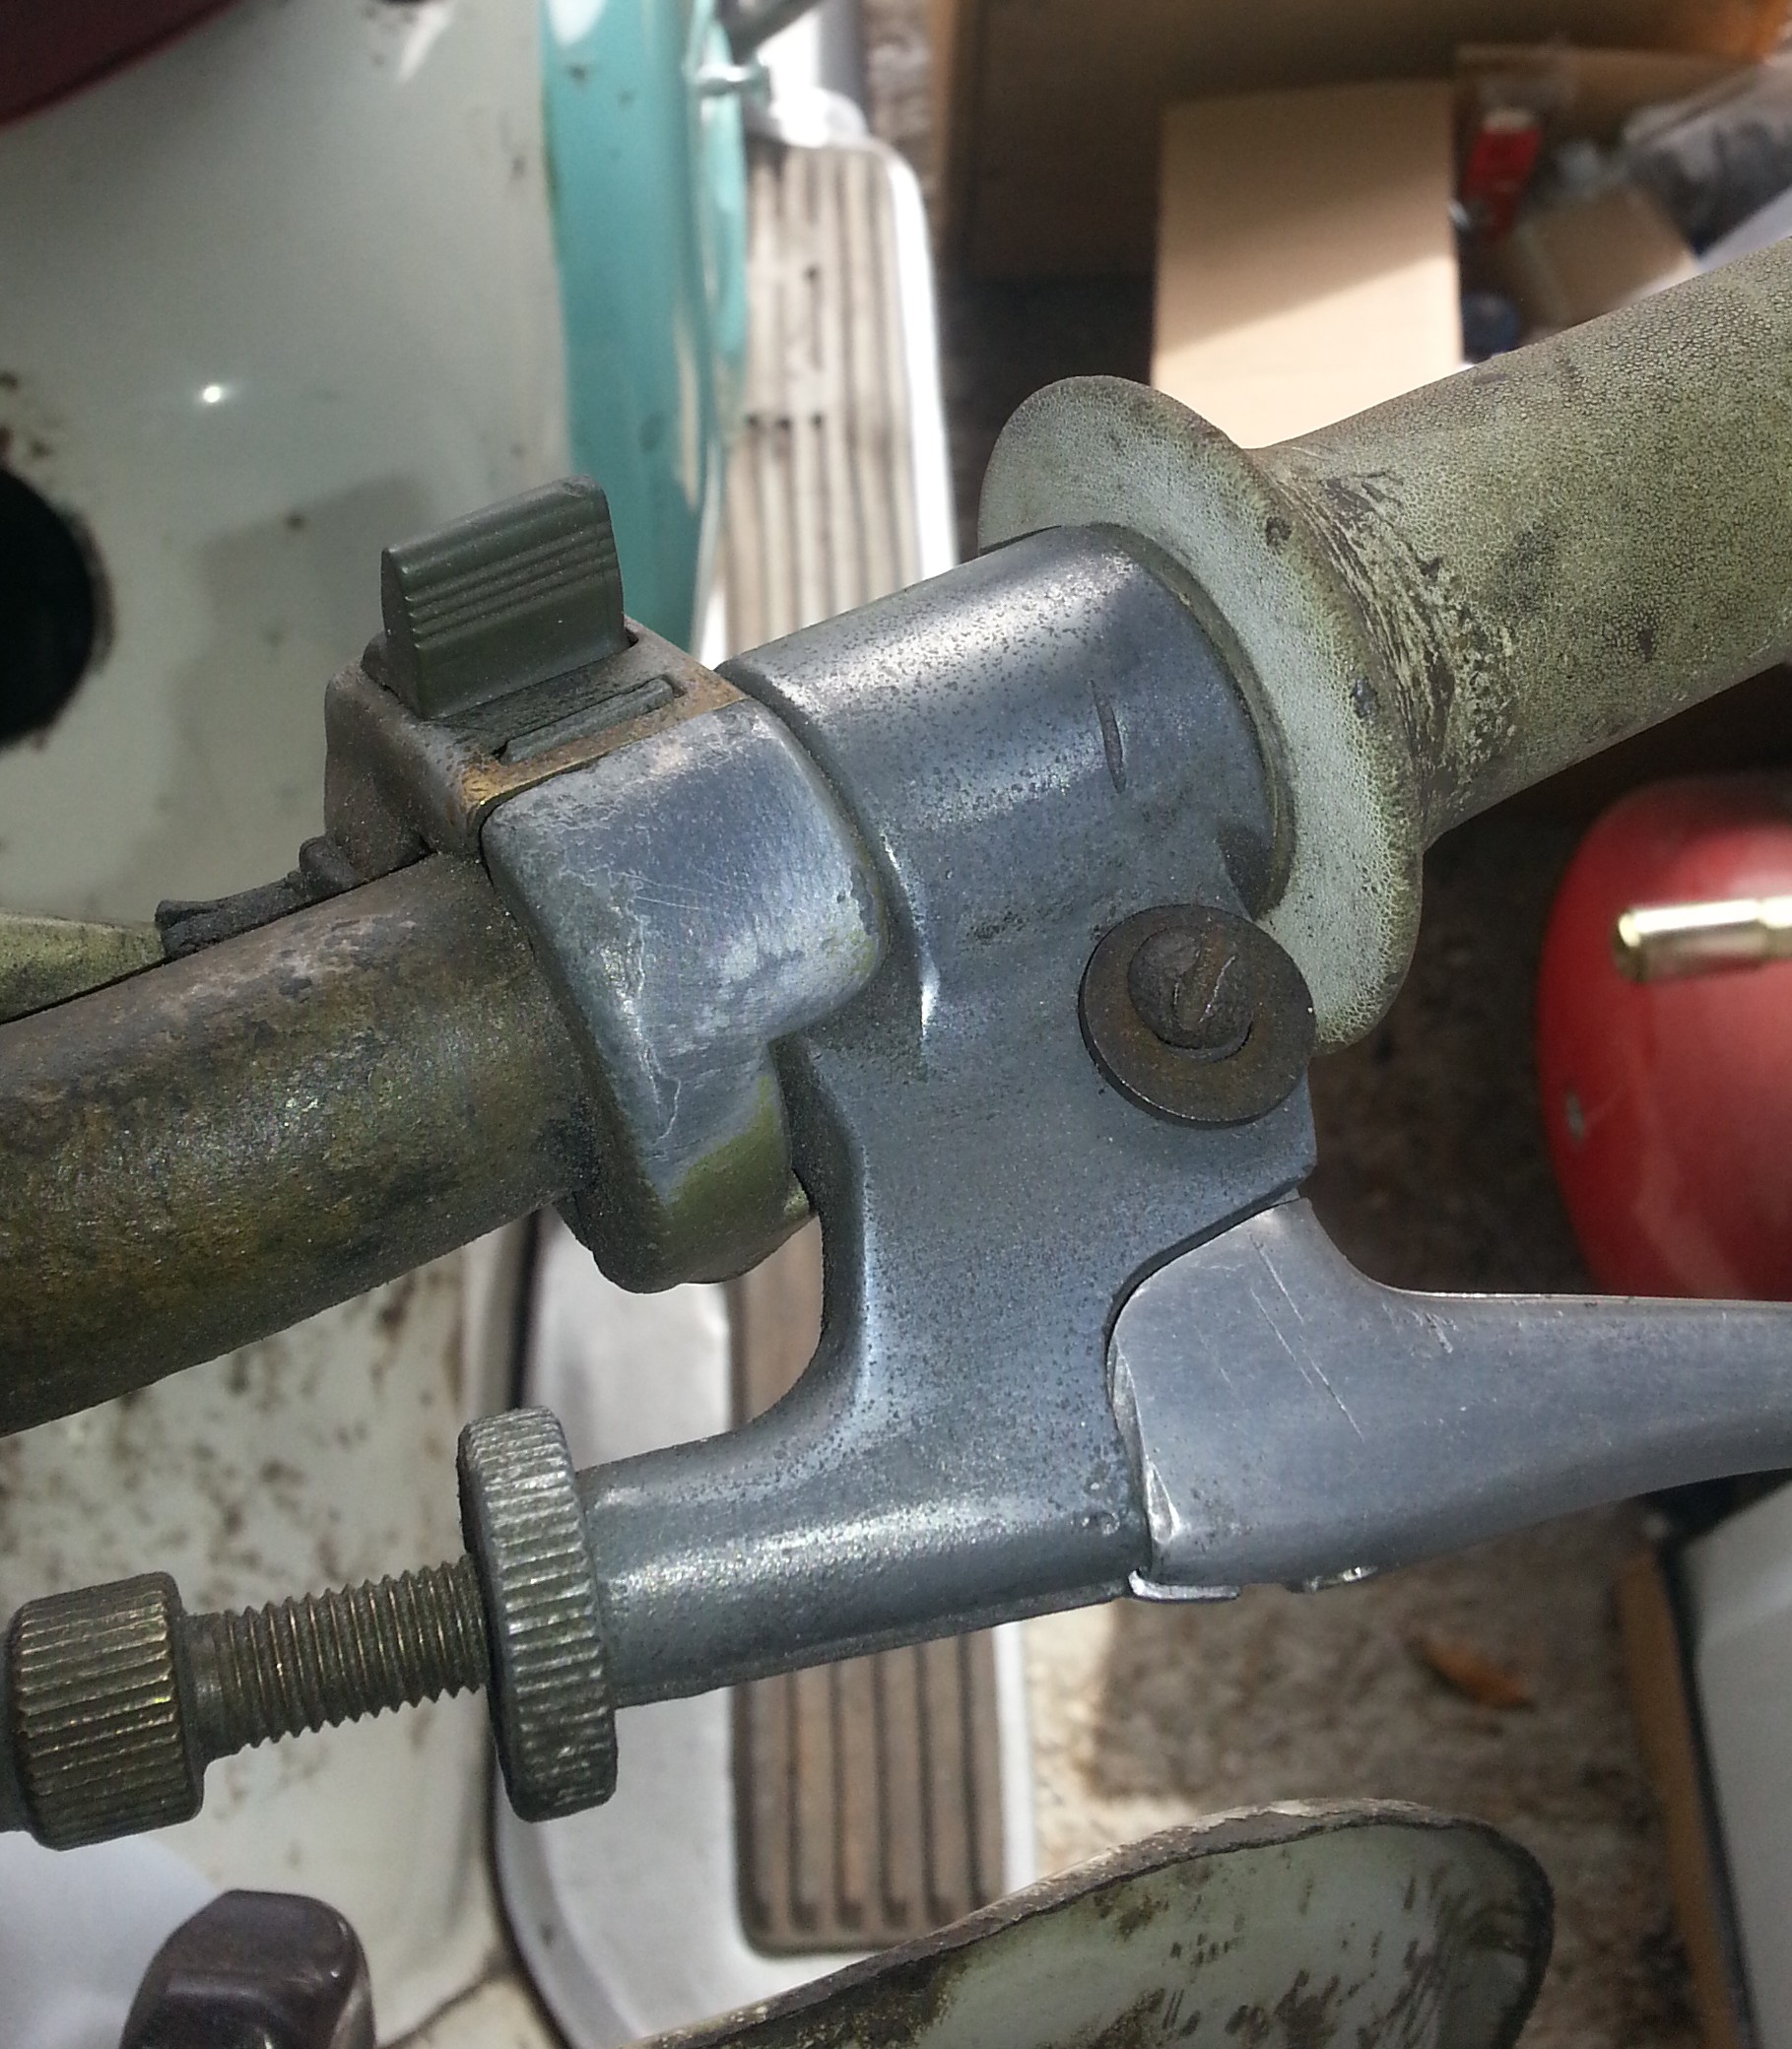
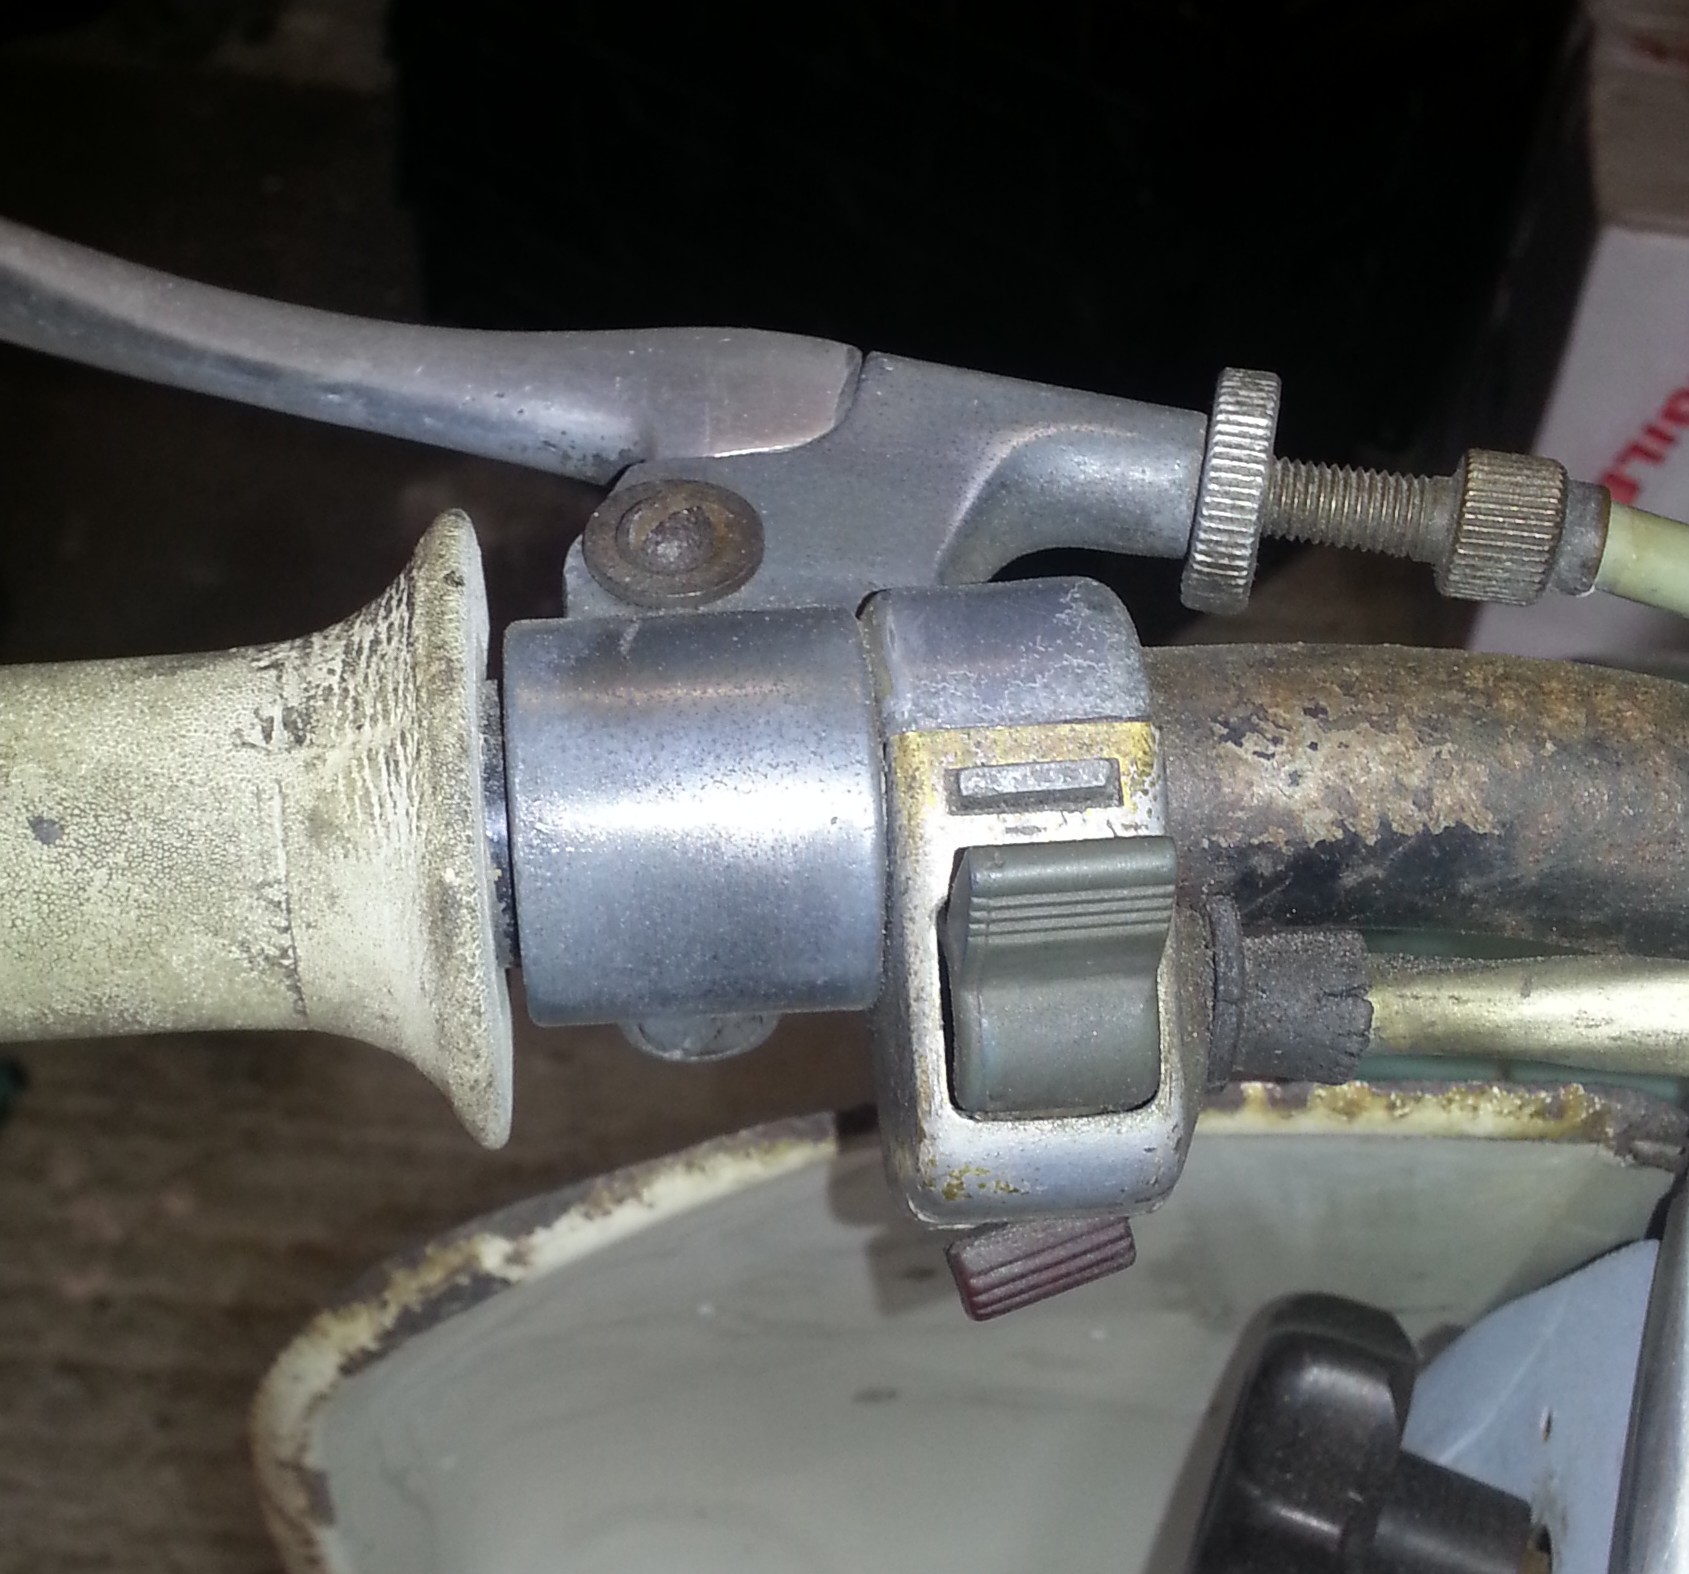
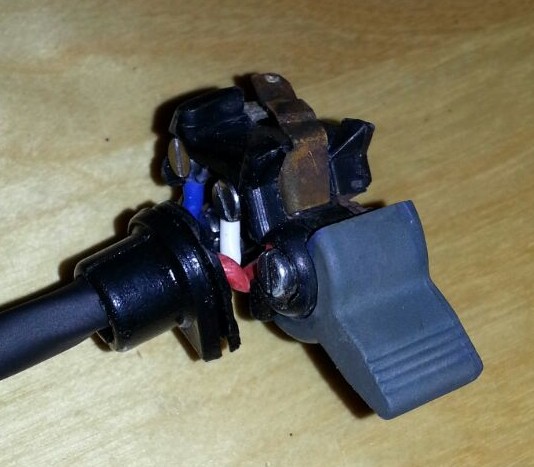
The light switch on the Zündapp Bella R204 comes in various models I have been made to believe. Mine is a Hella switch. It has three buttons and five wires. The switch more or less integrates with the clutch handle (the back part of the switch wraps around the clutch handle), so can’t easily be replaced. This is what it looks like:
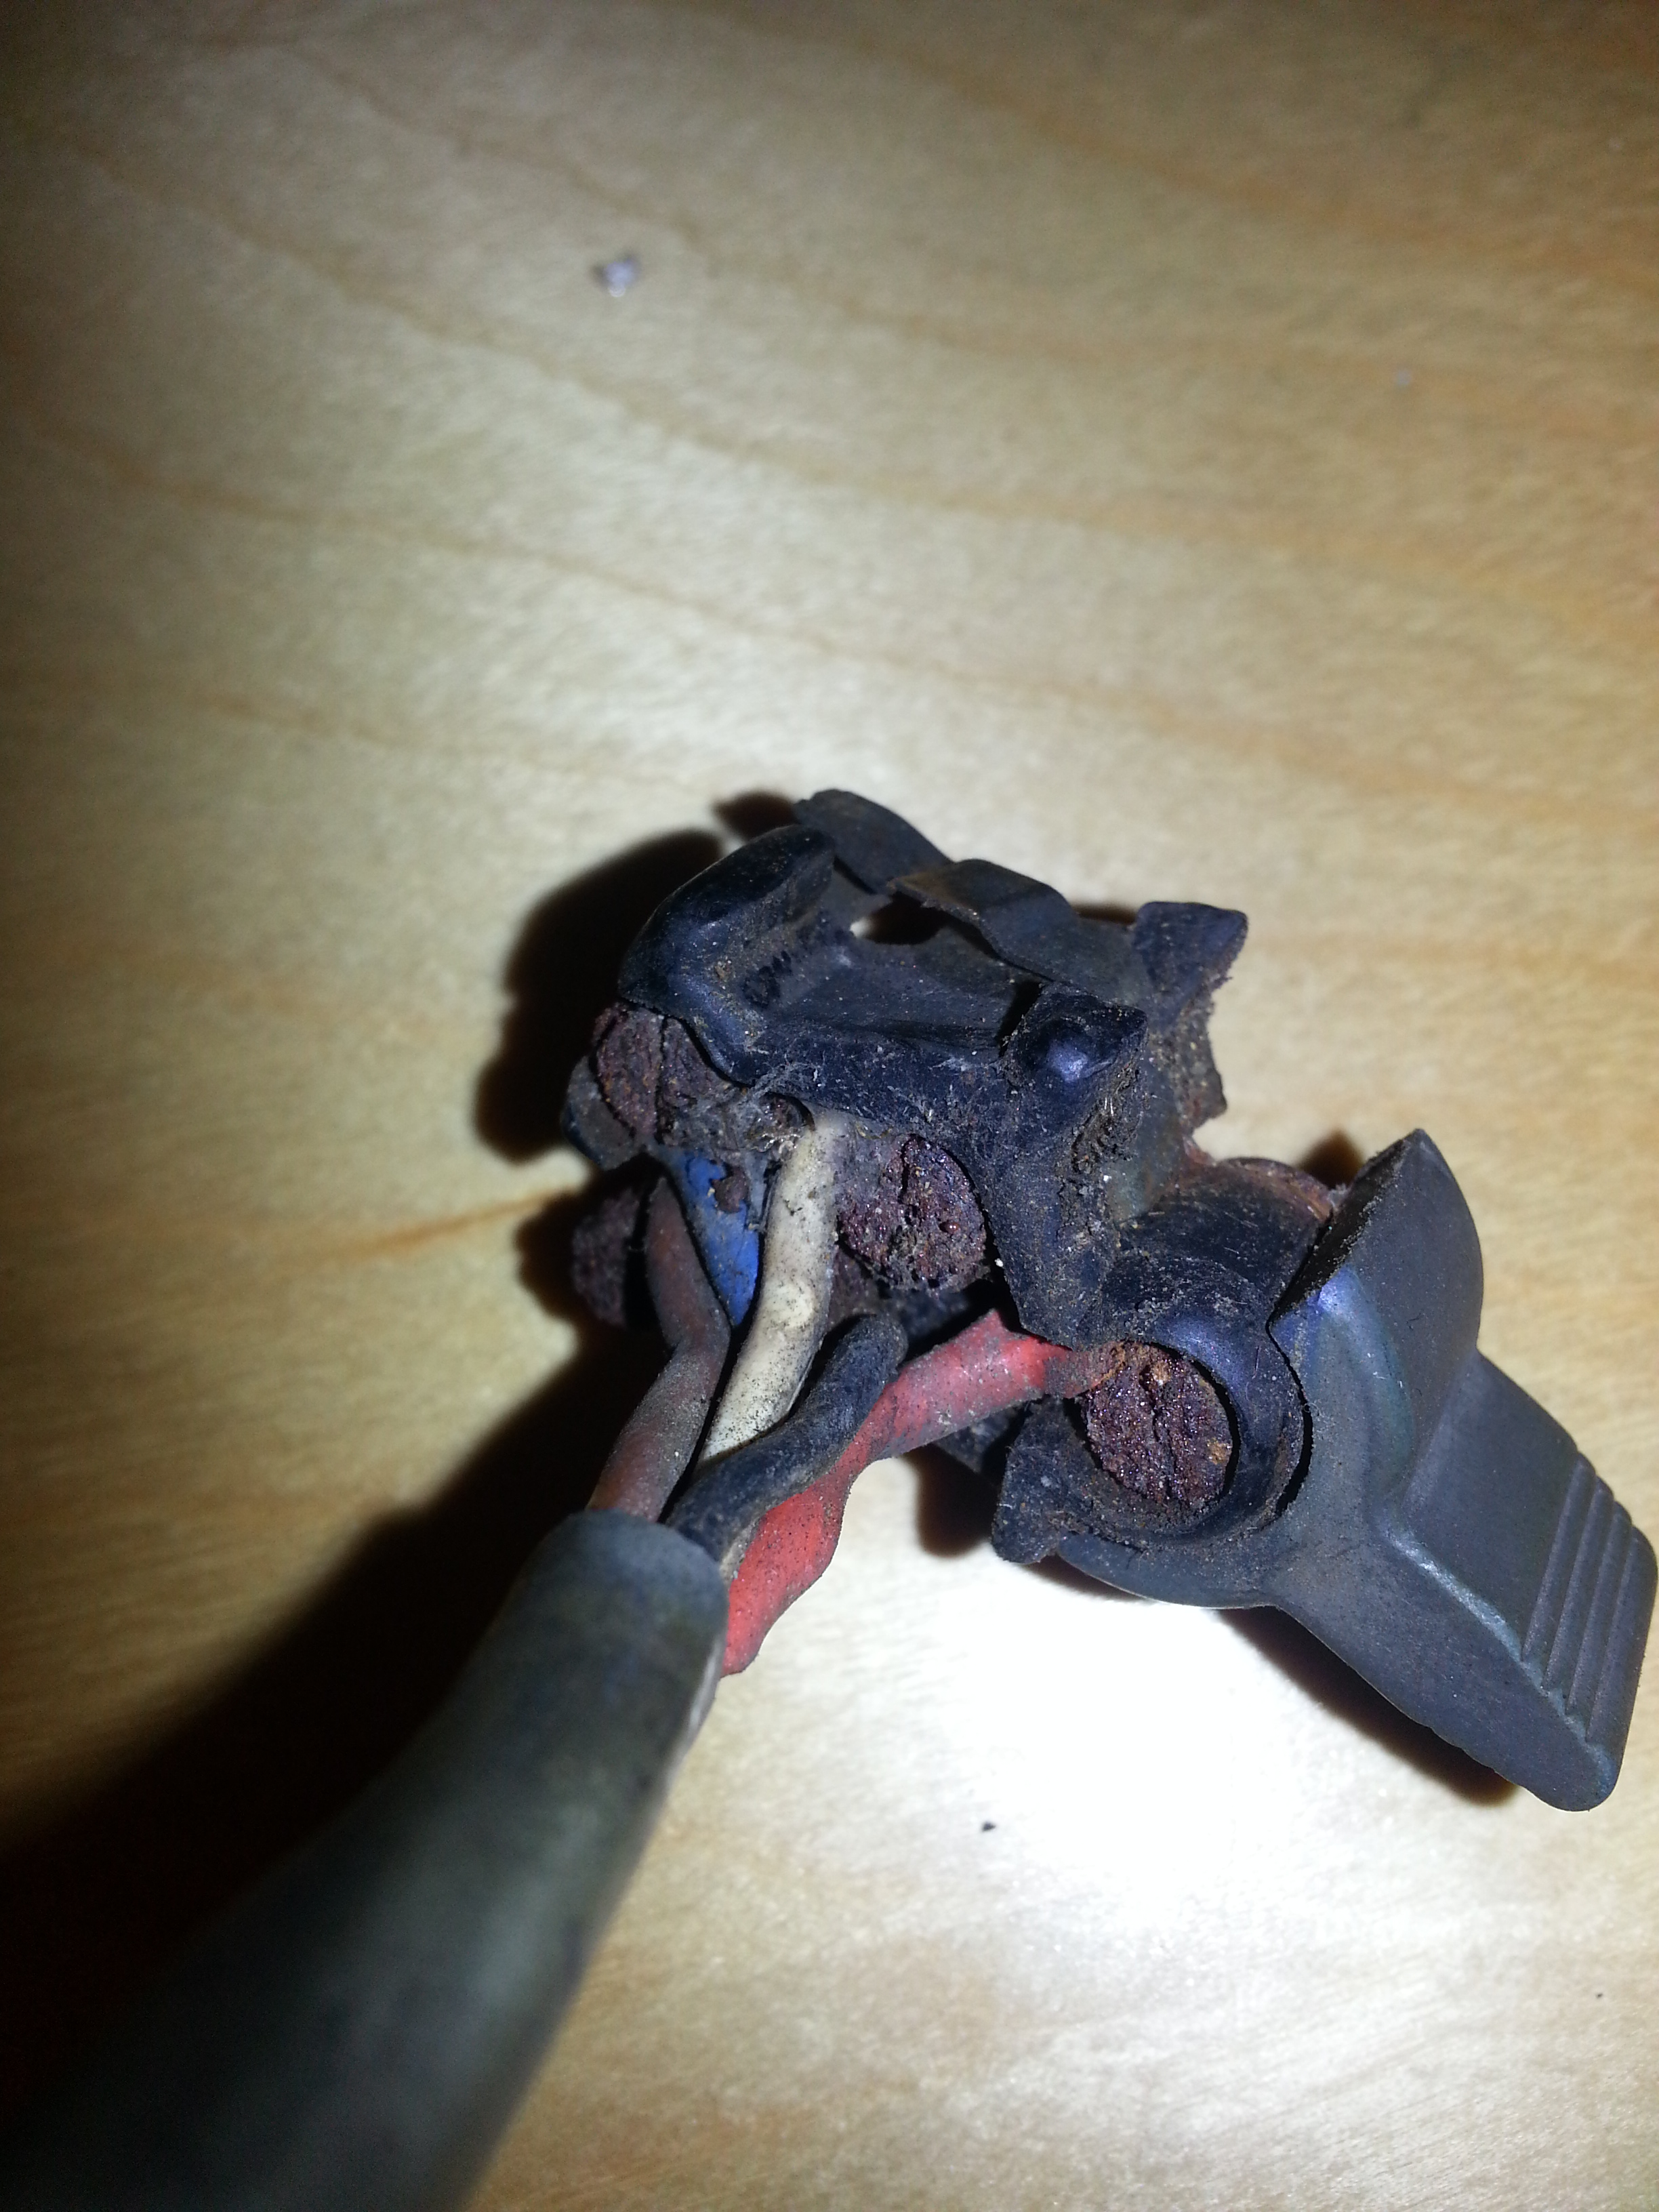
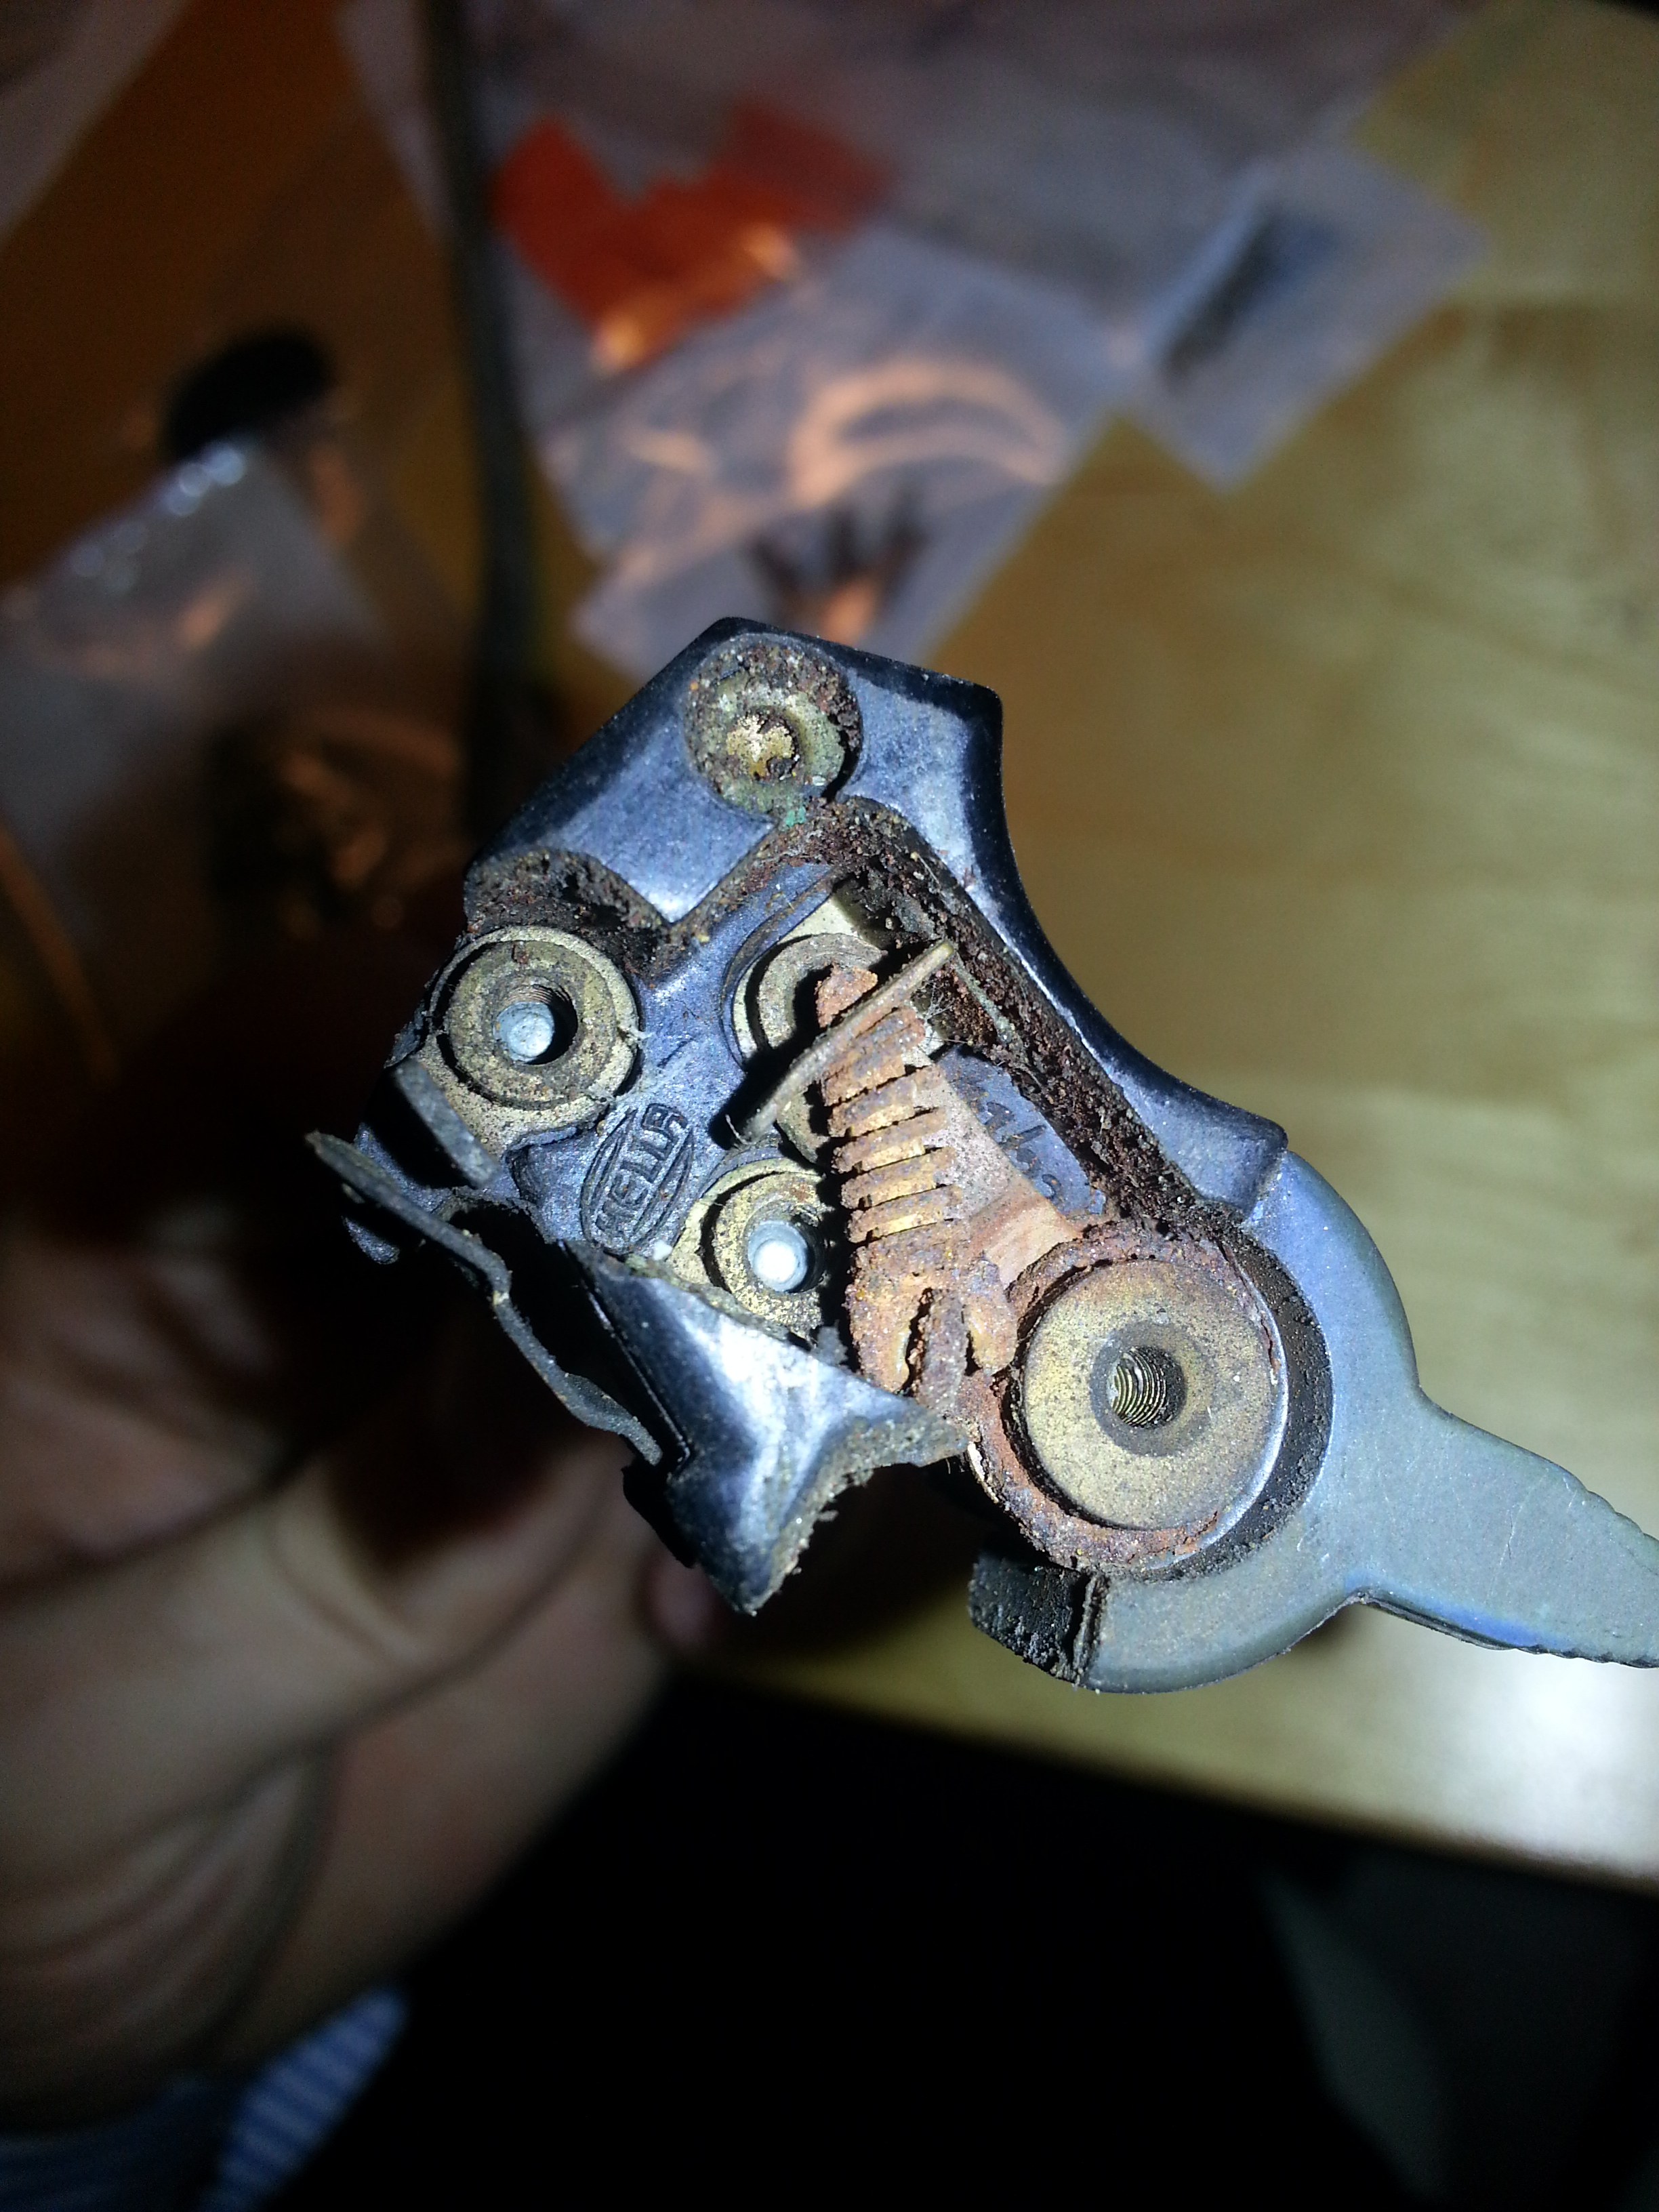
The inner switch is made of a sort of plastic and things are very snug indeed inside. Mine was well corroded and I almost broke the switch removing the last bolt; luckily I could glue the hair fracture back together.
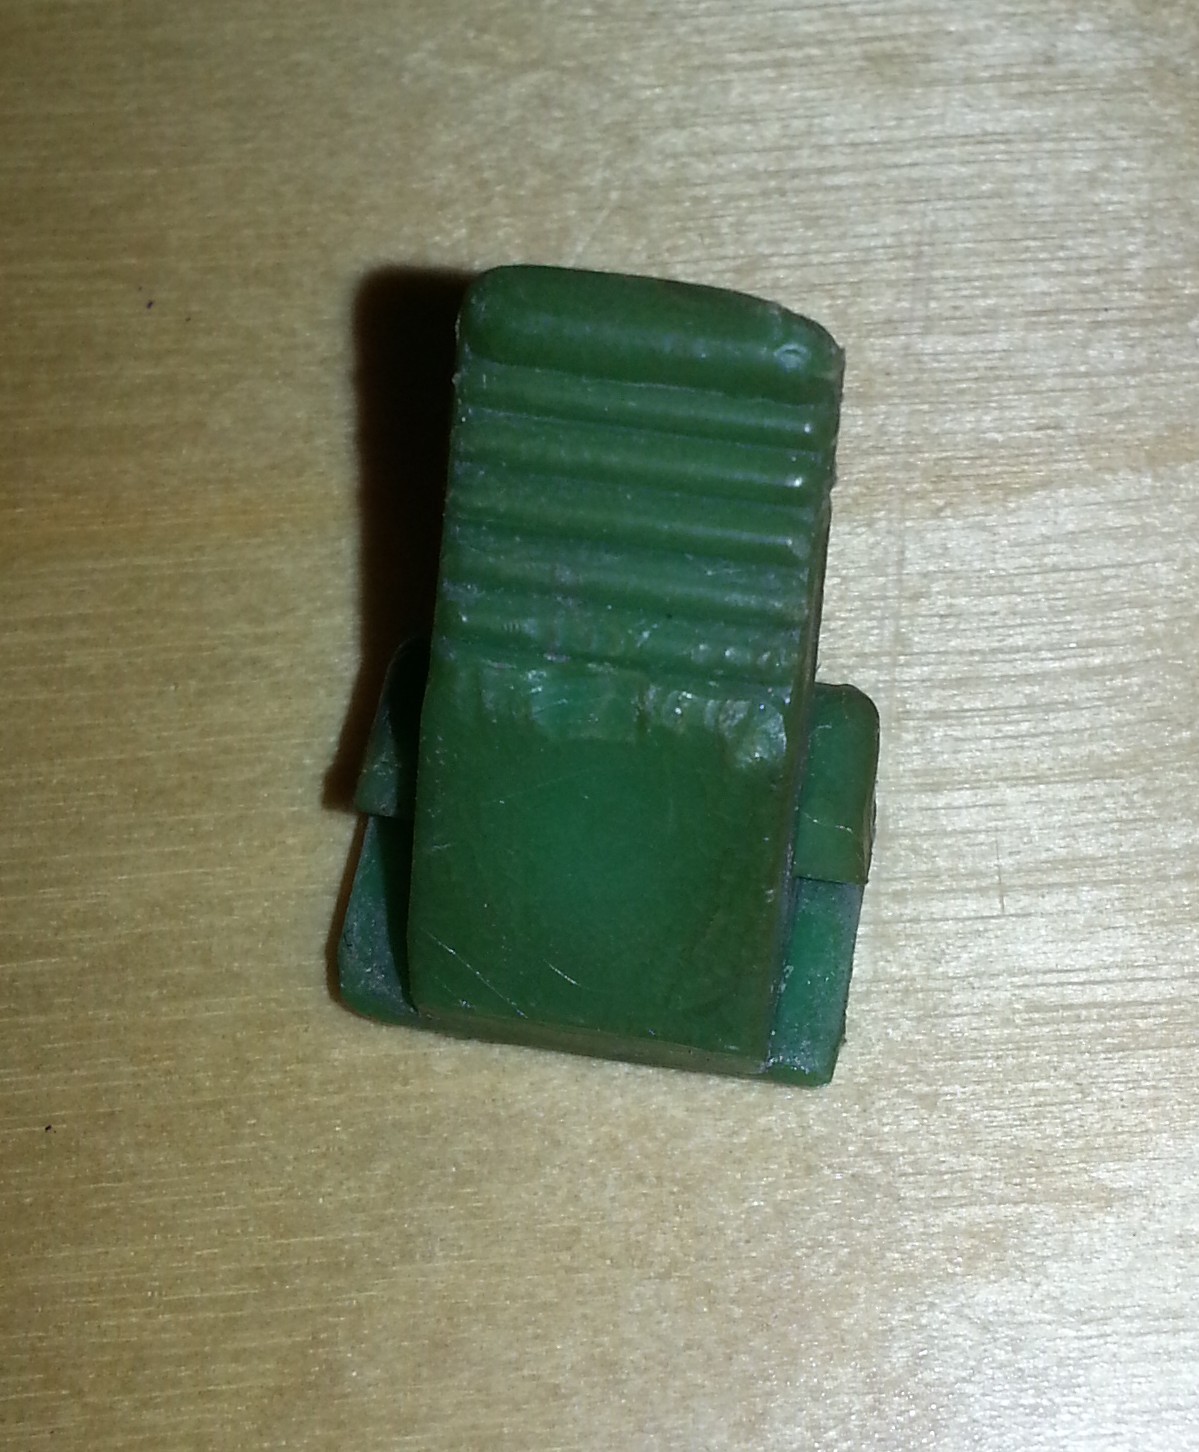
The buttons consist of a high / low beam switch on the top (originally blue, mine is very faded), a horn button on the front (black) and a light horn button on the bottom (green) that flashes the light when pressed as a warning signal. This last button is not present on all models.
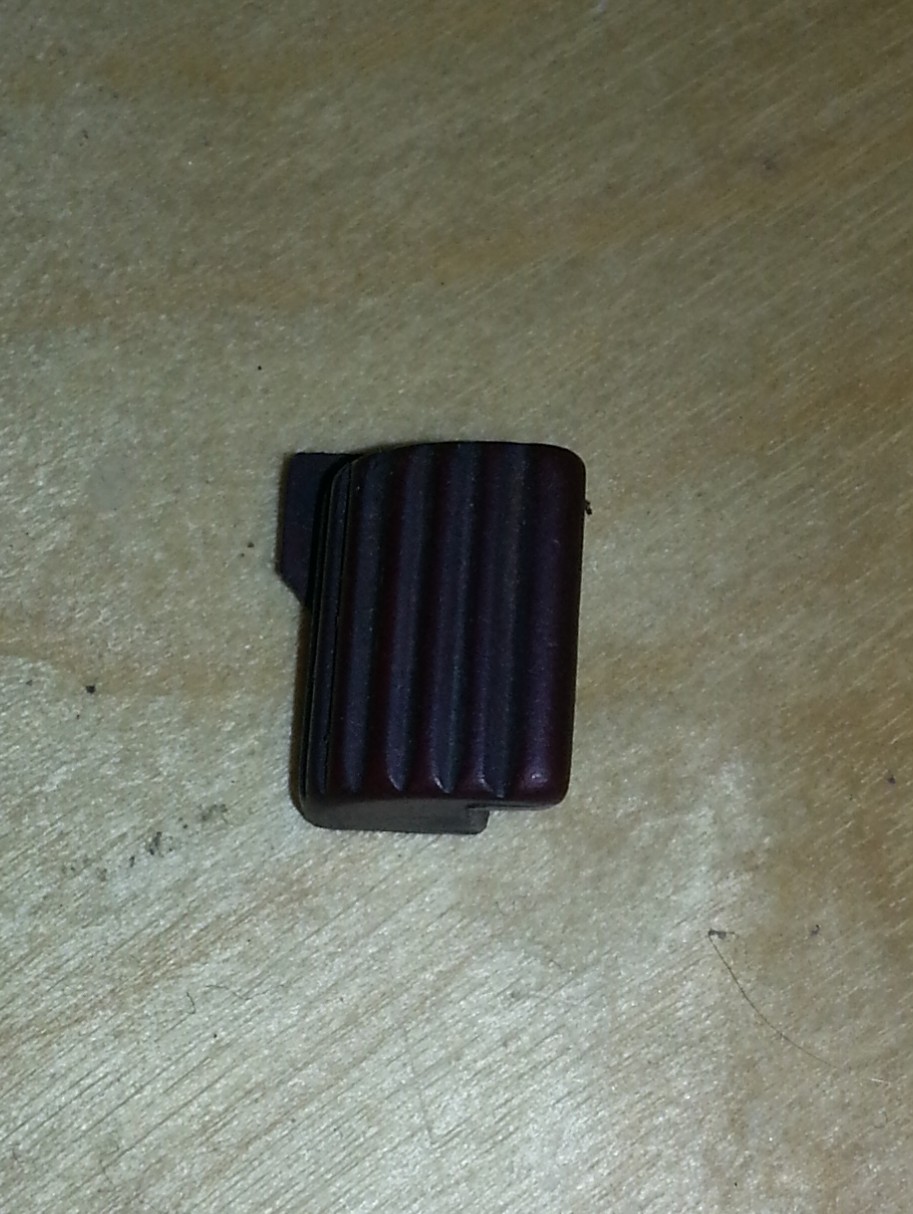
The rubber boot on the side is specific for the switch and is probably gone beyond salvation.
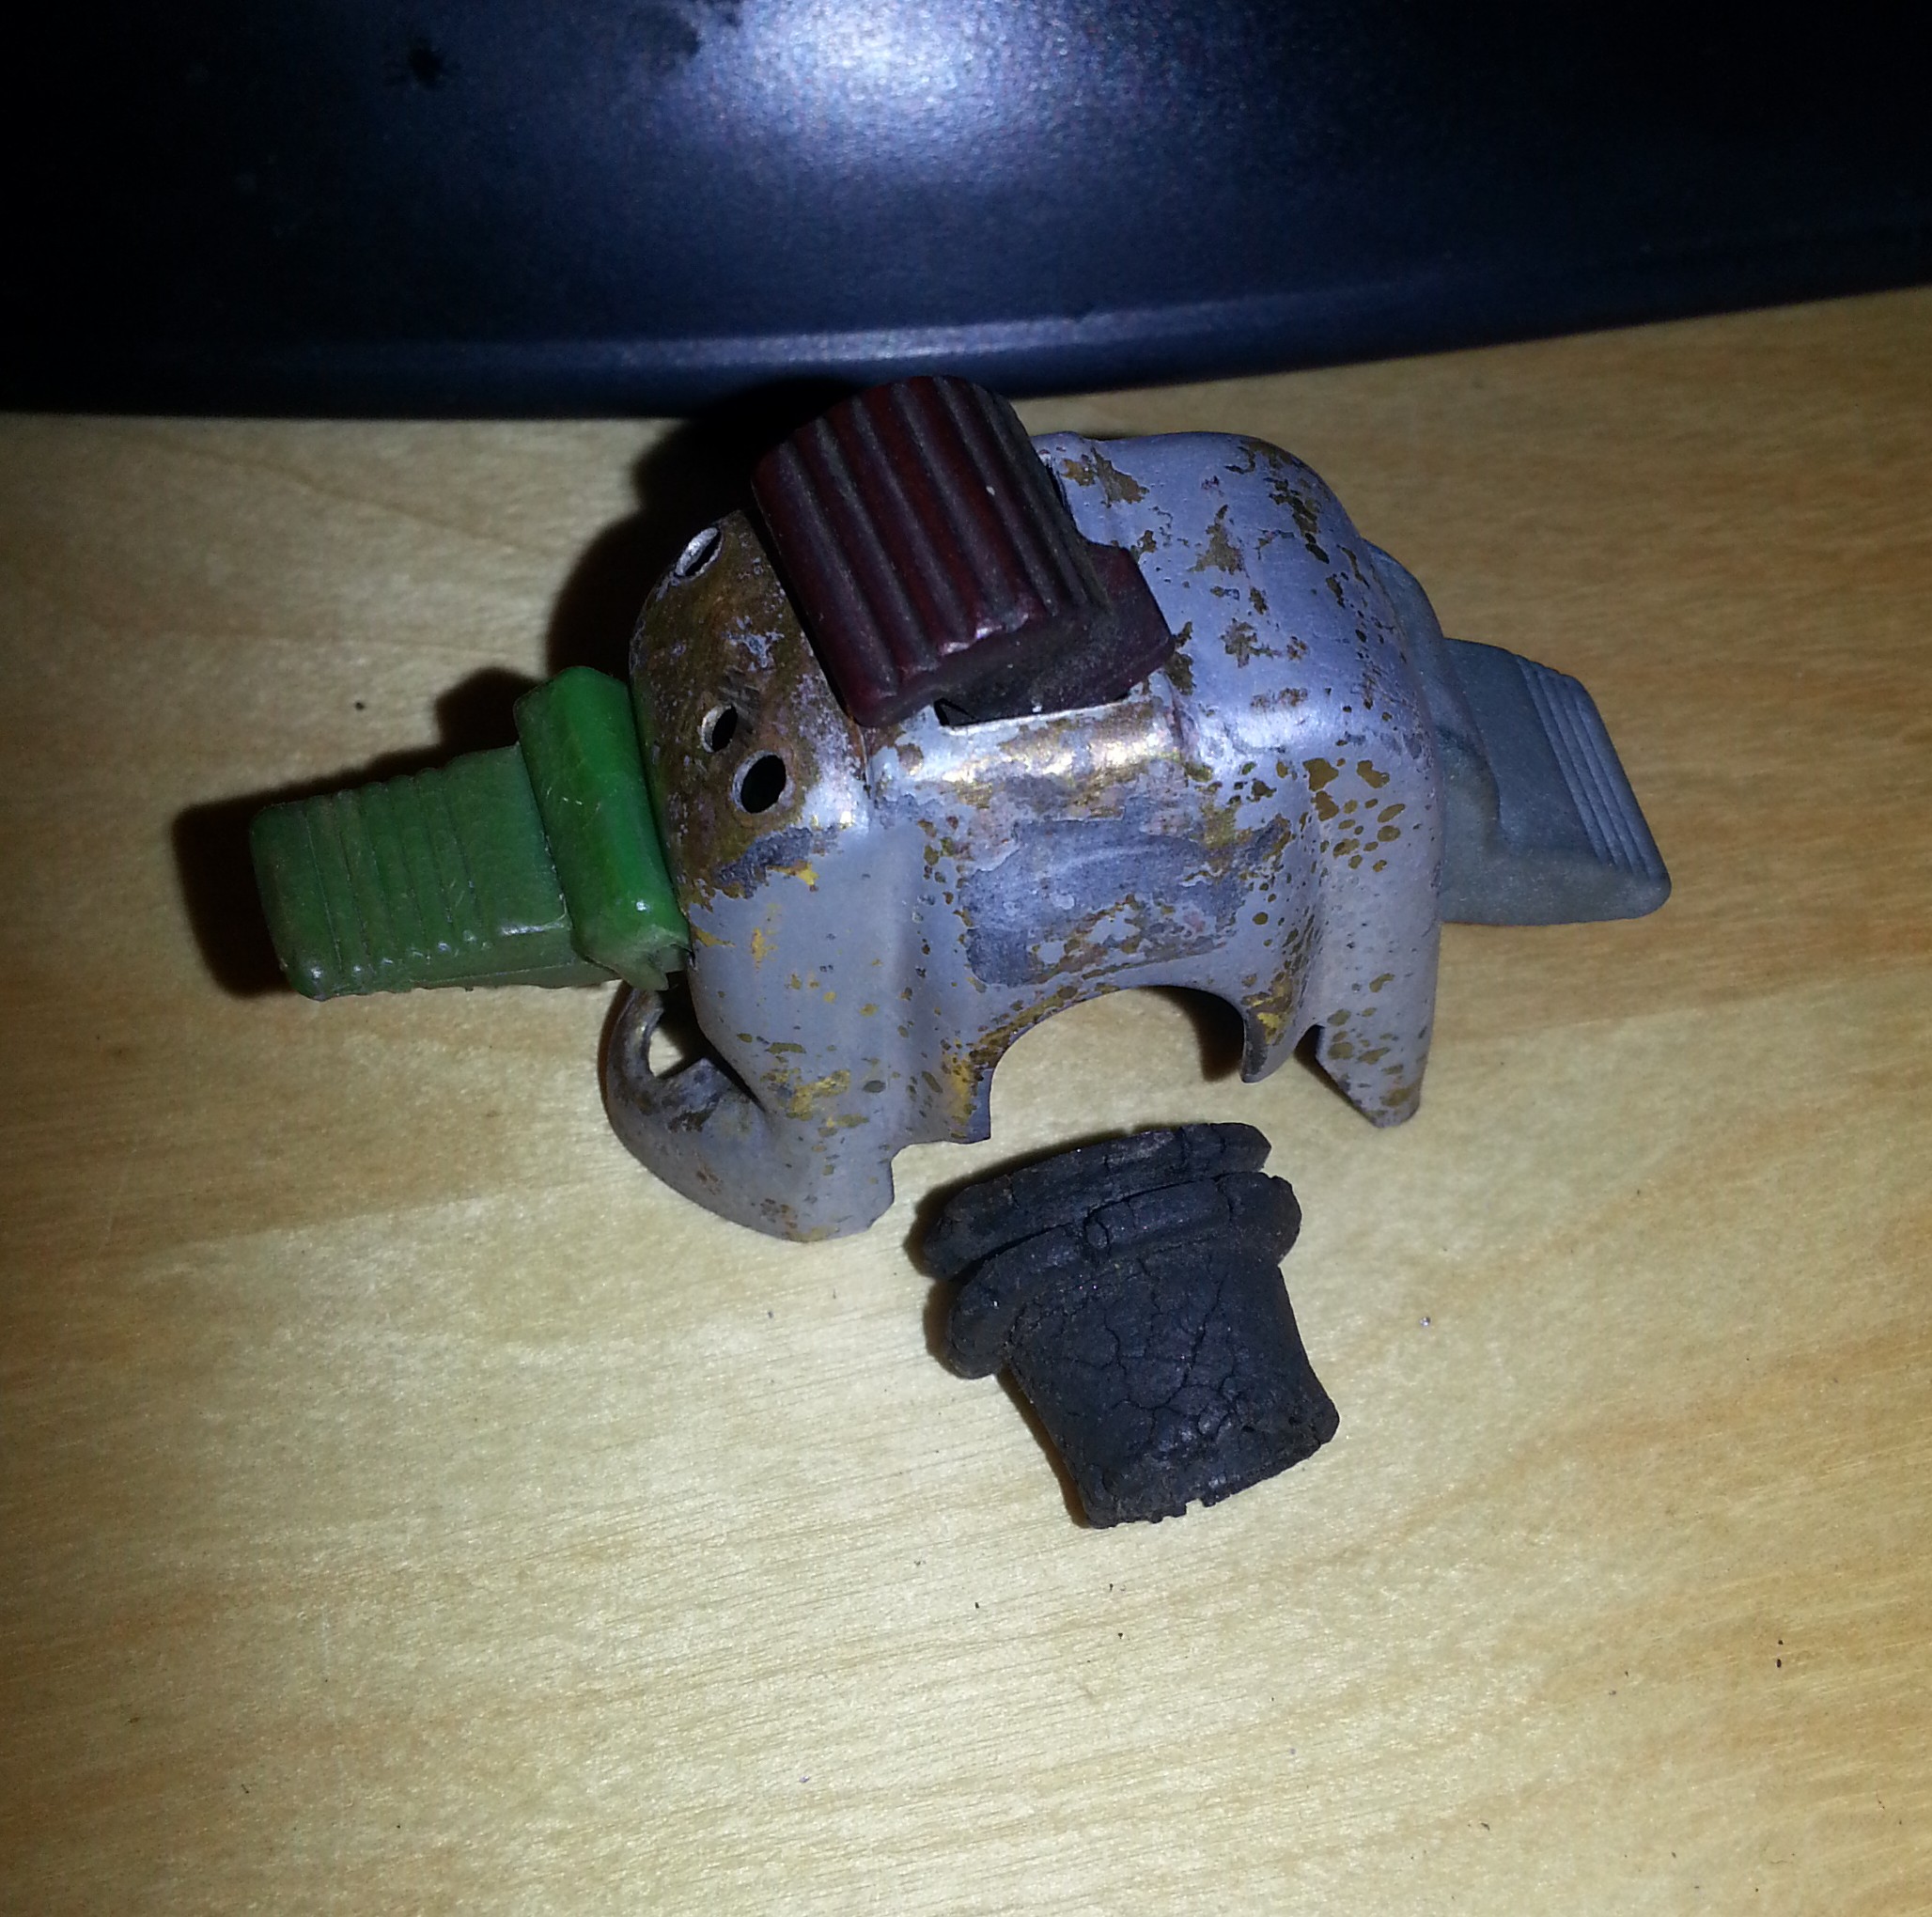
Similarly, the horn button appears to be very prone to breakage (mine was). Luckily you can order replacement boots and horn switches from http://www.claussstudios.com.
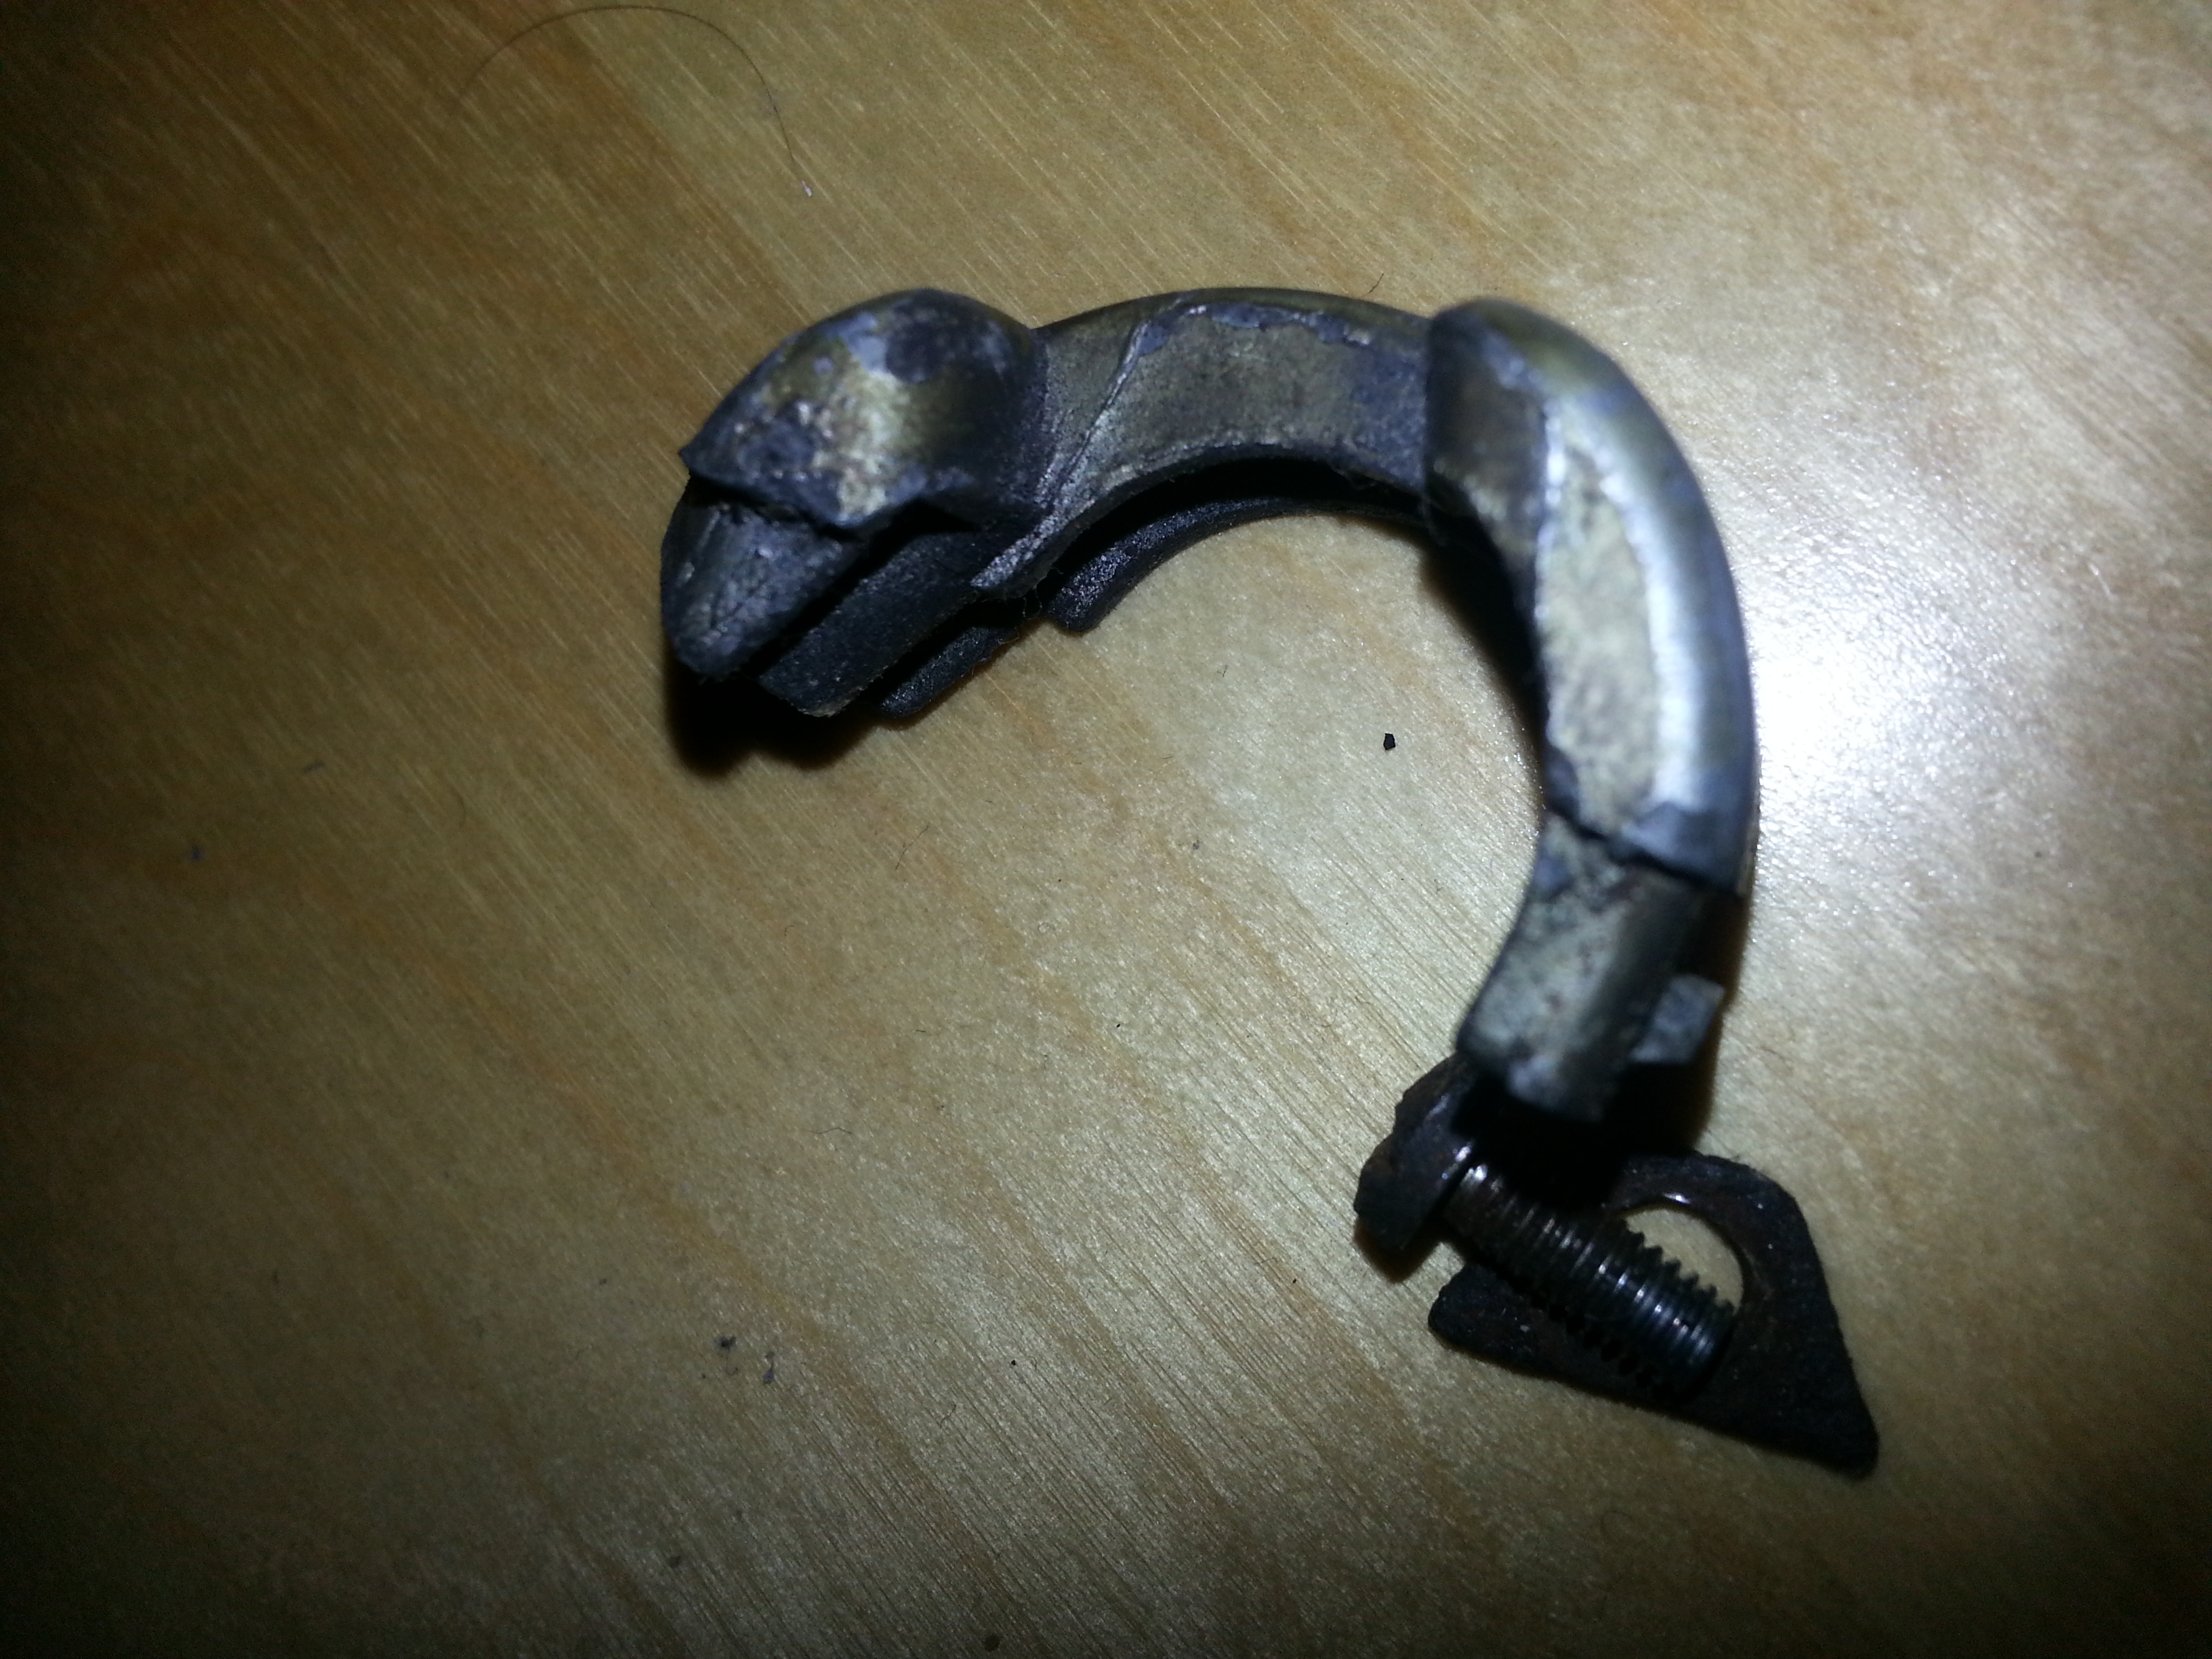
The switch without wires looks like this (if you look carefully you’ll see a hair fracture near the bottom left connector that I made). The tip to remove the screw from that connector is to drill out the wire through the hole in the connector; that will take the pressure off. A day or two of WD40 and an ultrasonic parts cleaner will do the rest. Please note: I found that my ultrasonic parts cleaner solution can take colour off the plastic; it was much darker blue before it went in.
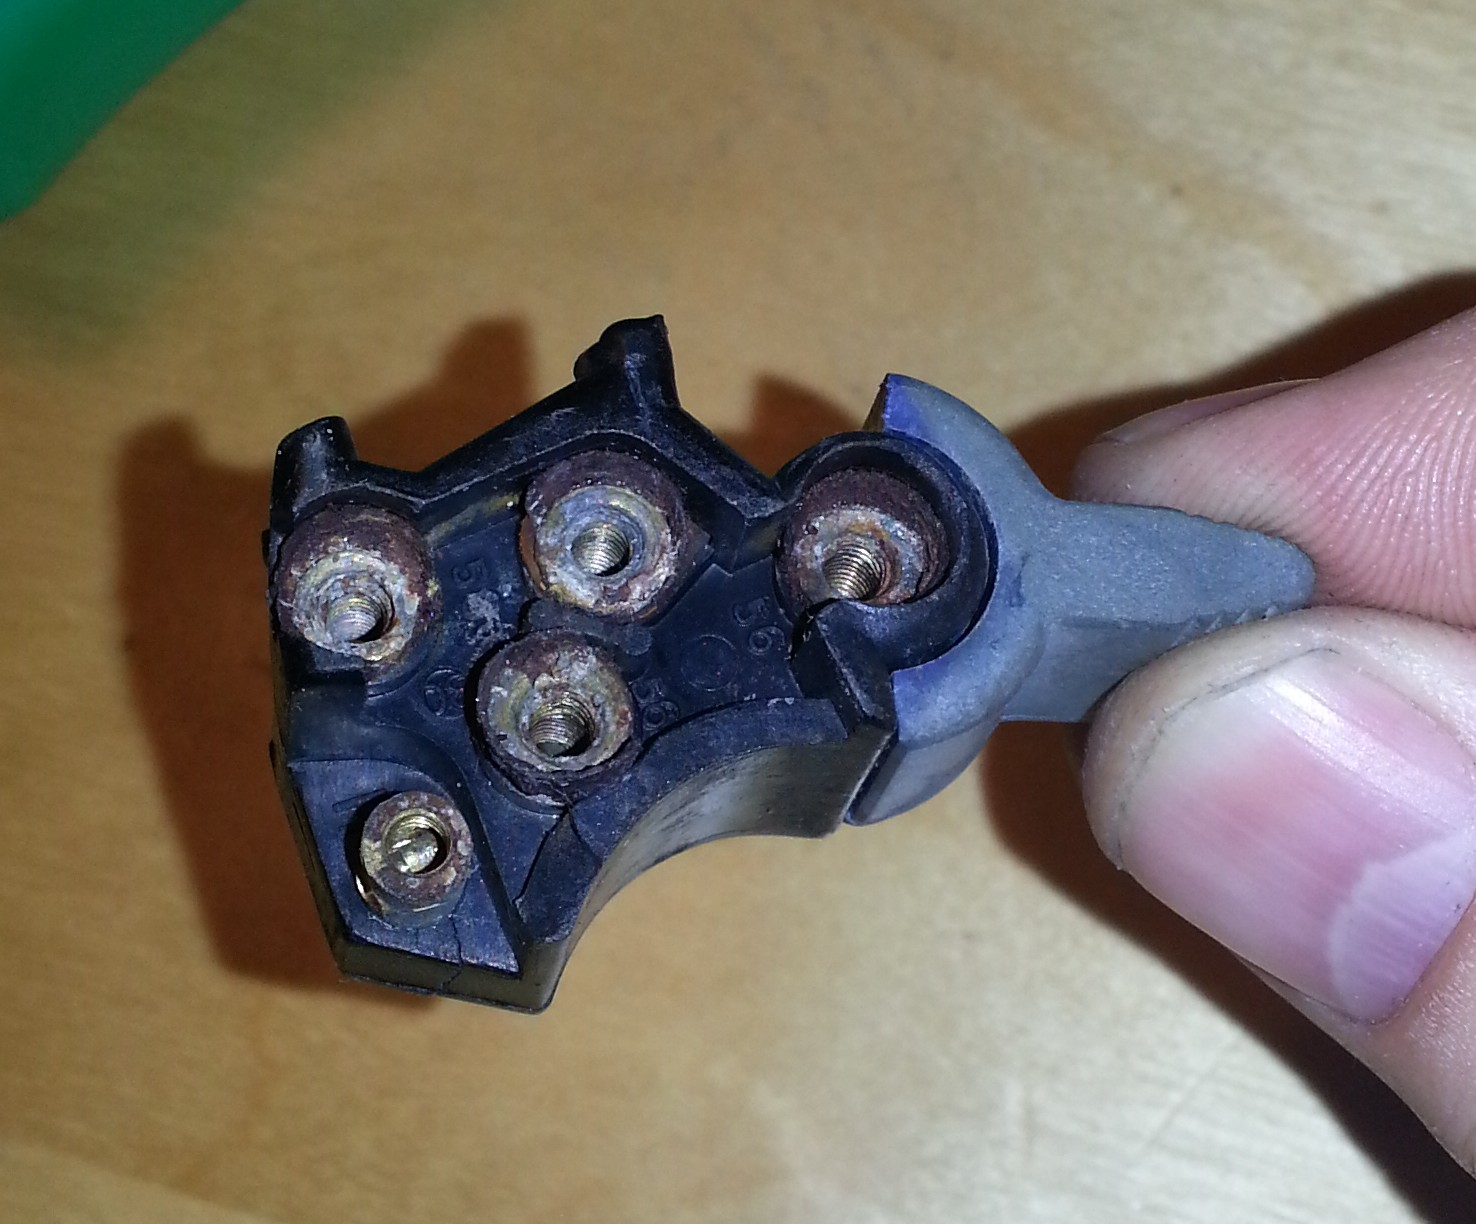
I ordered new stainless screws to not have the corrosion problem again.
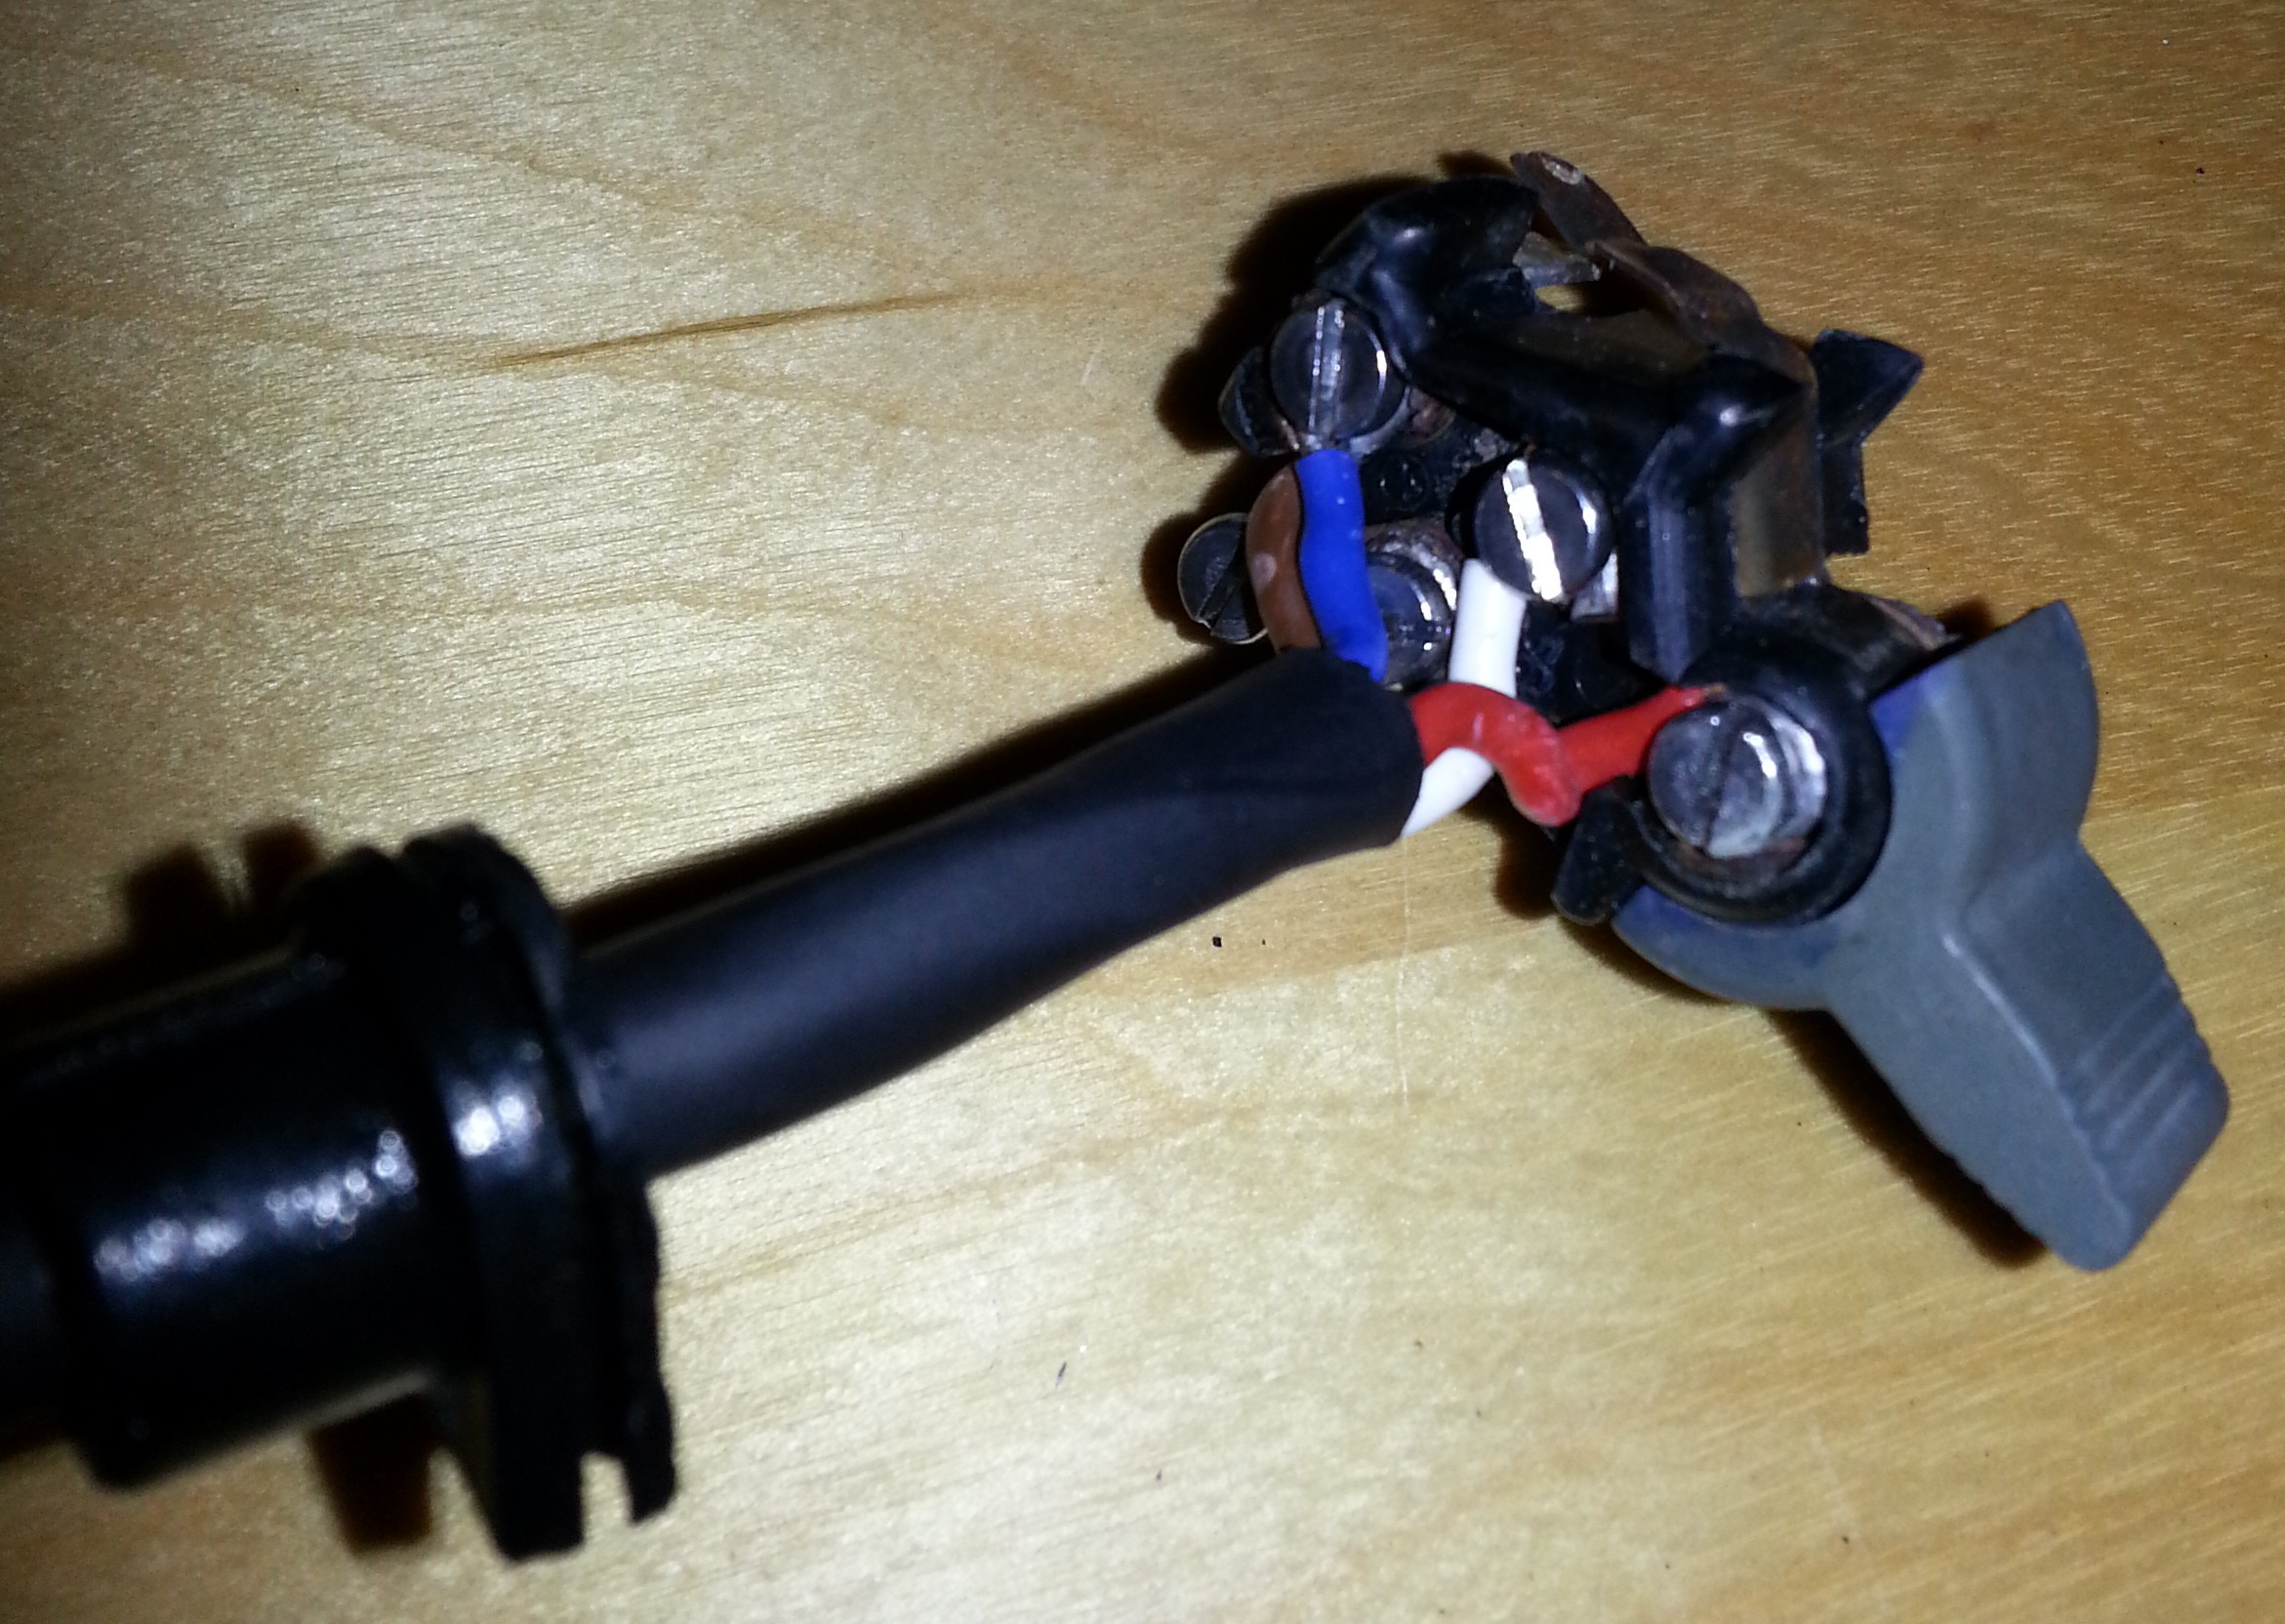
After thorough cleaning the switch I created a new wire harness for it, tinned the ends, and wrapped them around the screws as per the original approach:
It’s a bit of a squeeze, but the cover will go on like this.
Next steps are to re-chrome the switch cover. This is work in progress:
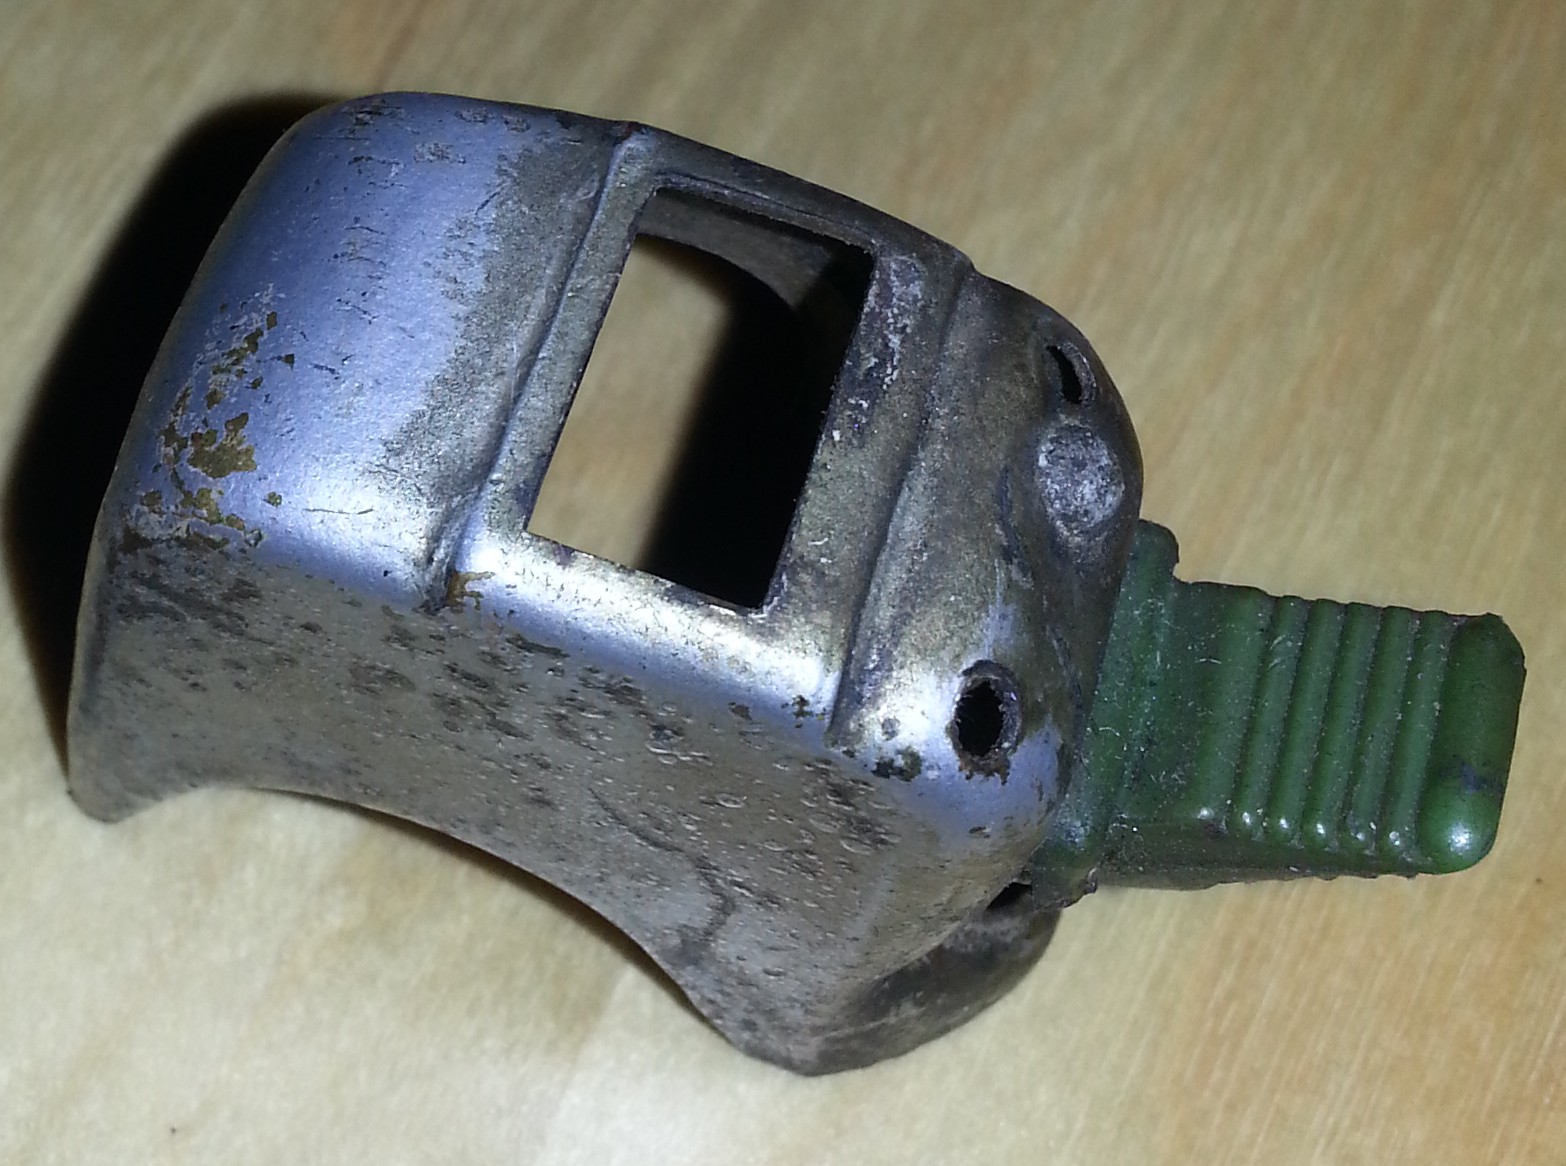
Note the rivet that holds the light horn switch in place. I had to grind that off. More to follow once the cover is re-chromed.