
General
Do not use old tires. They may look fine, but years of doing nothing is not good for a tire. The inner tube will degrade too. If not used for a few years, replace them.
Wheel innards
The Zündapp Bella wheels are interchangeable, so you don’t need to take care which wheel was where. Inside you will fine two bearings, two oil seals and various bespoke Zündapp parts.
If your Bella was not restored before, it is very likely that the bearings and oil seals will need replacing. This is not hard to do, but you require the right tools as well as a 20 cm metal bar with a punch dent in it; this is for the bearing puller.
The bearings and oil seals used are:
- 6302 DIN 625
- 6202 DIN 625
- radial seal ring with dust lip A20 x 35 x 7 DIN 6503
The thin washer in the wheel can be a varying size; it will be one of the following:
- 15.2 x 36.6 x 0.1
- 15.2 x 36.6 x 0.2
- 15.2 x 36.6 x 0.3
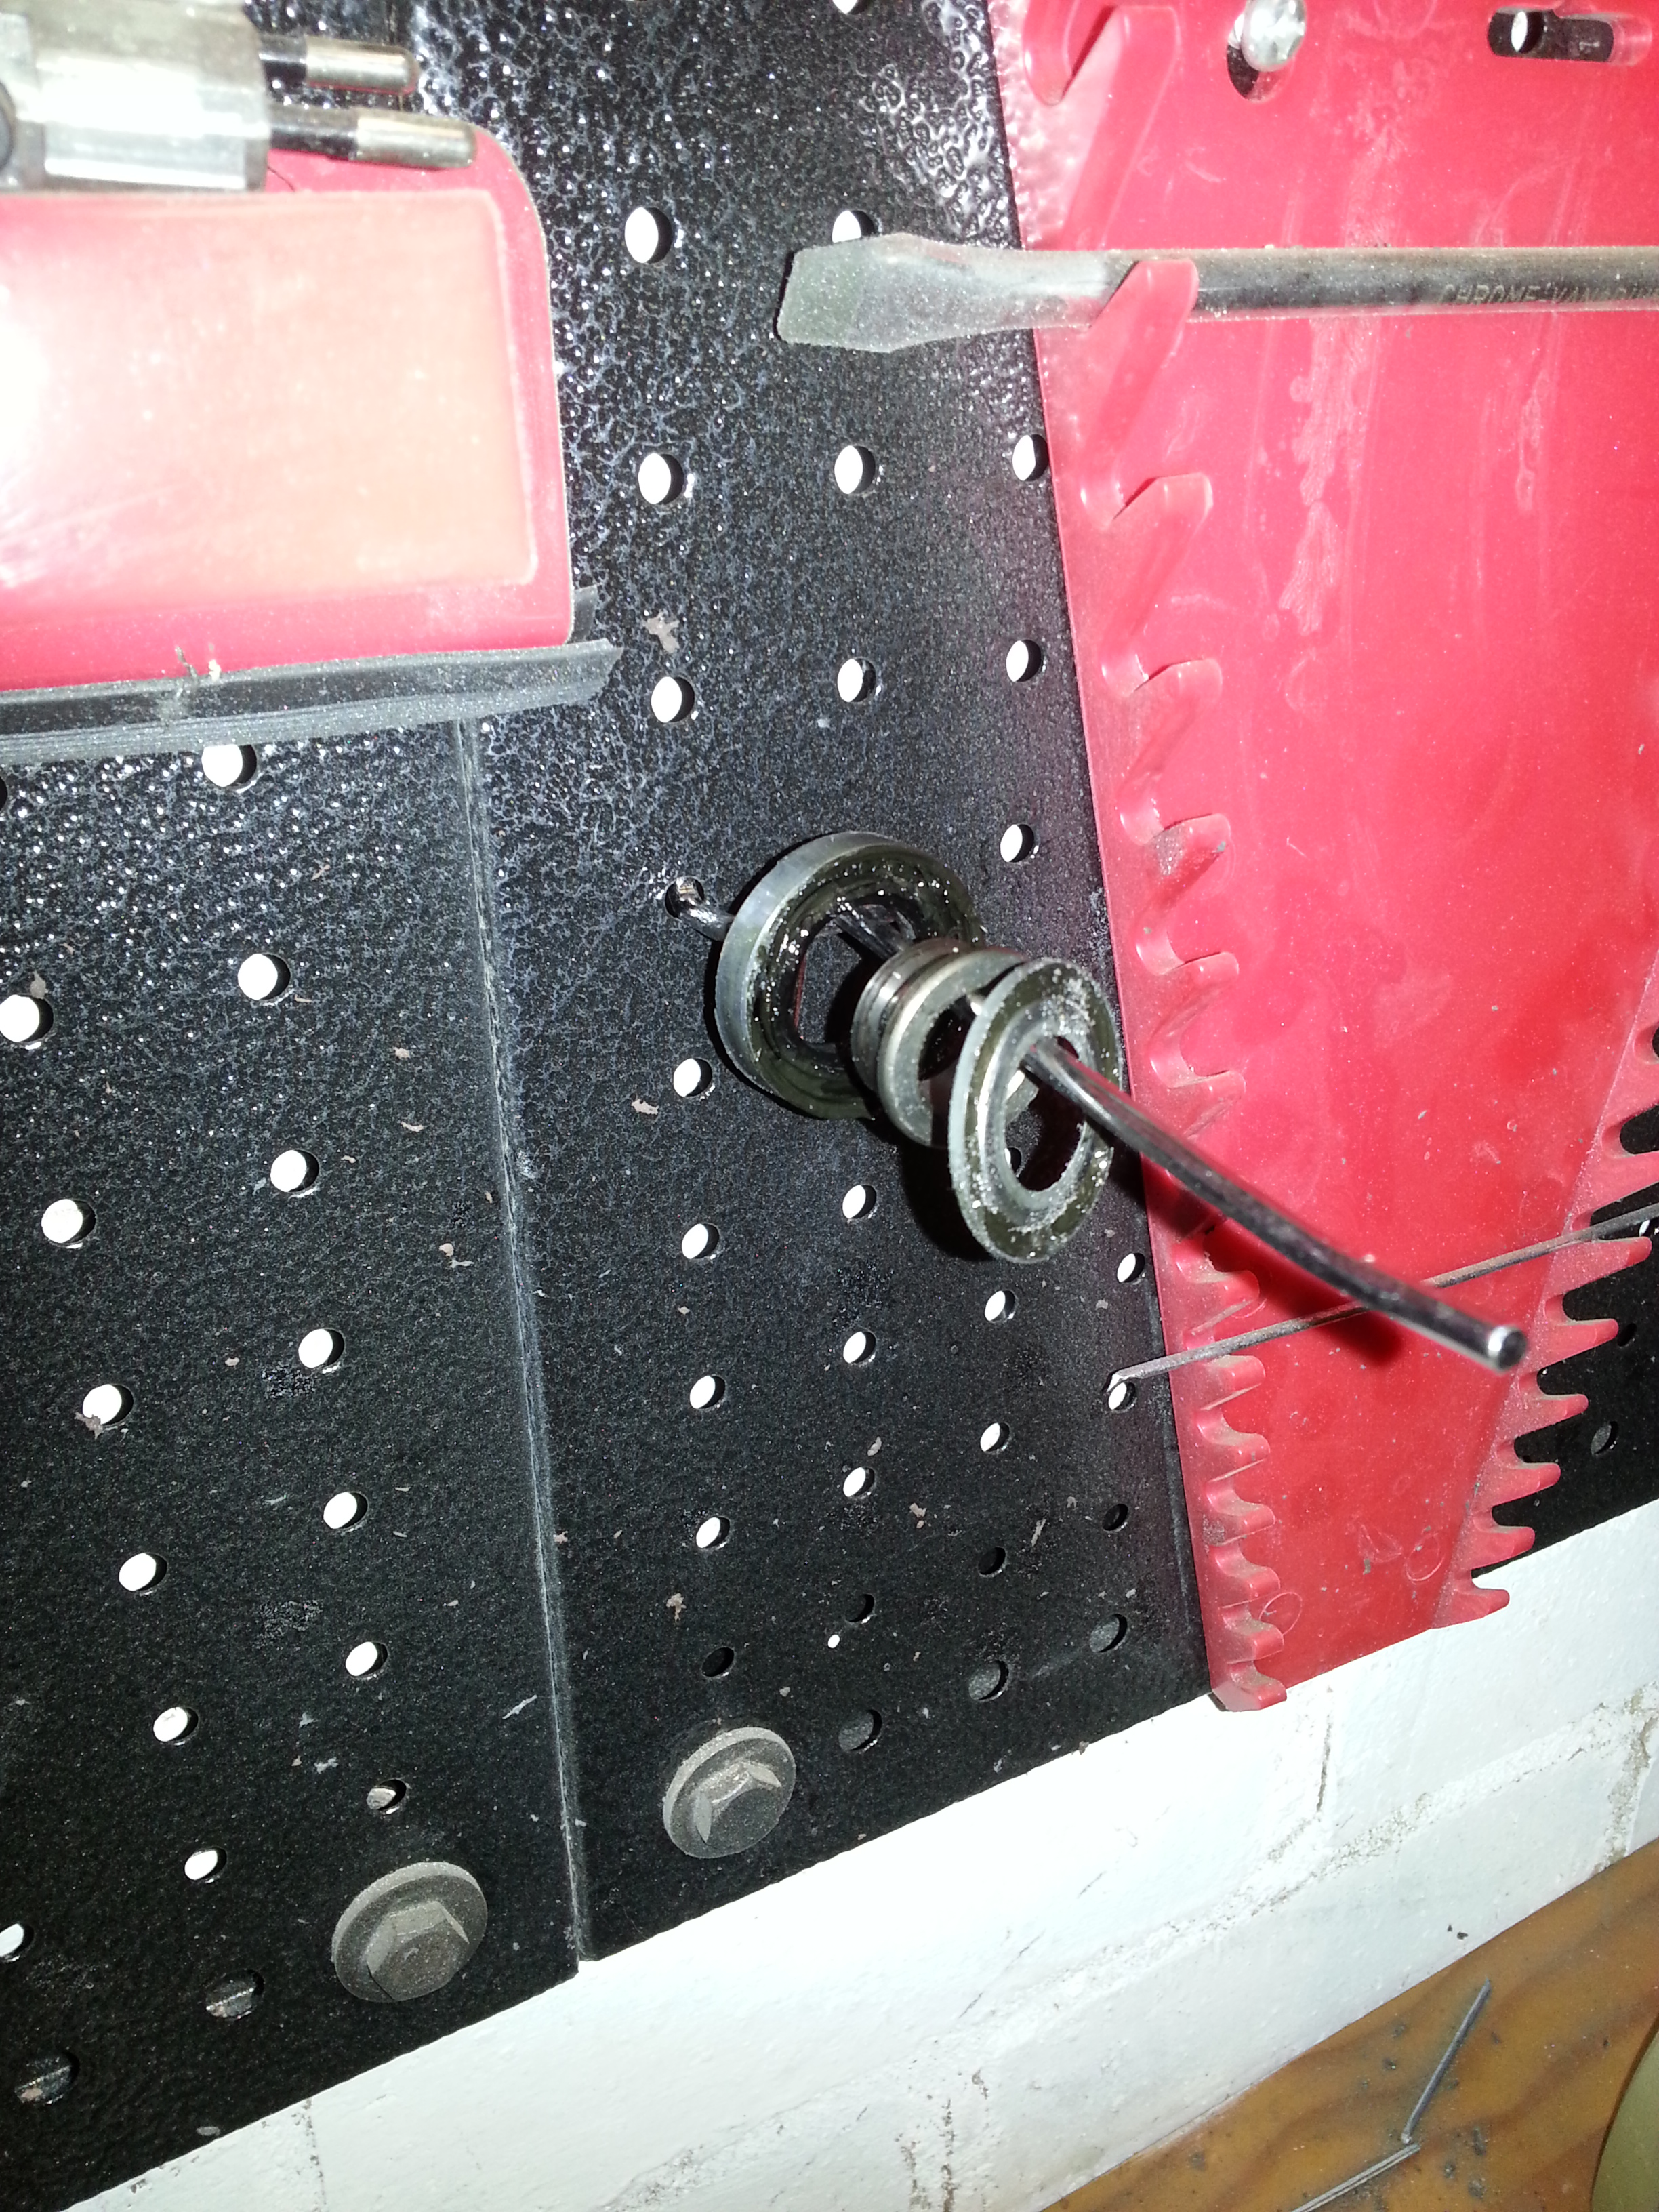
But let’s start with opening the wheel up on the easy side. The seals can be removed with a screw driver or oil seal puller; just be careful not to damage the soft aluminium:
Behind the oil seal you can find a nilos ring and a bearing washer; keep these safe:
to make sure to install the parts in the correct order once the bearings are replaced, I use a peg on my tool board:
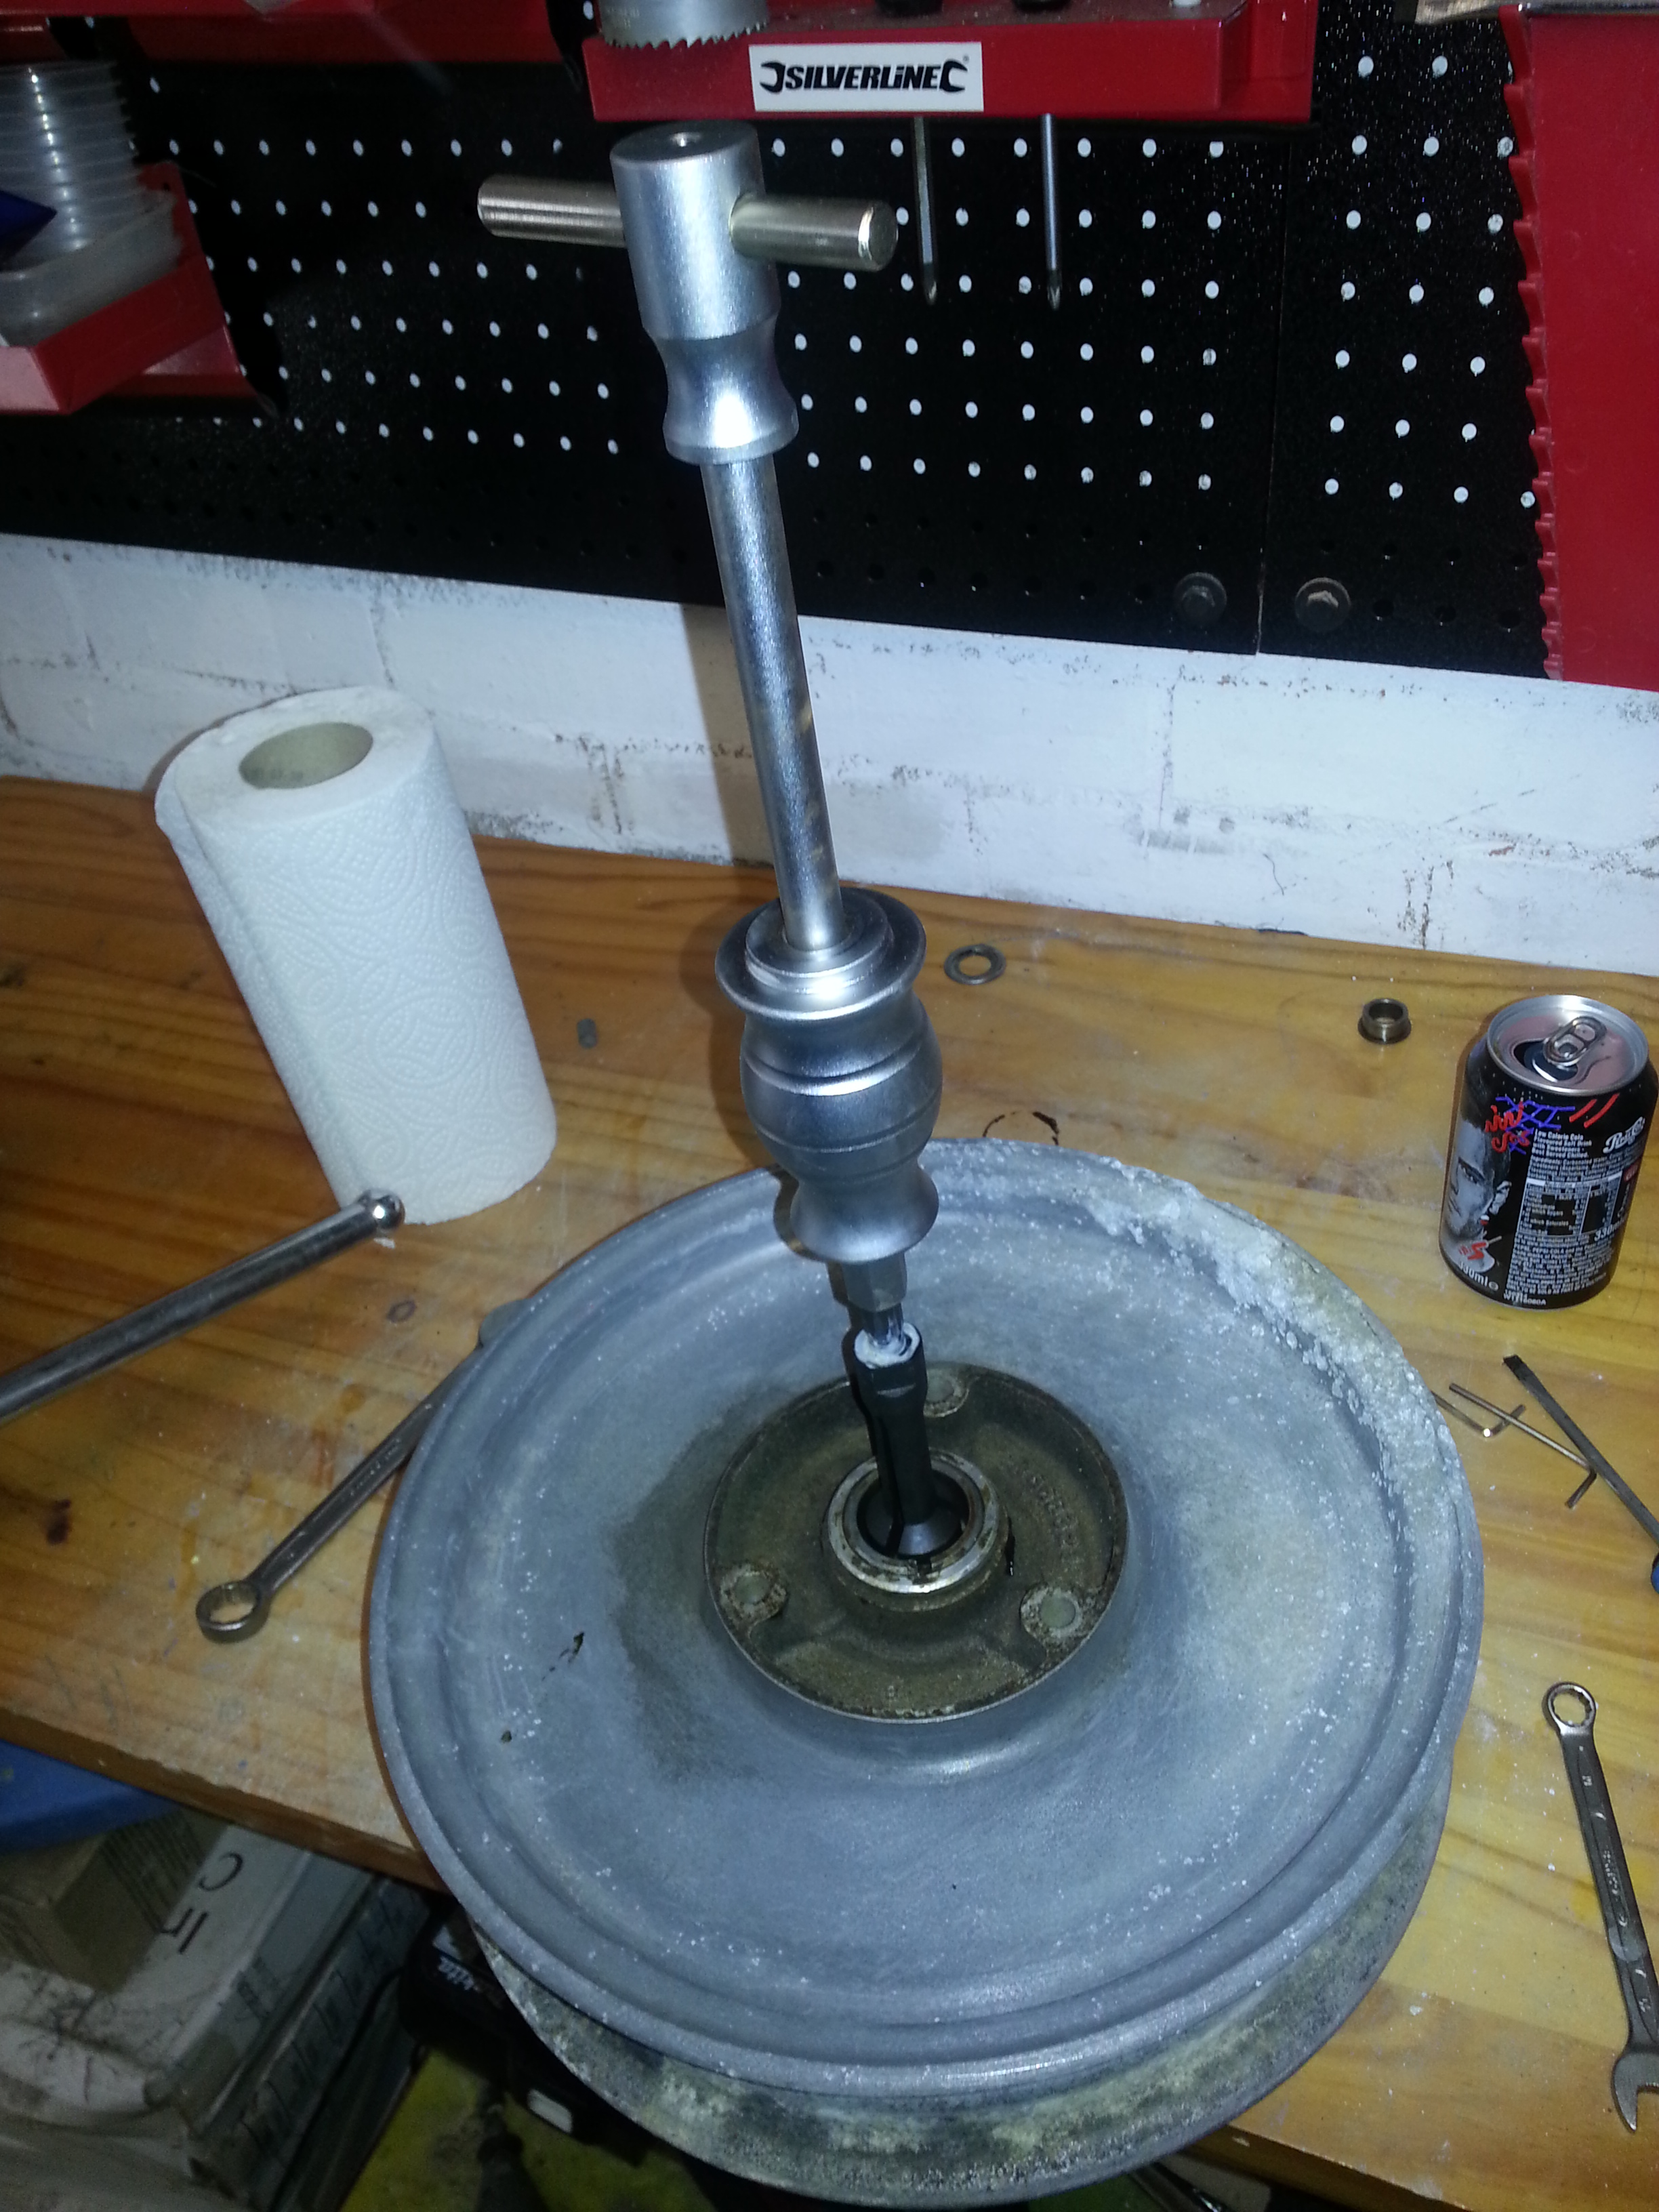
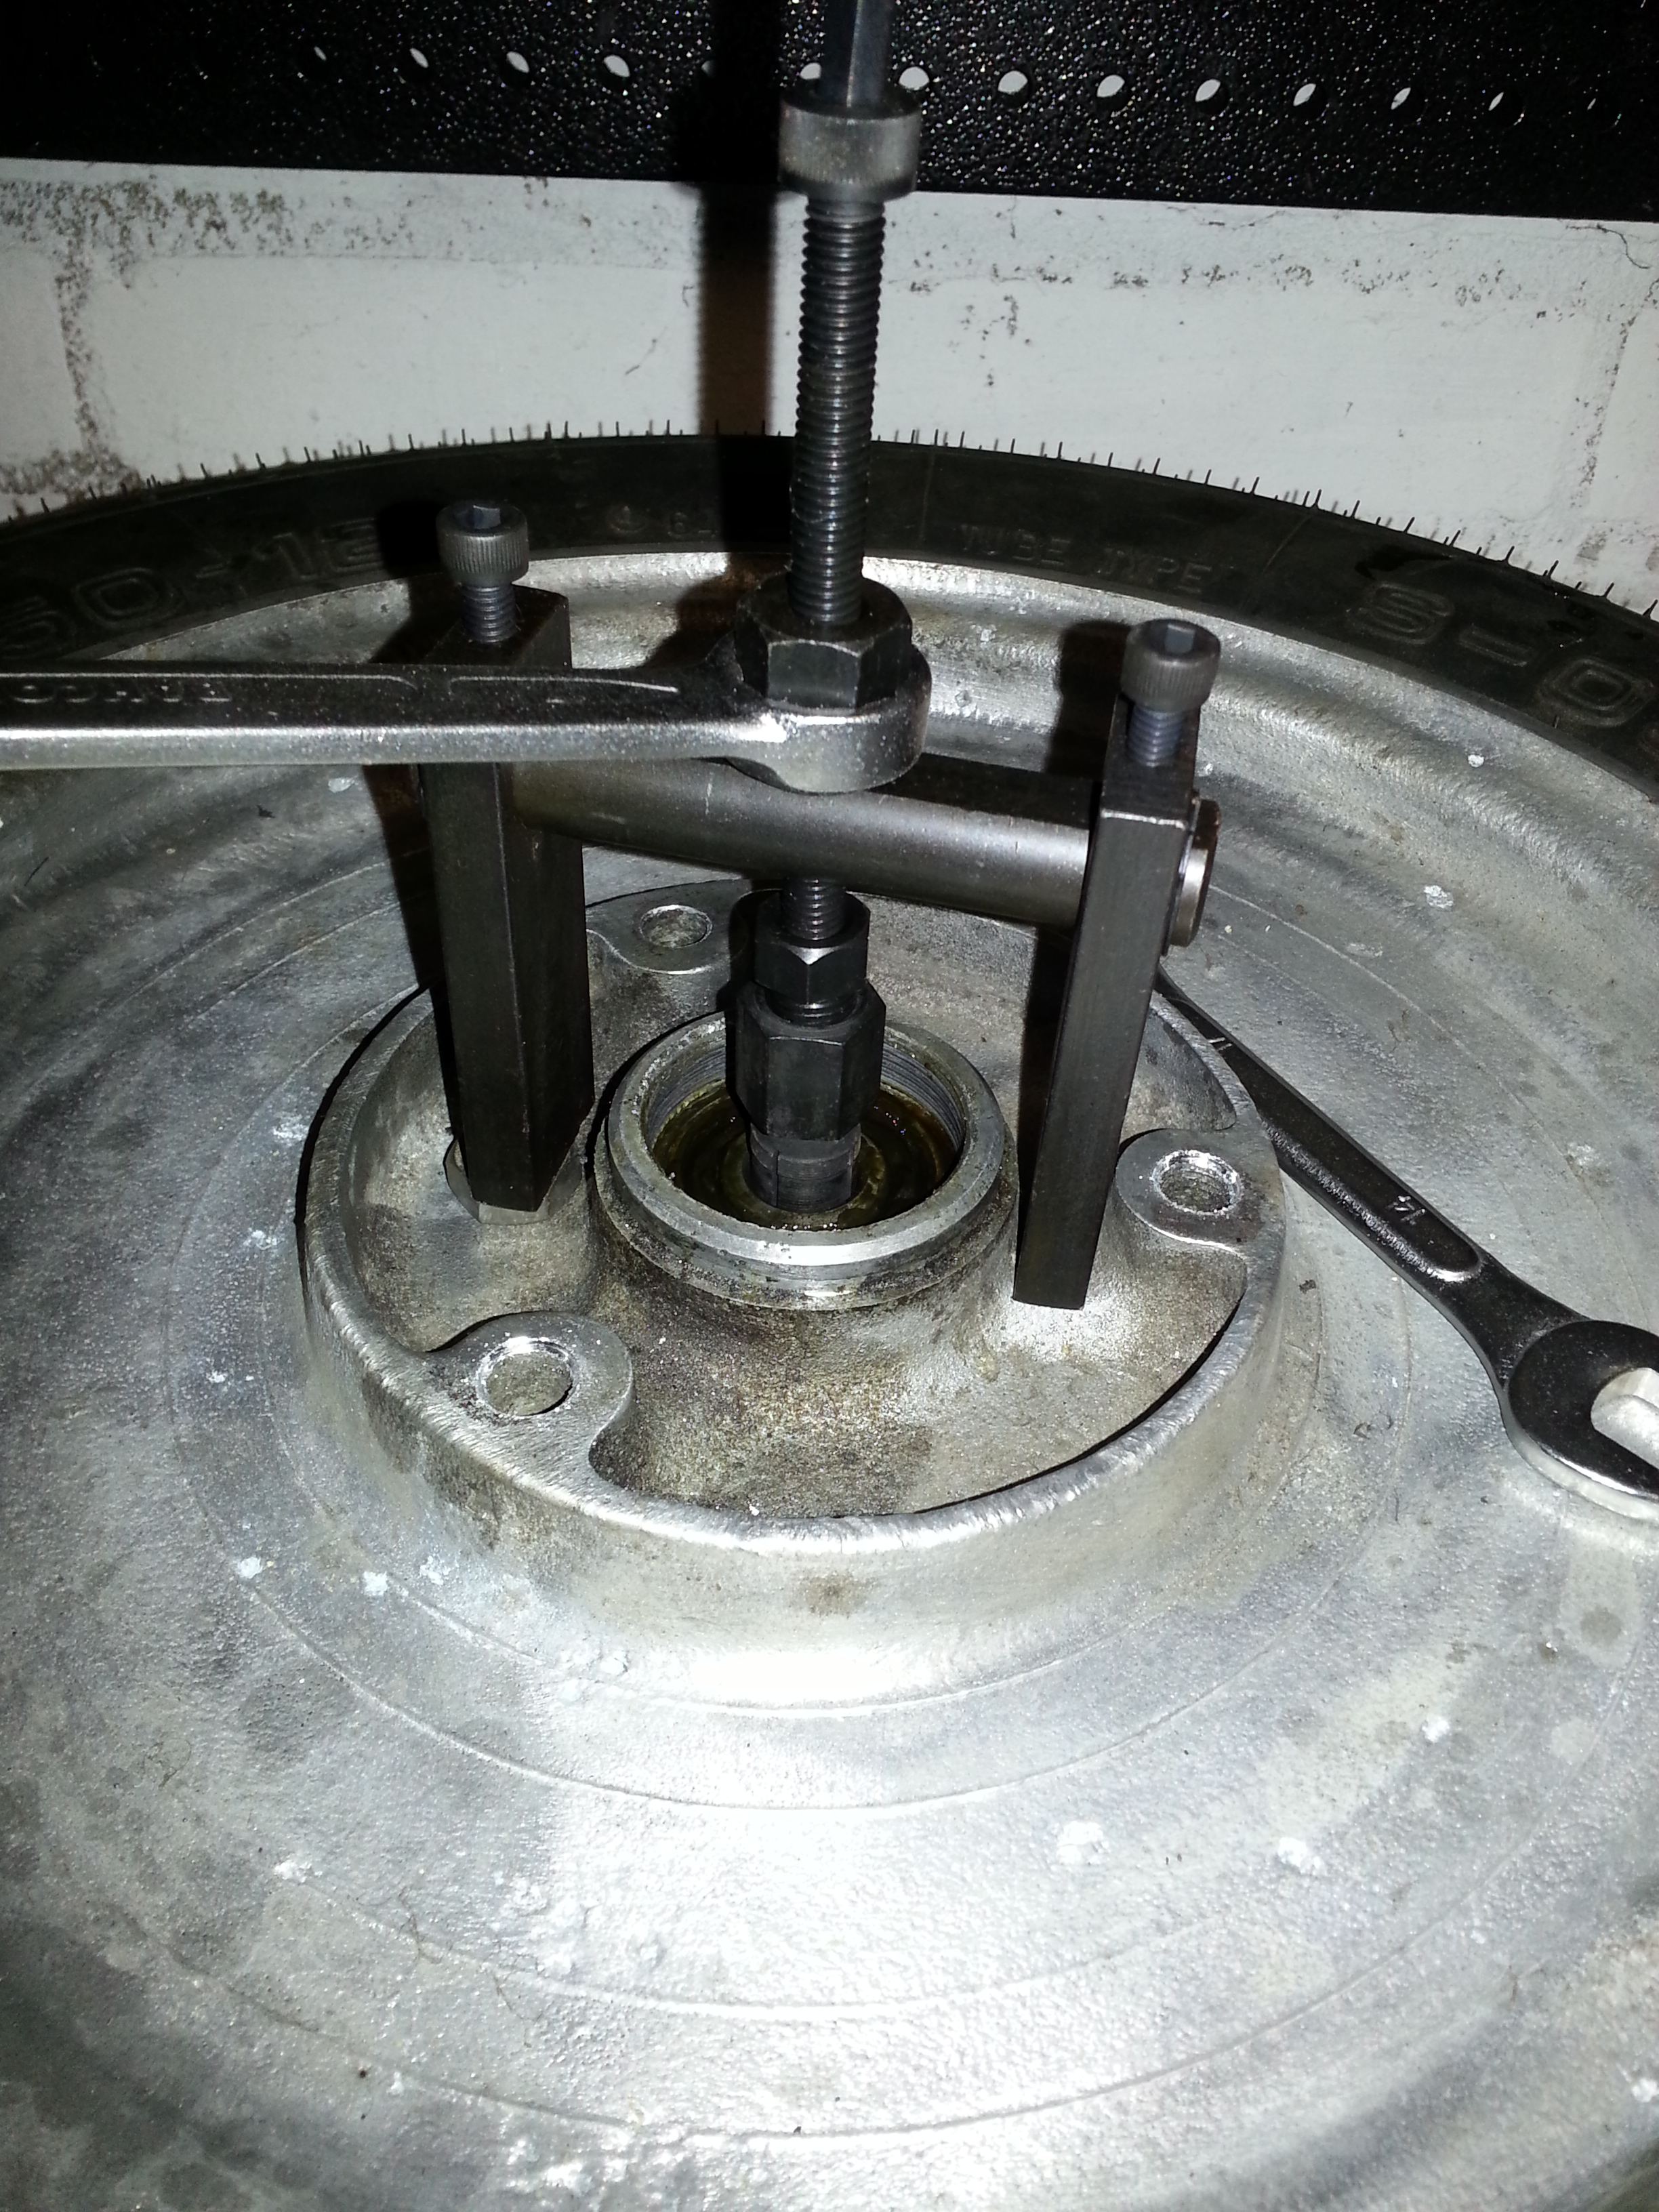
To remove the bearing, use a good quality bearing puller. I bought a square stainless steel bar of 20 x 20 mm as a rest for the puller:
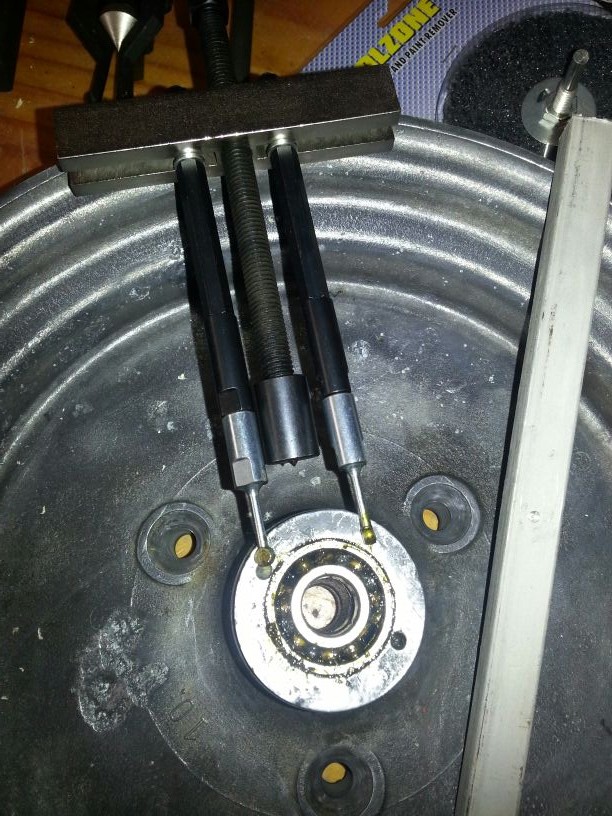
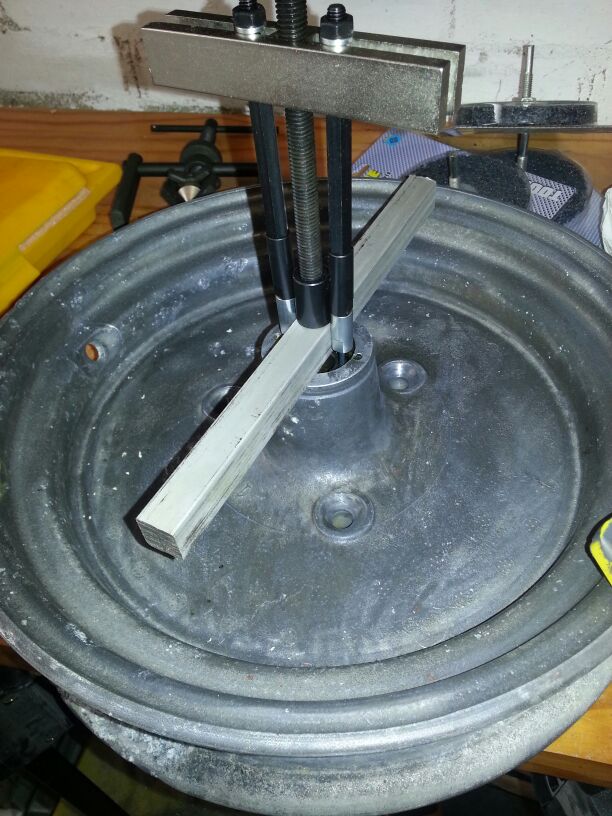
To insert the puller, drill a small hole between the rings of the bearing. There are various other puller that can do the job too. For example:
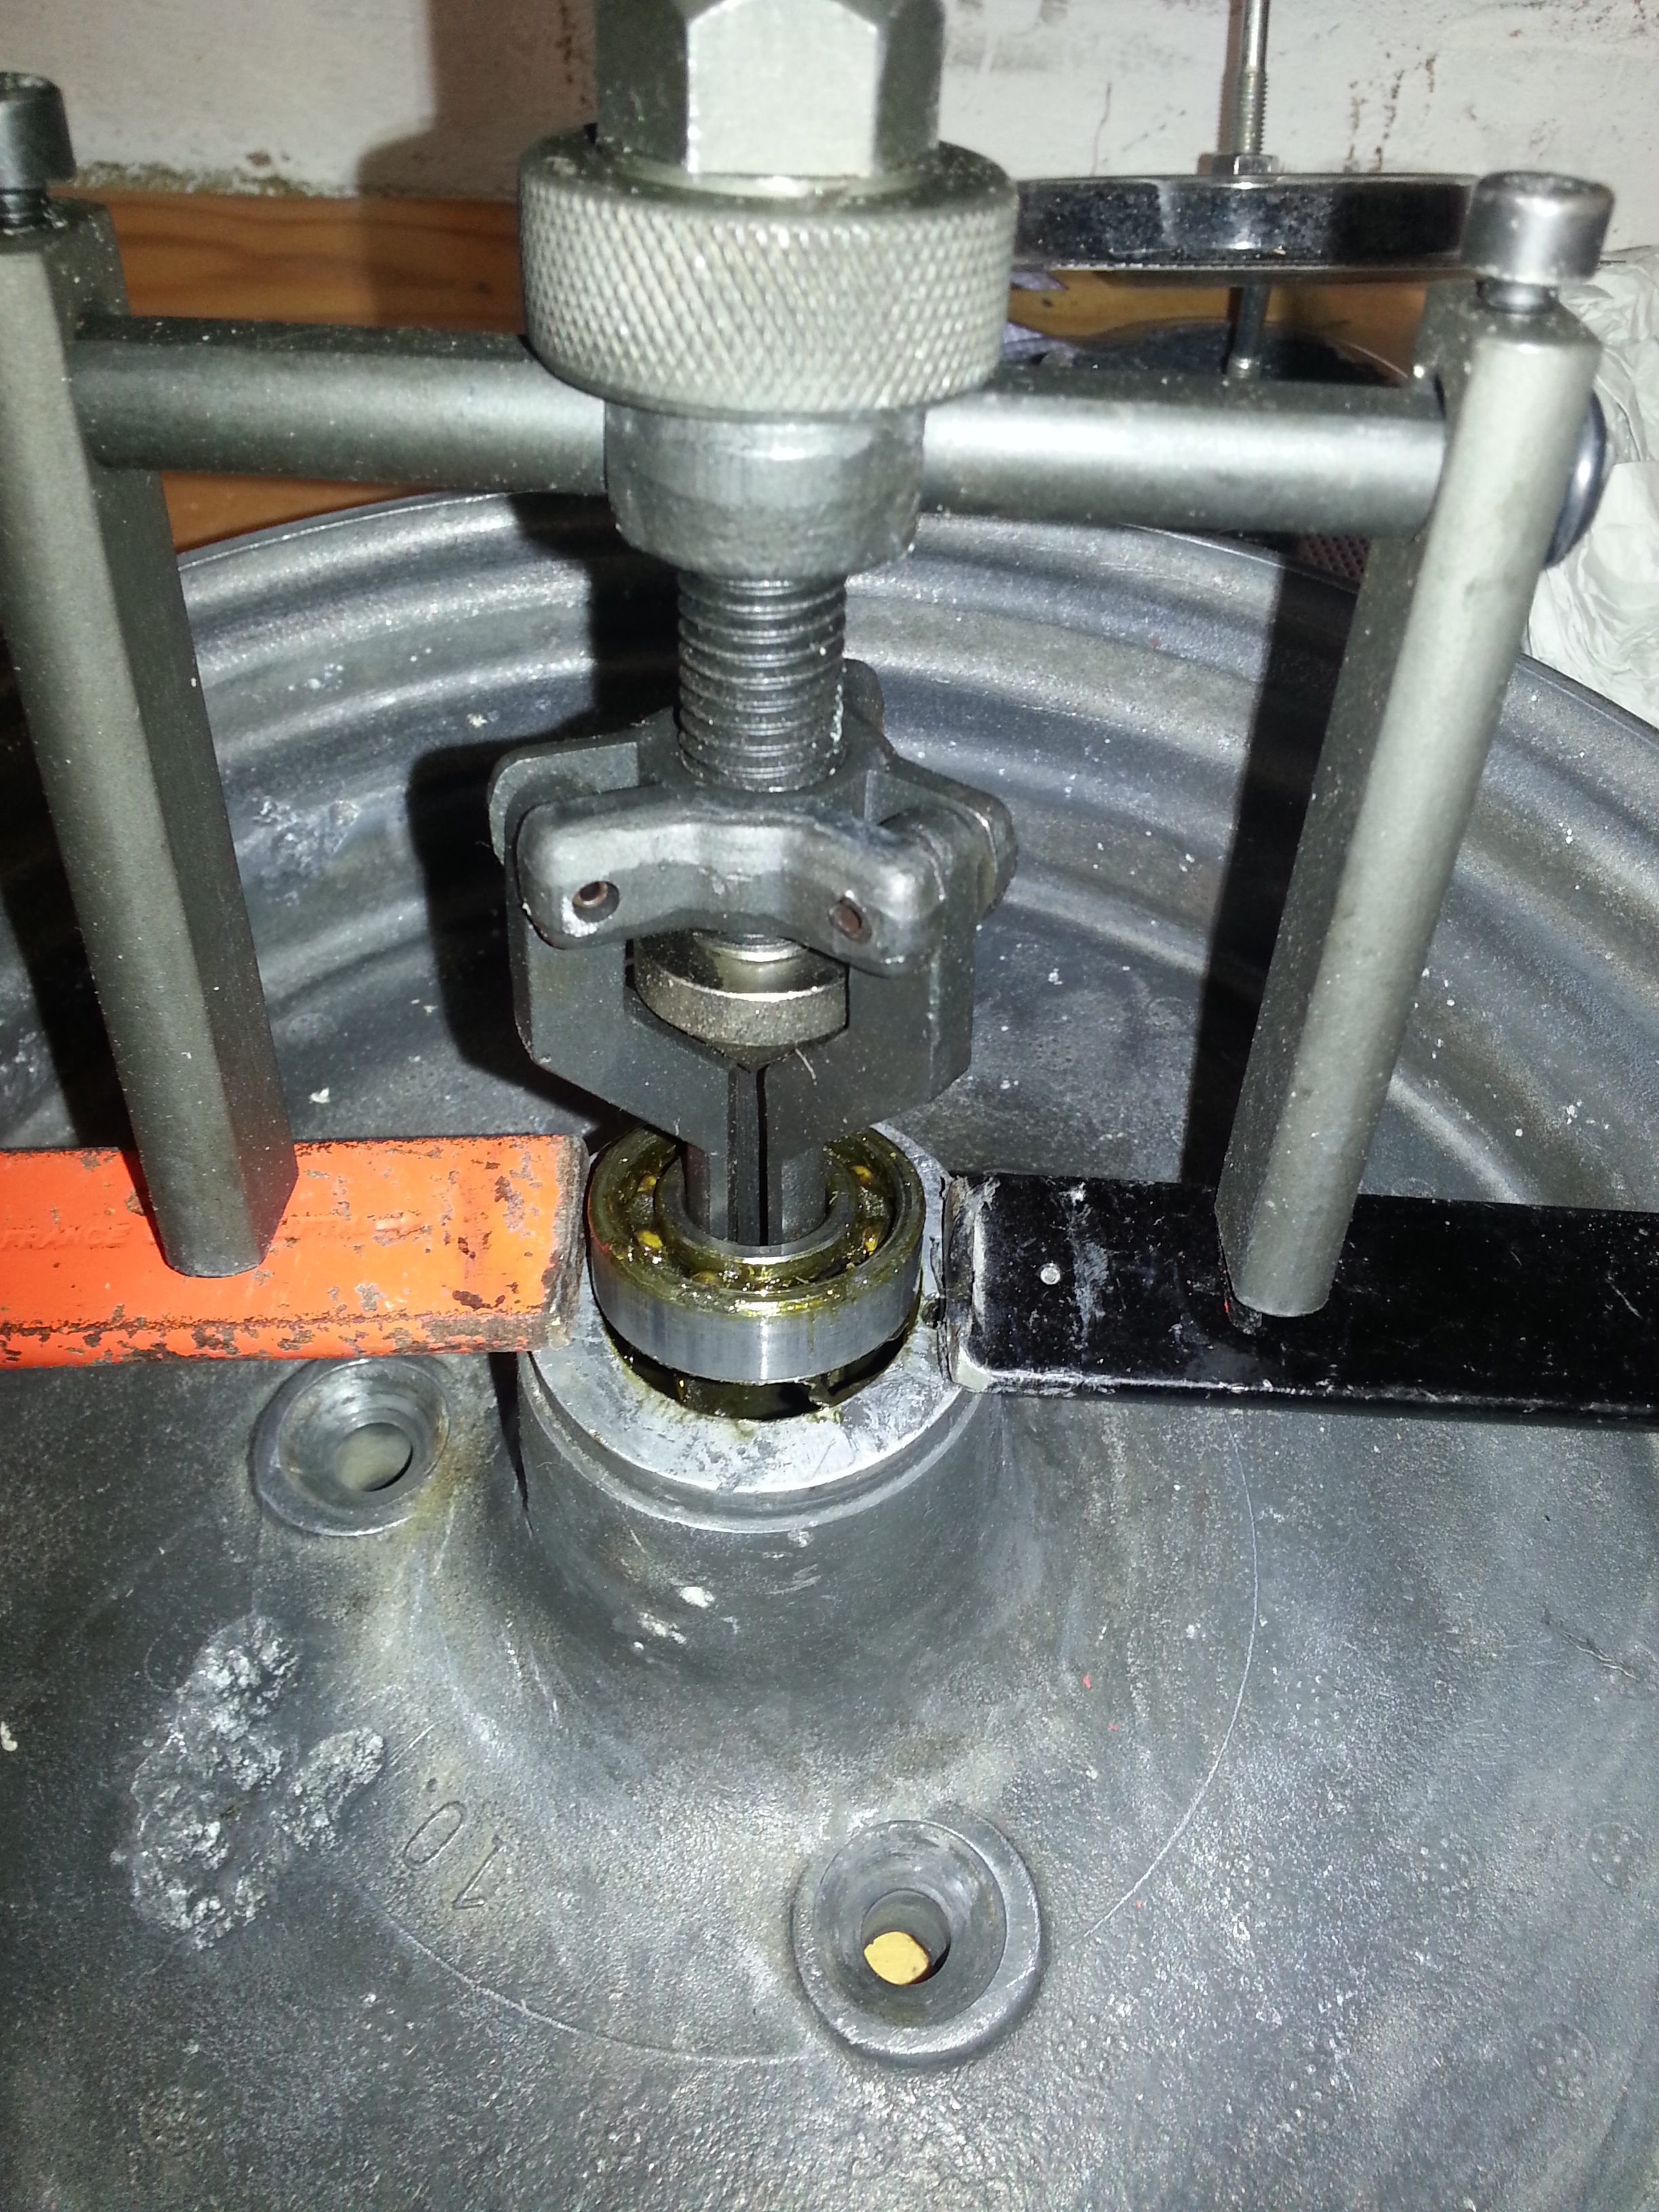
I like the first best as it’s quite controlled. Remember, pulling a bearing out will damage it, even if it doesn’t look like it. Always replace with a new bearing. Press the outer ring when installing in the hub, press the inner ring when installing on an axle. A bearing press set will save you a lot of hassle.
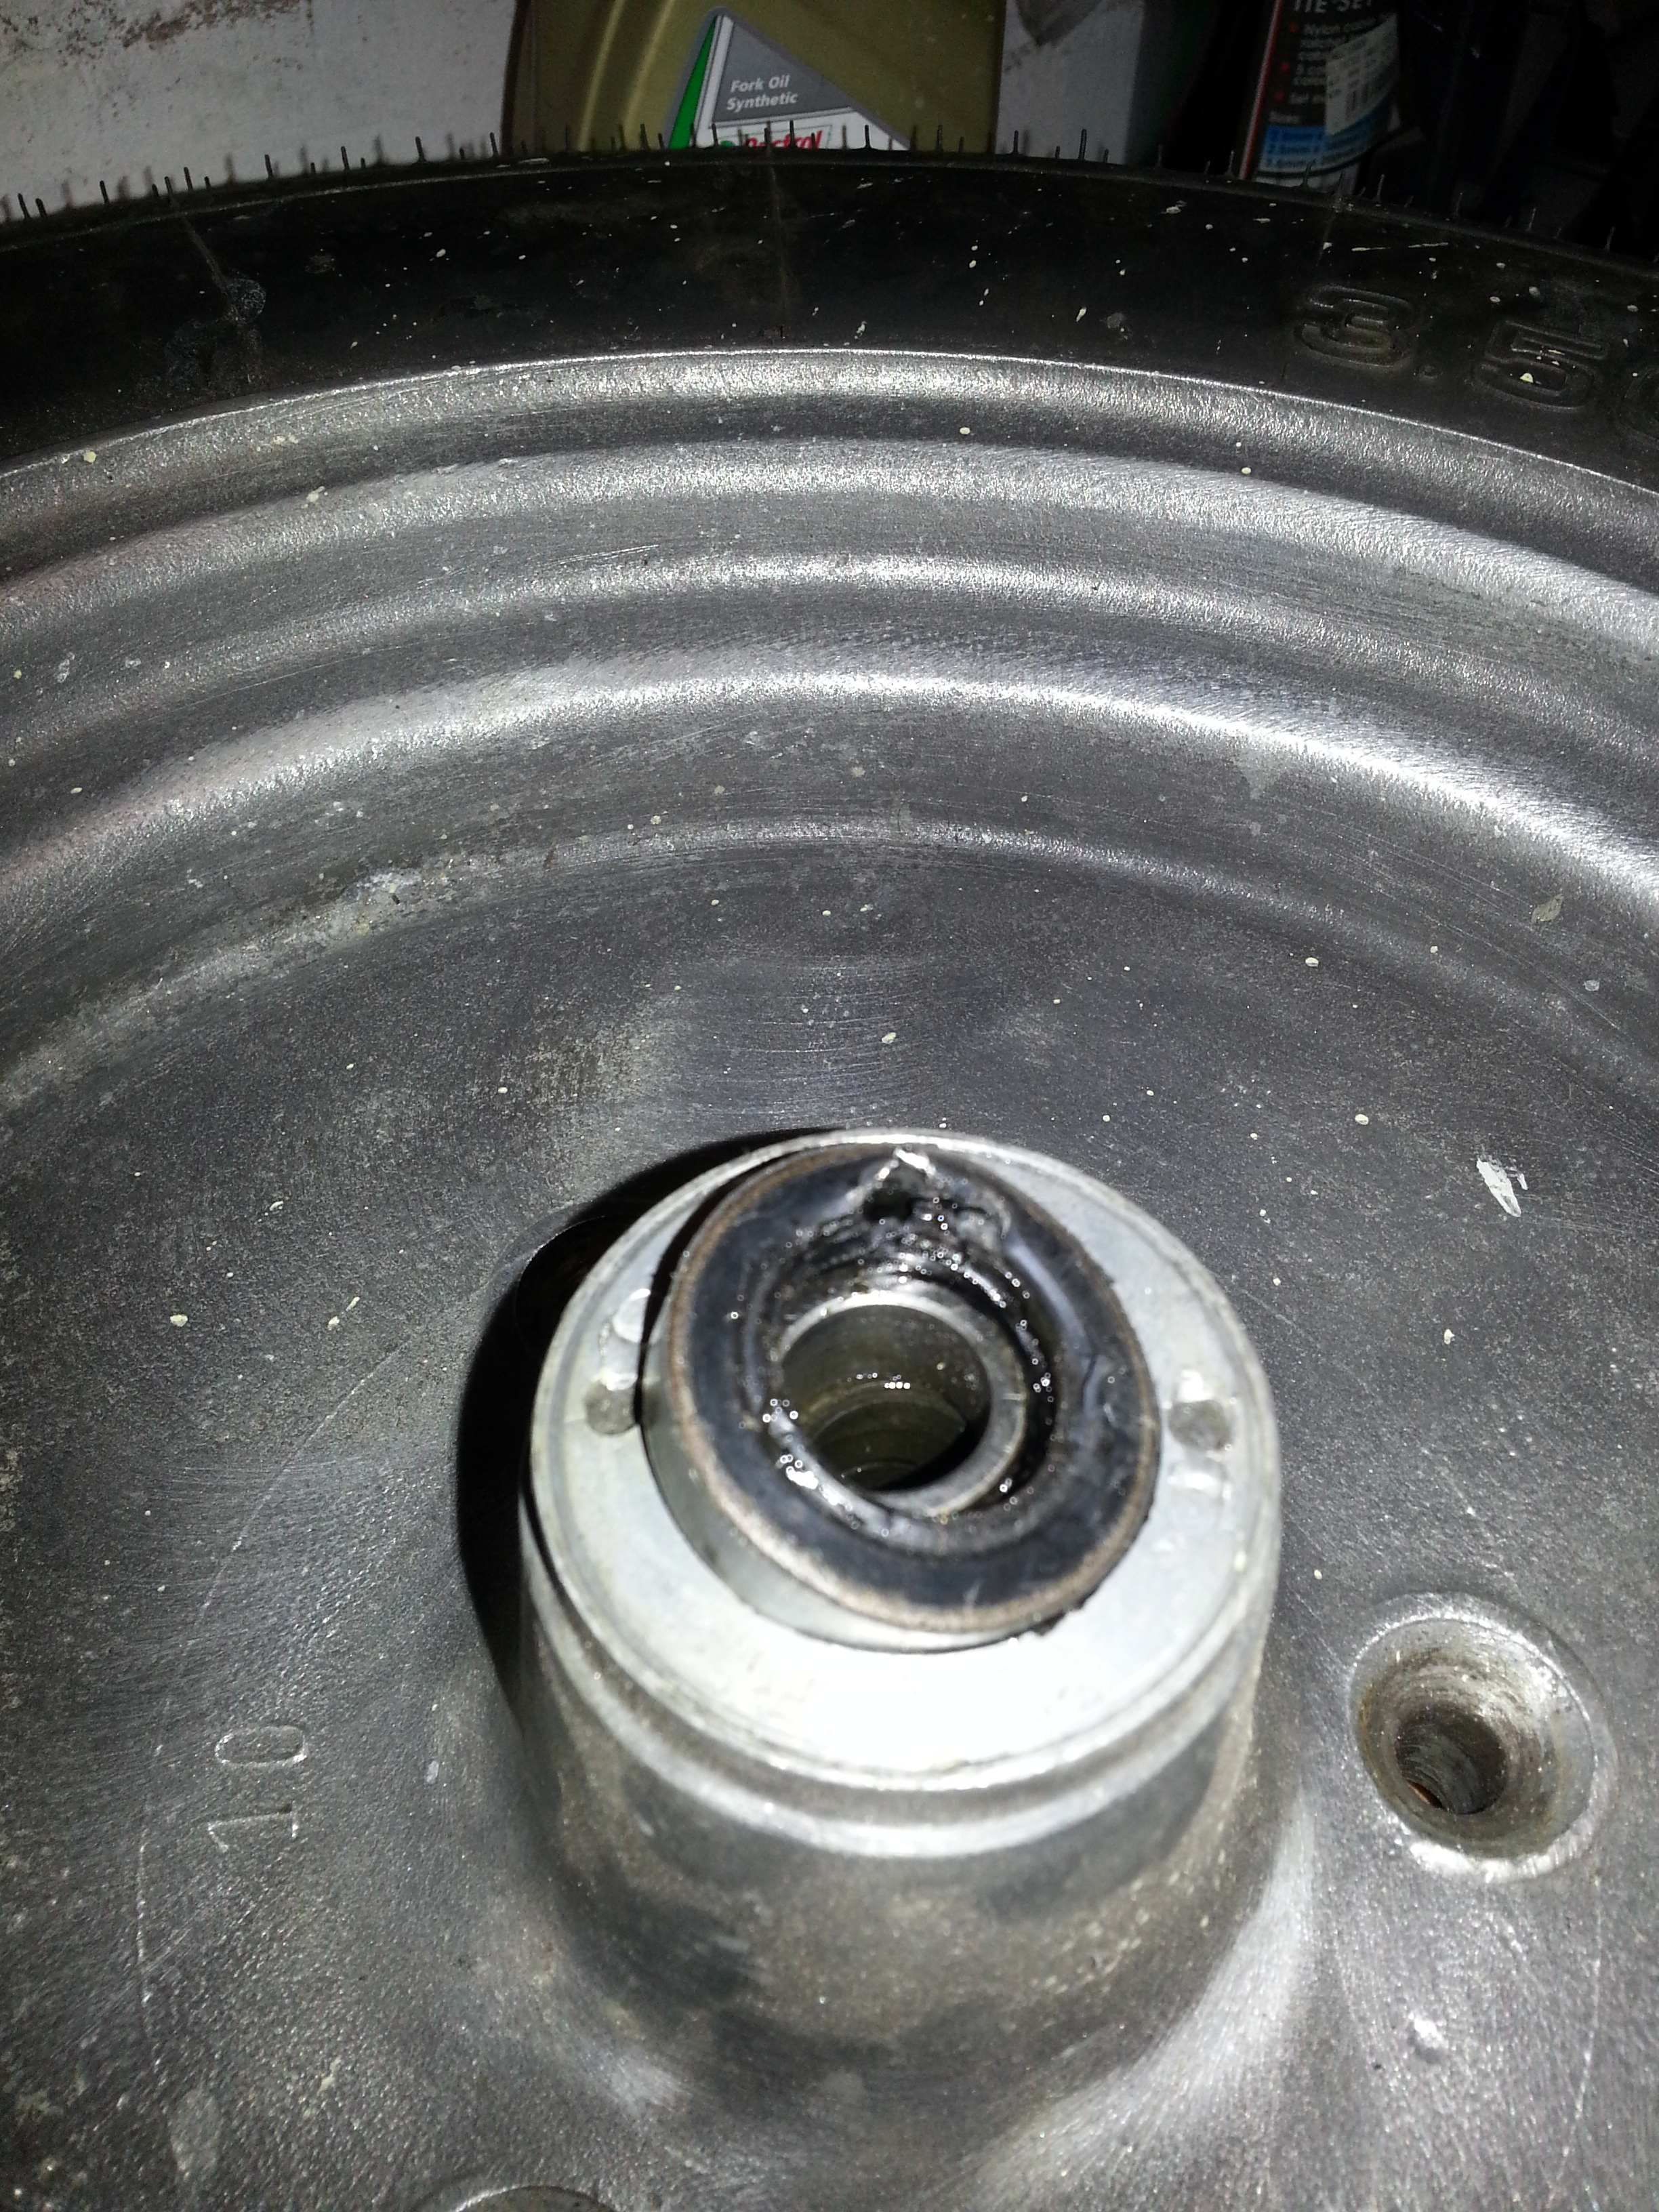
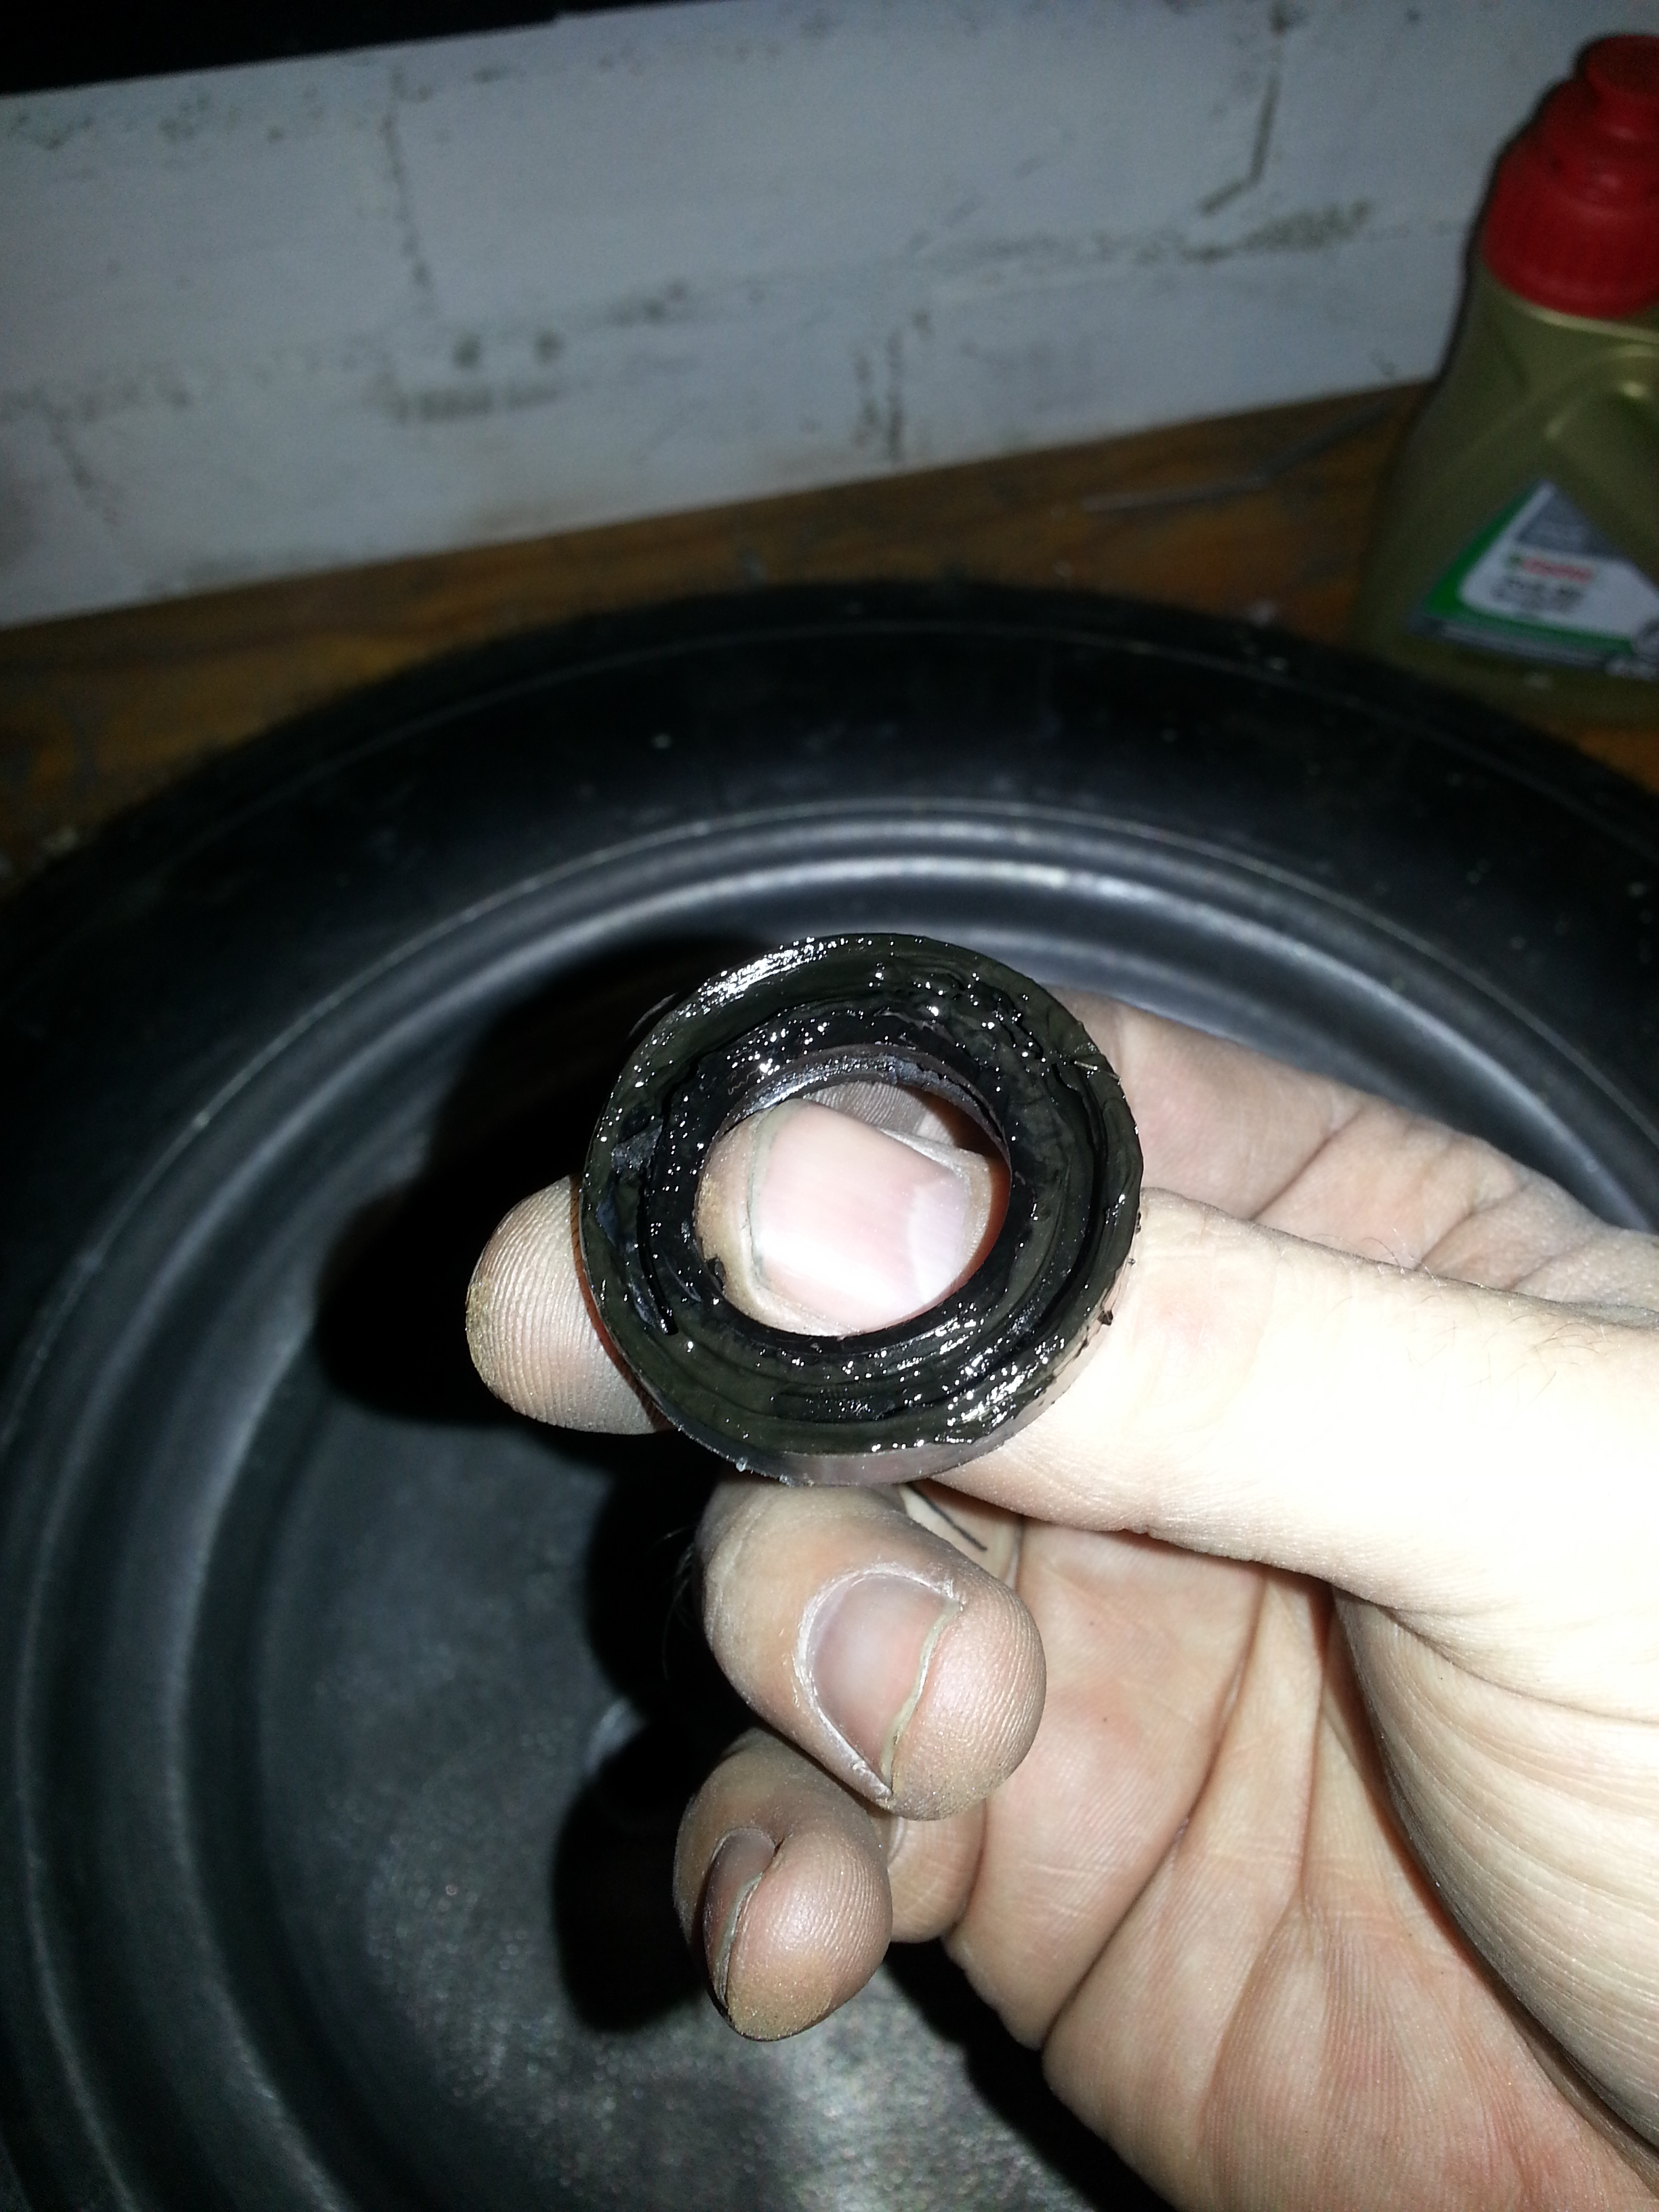
Turning the wheel over you will find an identical bushing behind the seal:
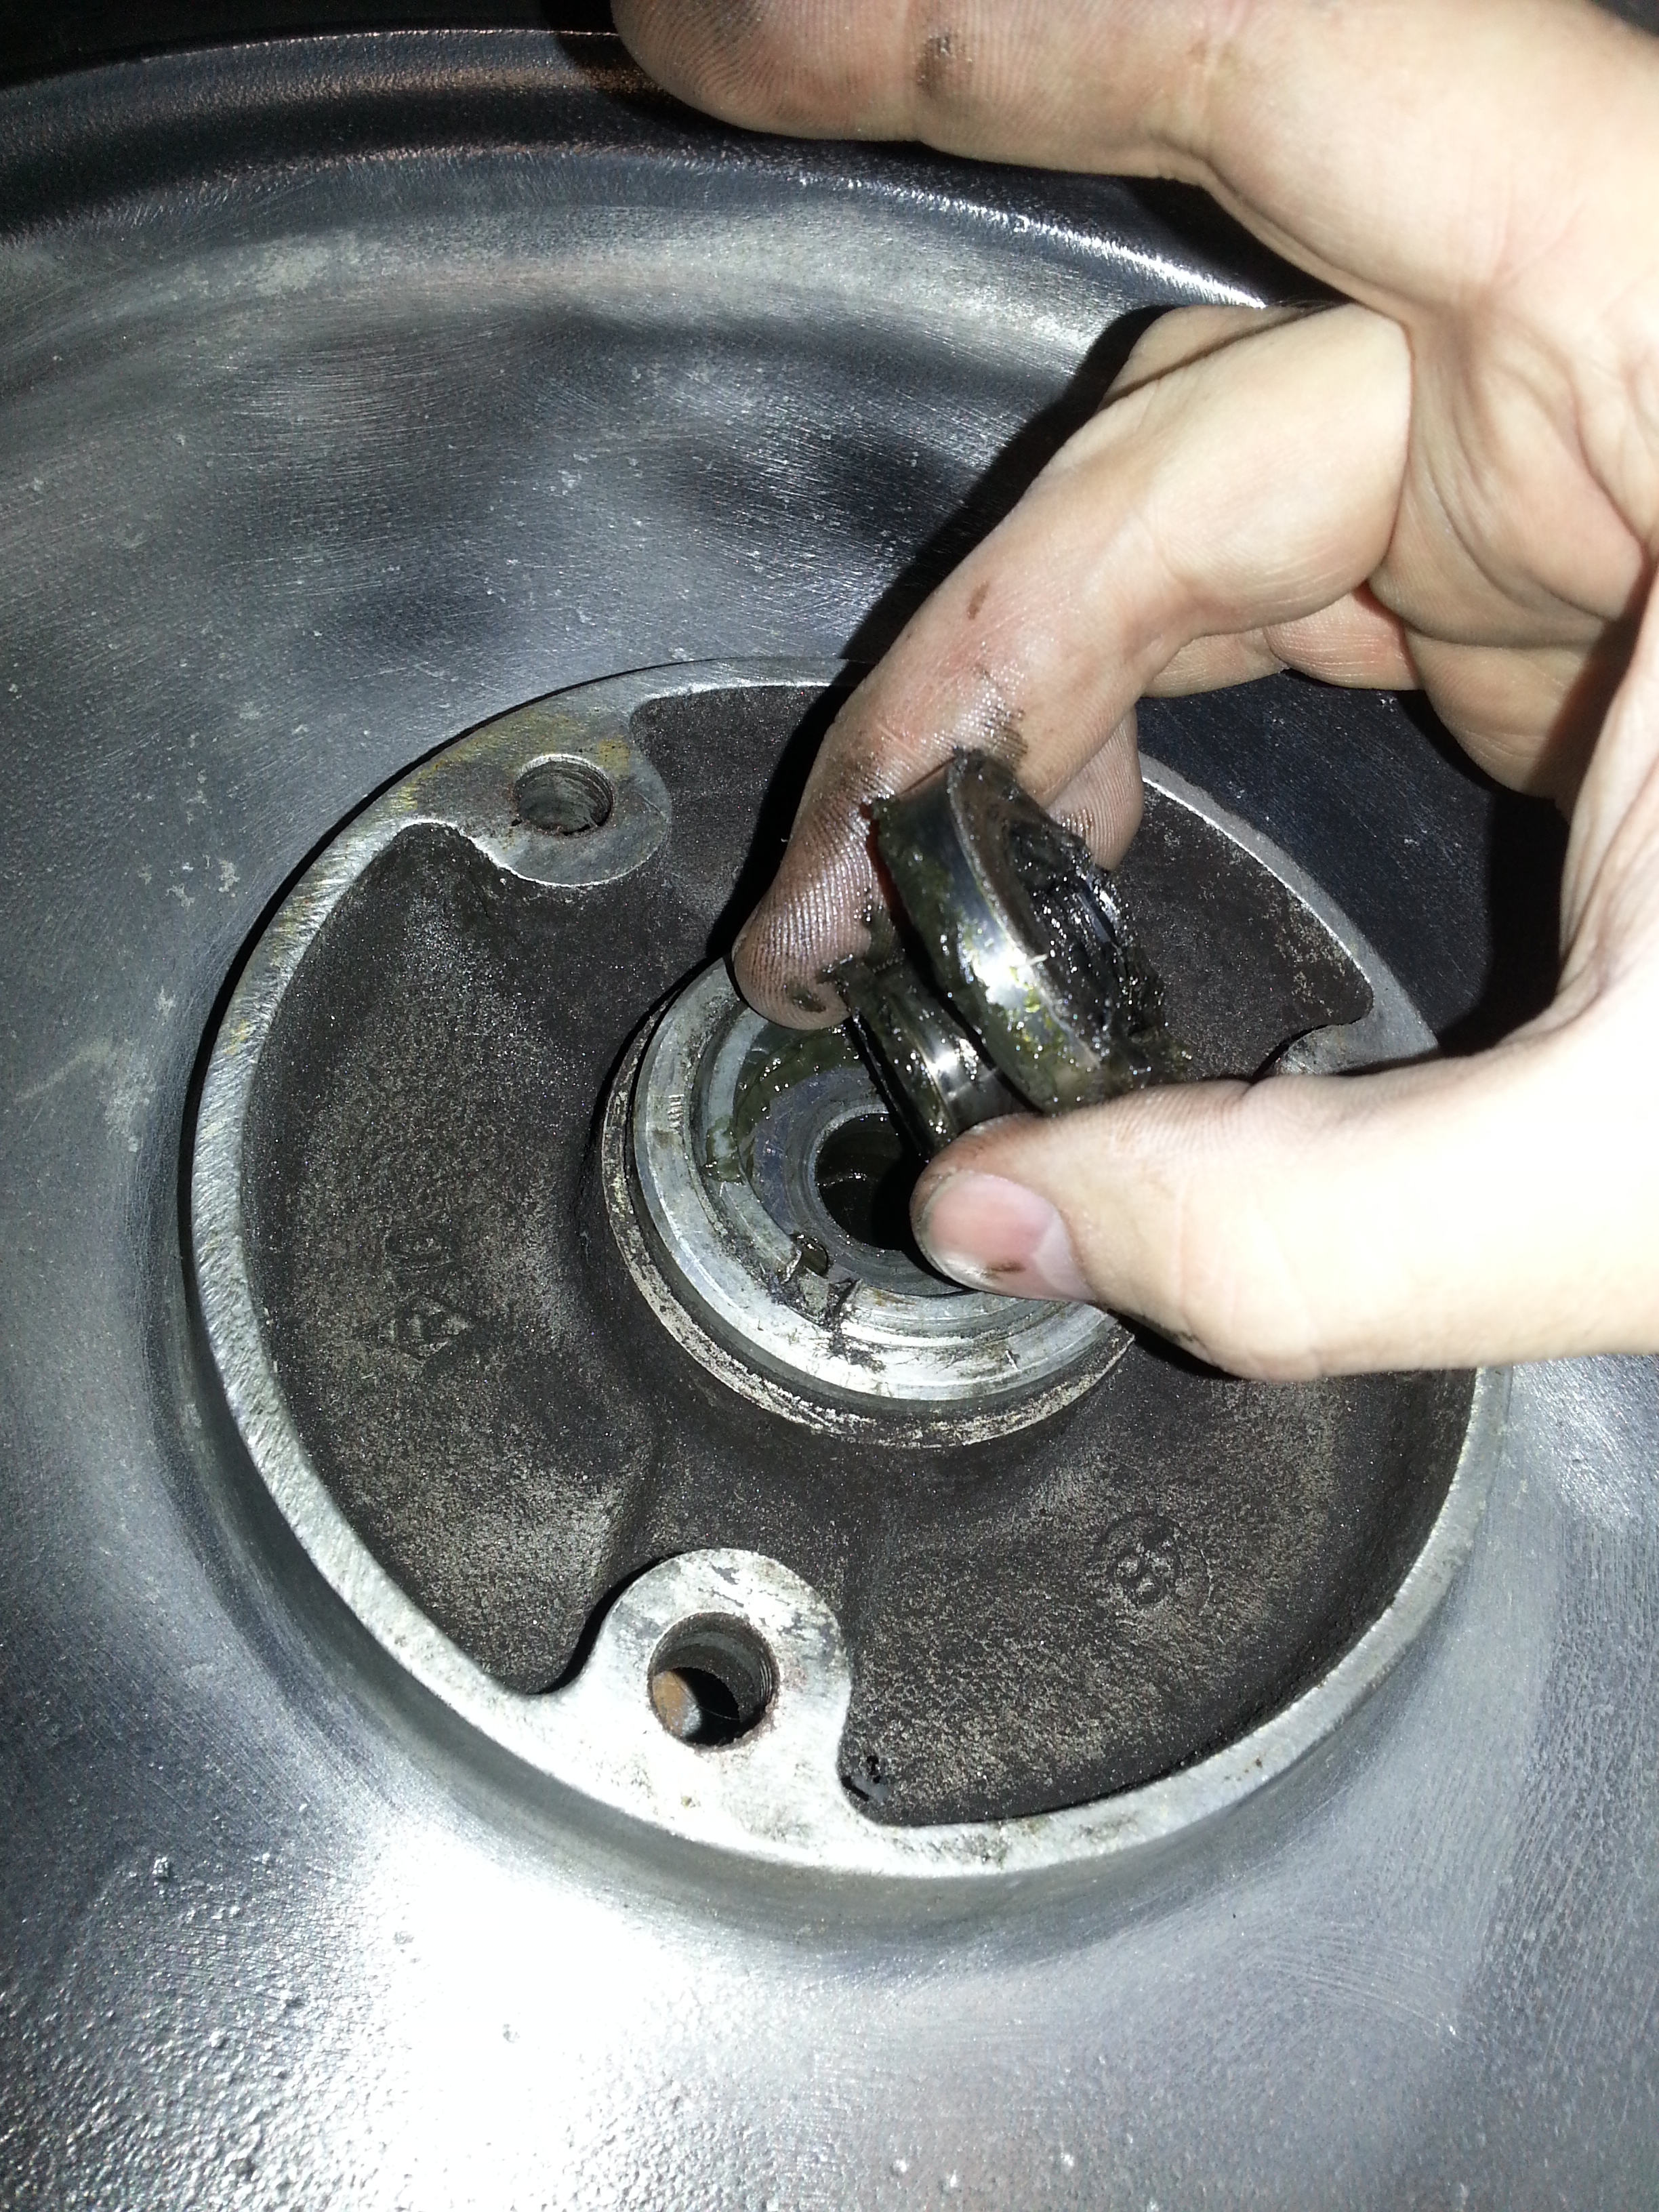
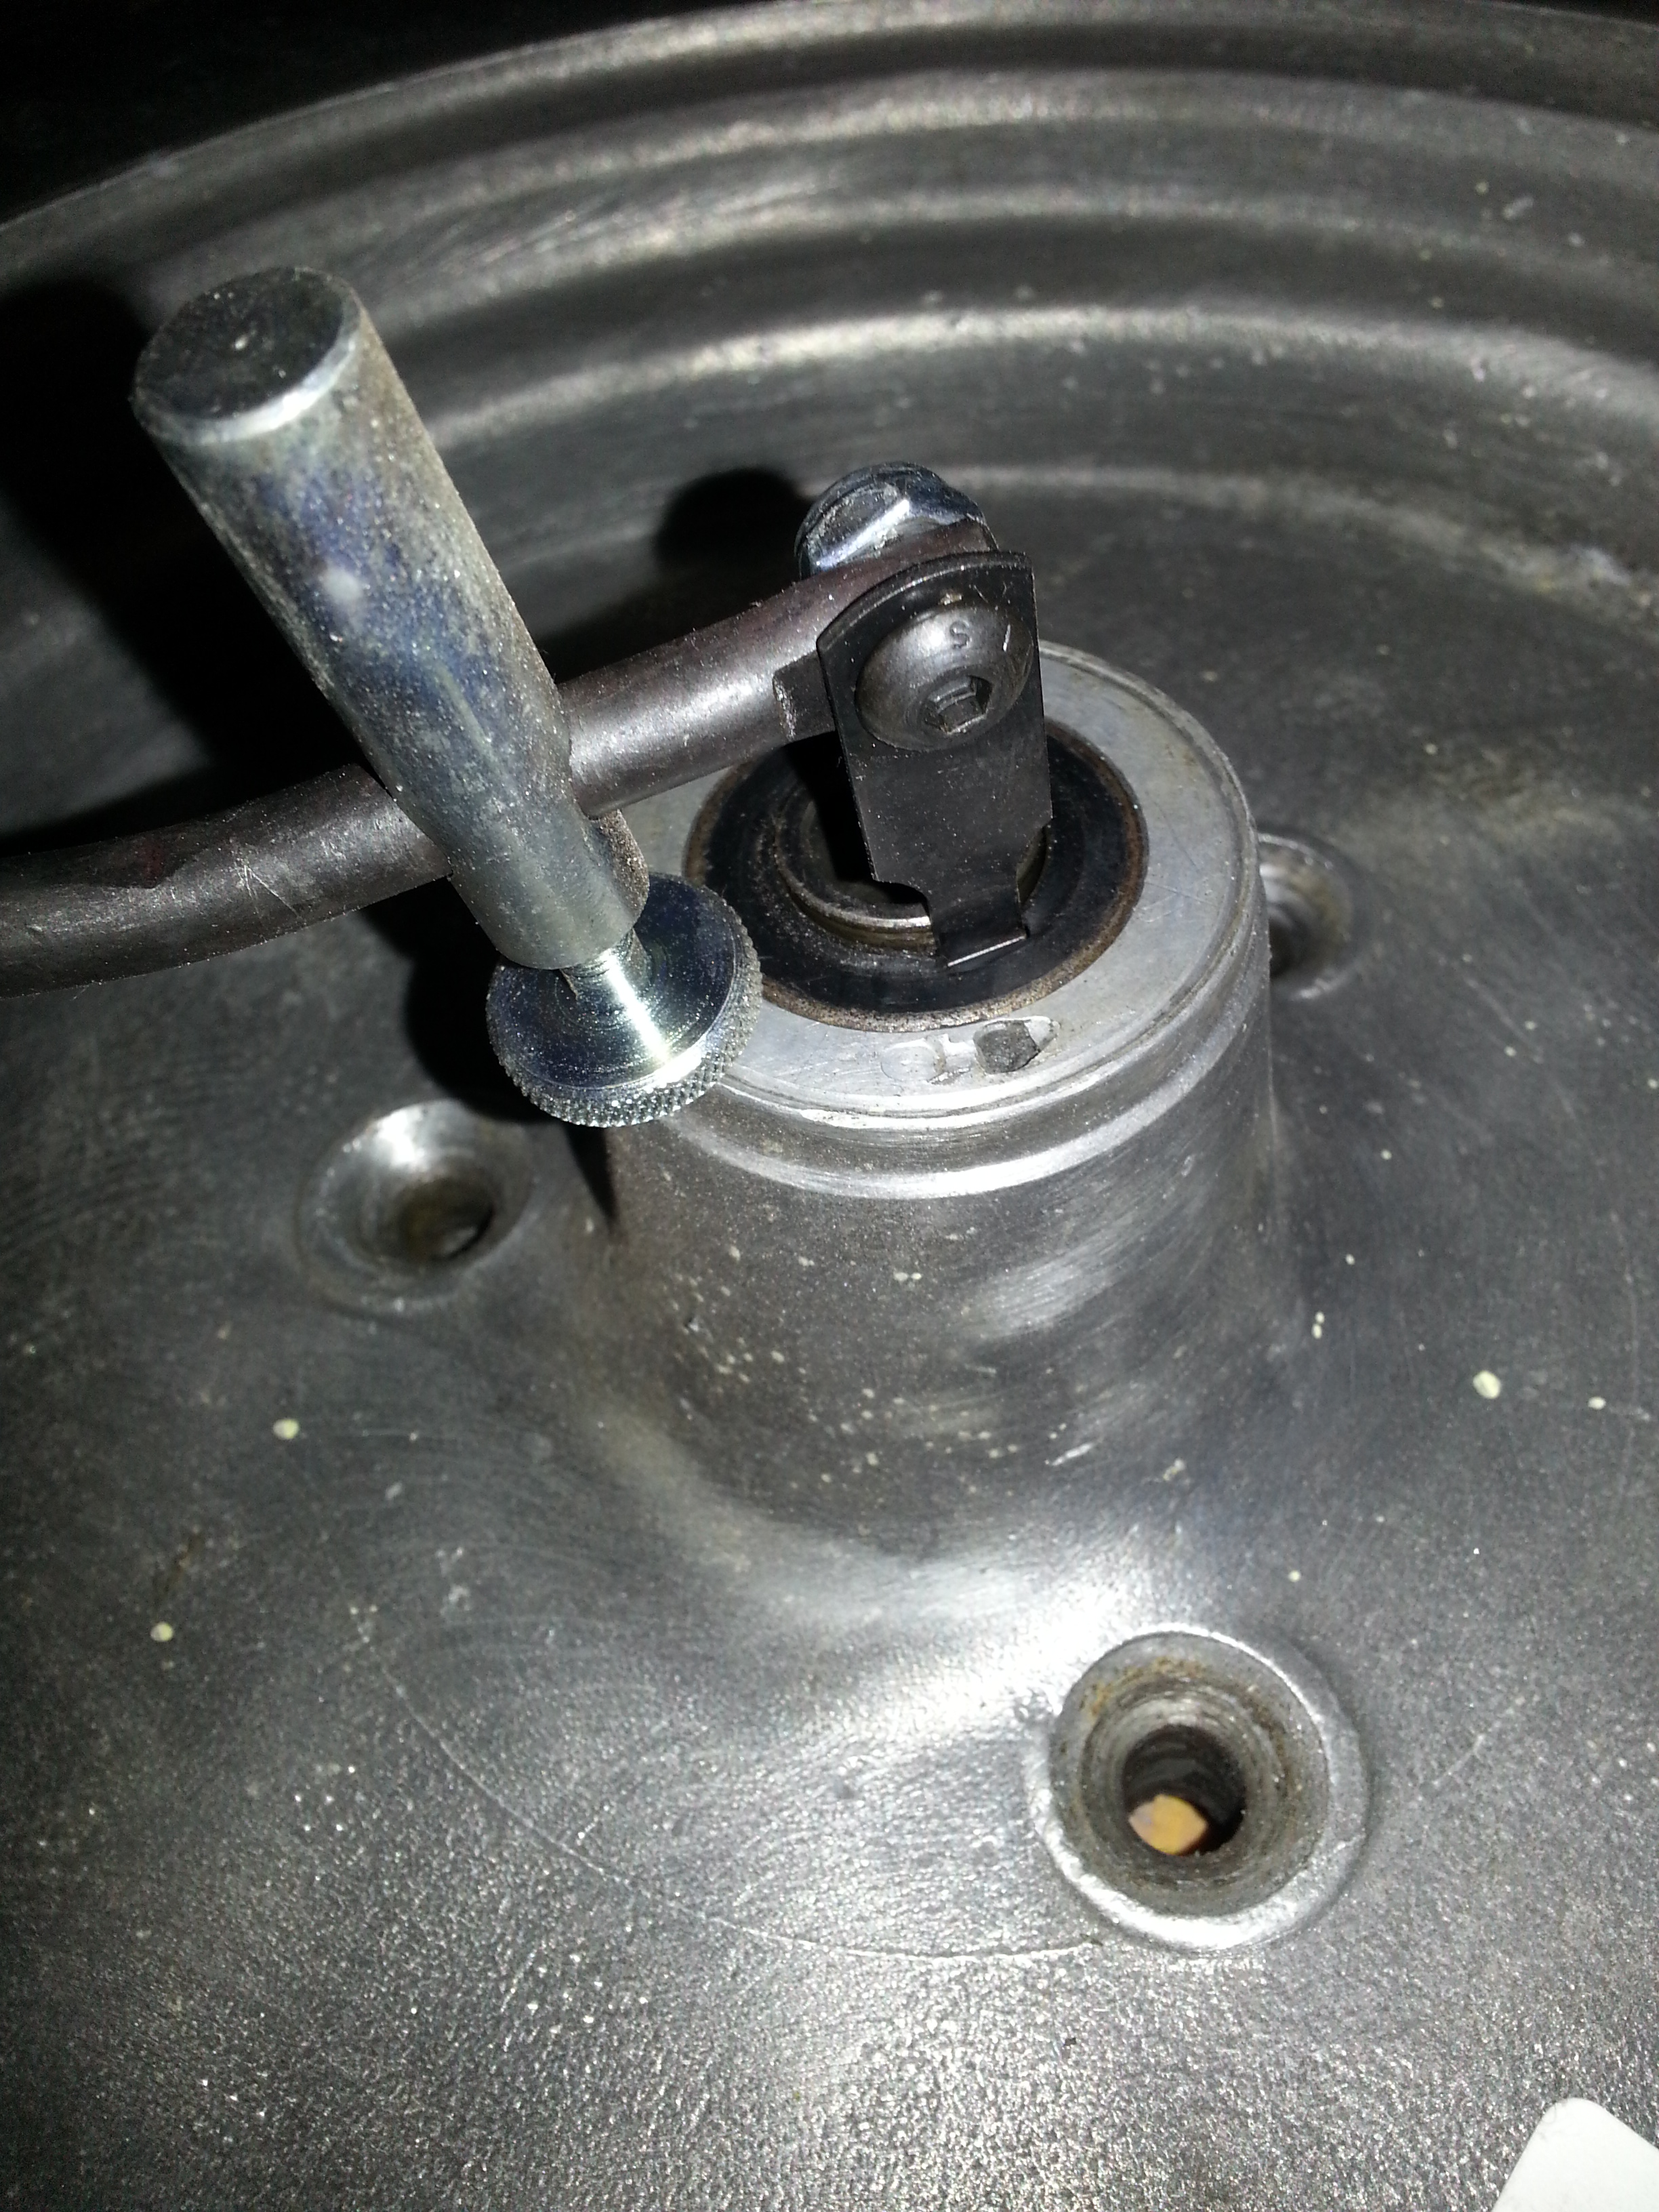
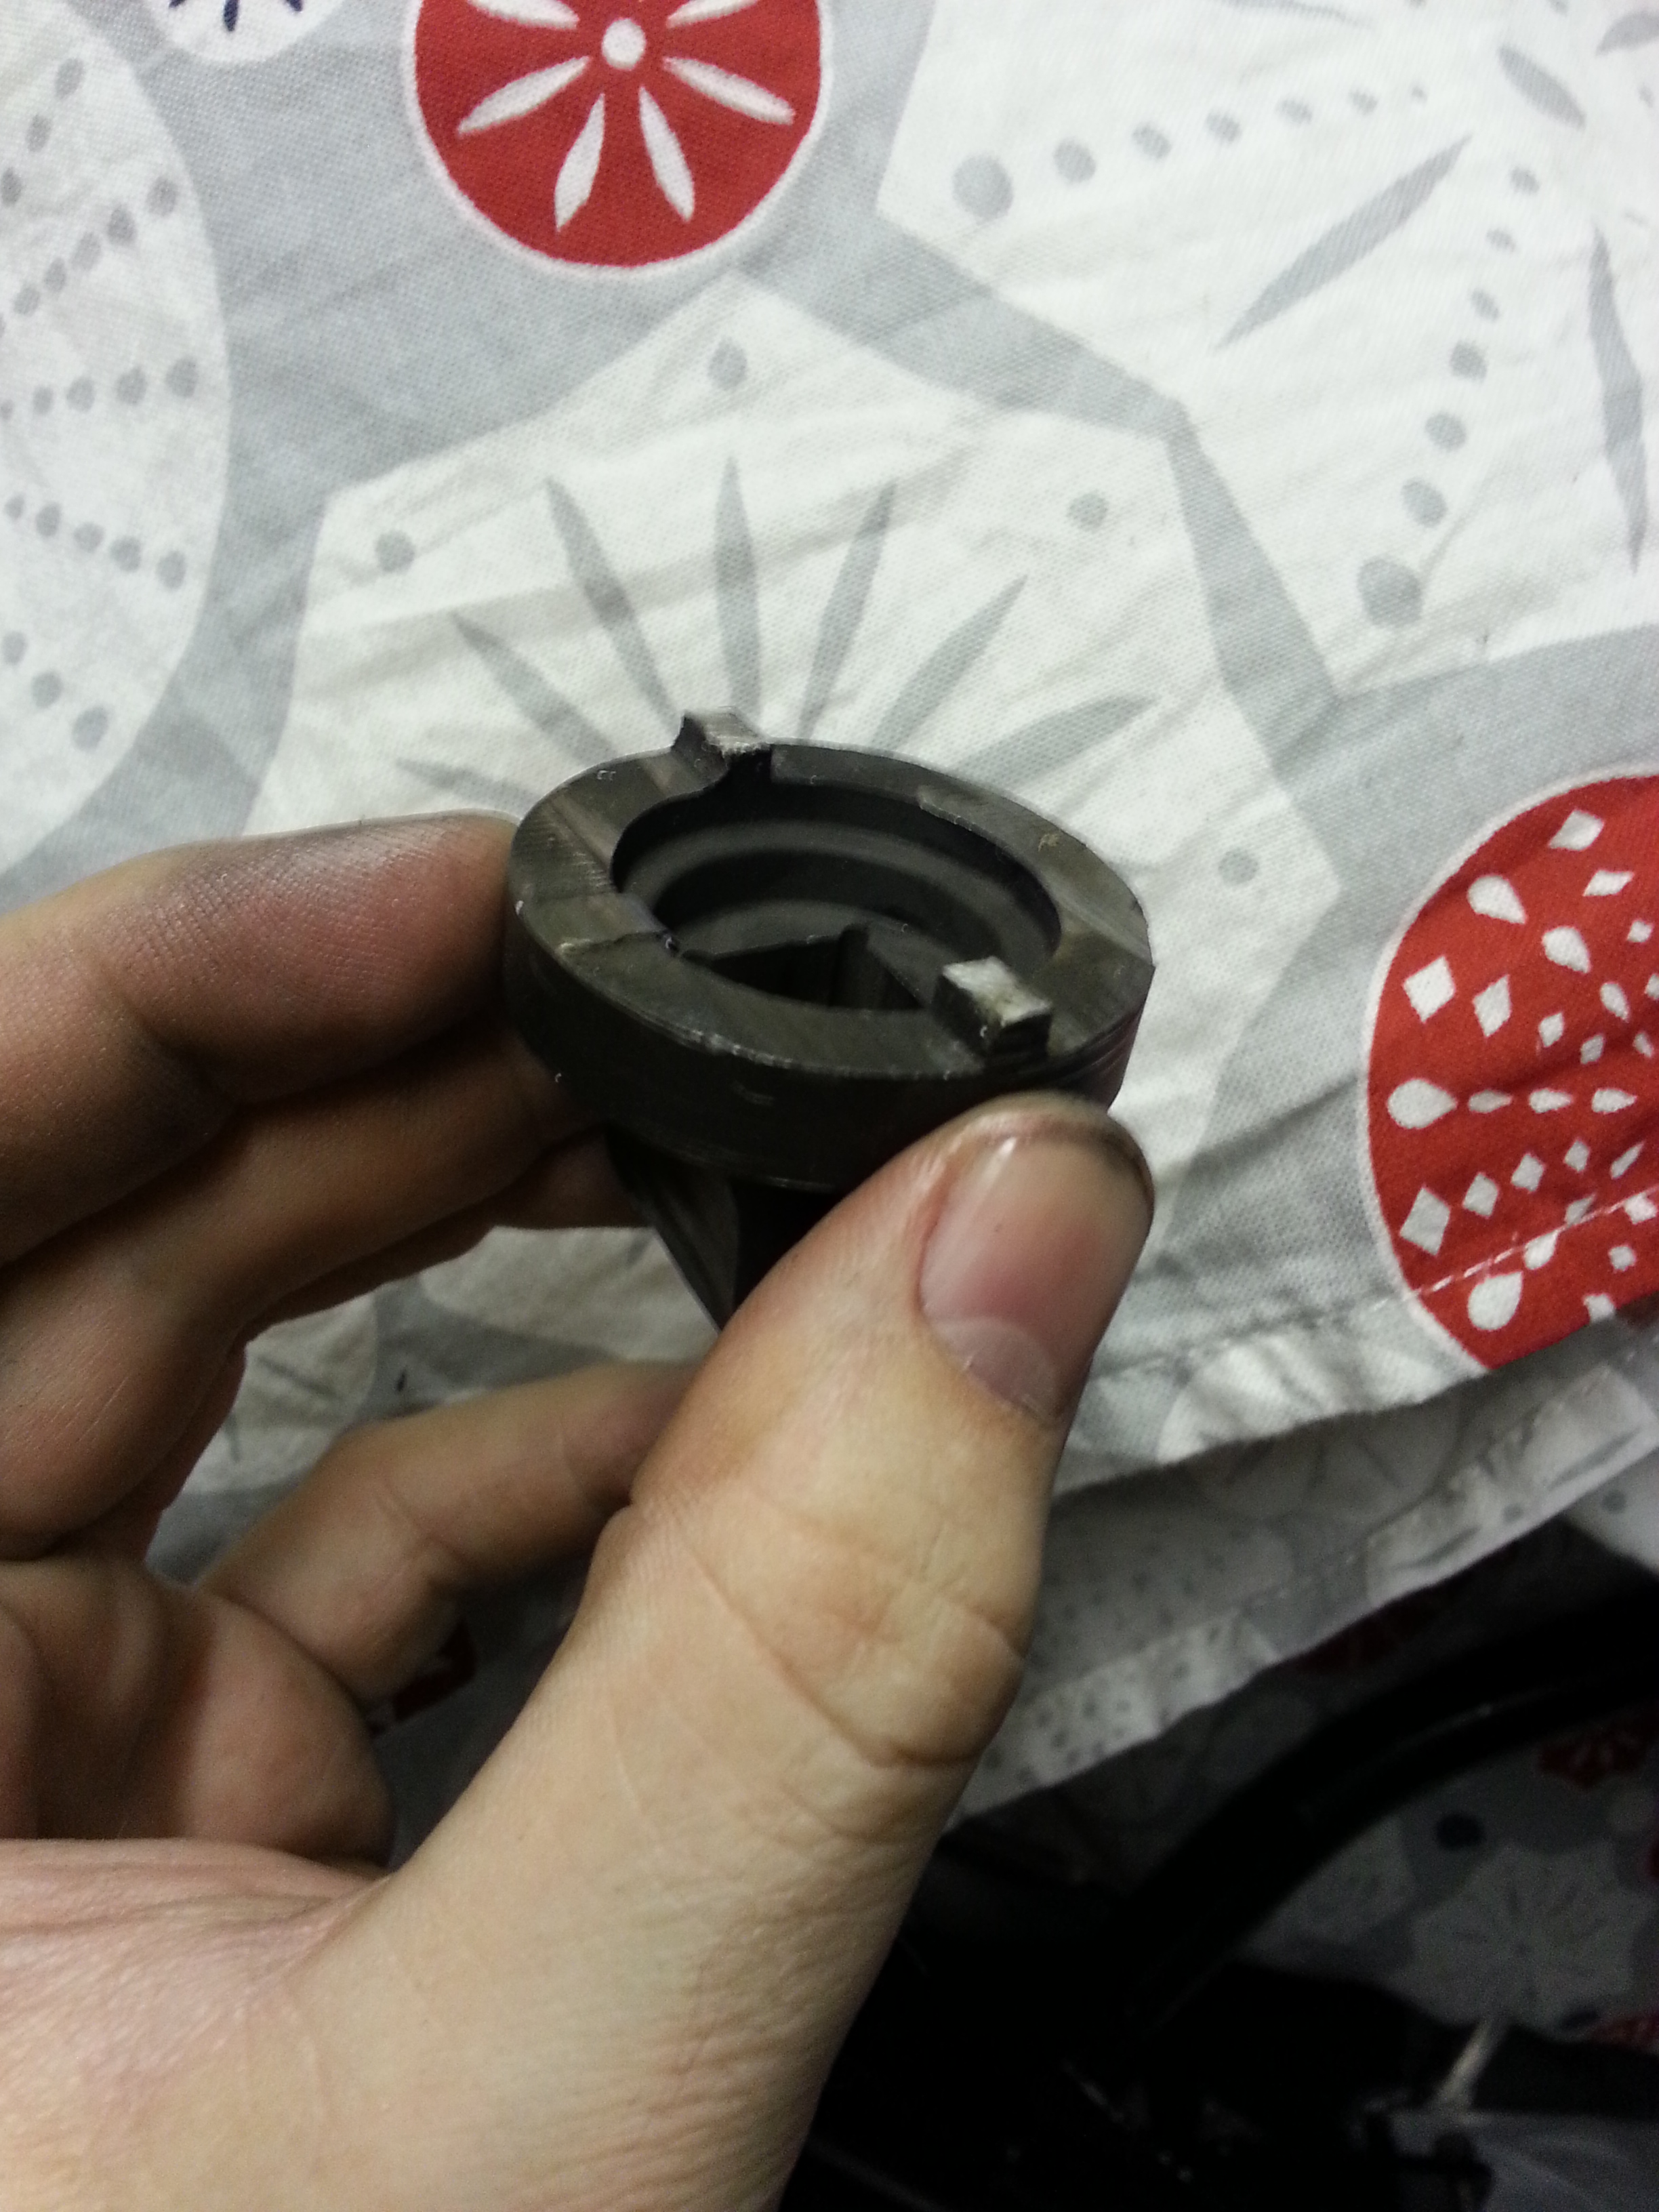
Put them on the peg on your tool board. Behind the bushing is a ring that can only be removed once the ring nut is. This is the hard part. Two notches allow the ring nut to be opened, but these are very often damaged because they were removed without the right tools.
I created my own tool which works very well. Start by ordering a lock nut tool of the following dimensions:
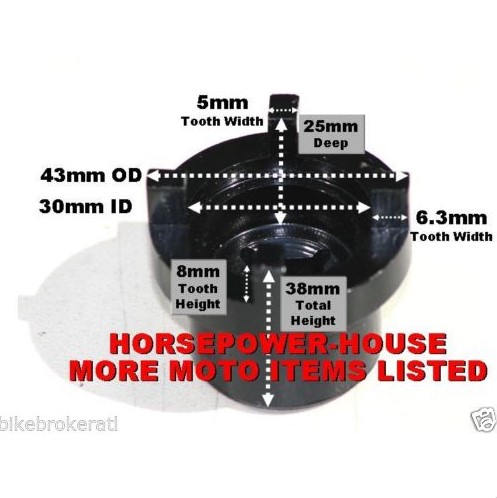
Remove two of the teeth, make the remaining two slightly narrower (symmetrically: so take a bit off one side of one tooth and a bit of the other side of the other tooth):
To ensure you can leverage the nut grind down two flat sides on the round top:
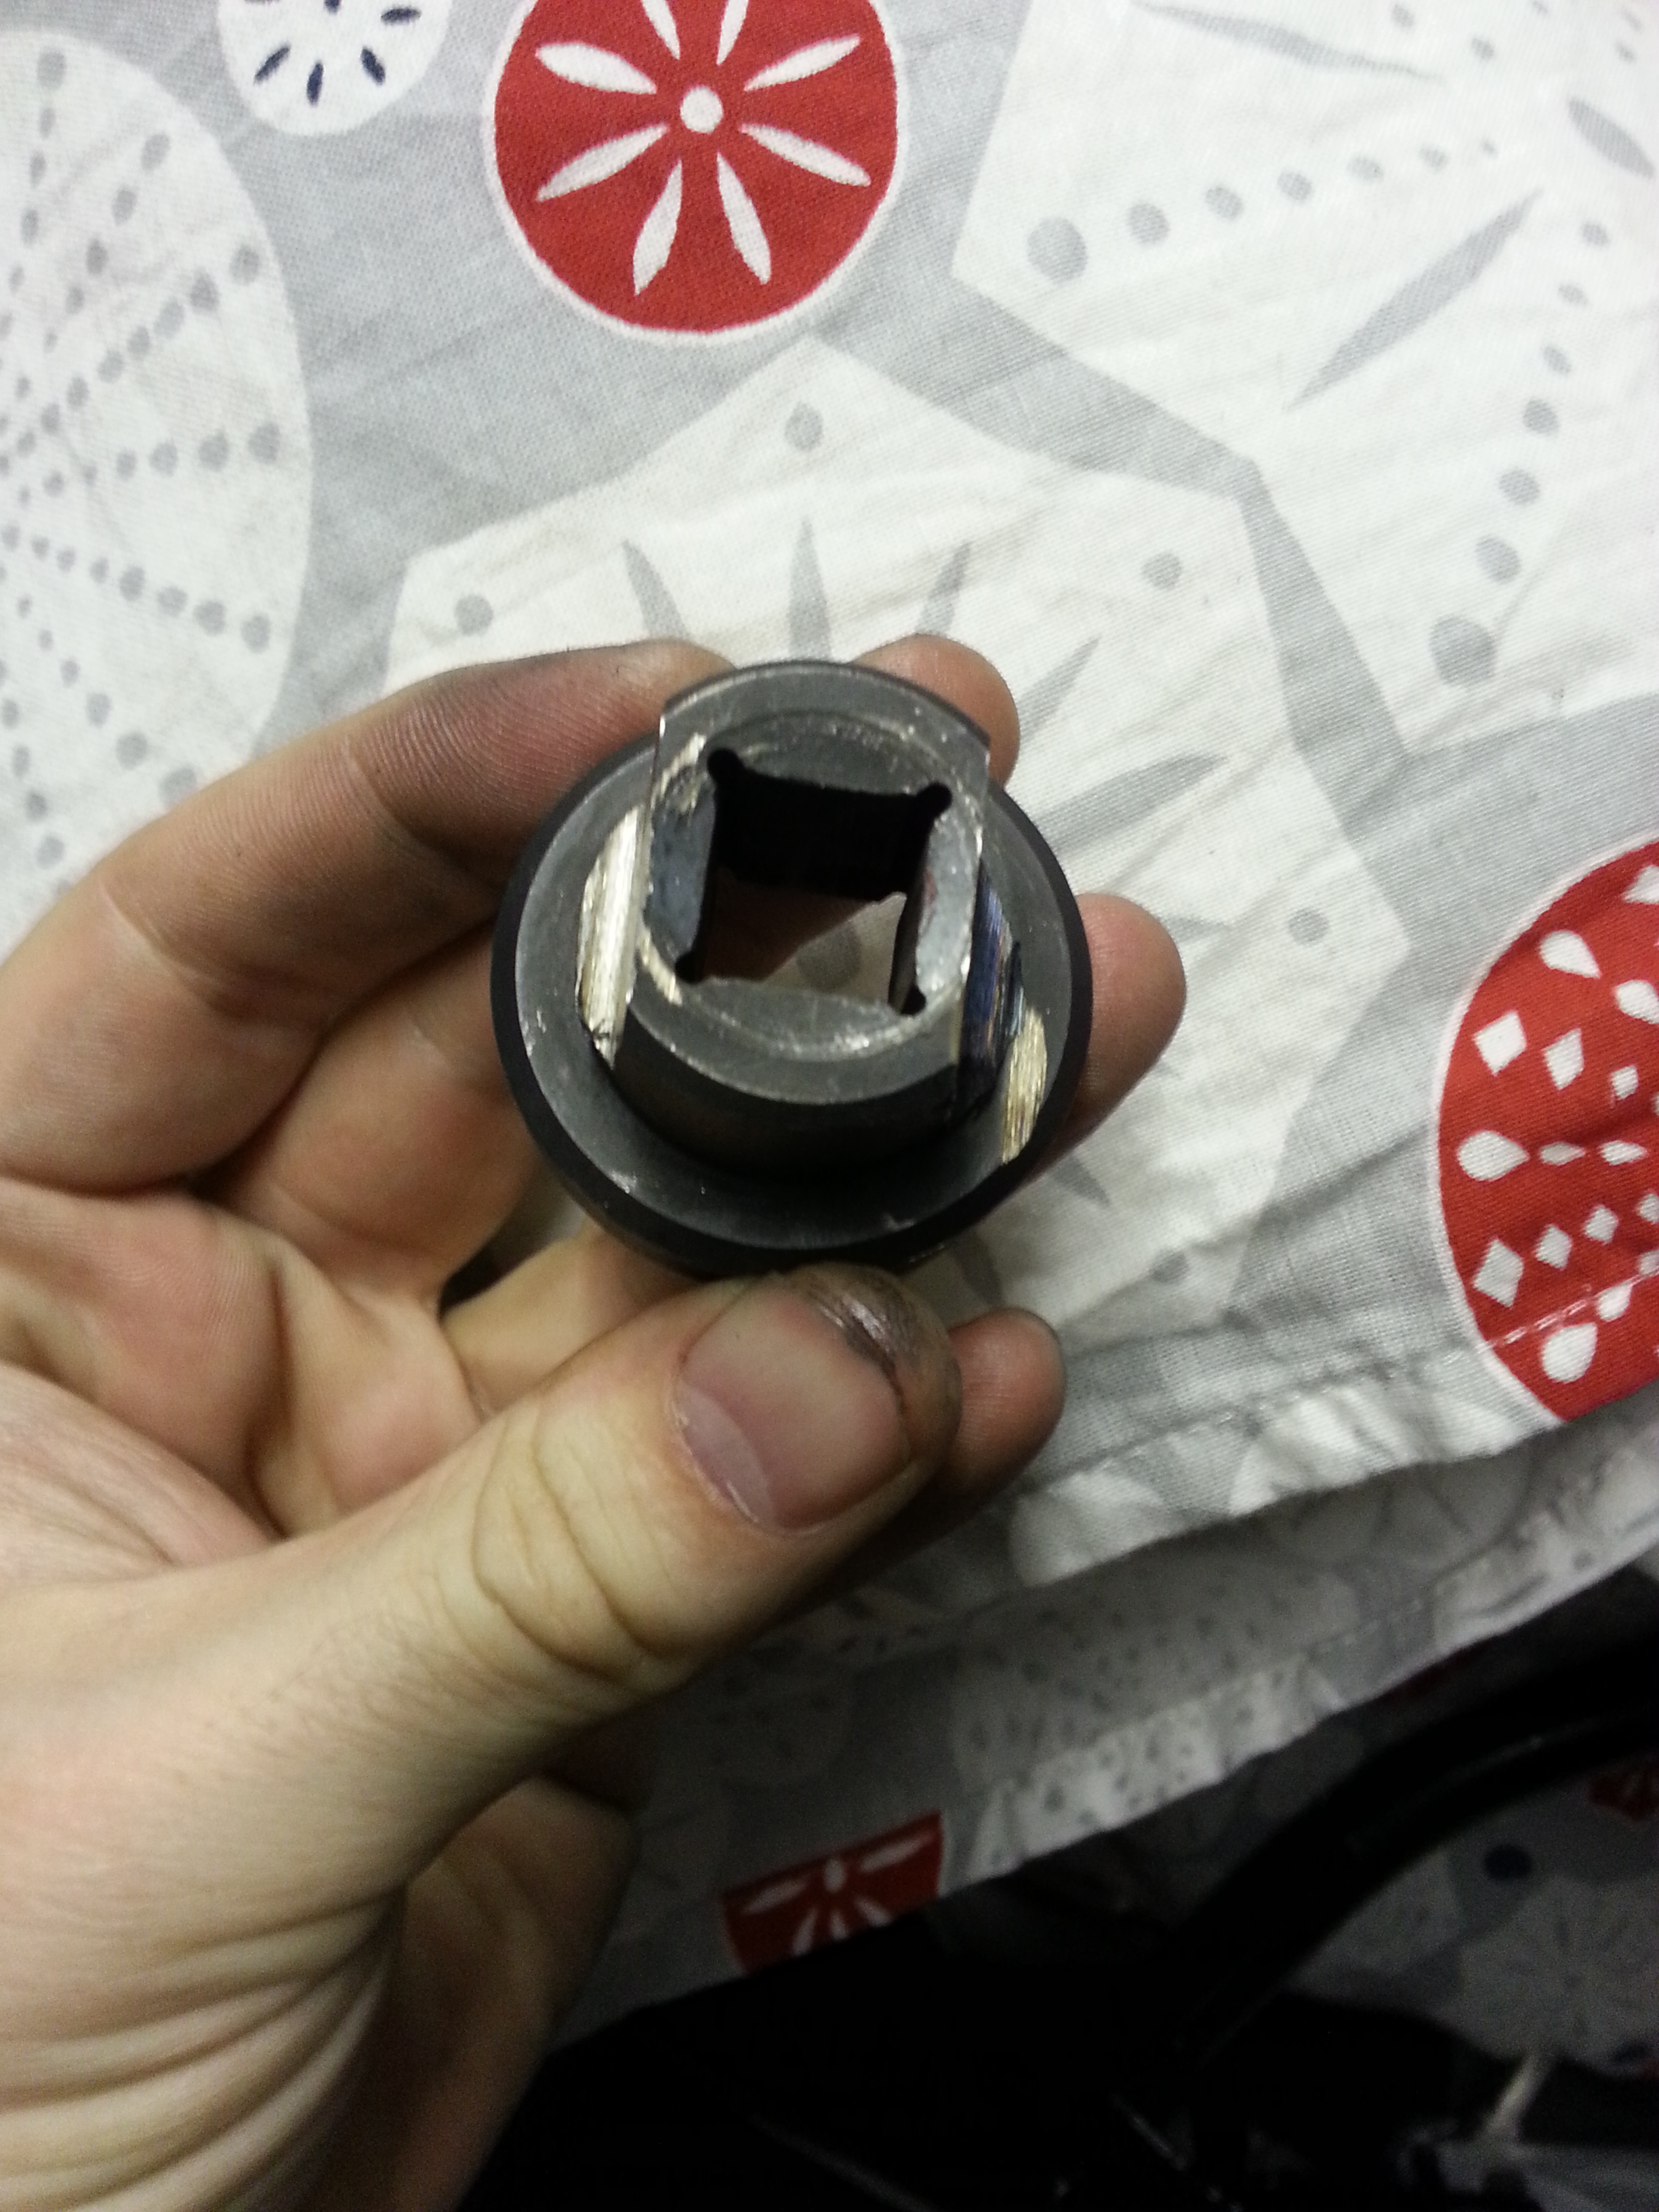
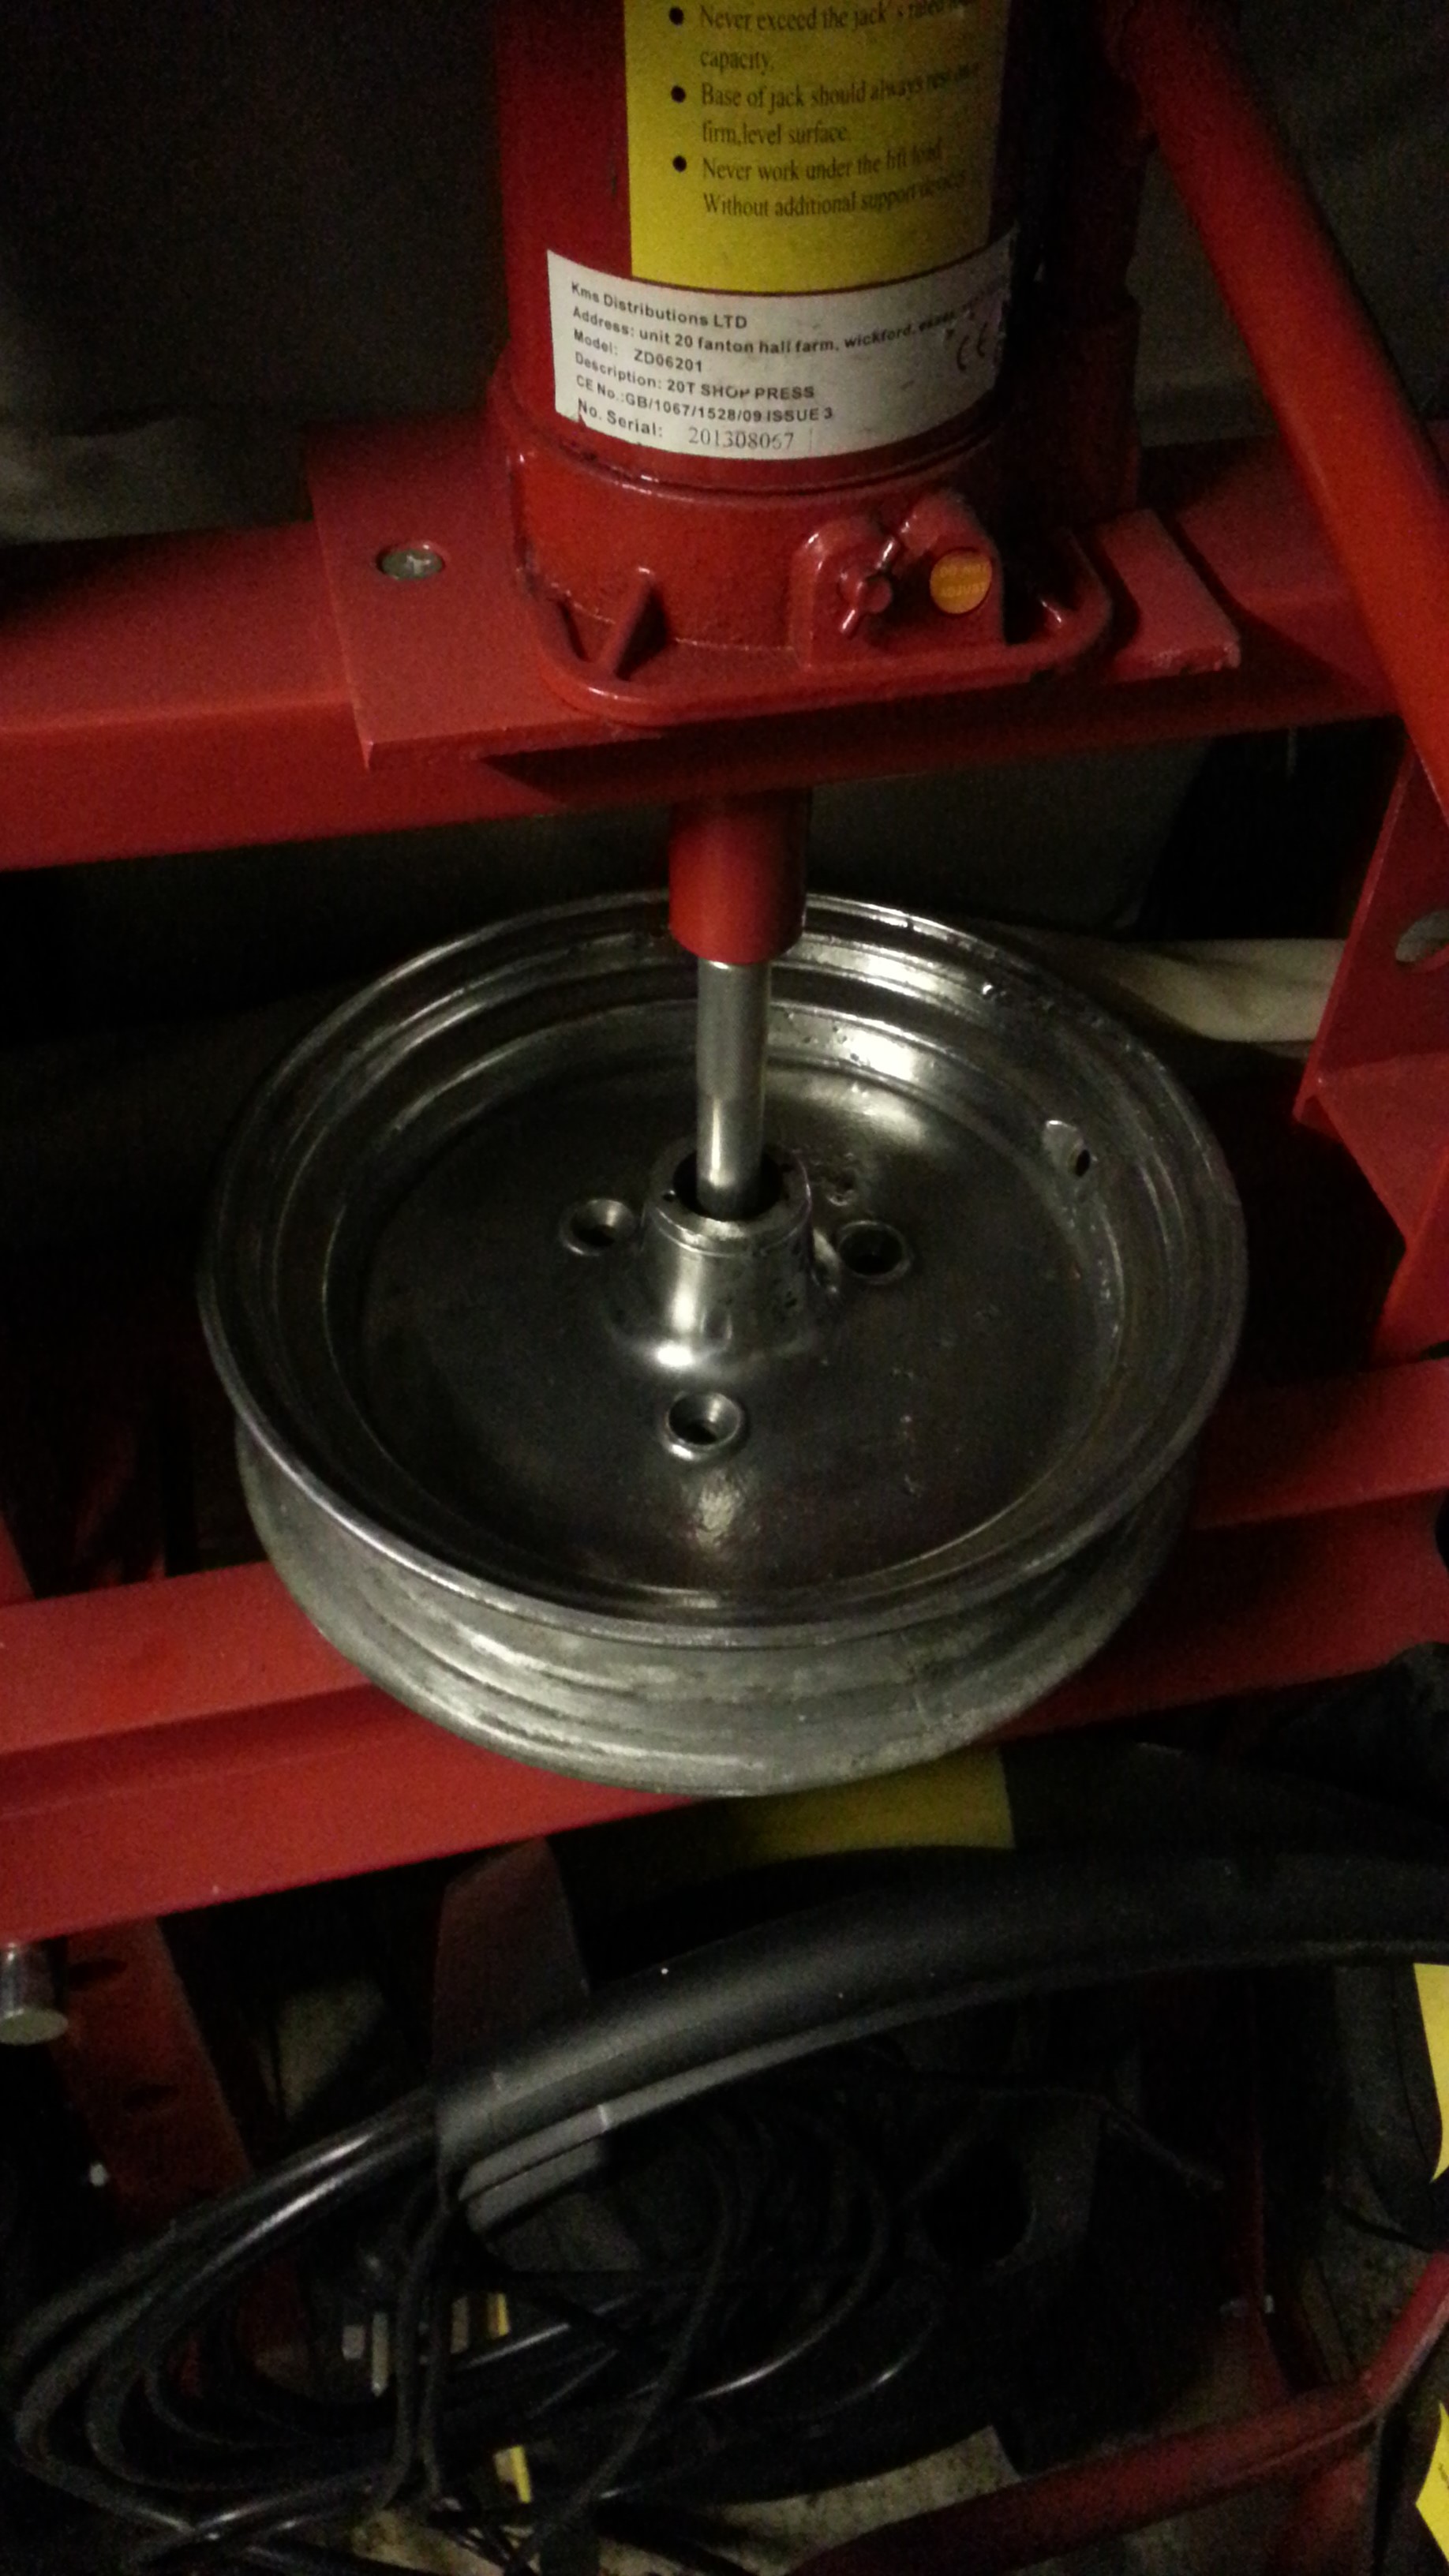
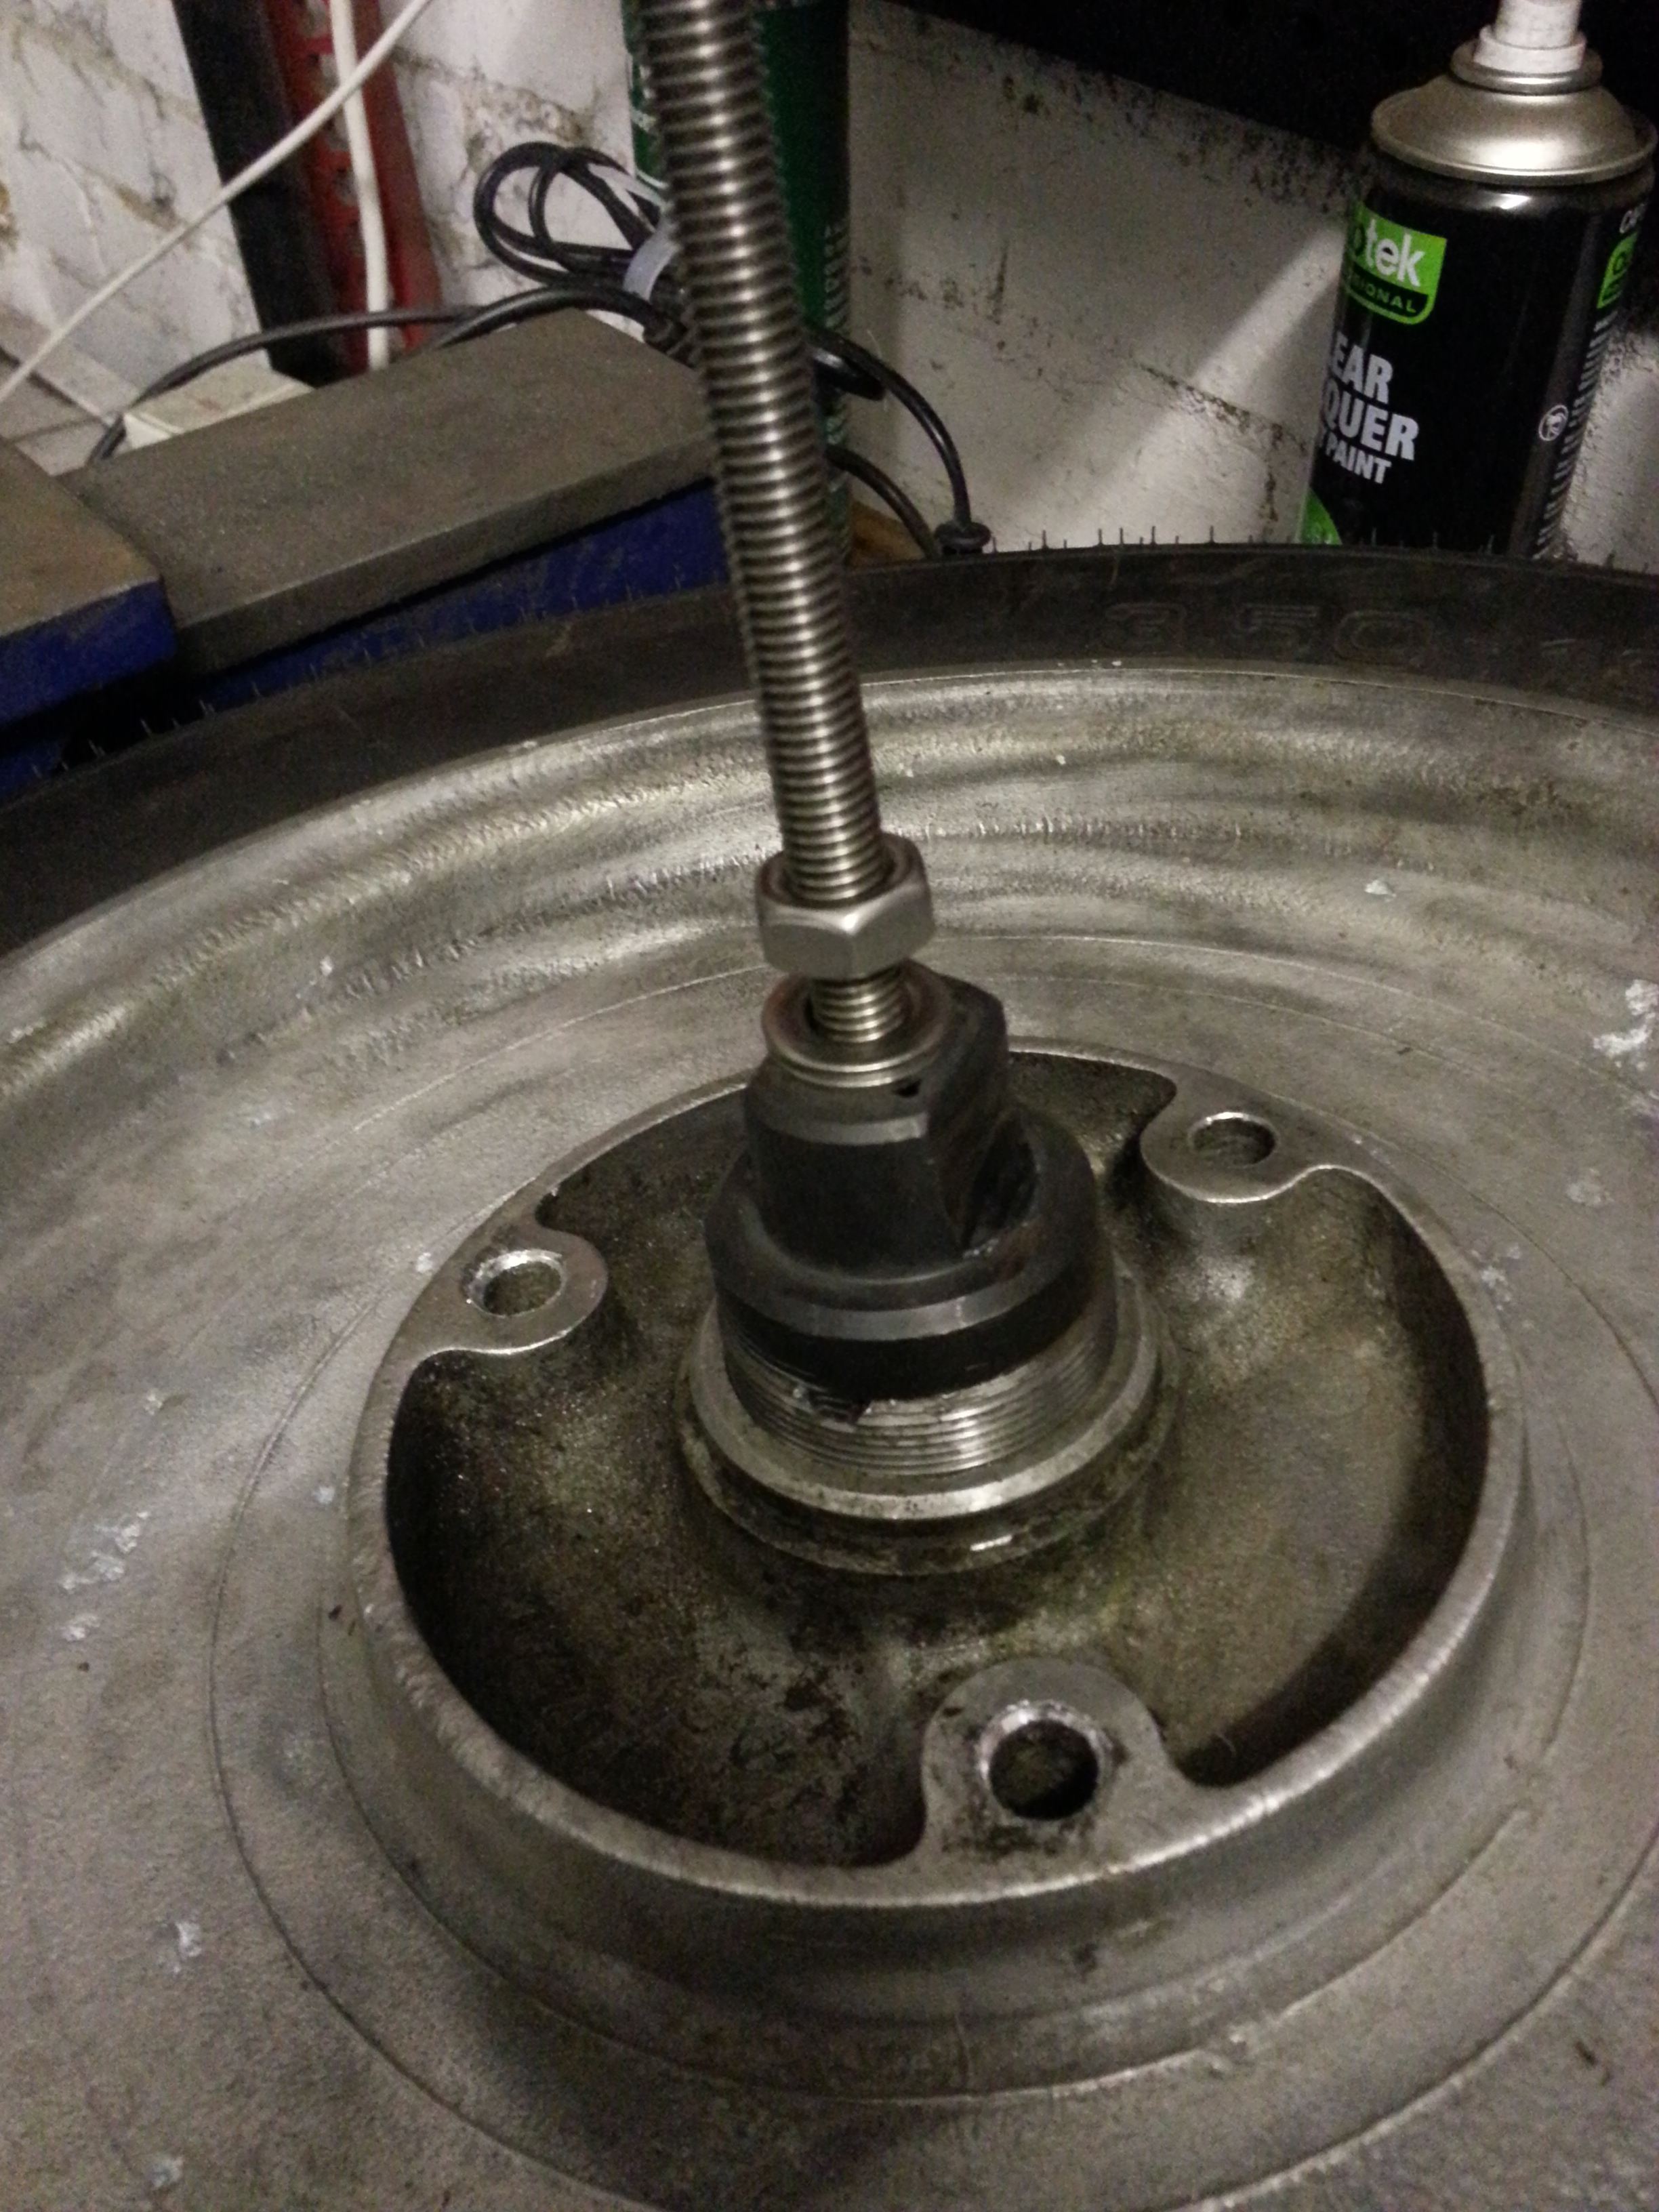
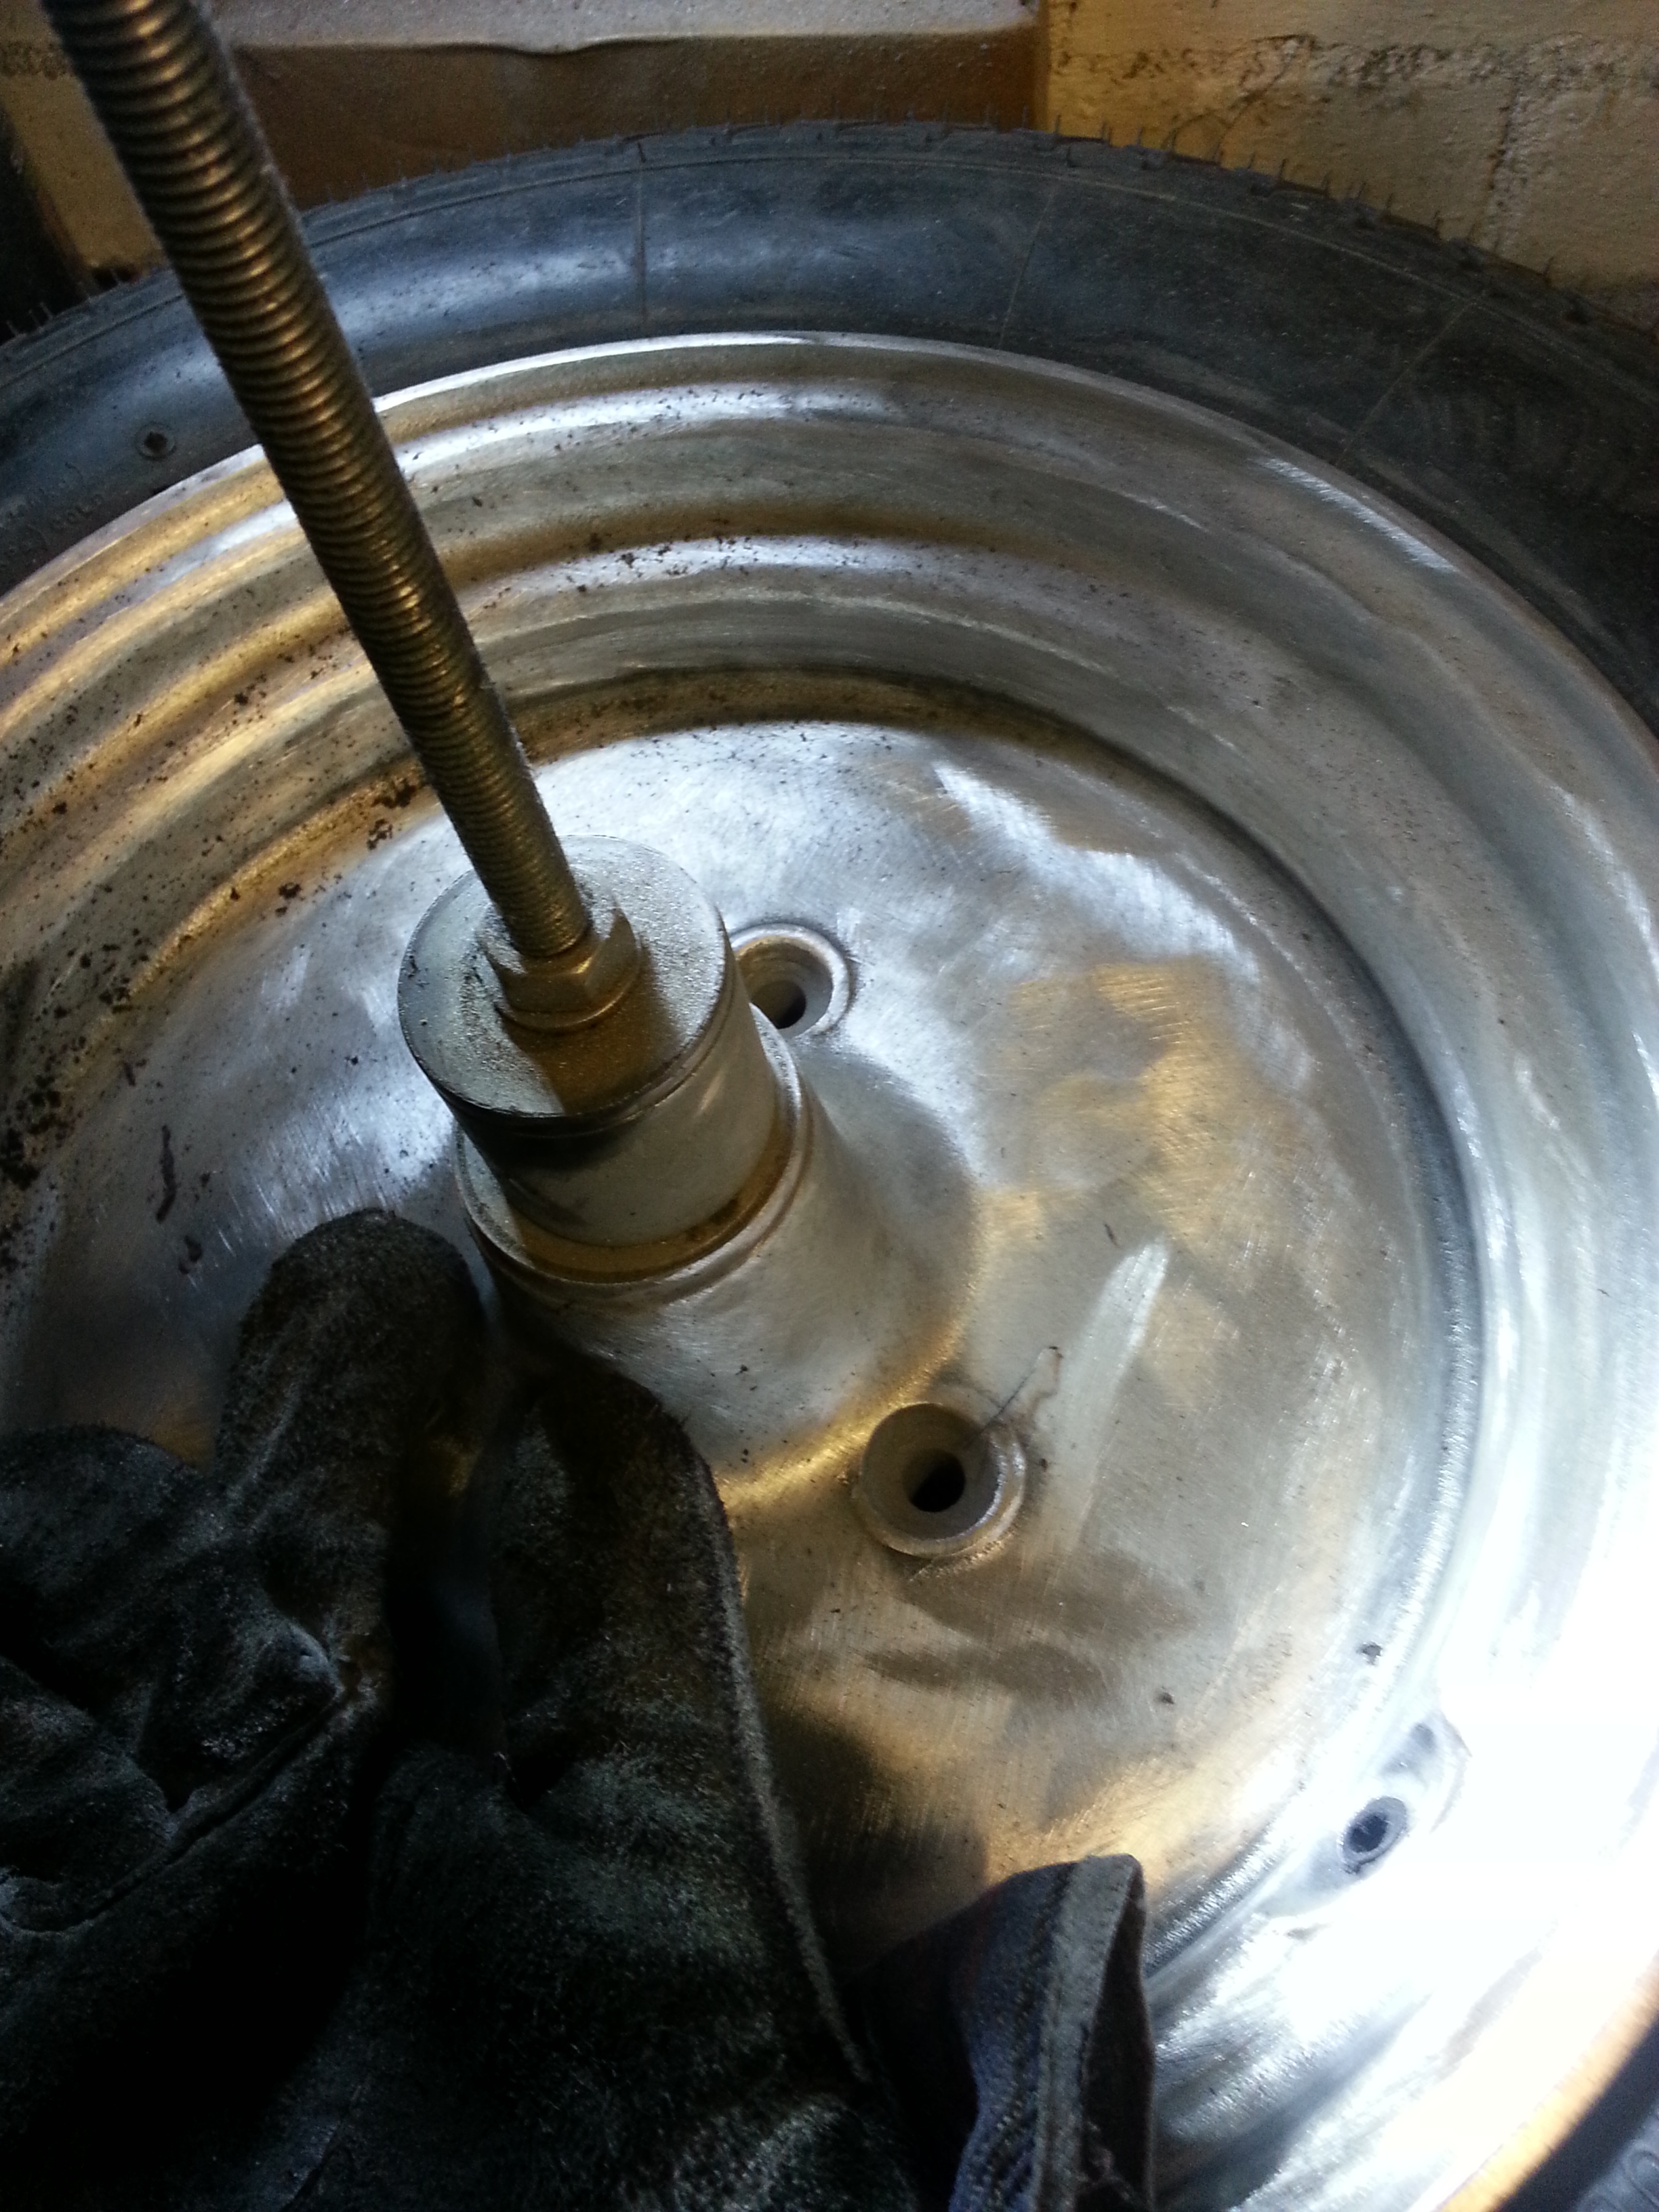
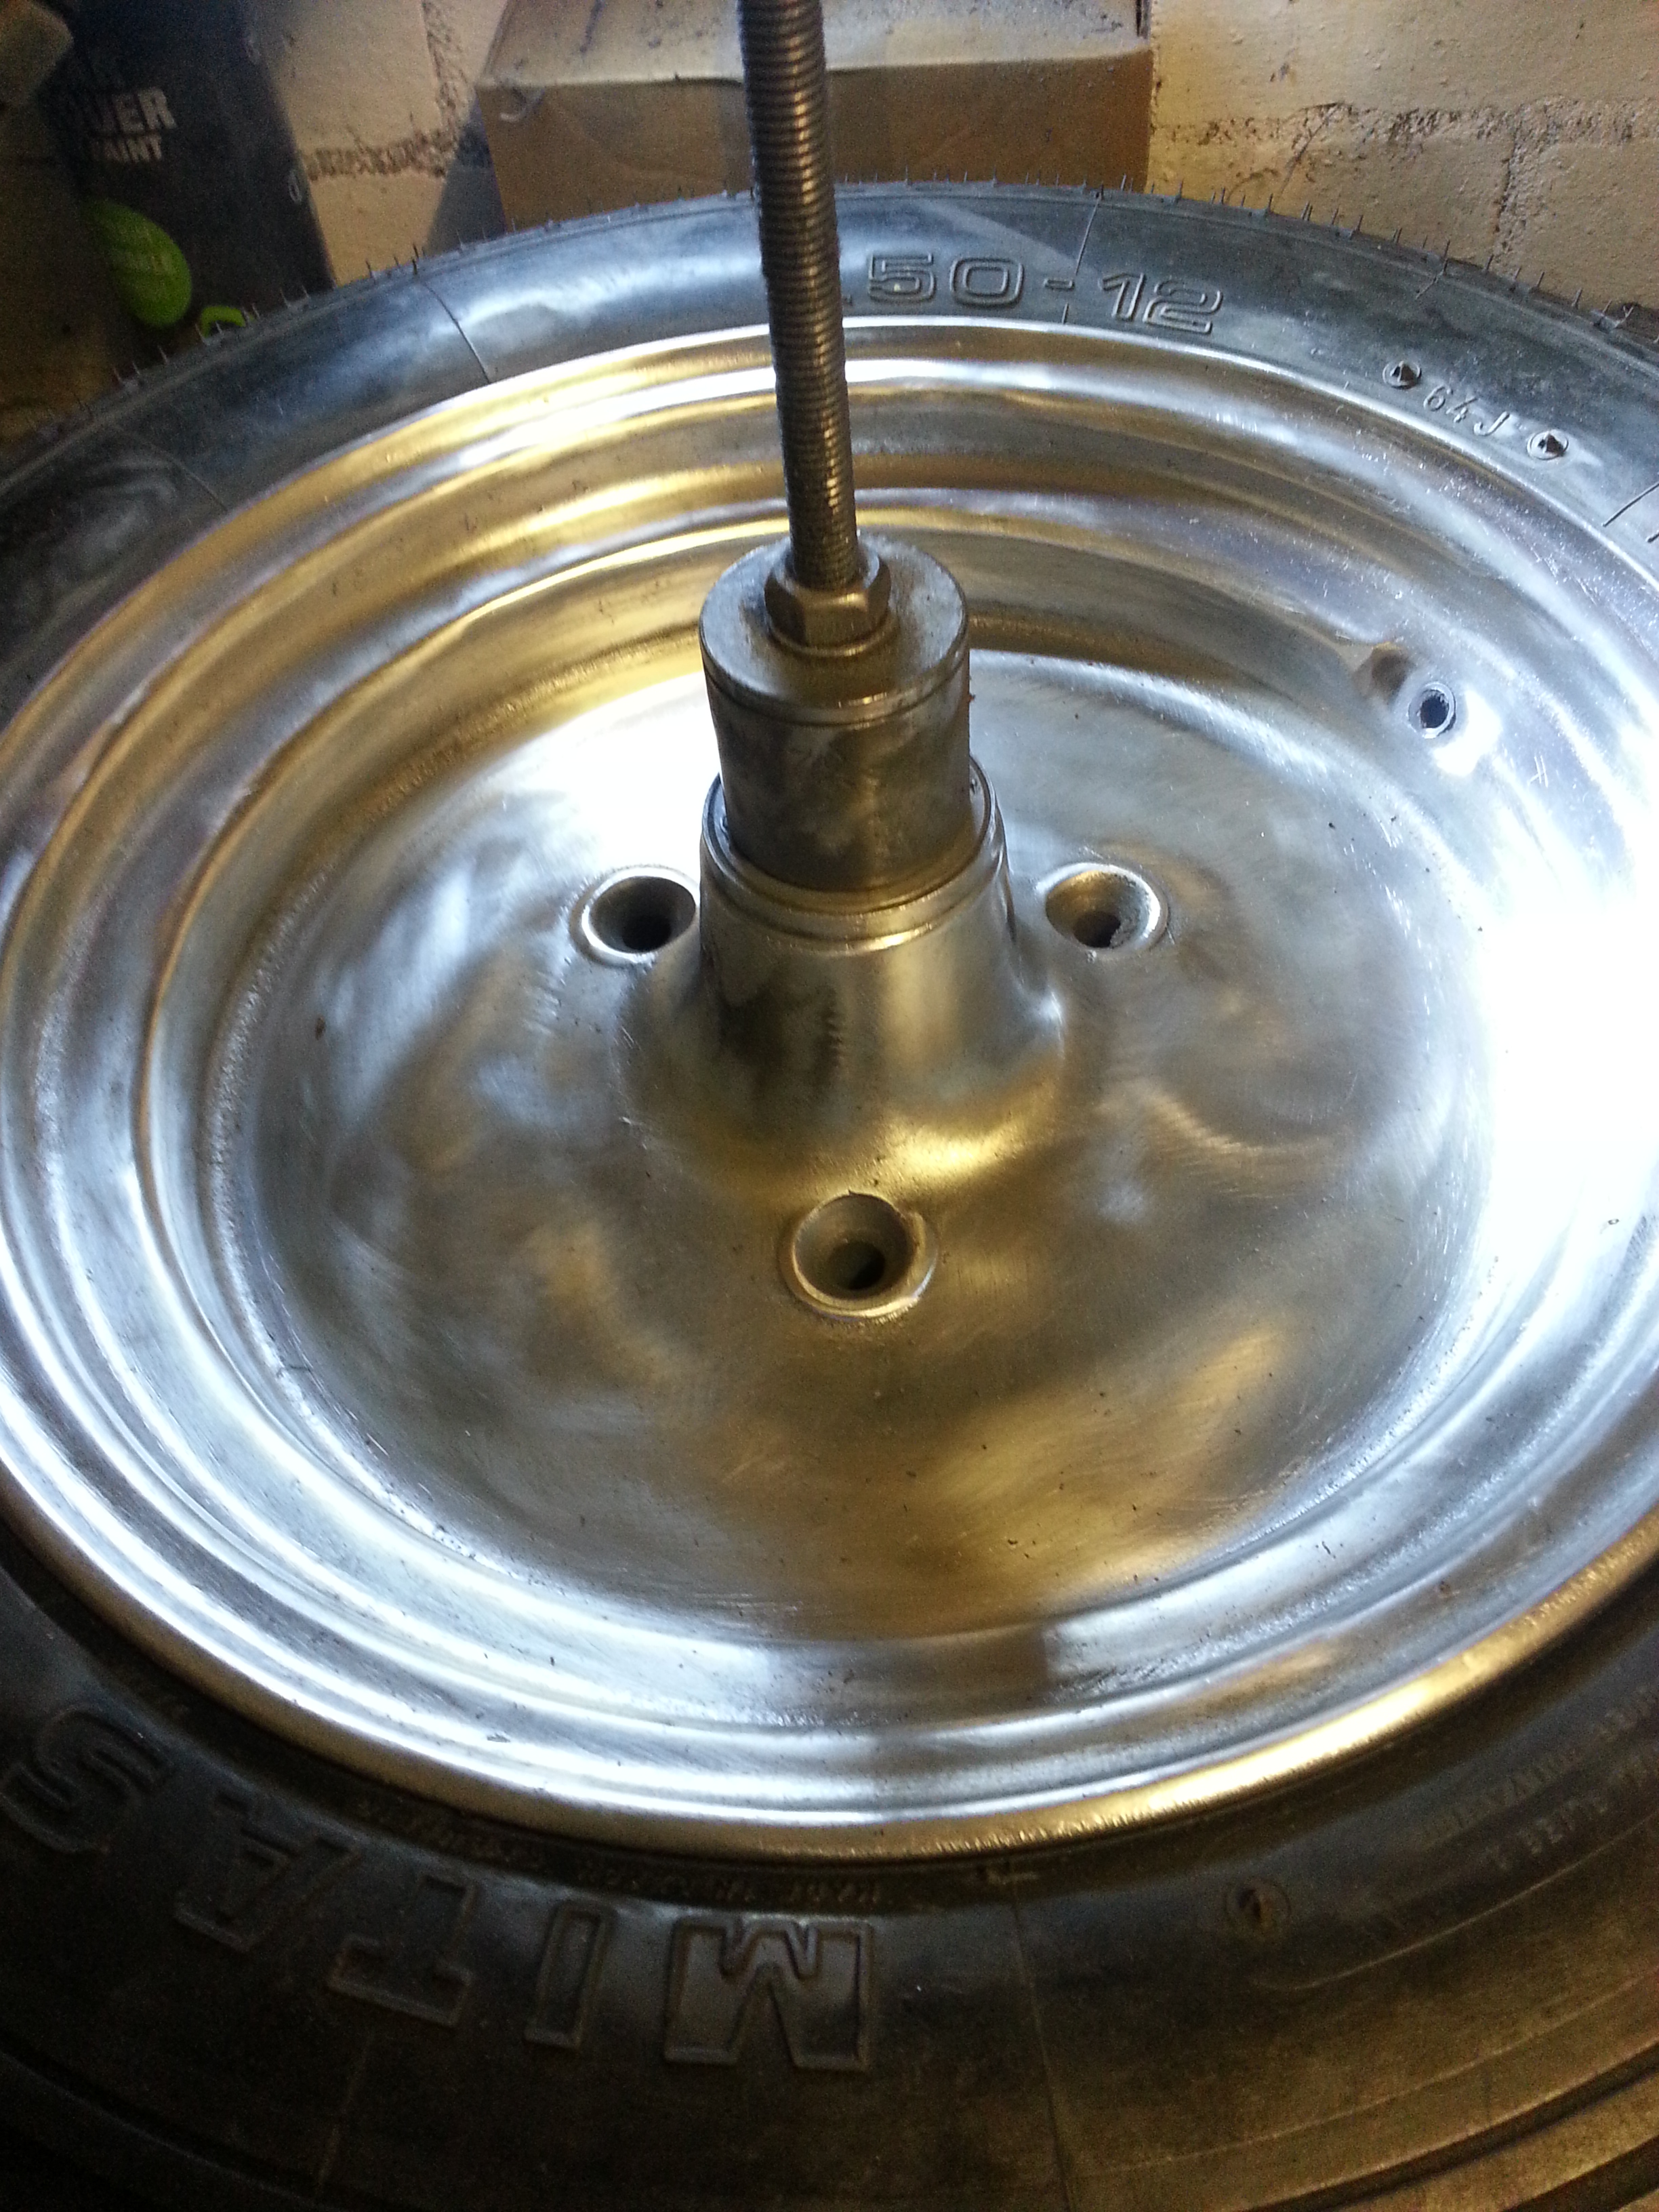
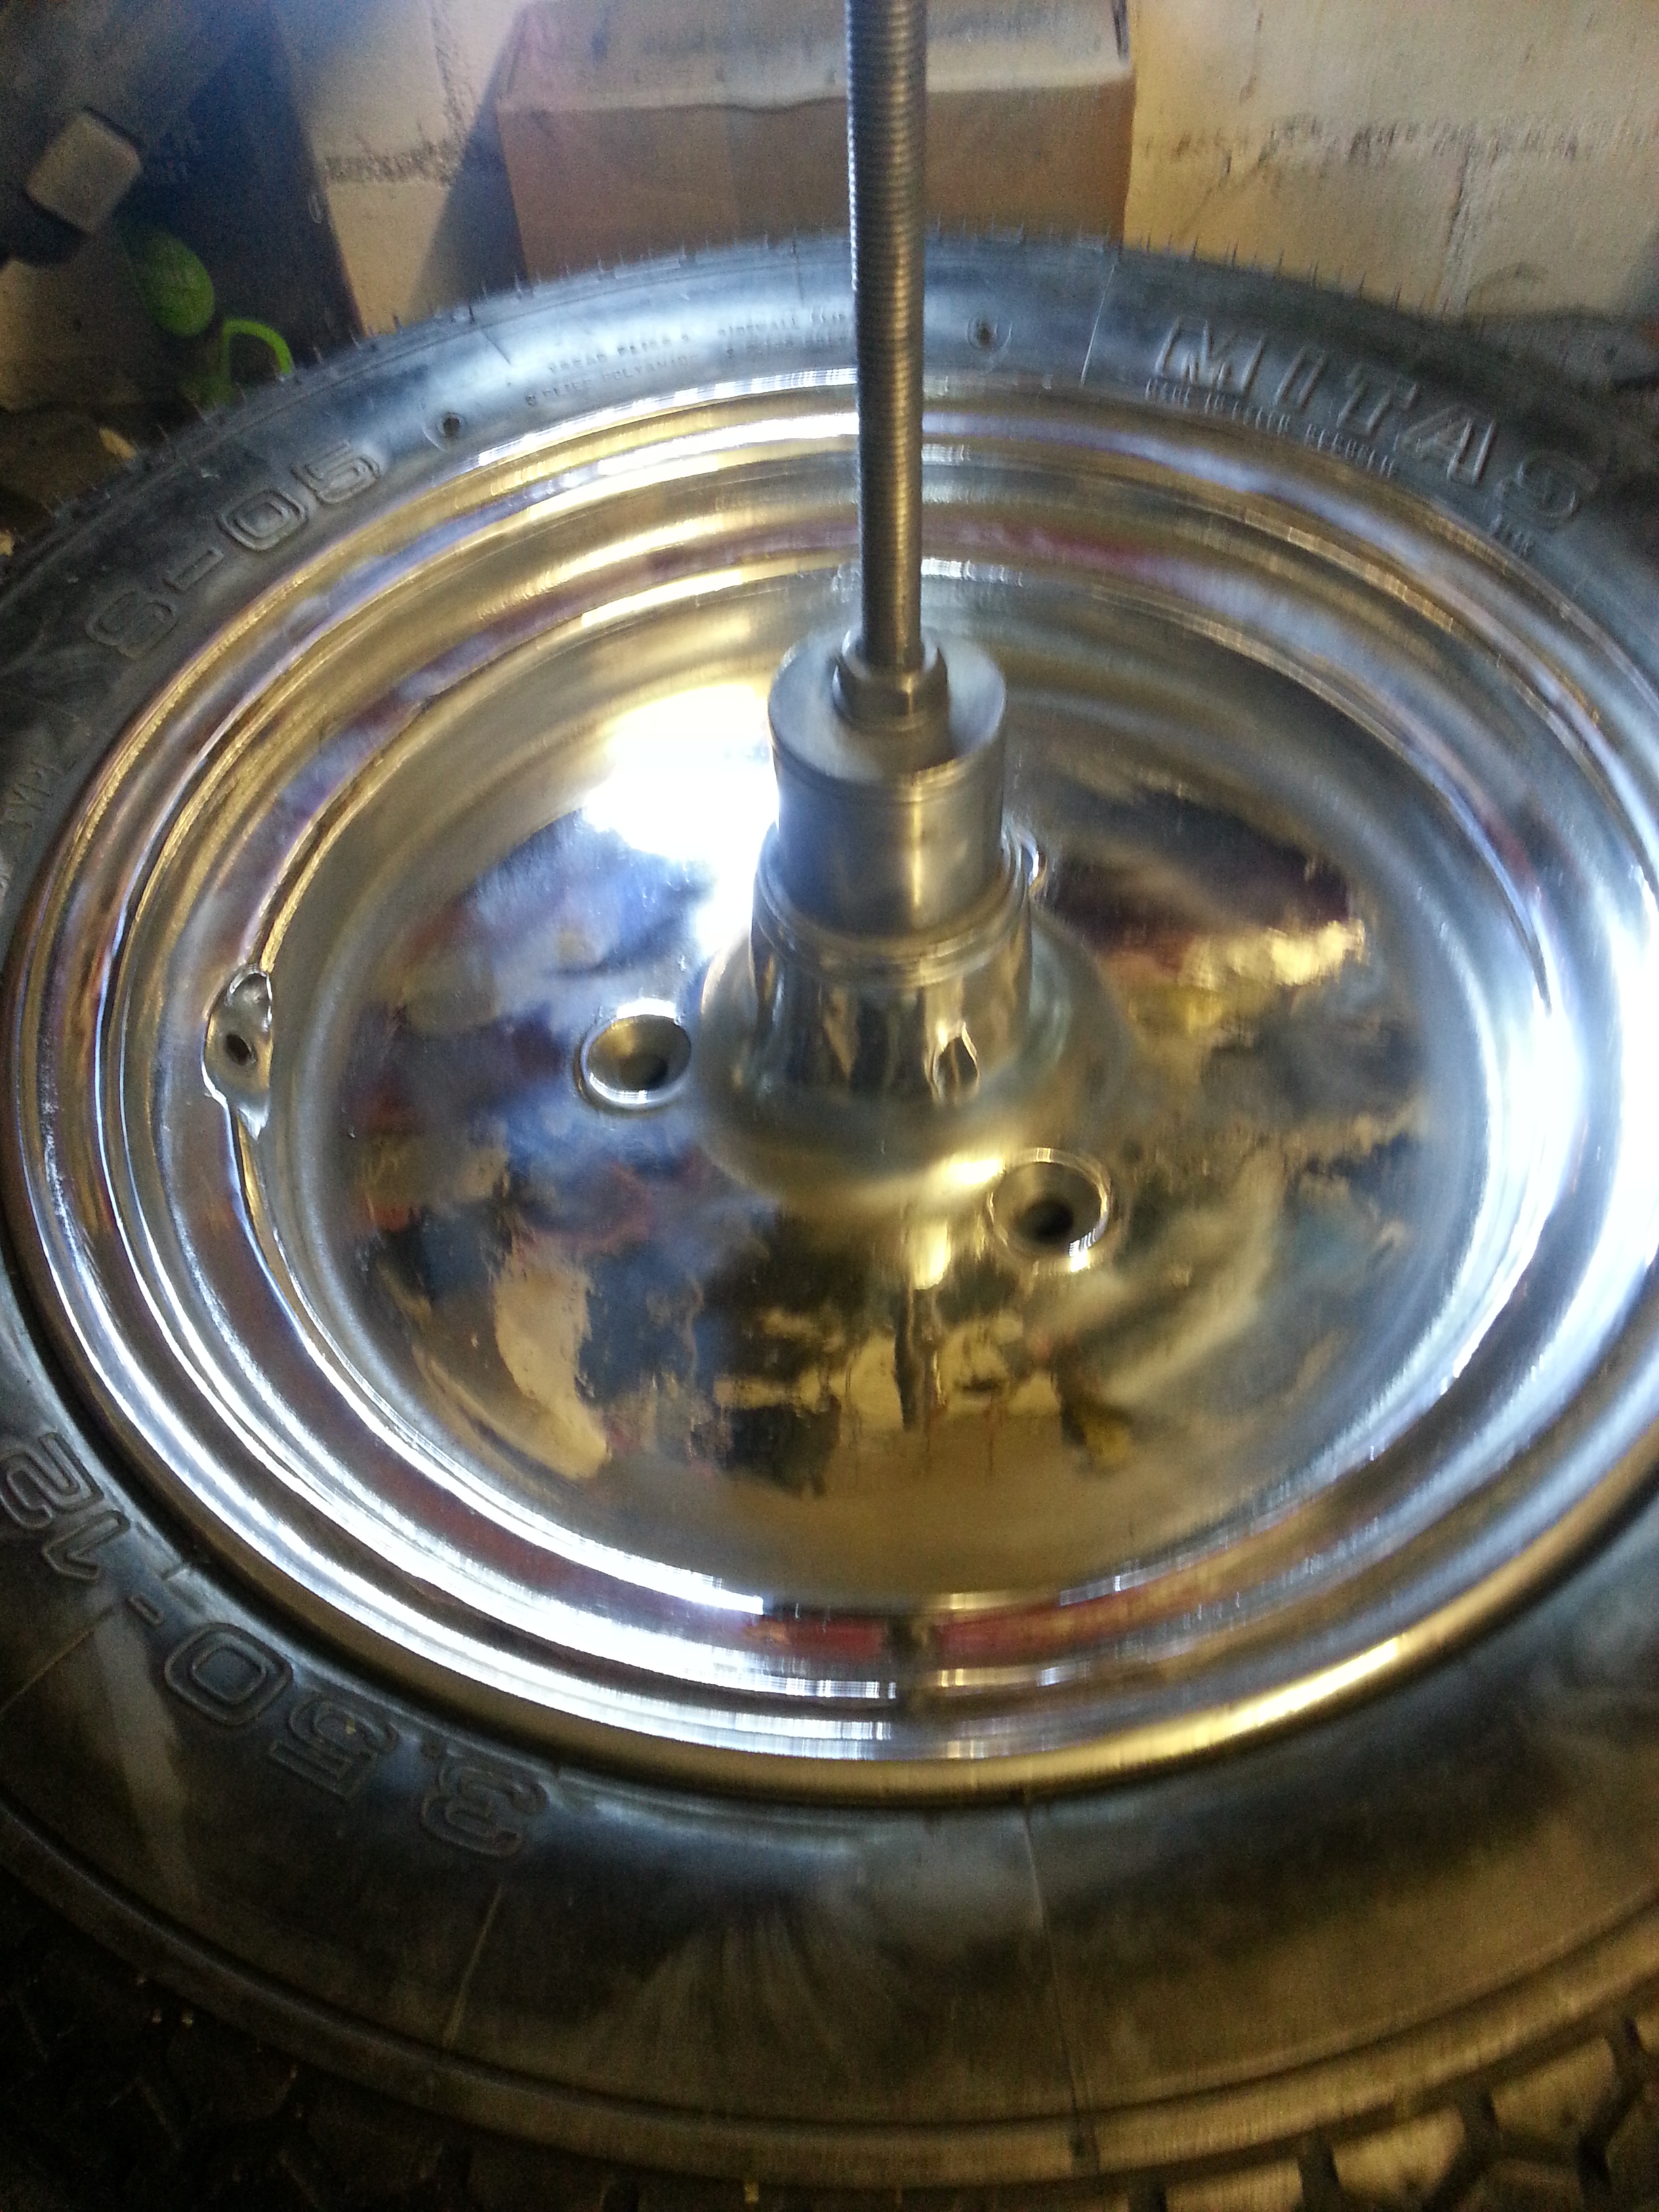
Next take a threaded rod (M10) and some nuts and washers as well as a 32mm socket or equivalent sized object. Stack it on top of a nut, stick it through the wheel, put the tool on and lock the tool in place. This way you press the tool onto the ring nut when opening it. This prevents the tool slipping out of the recesses. These nuts can be very tight…
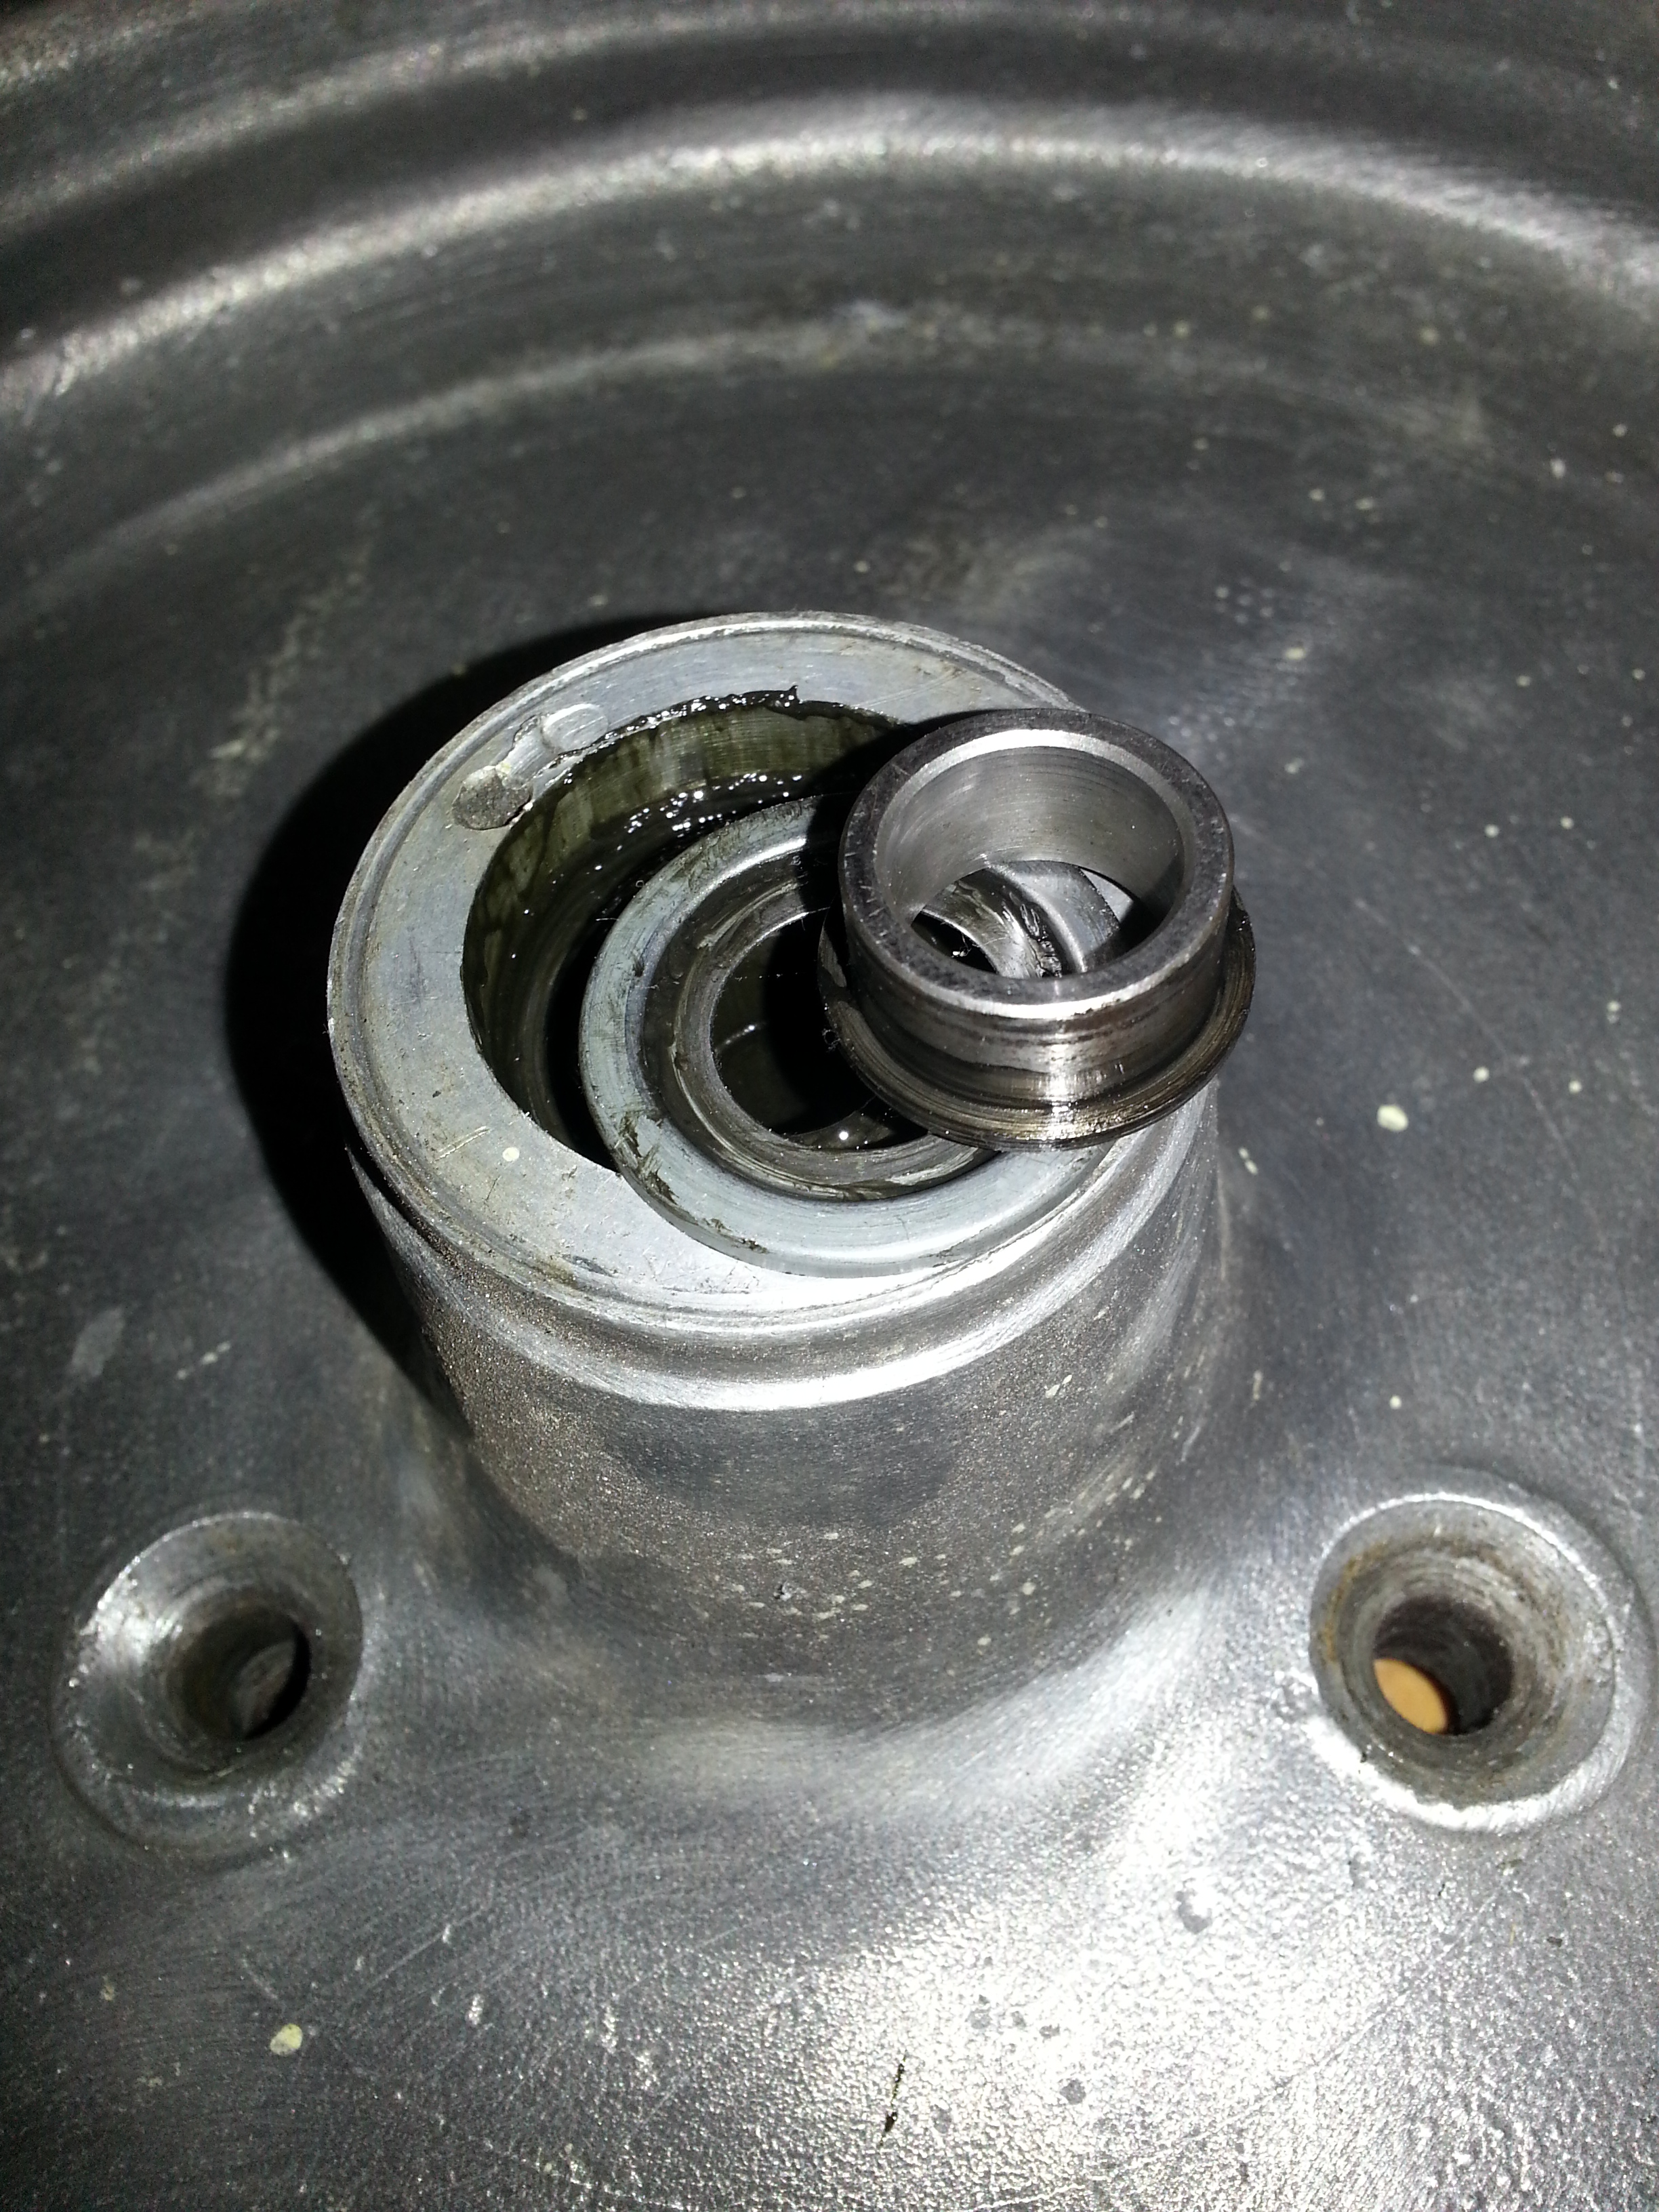
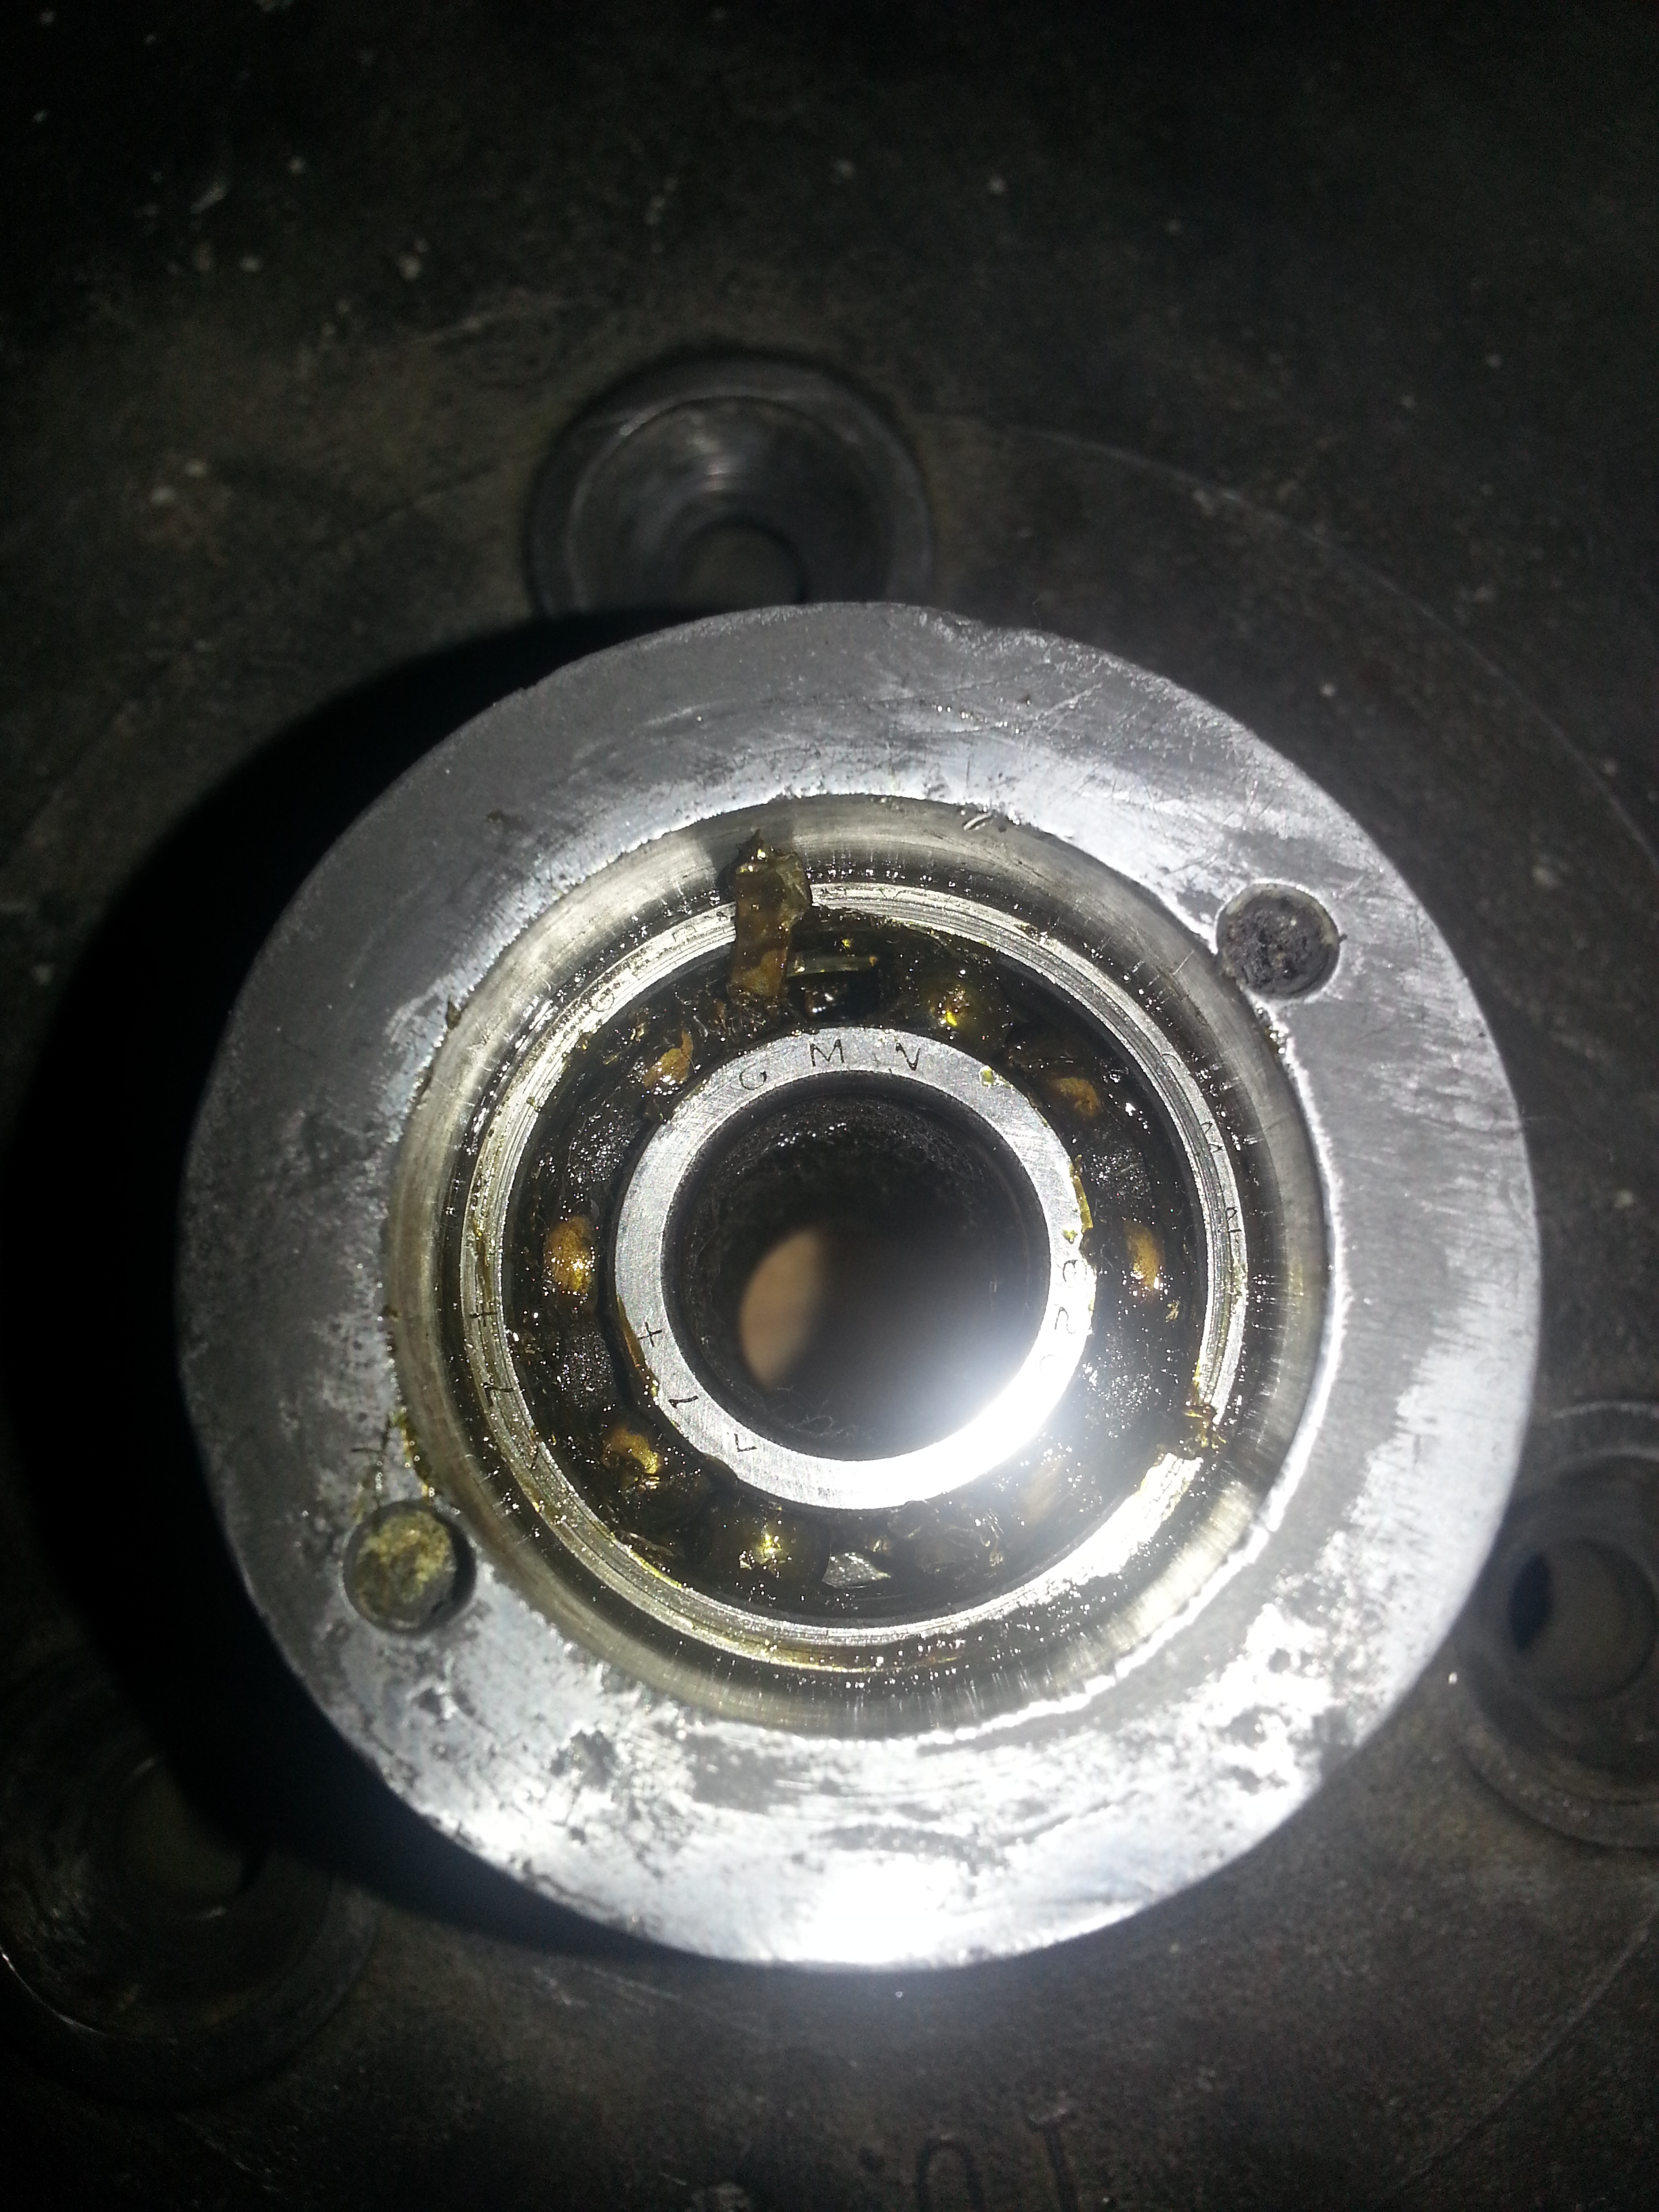
With the nut removed you can remove the bearing. In between the two bearings is a spacer bushing; do not lose it.
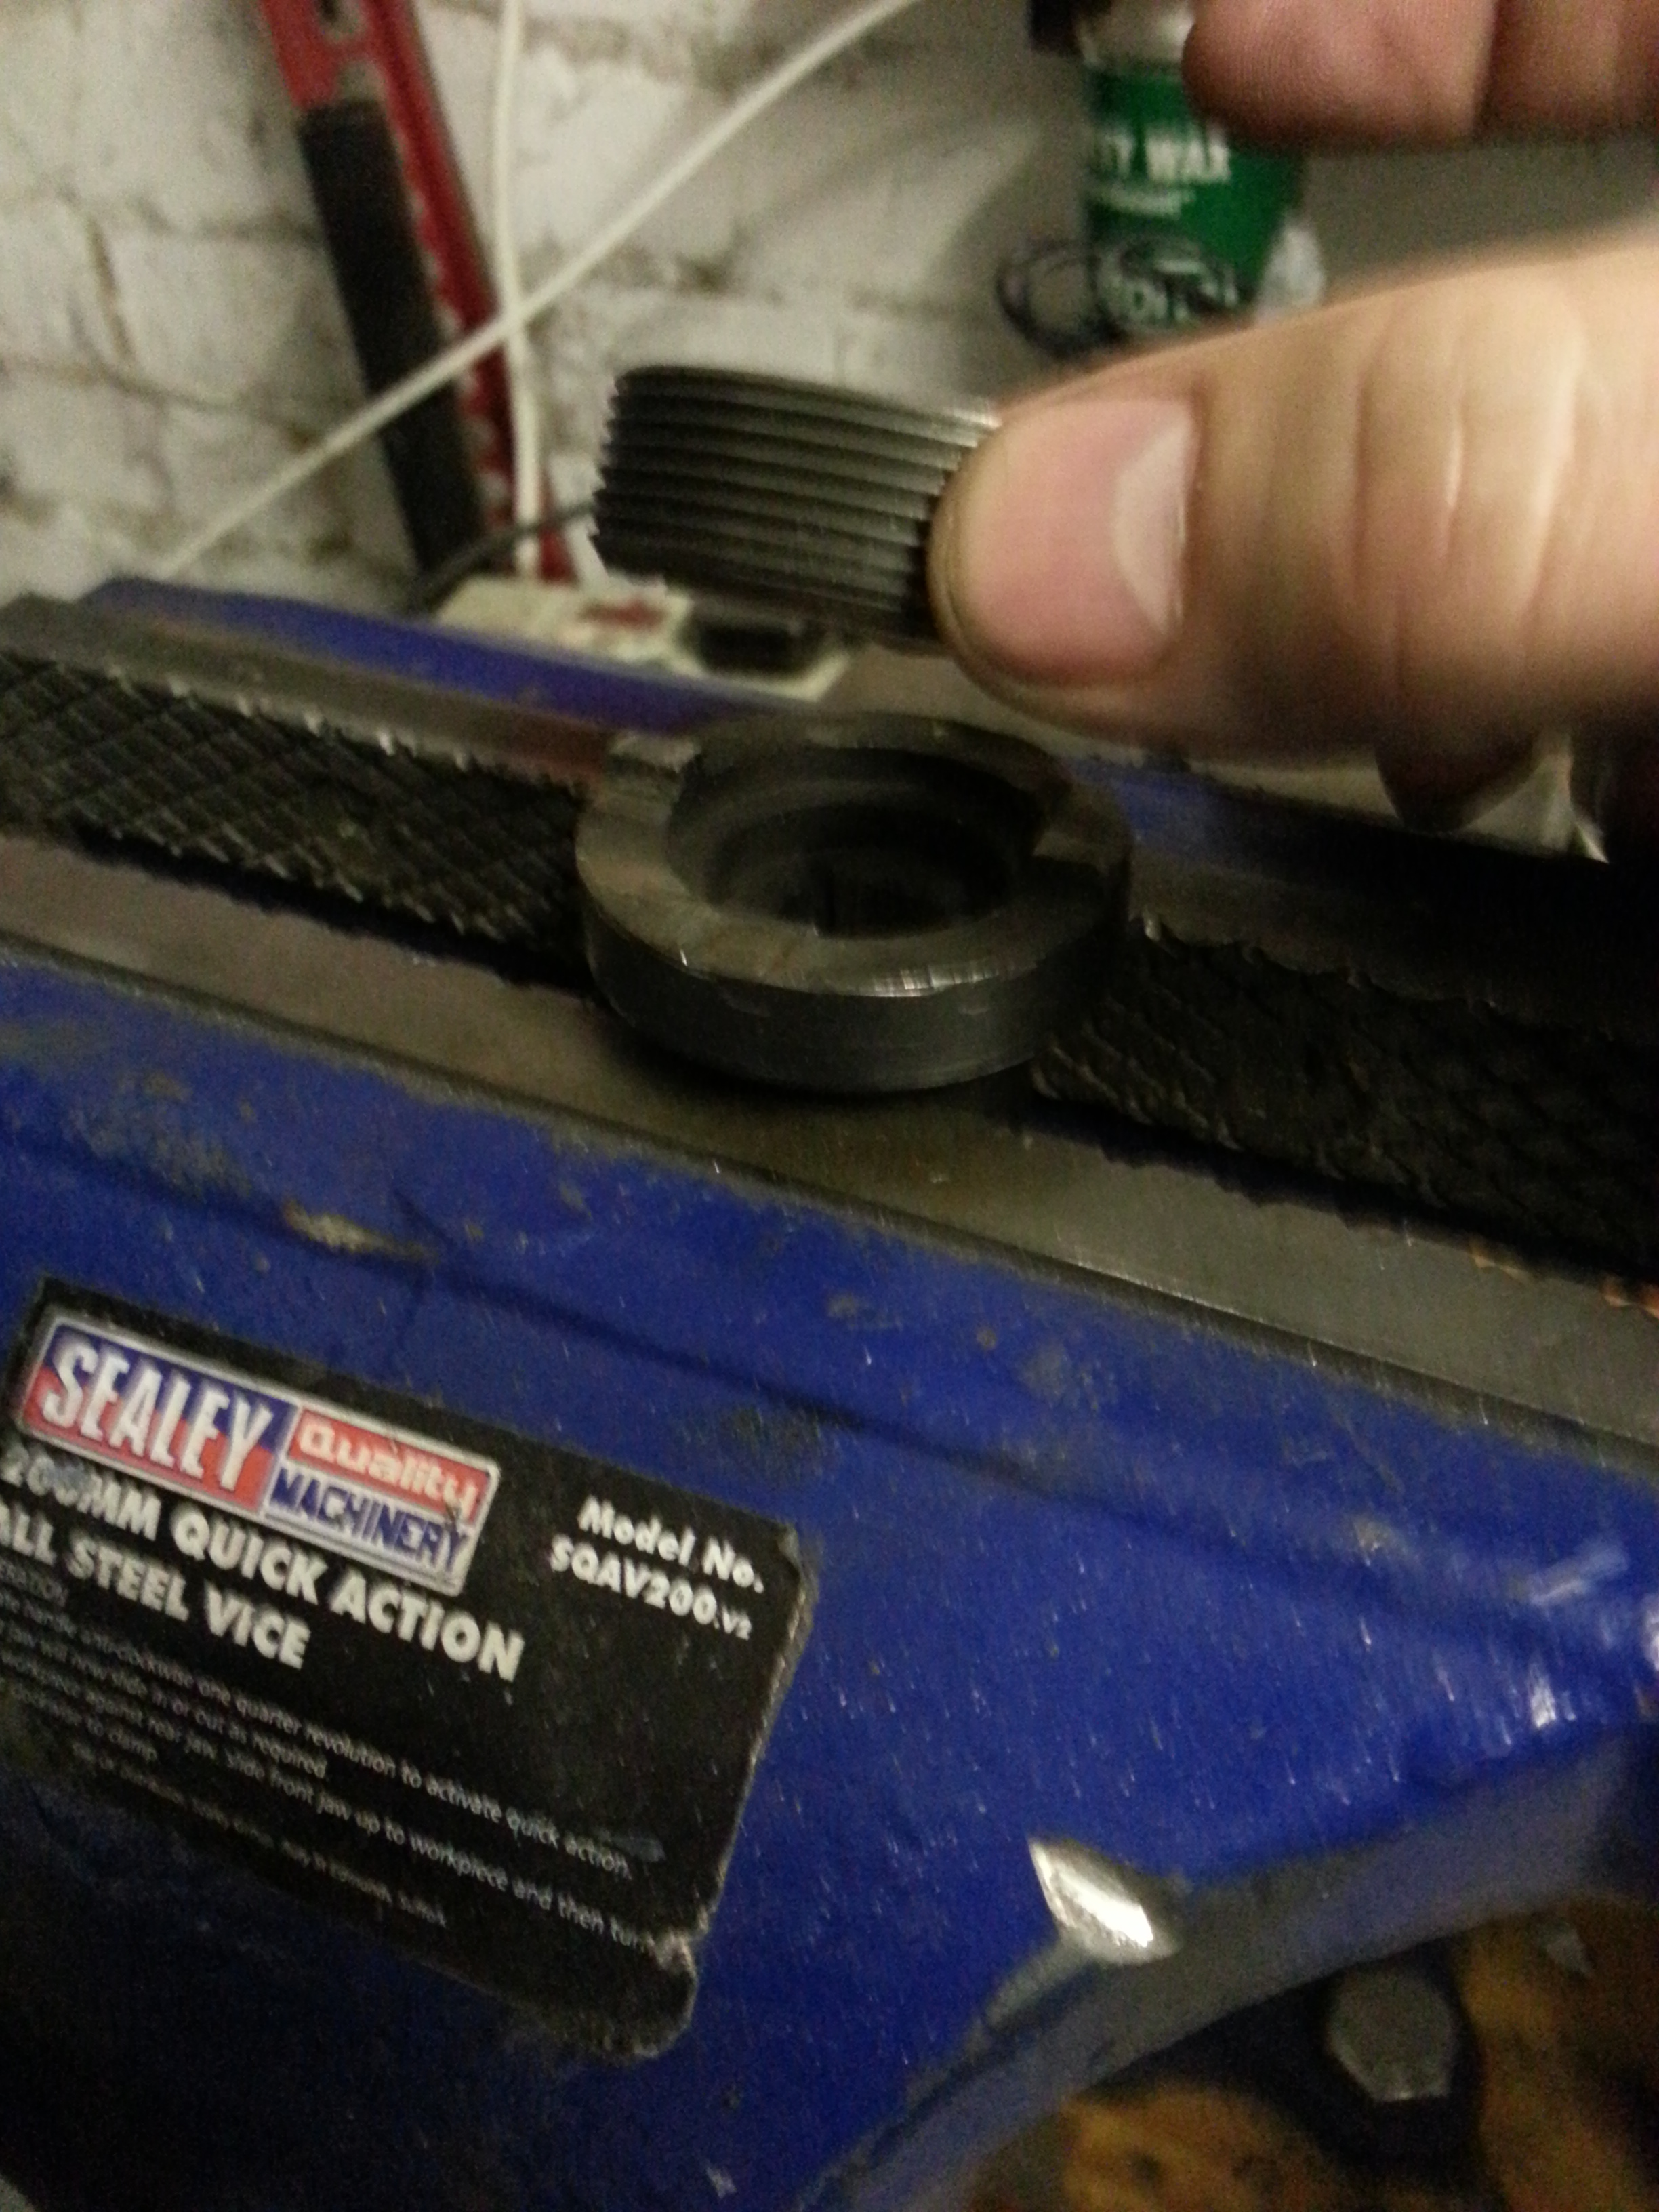
The lock nut tool serves a second function; if you put it in a vise upside down and put the ring nut on top; you can use an M45 x 1.5 die to chase the threading on the nut:
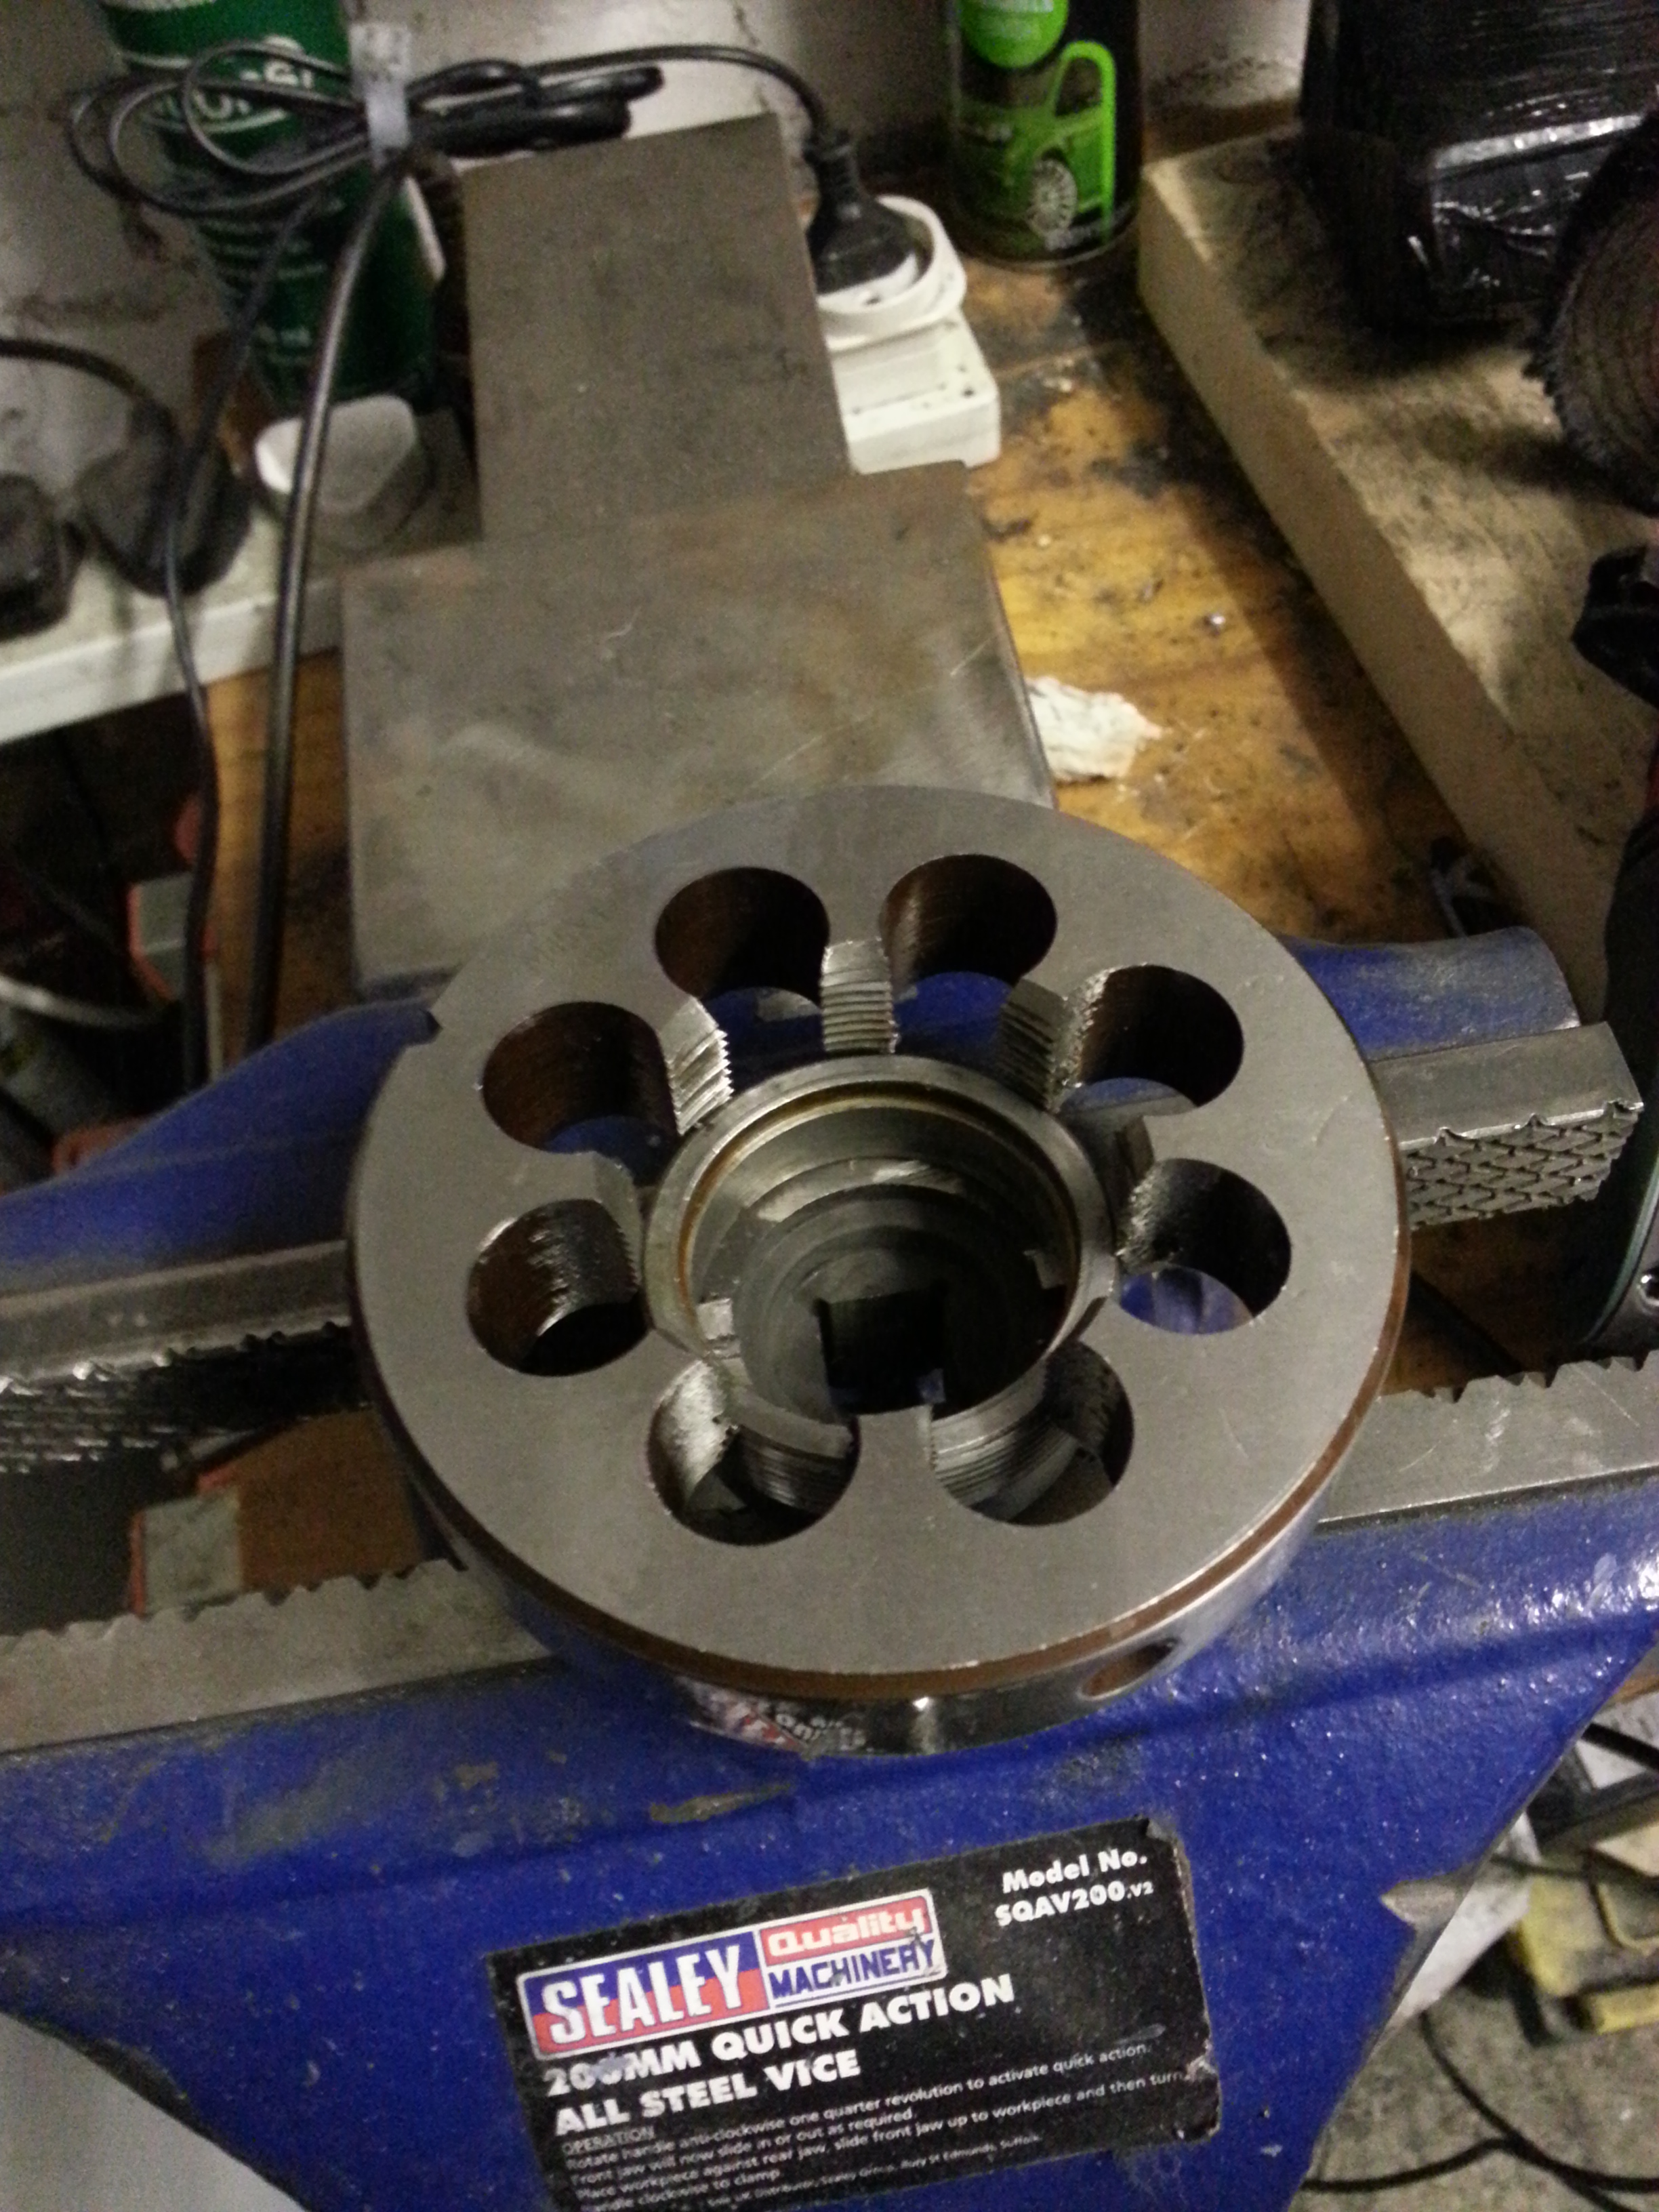
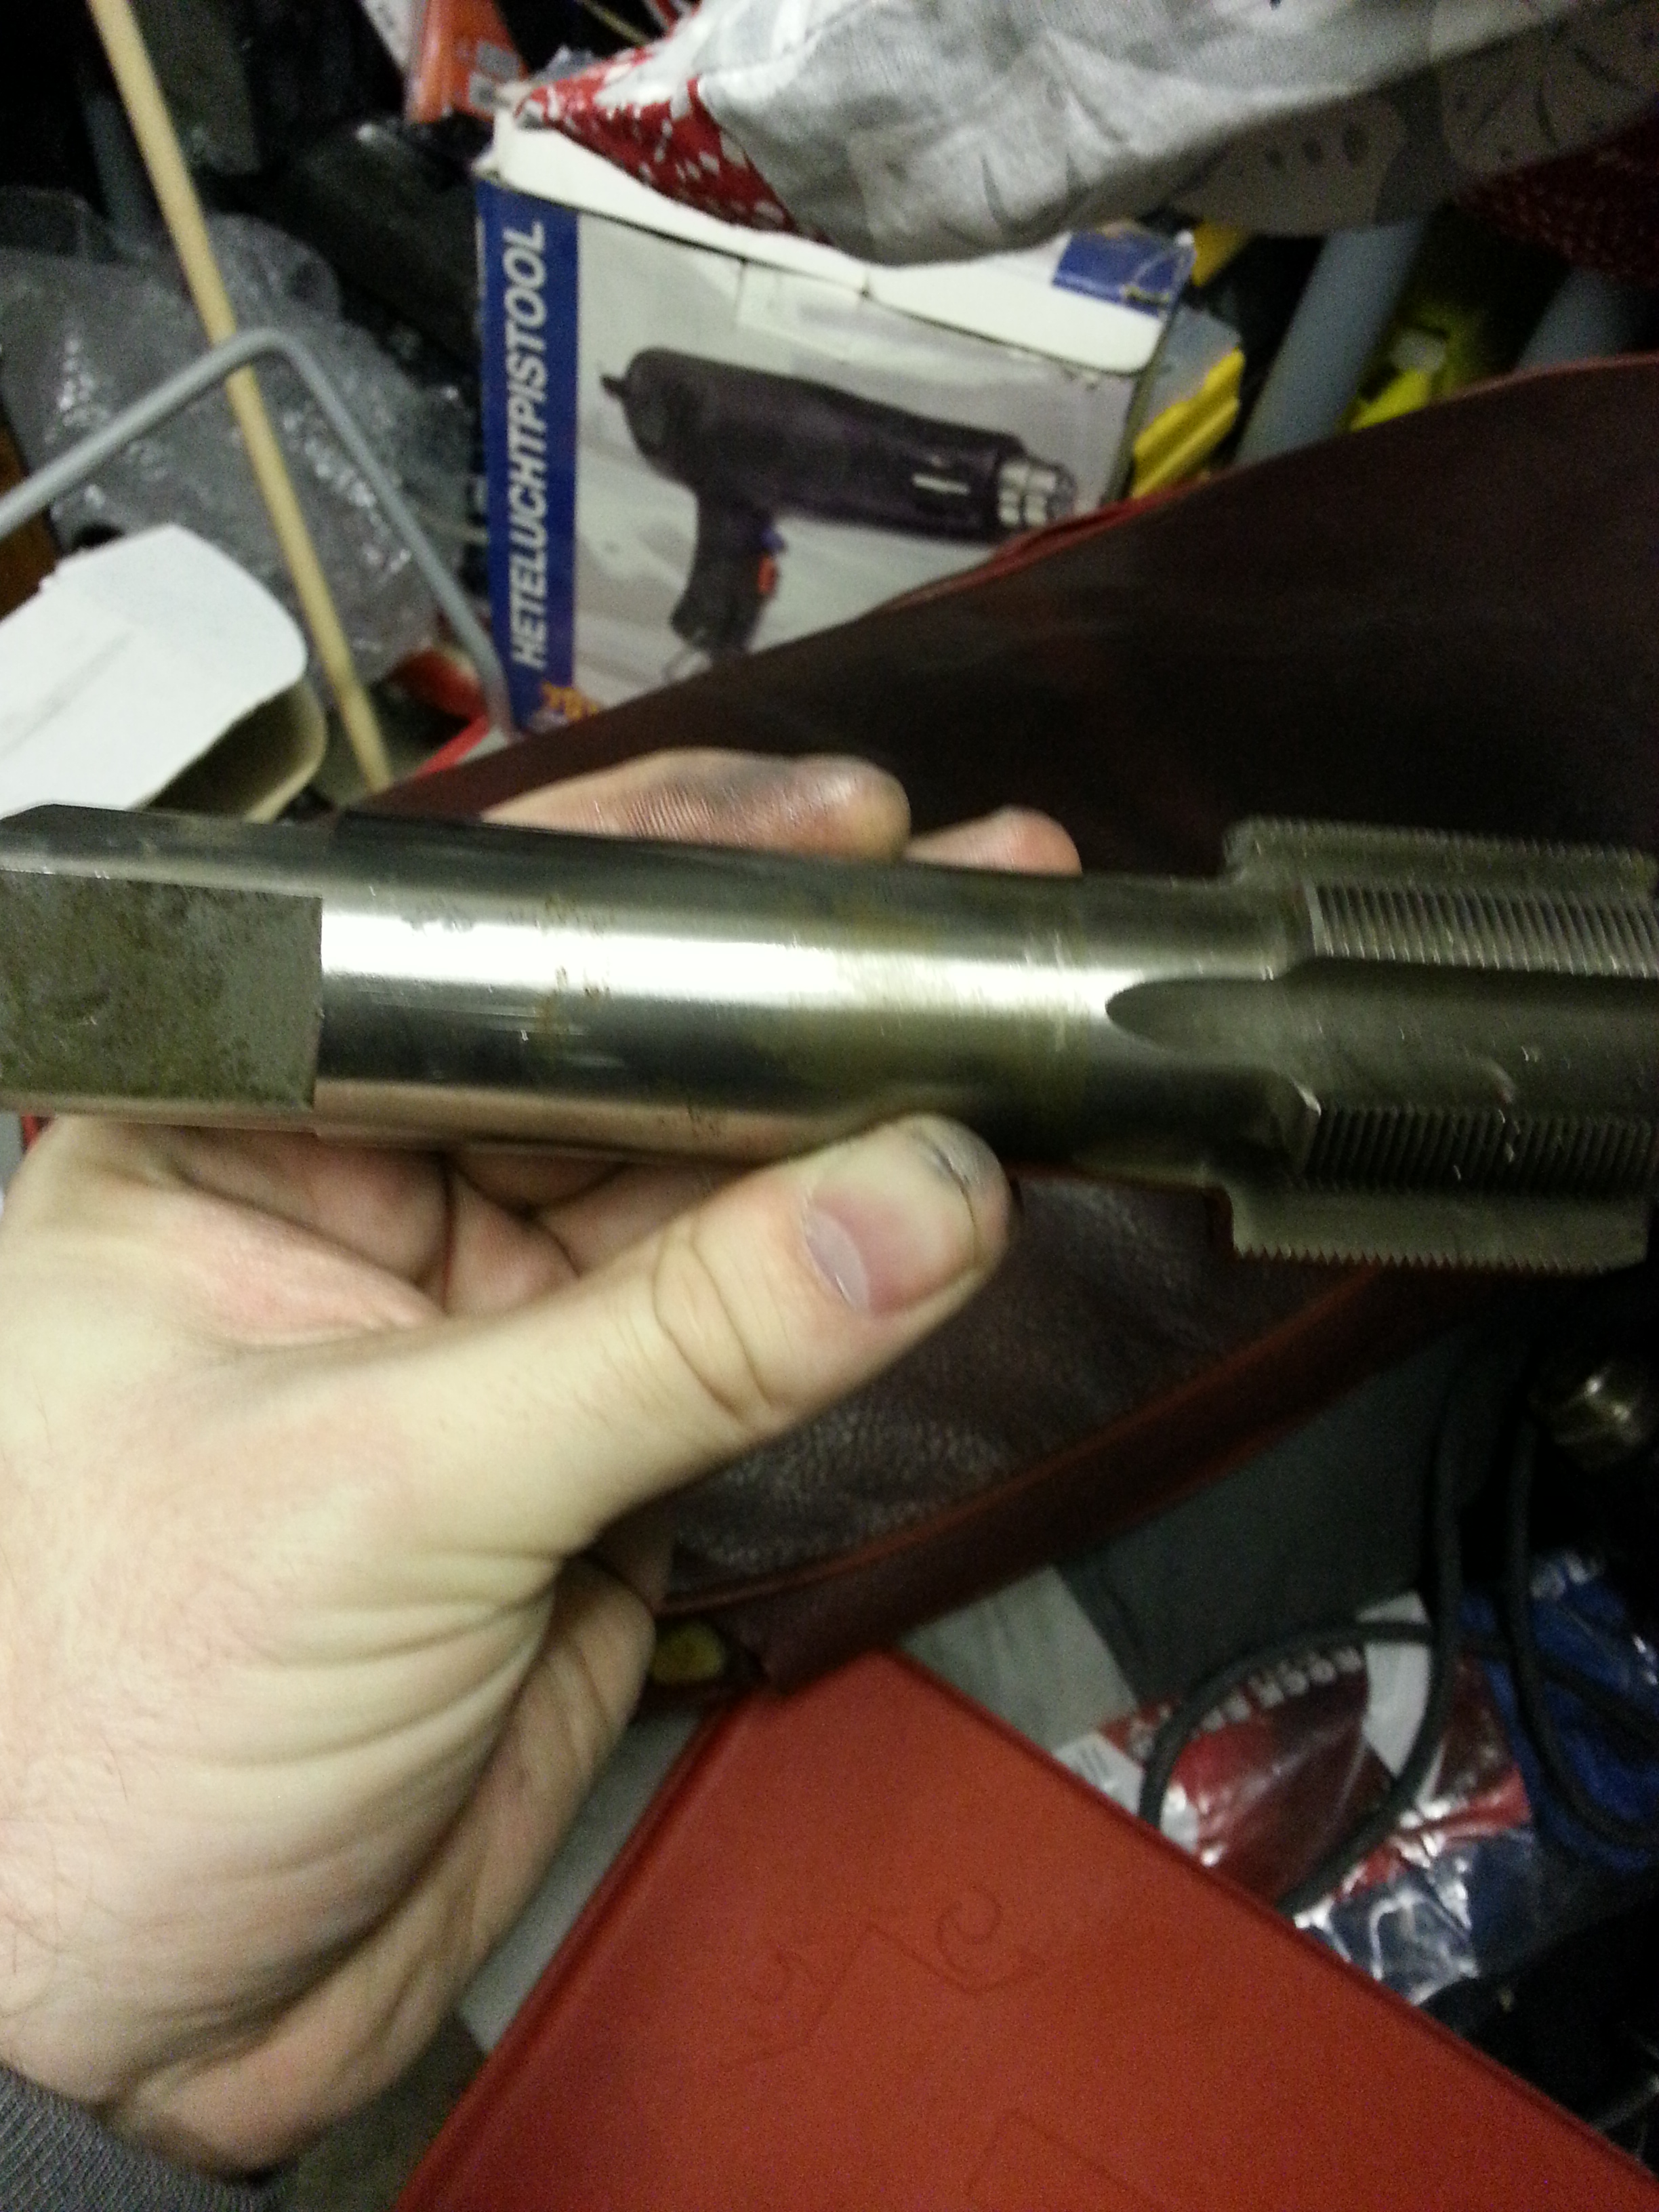
If you use an M45 x 1.5 tap on the wheel thread as well, you will be able to install the ring nut more easily (also M45 x 1.5 of course):
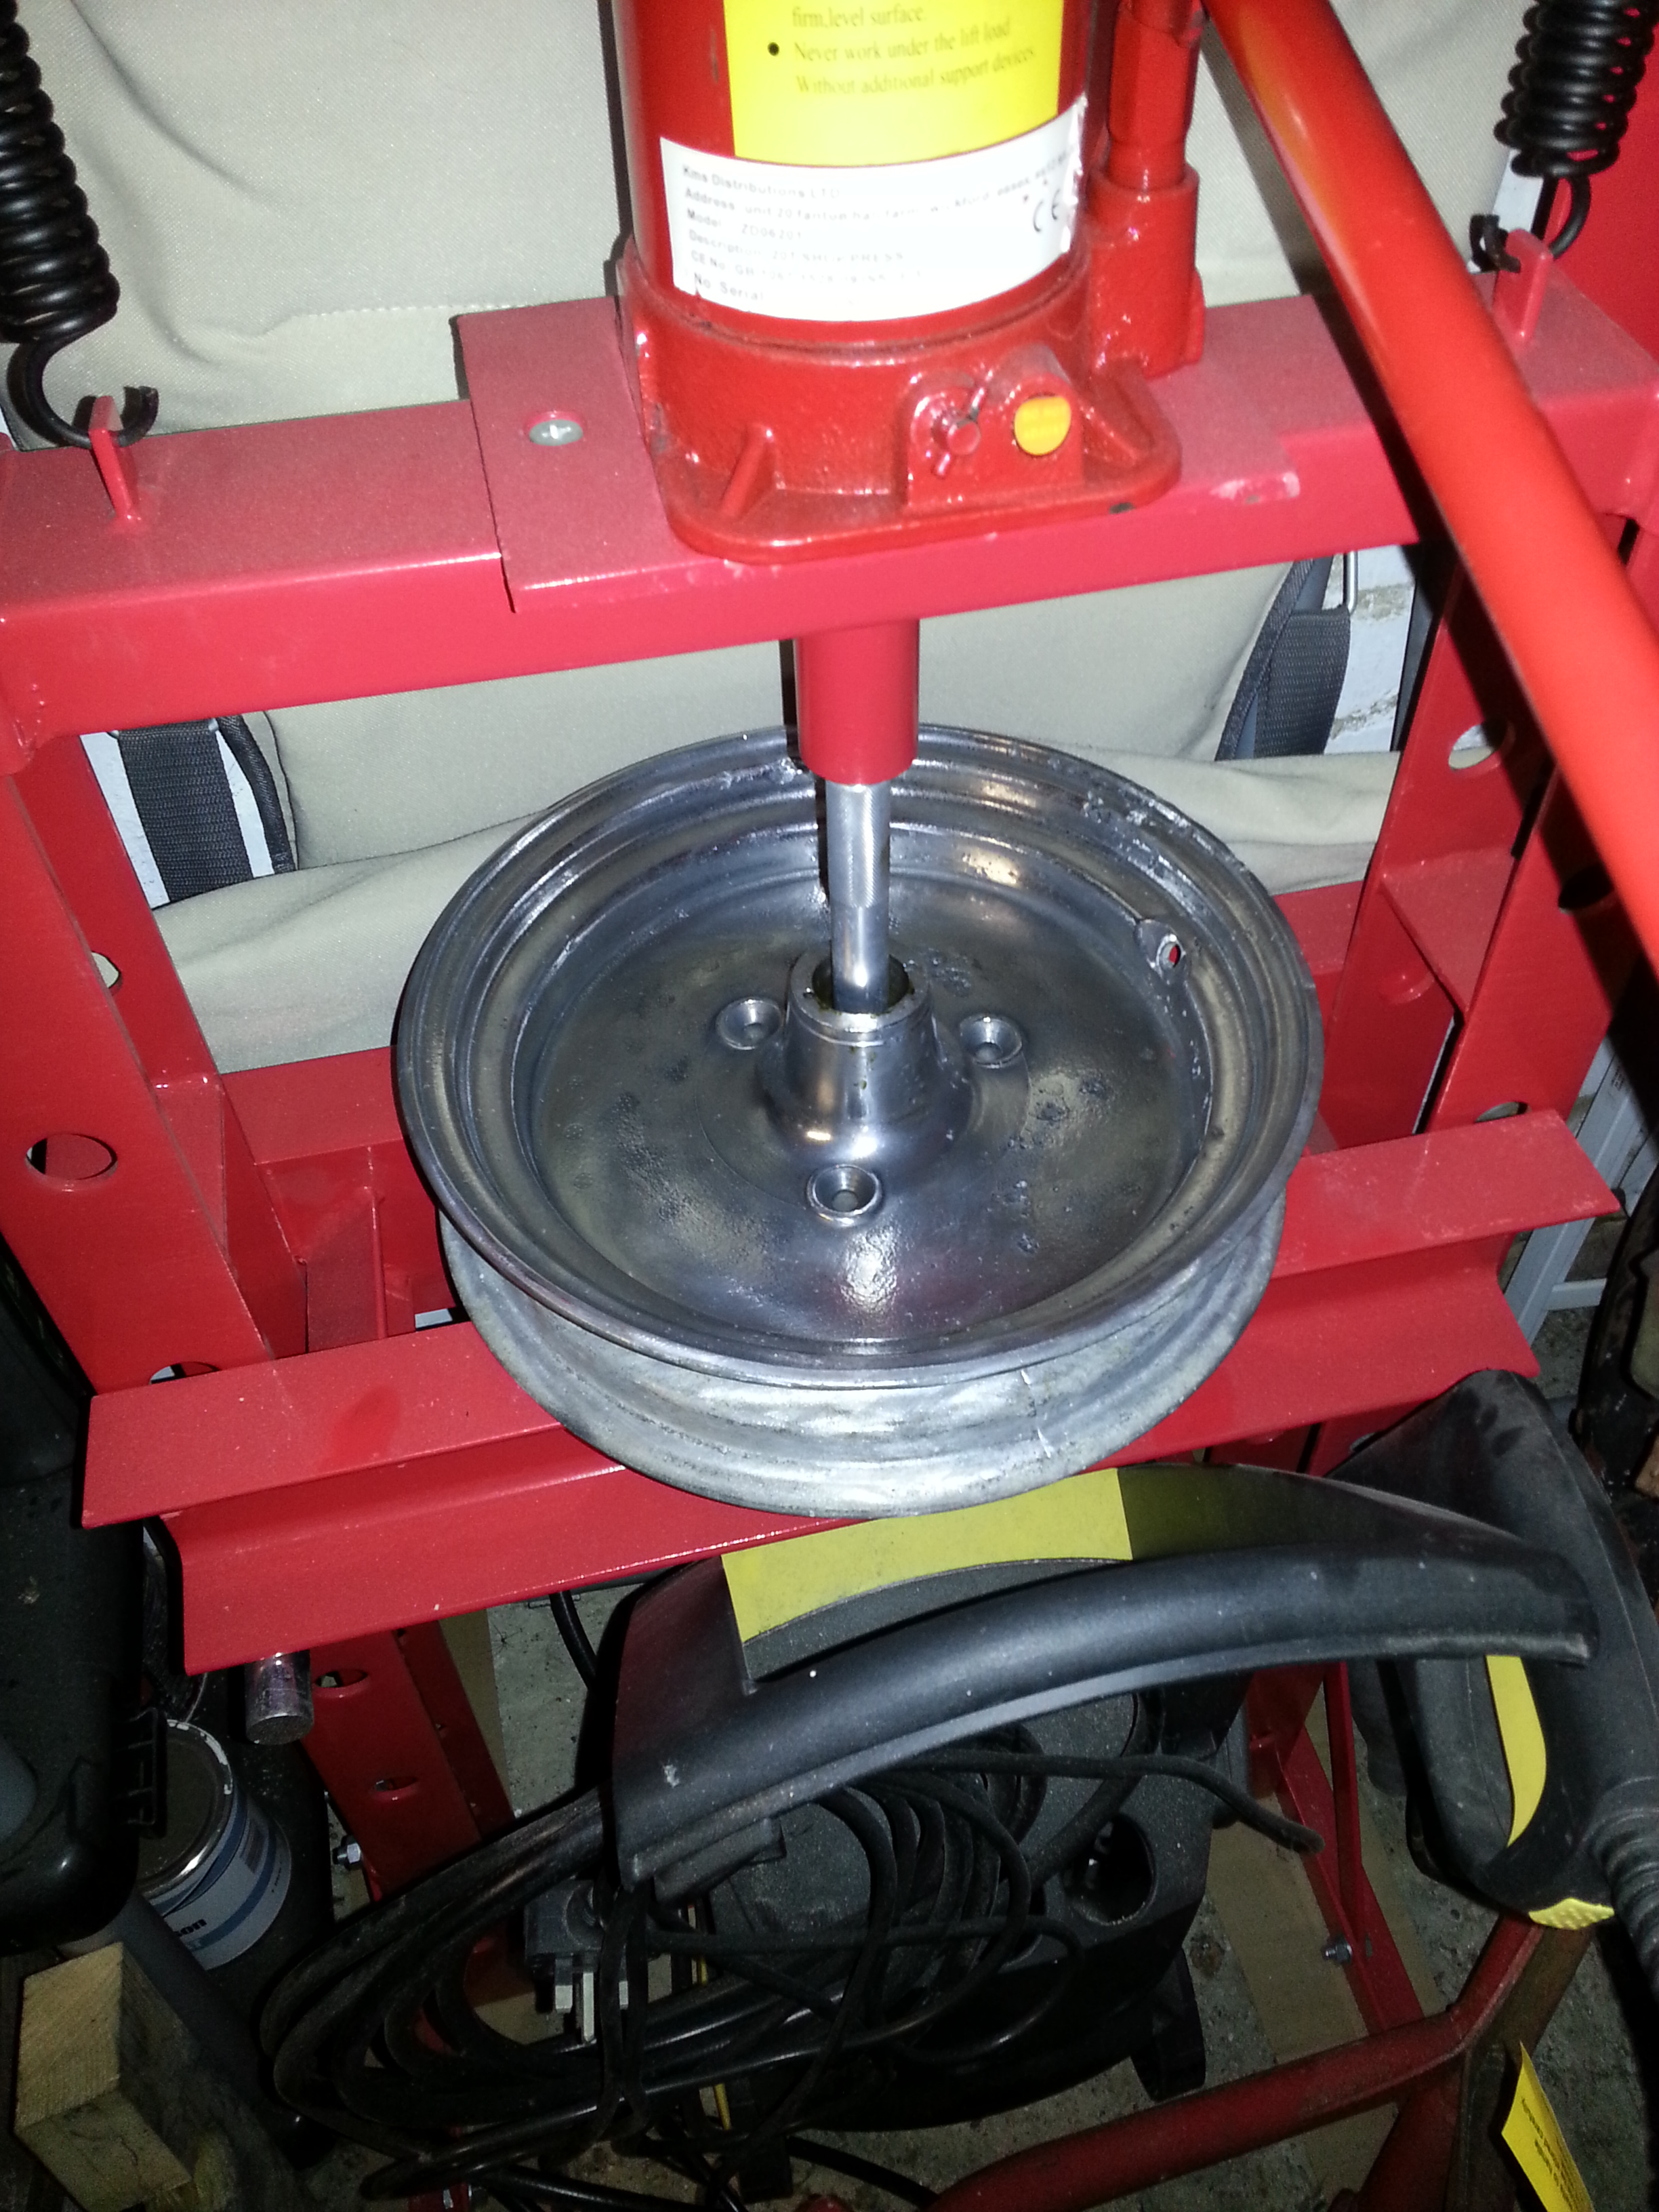
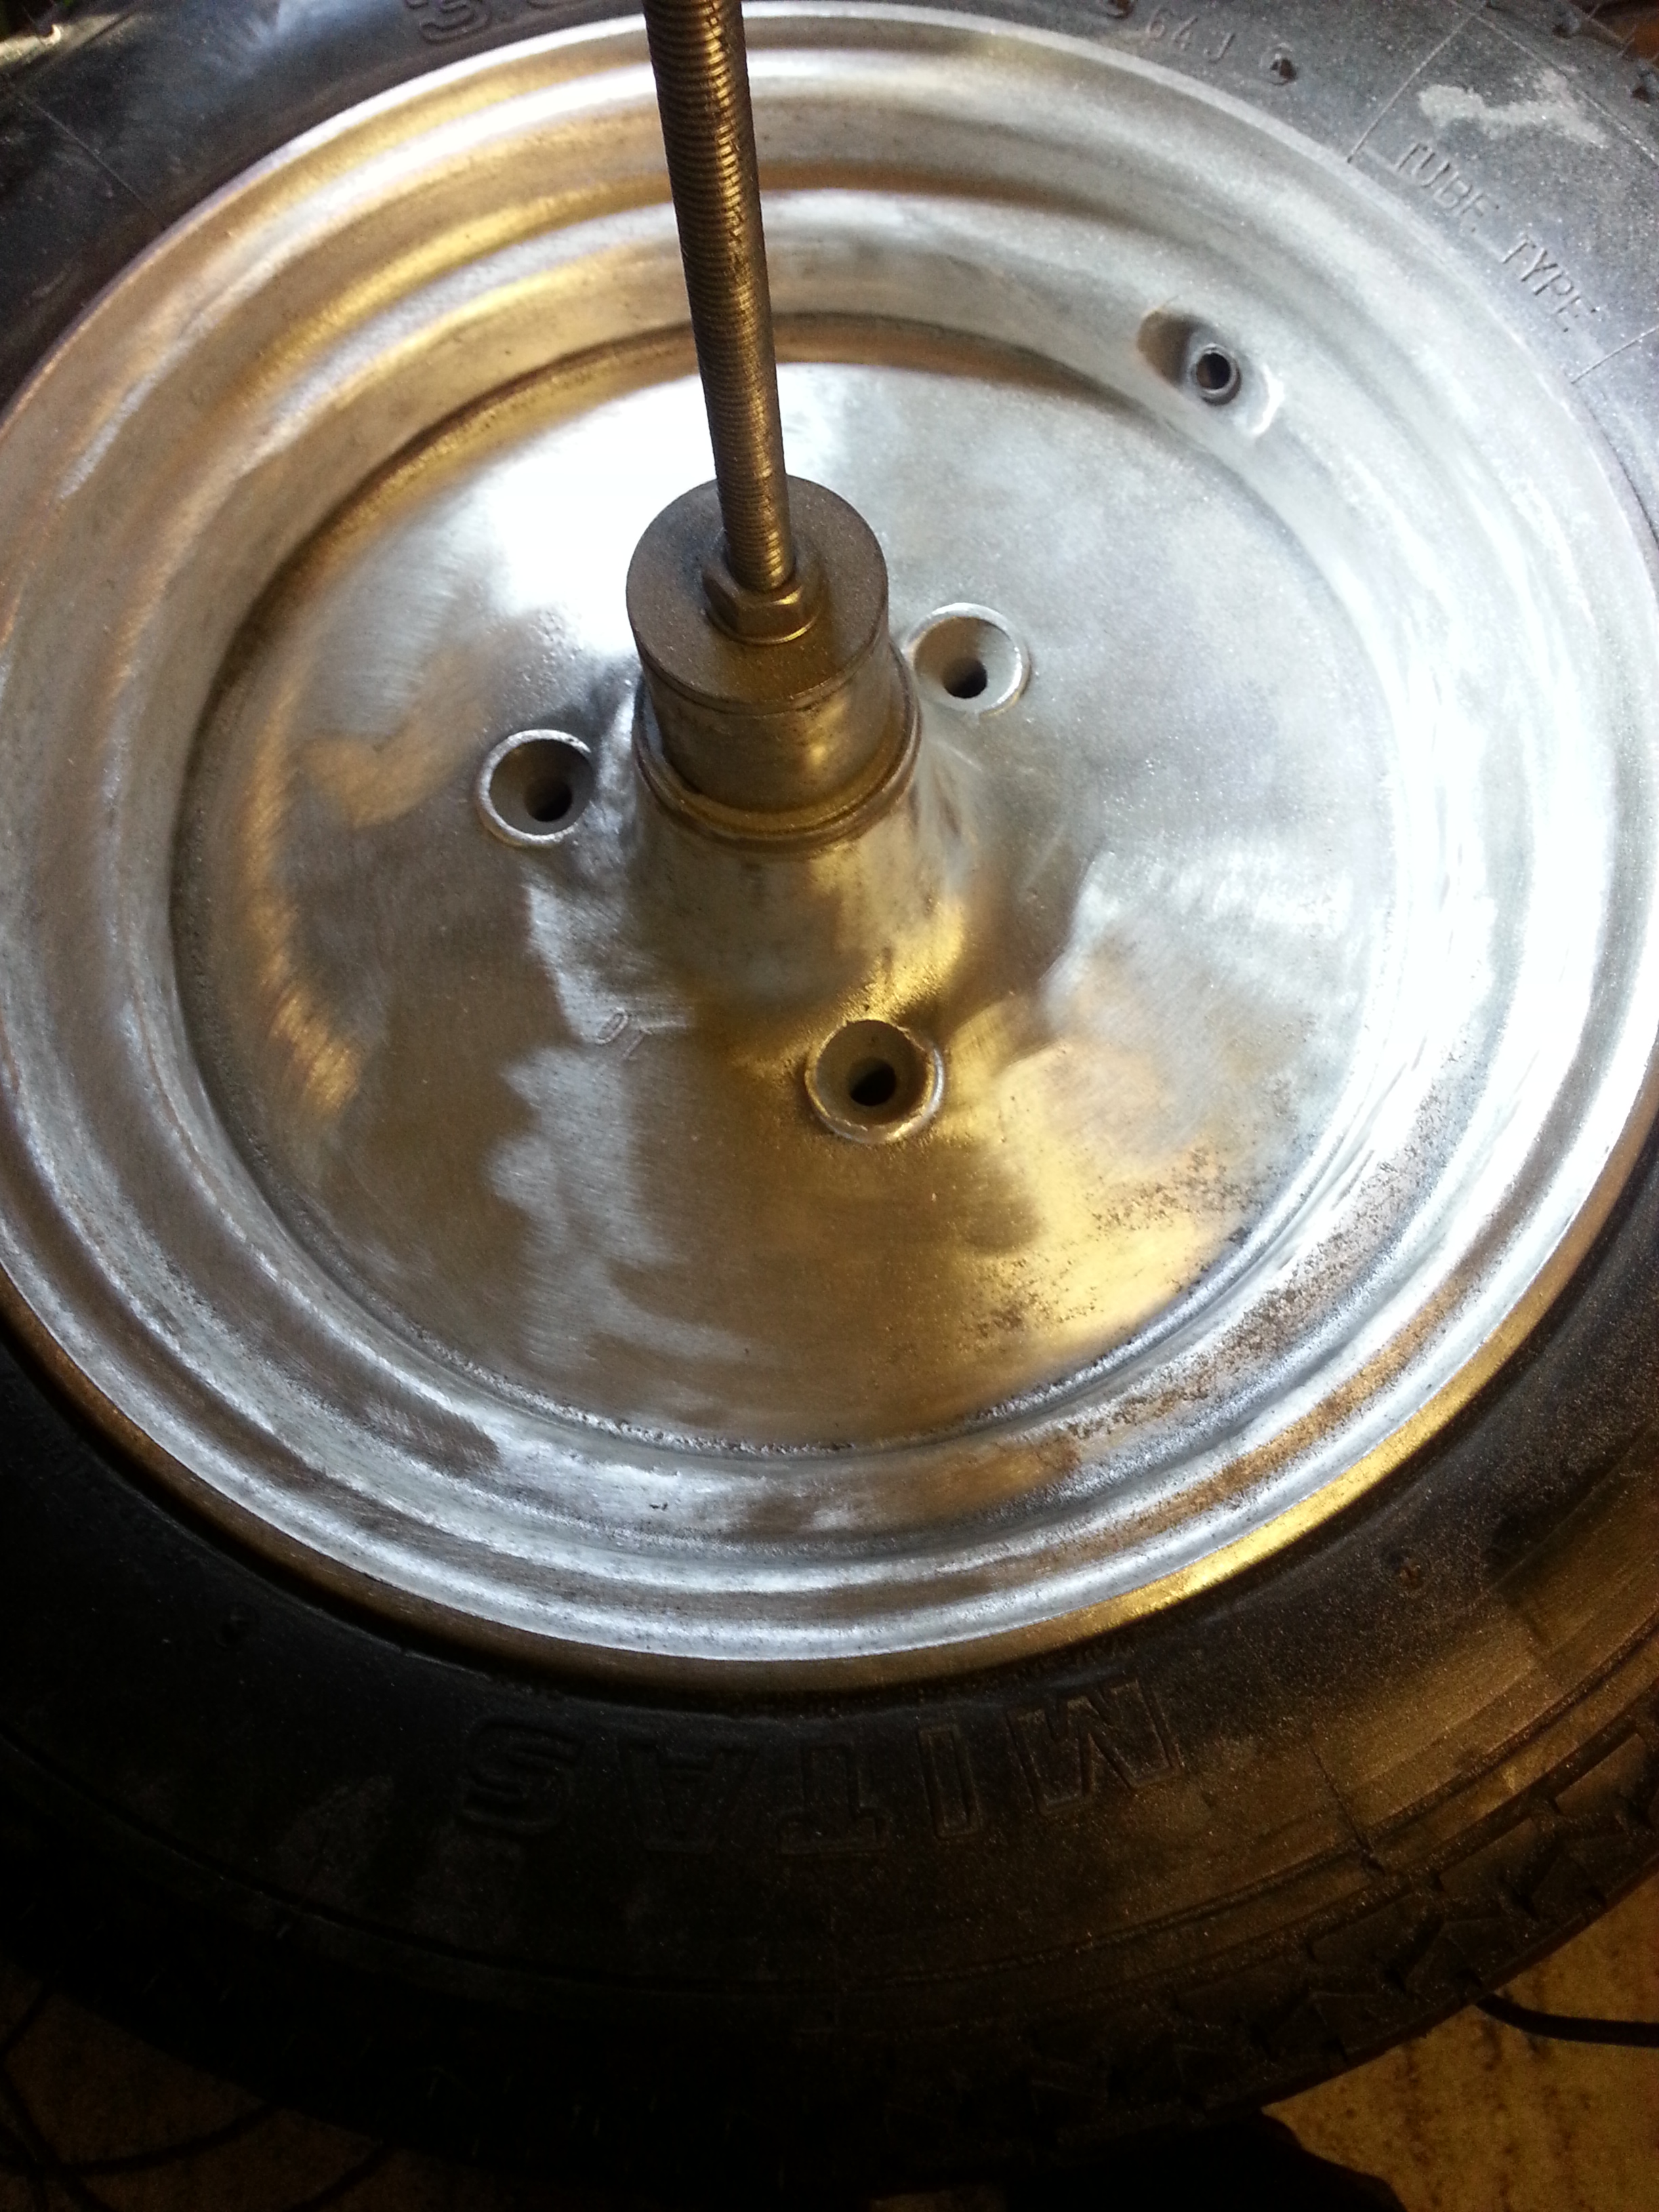
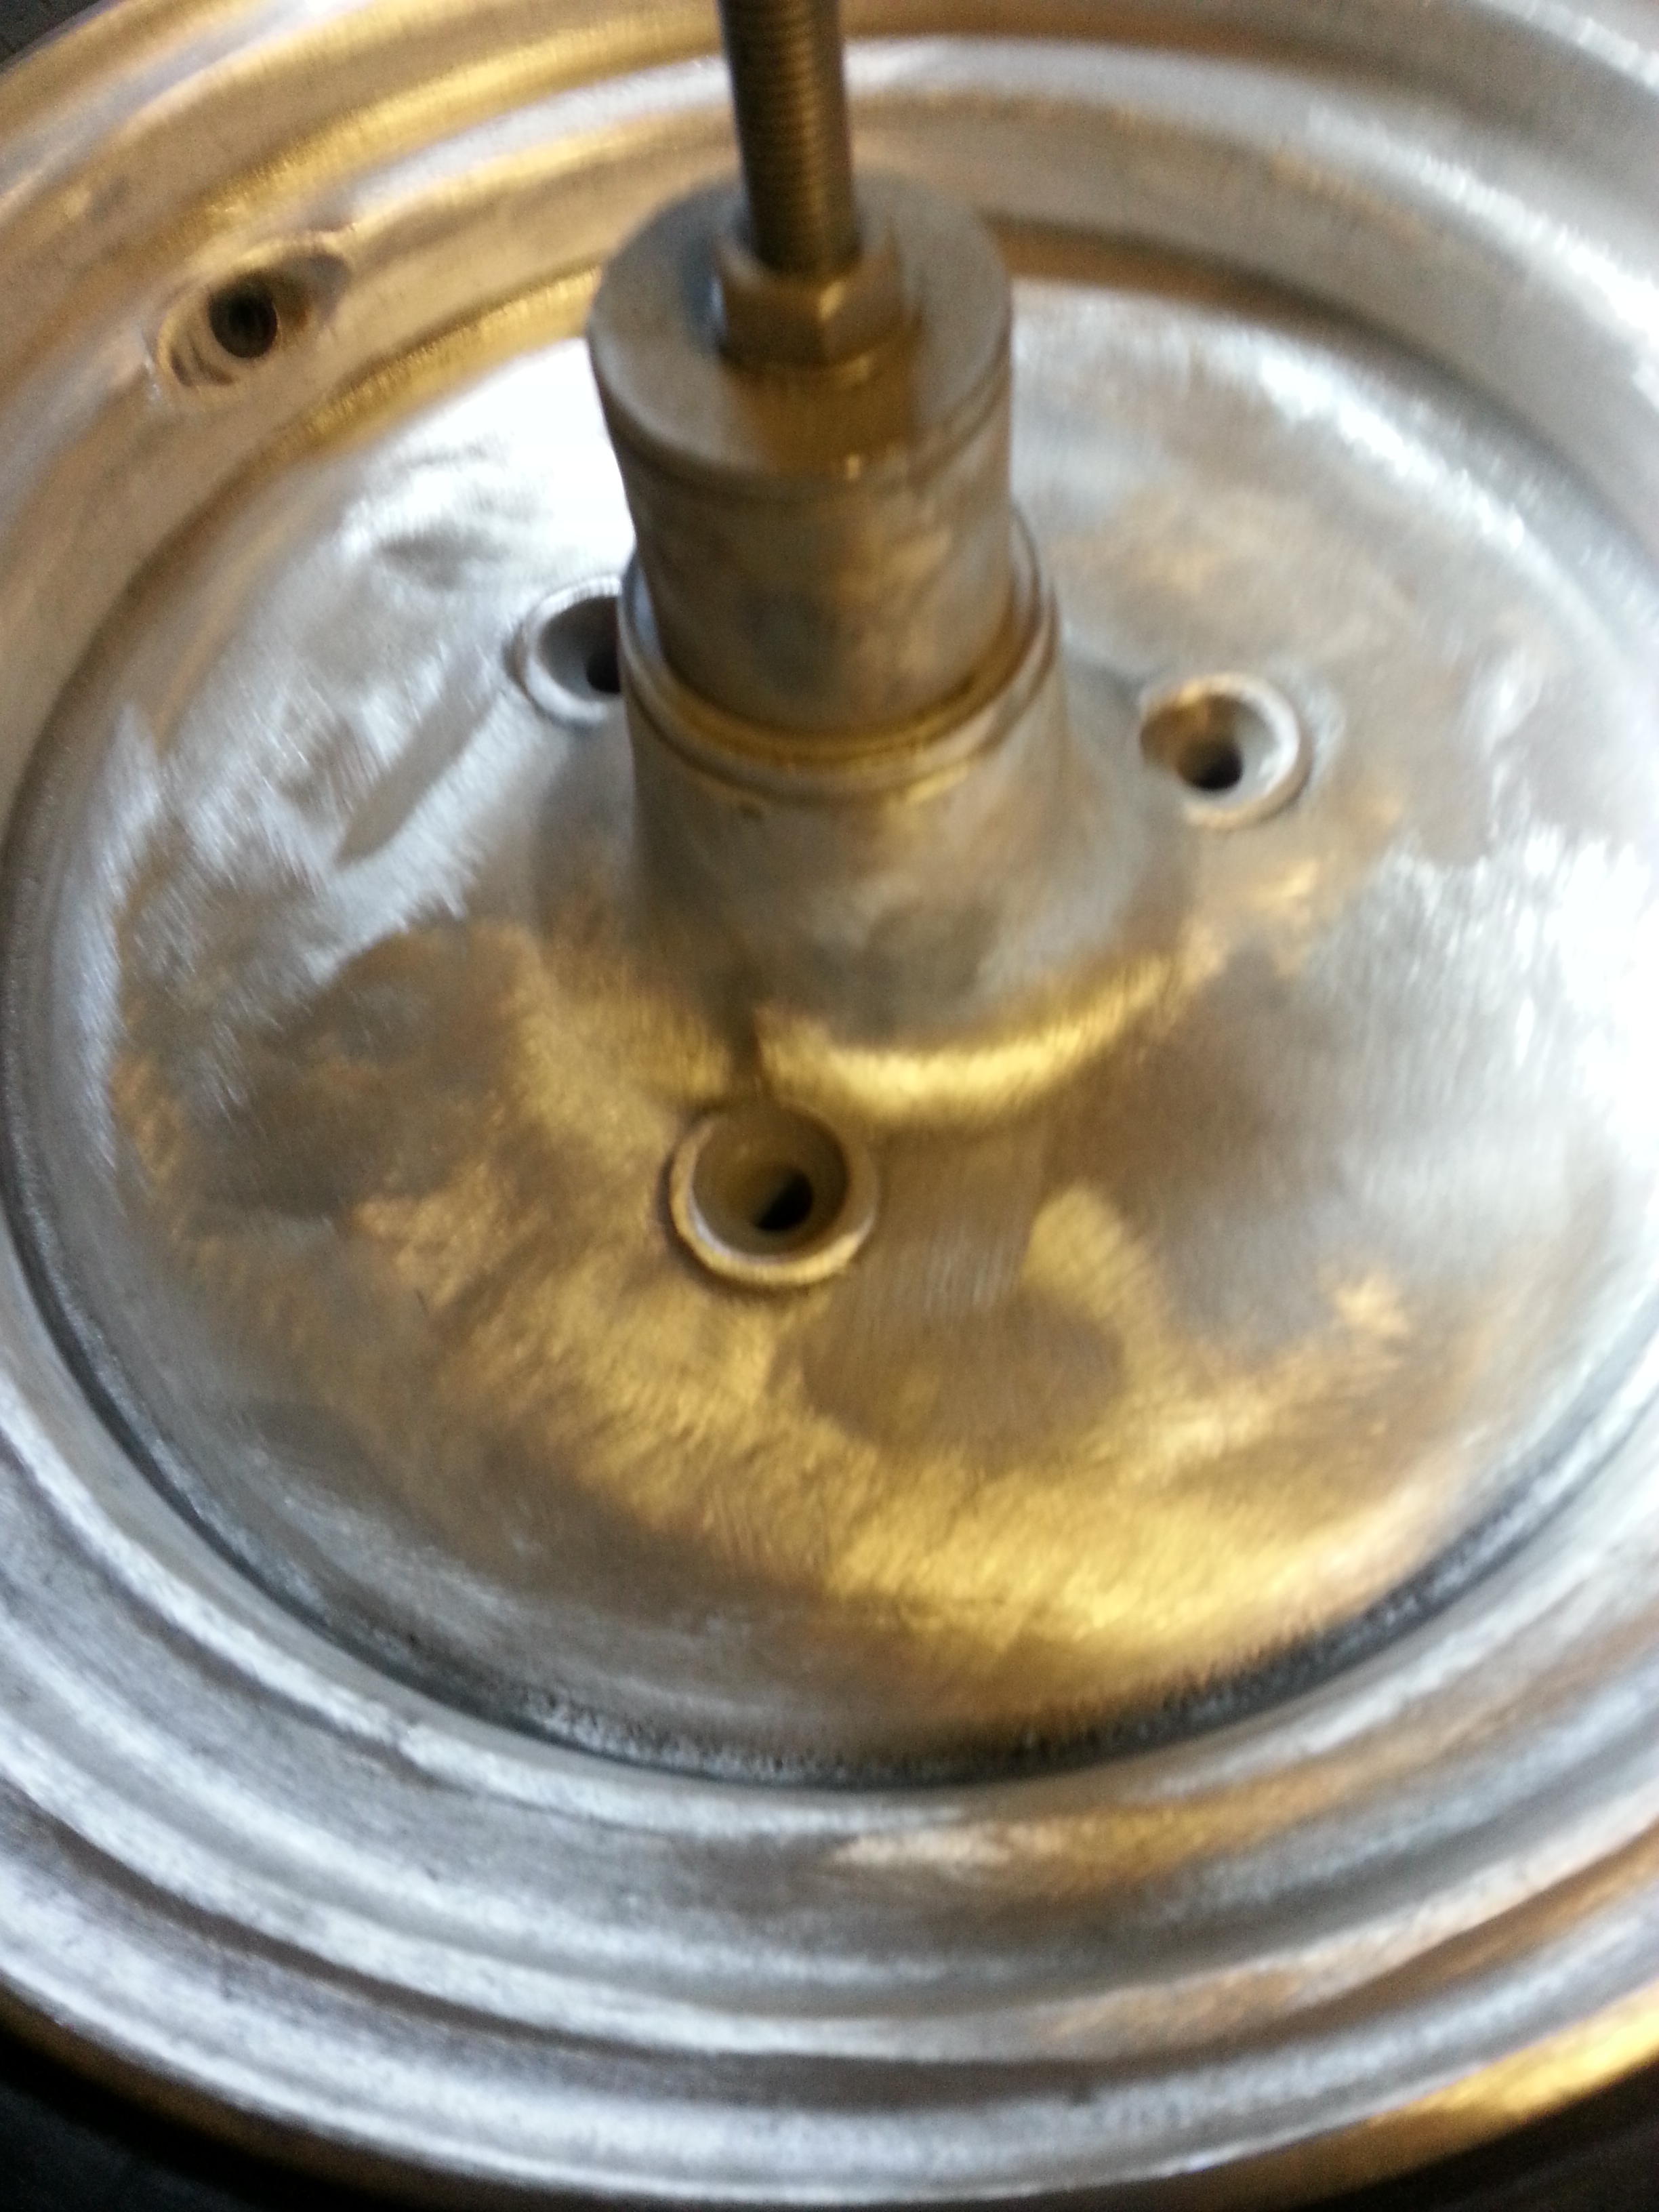
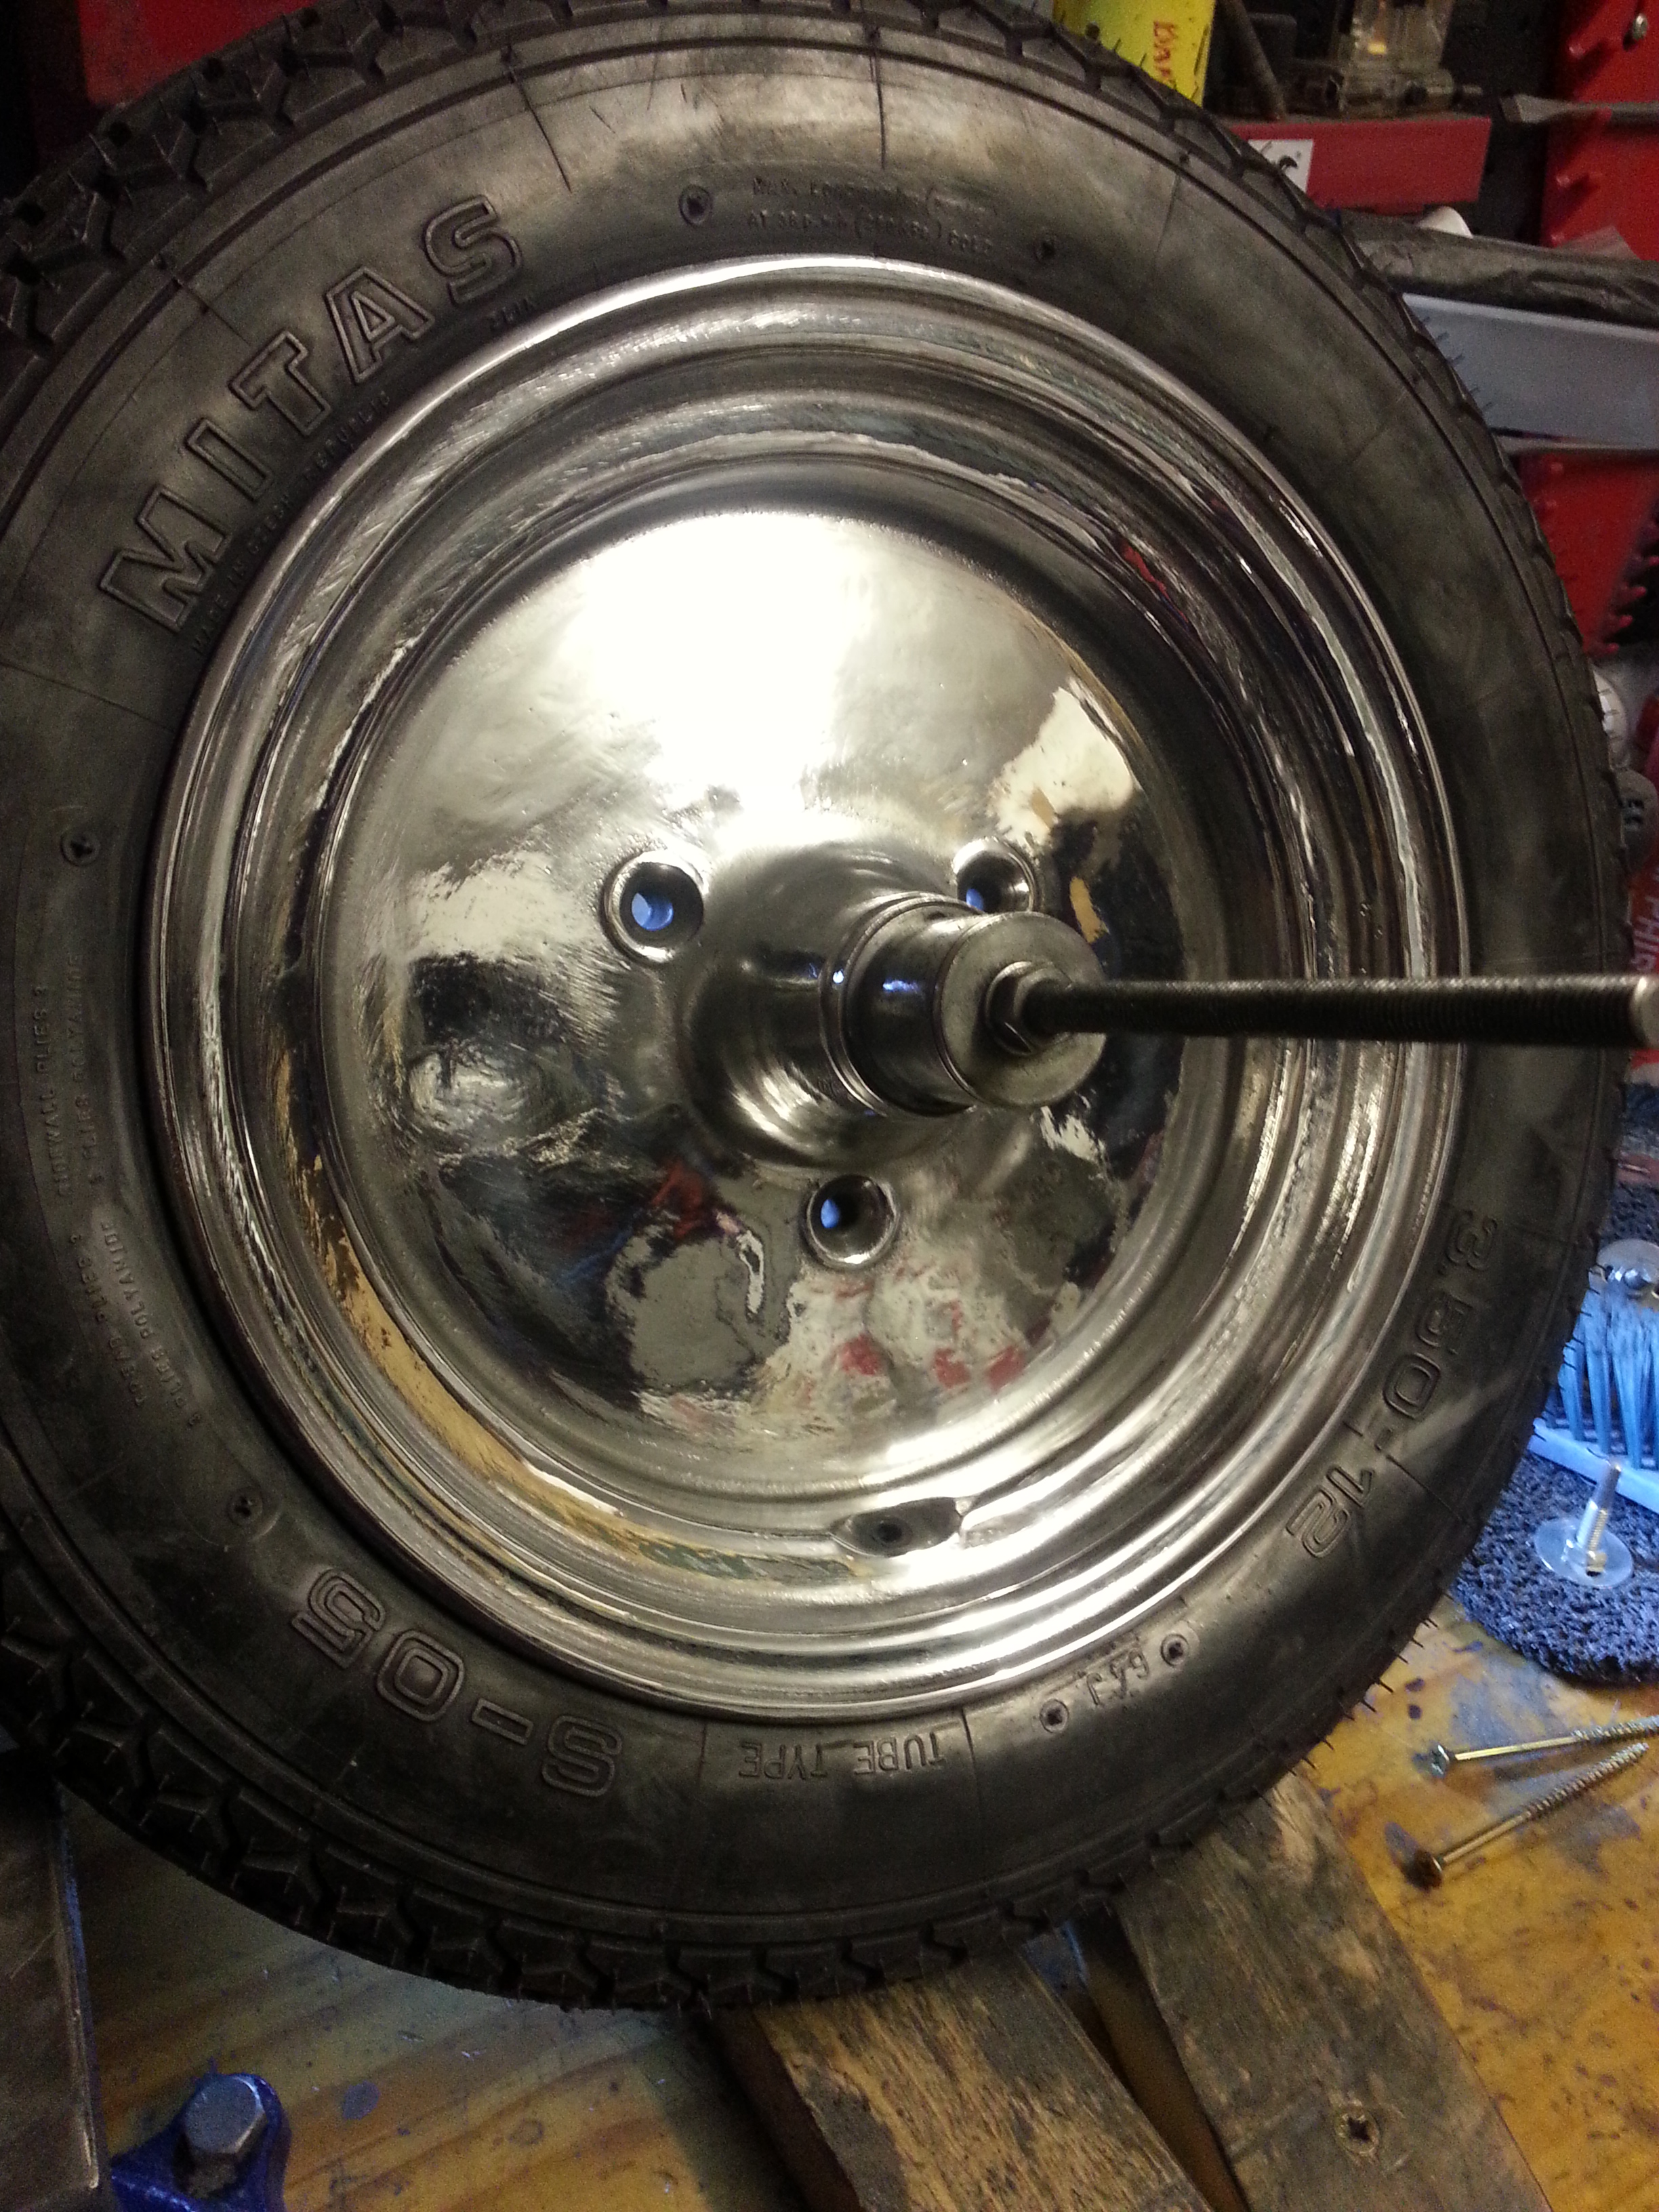
Assembling the wheel is done in reverse order. Use a bearing press set with the threaded rod from the lock nut tool to install the bearings or a bearing press; the larger bearing first:
A final point of attention are the two small holes next to the bearing. They are pick-up points for the speedometer unit in on the axle. Make sure they are clean so the points will fit in. I find the holes are frequently damaged; if beyond repair, you can drill two new opposite holes of equivalent diameter, but do so before re-installing the seal.
Remember to generously grease the wheels; I used high quality bearing grease and literally stuffed the innards with it. Grease each individual part when installing and make doubly sure the bearings are fully greased.
Polishing
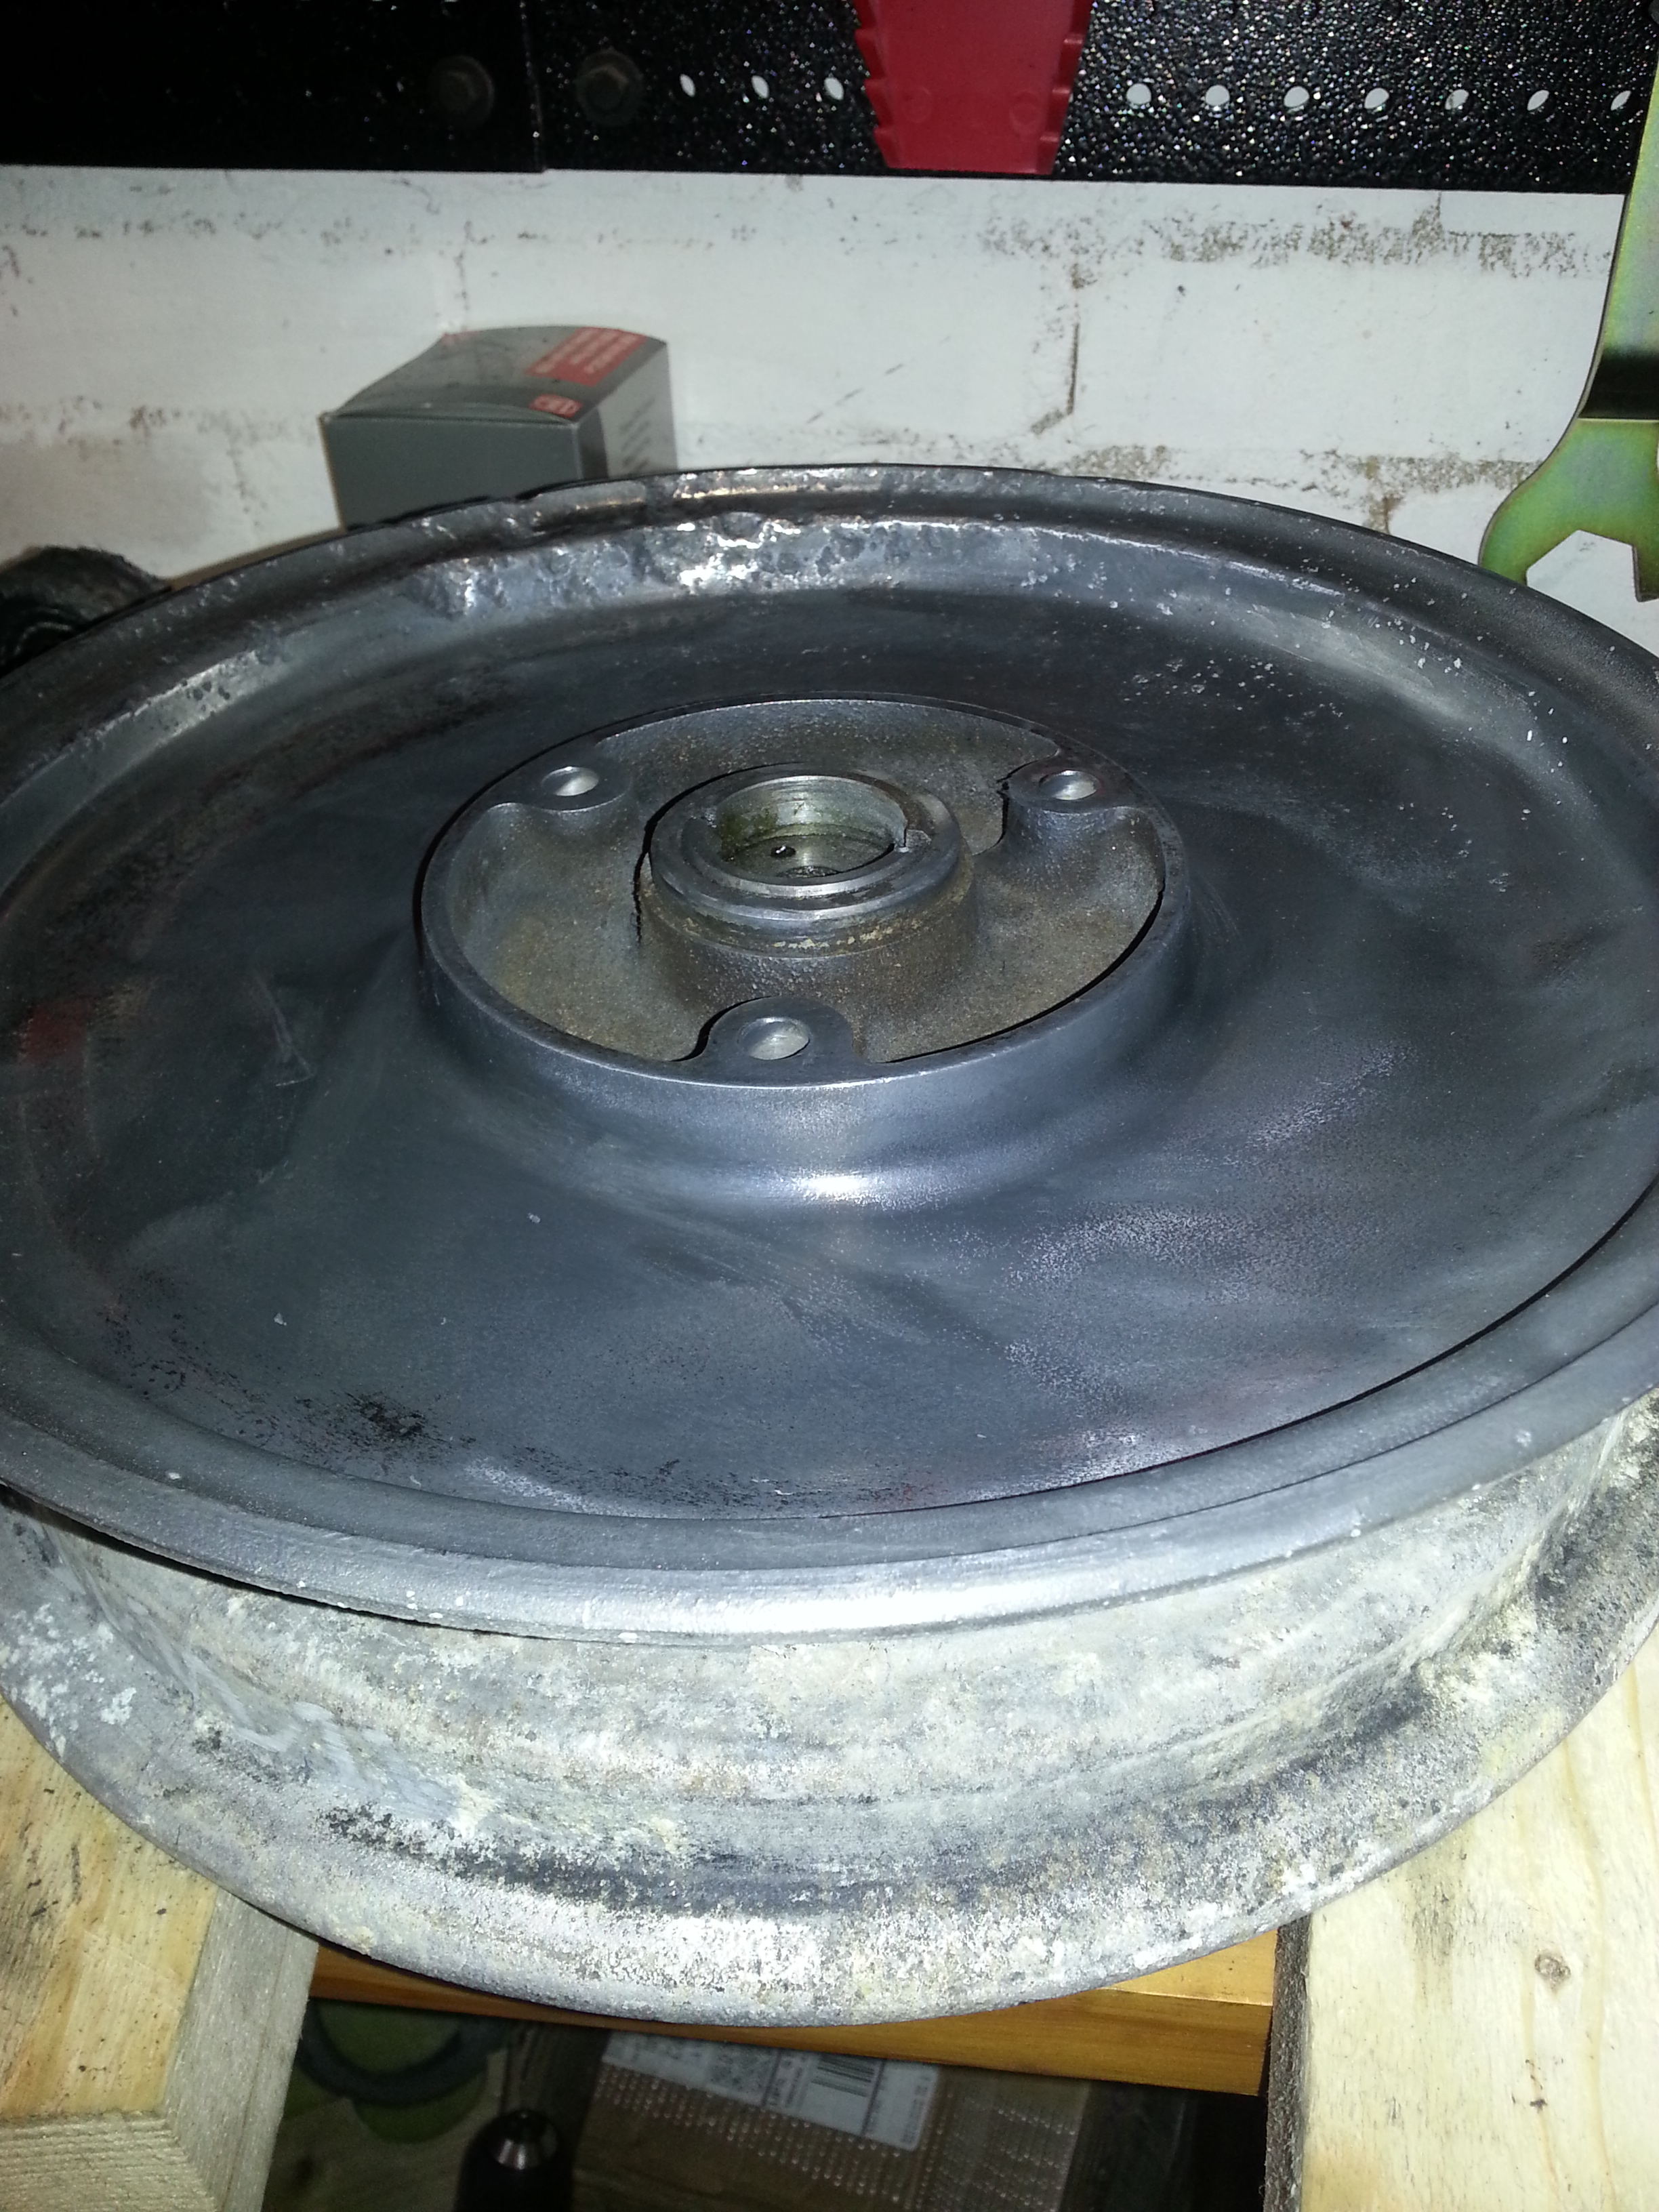
Zündapp Bella wheels are made of aluminium and are quite solid. However, they tend to get pitted over time, especially if left outside or in a cold and salty climate like near the sea. Here’s my wheel with quite a bit of rust and deep pitting.
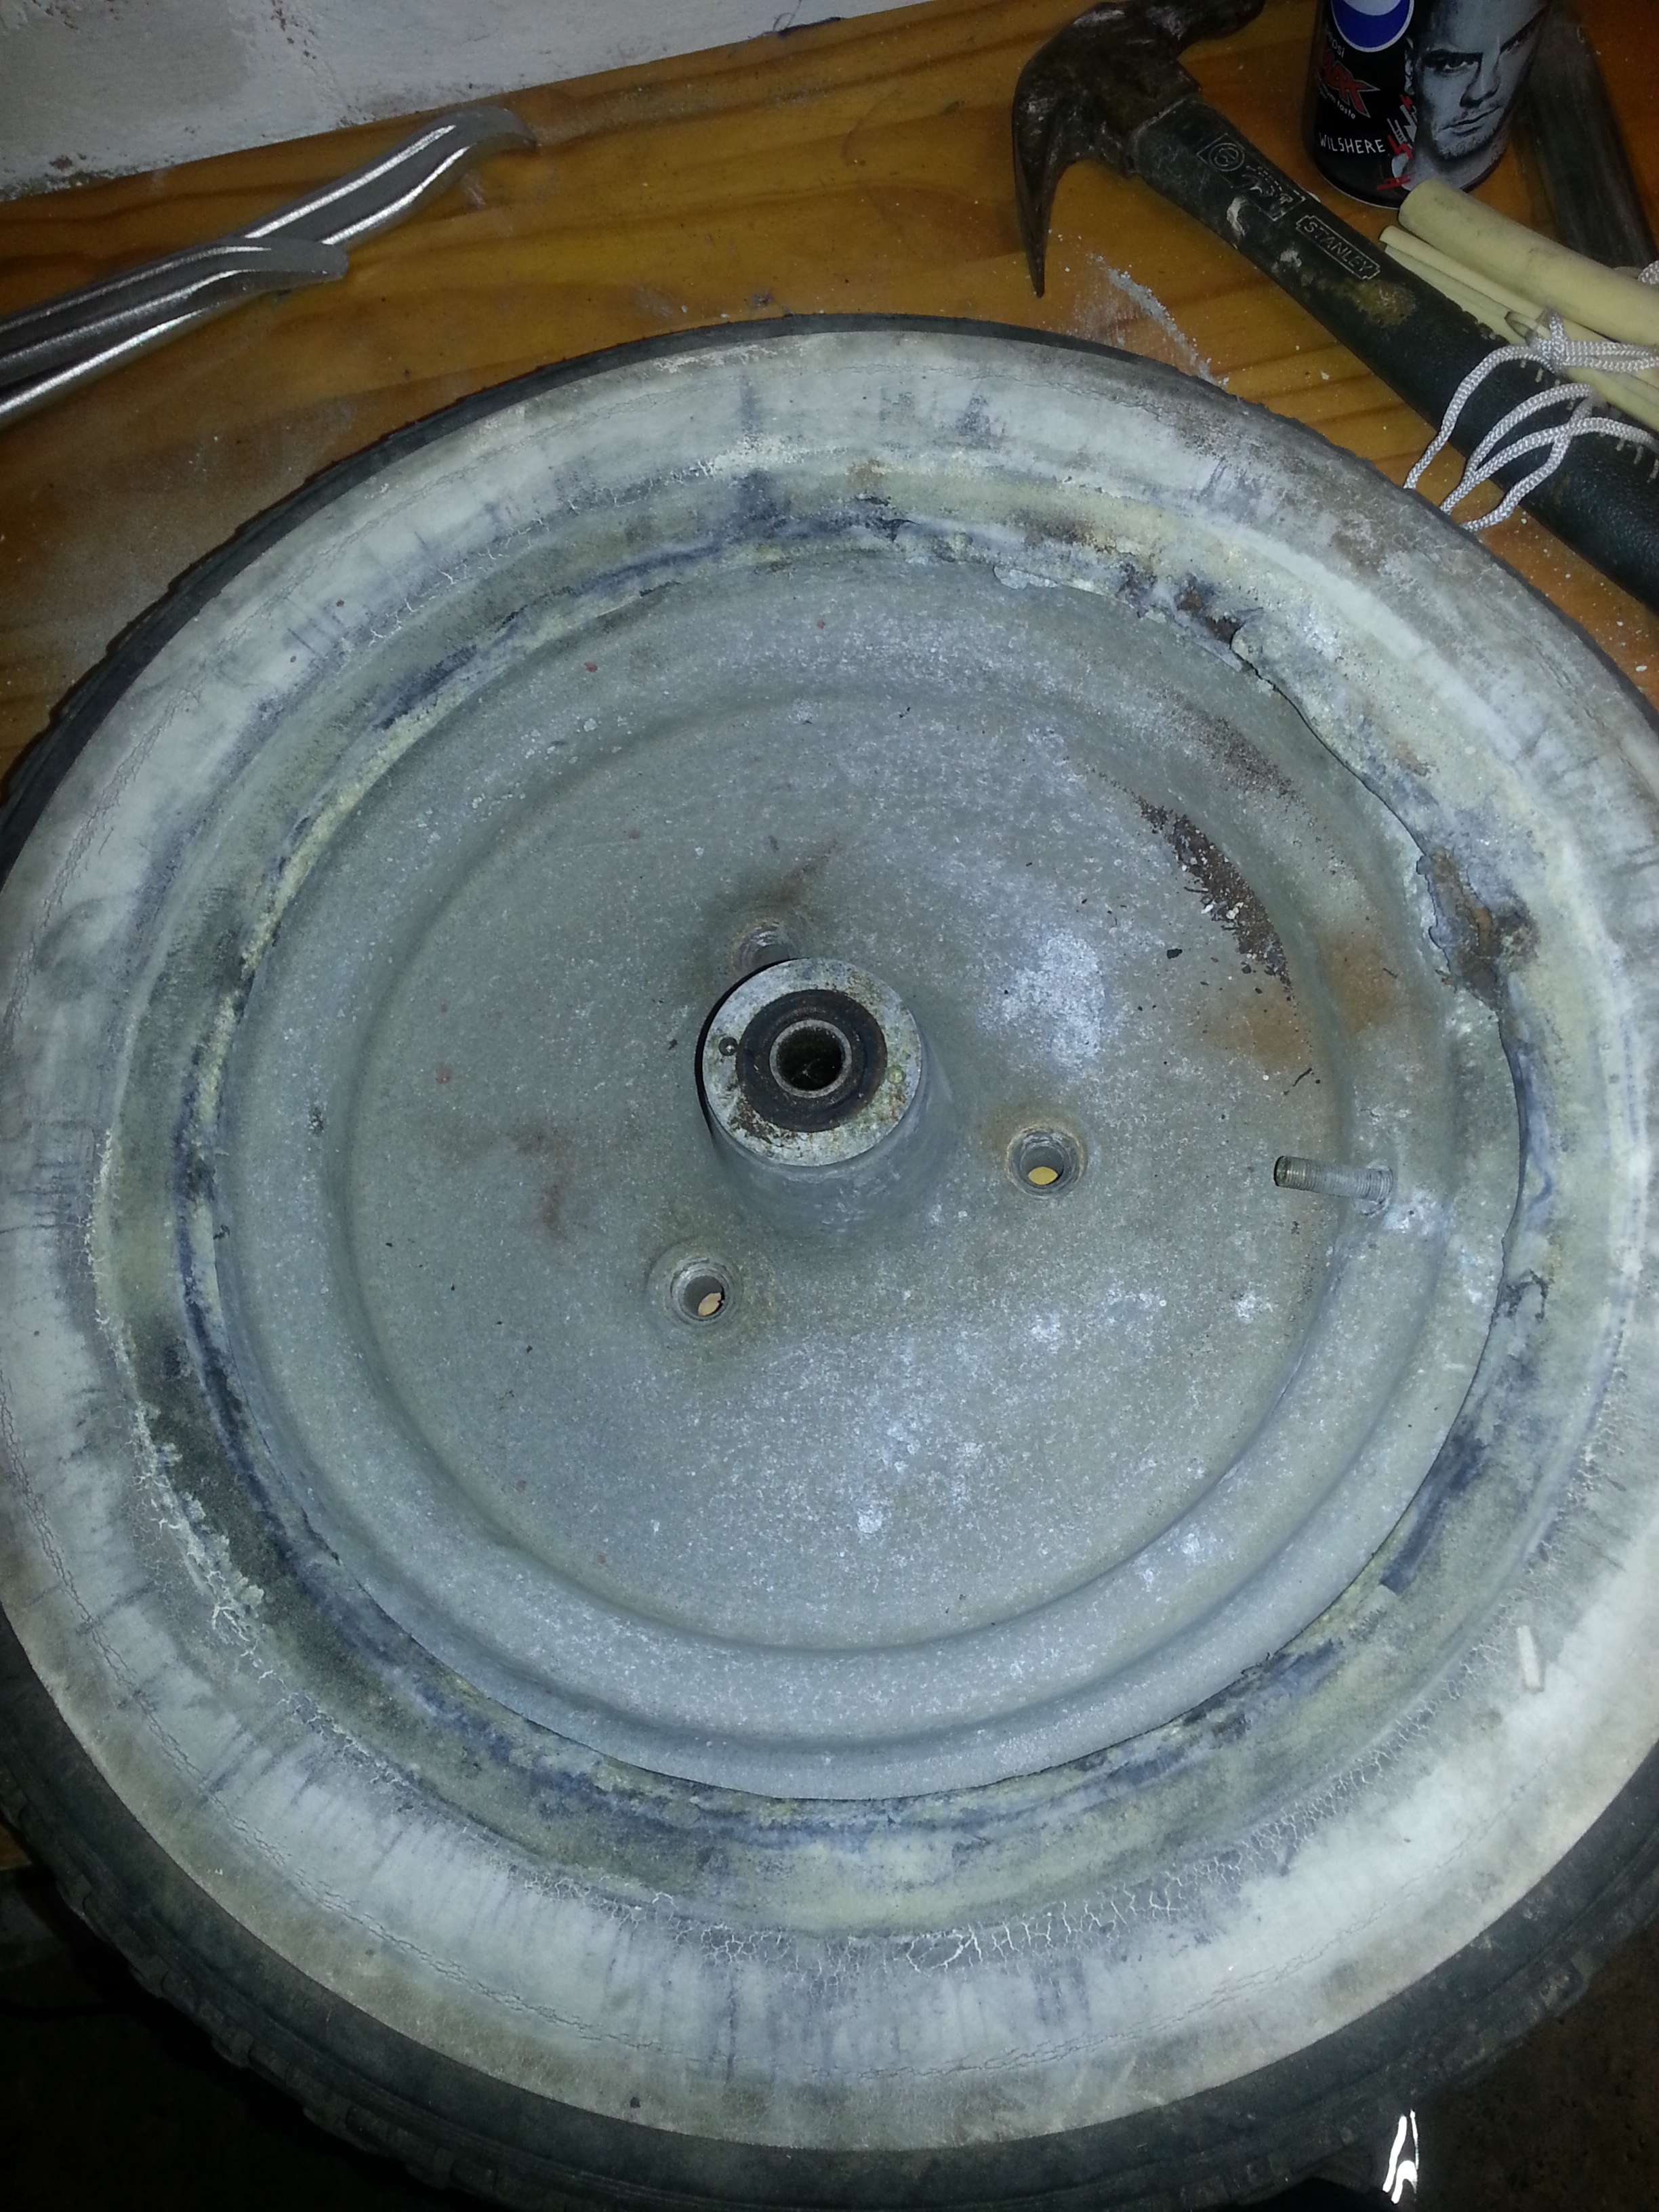
At one point in its life, this wheel was left outside with a deflated tire. Water crept inside and rust really ate at the rim:
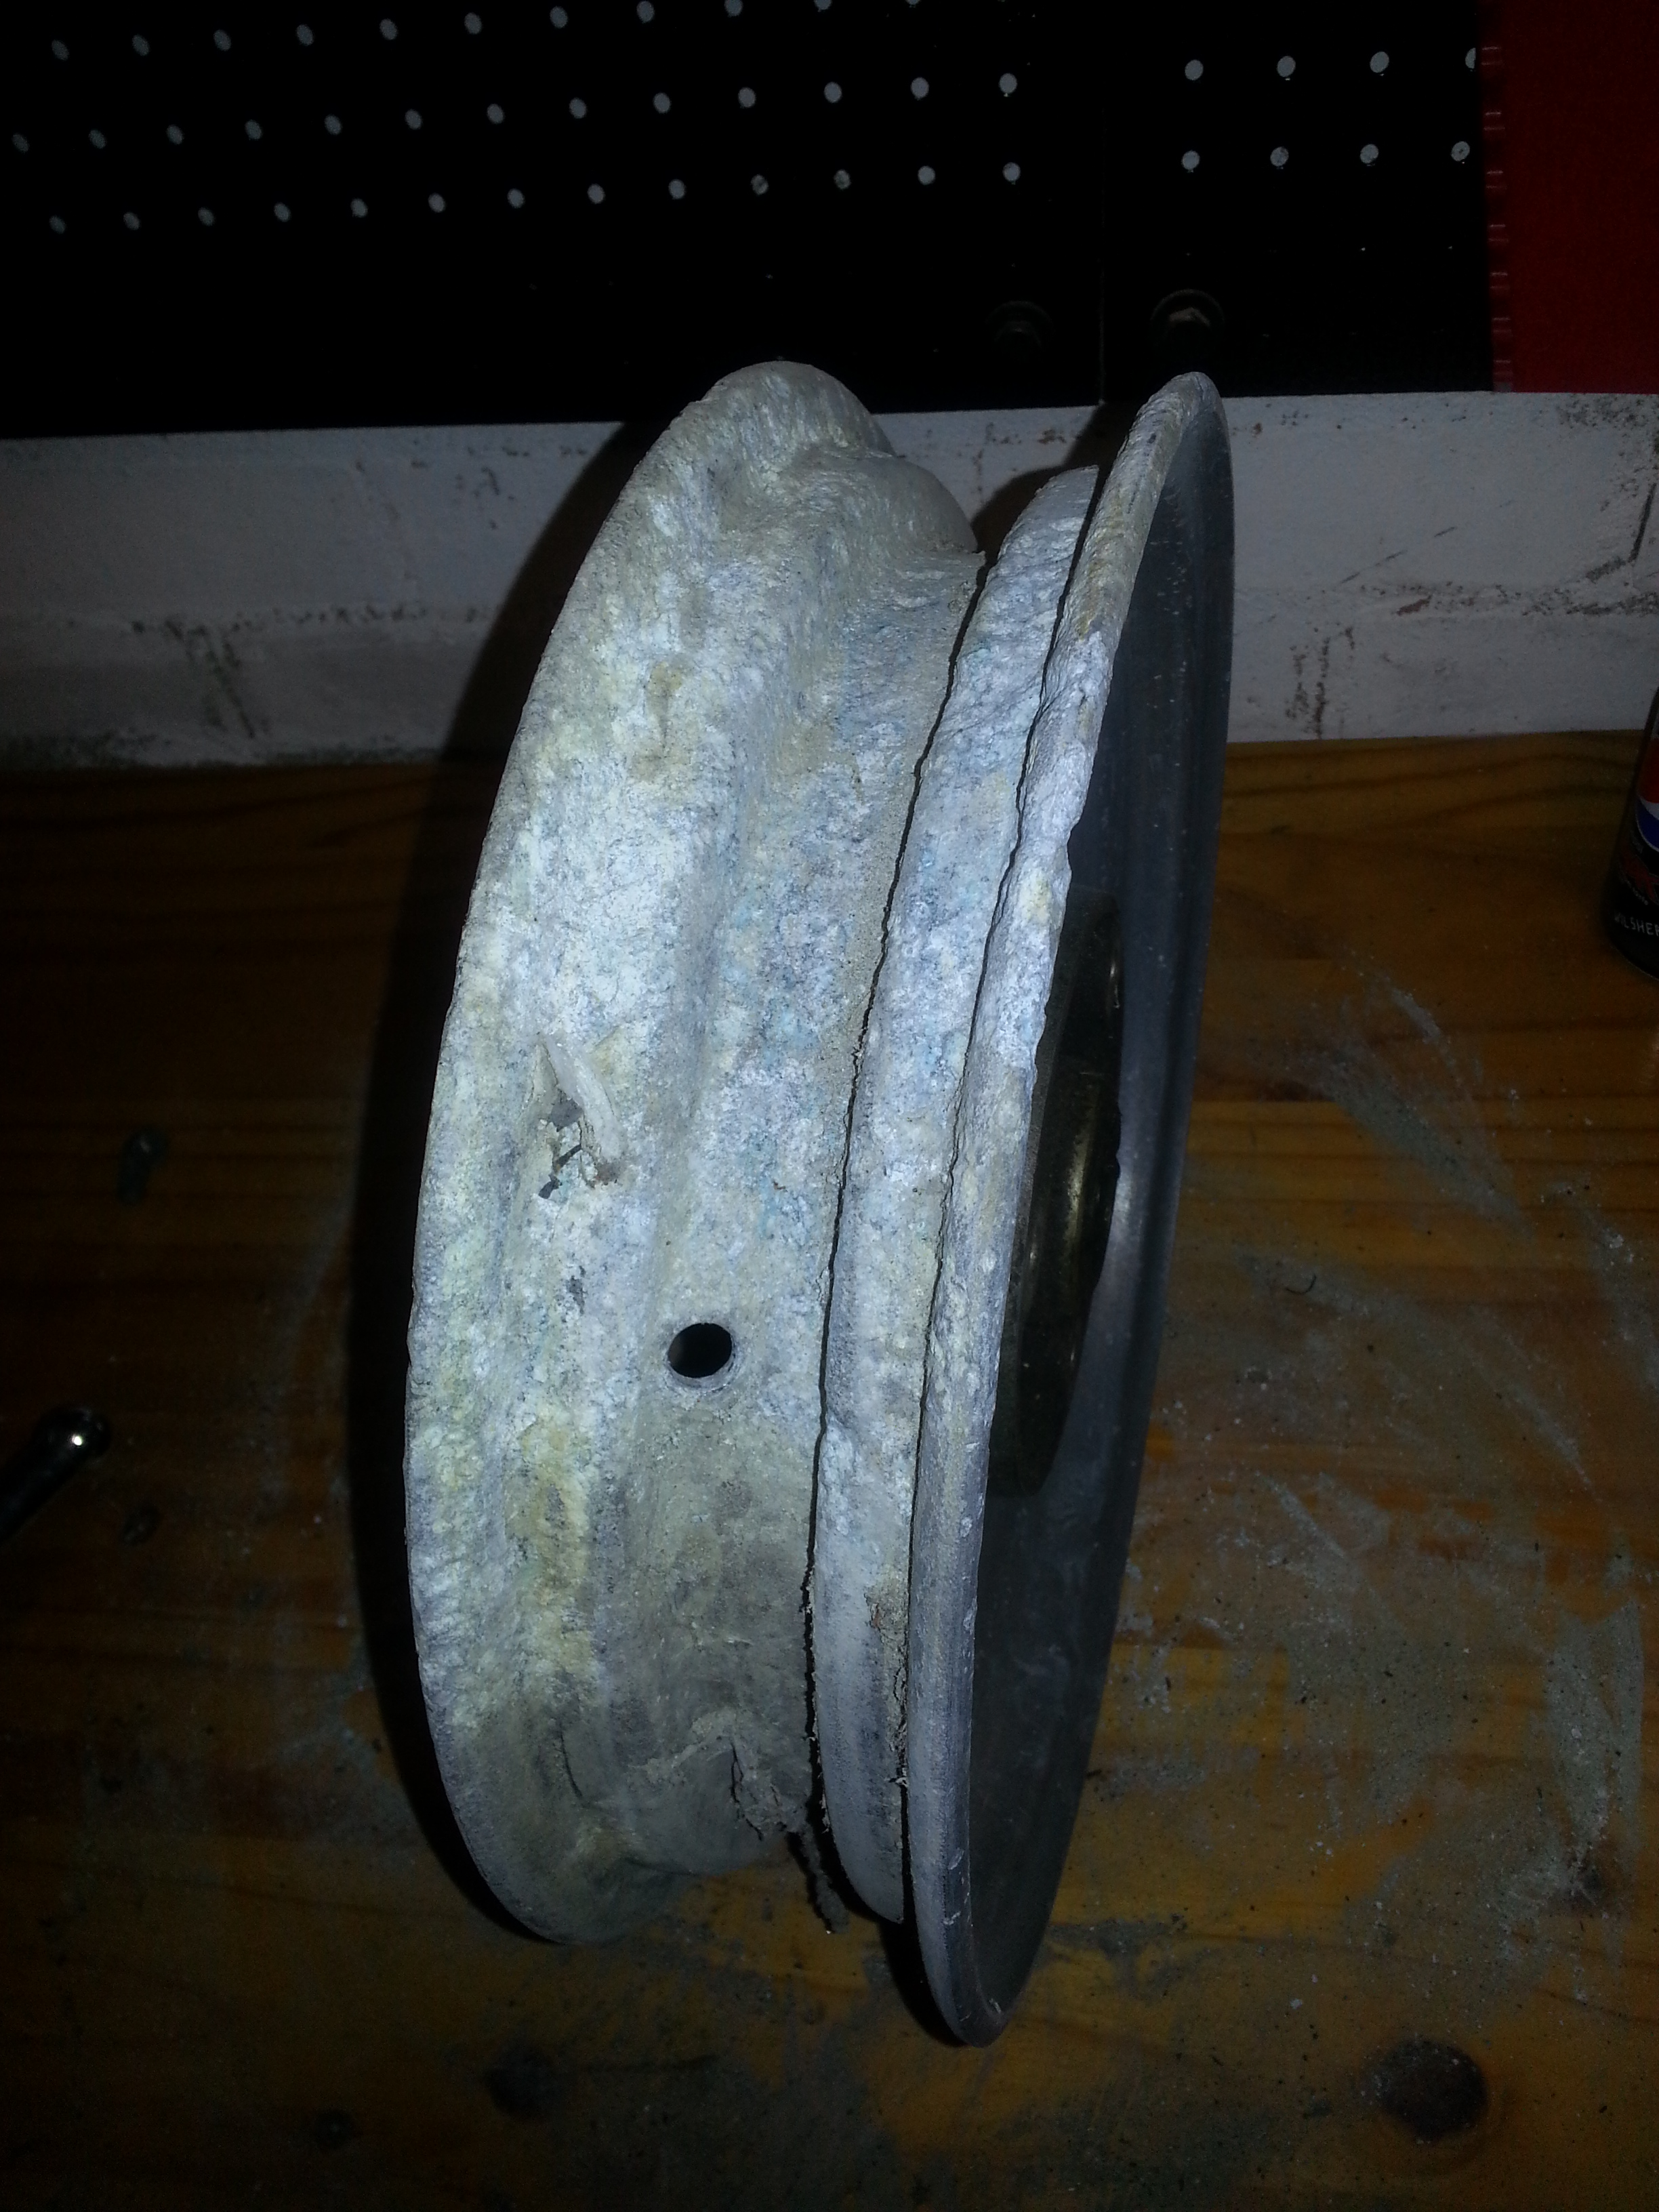
It’s hard to tell how bad the rust is without removing the worst of it. A carbide oxide disc can do the job, but you are very likely to take more aluminium off than you want, leaving you with an unbalanced wheel. This wheel is too far gone for another approach, so let’s see what we get with the worst of the rust off:
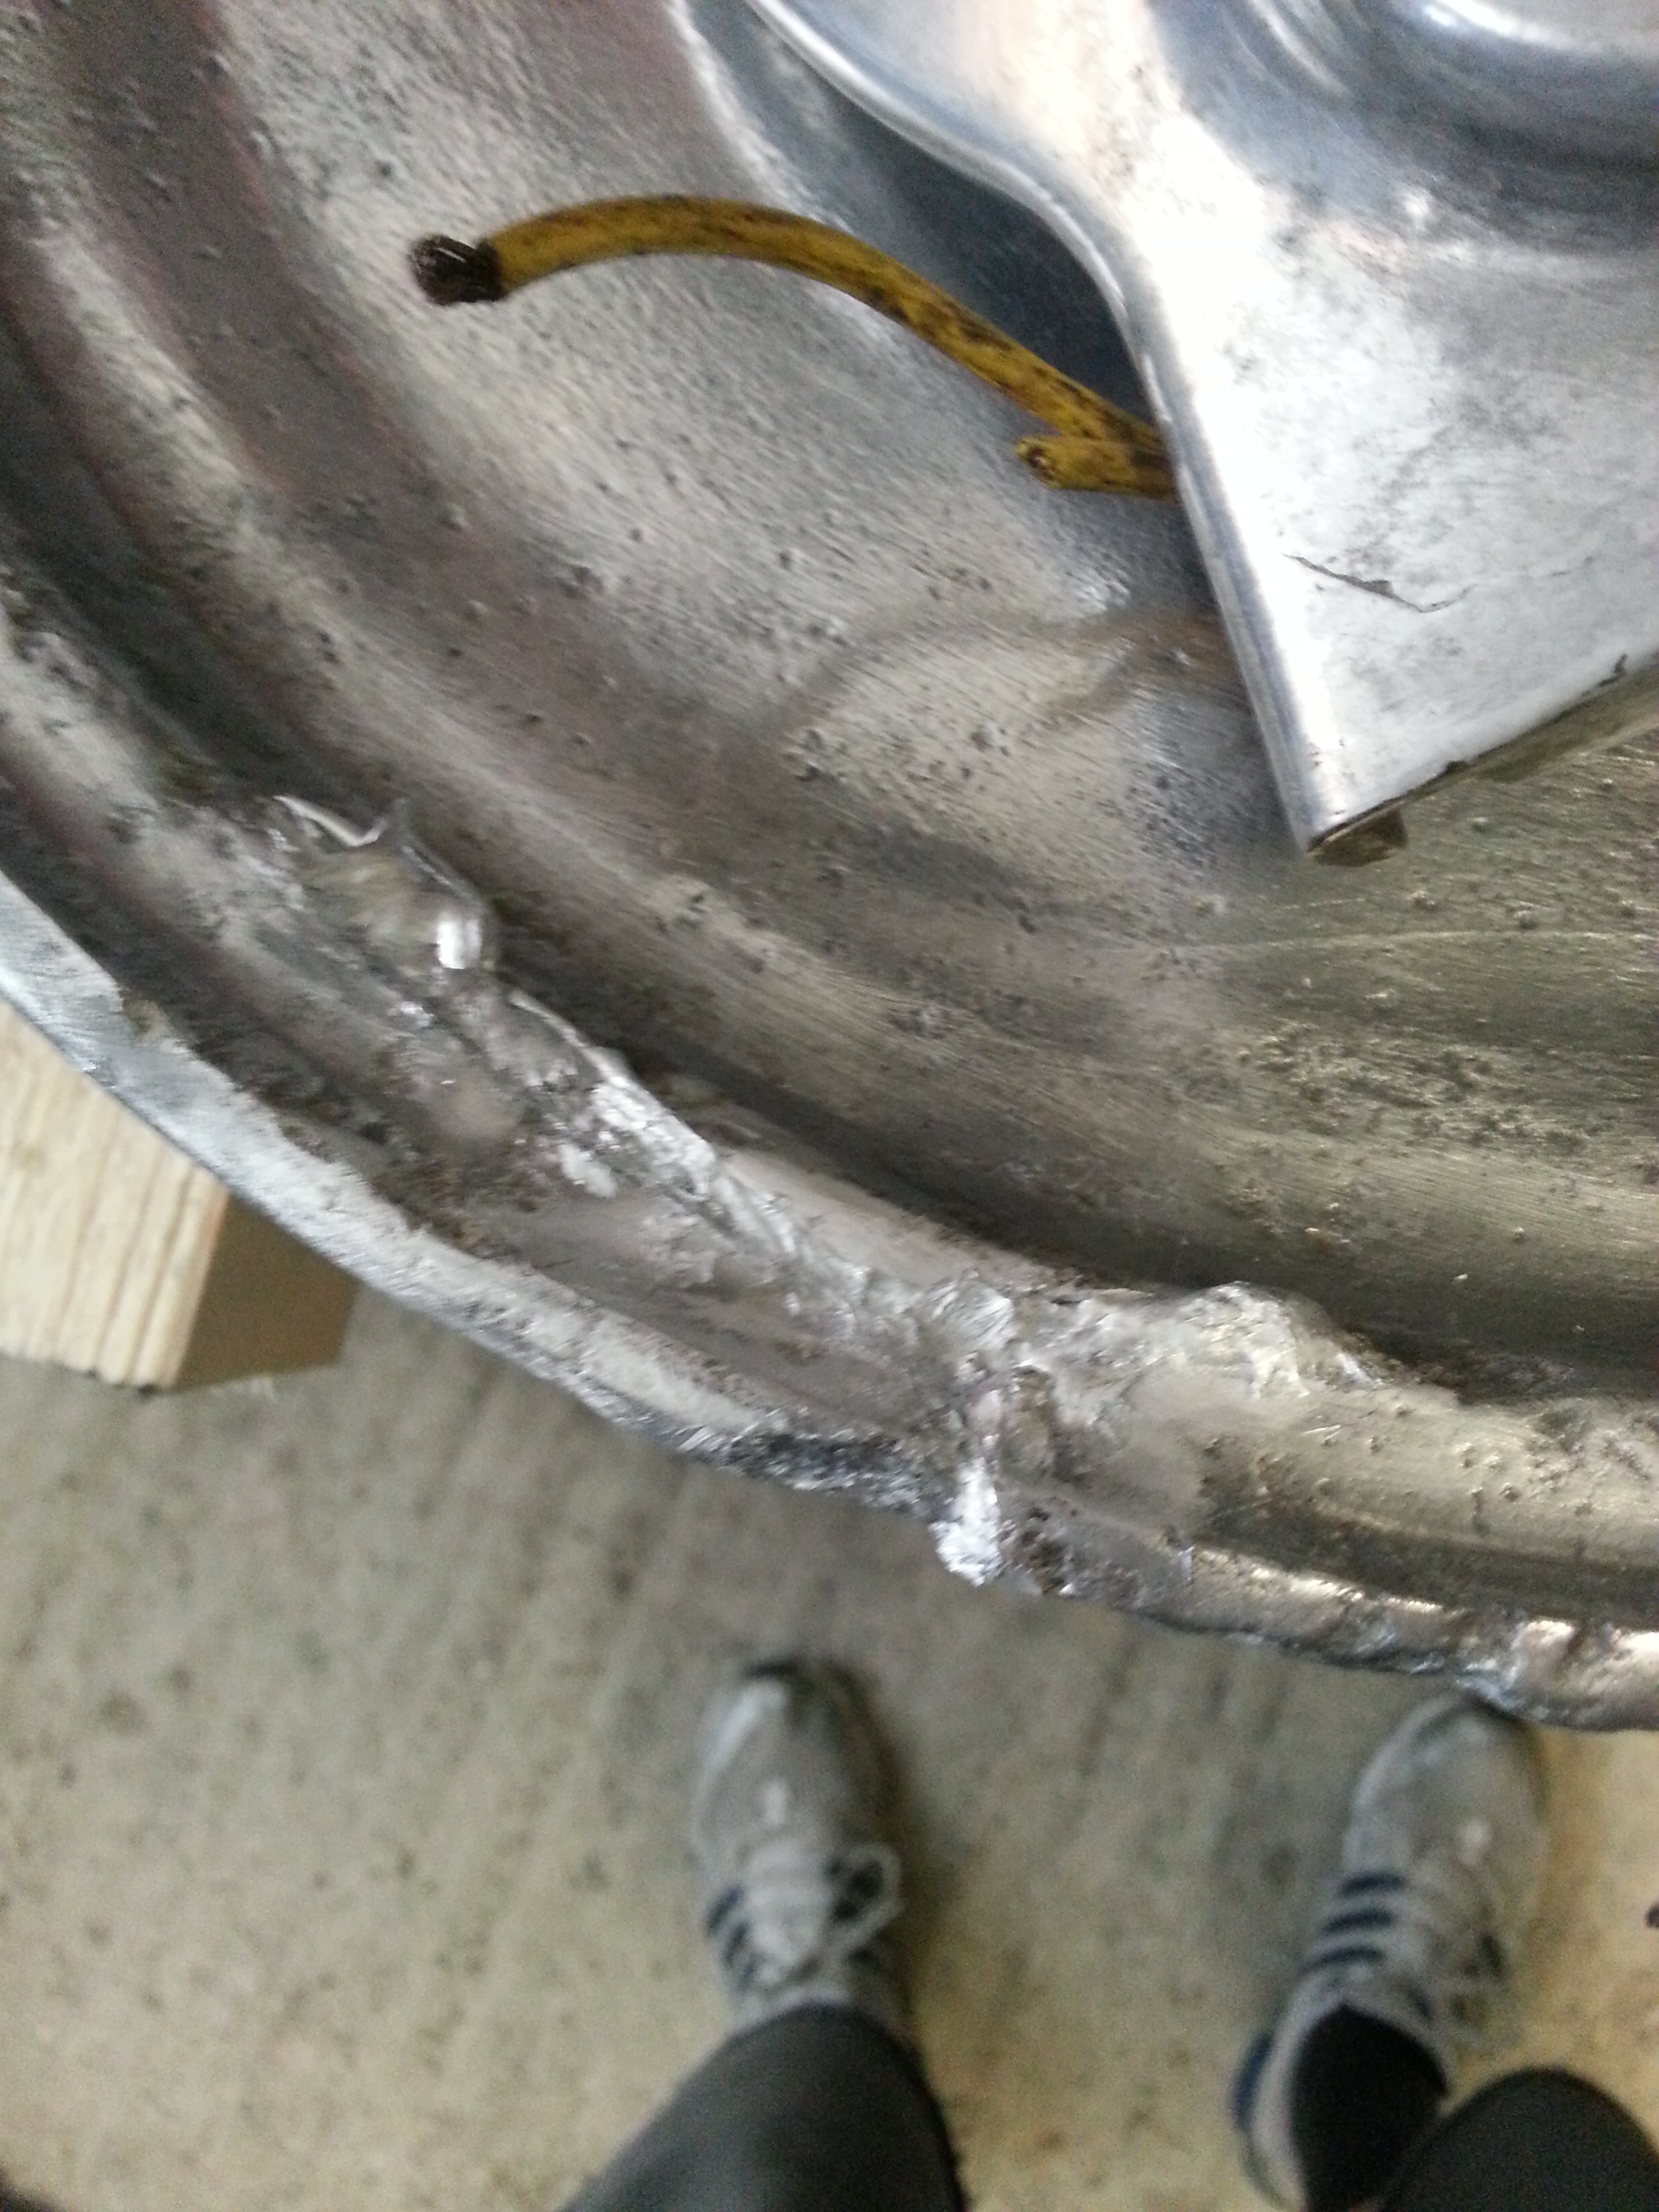
The rear part of the rim looks suspect, so let’s take a closer look:
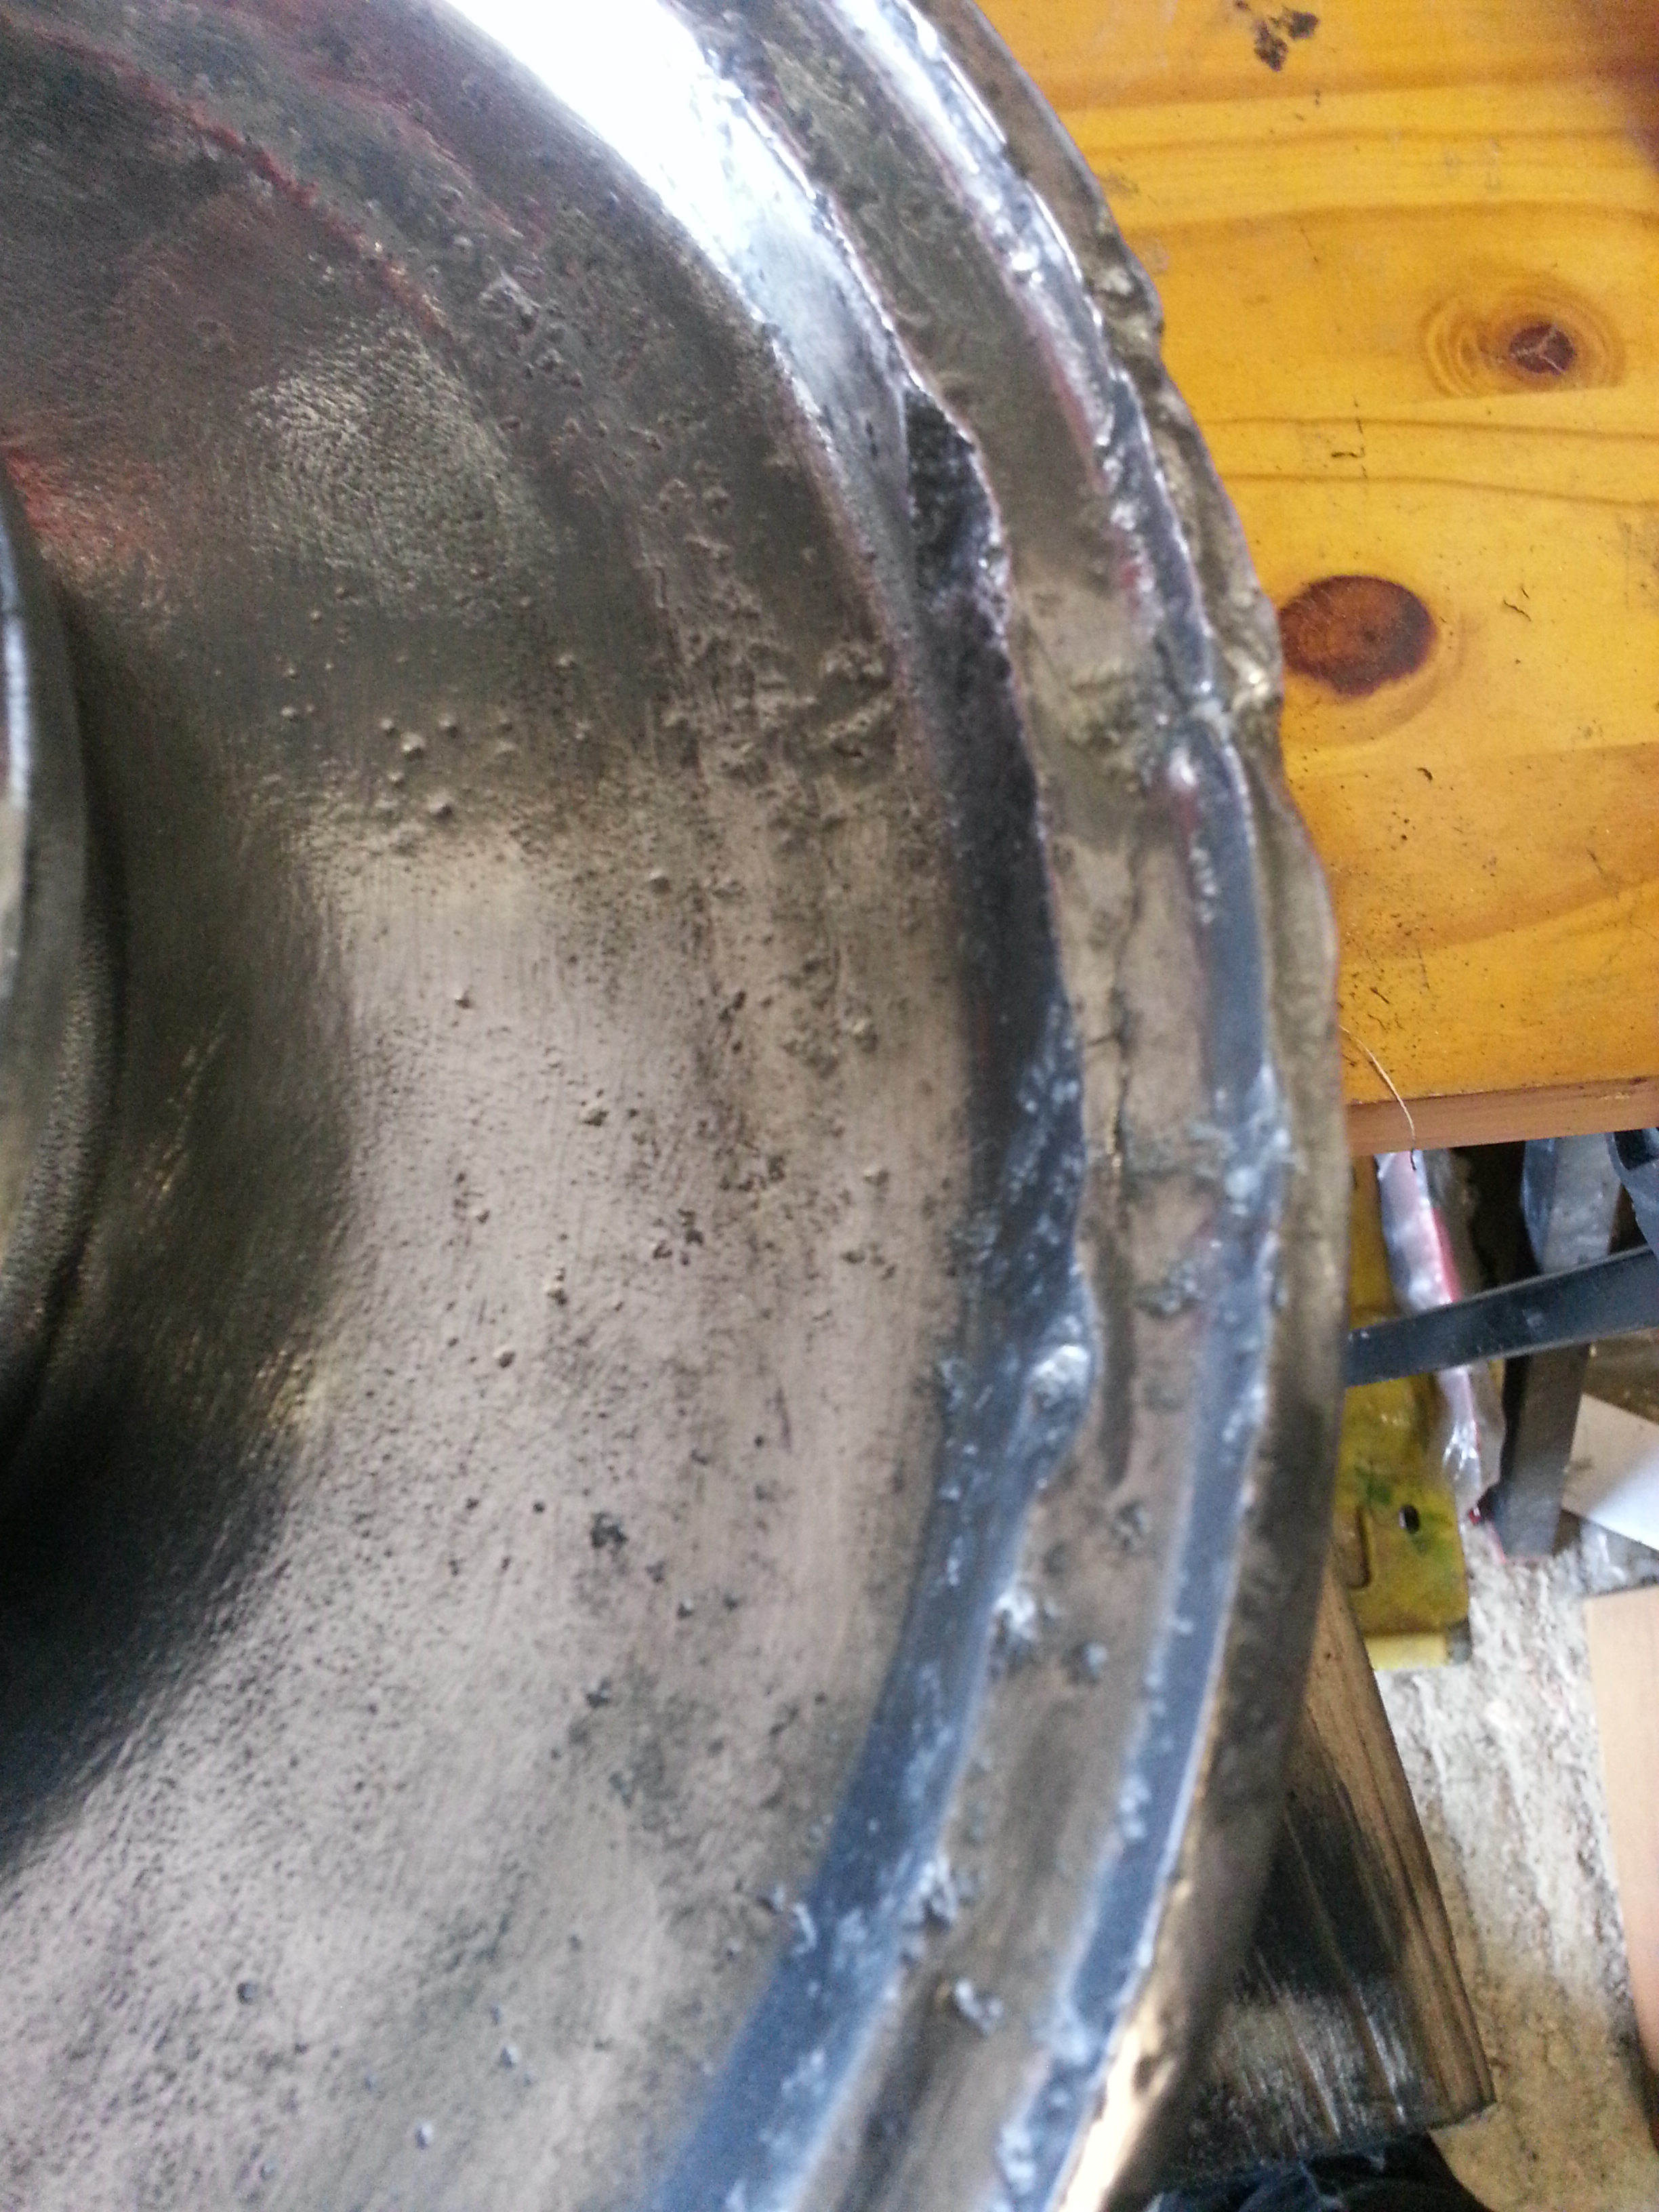
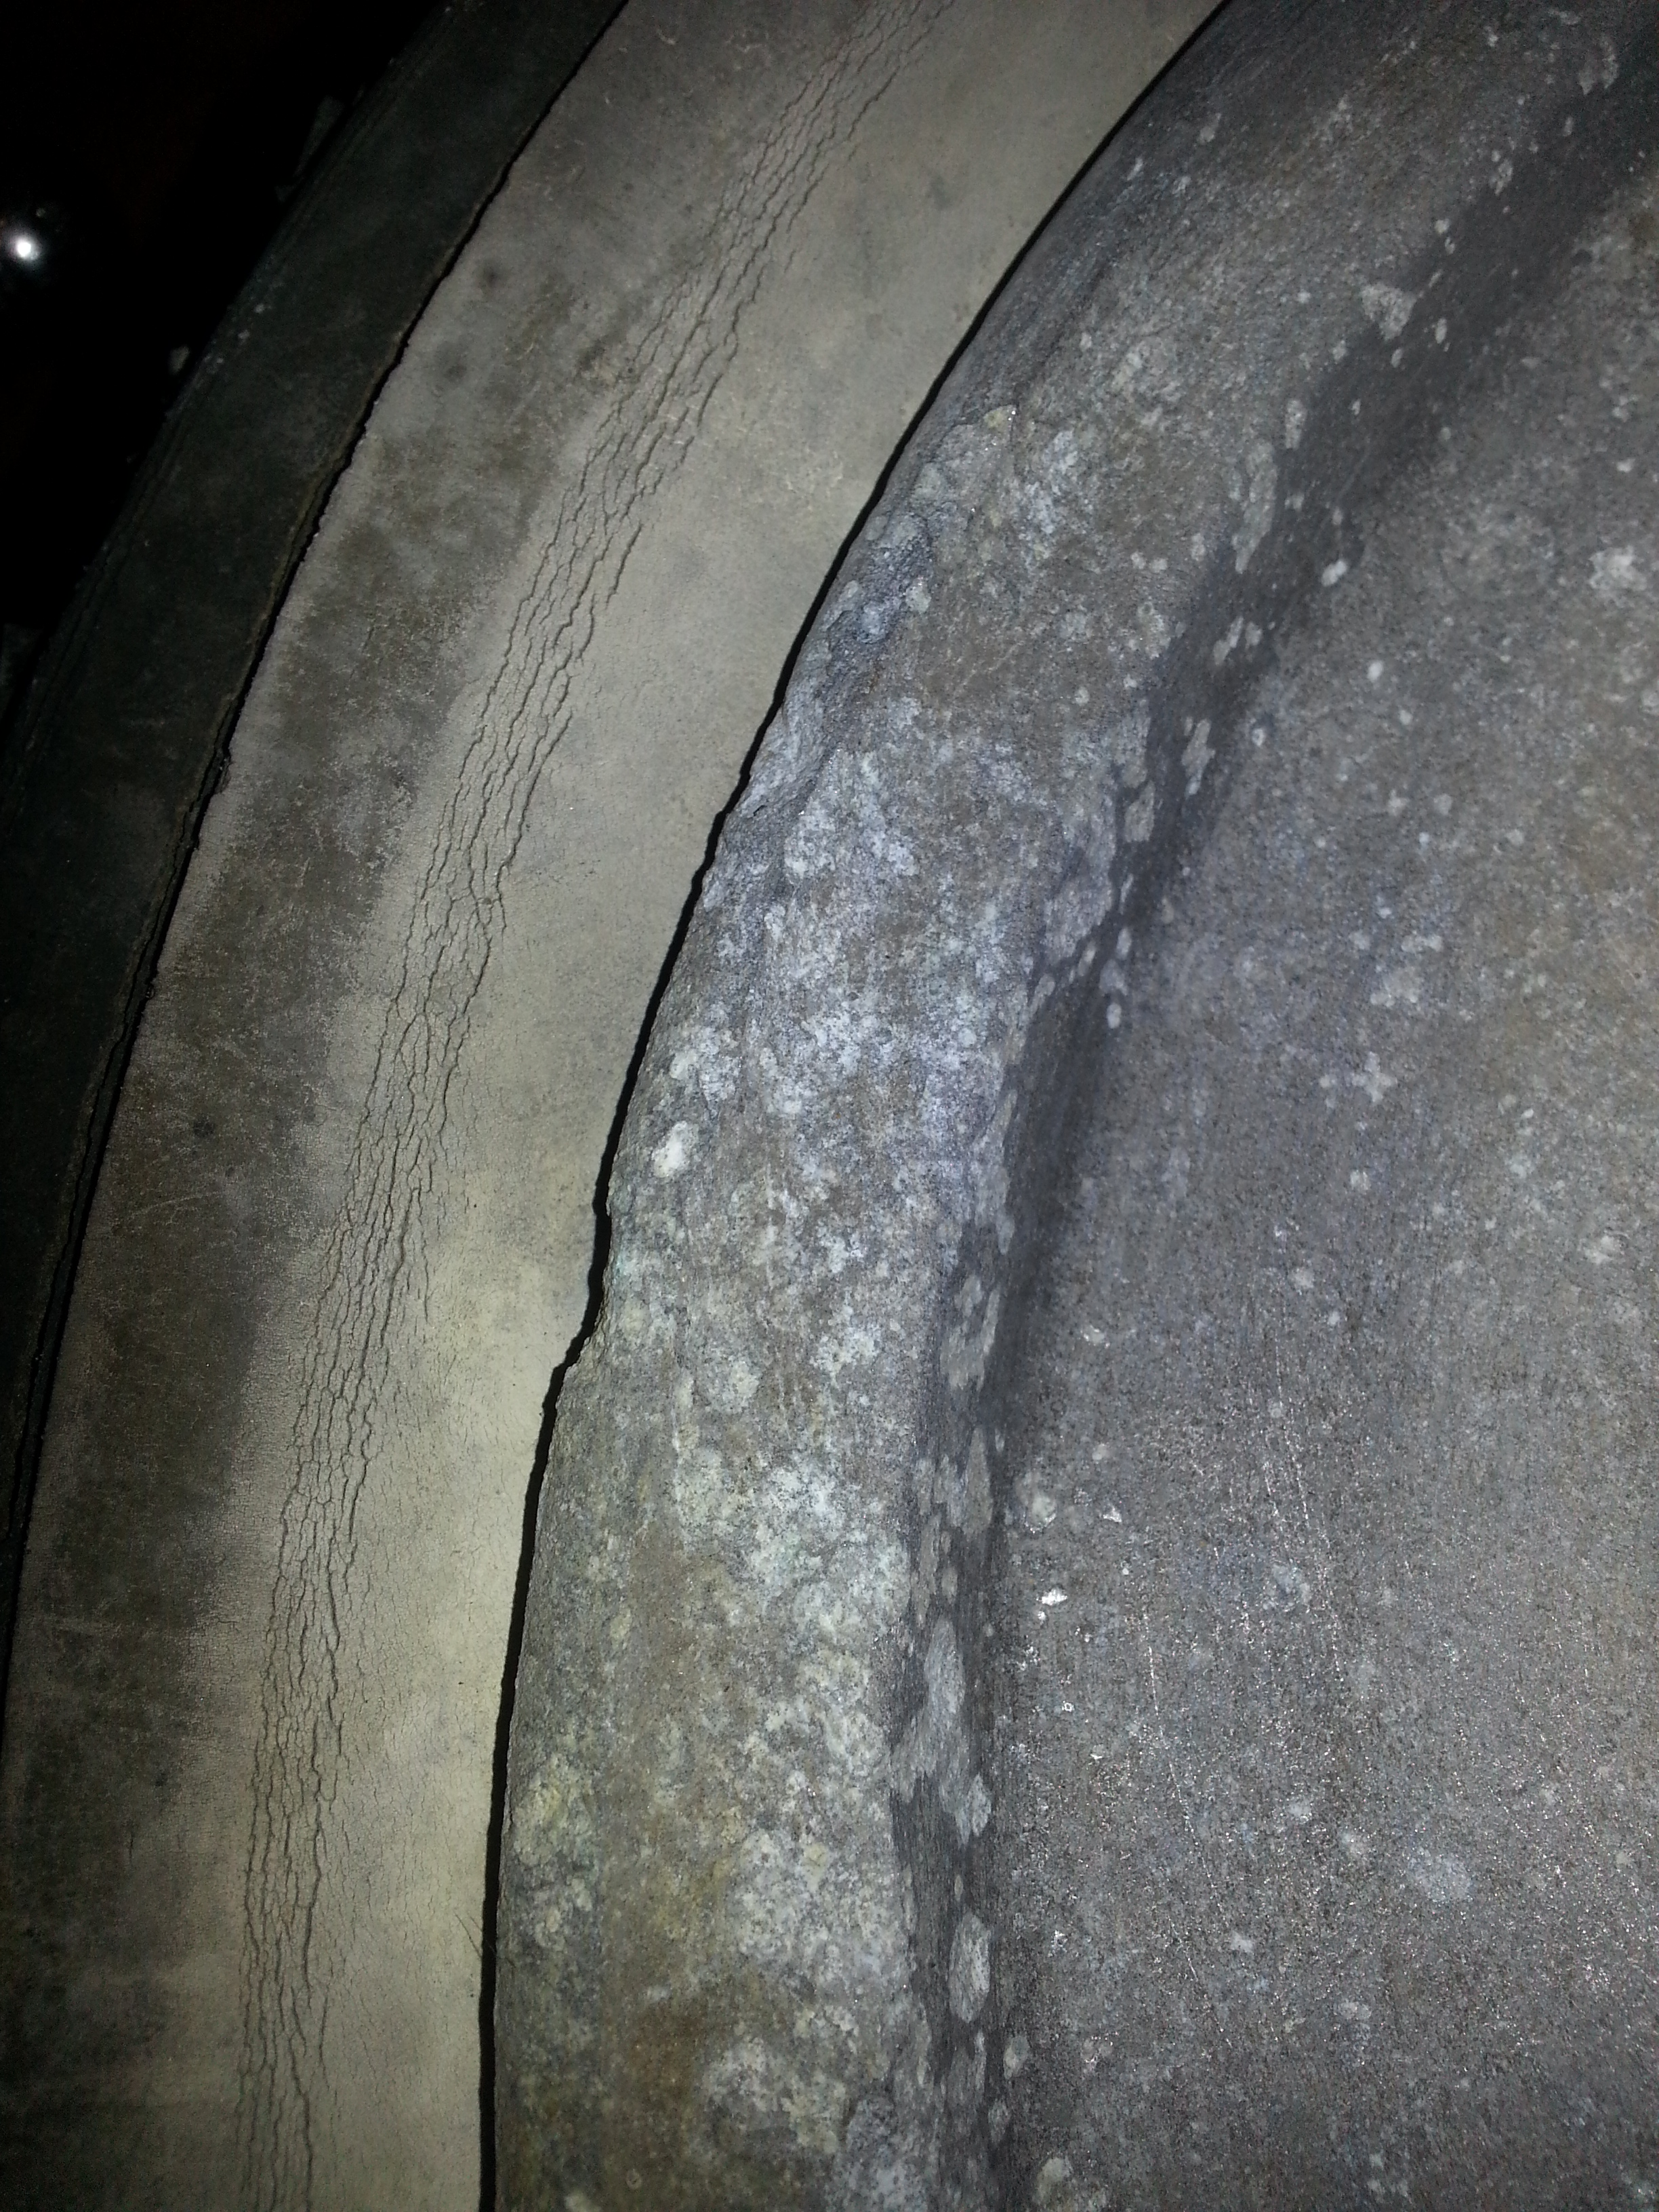
After a bit more sanding you can clearly see a crack in the rim of about 3 cm. Welding the rim is hard and will likely lead to an unbalanced wheel. Unfortunately these wheels cannot be replaced with aftermarket parts. Cutting away the bad metal with a Dremel precision tool reveals the extent of the problem:
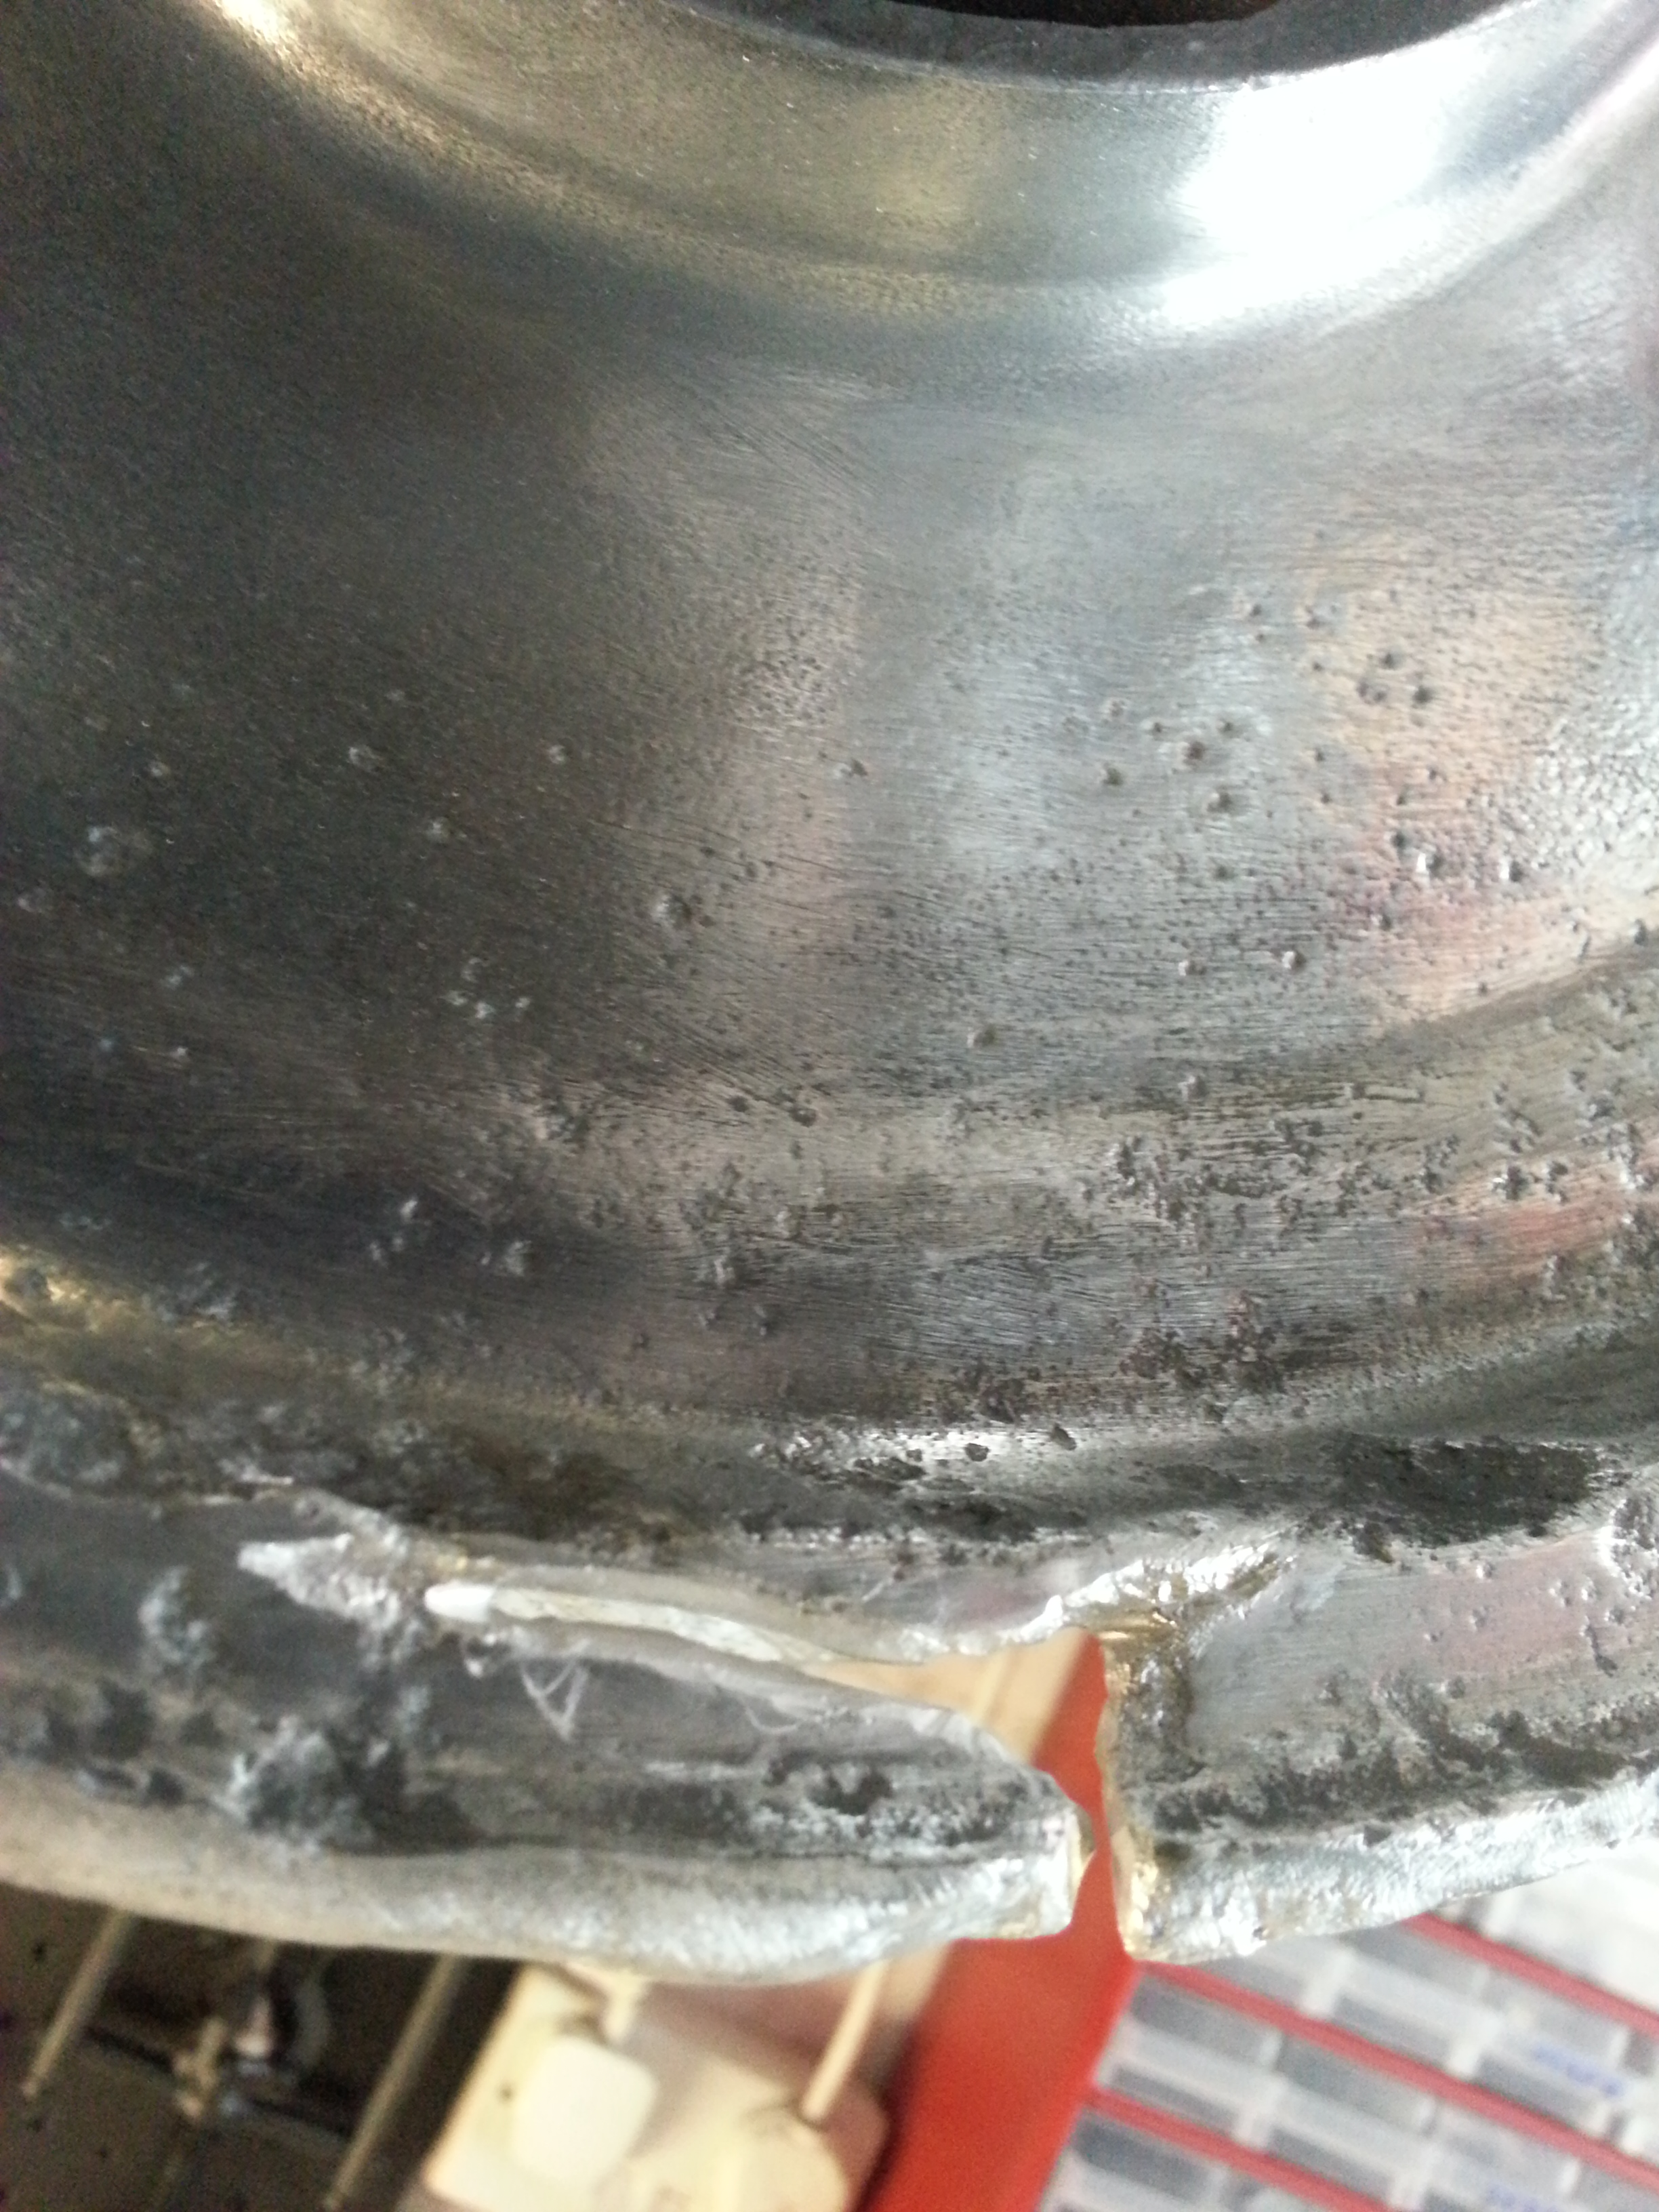
Hoping to be able to save the wheel I tried using HTS-2000 aluminium soldering rods:
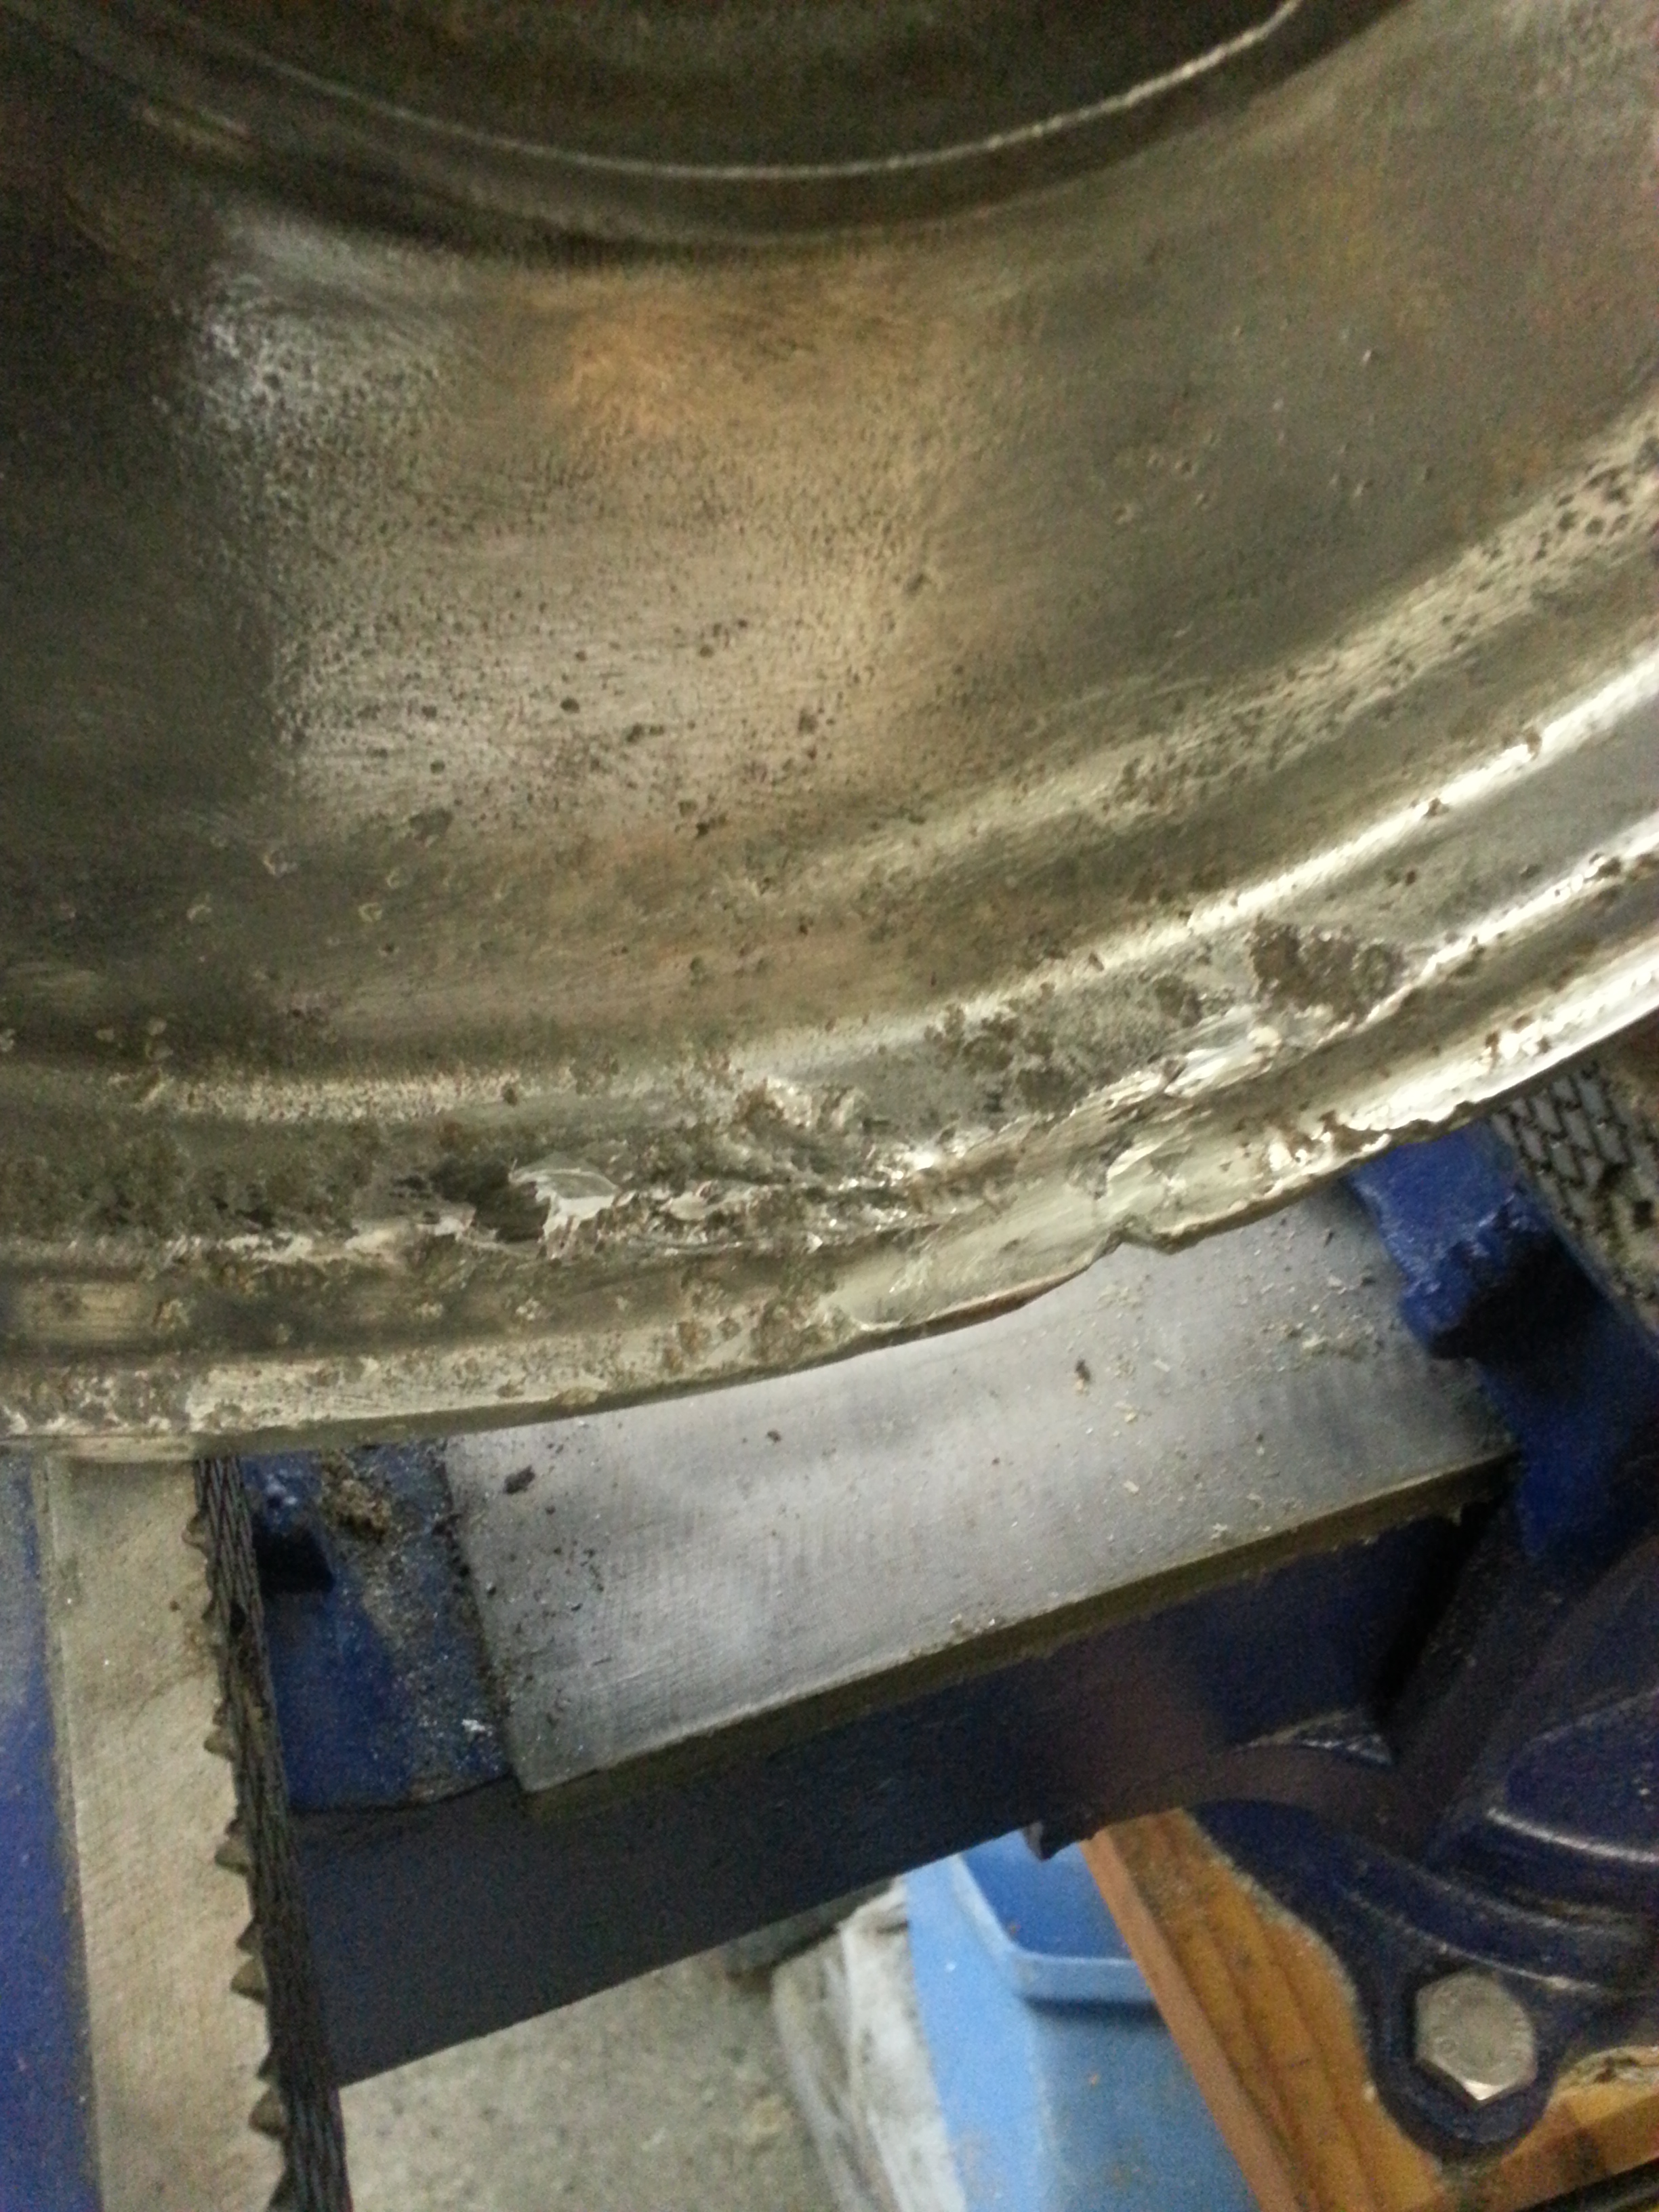
However, when pressing the bearing out it cracked again, so my skills are not up to it. I will have to find another wheel and I will use this one for polish practice and parts (there are bespoke parts in the wheel, bushing, nilos rings etc.
My attempt at polishing consisted of the following steps:
- Put on breather mask: polishing wheels are nasty with lots of small dust and particles. Polishing compound is worse and aluminium dust too. Protect yourself.
- Wear safety glasses; the various sanding and grinding discs WILL fling particles at your eyes.
- Wear earplugs. Five hours of grinding will damage your hearing.
- Take the worst rust off using a carbide oxide disc, but be very very gentle.
- Use 40 grit flap wheels to sand
- Use 80 grit flap wheels to sand
- Use 120 grit flap wheels to sand
- Use 80 grit grinding compound on a sisal wheel
- Use 150 grit grinding compound on a sisal wheel
- Use medium polishing compound on a stiched wheel
- Use fine polishing compound on a loose wheel
- Tiptoe to the bathroom and shower; you will look quite funny when done. Polishing is a dirty business.
One wheel takes about a day to complete; that is, about 5 to 8 hours of sanding and polishing depending on the state of your wheels, so think twice before starting. Don’t forget to get the wheels balanced when you’re done and put the polishing and grinding compound in zip lock bags when not in use so they don’t dry out.
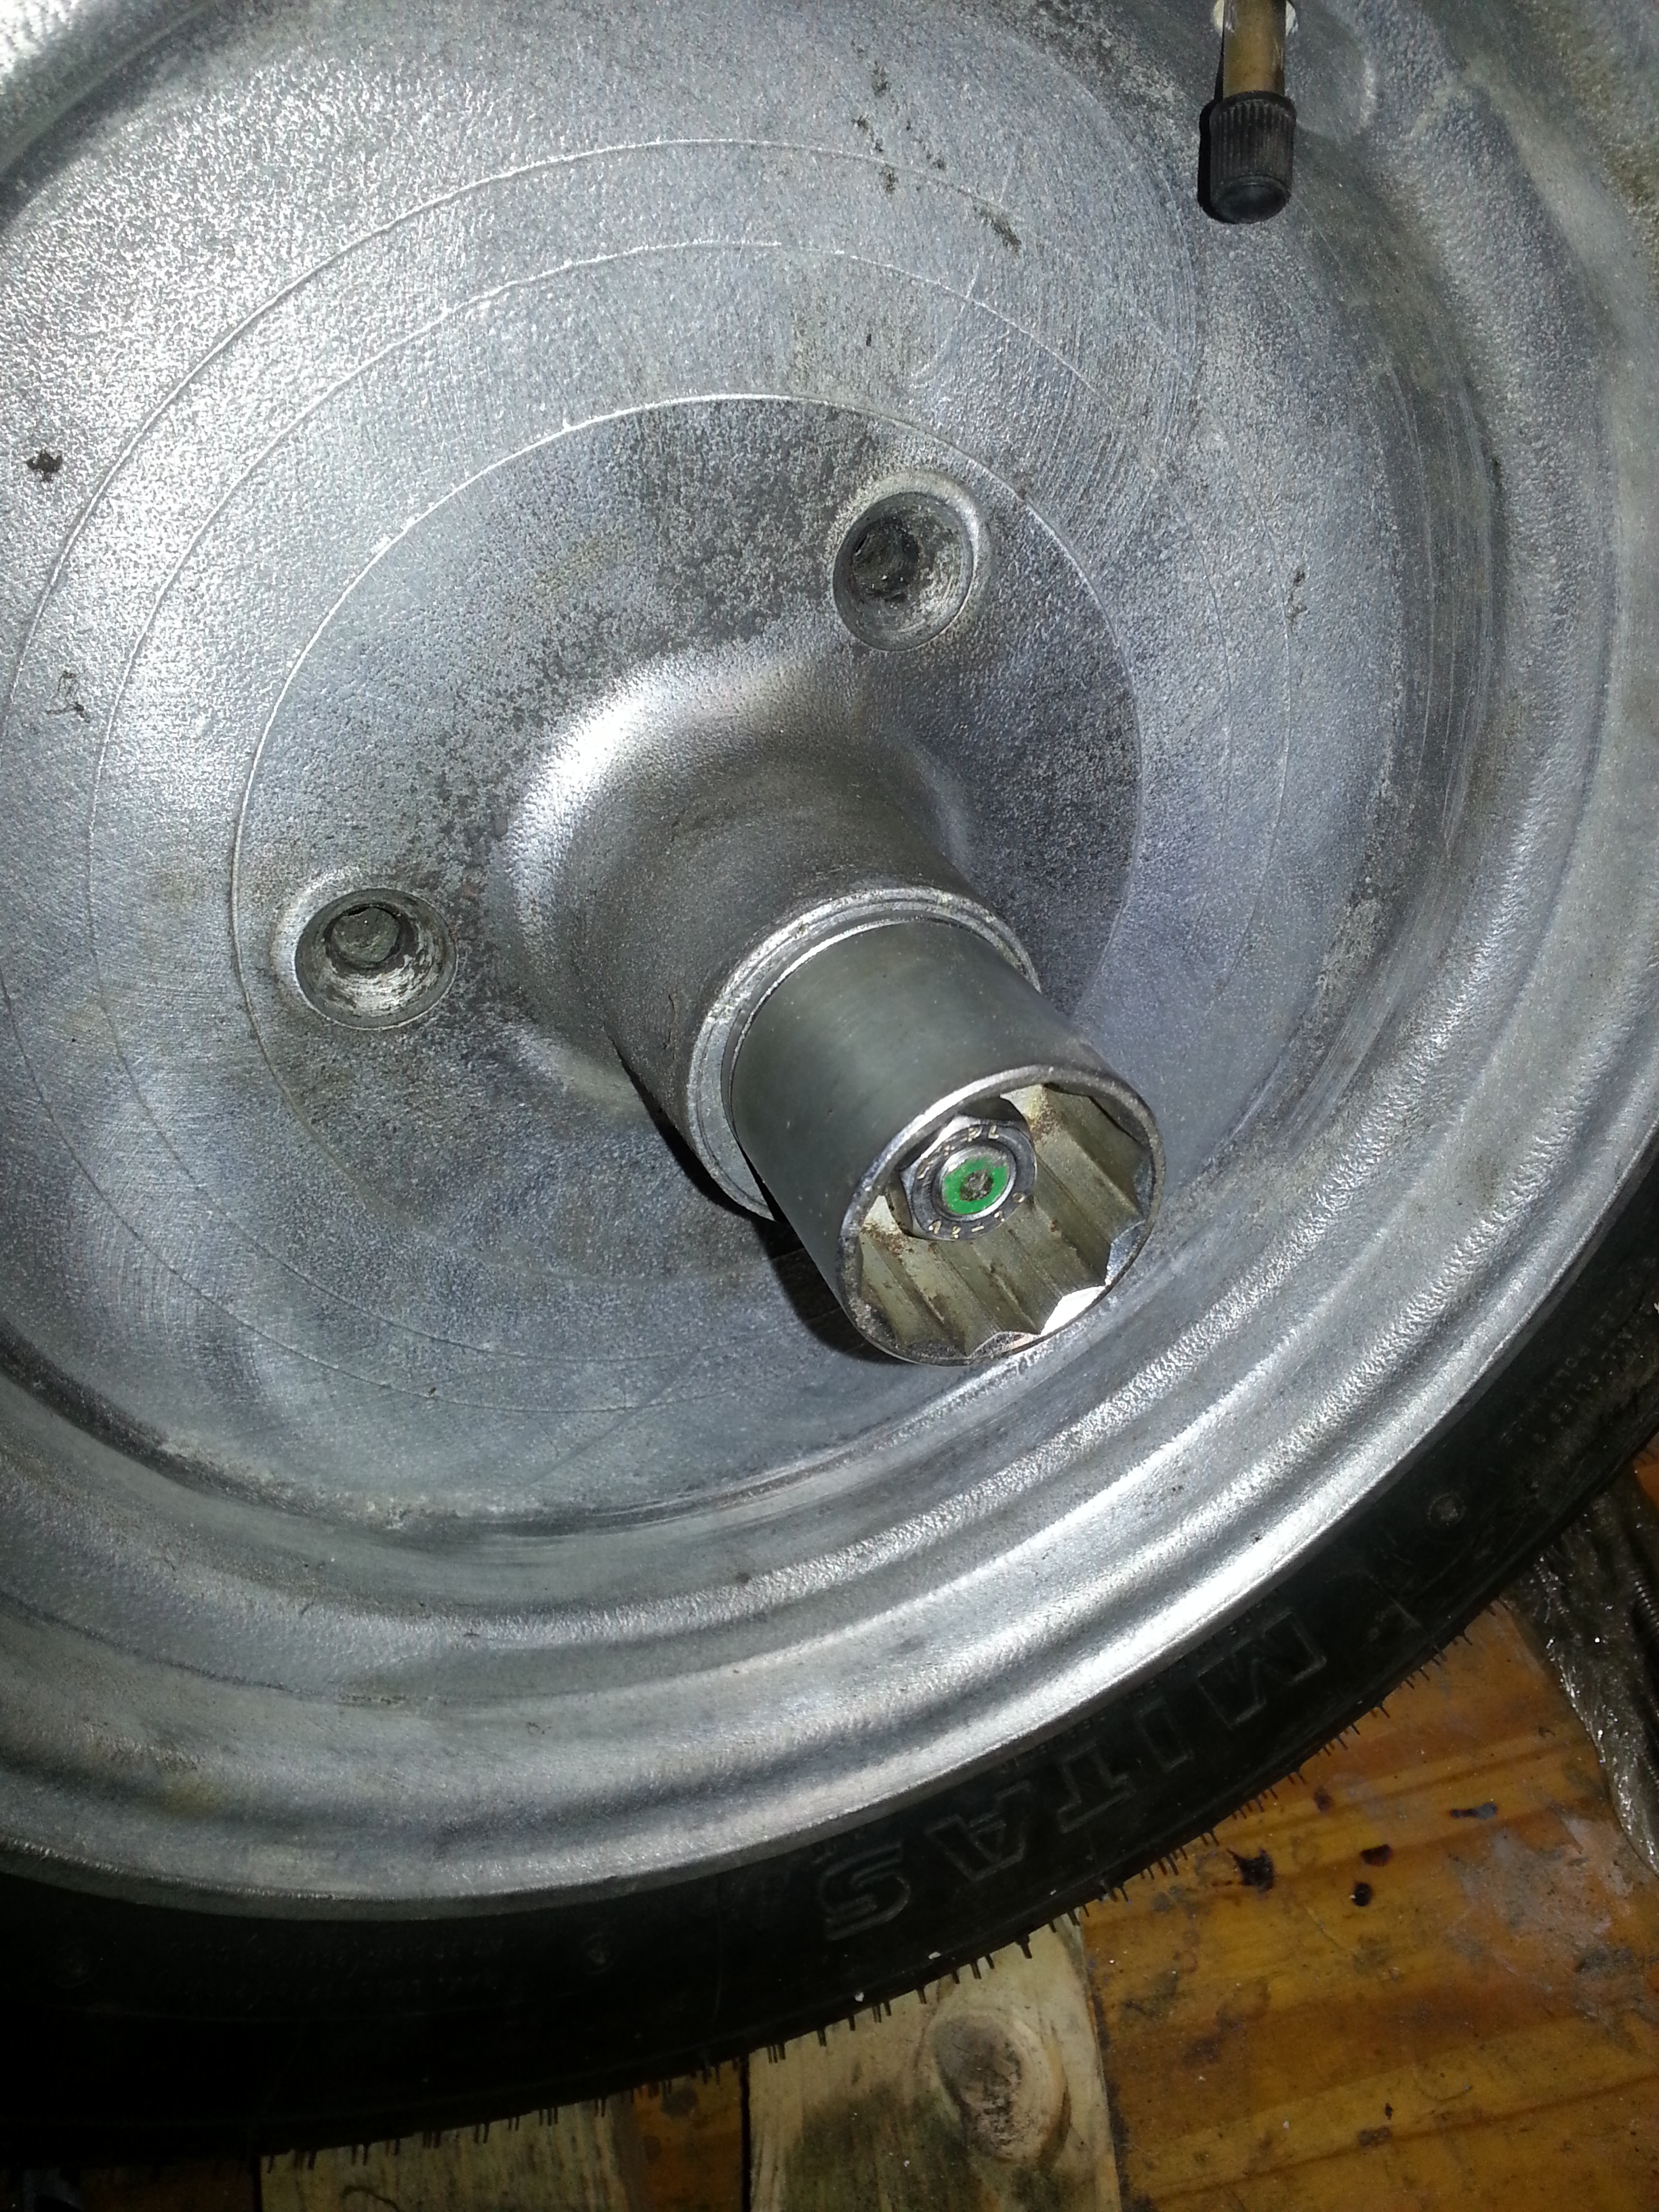
The result is good at first glance, but the carbide oxide disc leaves a lot of traces. Here are the photographs of the various stages where I used a socket to protect the bearings from dust:

And of course a dramatic before / after shot:
