
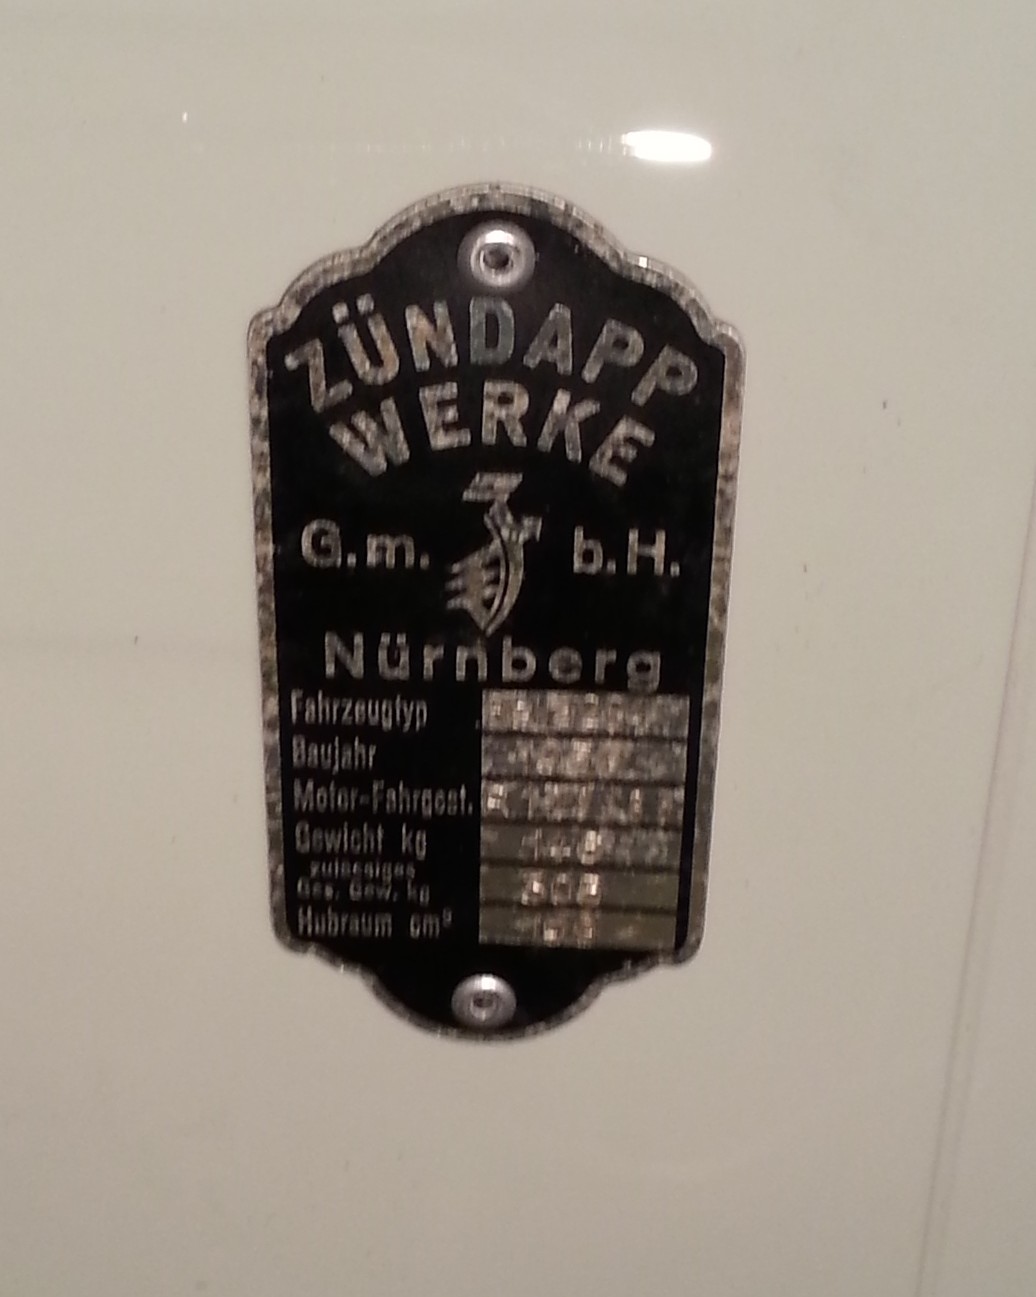
My Bella has a colour scheme only used in the UK by Ambassador Motorcycles. The official name is white and turquoise. RAL numbers are unknown so I had the paint matched. It took me a little while to get used to it, but I quite like it now.
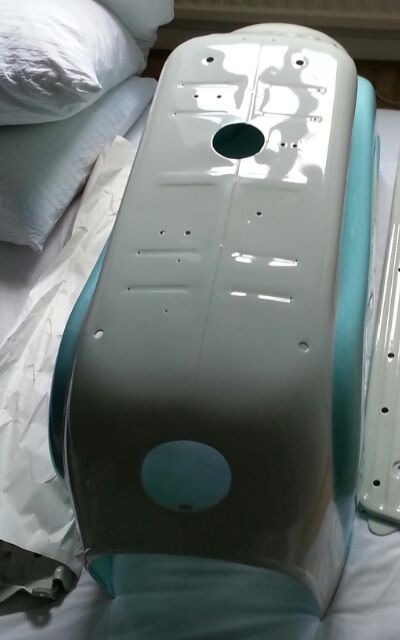
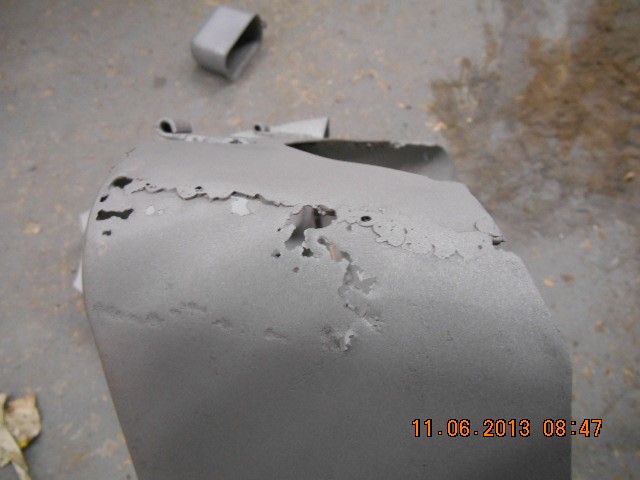
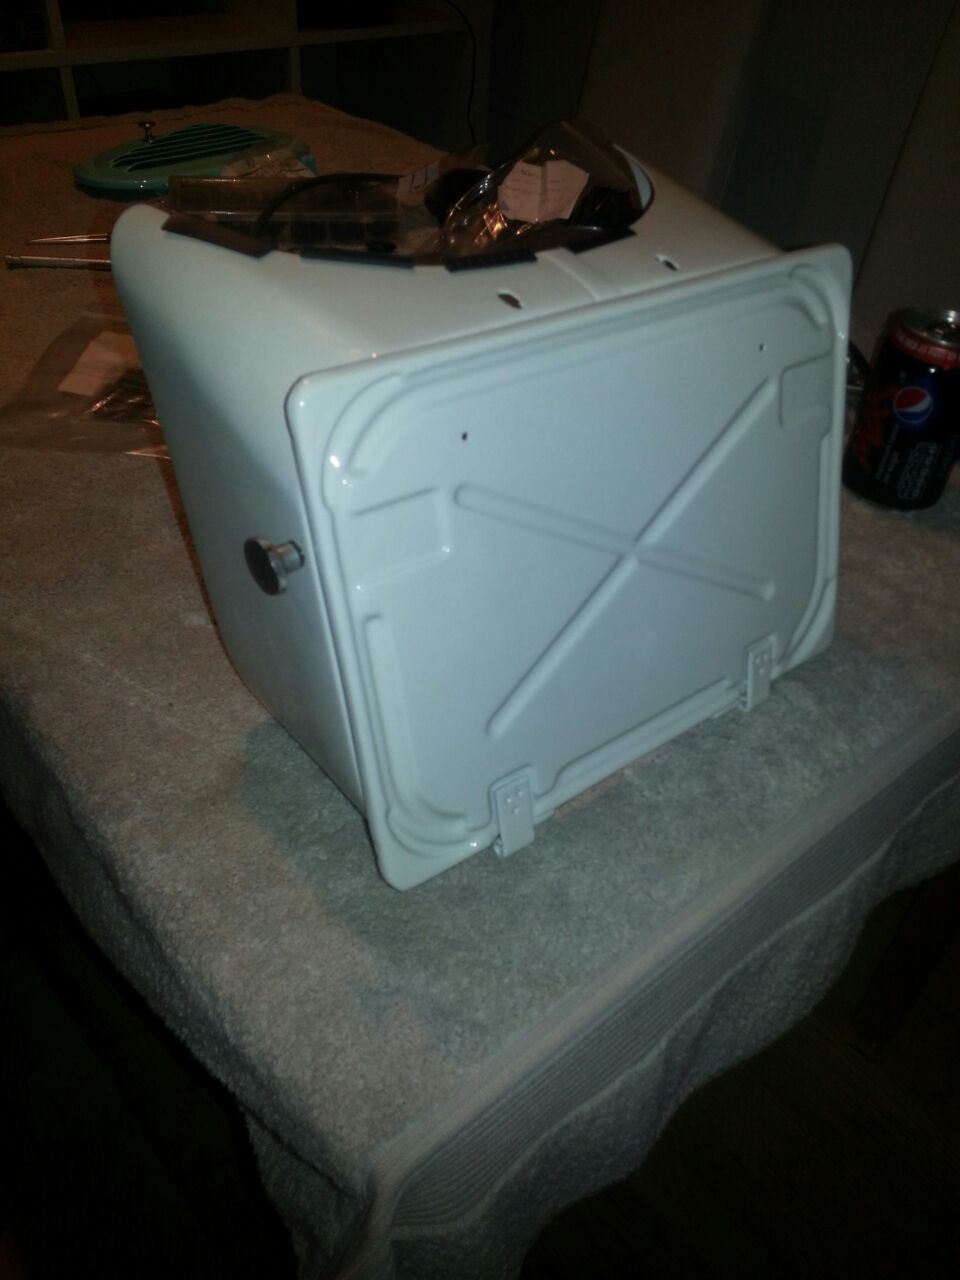
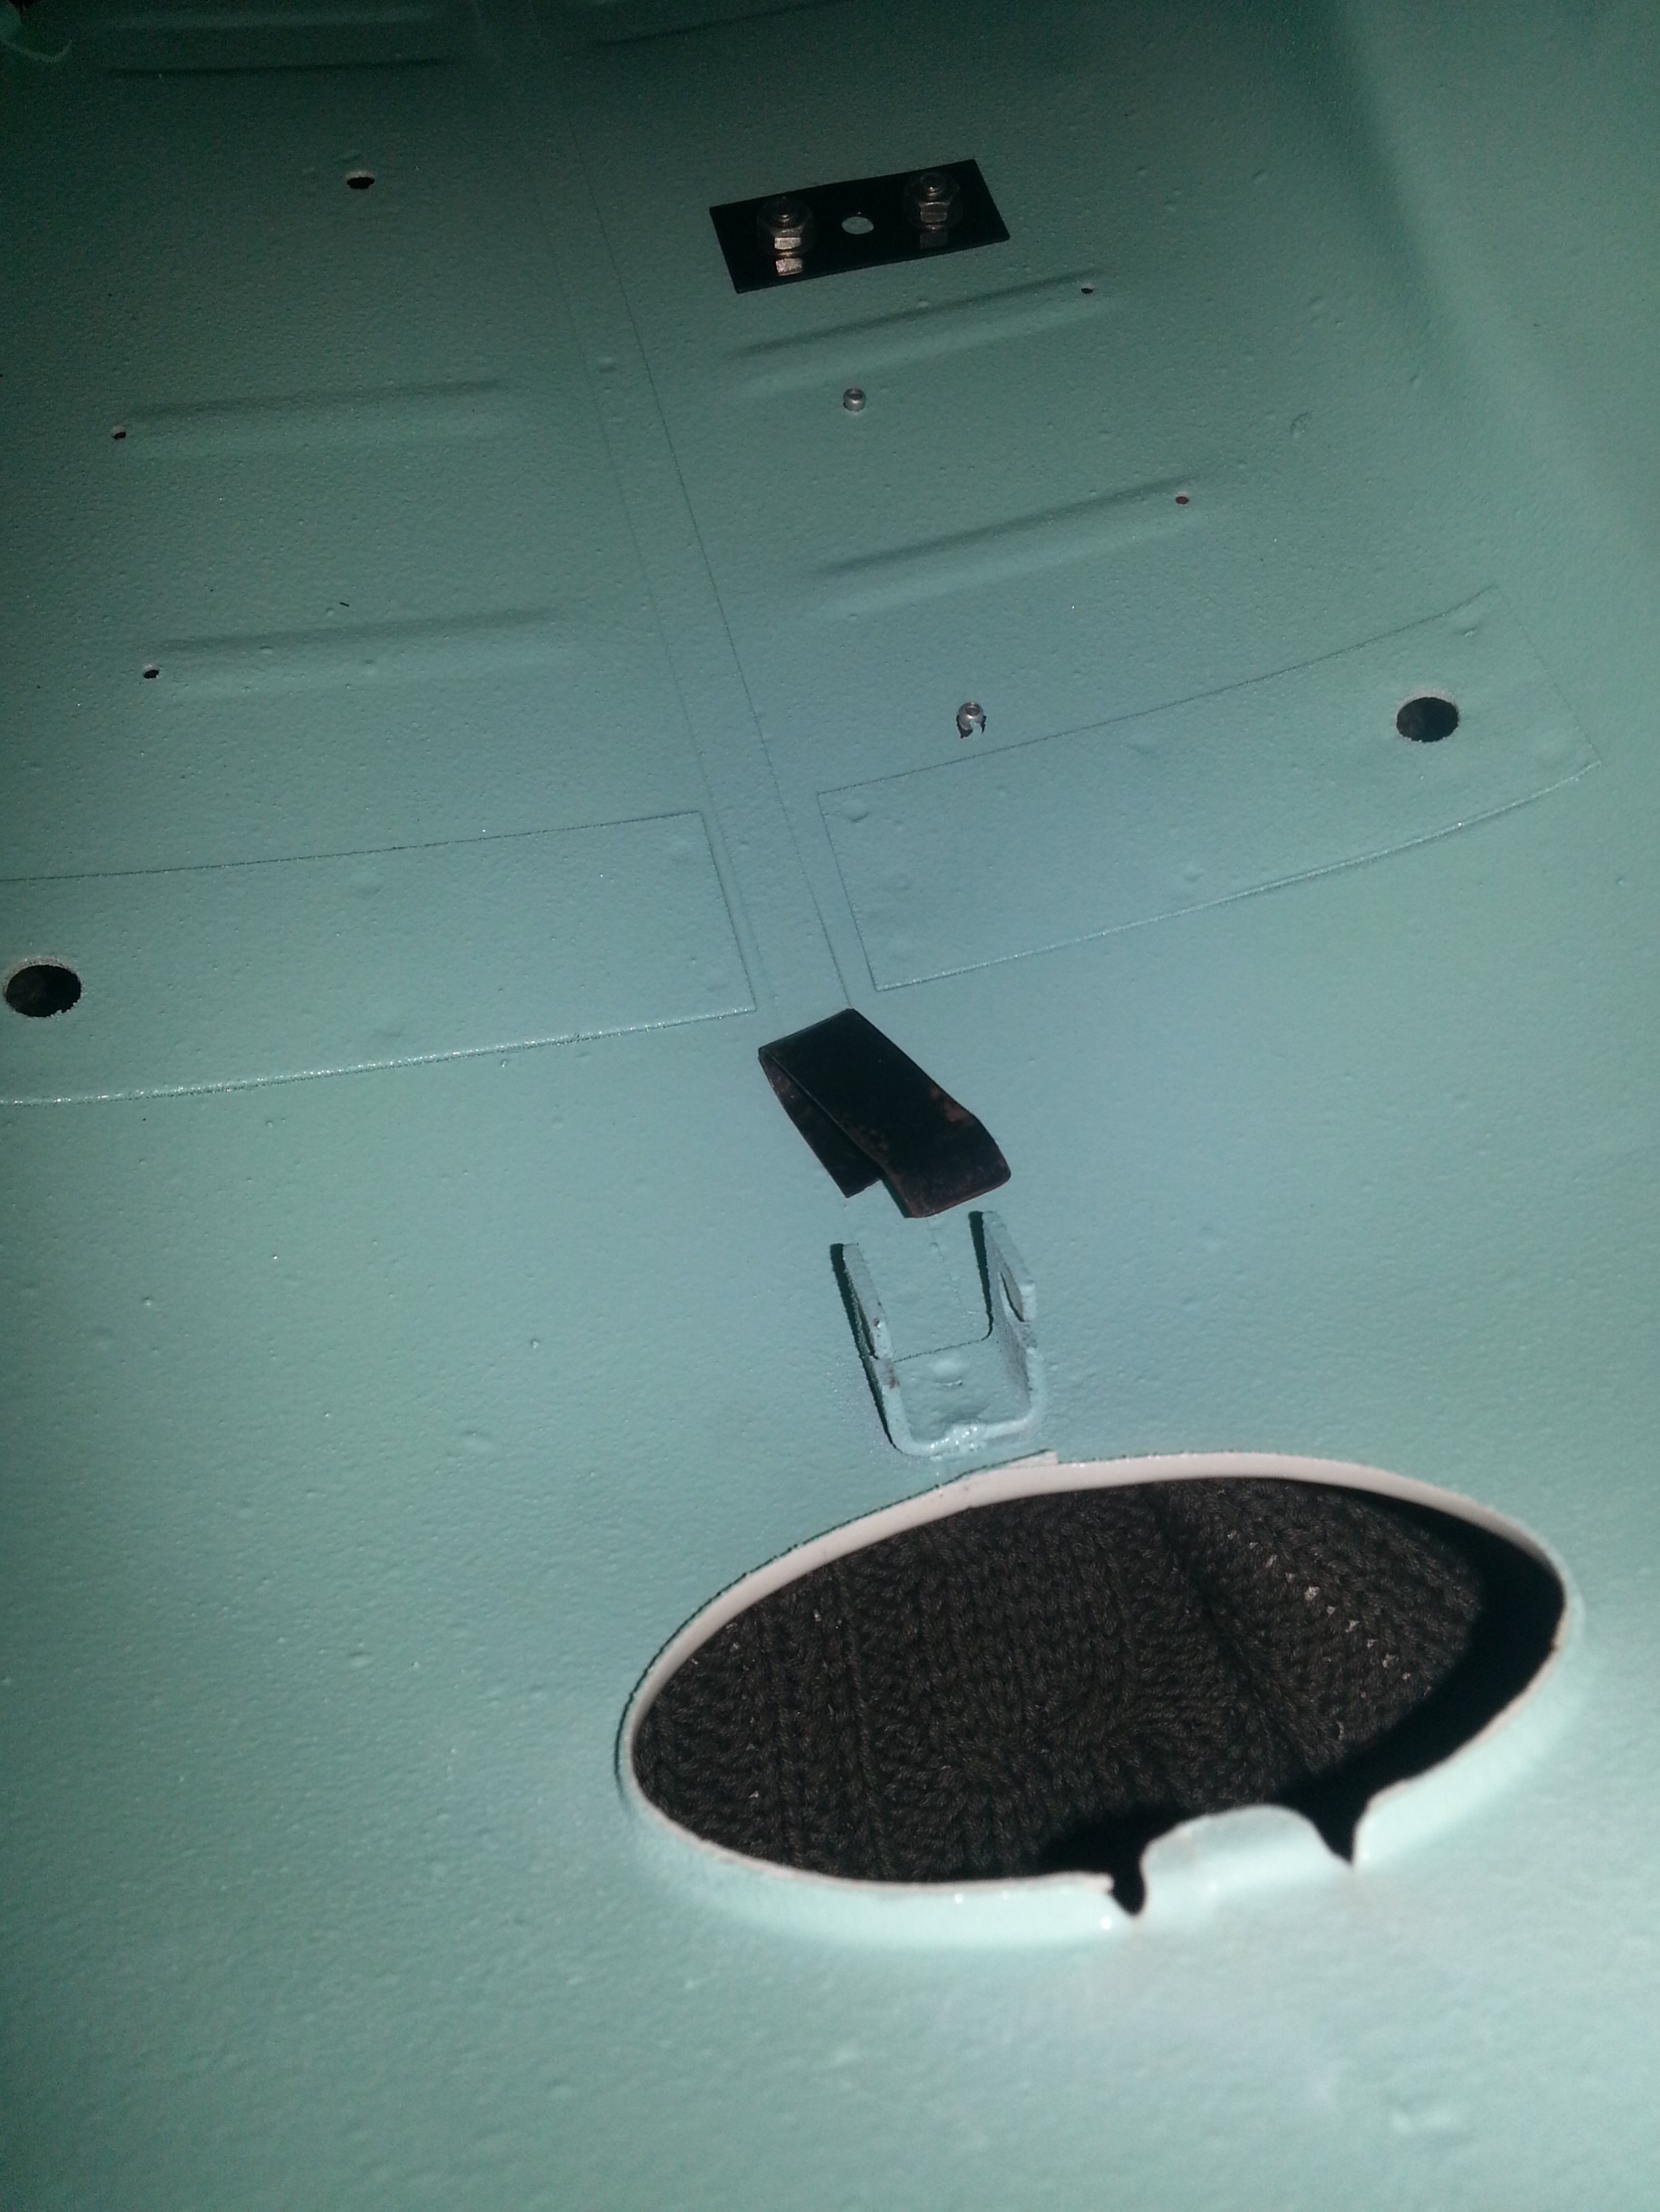
When the rear body returned from the painter it looked like this:
Nice job! I started by riveting the type shield back in place. Unfortunately I didn’t have the equipment for hammered rivets so I used pop rivets instead.
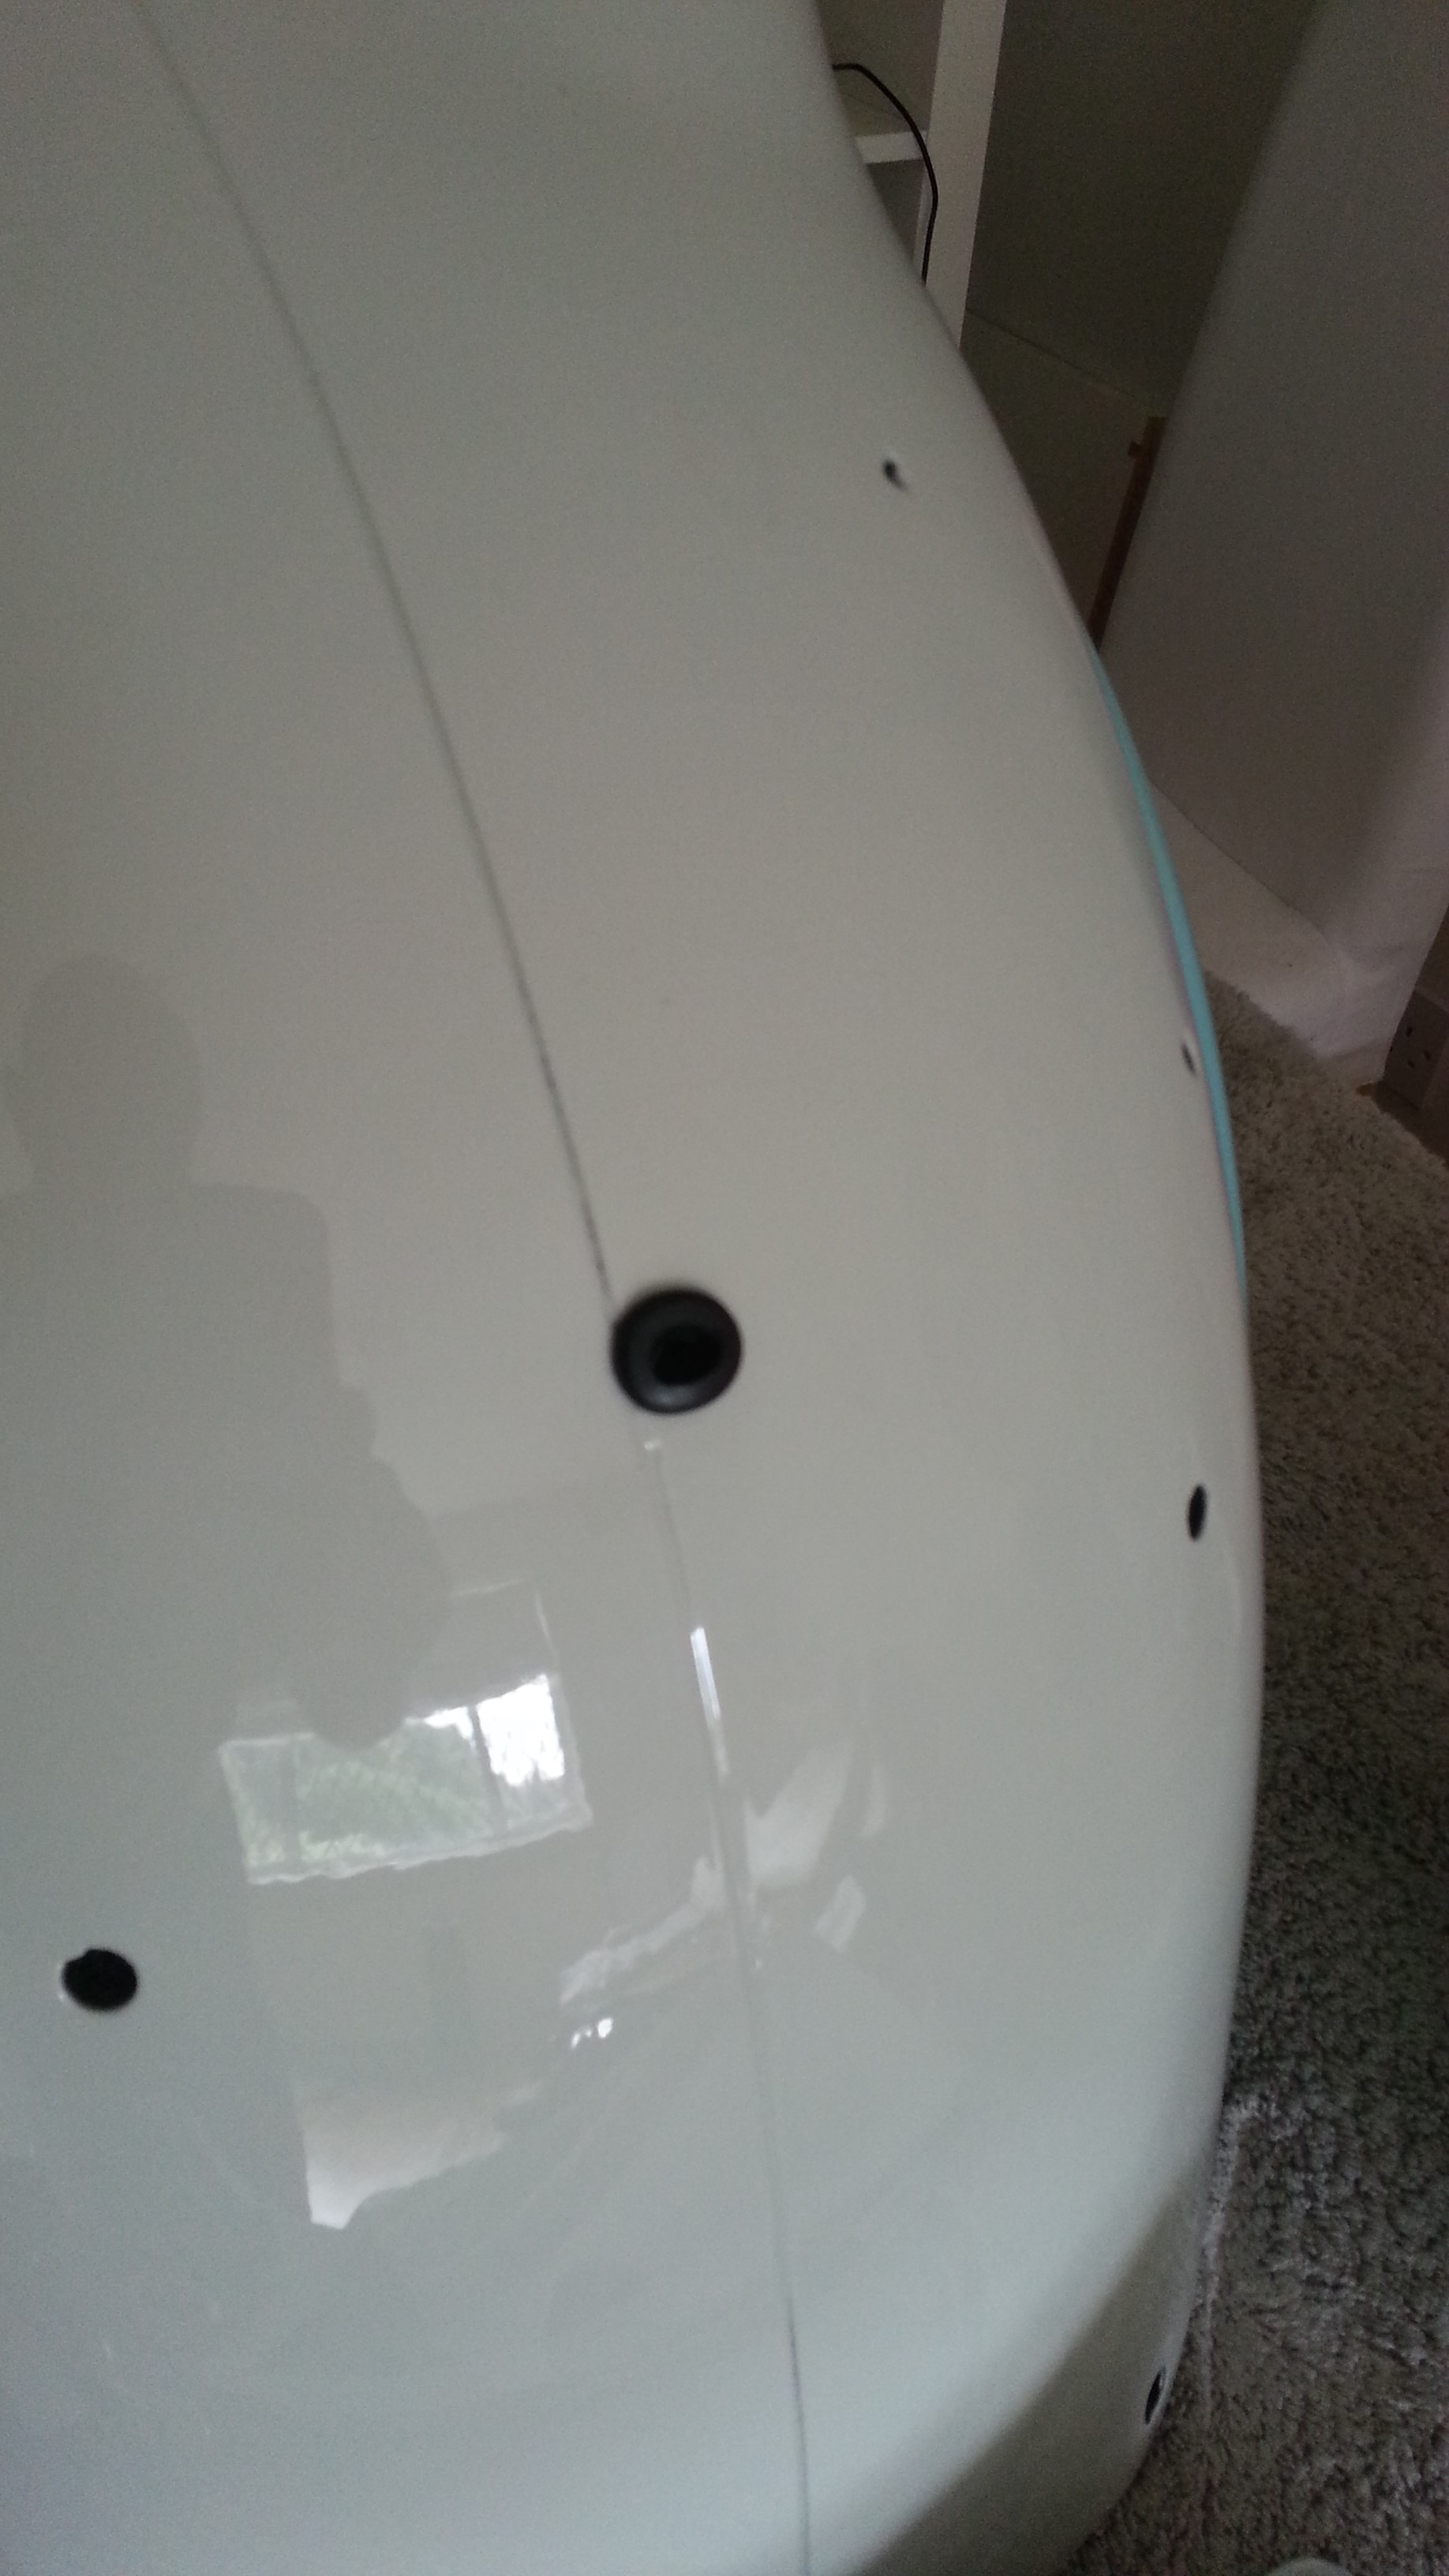
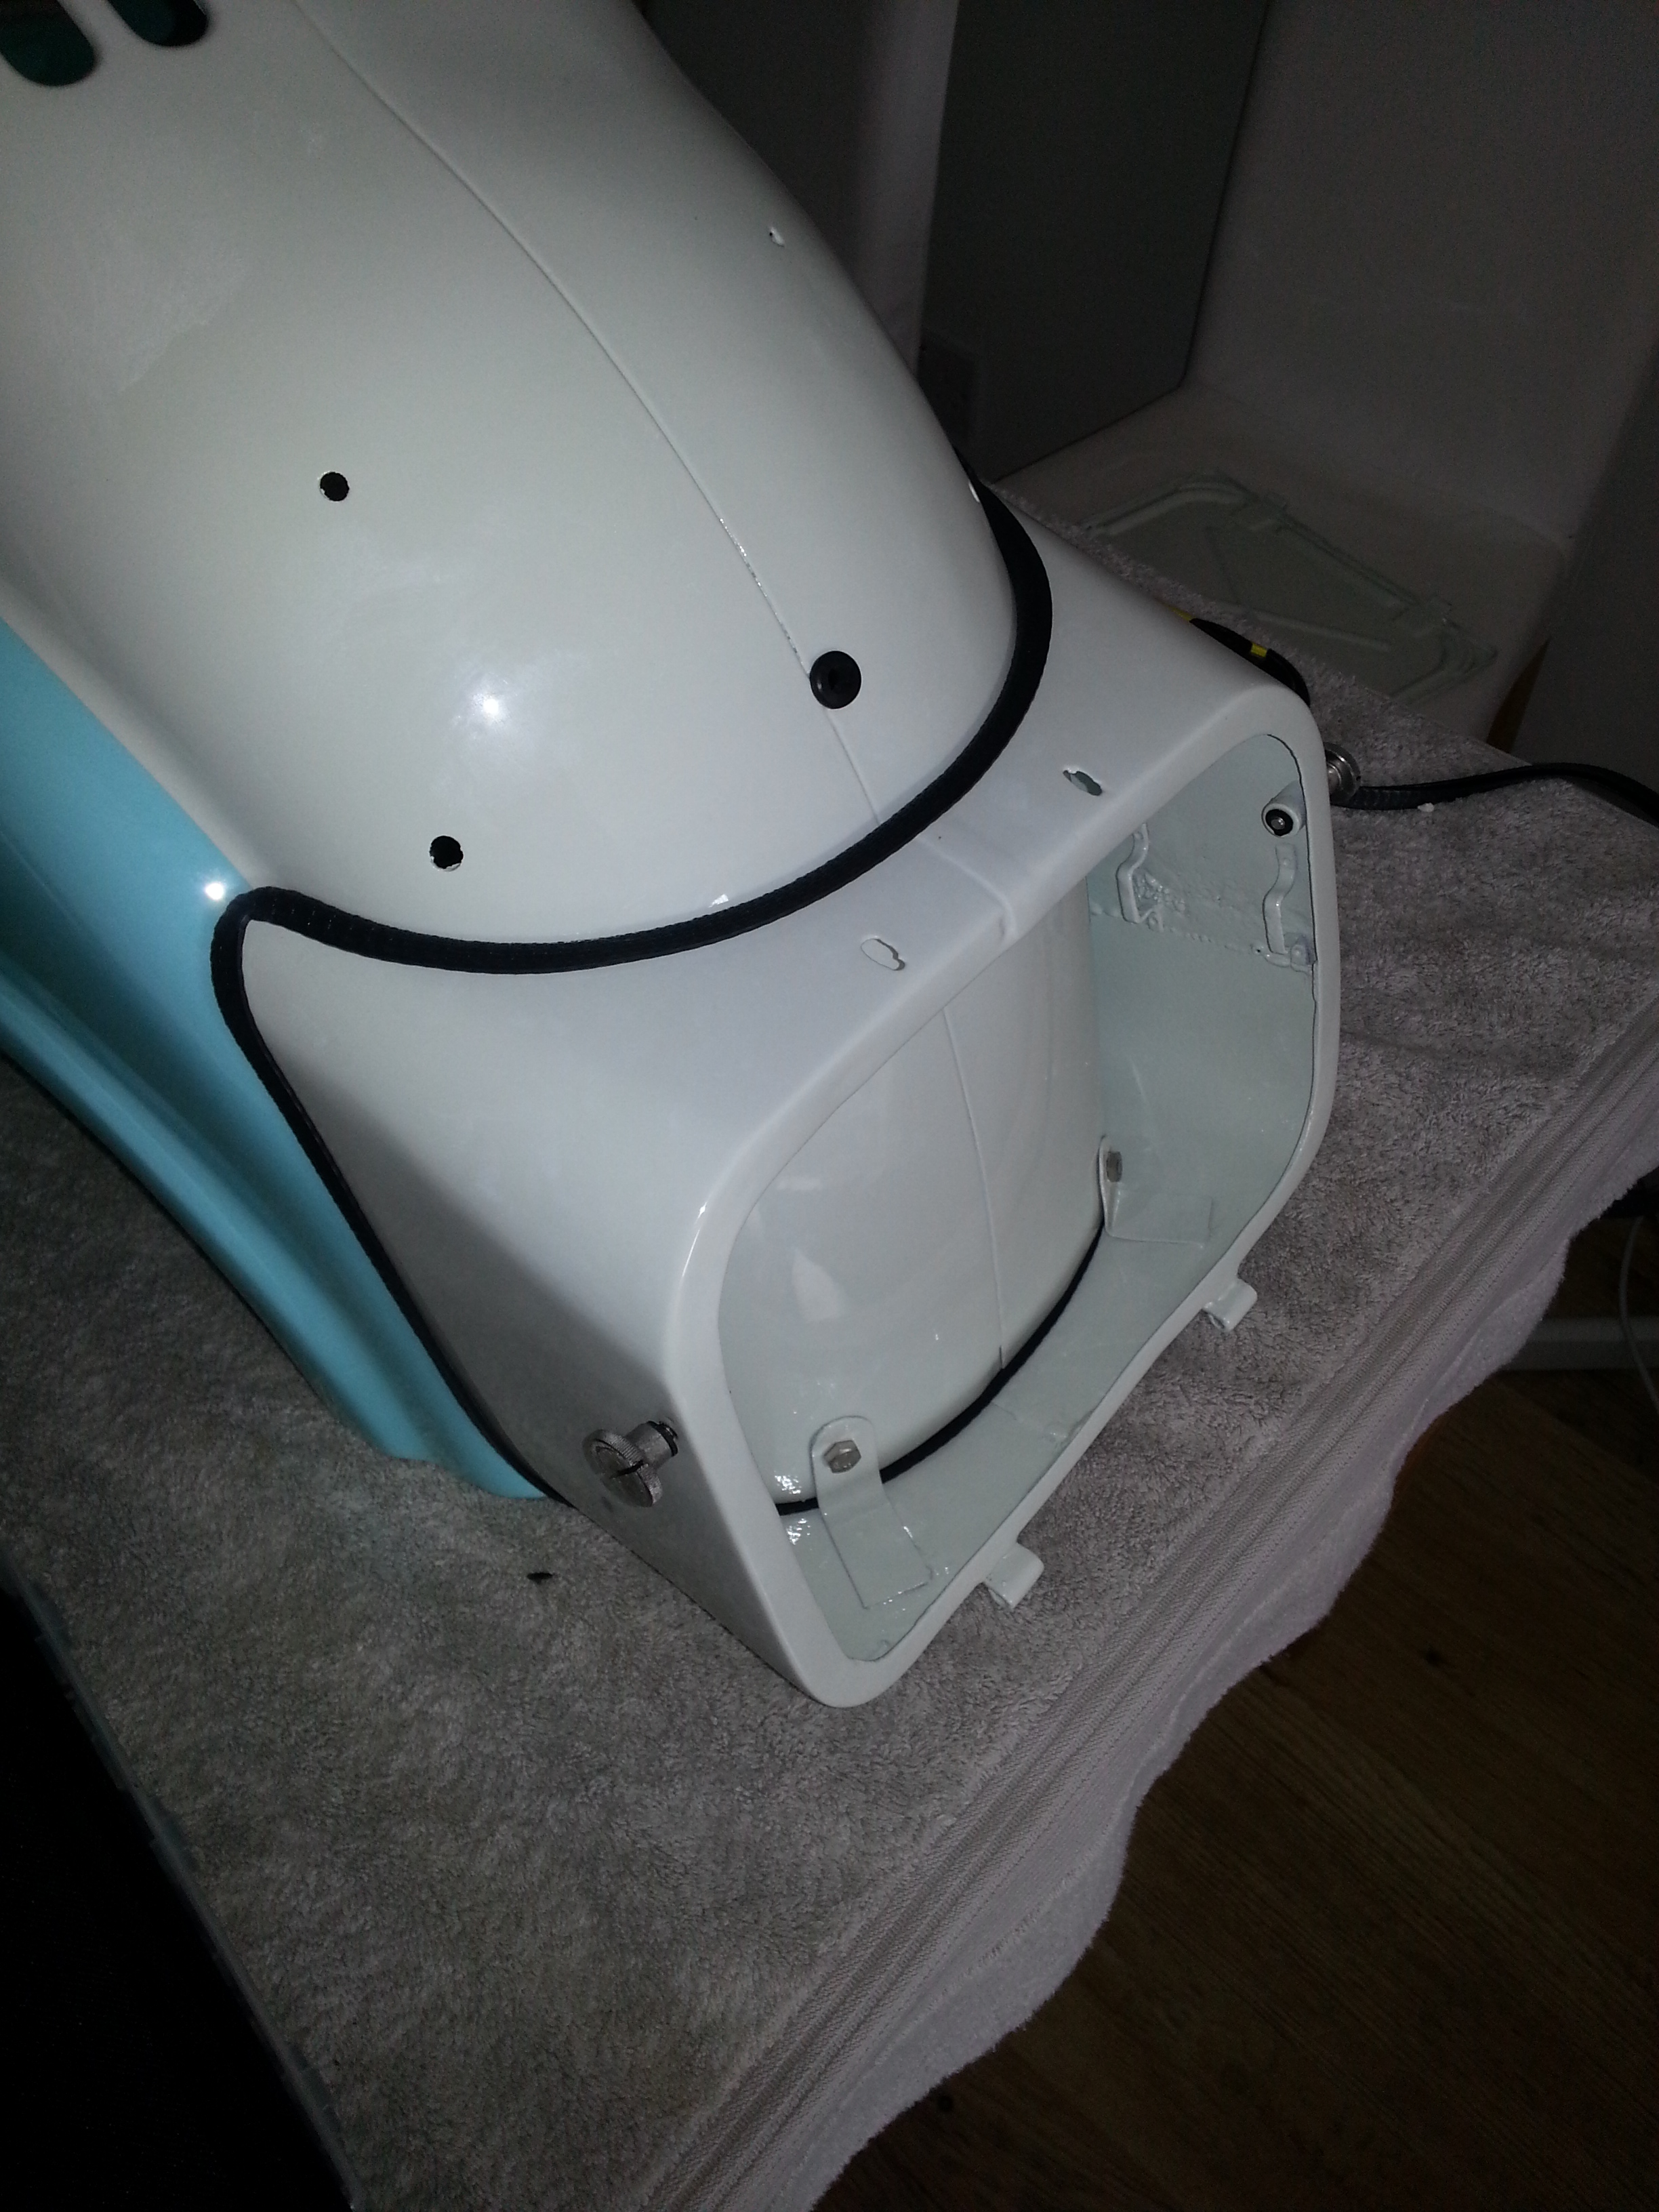
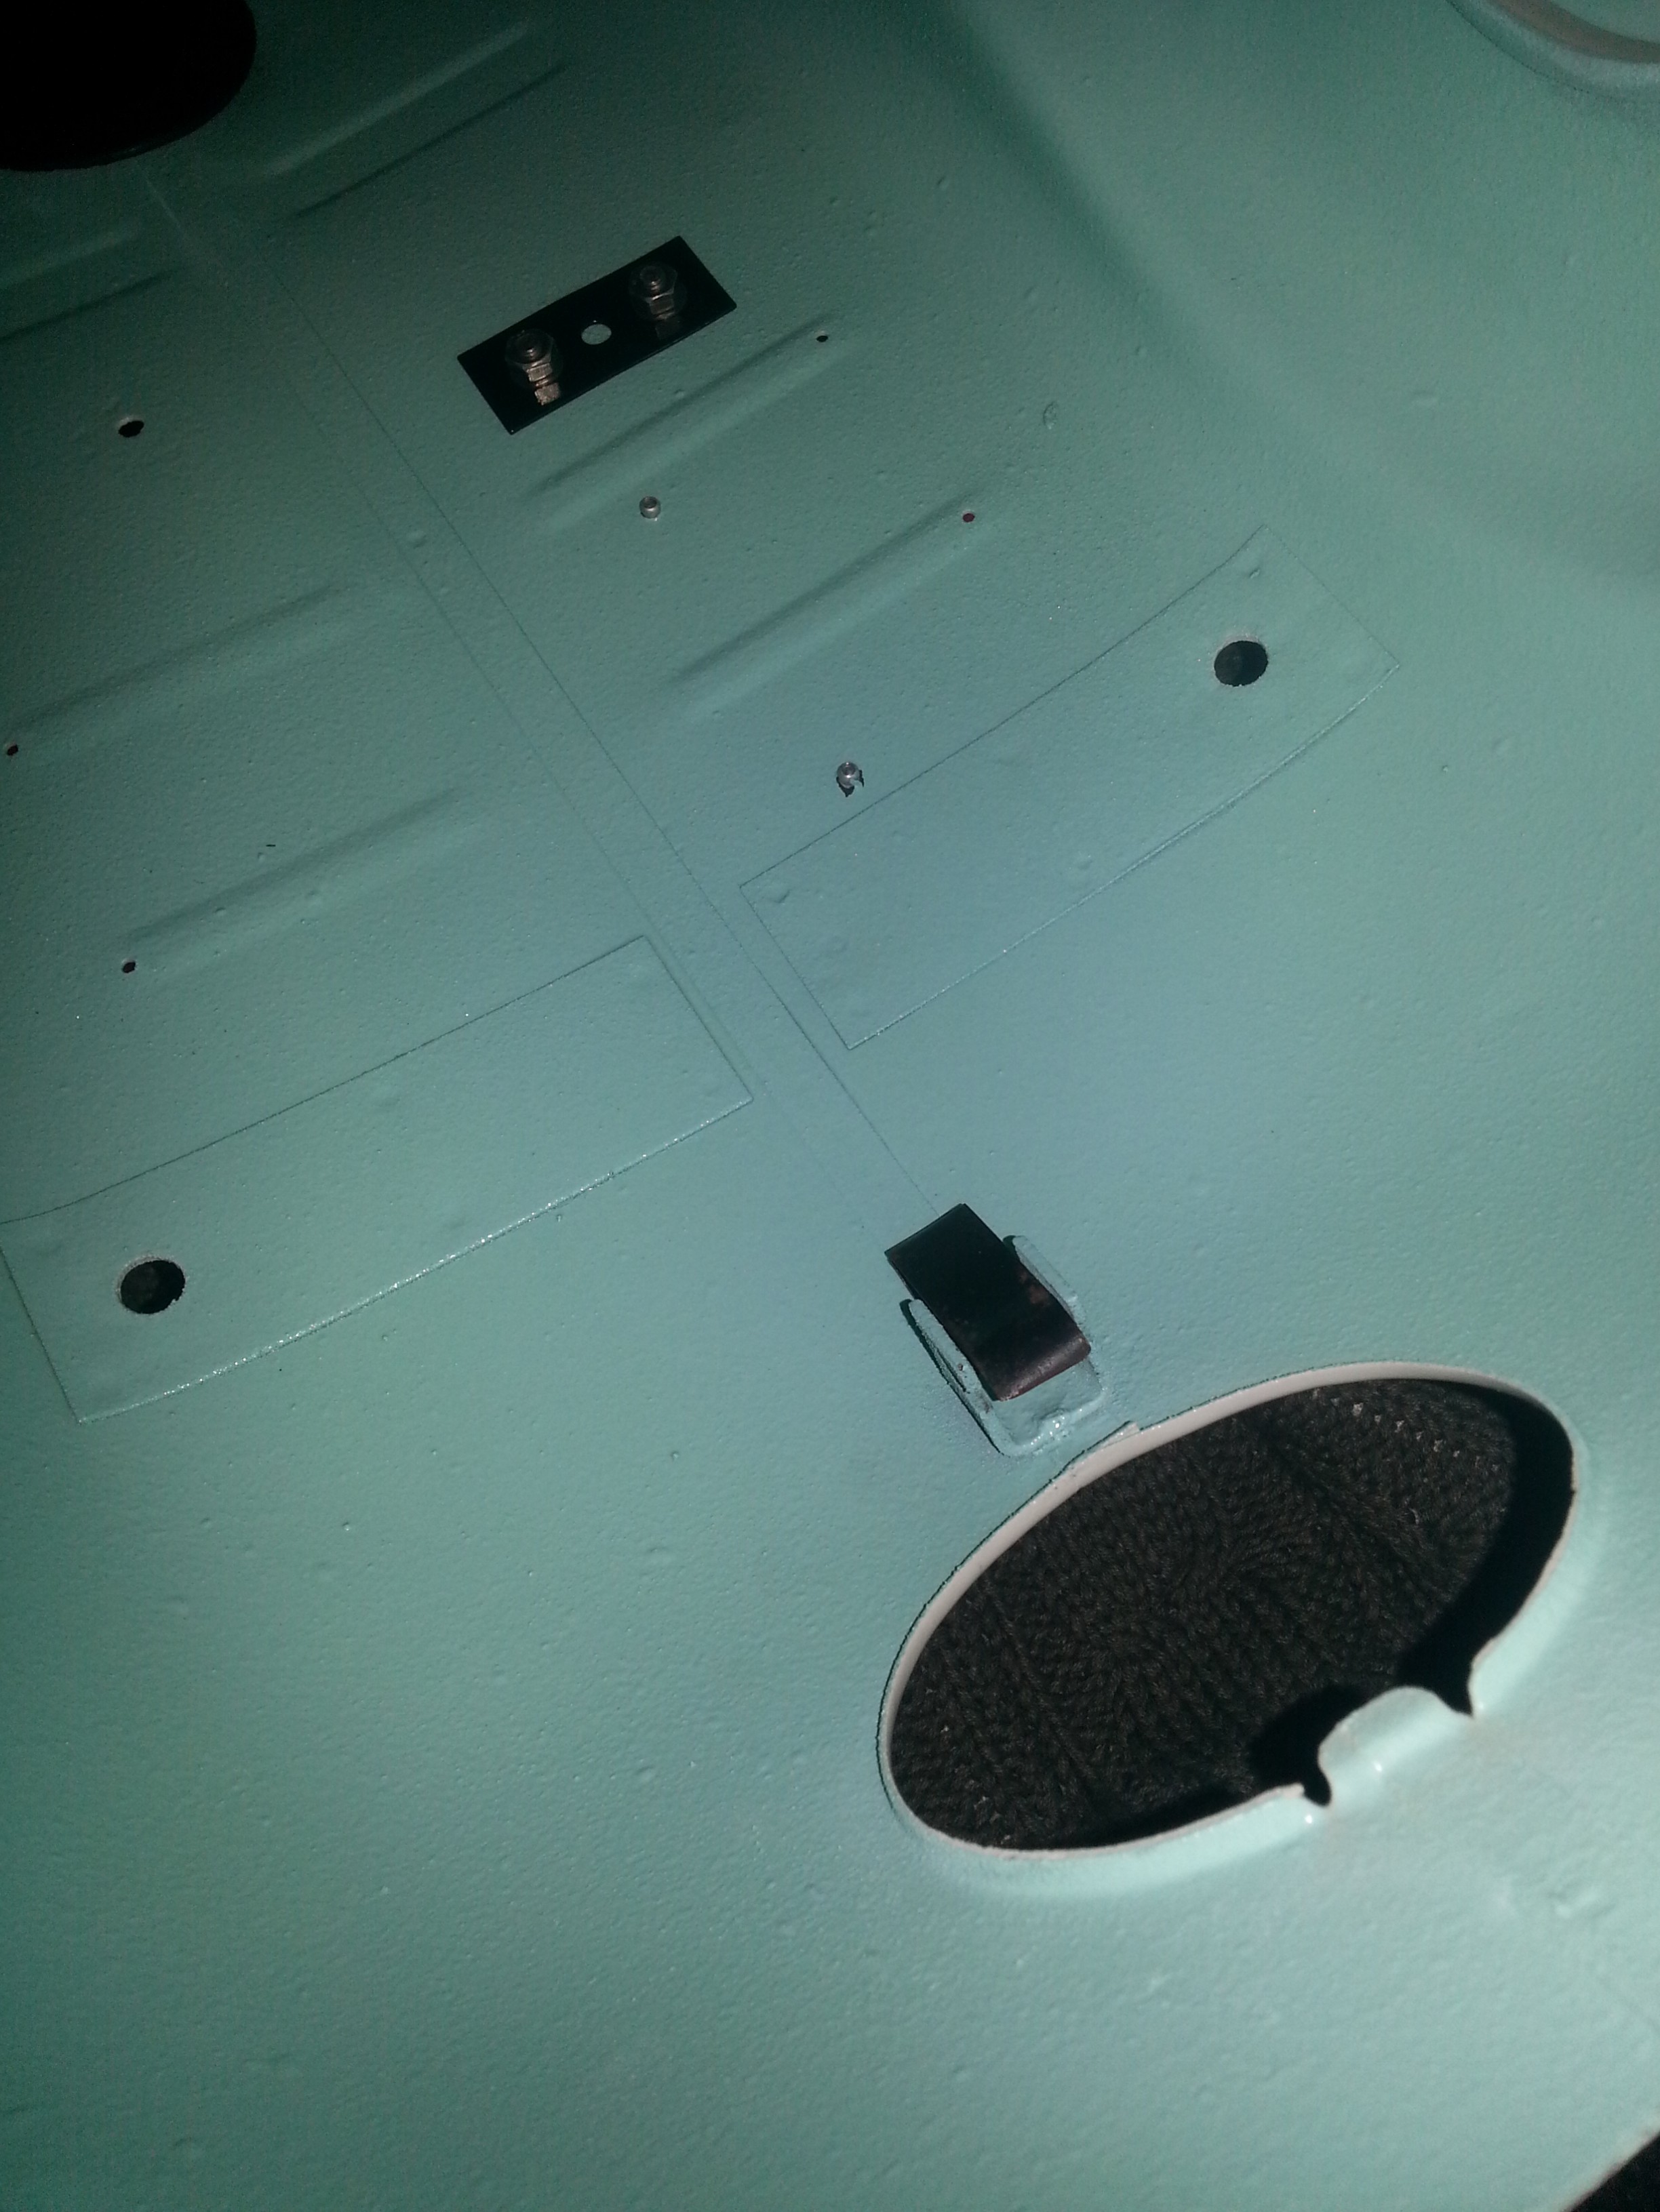
Next is a quick grommet for the rear light cable:
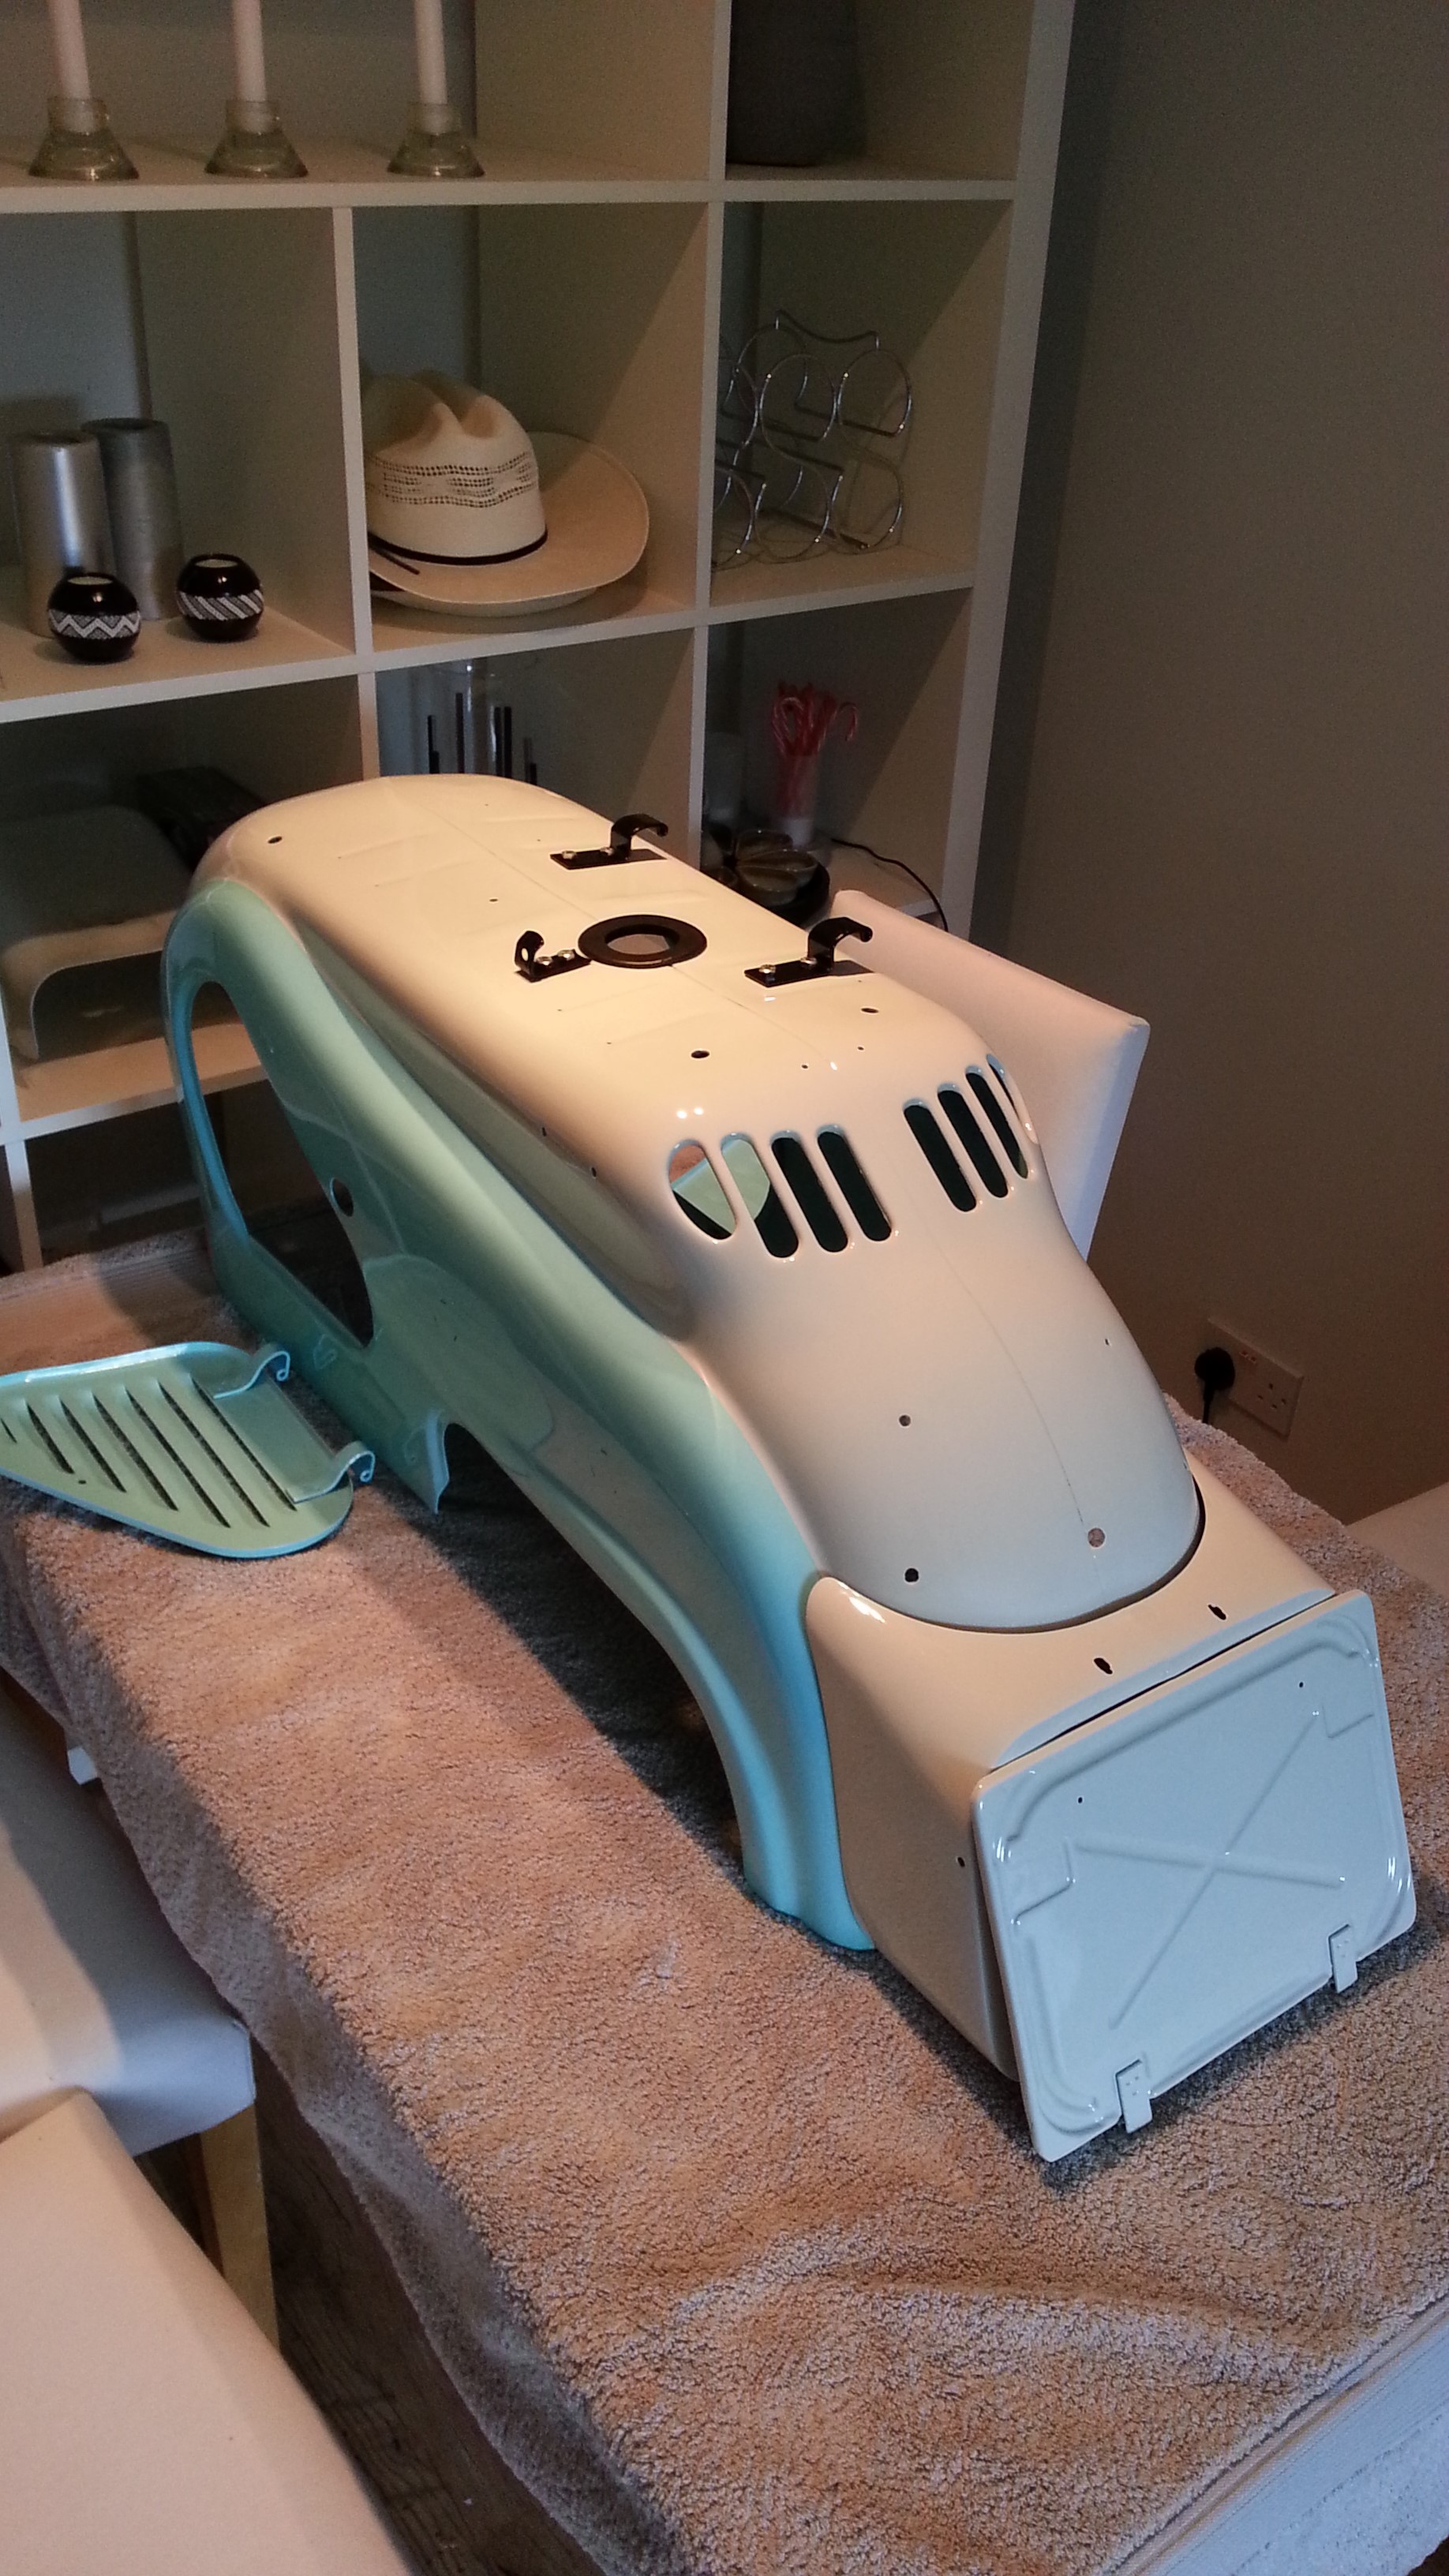
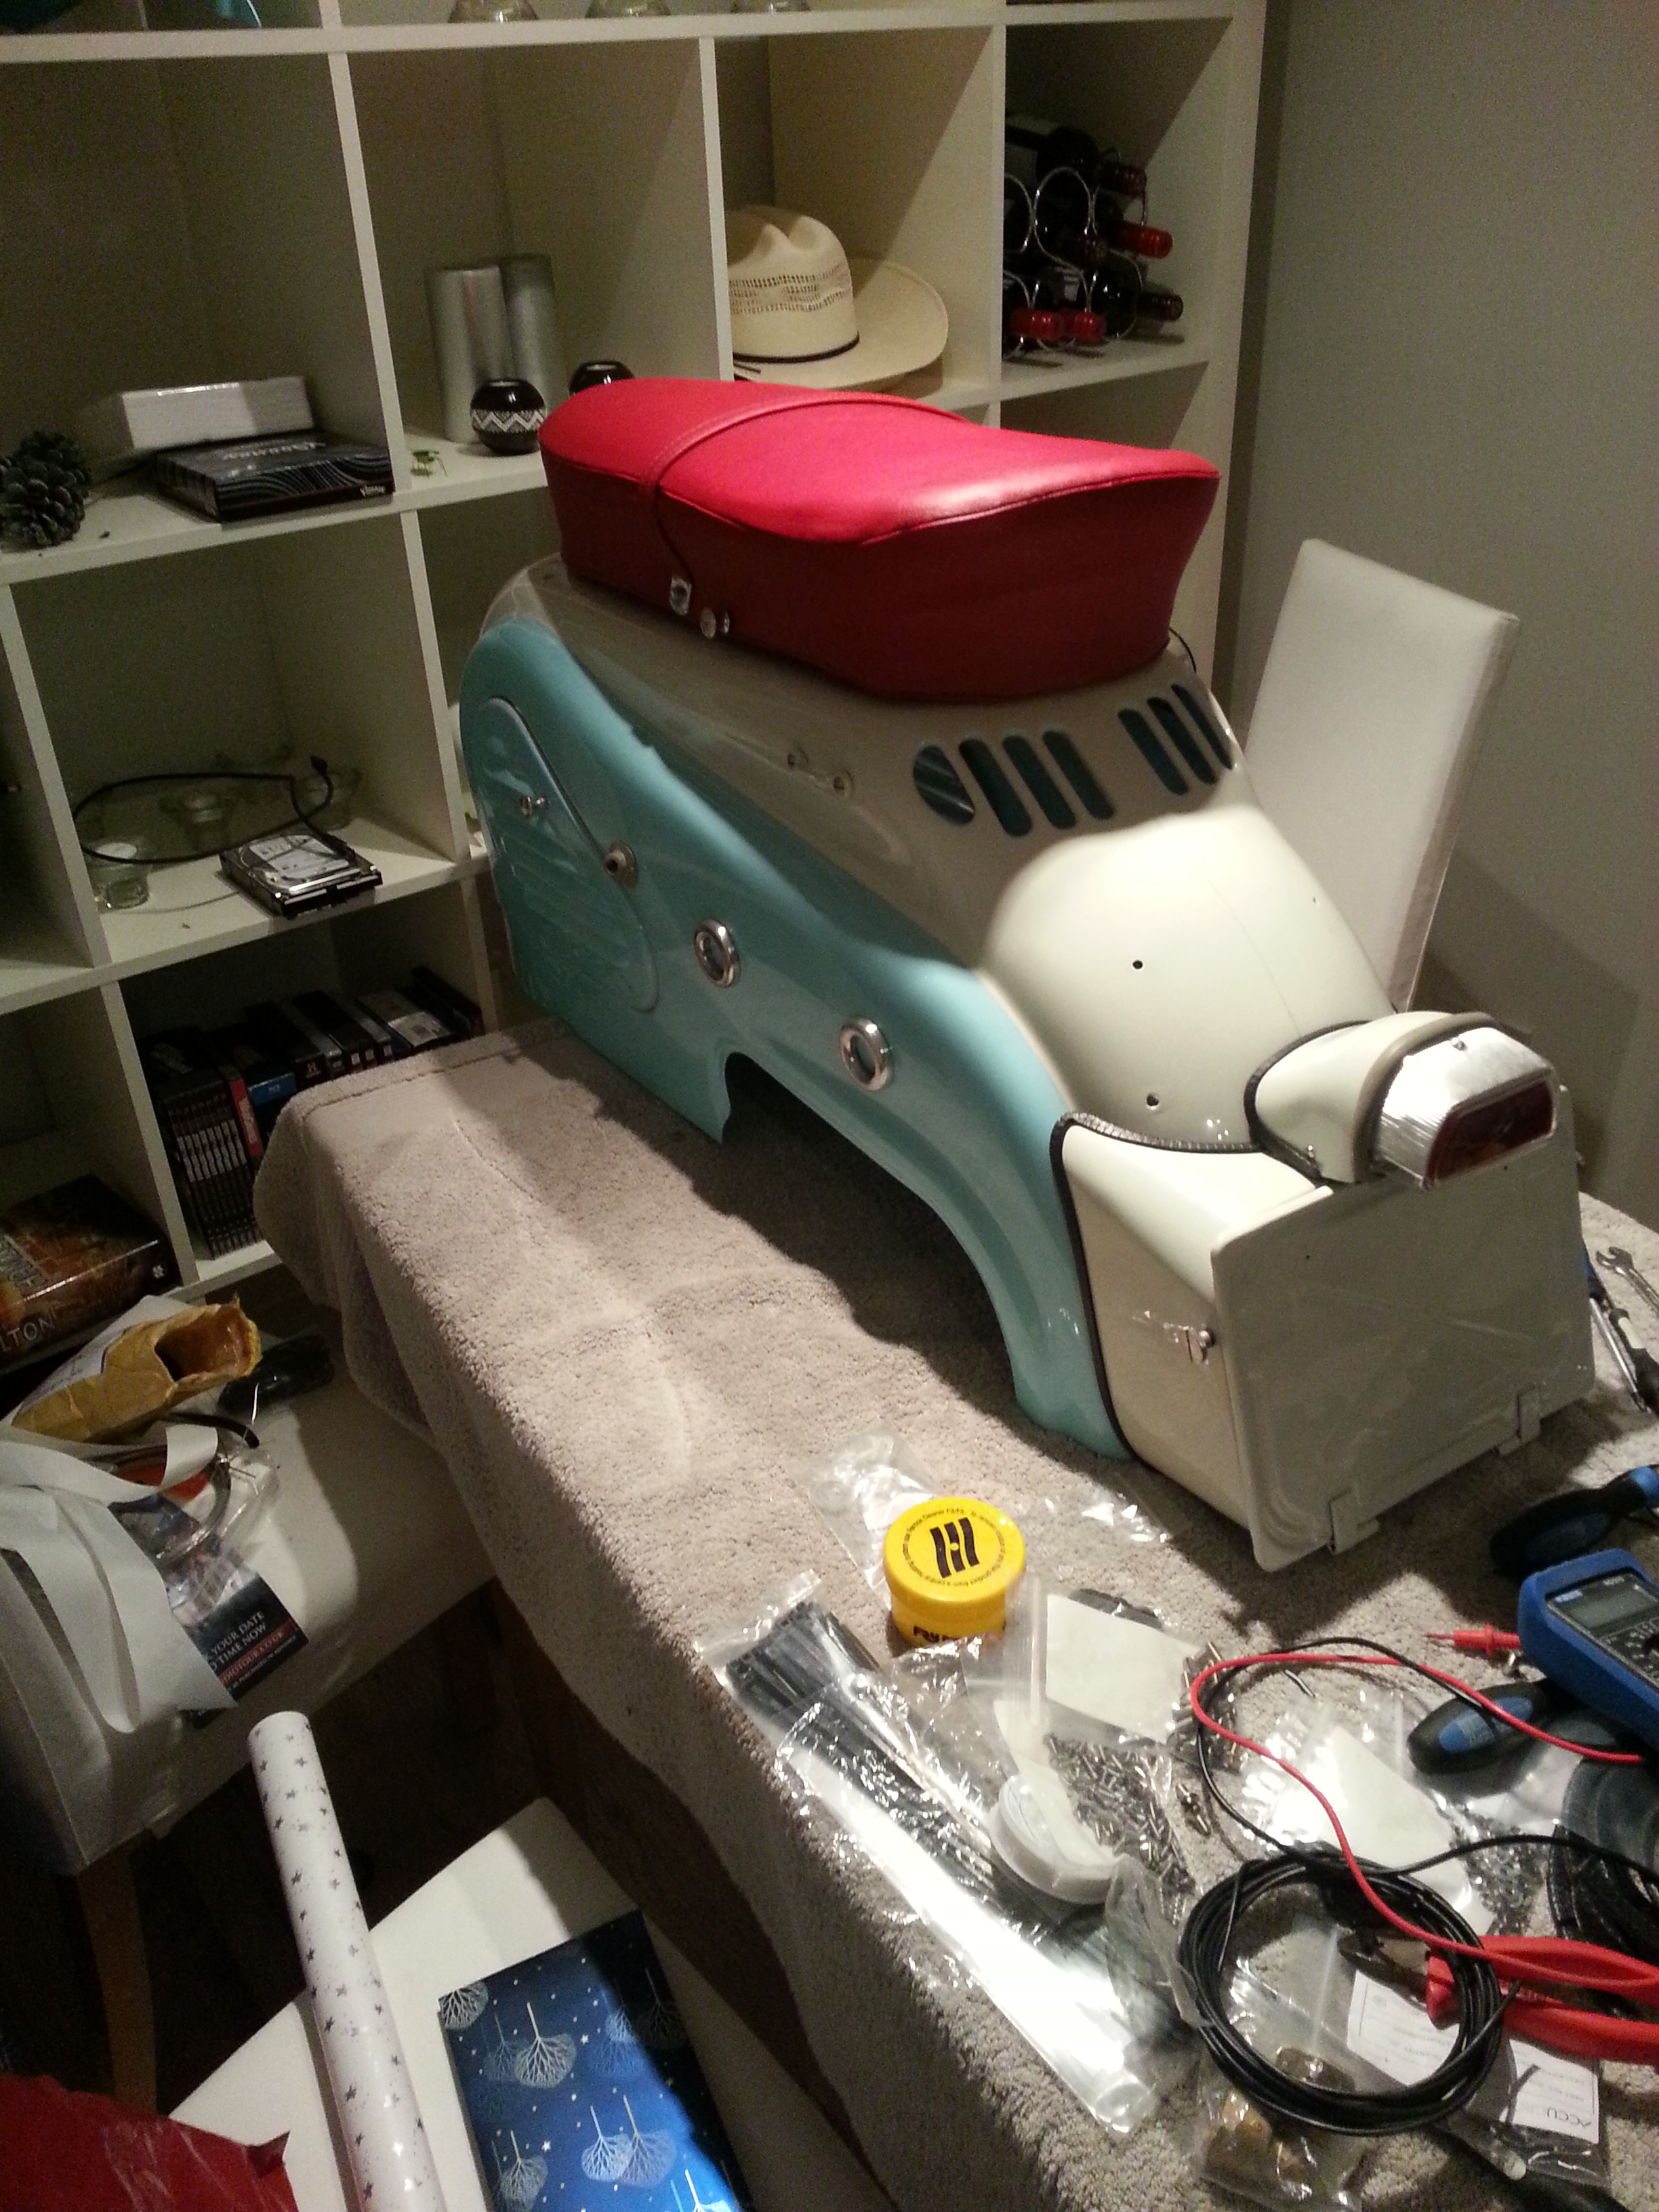
This is what the rear body and toolbox will look like when assembled. The buddy seat hinges are in place:
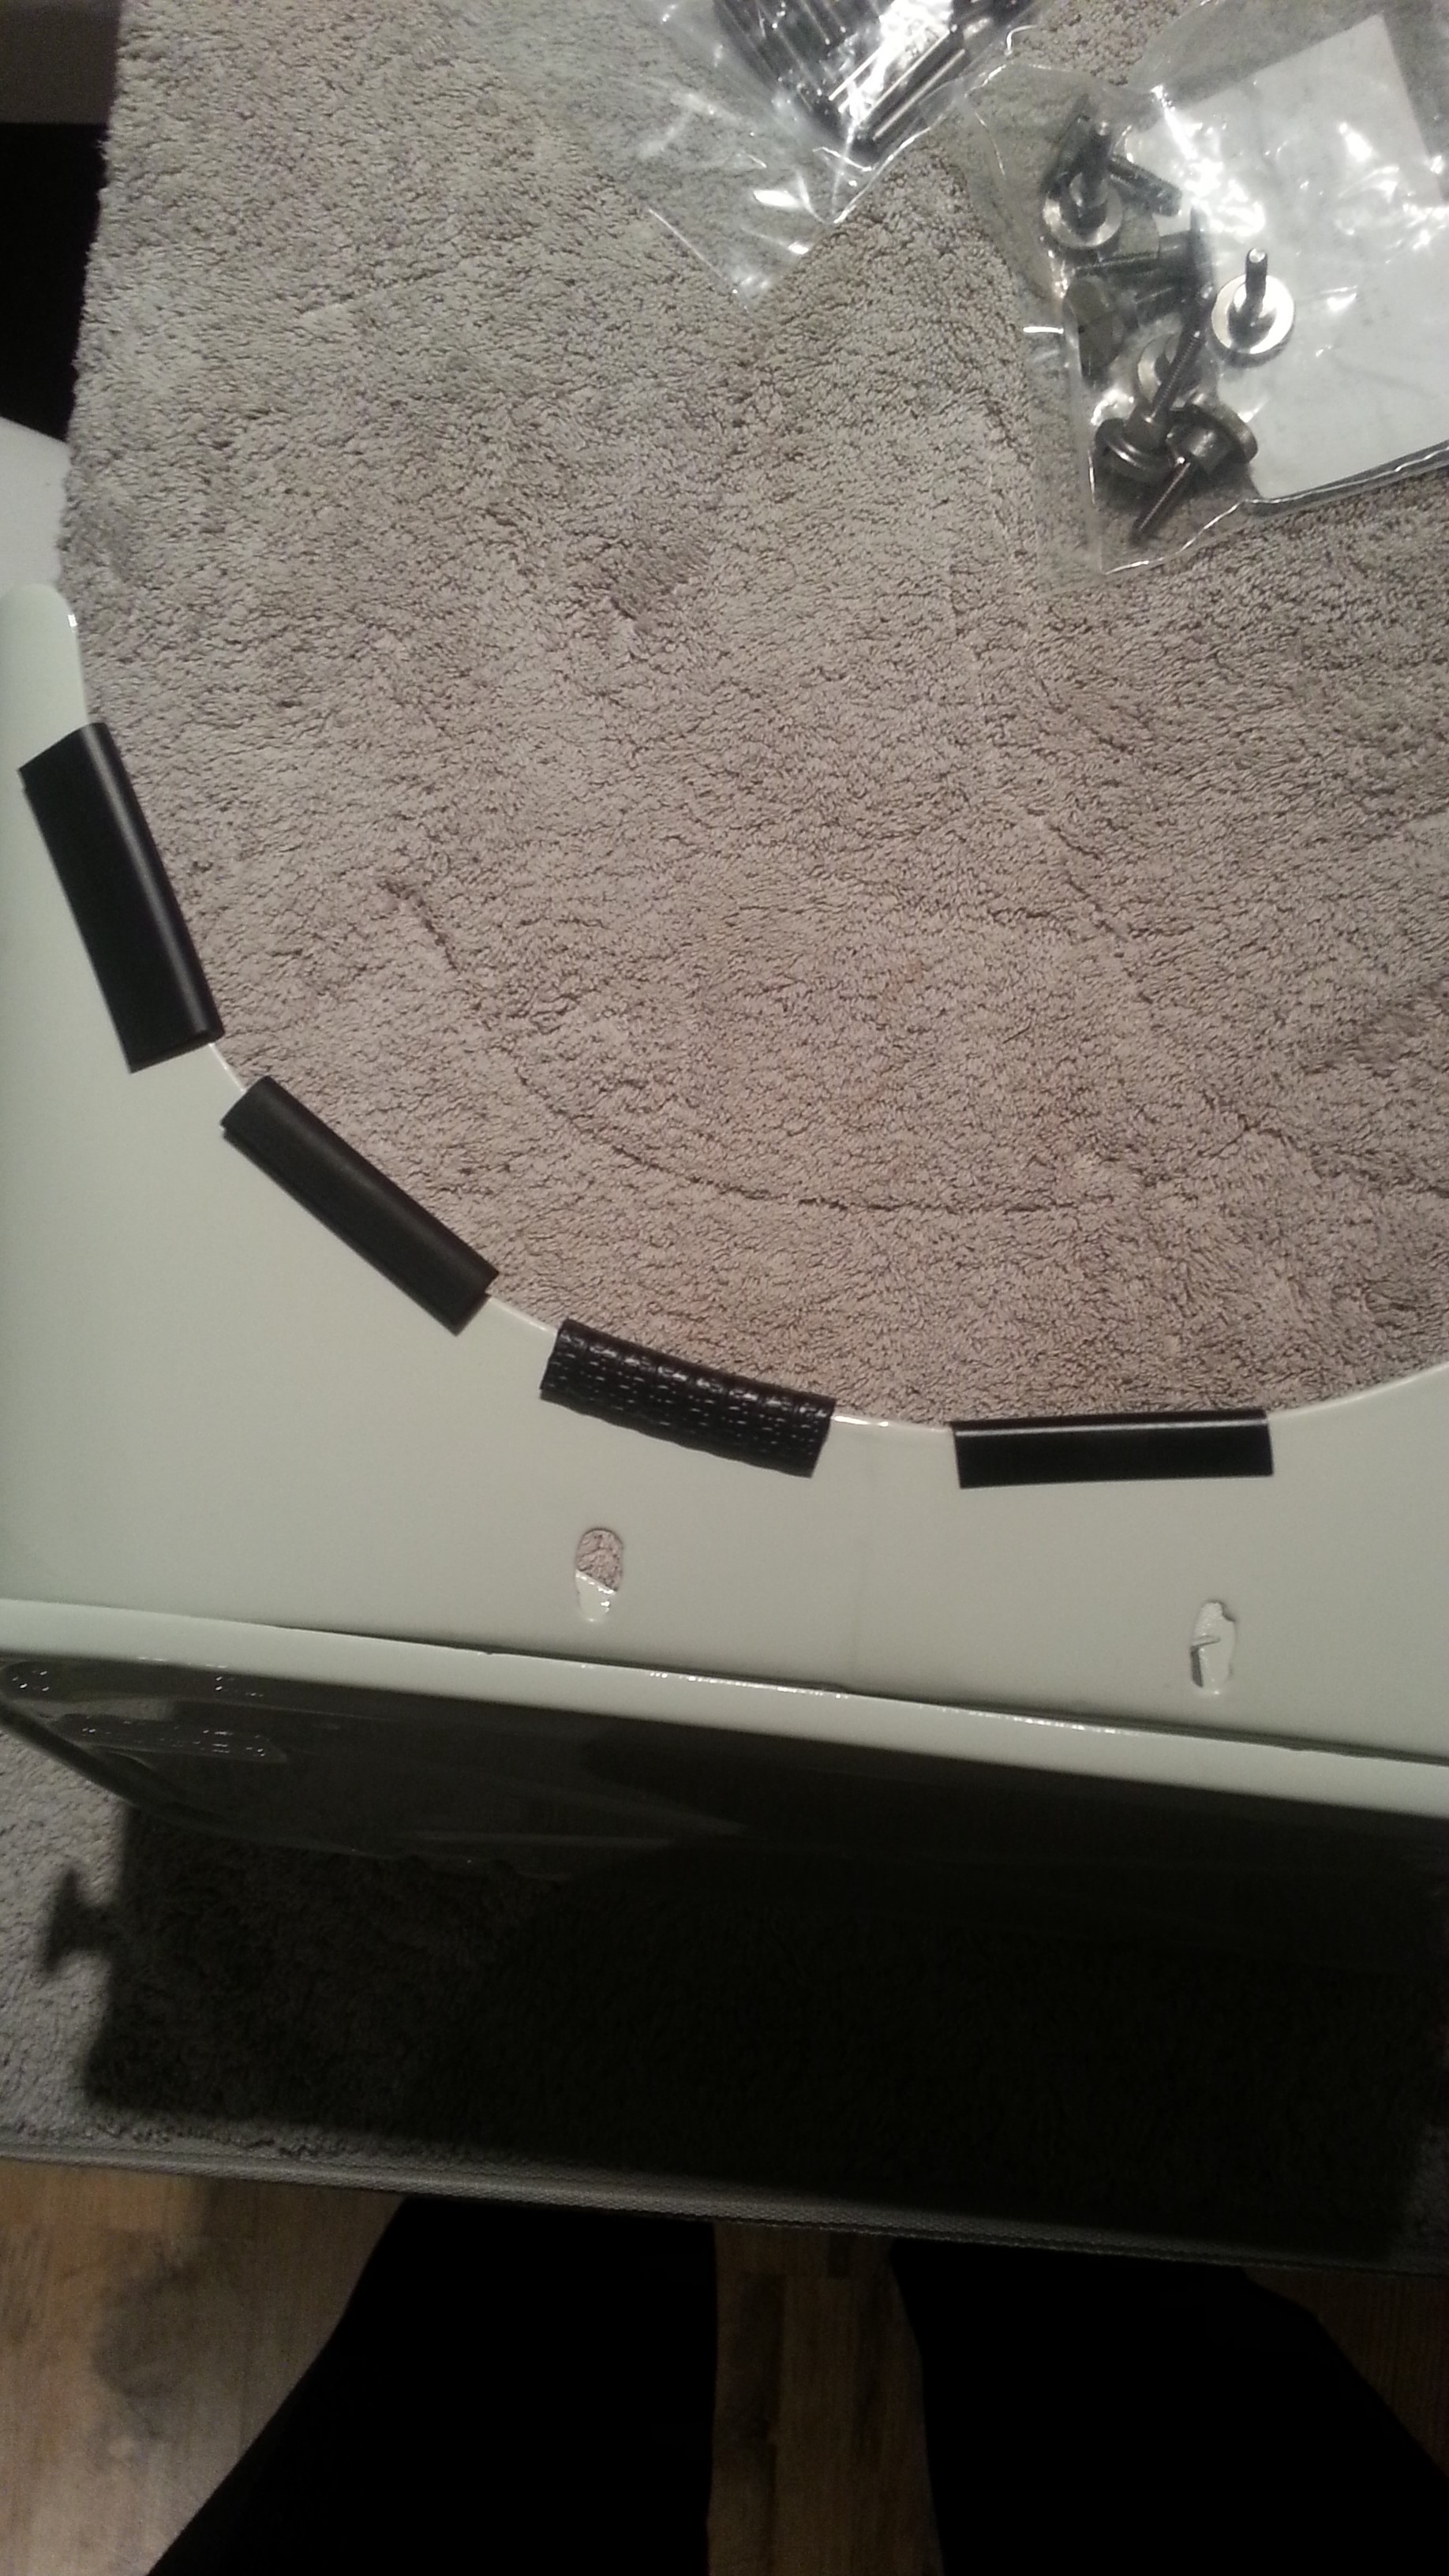
I ordered a sample set of trimming to see what would look ok. Given the sharp angles in the toolbox a trim with a metal interior strip is a decent choice at it will hold its shape easily (second from the right):
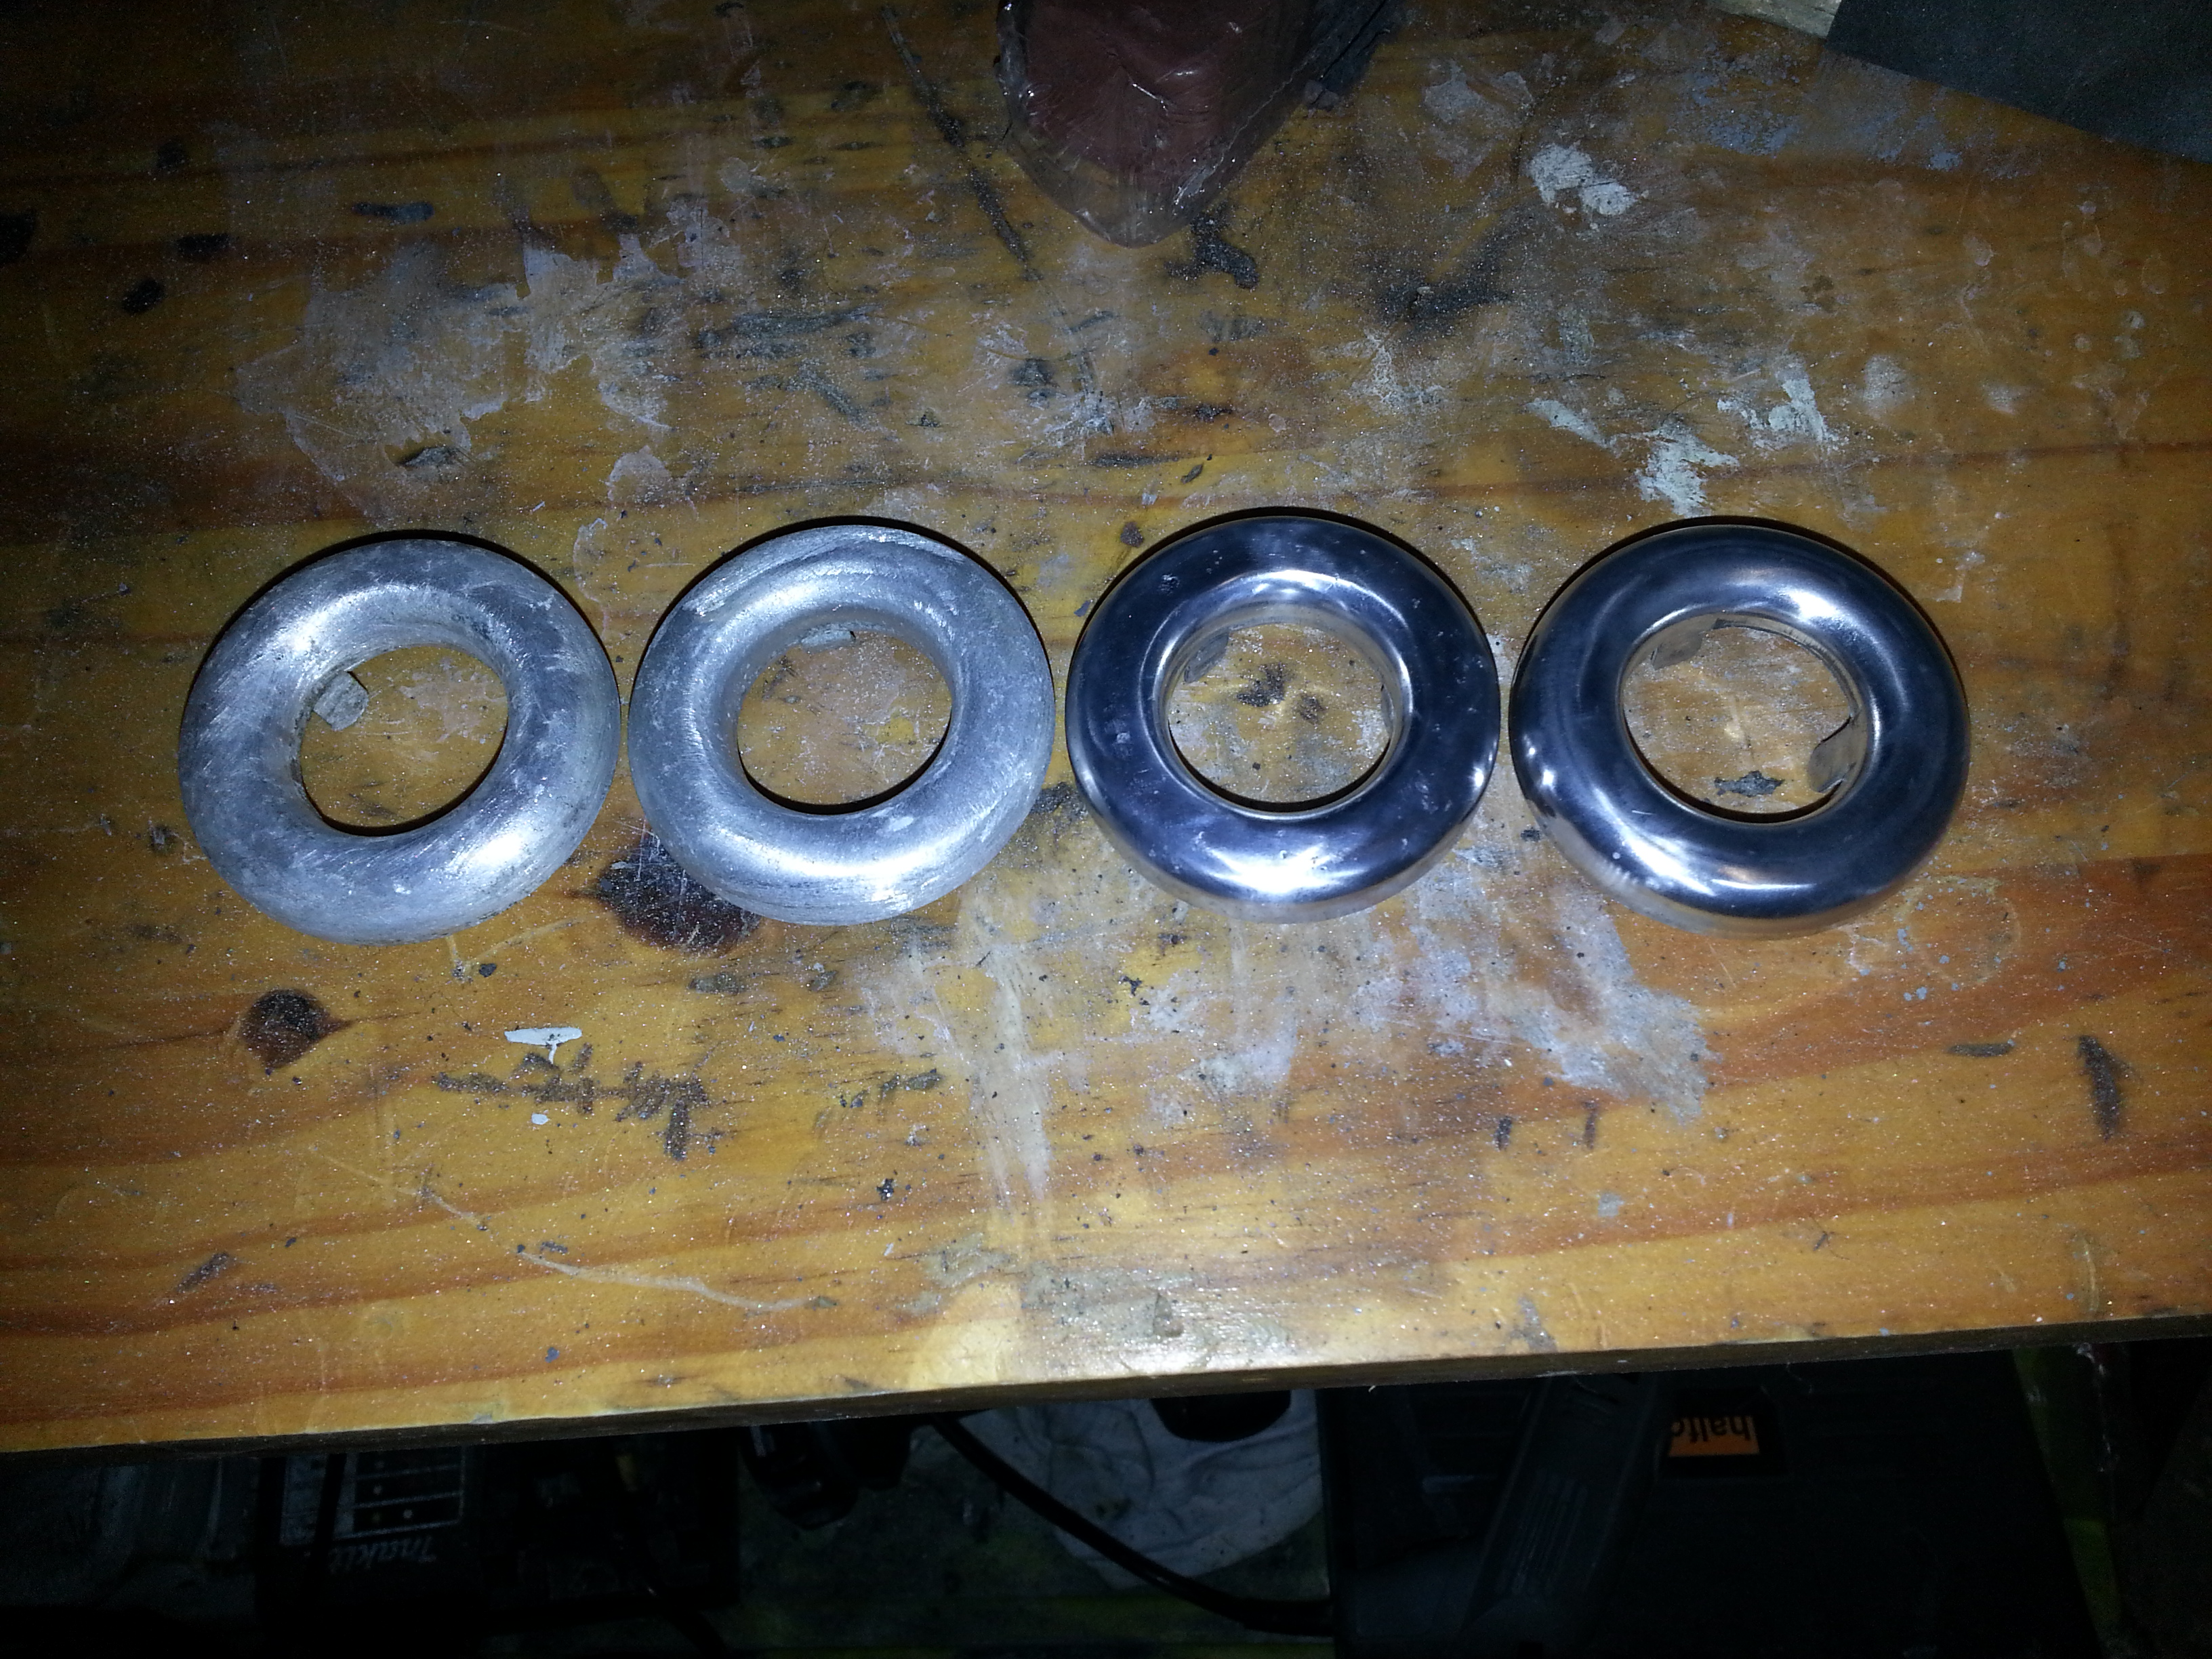
The inspection hatch knobs have been polished and the hatches installed (4×60 stainless pins and some springs ordered from alixpress; inner diameter 4.5 mm, 10mm long):
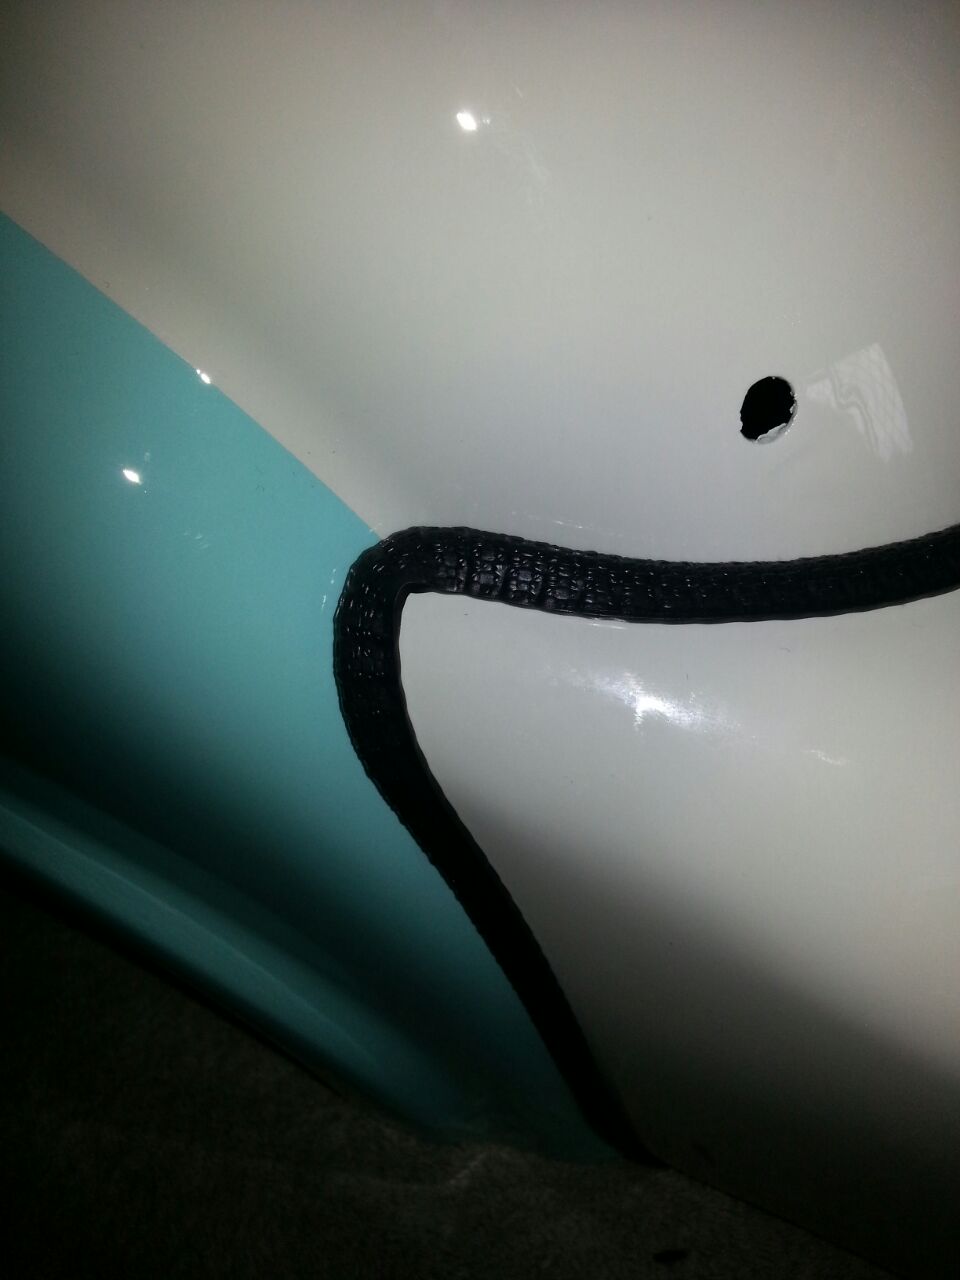
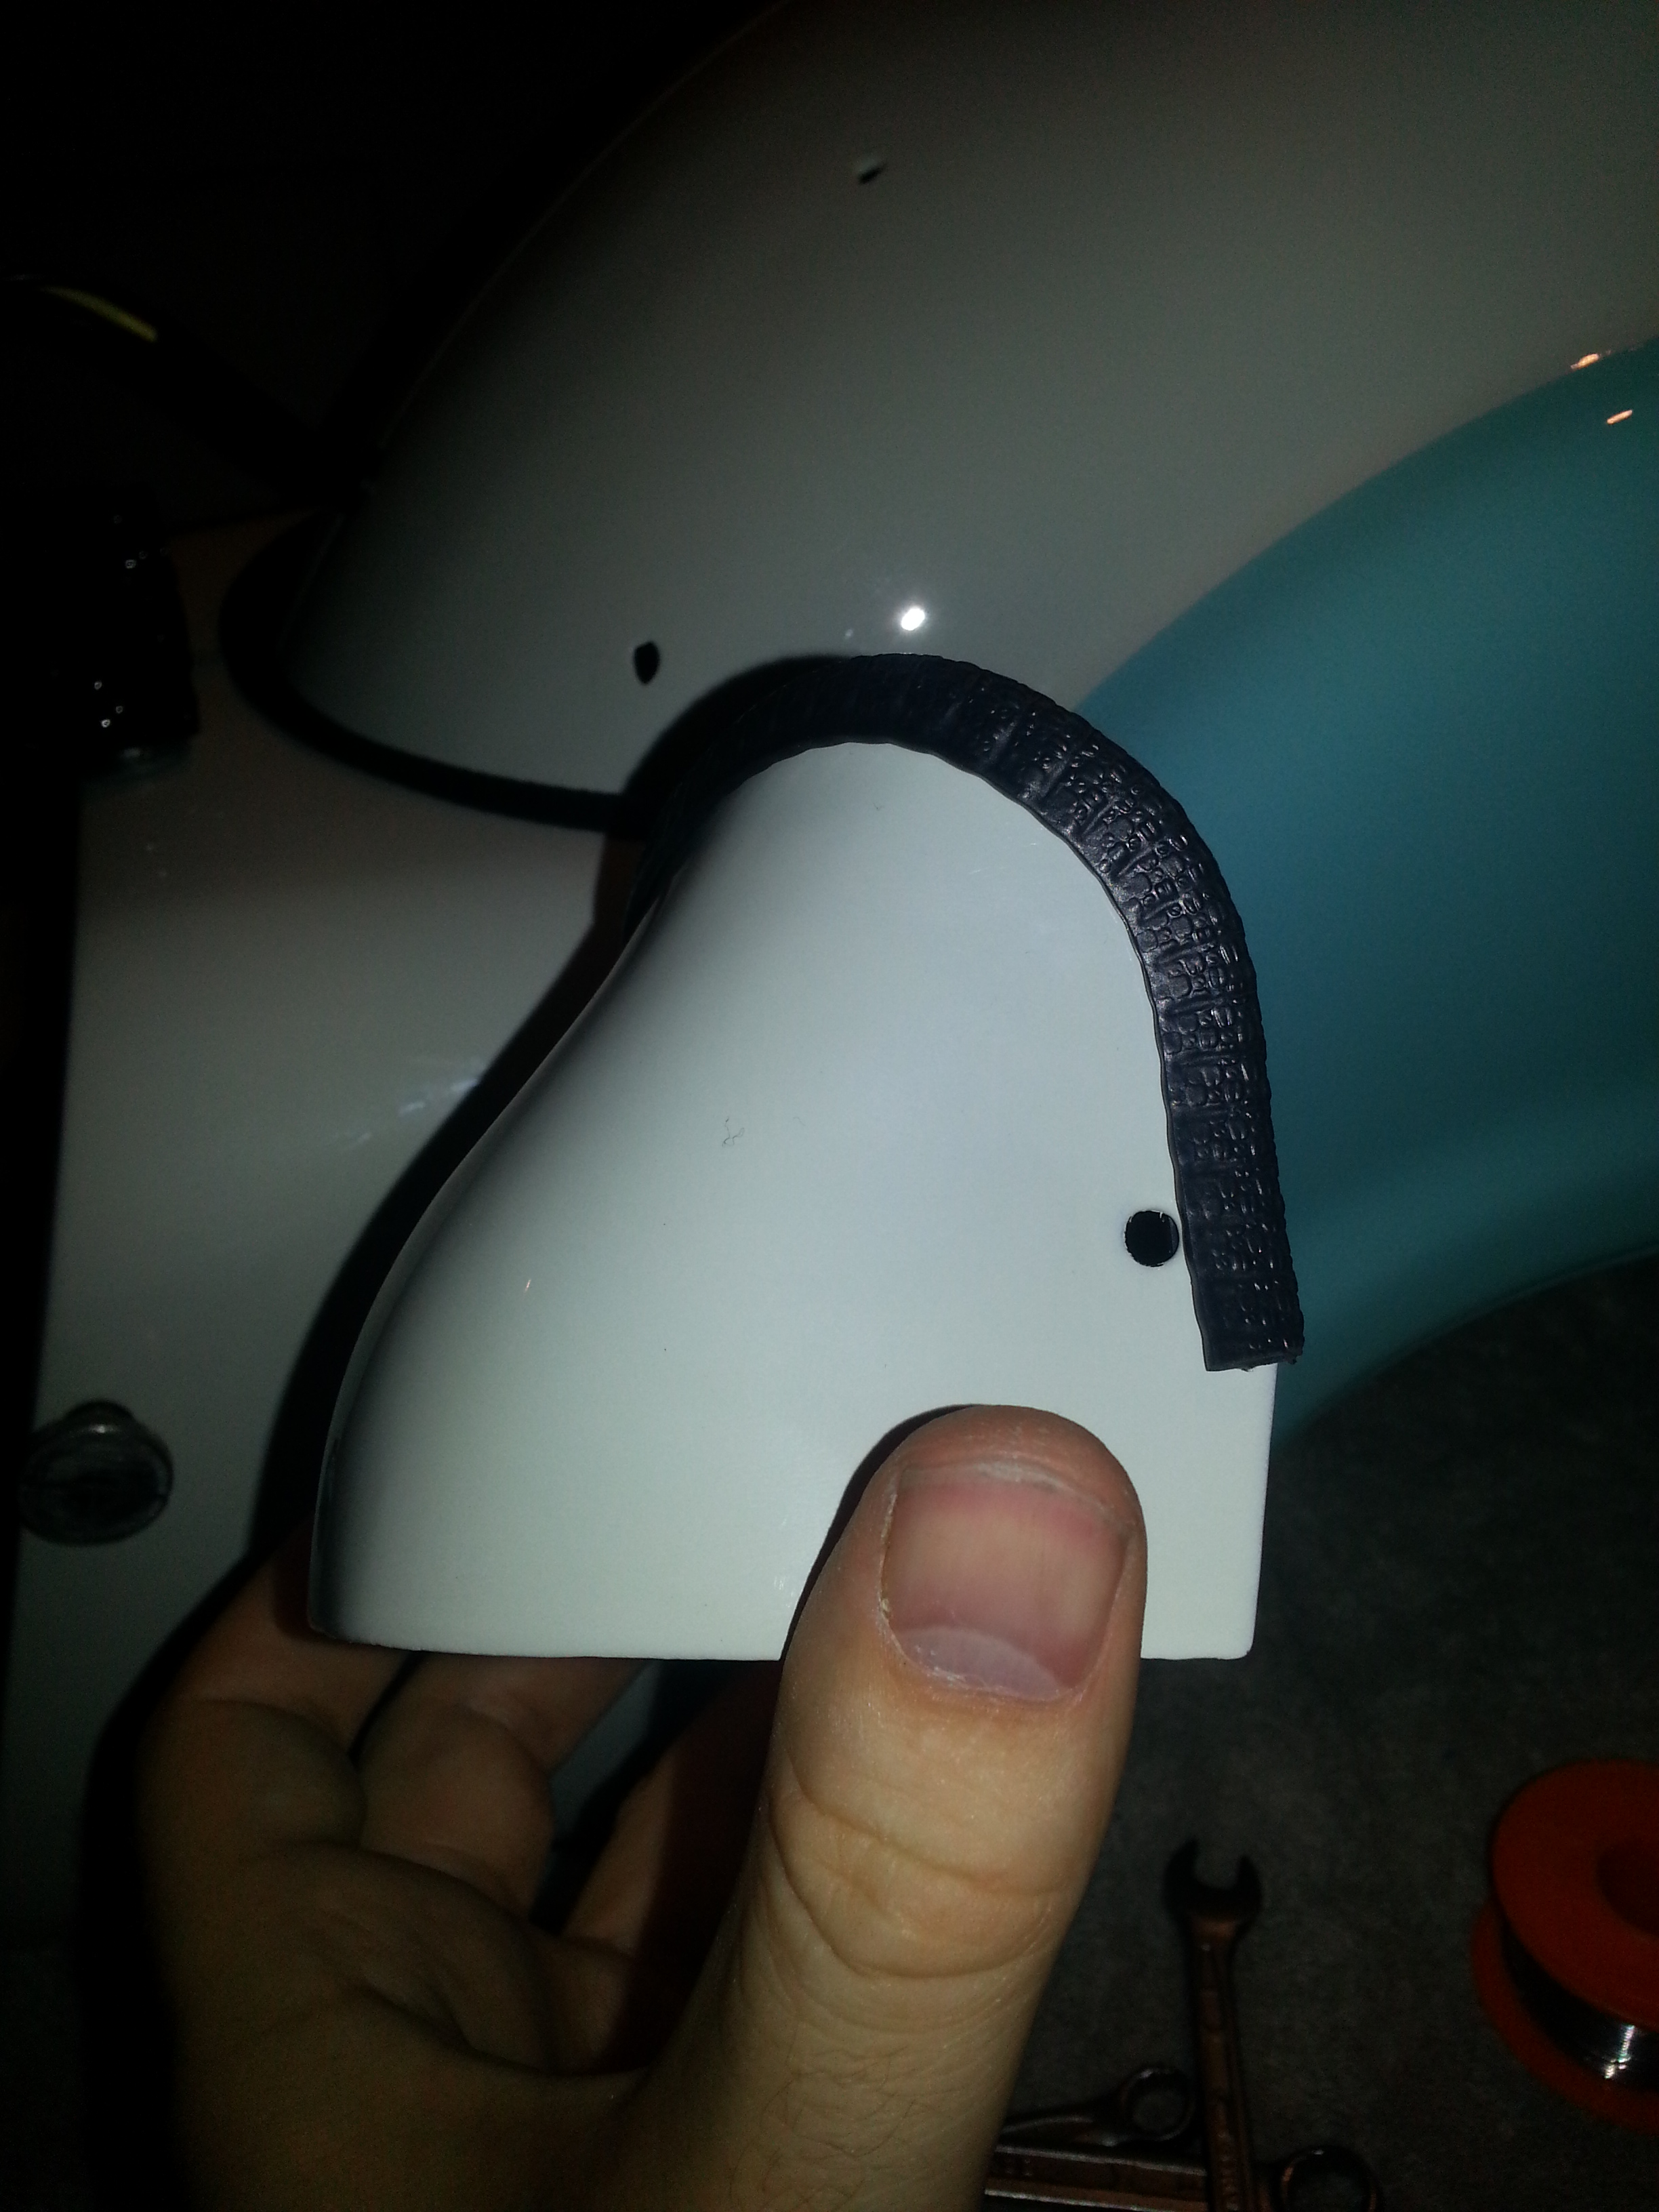
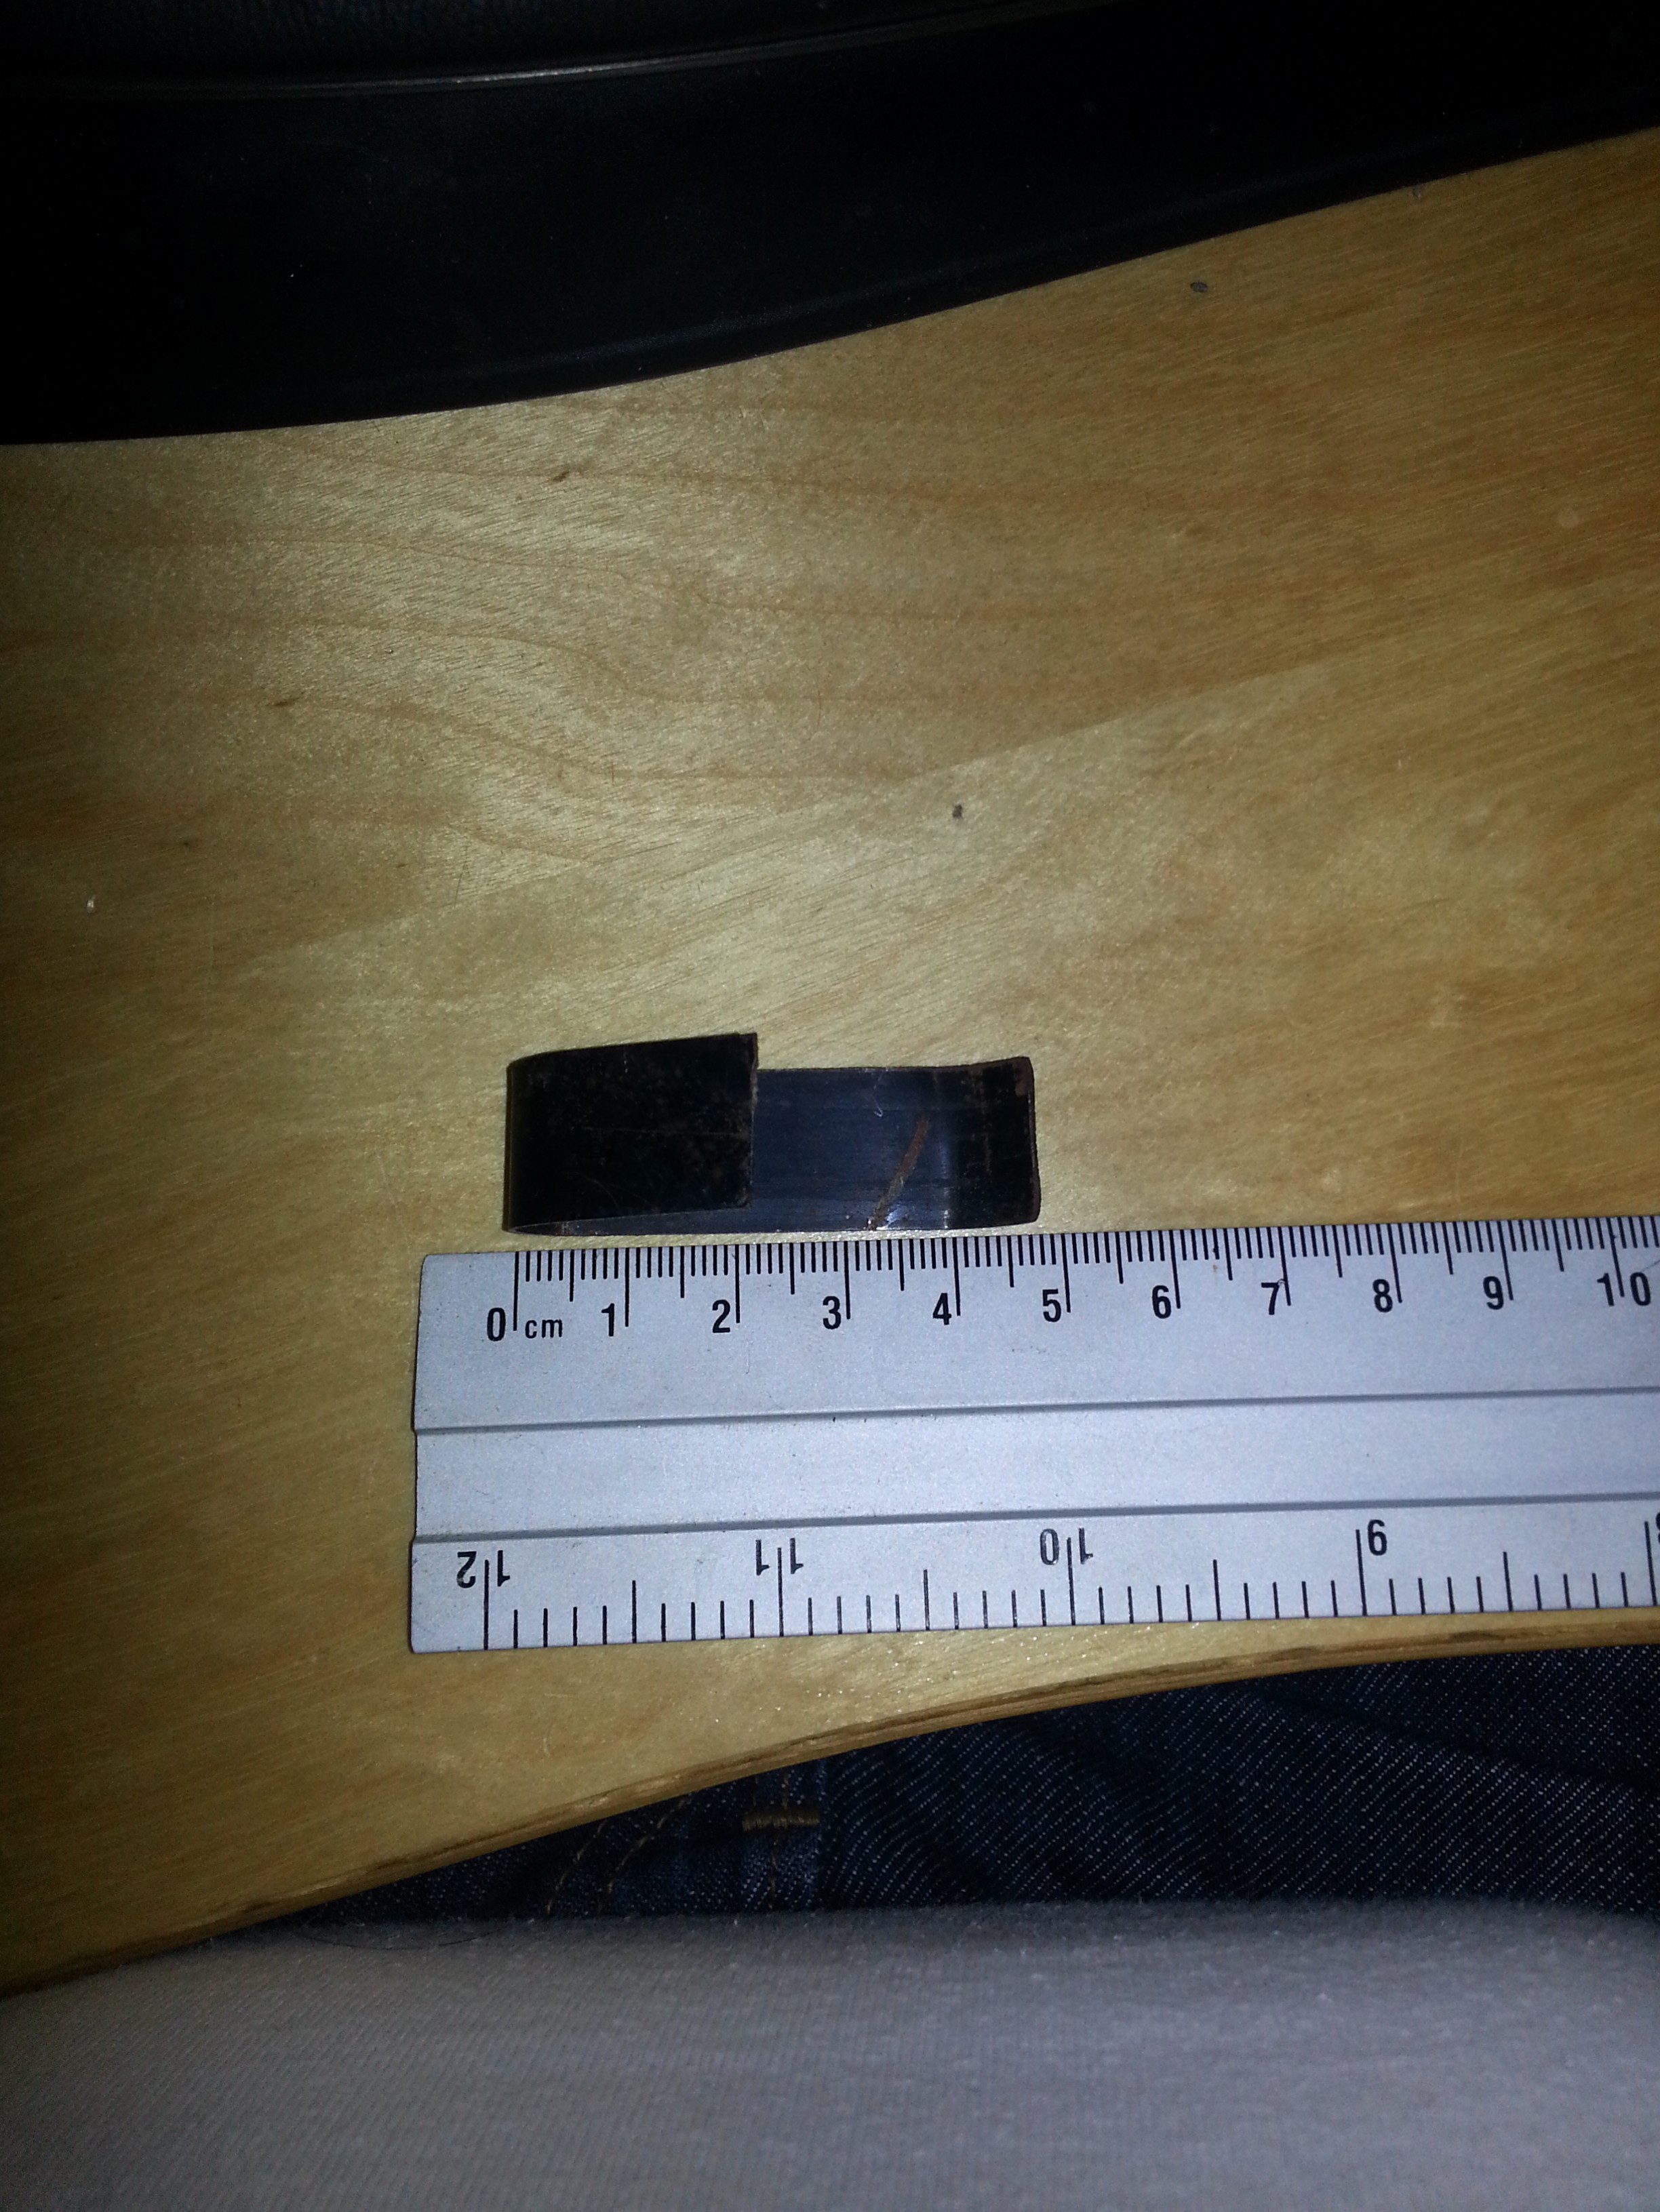
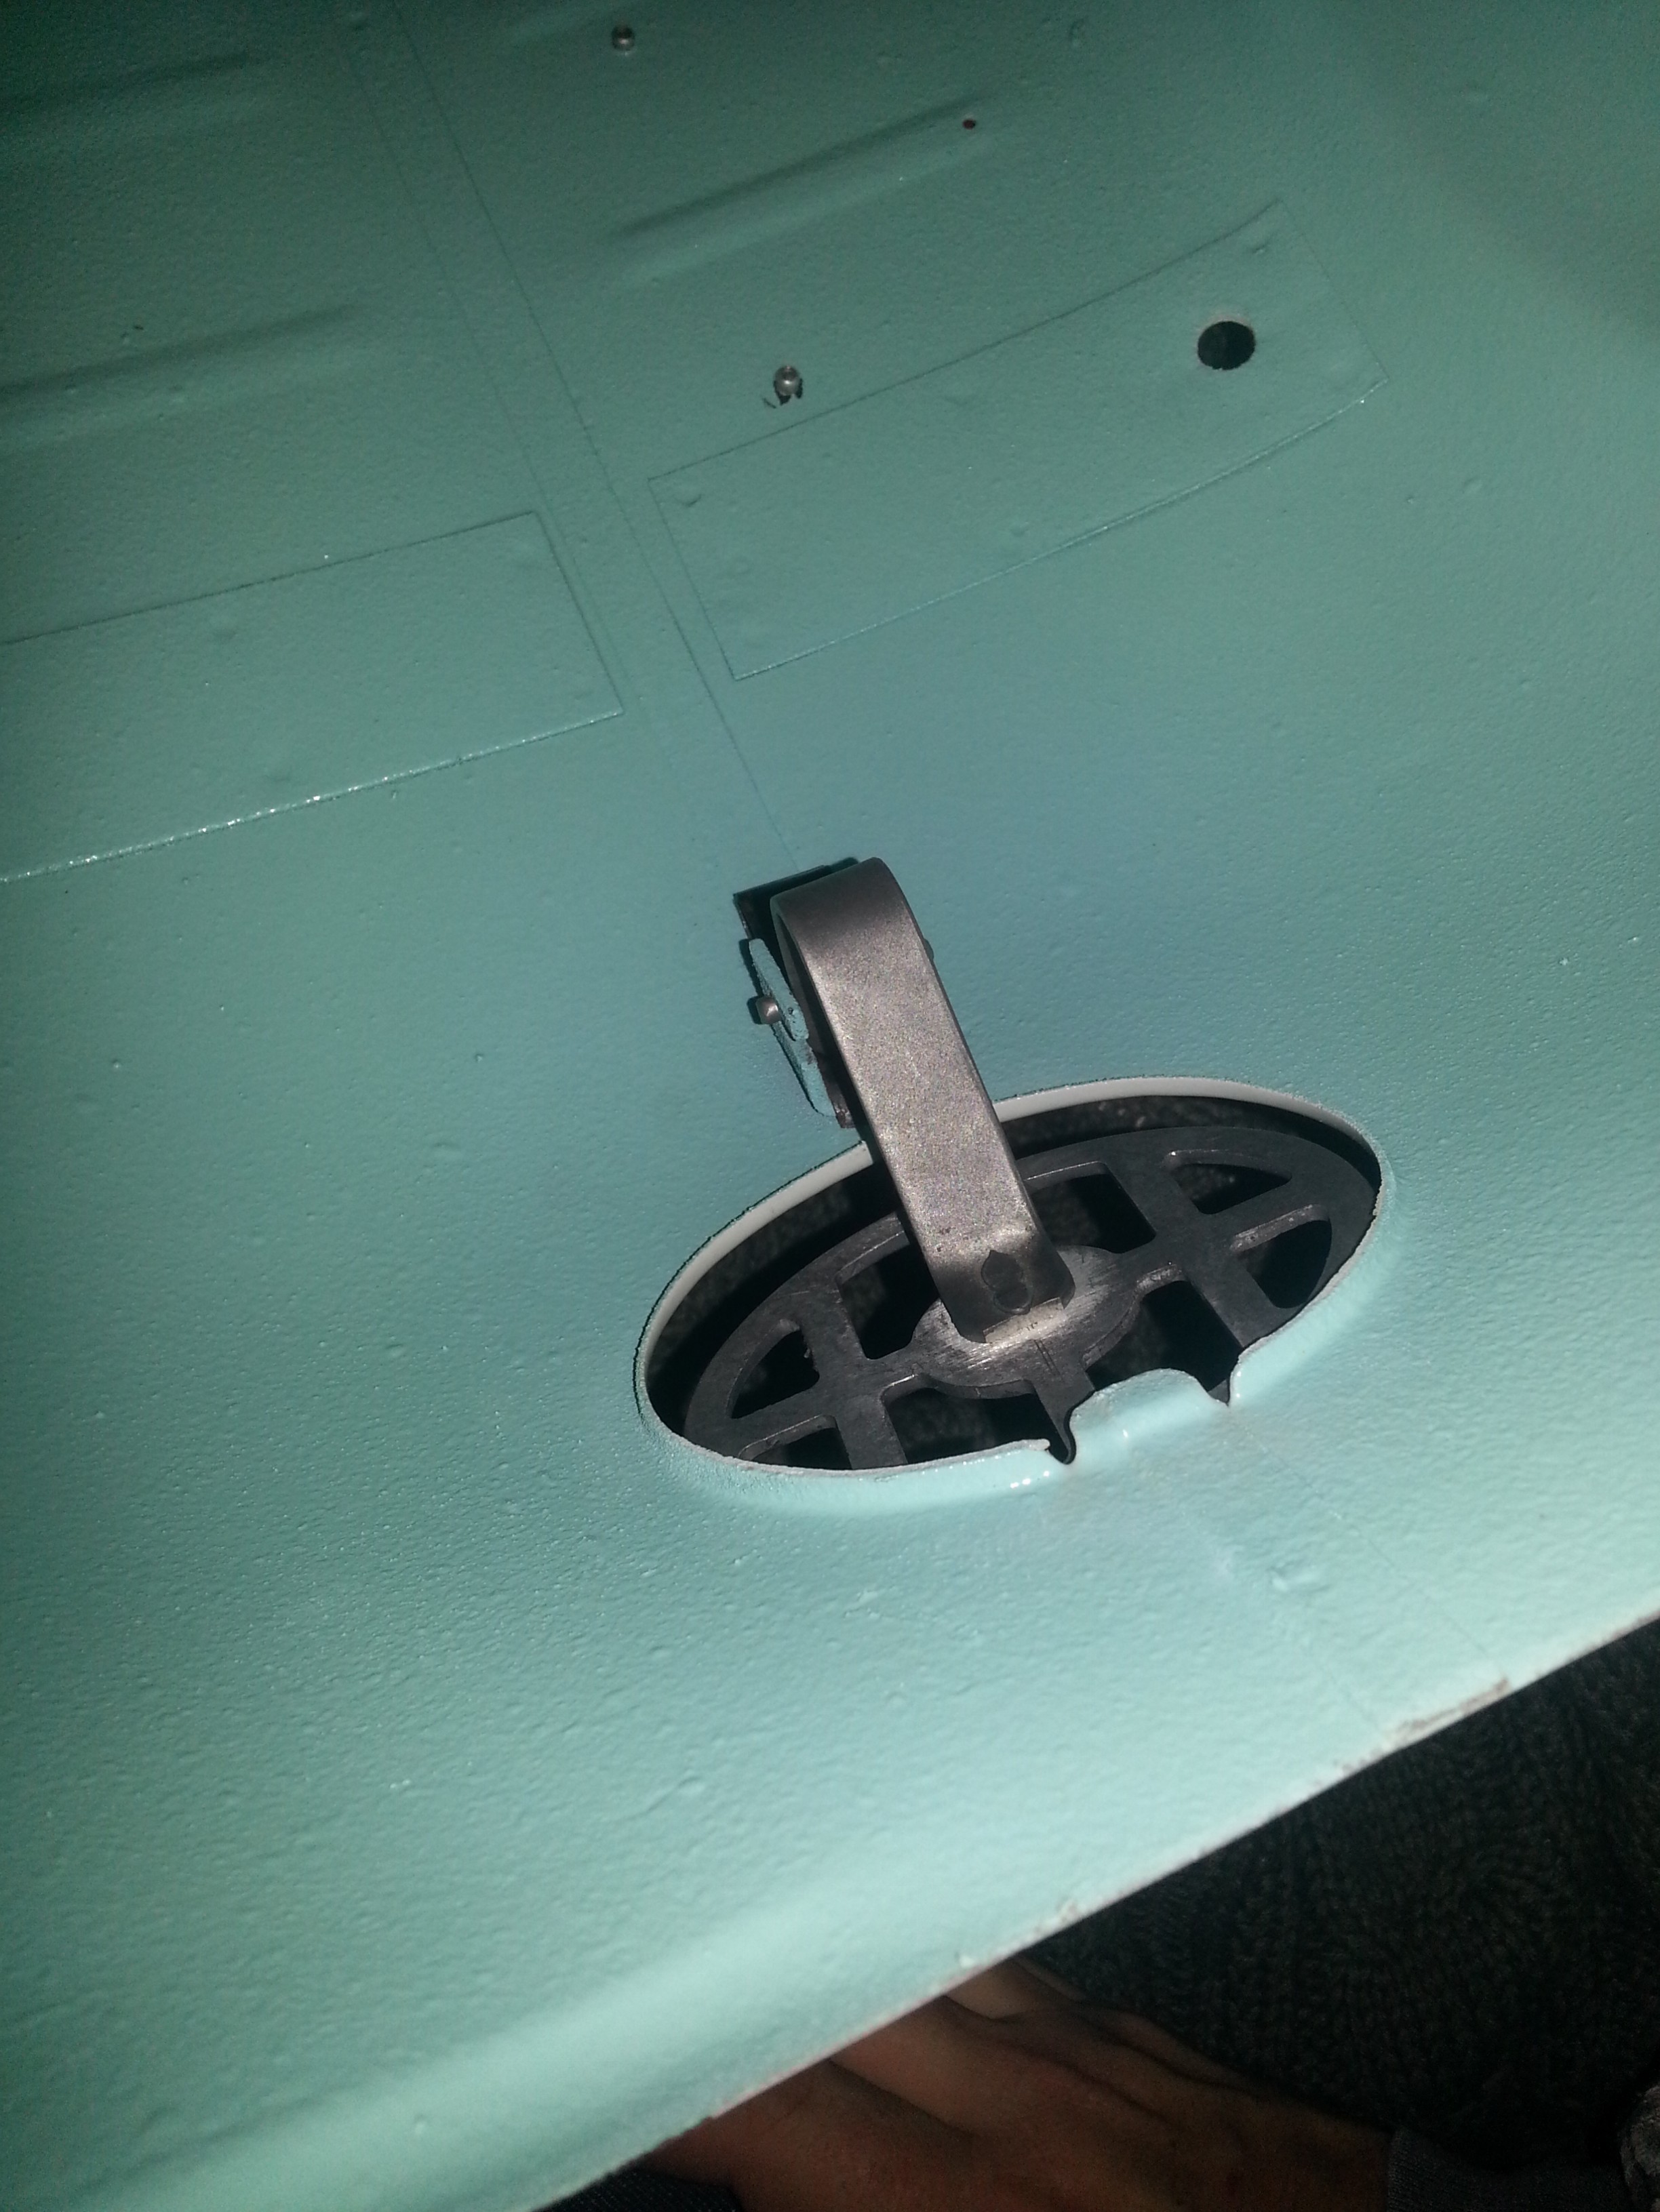
To protect the paintwork, don’t forget to install the rubber protectors for the covers. They just go around the edges and you can order them from Bella Ersatzteile in Germany:
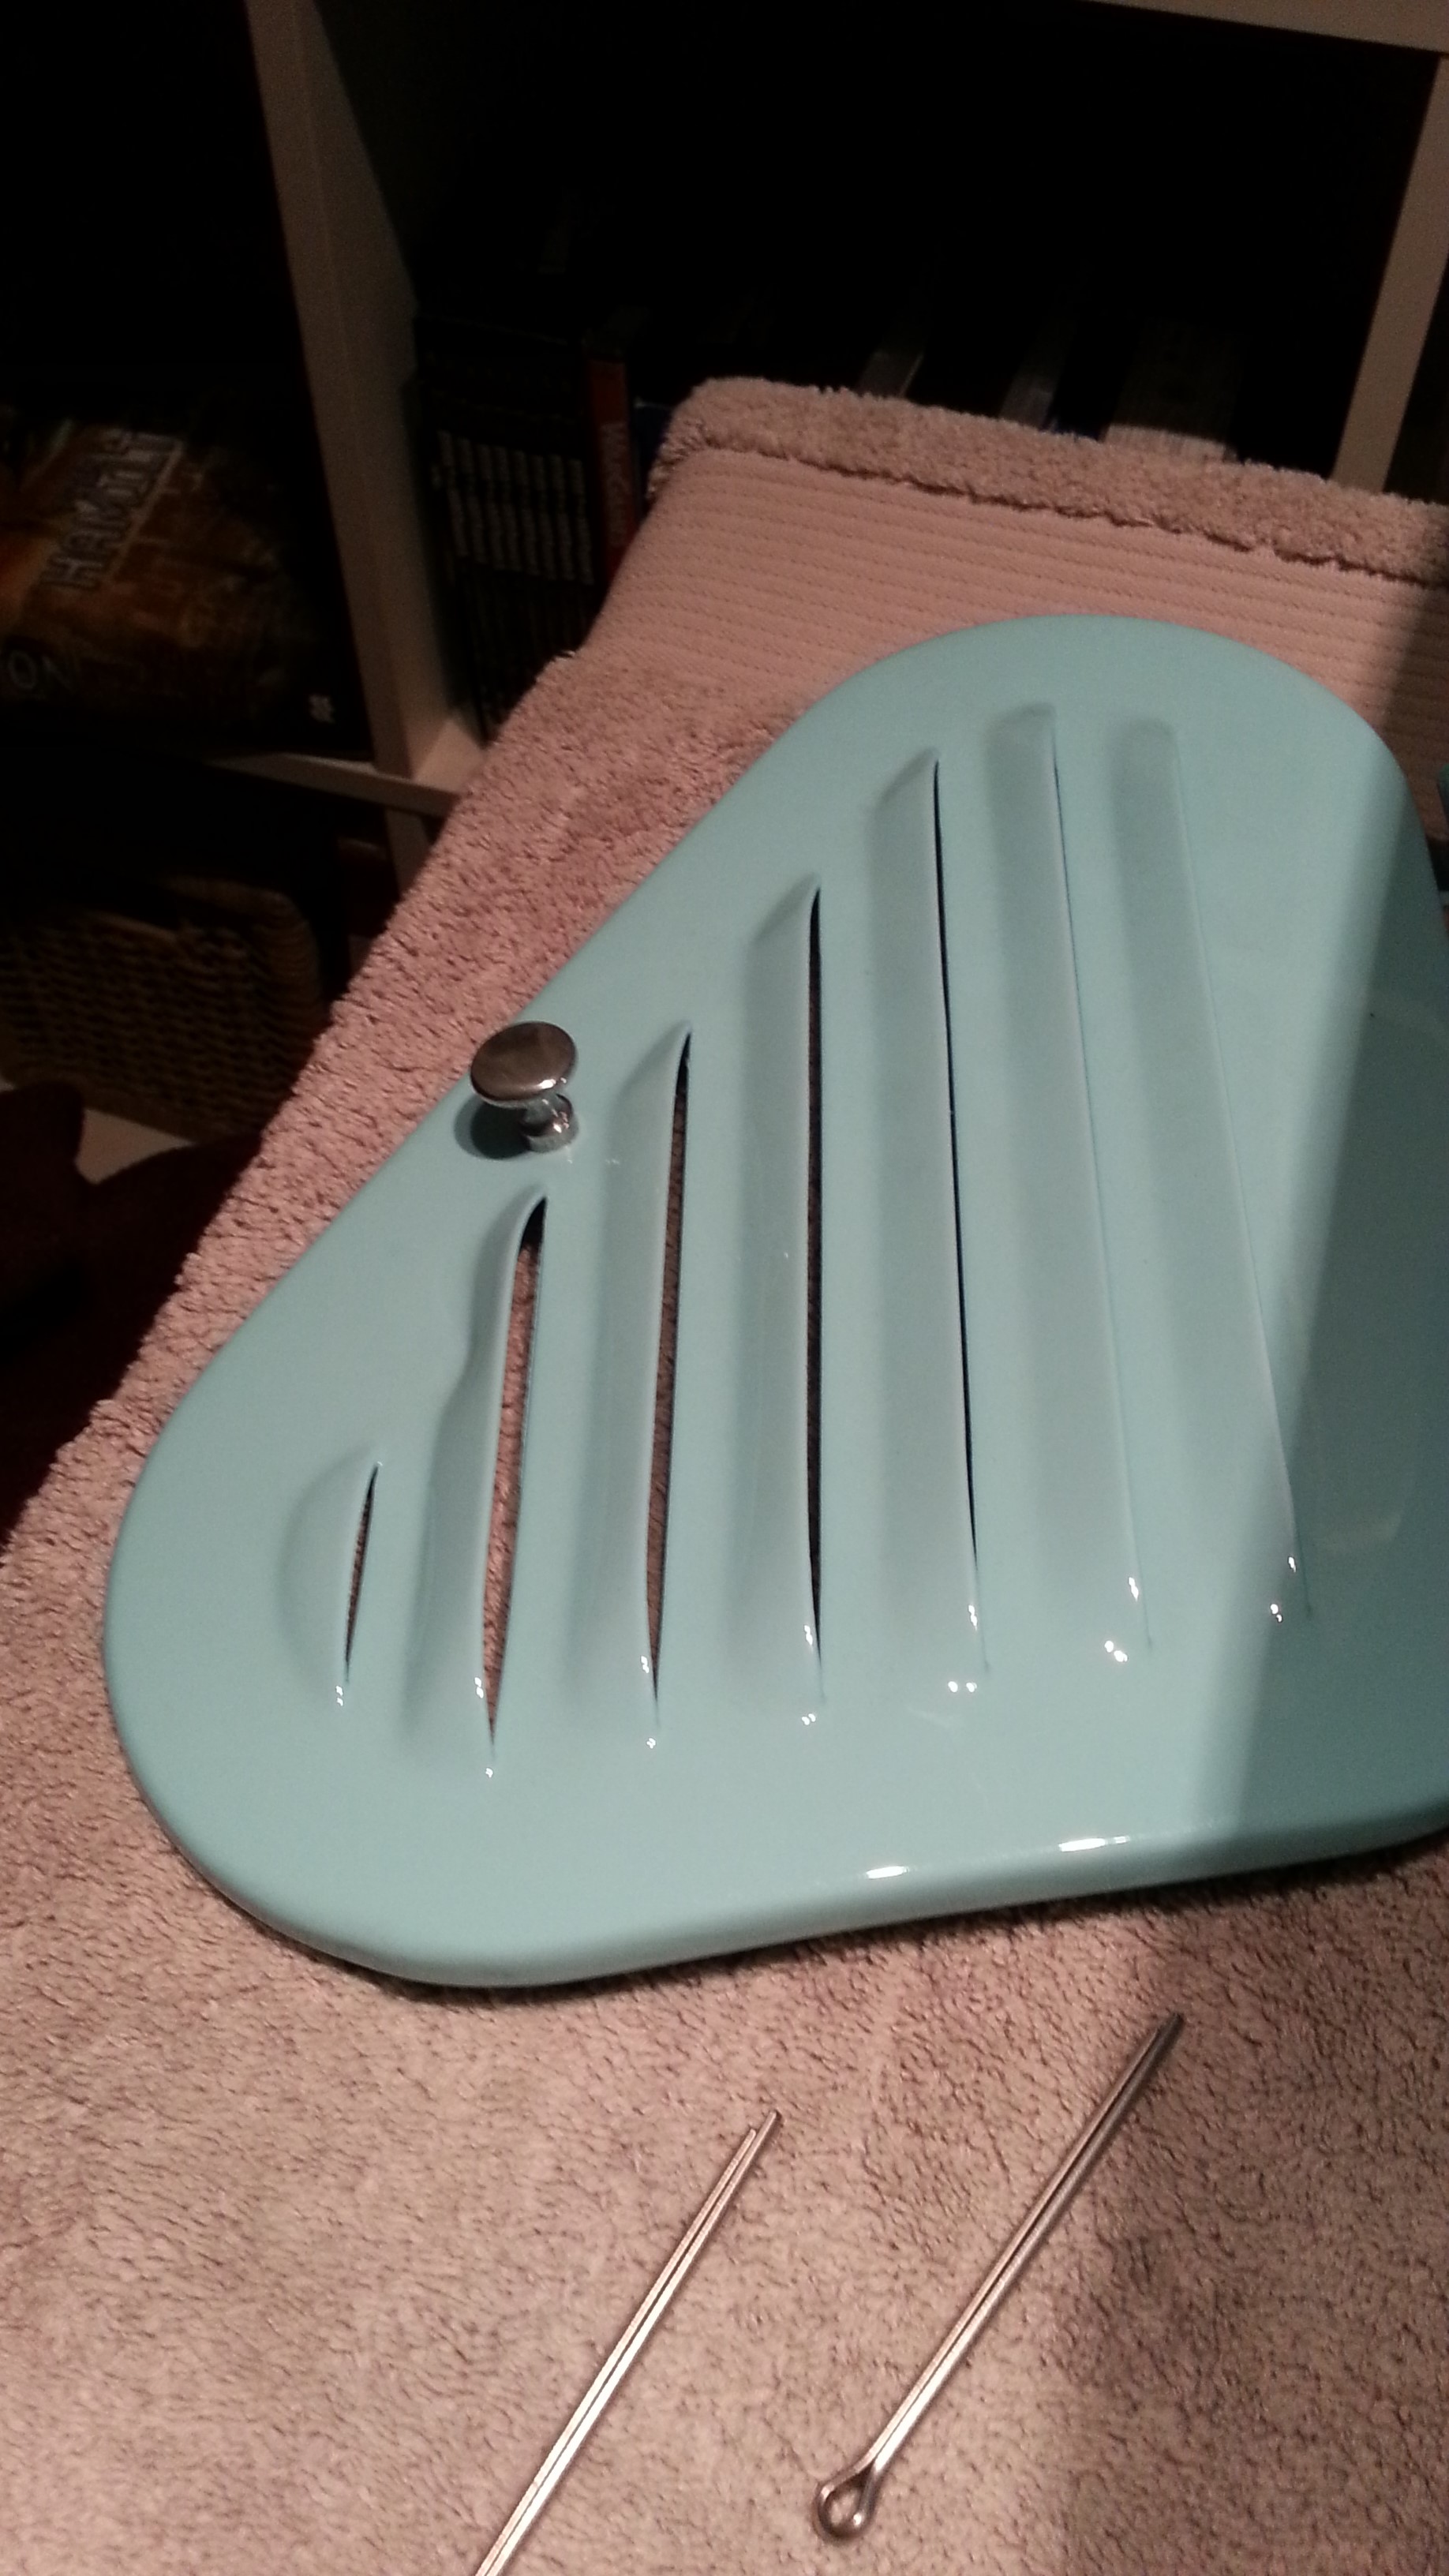
Time to polish the body protectors (portholes) too:
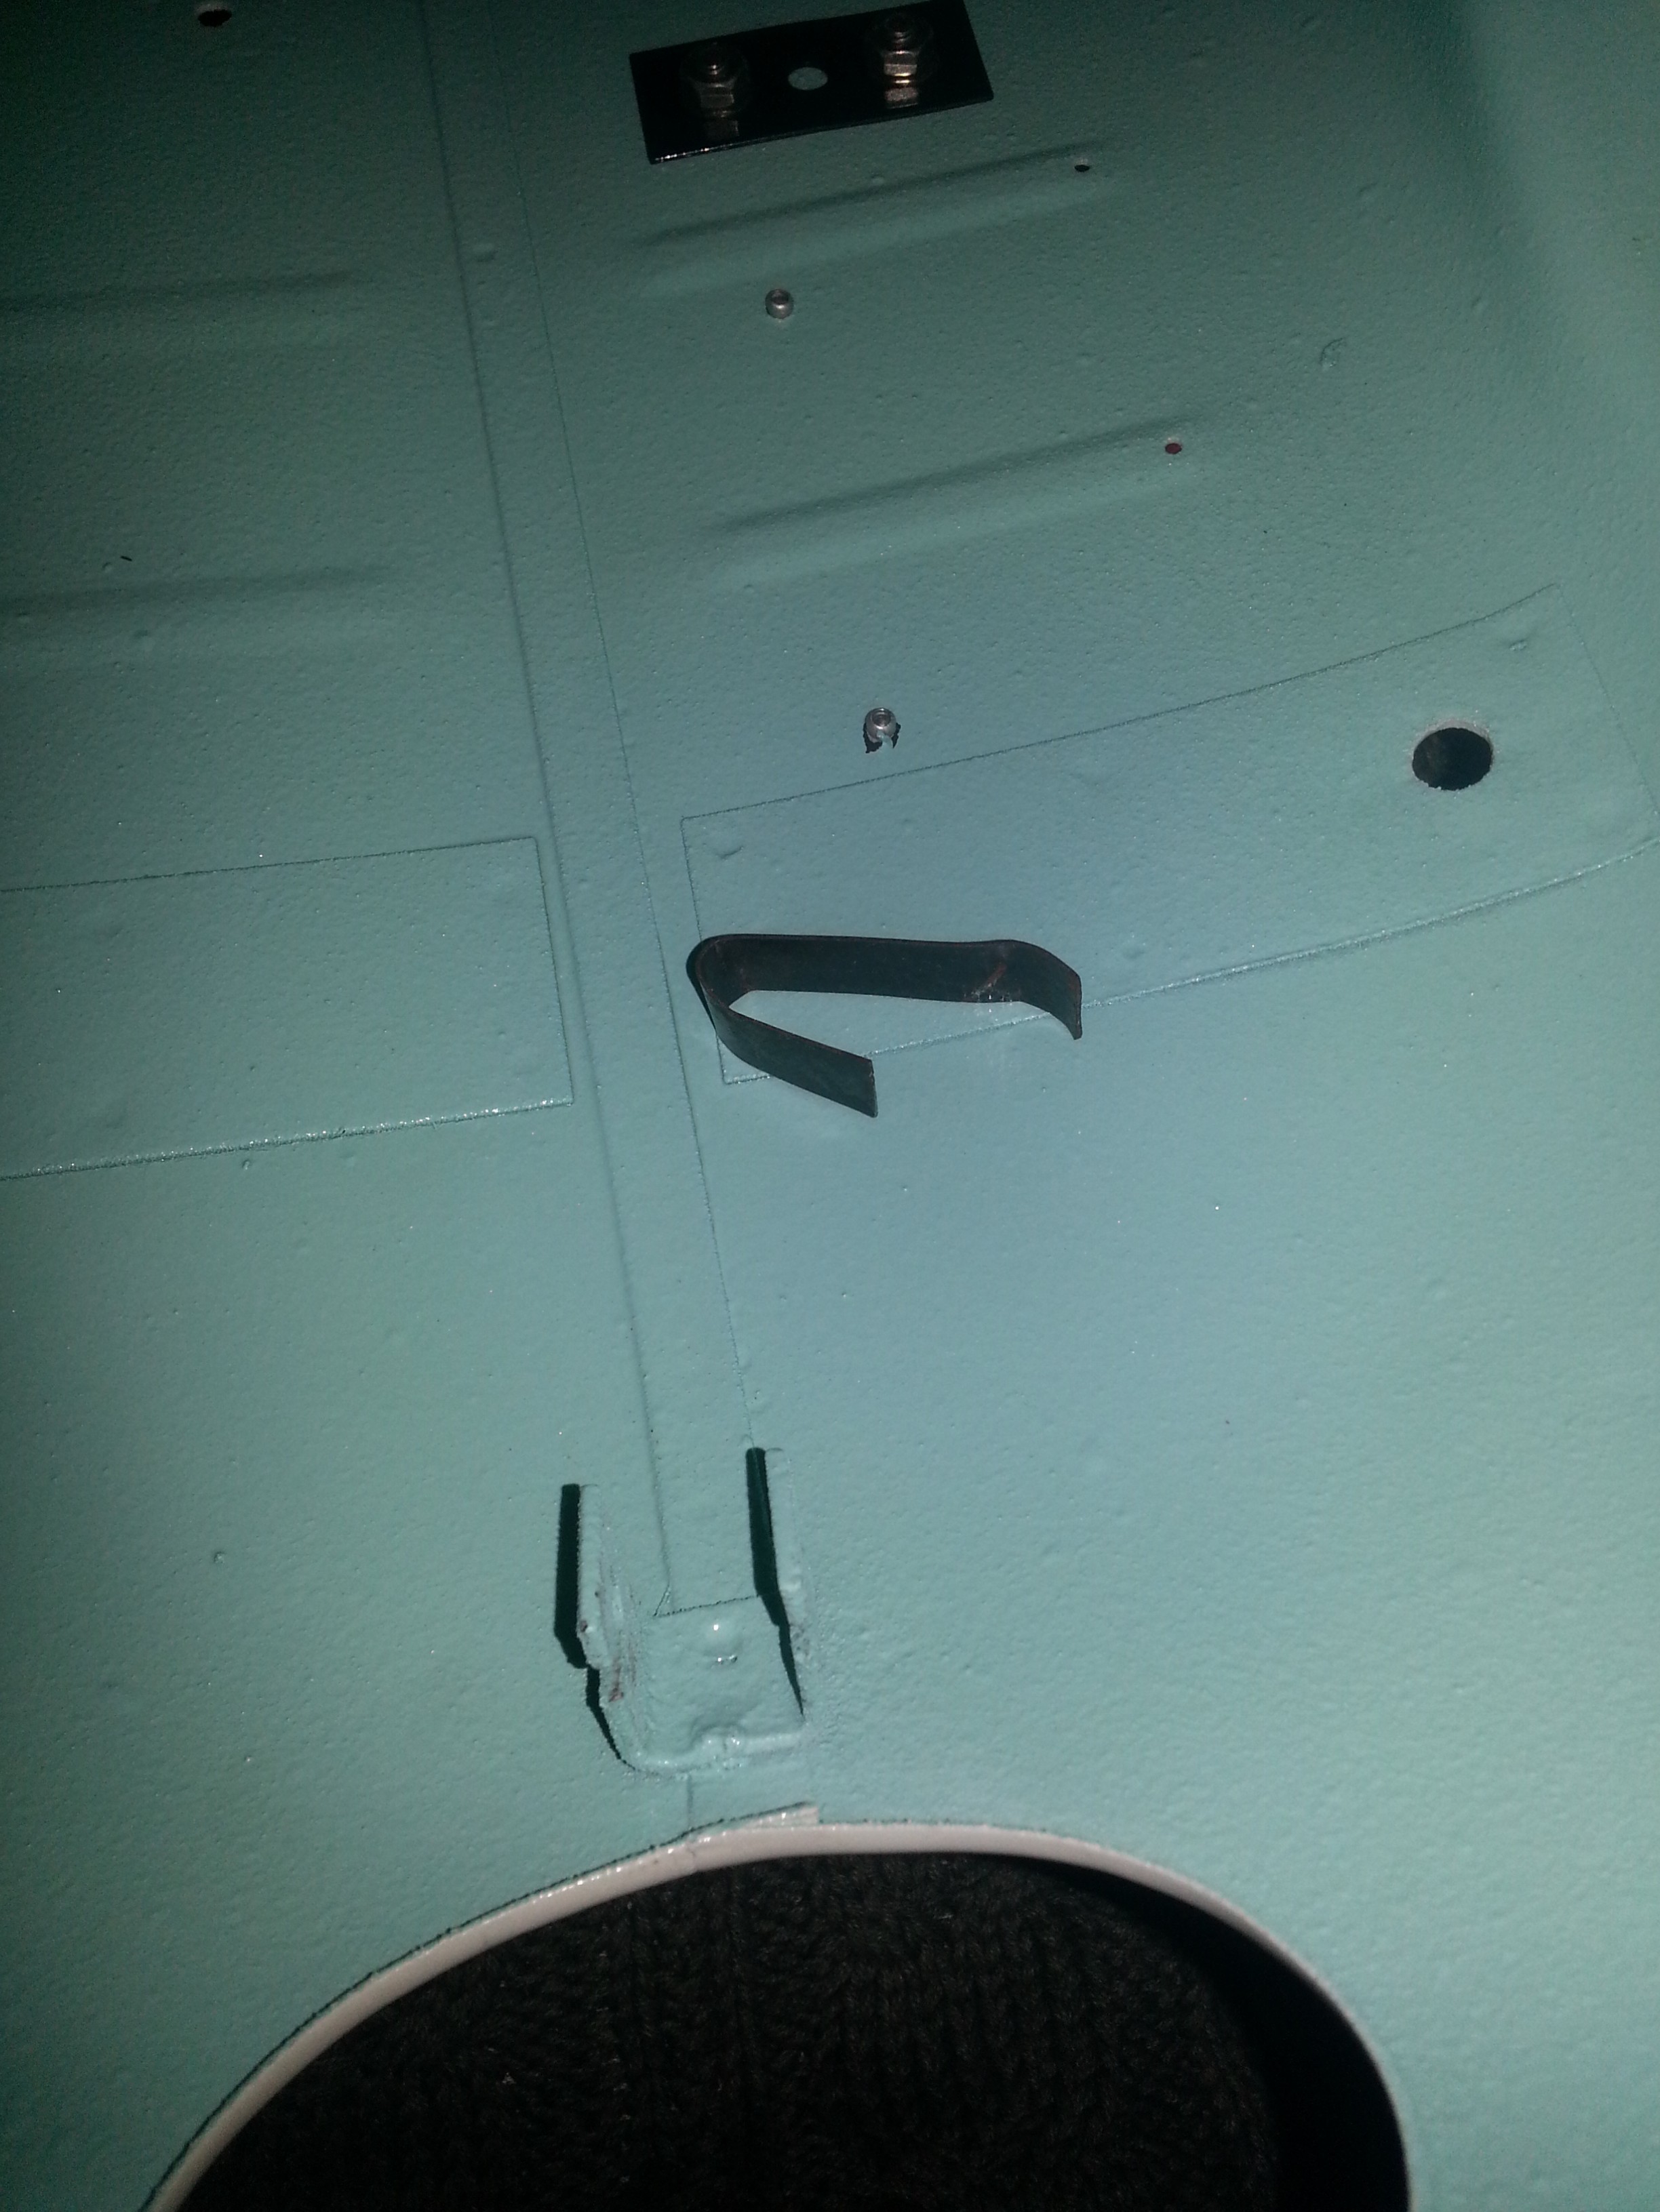
I cheated… the one on the right is new; reproduction ordered from Myoldscooter on e-bay (Anna Giordano). Installed the portholes, together with the luggage hooks and gastank rubber ordered from www.claussstudios.com look like this:
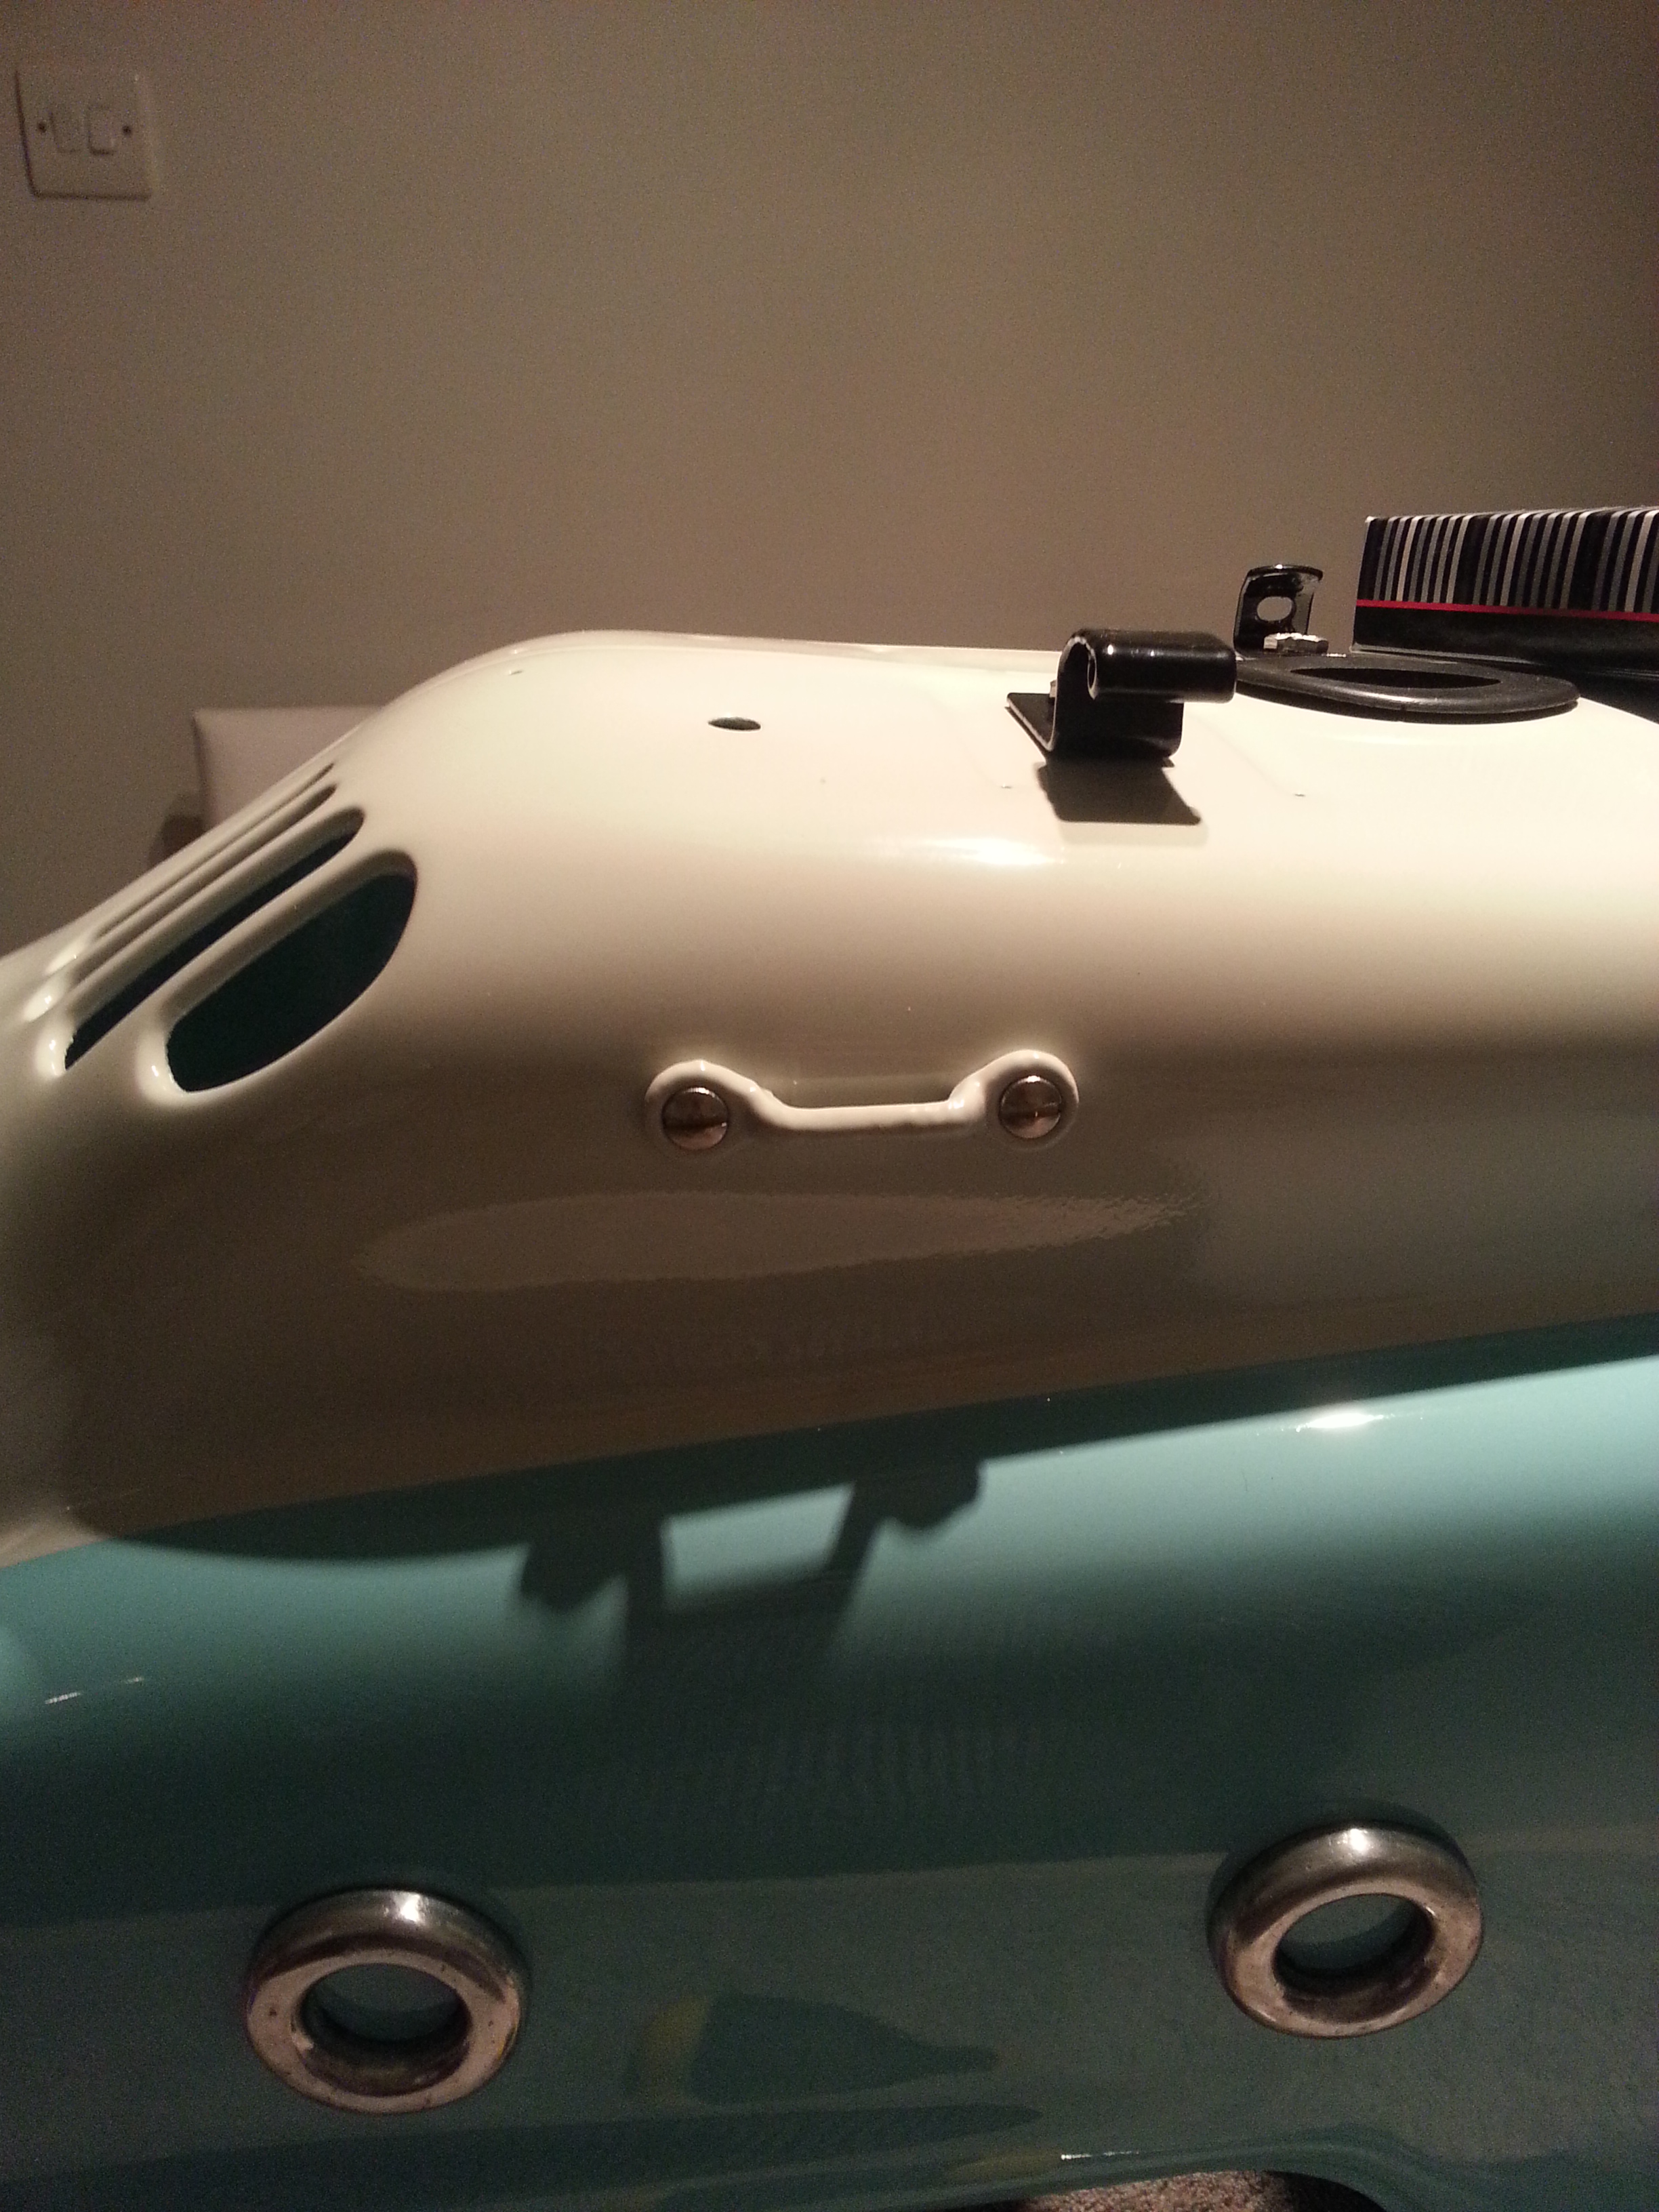
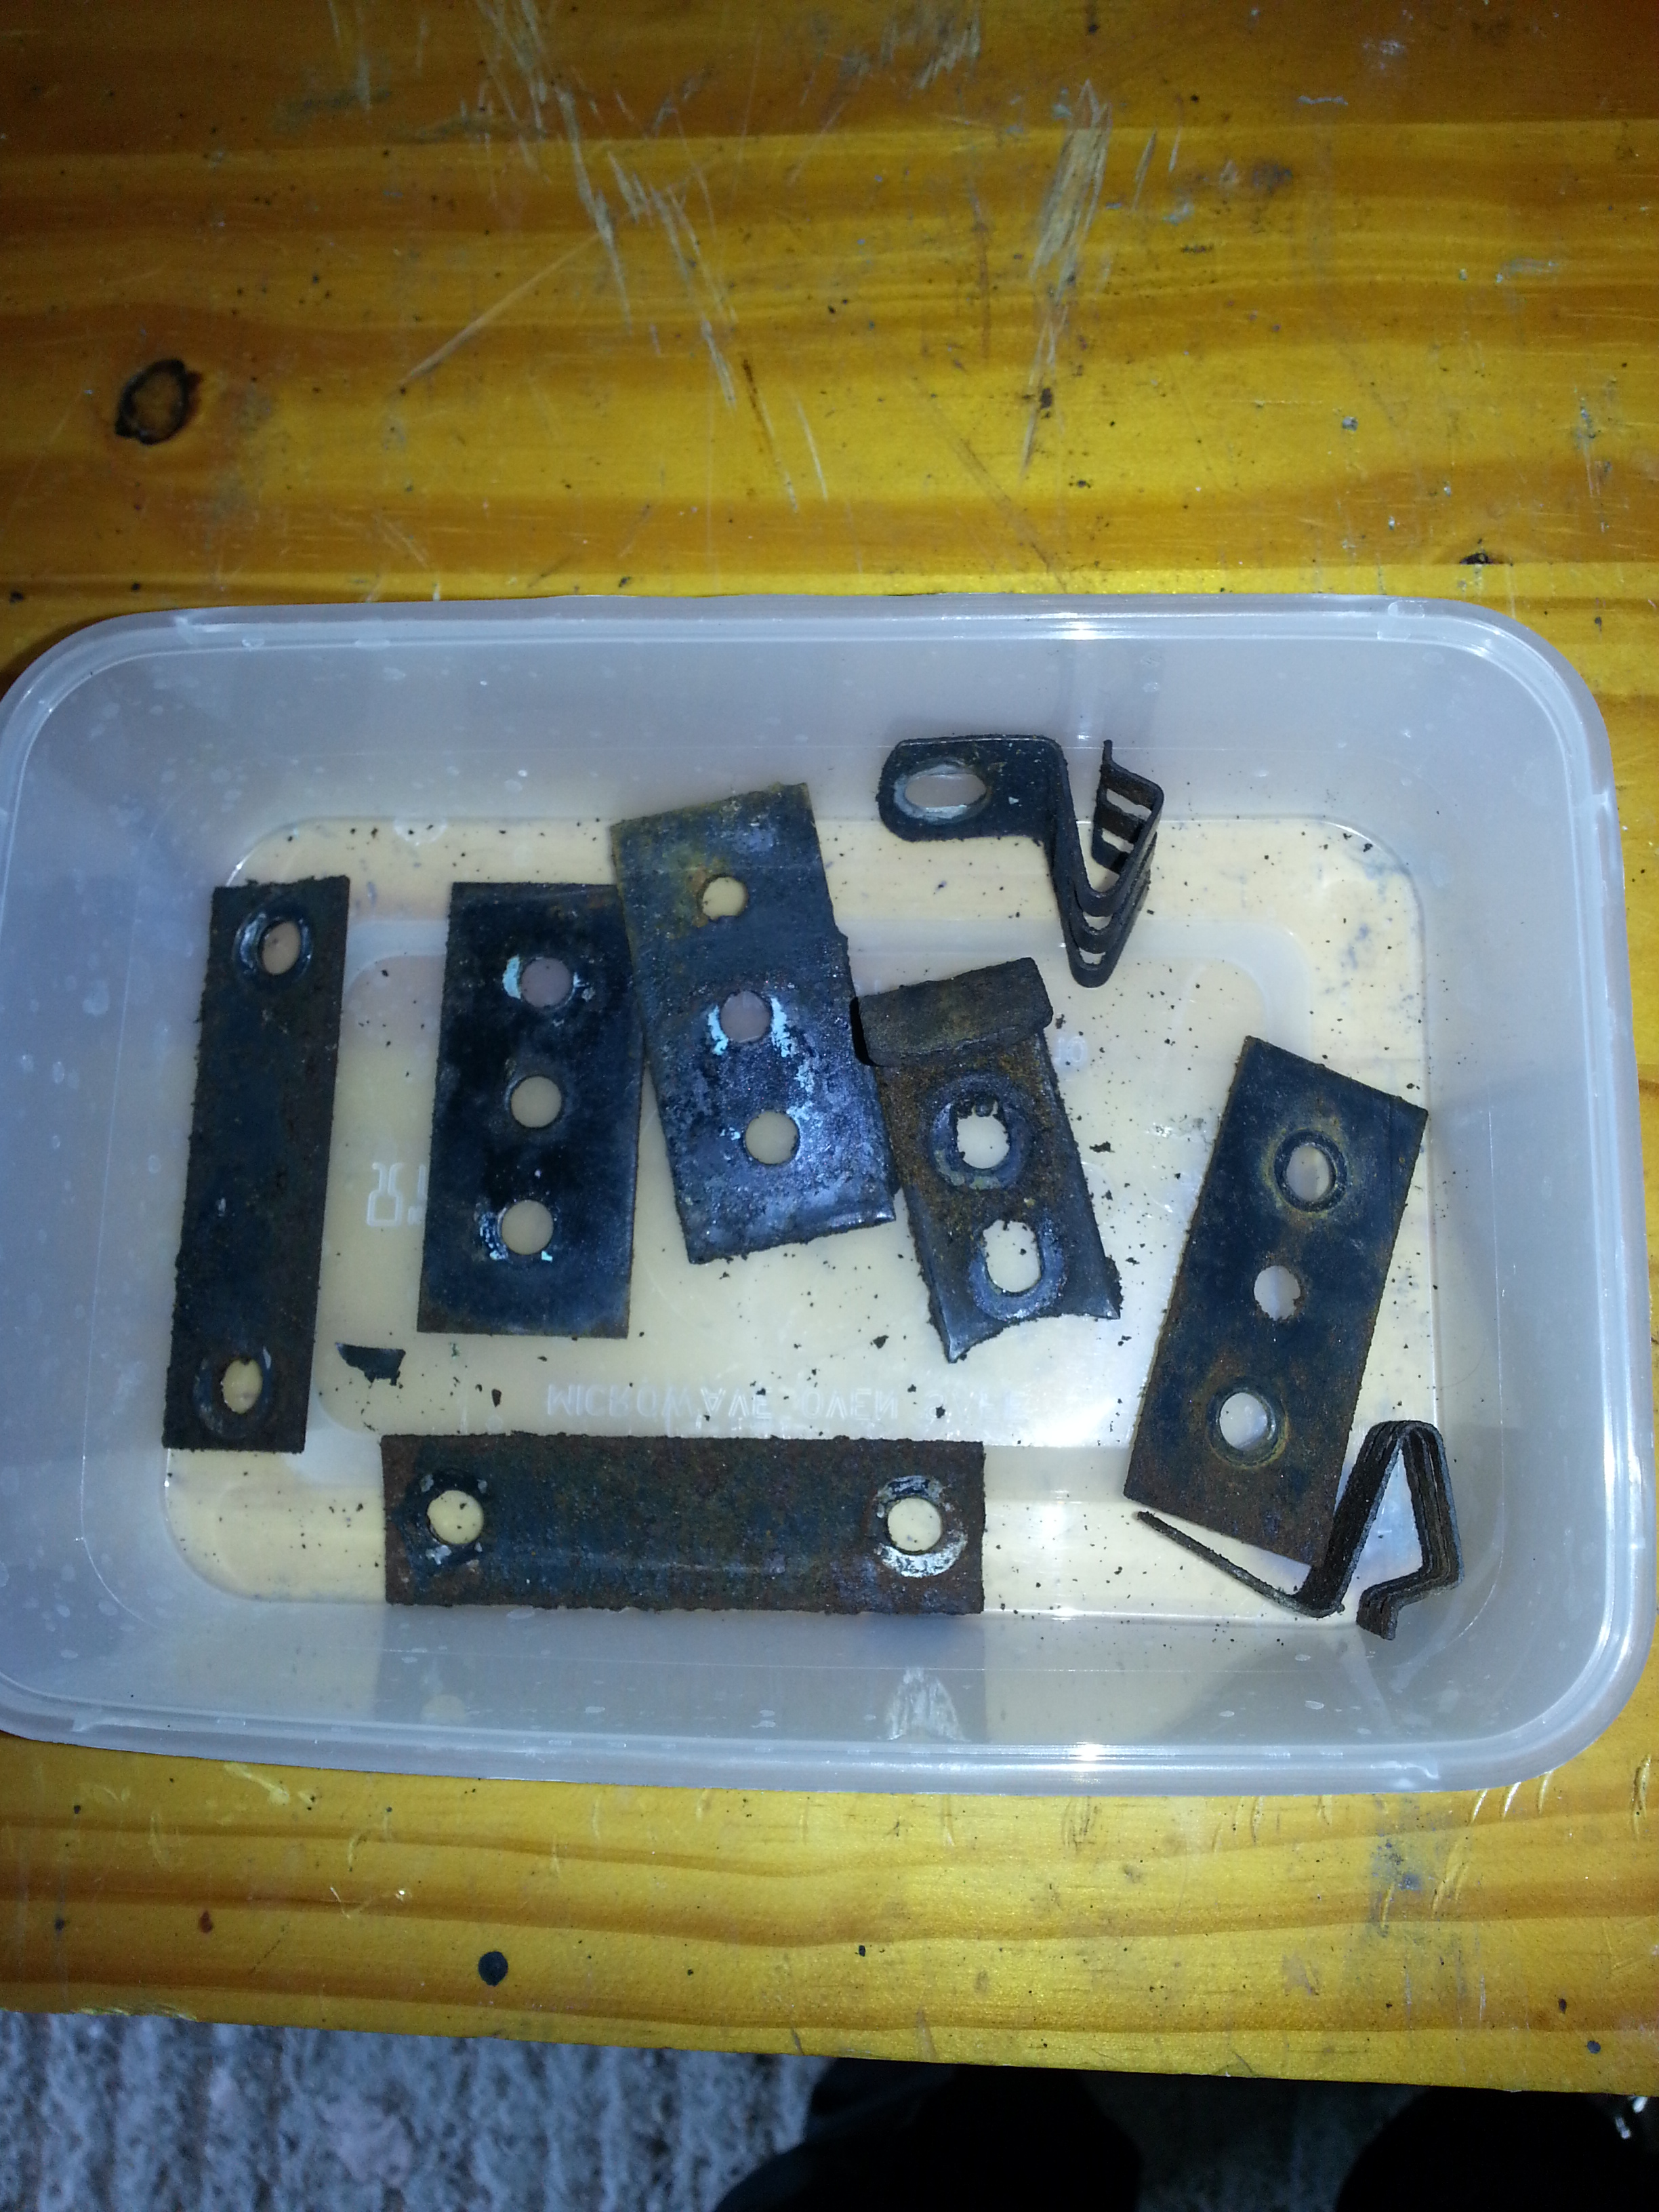
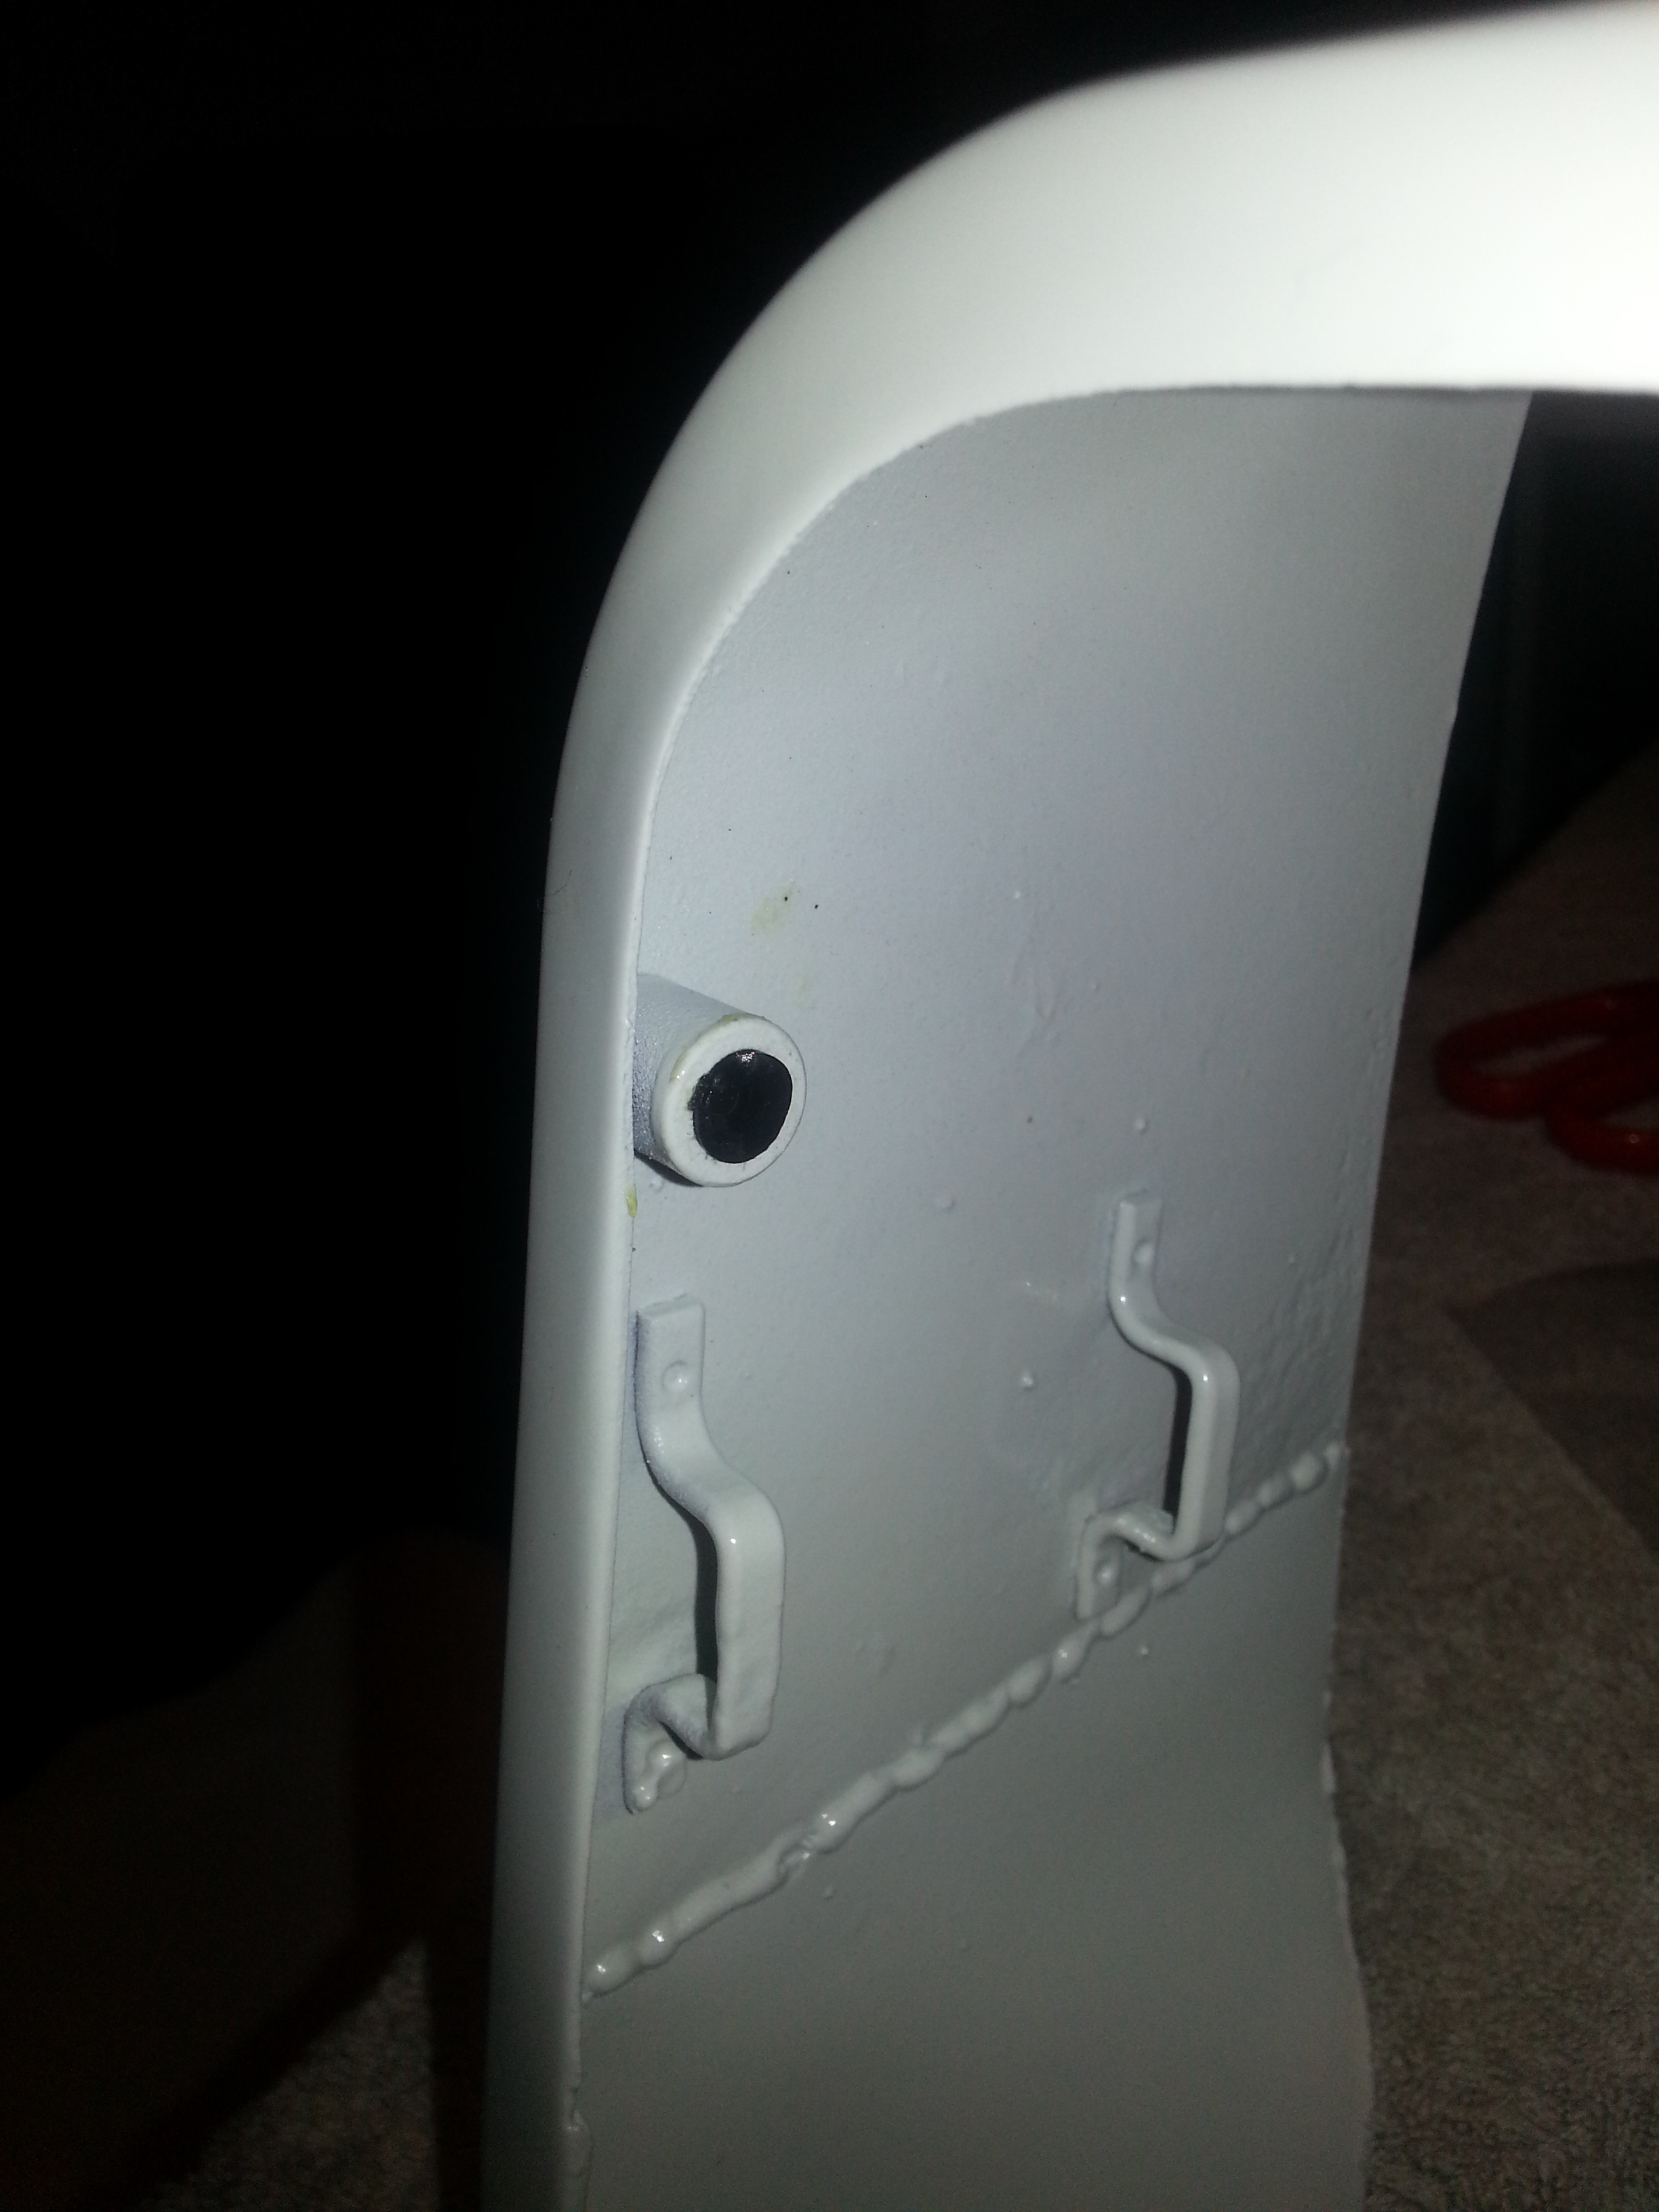
Not that the luggage hooks have counter plates inside the body as so the other parts. See in the next photo. Also in the photo are the side cover springs that keep them closed (looking like a triangle):
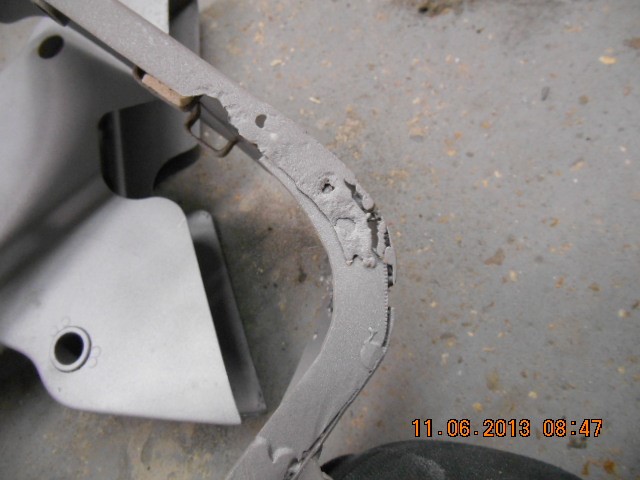
Next is installing the toolbox. I sent mine for blasting and painting. Not looking great:
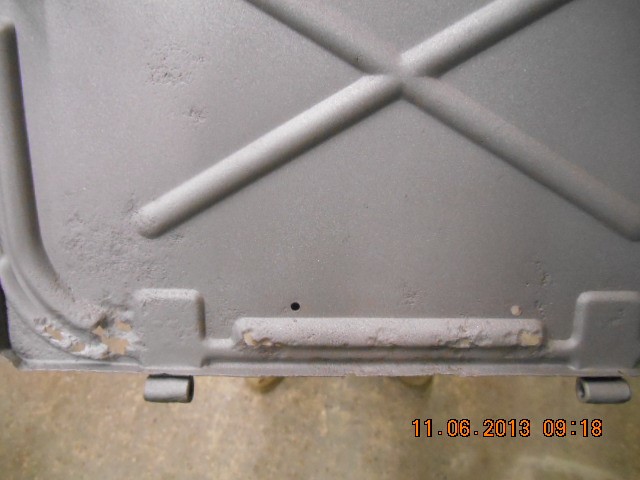
This will need some serious work by the shop…
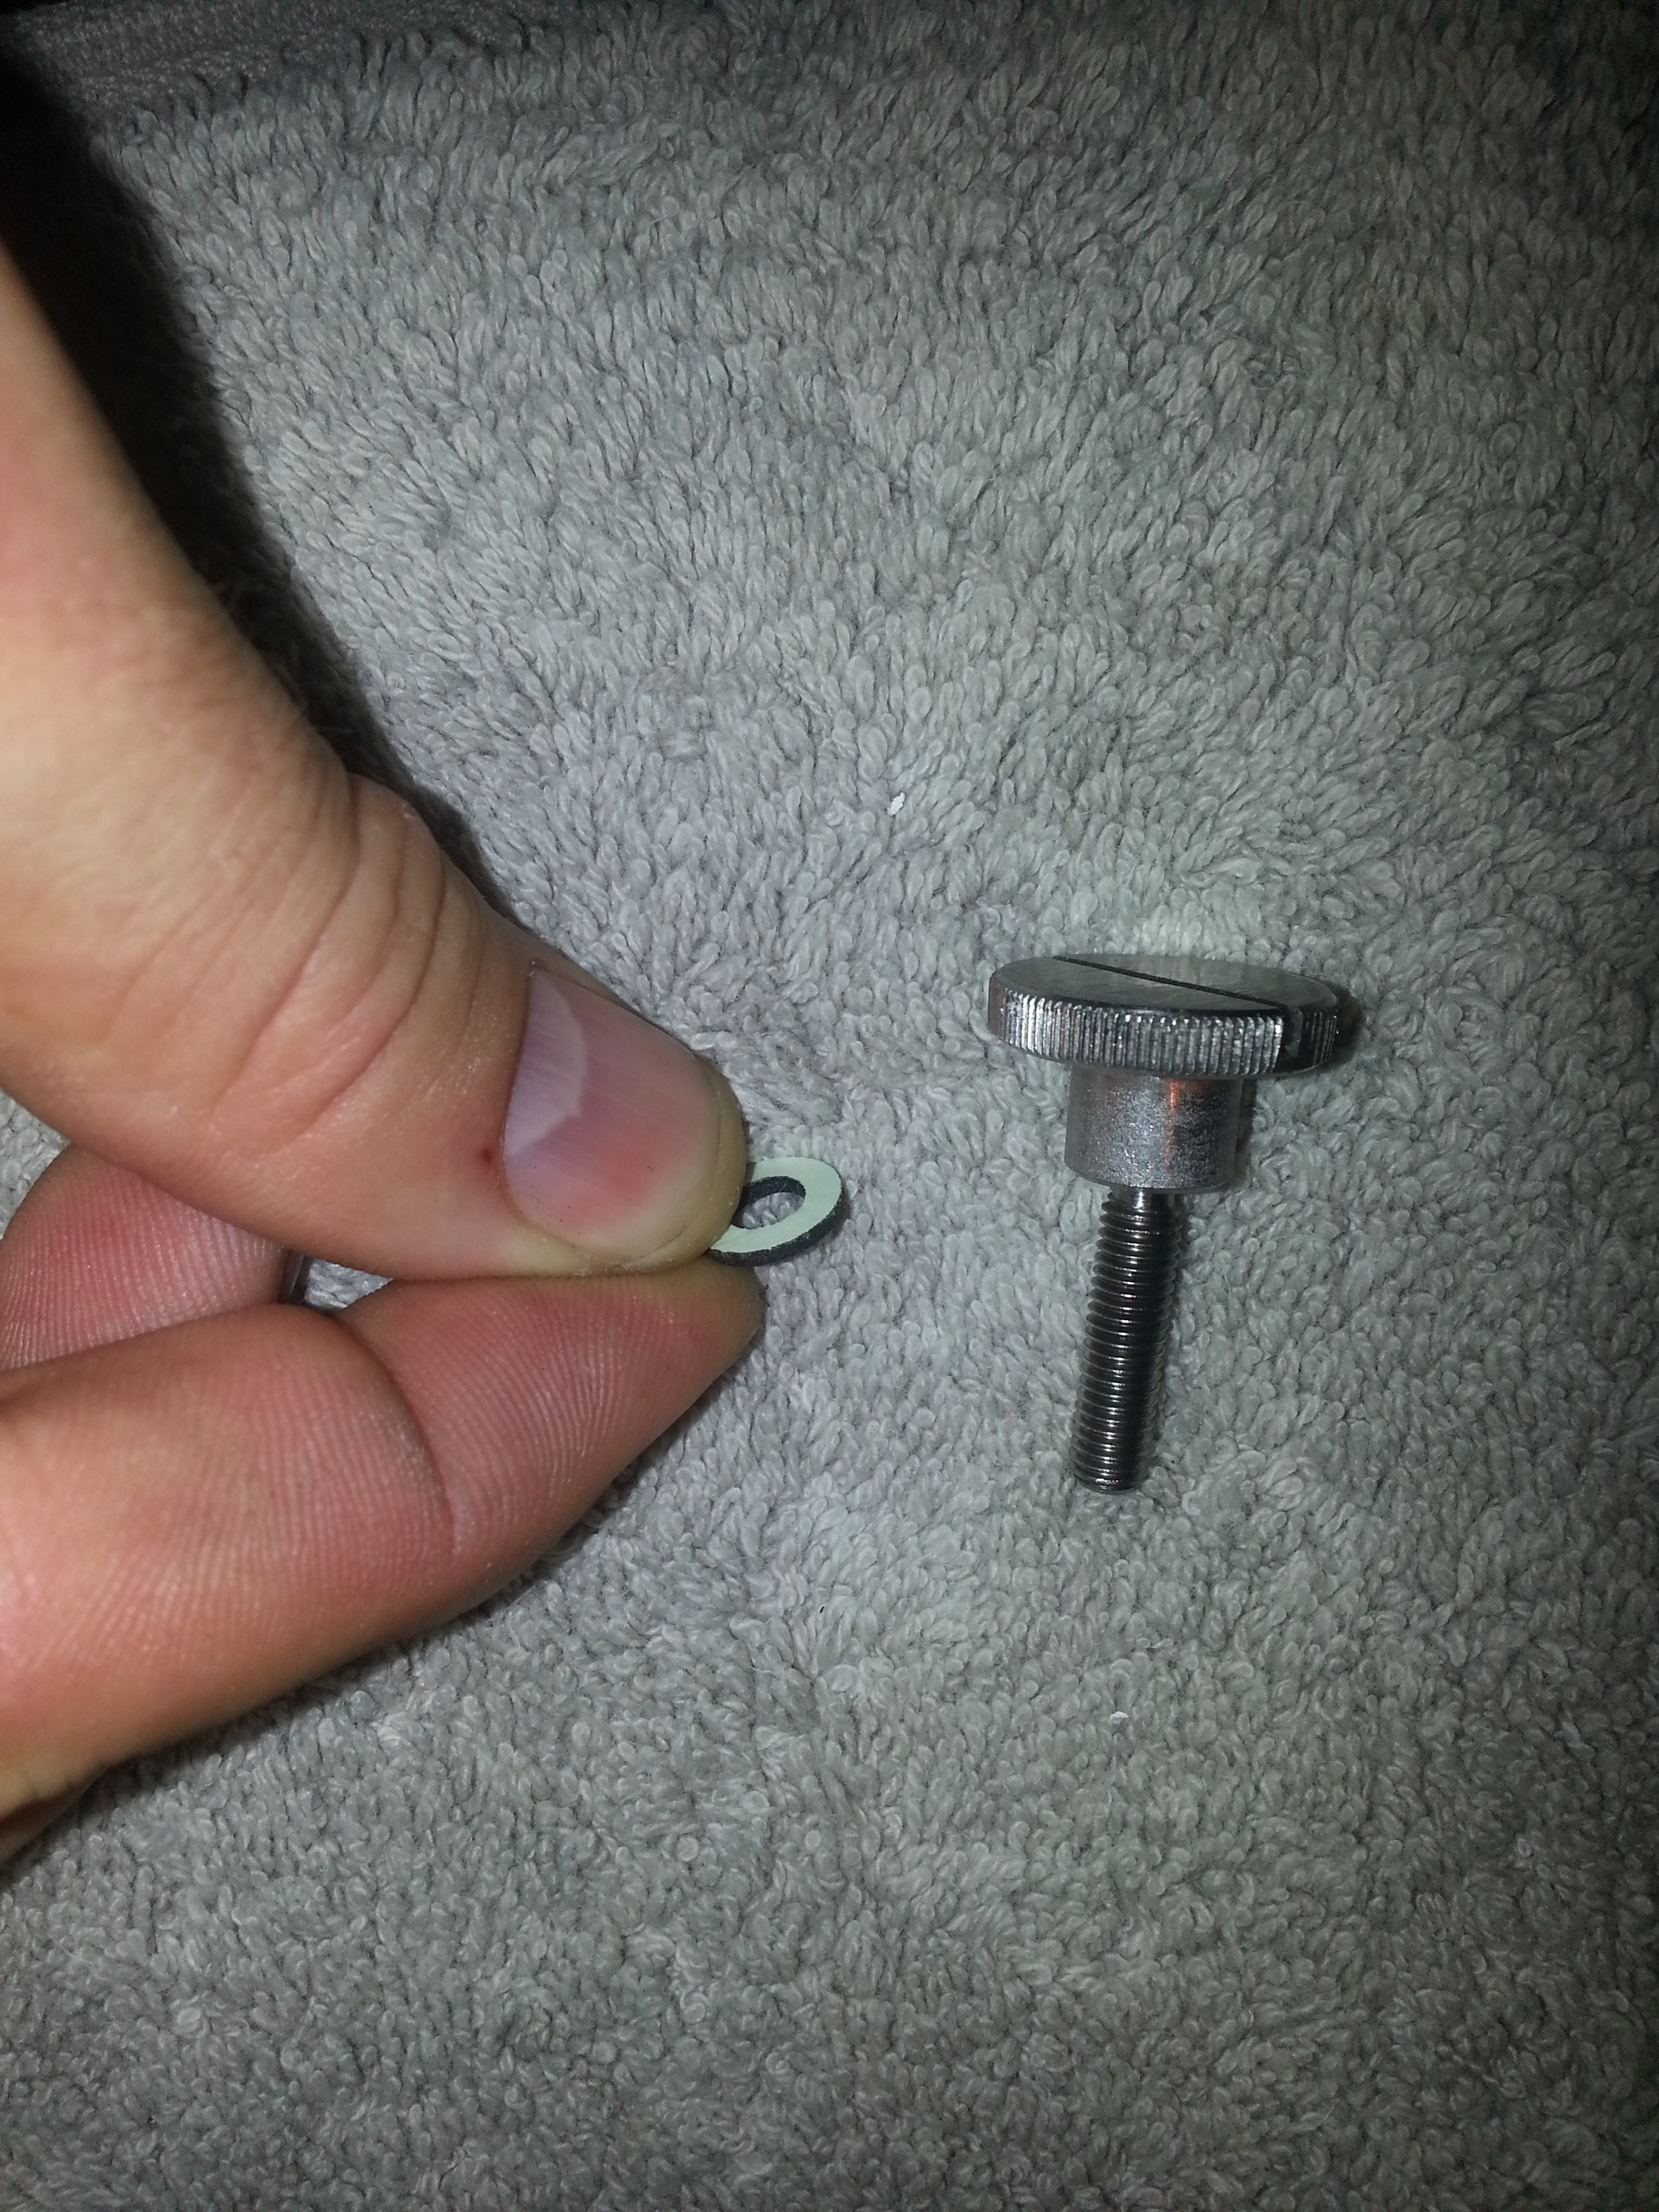
To be able to lock to toolbox I ordered special screws from accuscrews.co.uk as the originals were missing. I then ordered rubber adhesive washers so the screws won’t damage the paintwork when tightened:
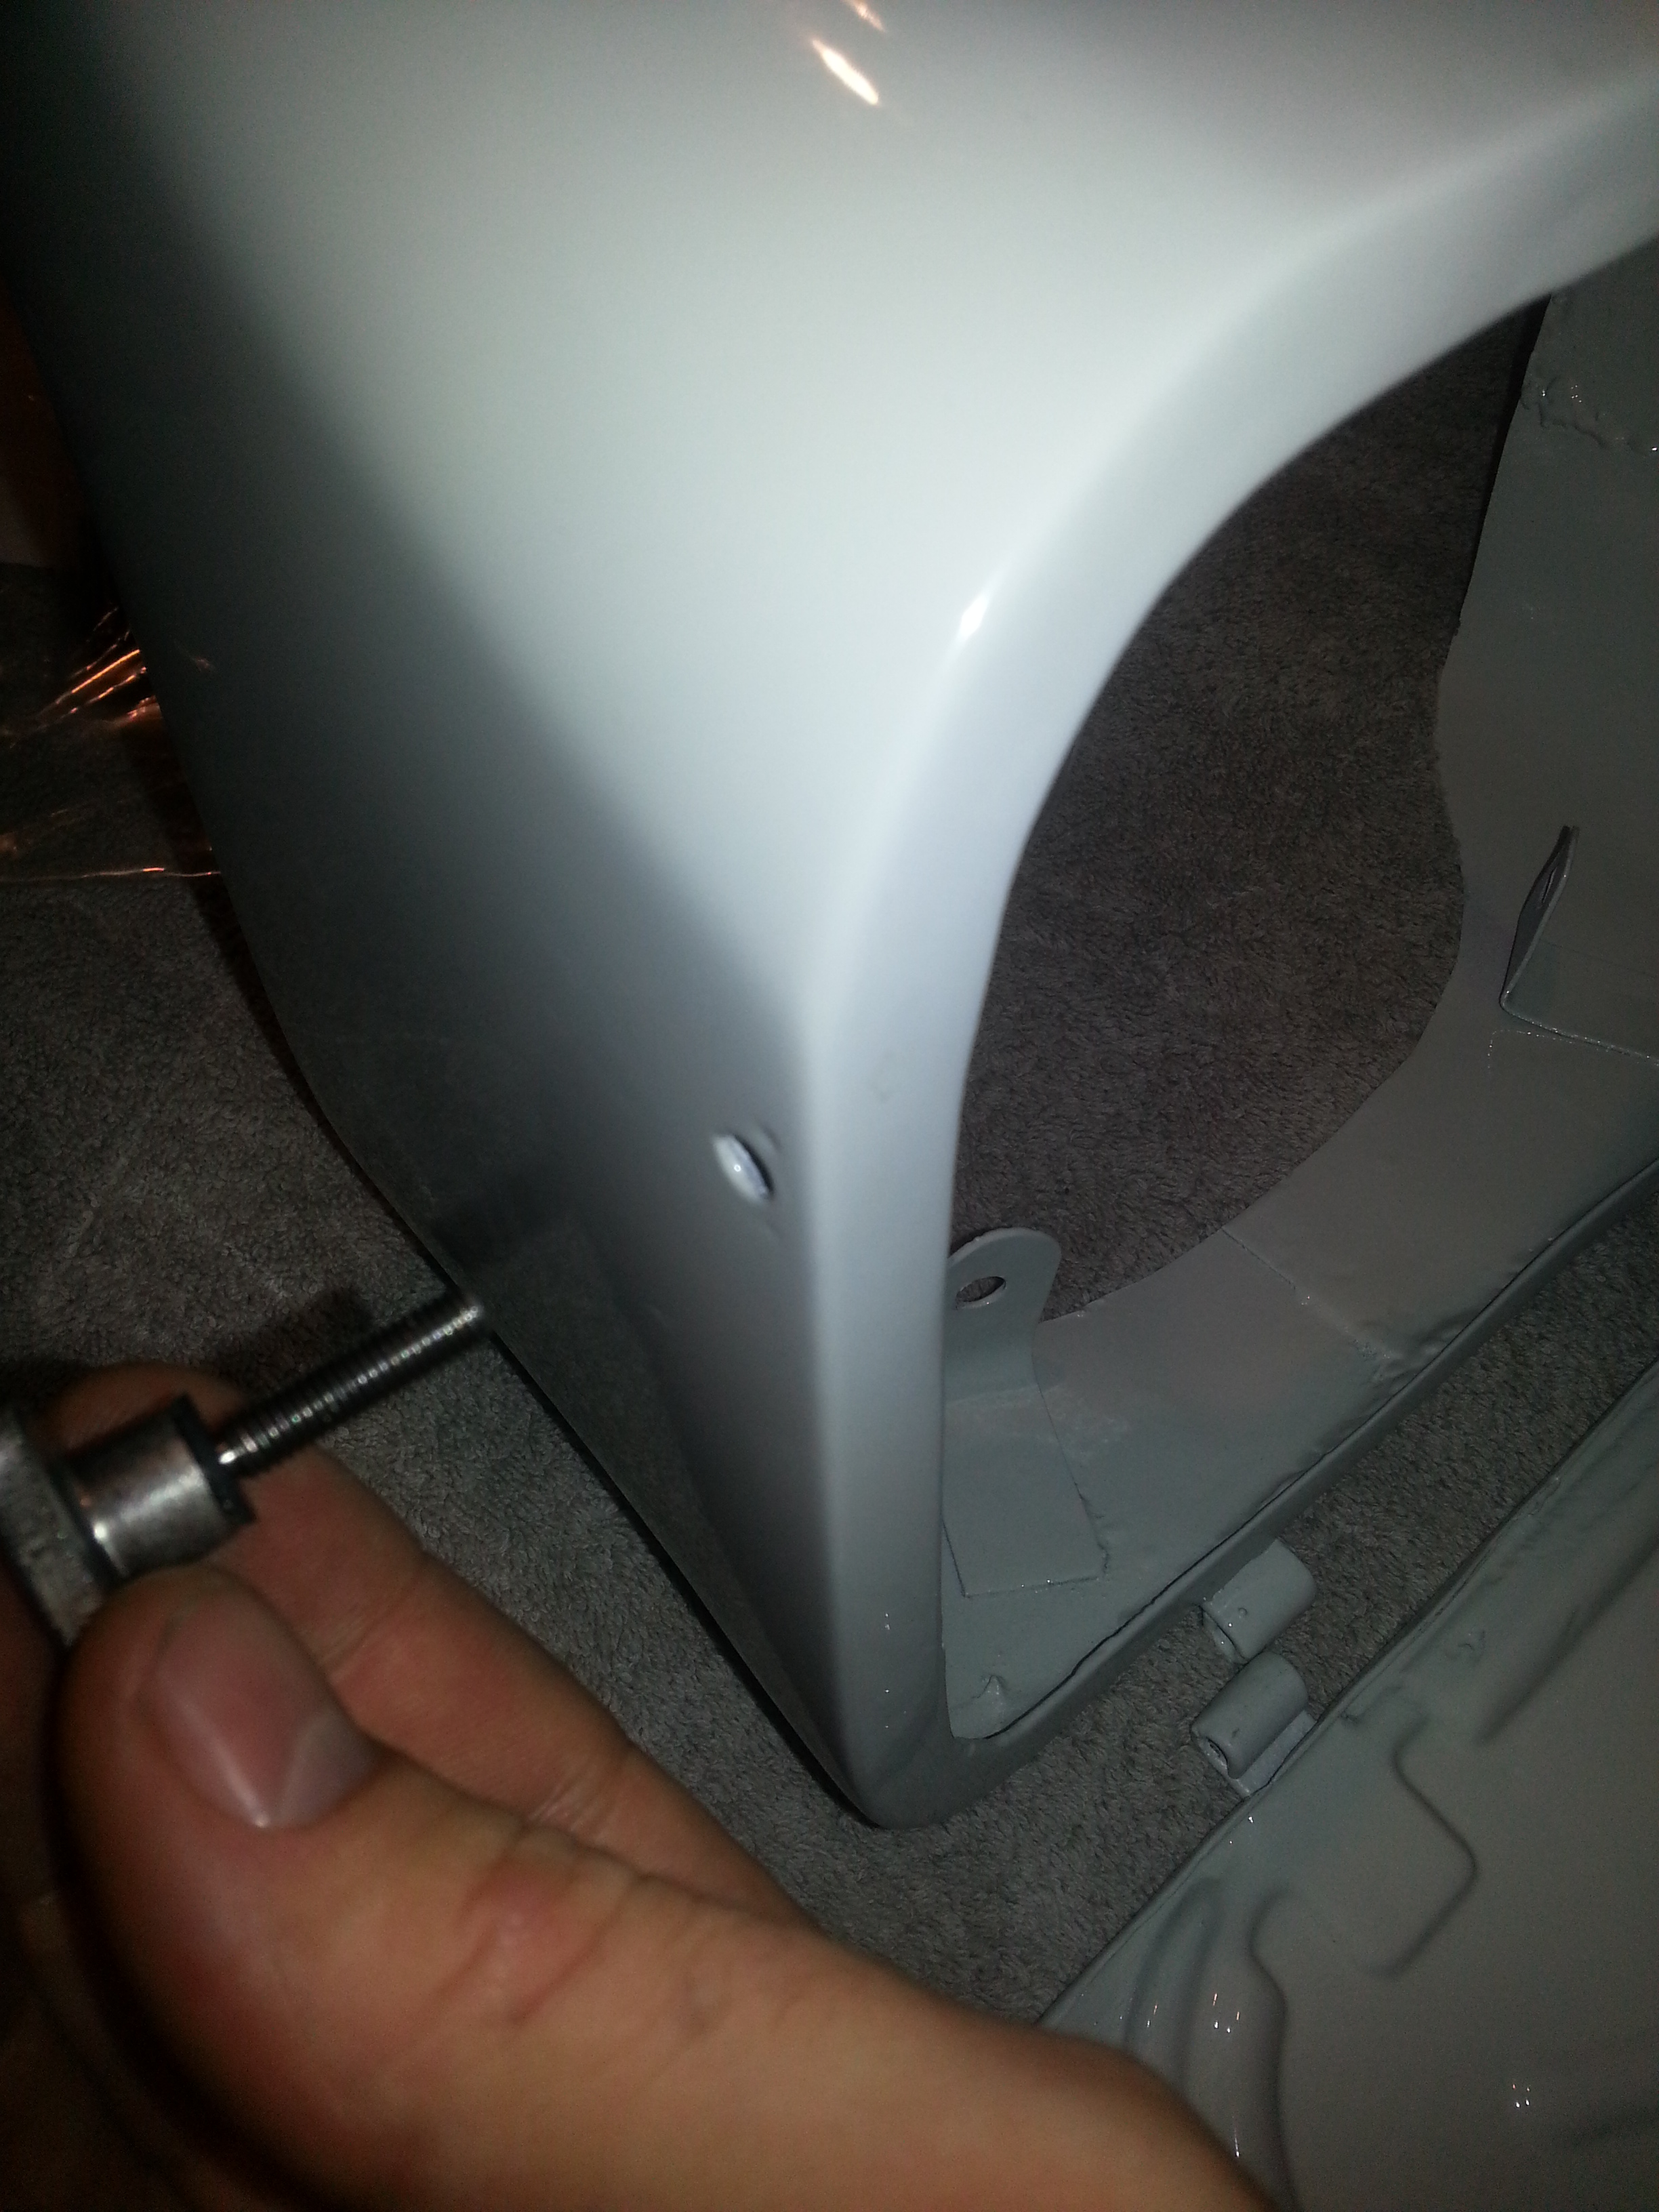
To keep the screw in place, I put some rubber hose (8mm) in the inside of the toolbox:
The toolbox lid can be mounted using stainless pins:

And next the toolbox trimming and installing it:
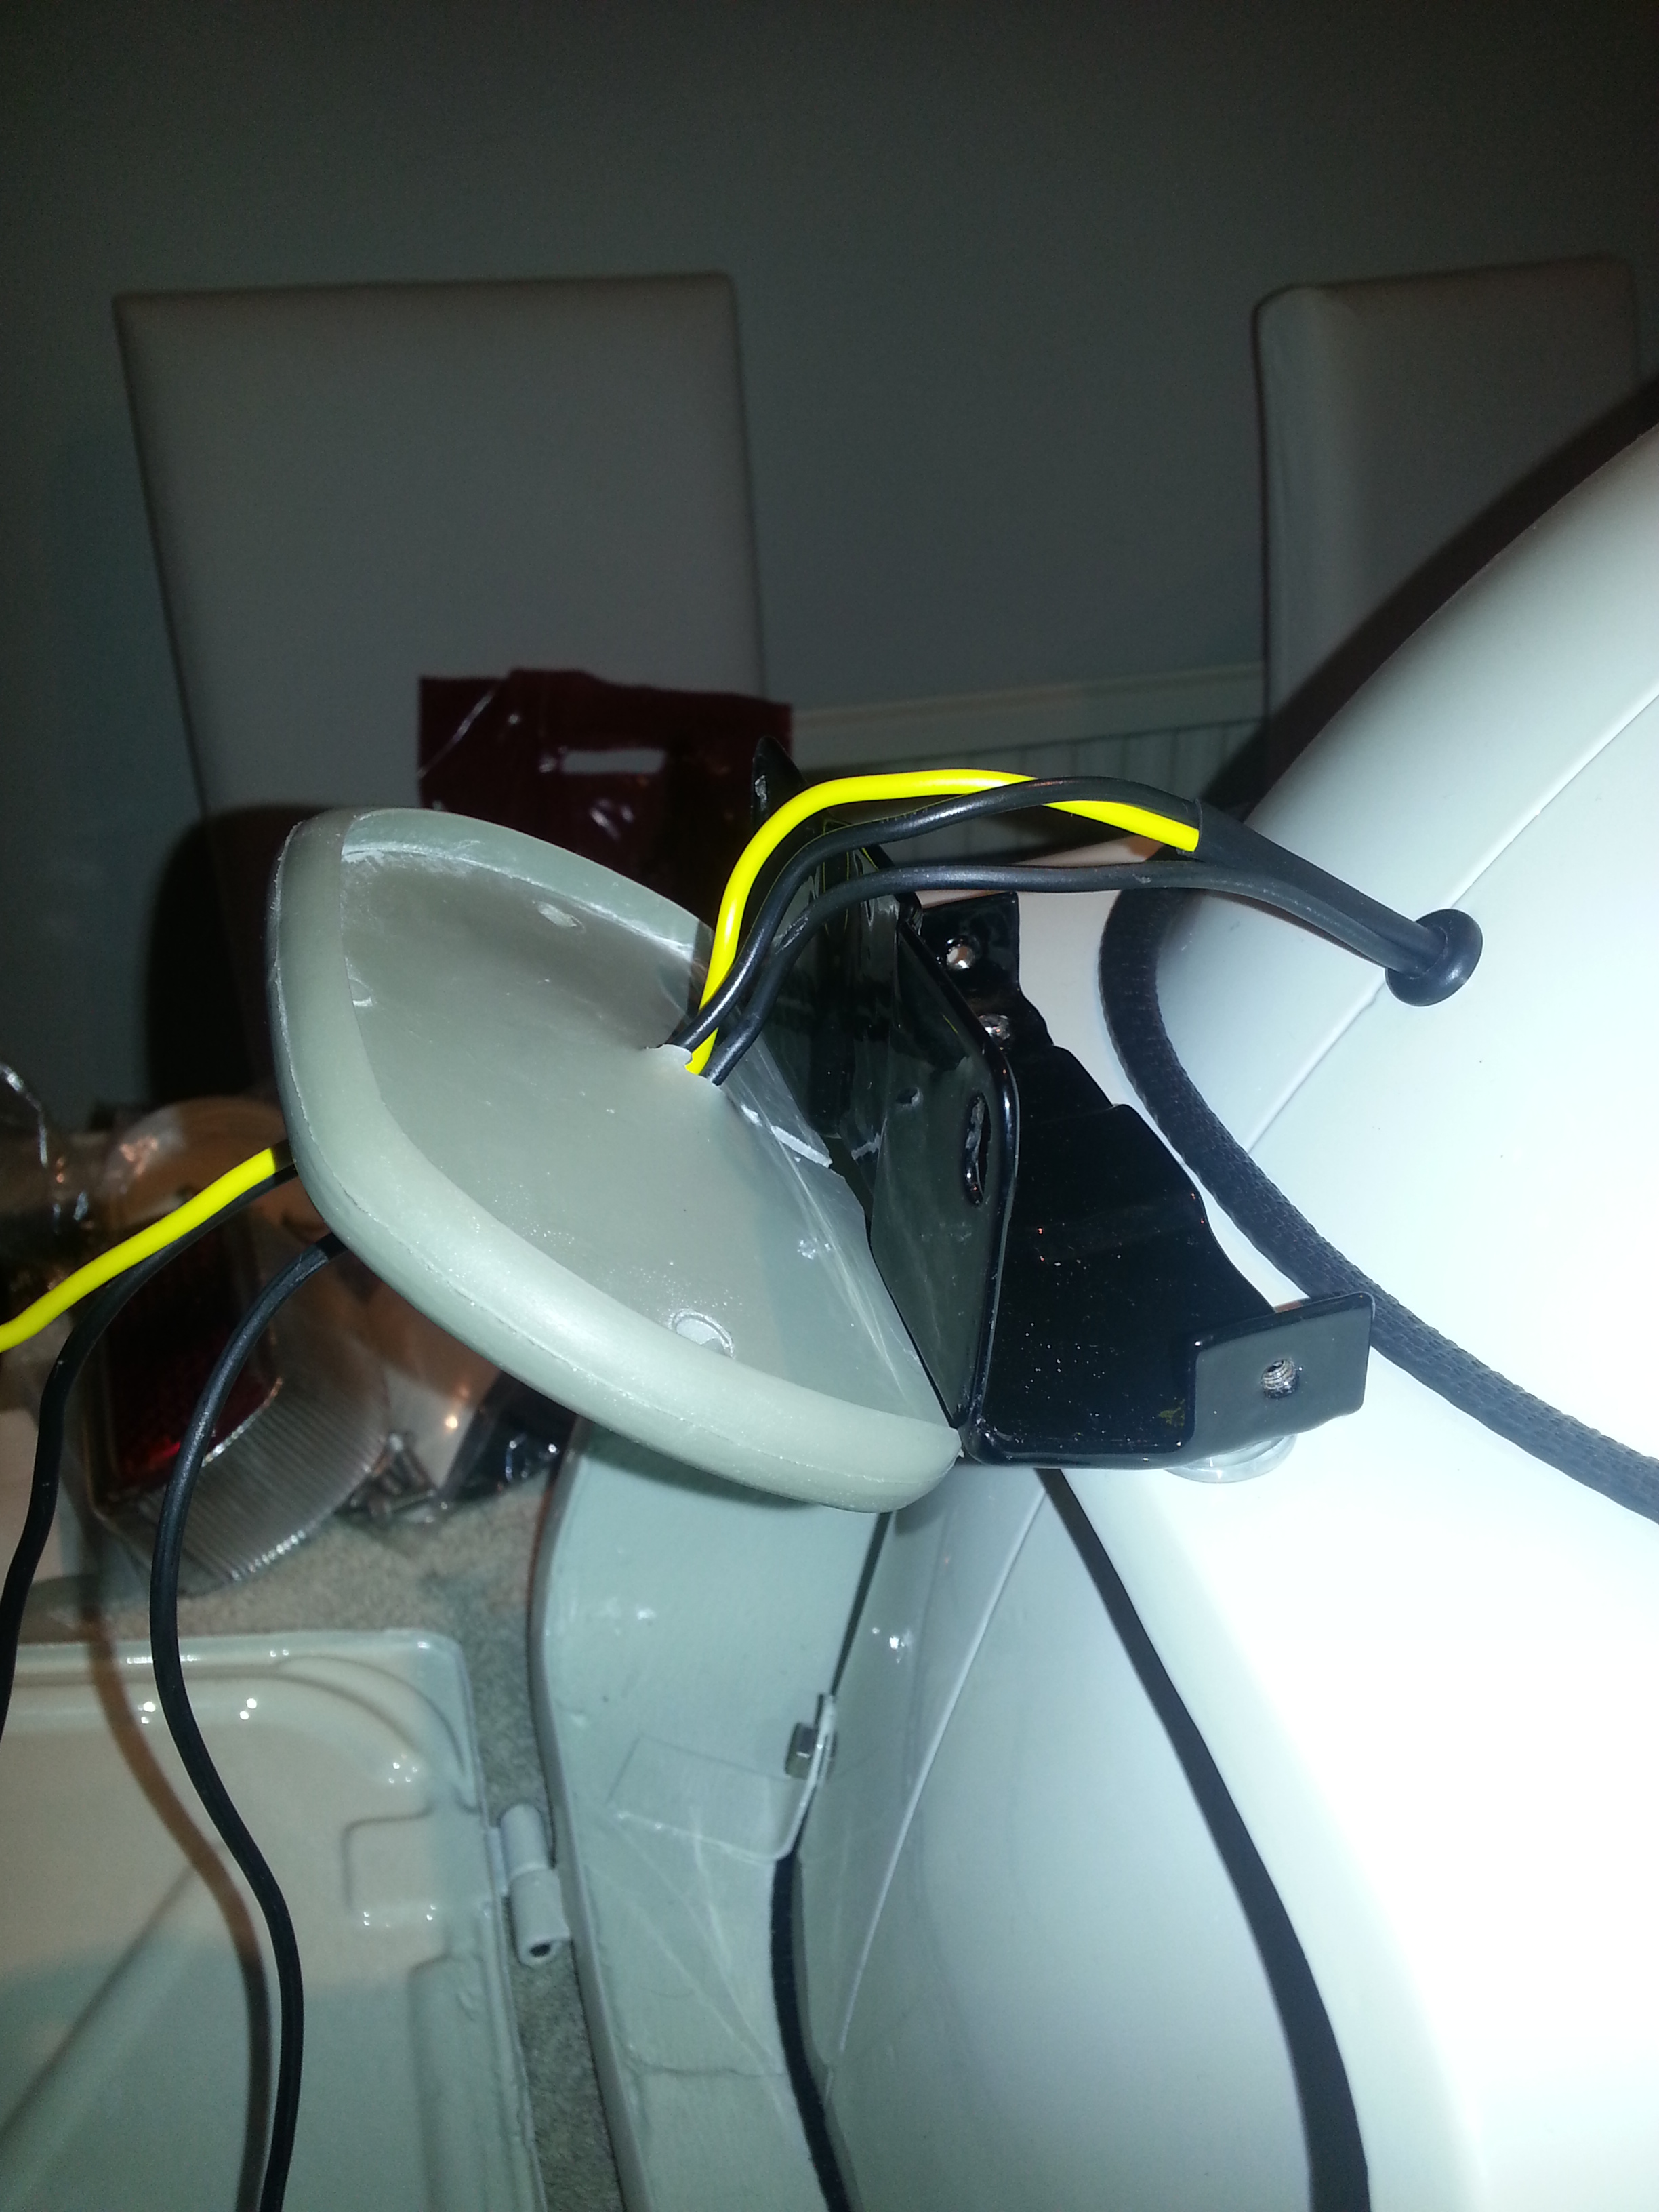
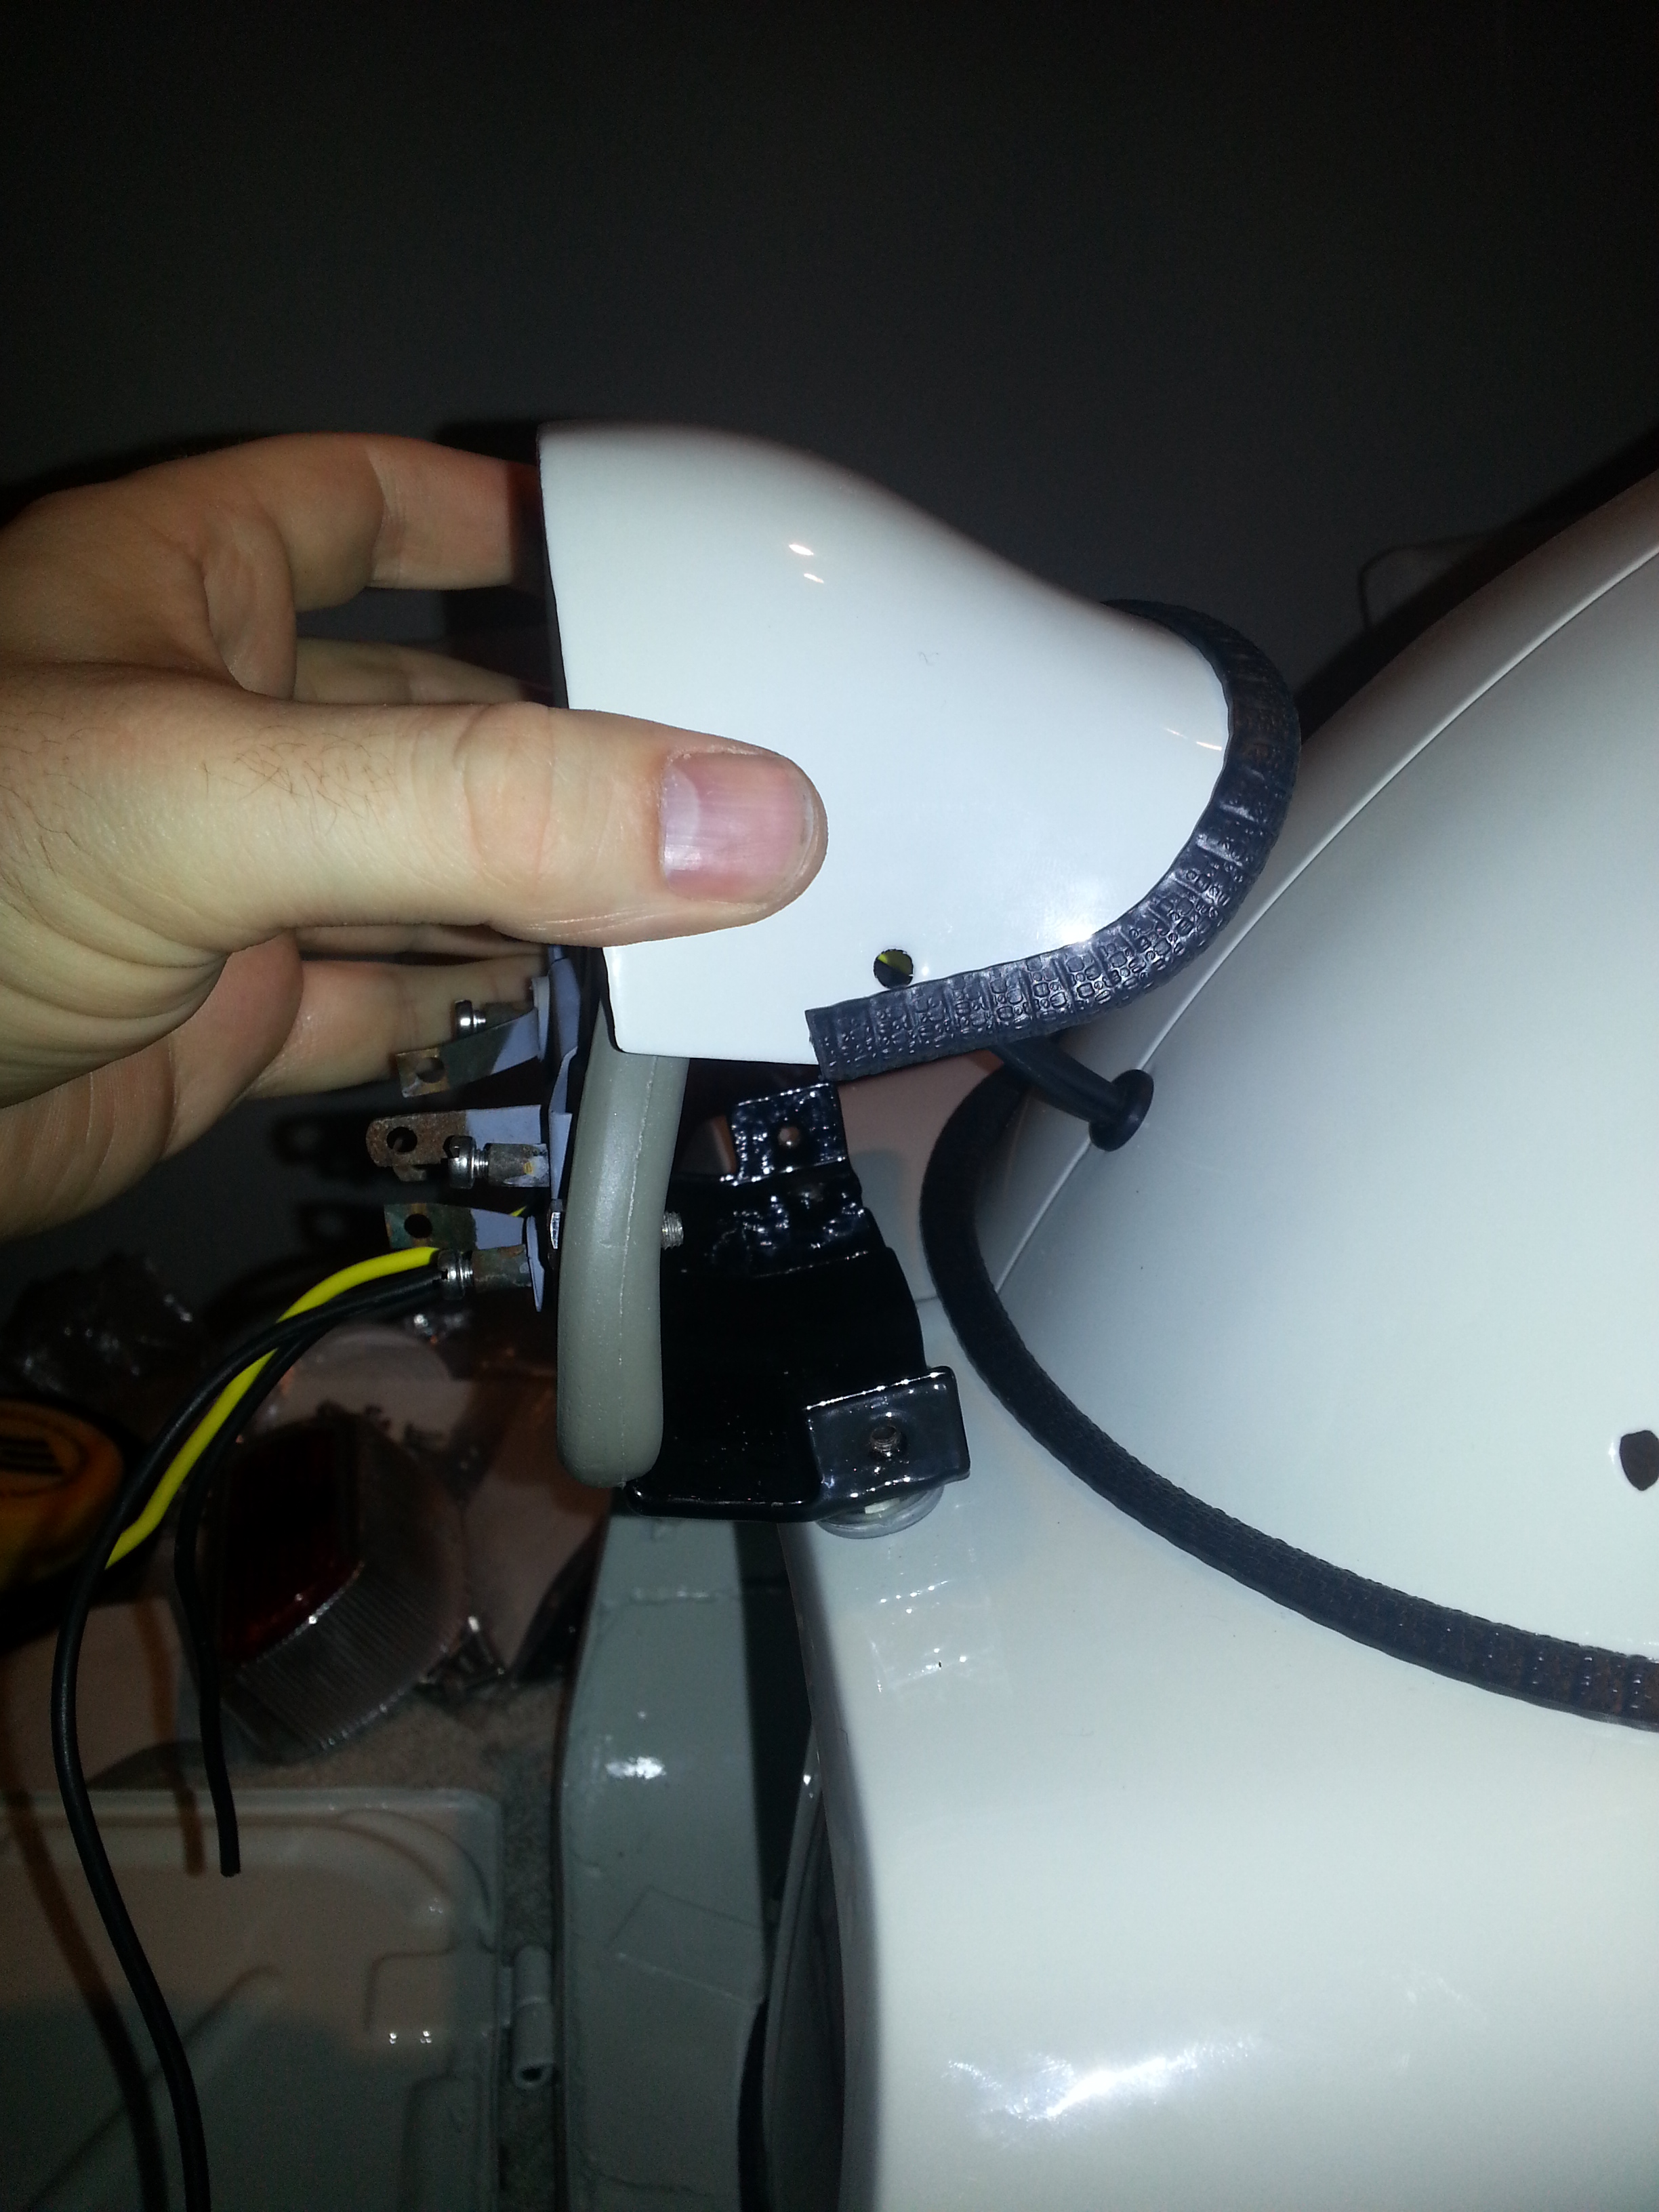
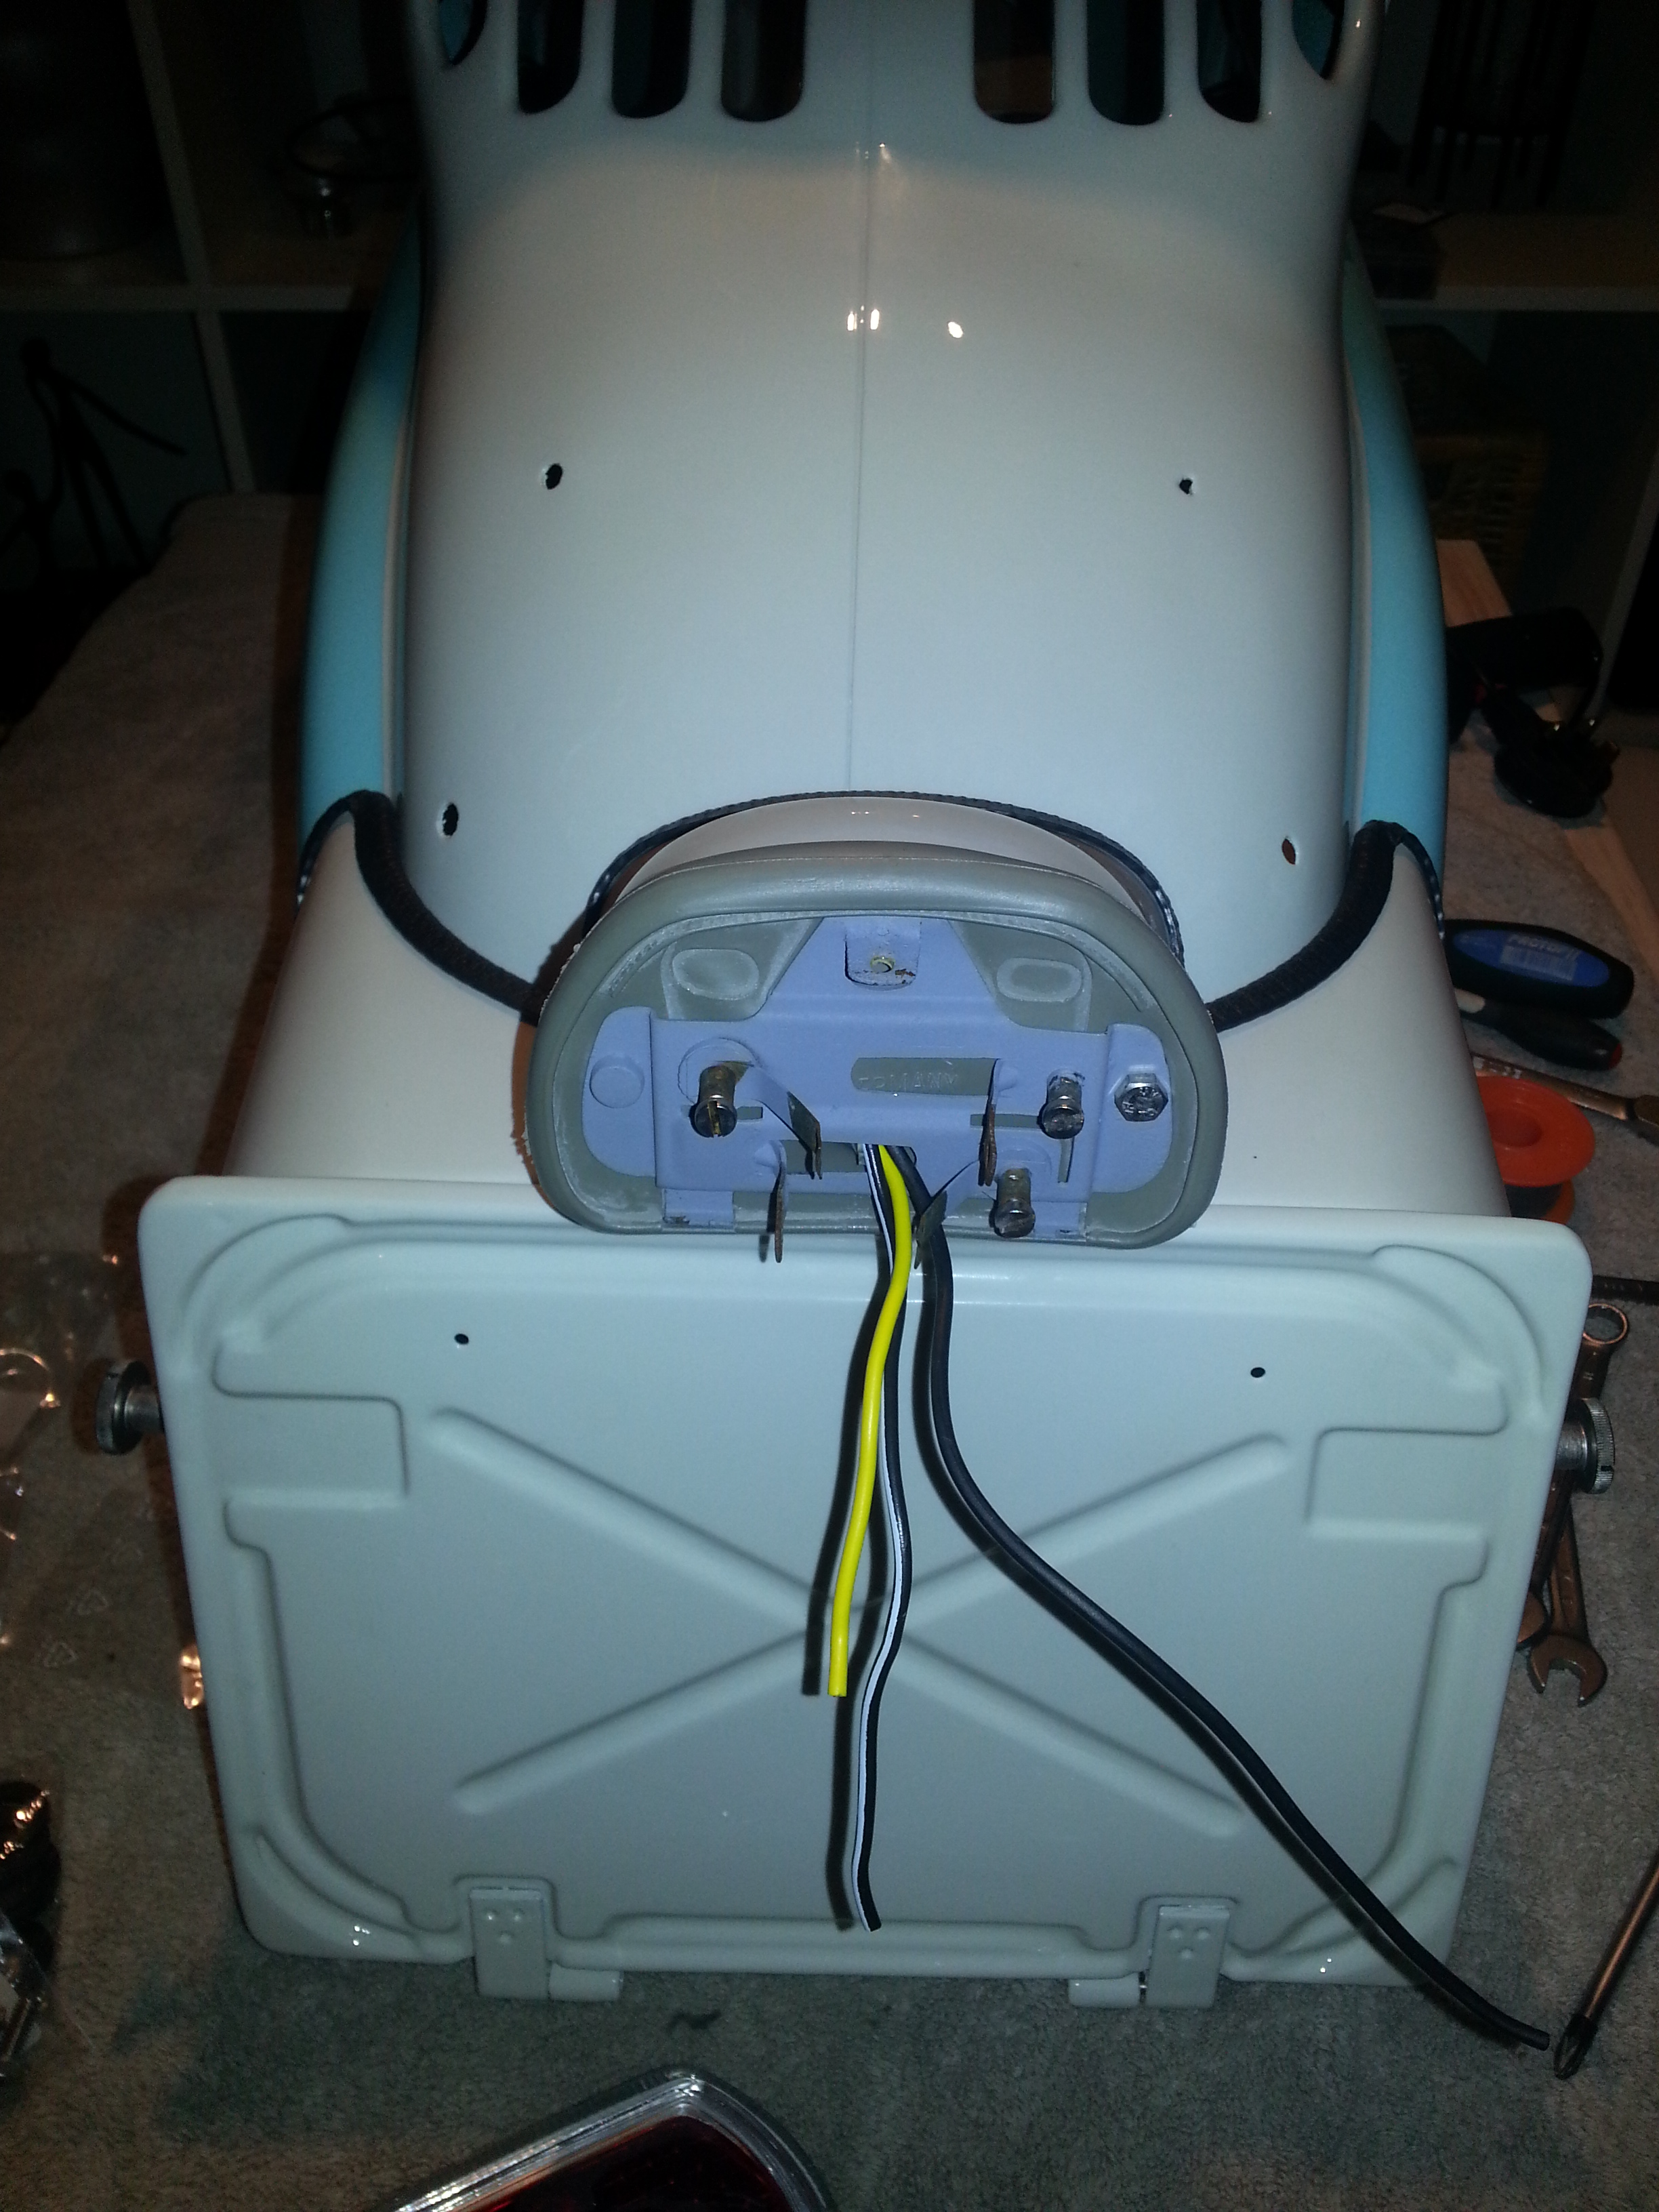
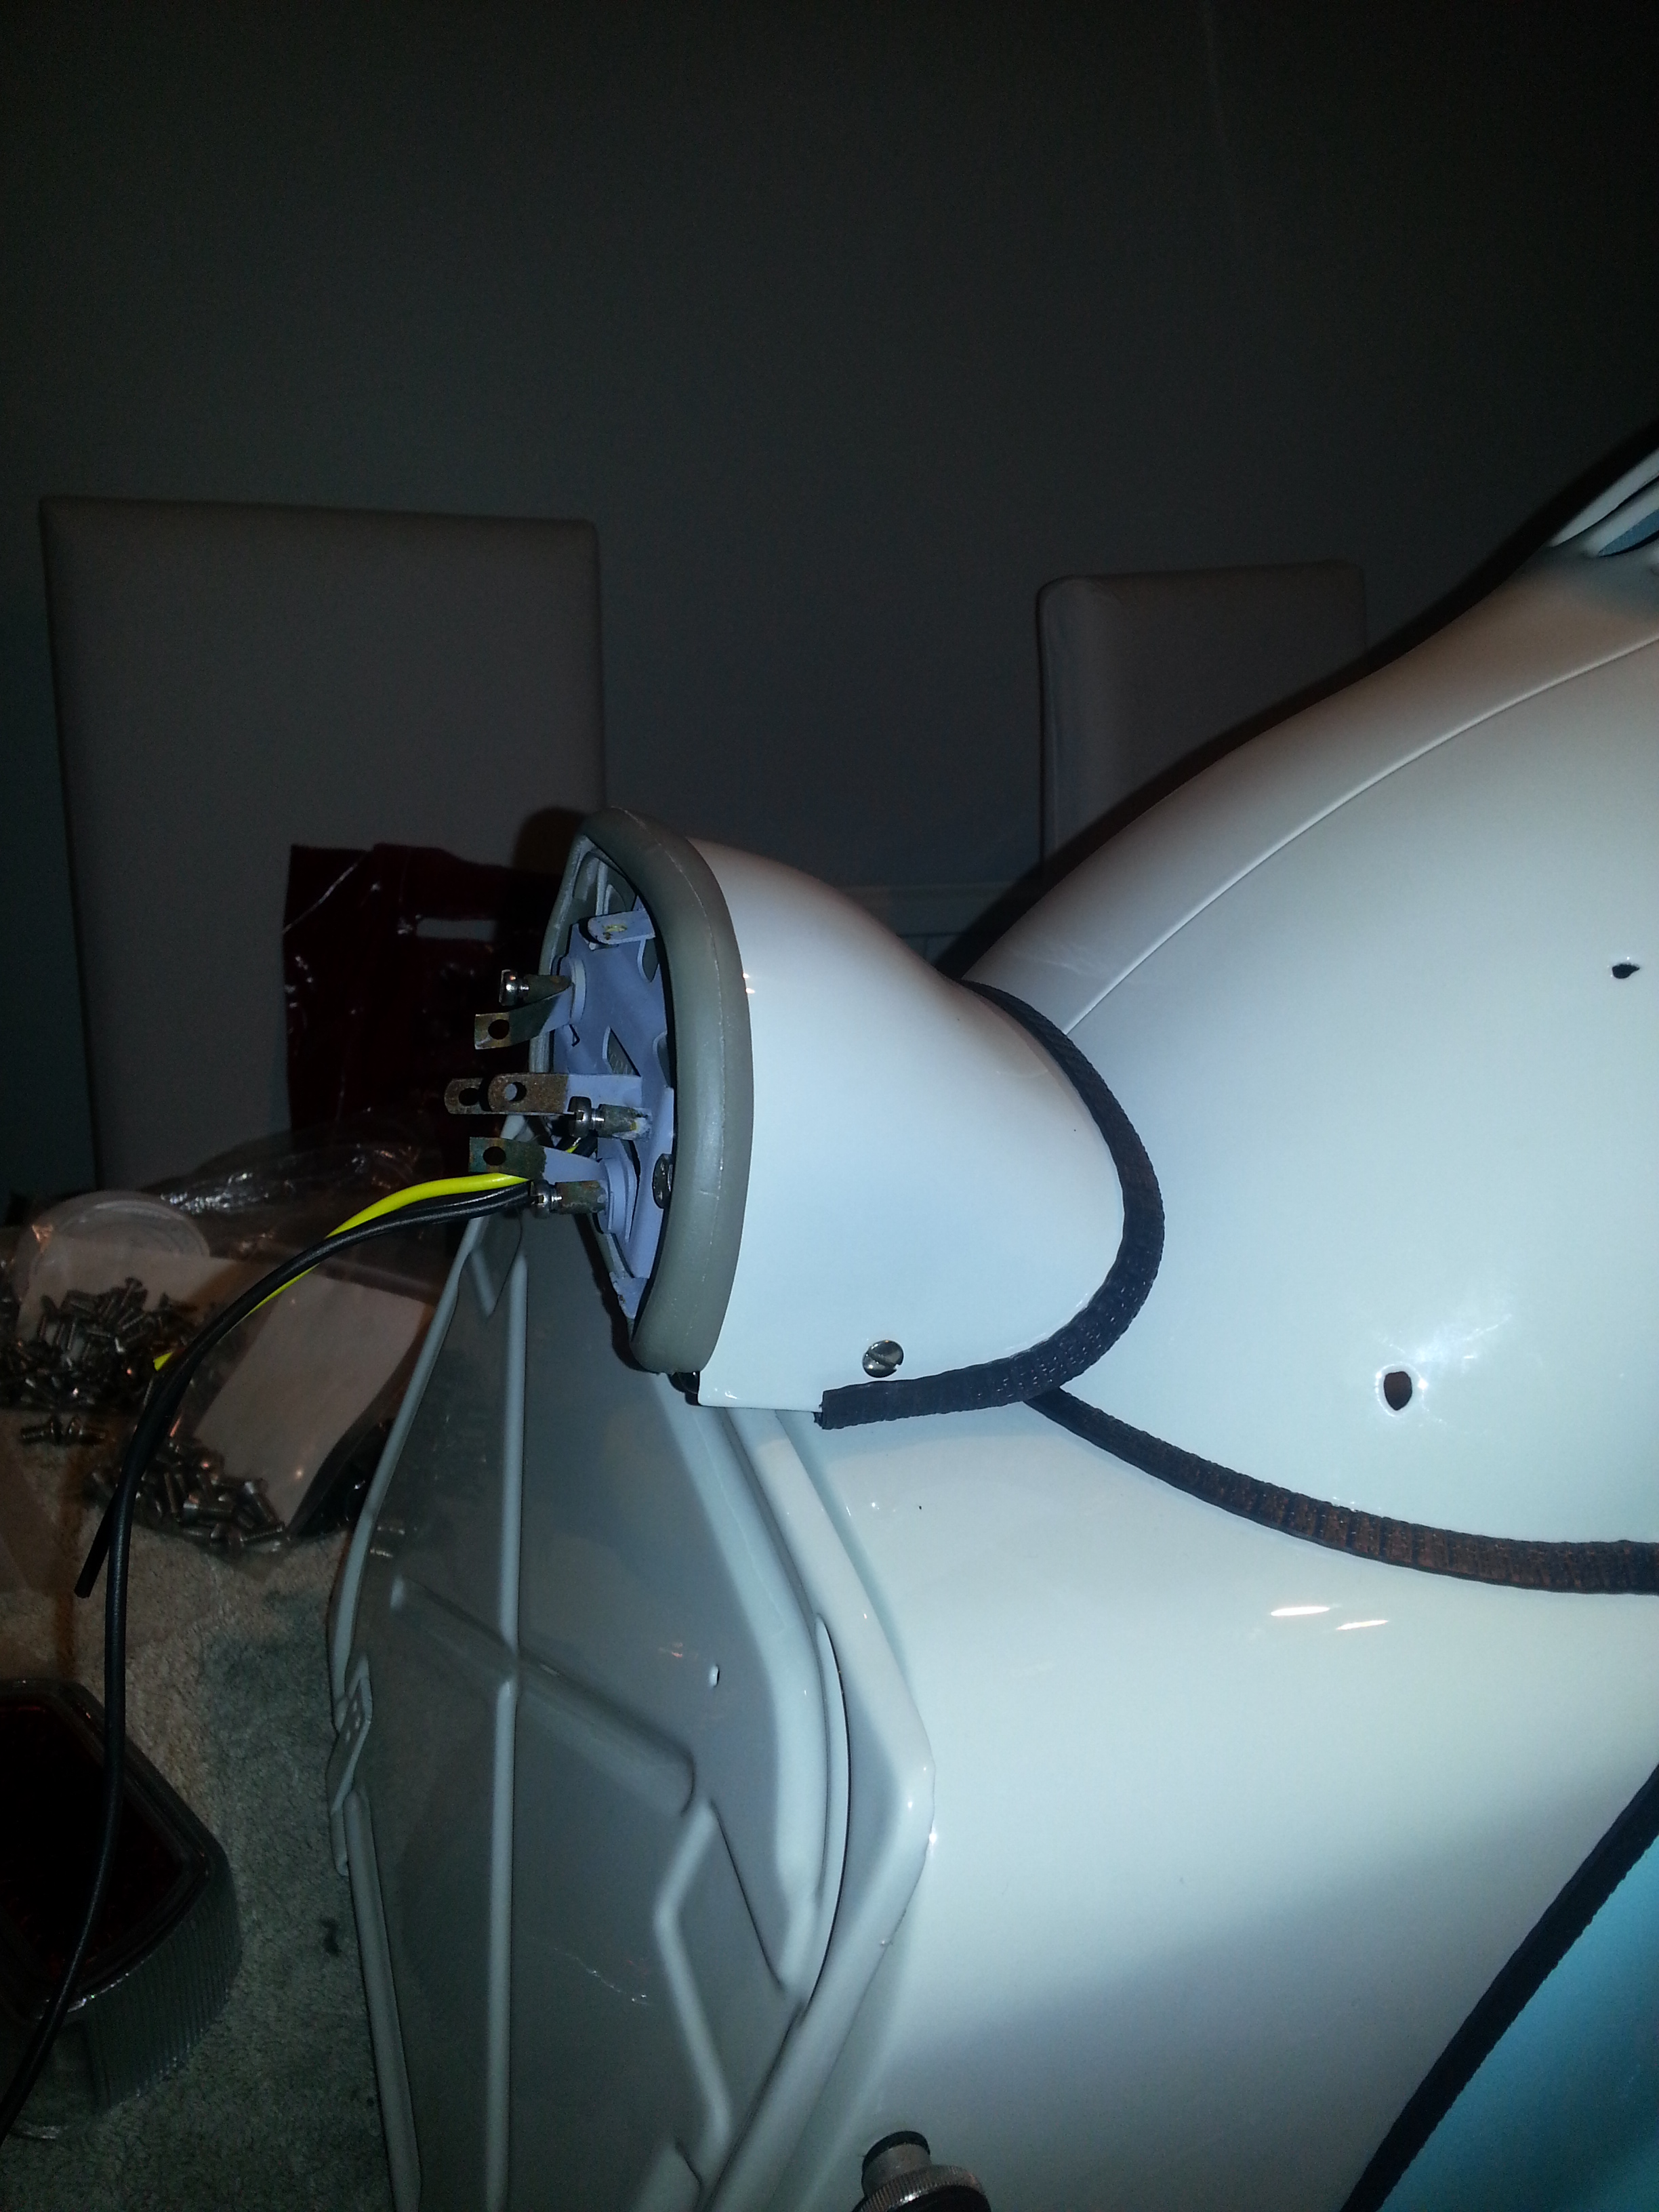
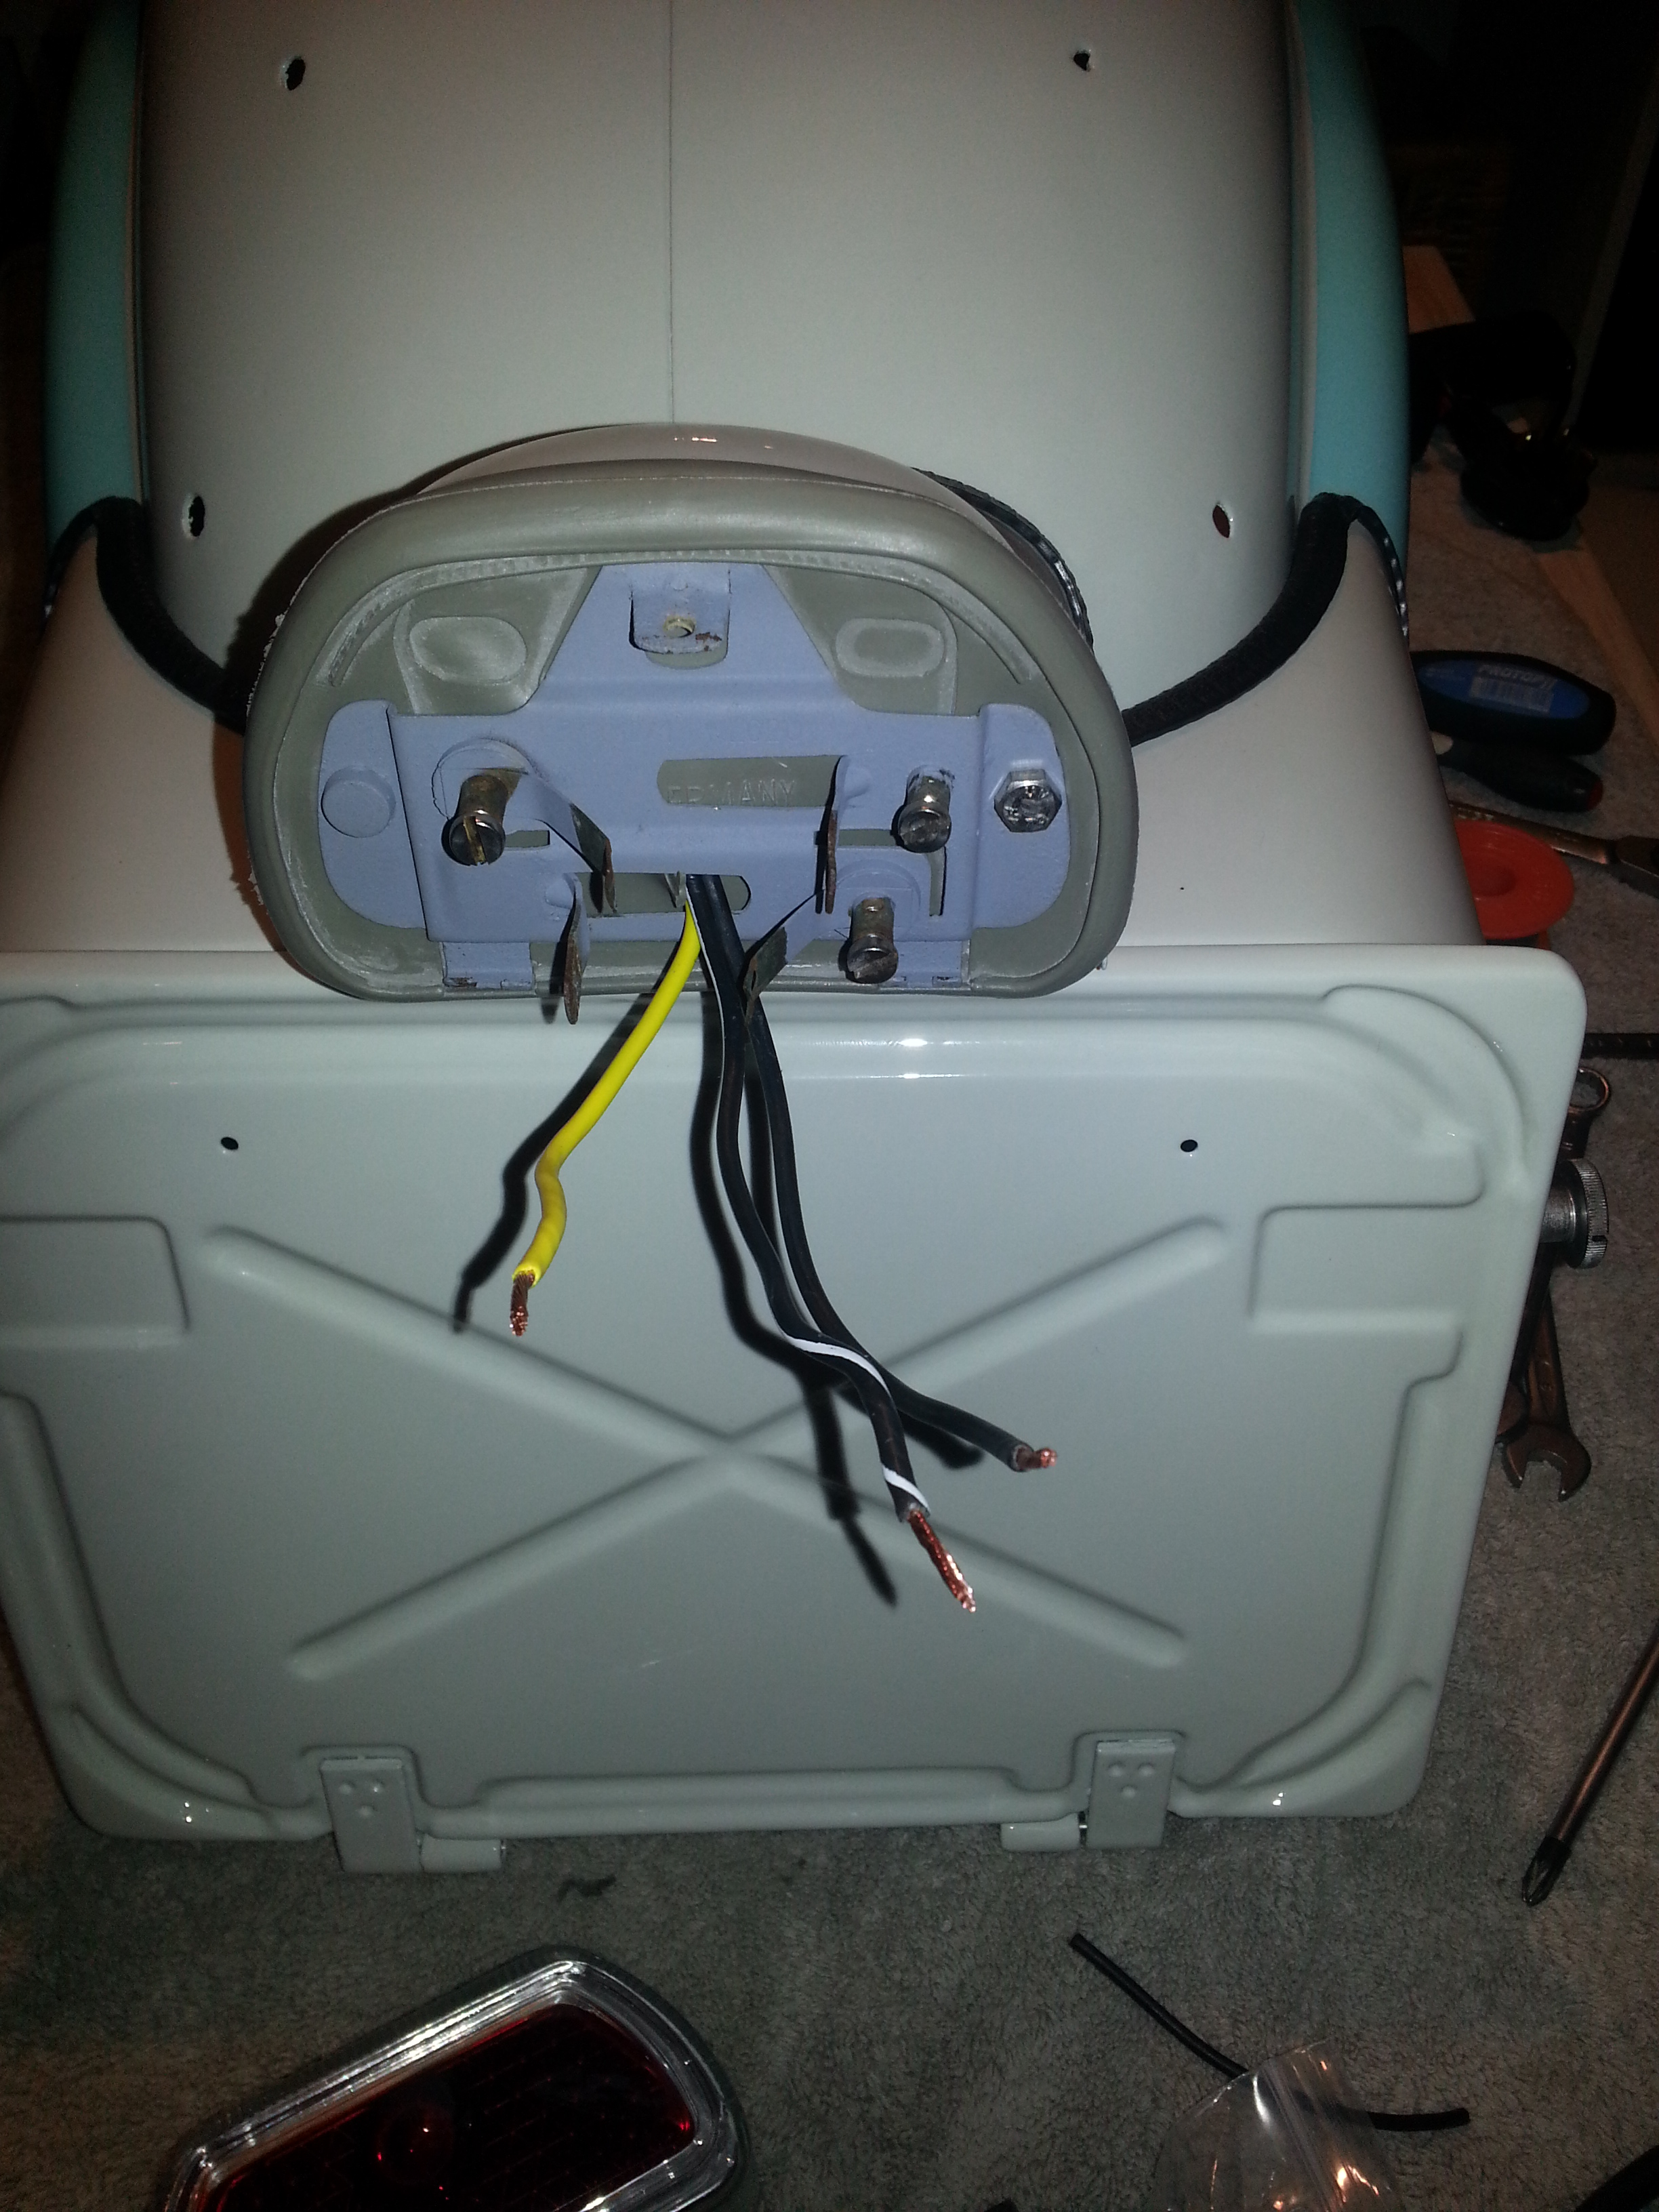
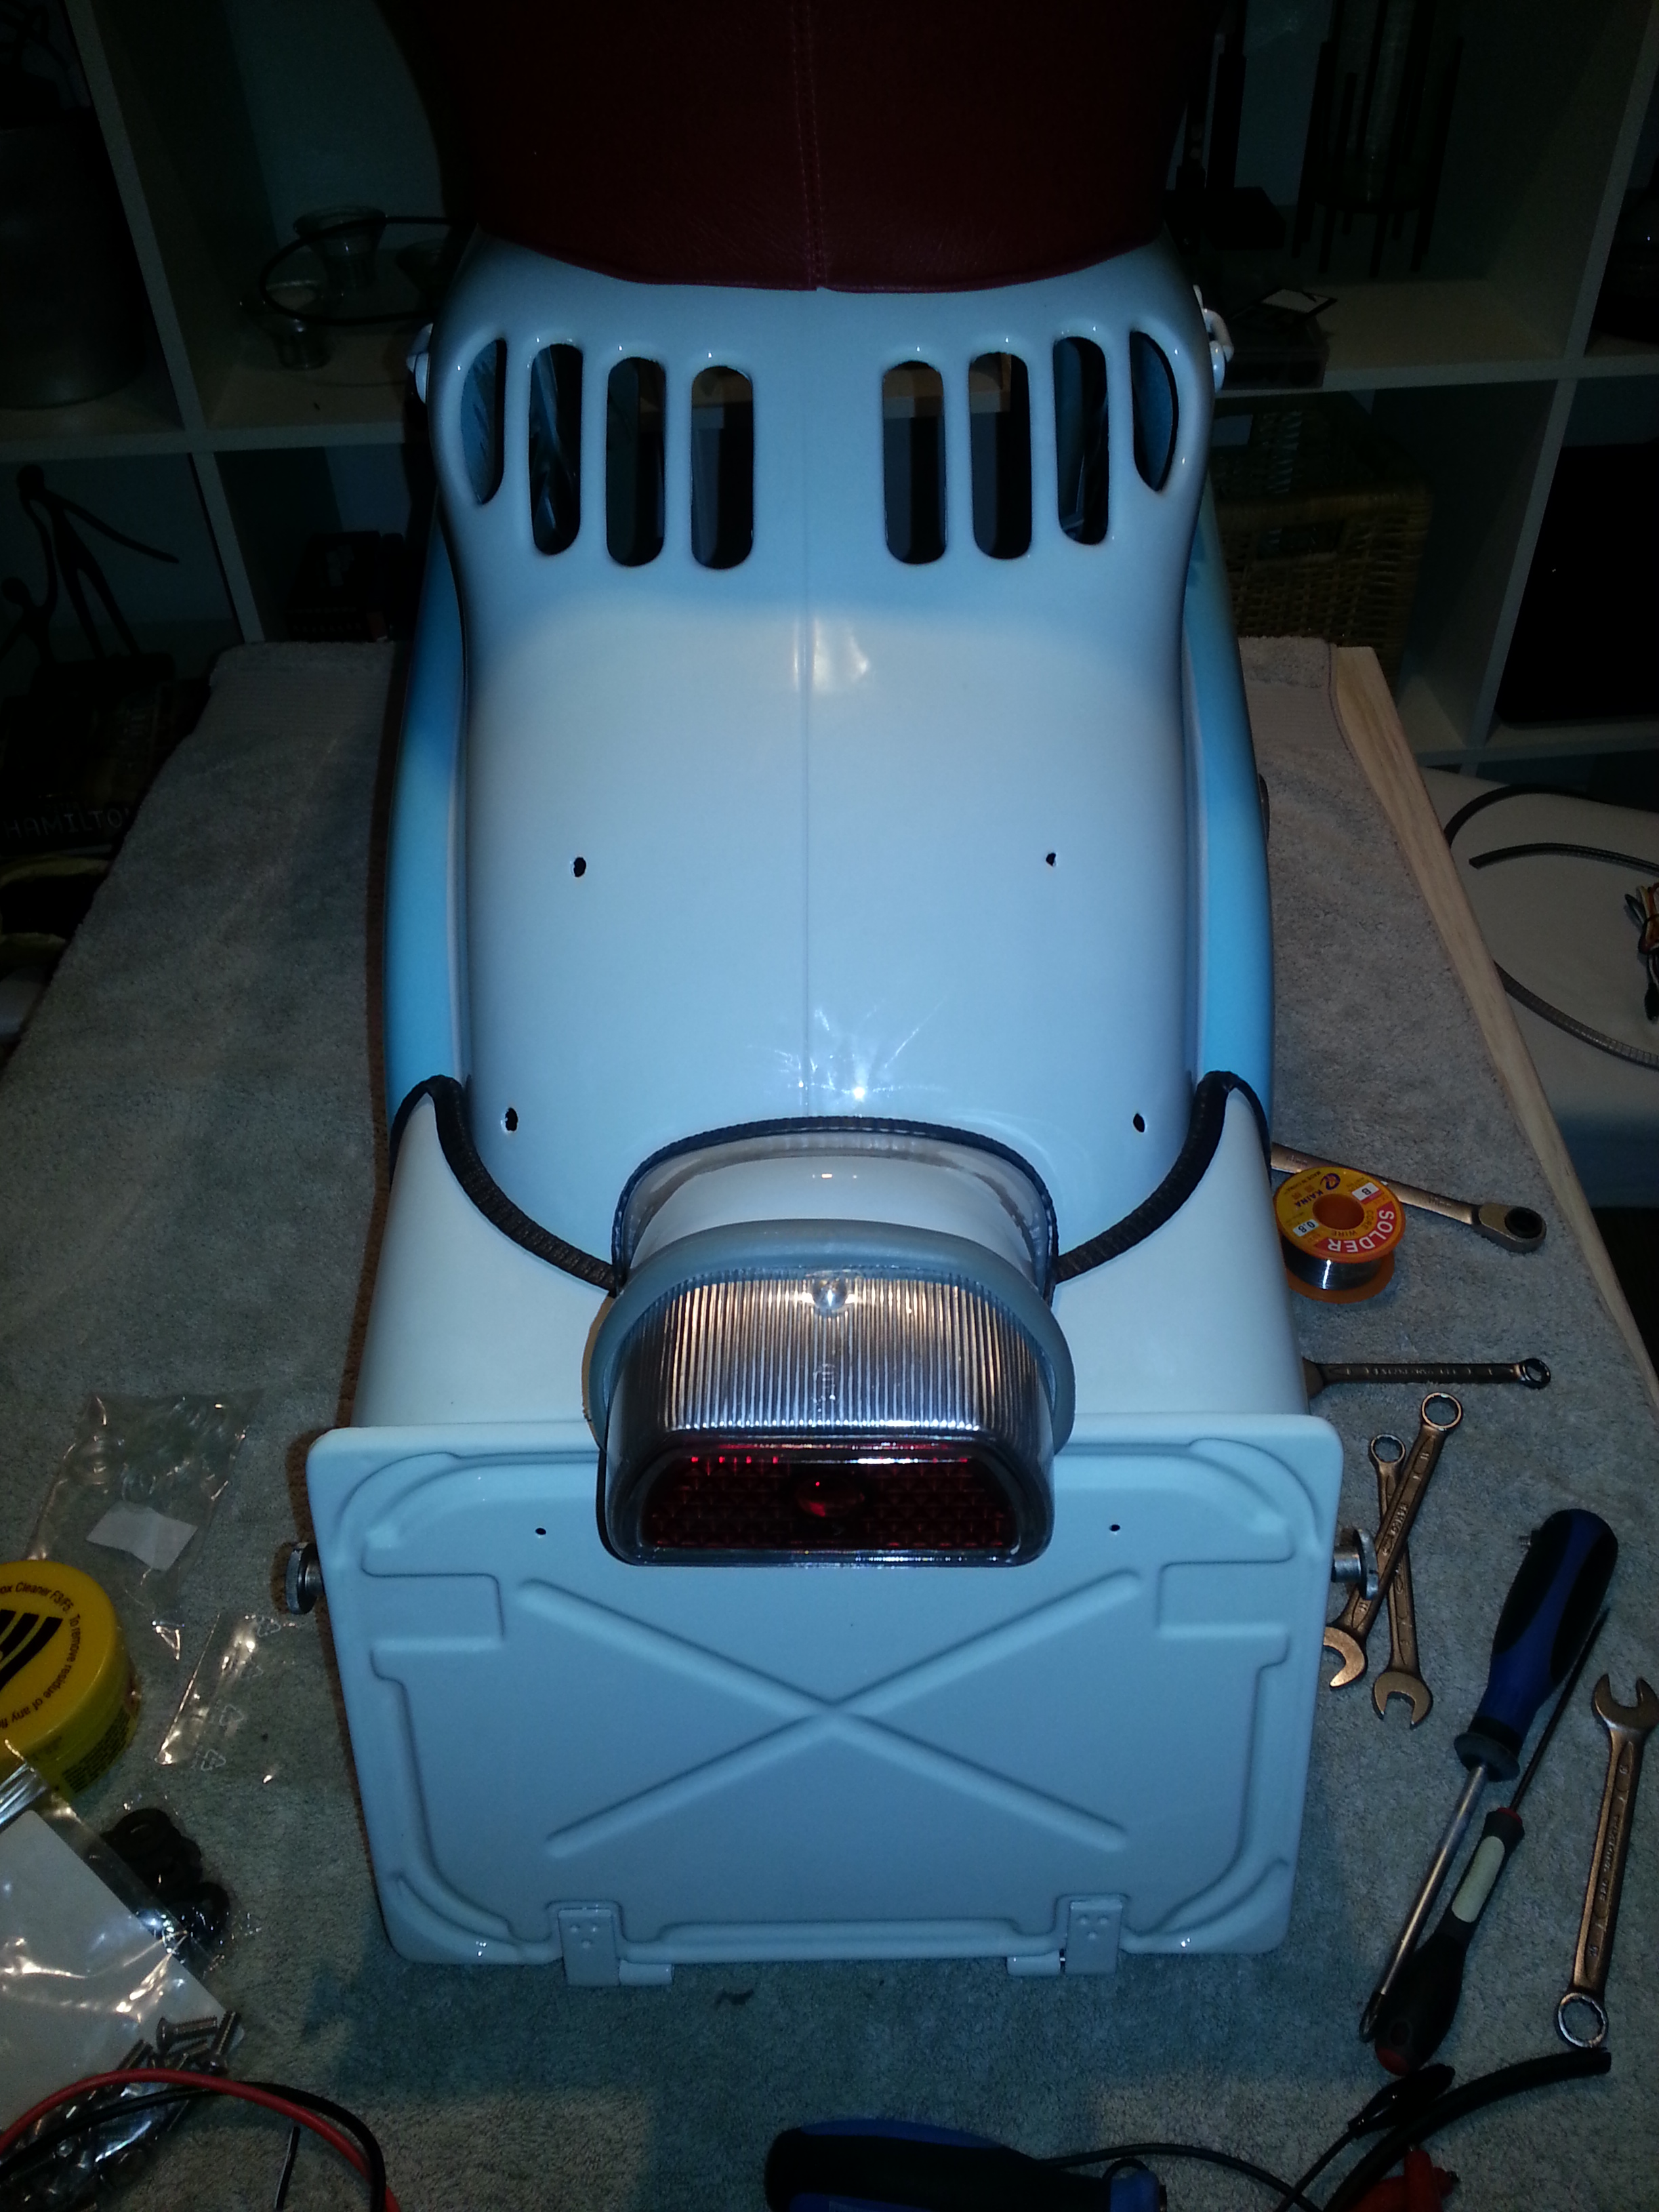
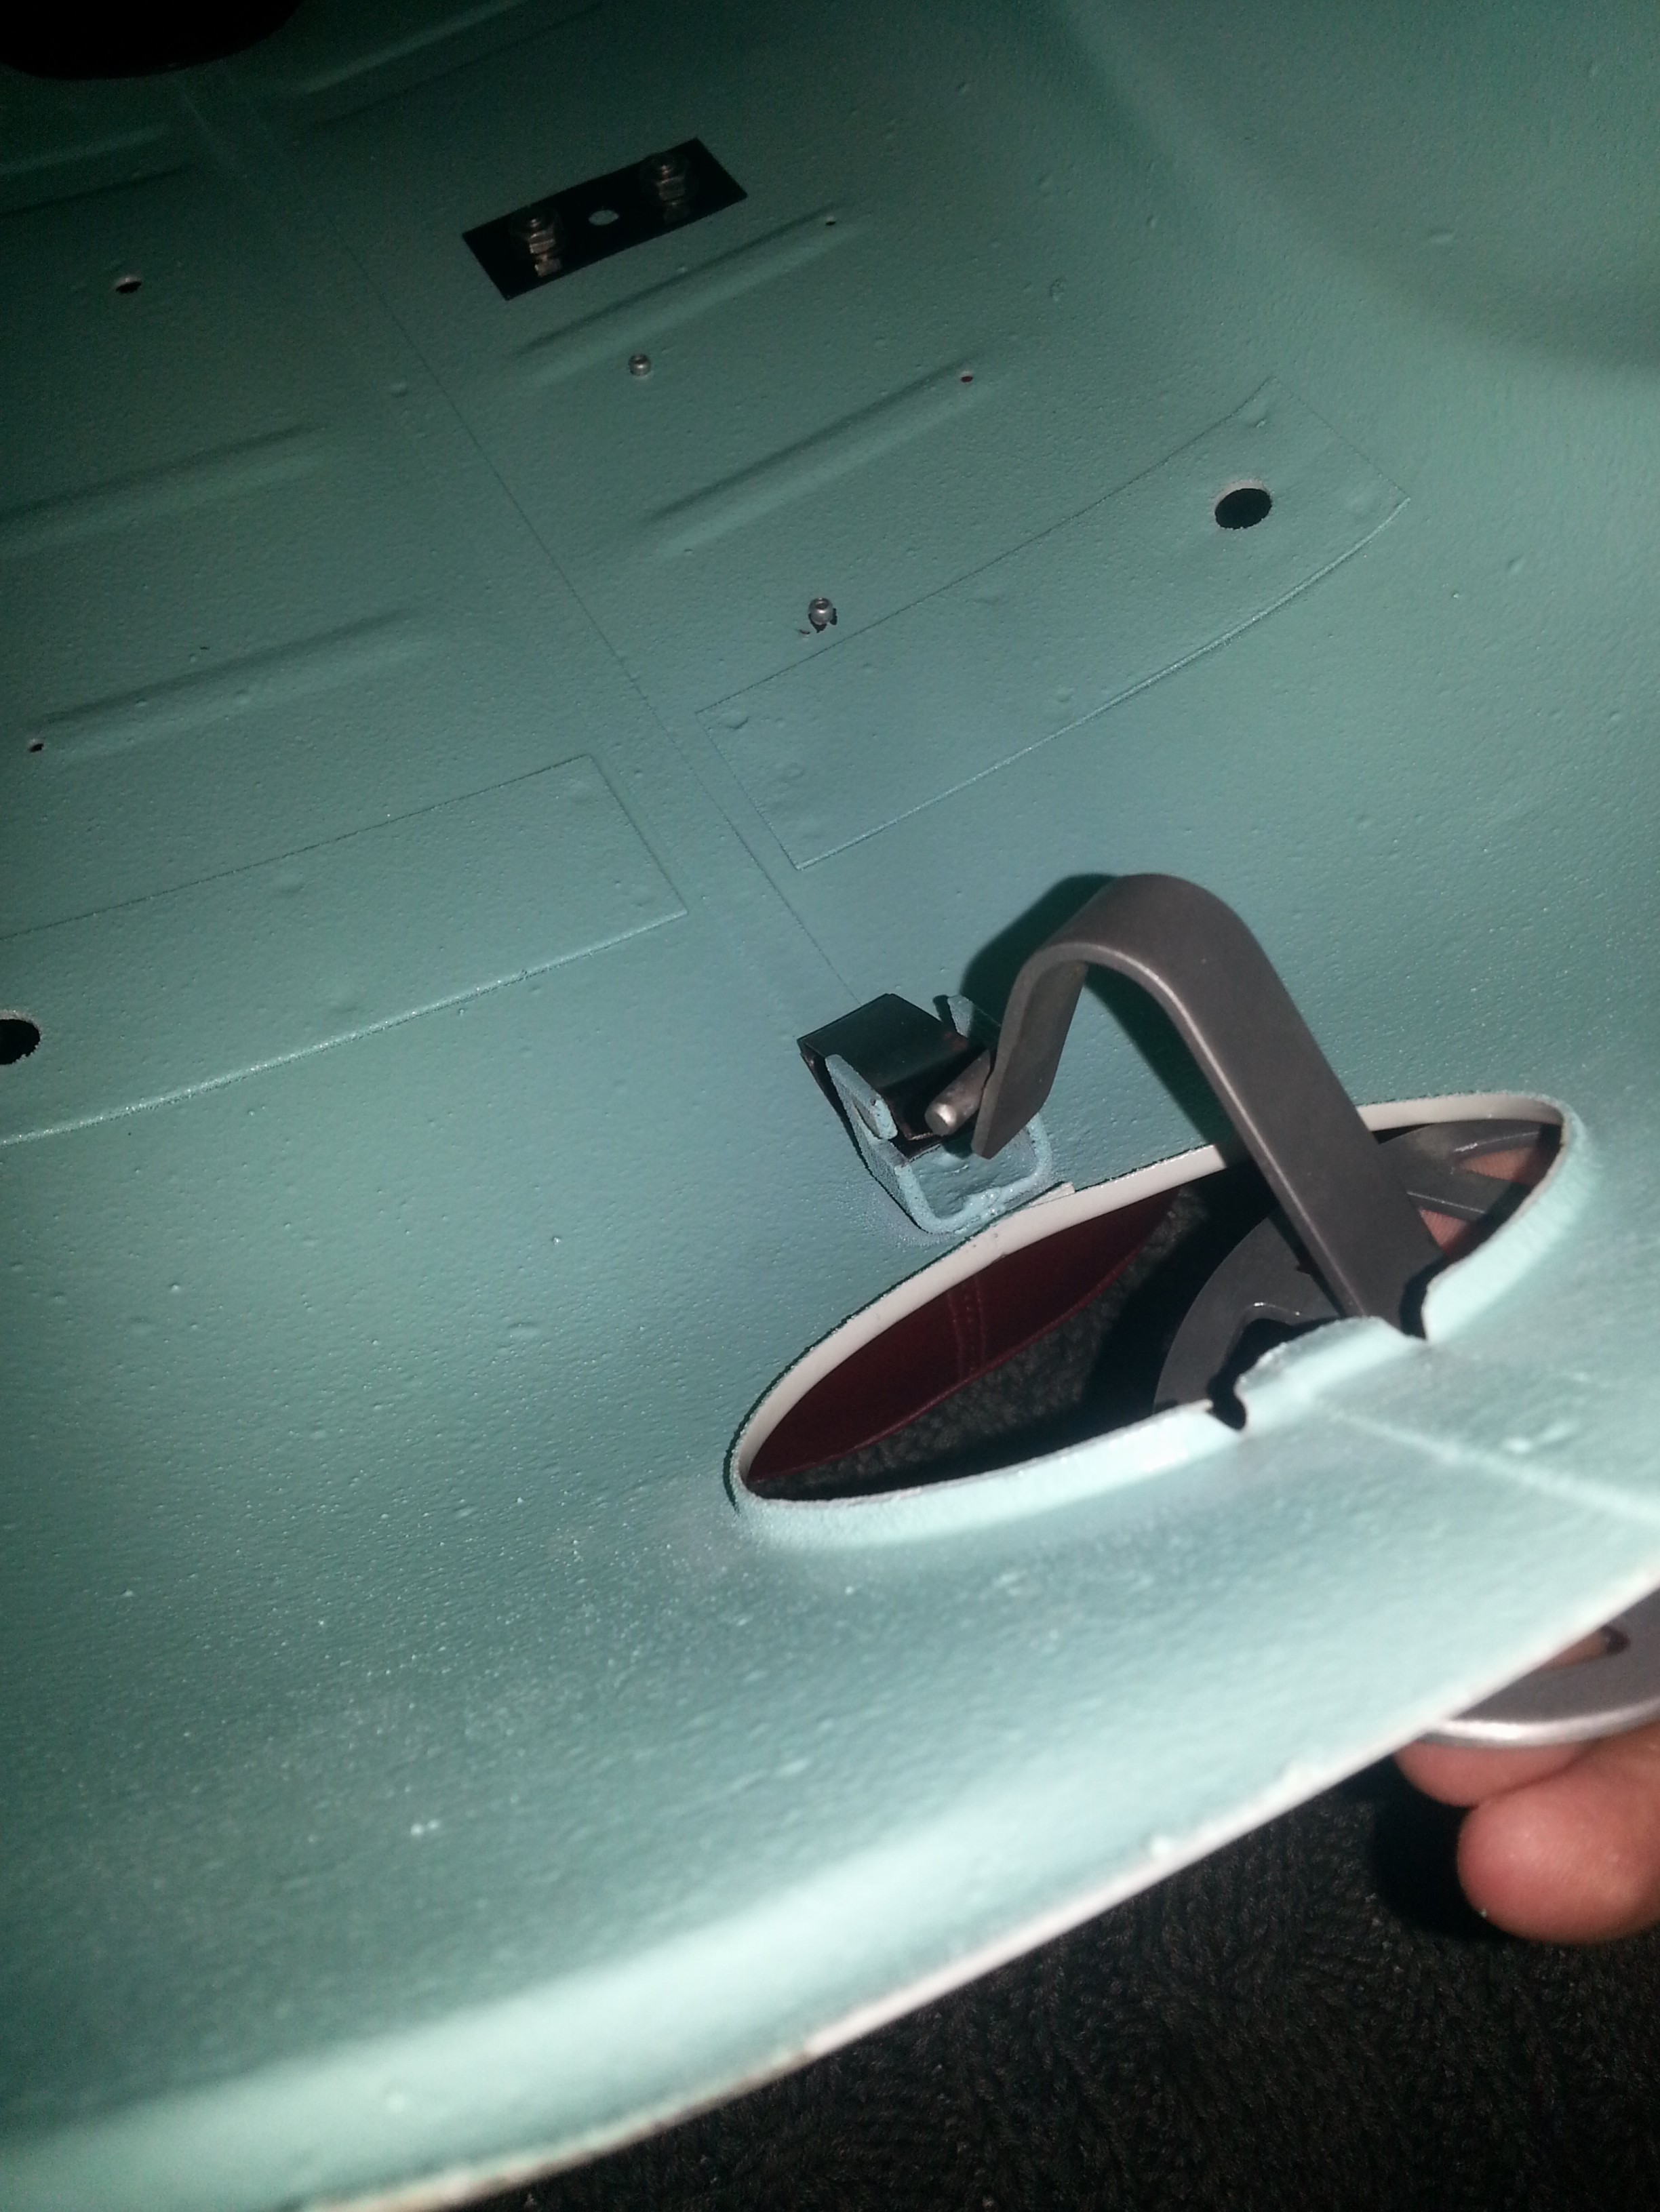
Finally the rear light needs to be mounted. This actually took a long time. The light holder was bent, rusted and almost beyond repair. Gently coaxing the lamp brackets back into shape was needed, straightening the holder use an anvil and hammer and finally a base coat of paint. Before installing the wiring needs to be put in place:
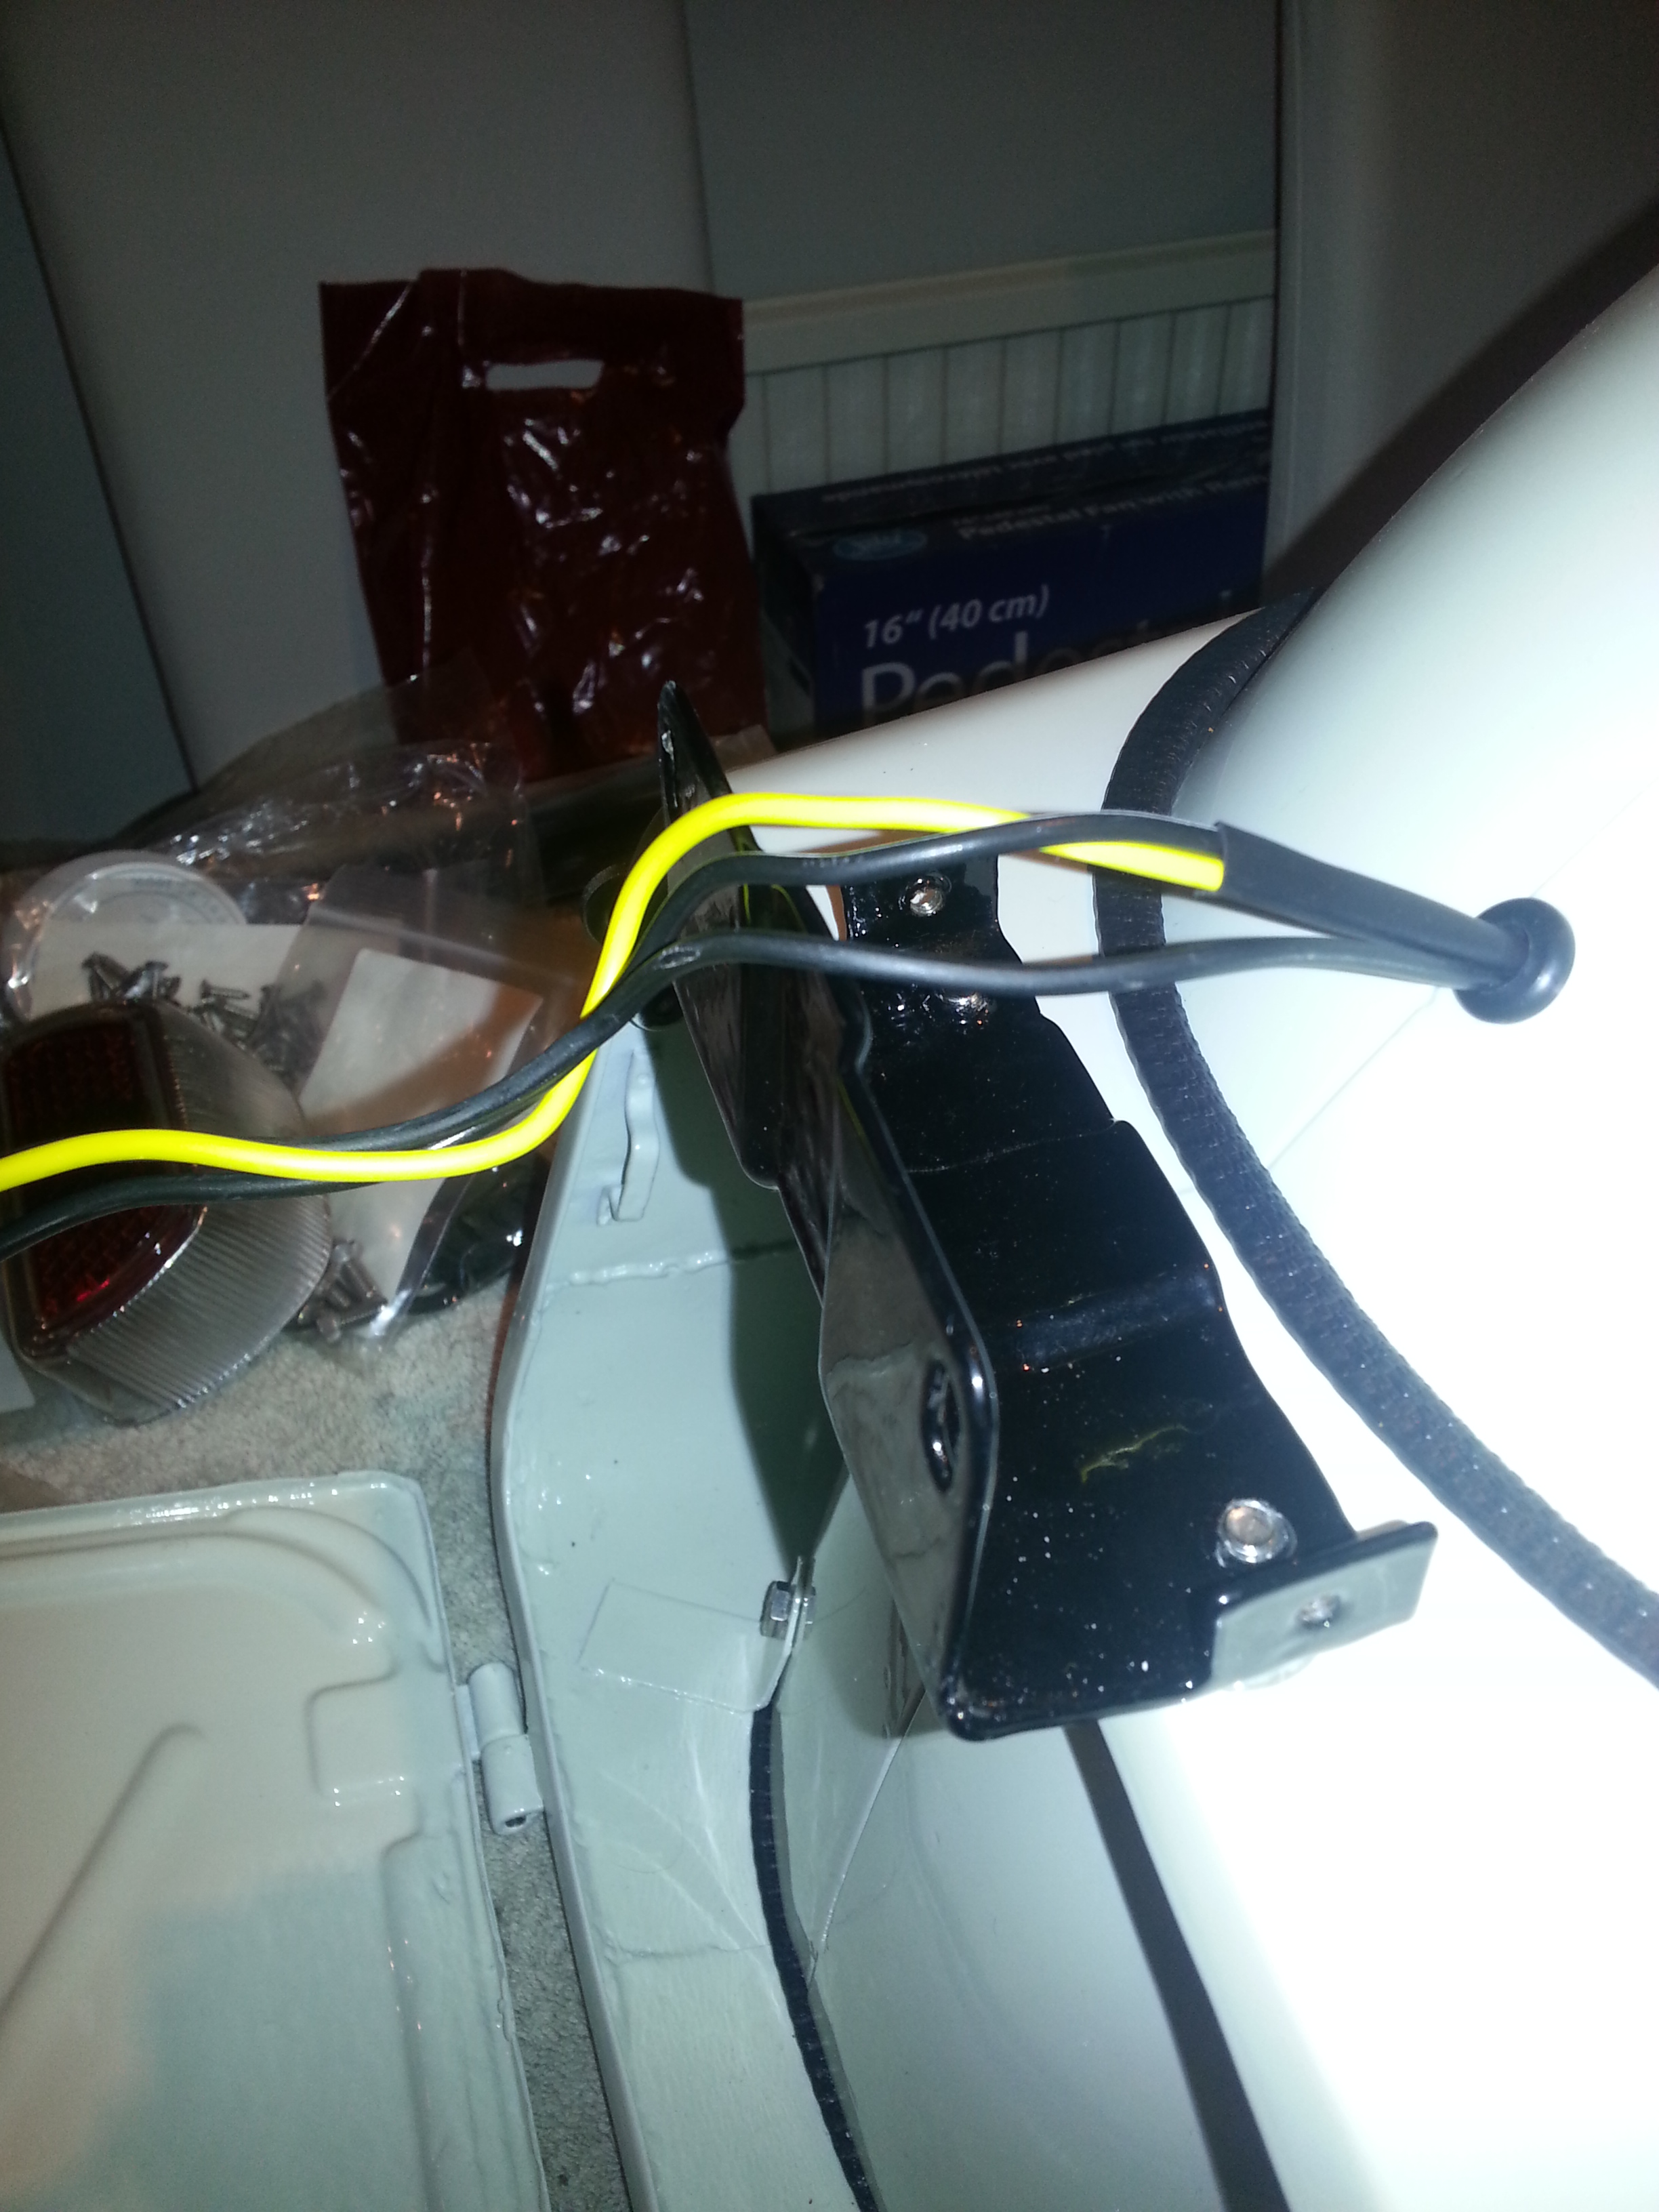
You will see a yellow wire to the brake light, a black and white wire to the rear lamp and a black grounding wire that I attached to one of the toolbox mounting screws (use a toothed washer to ensure contact).
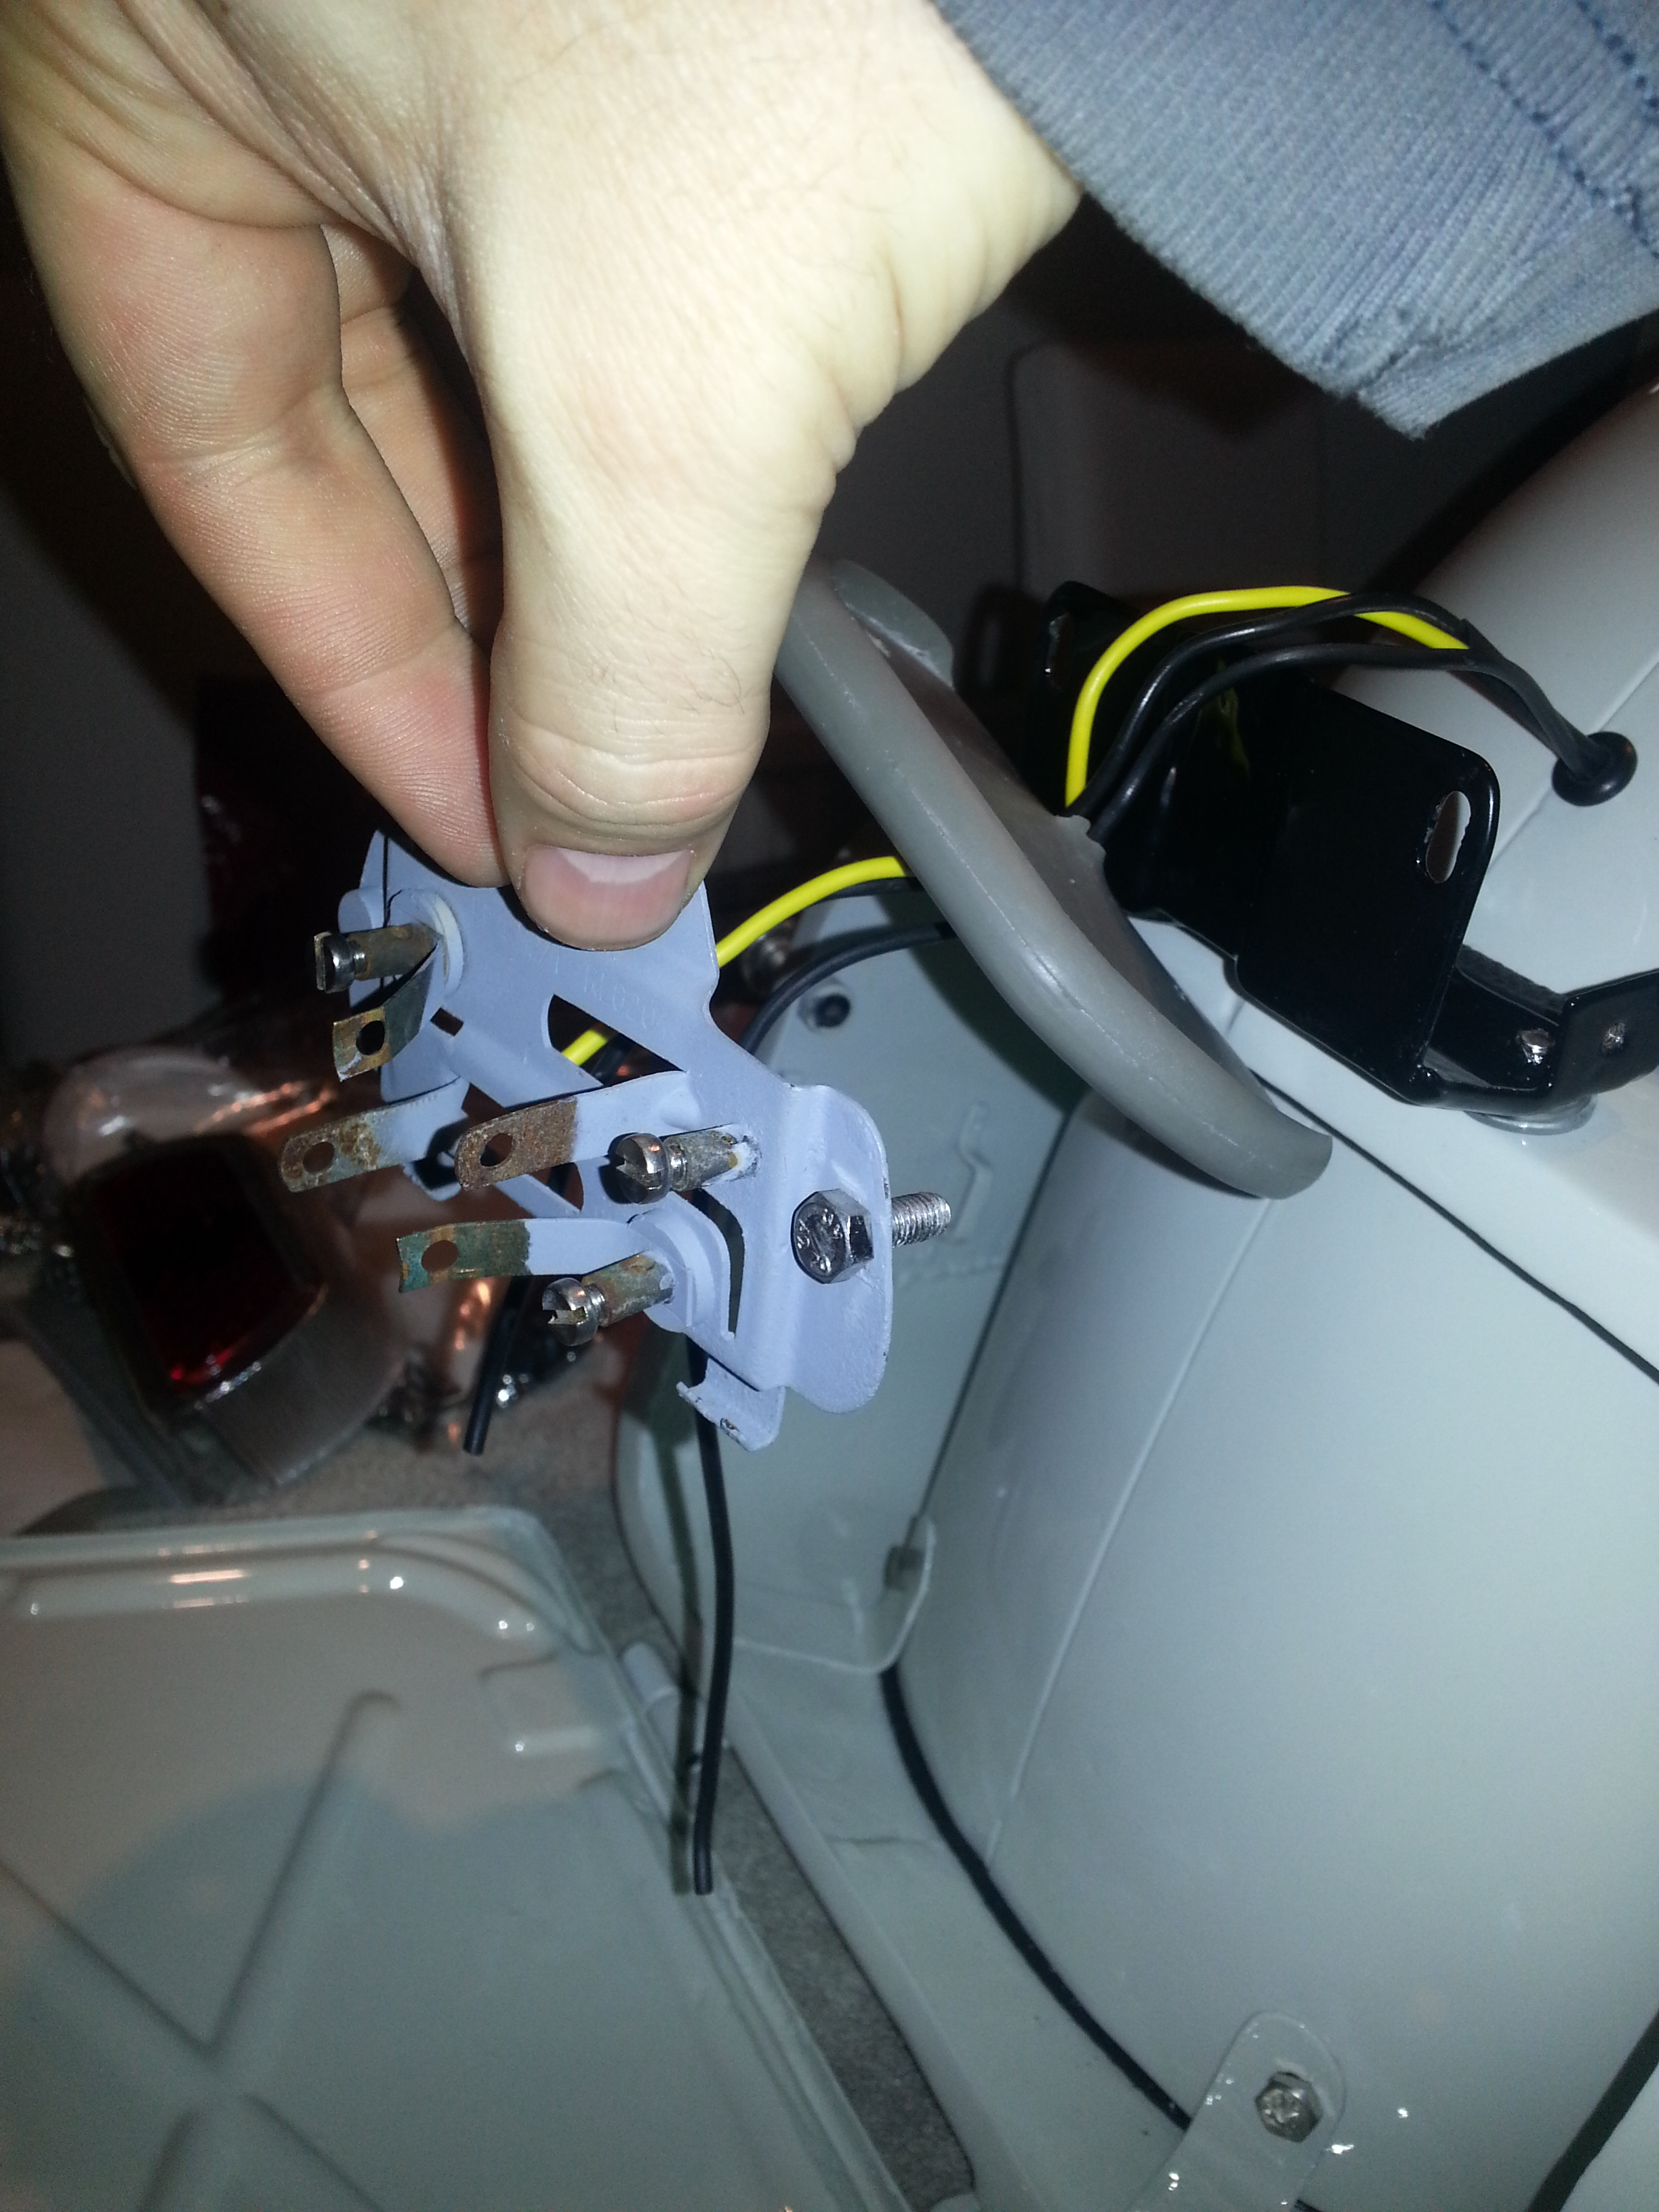
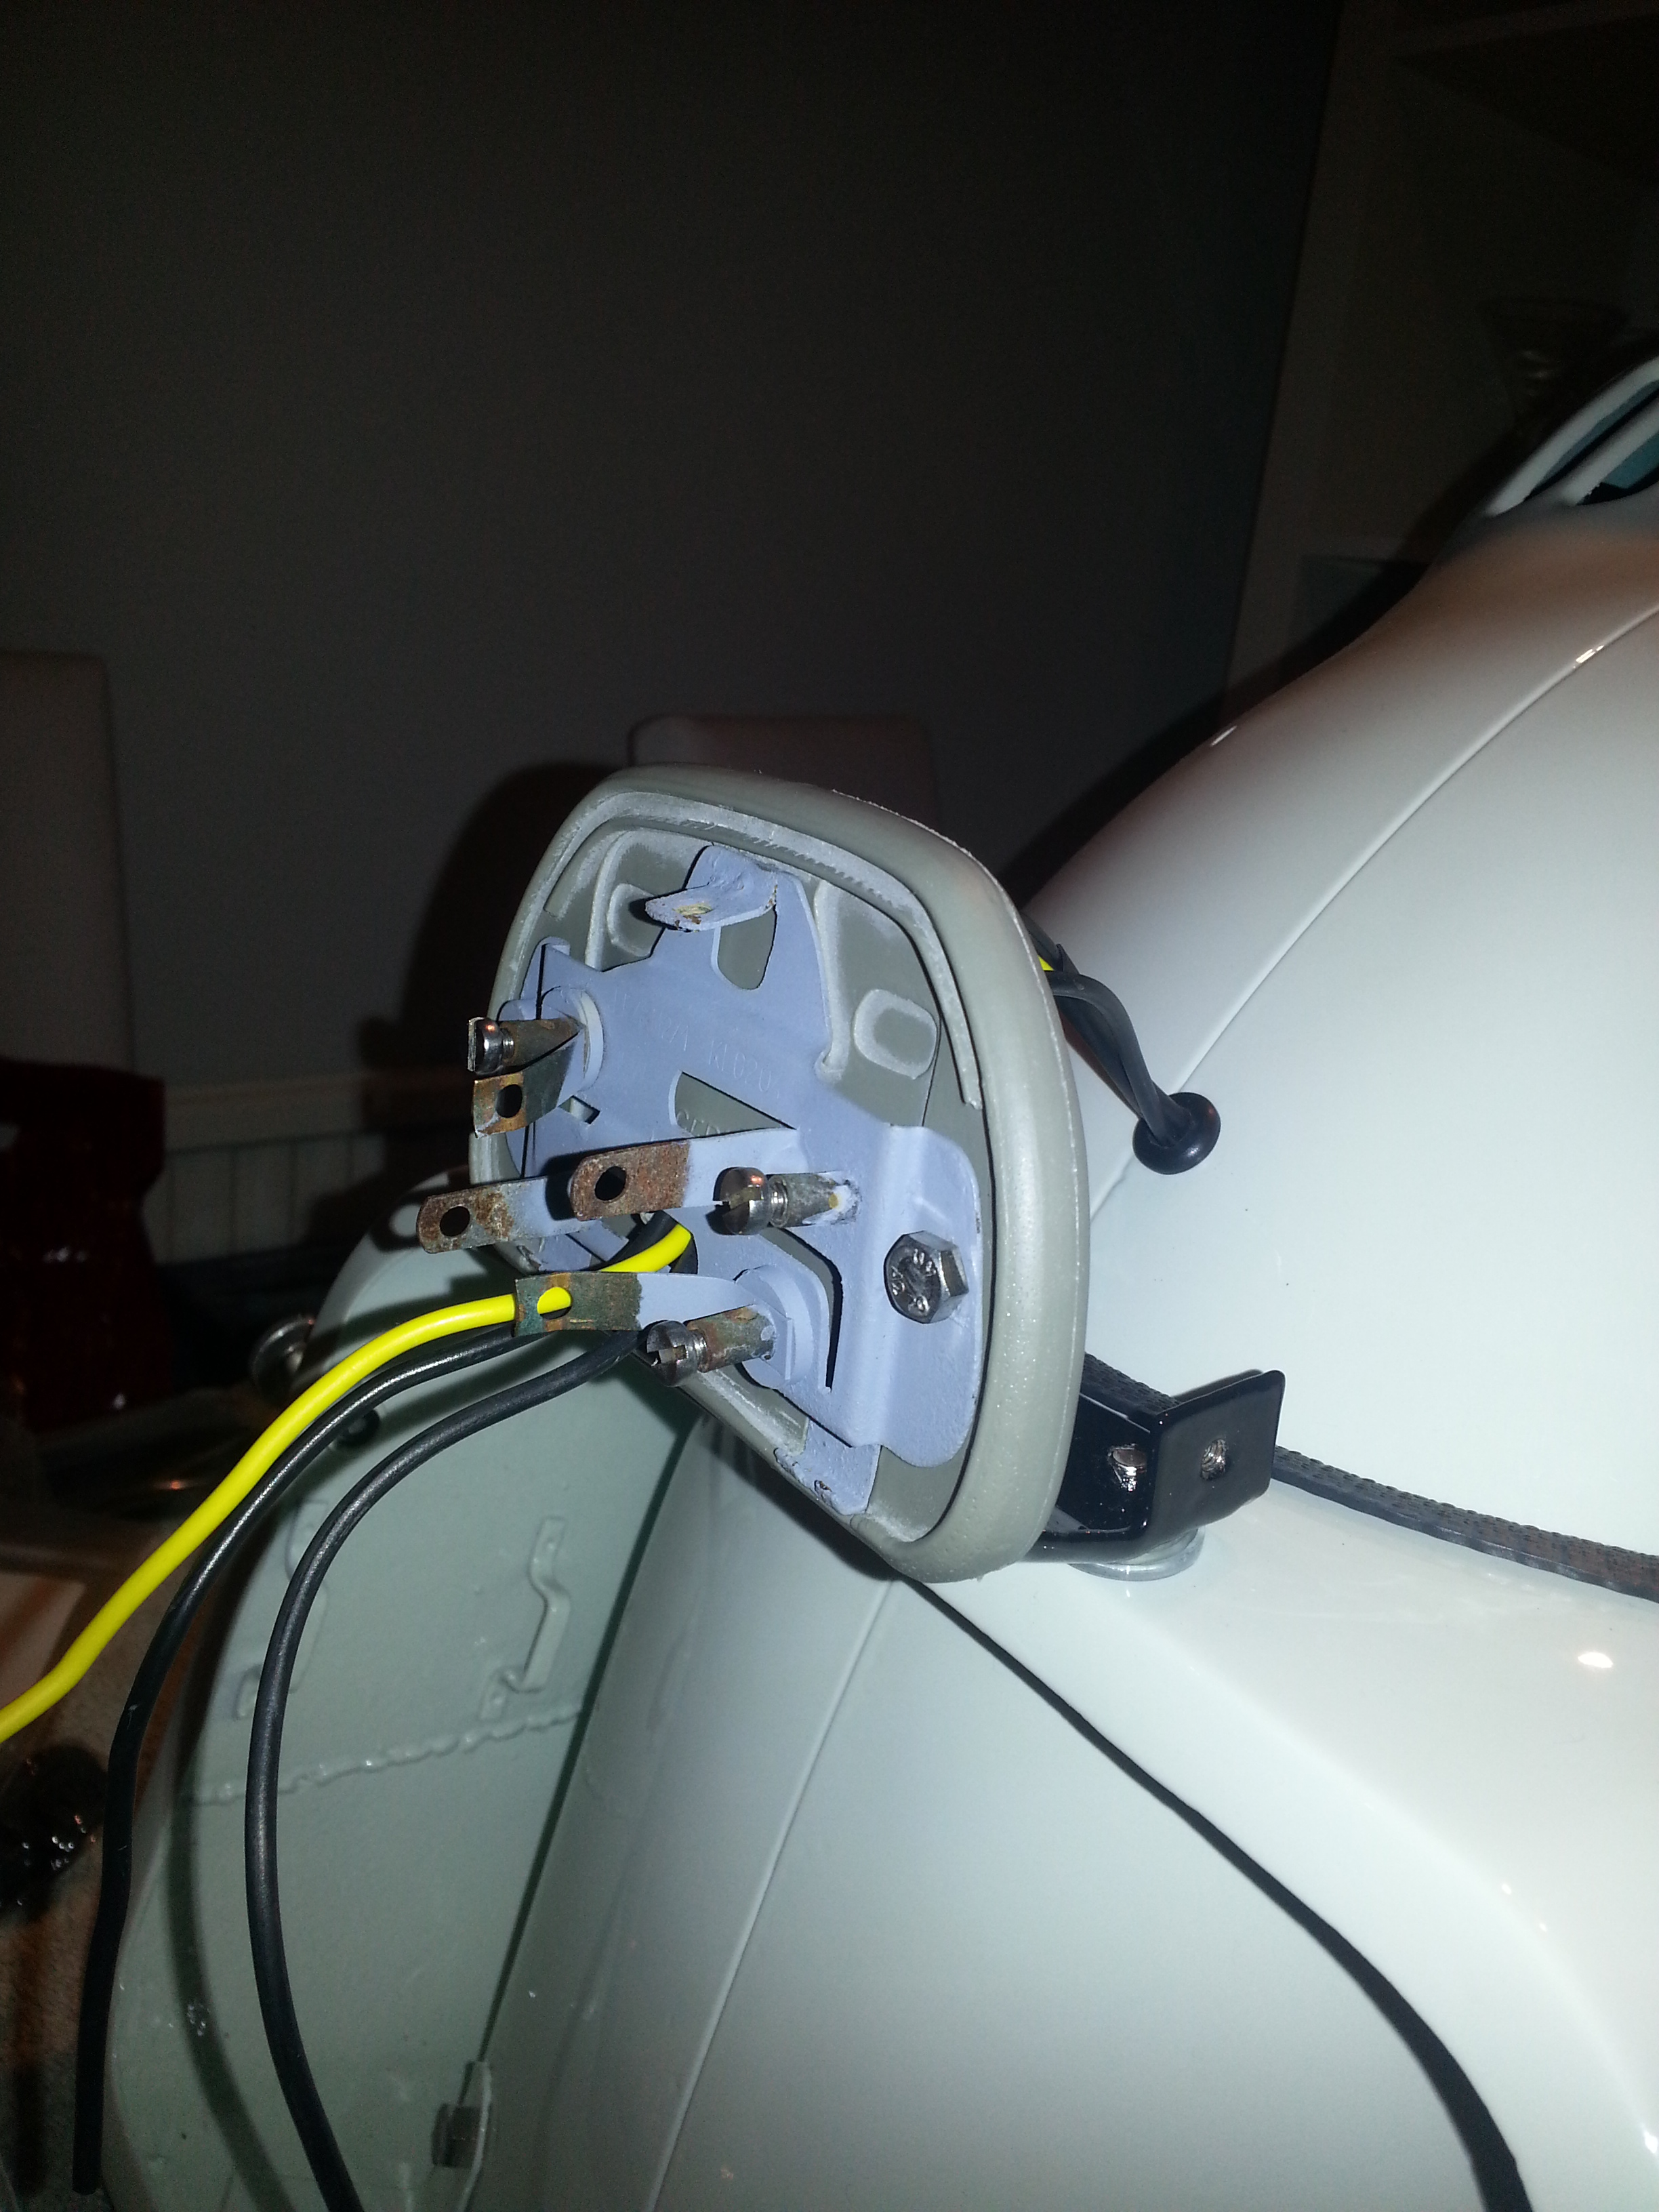
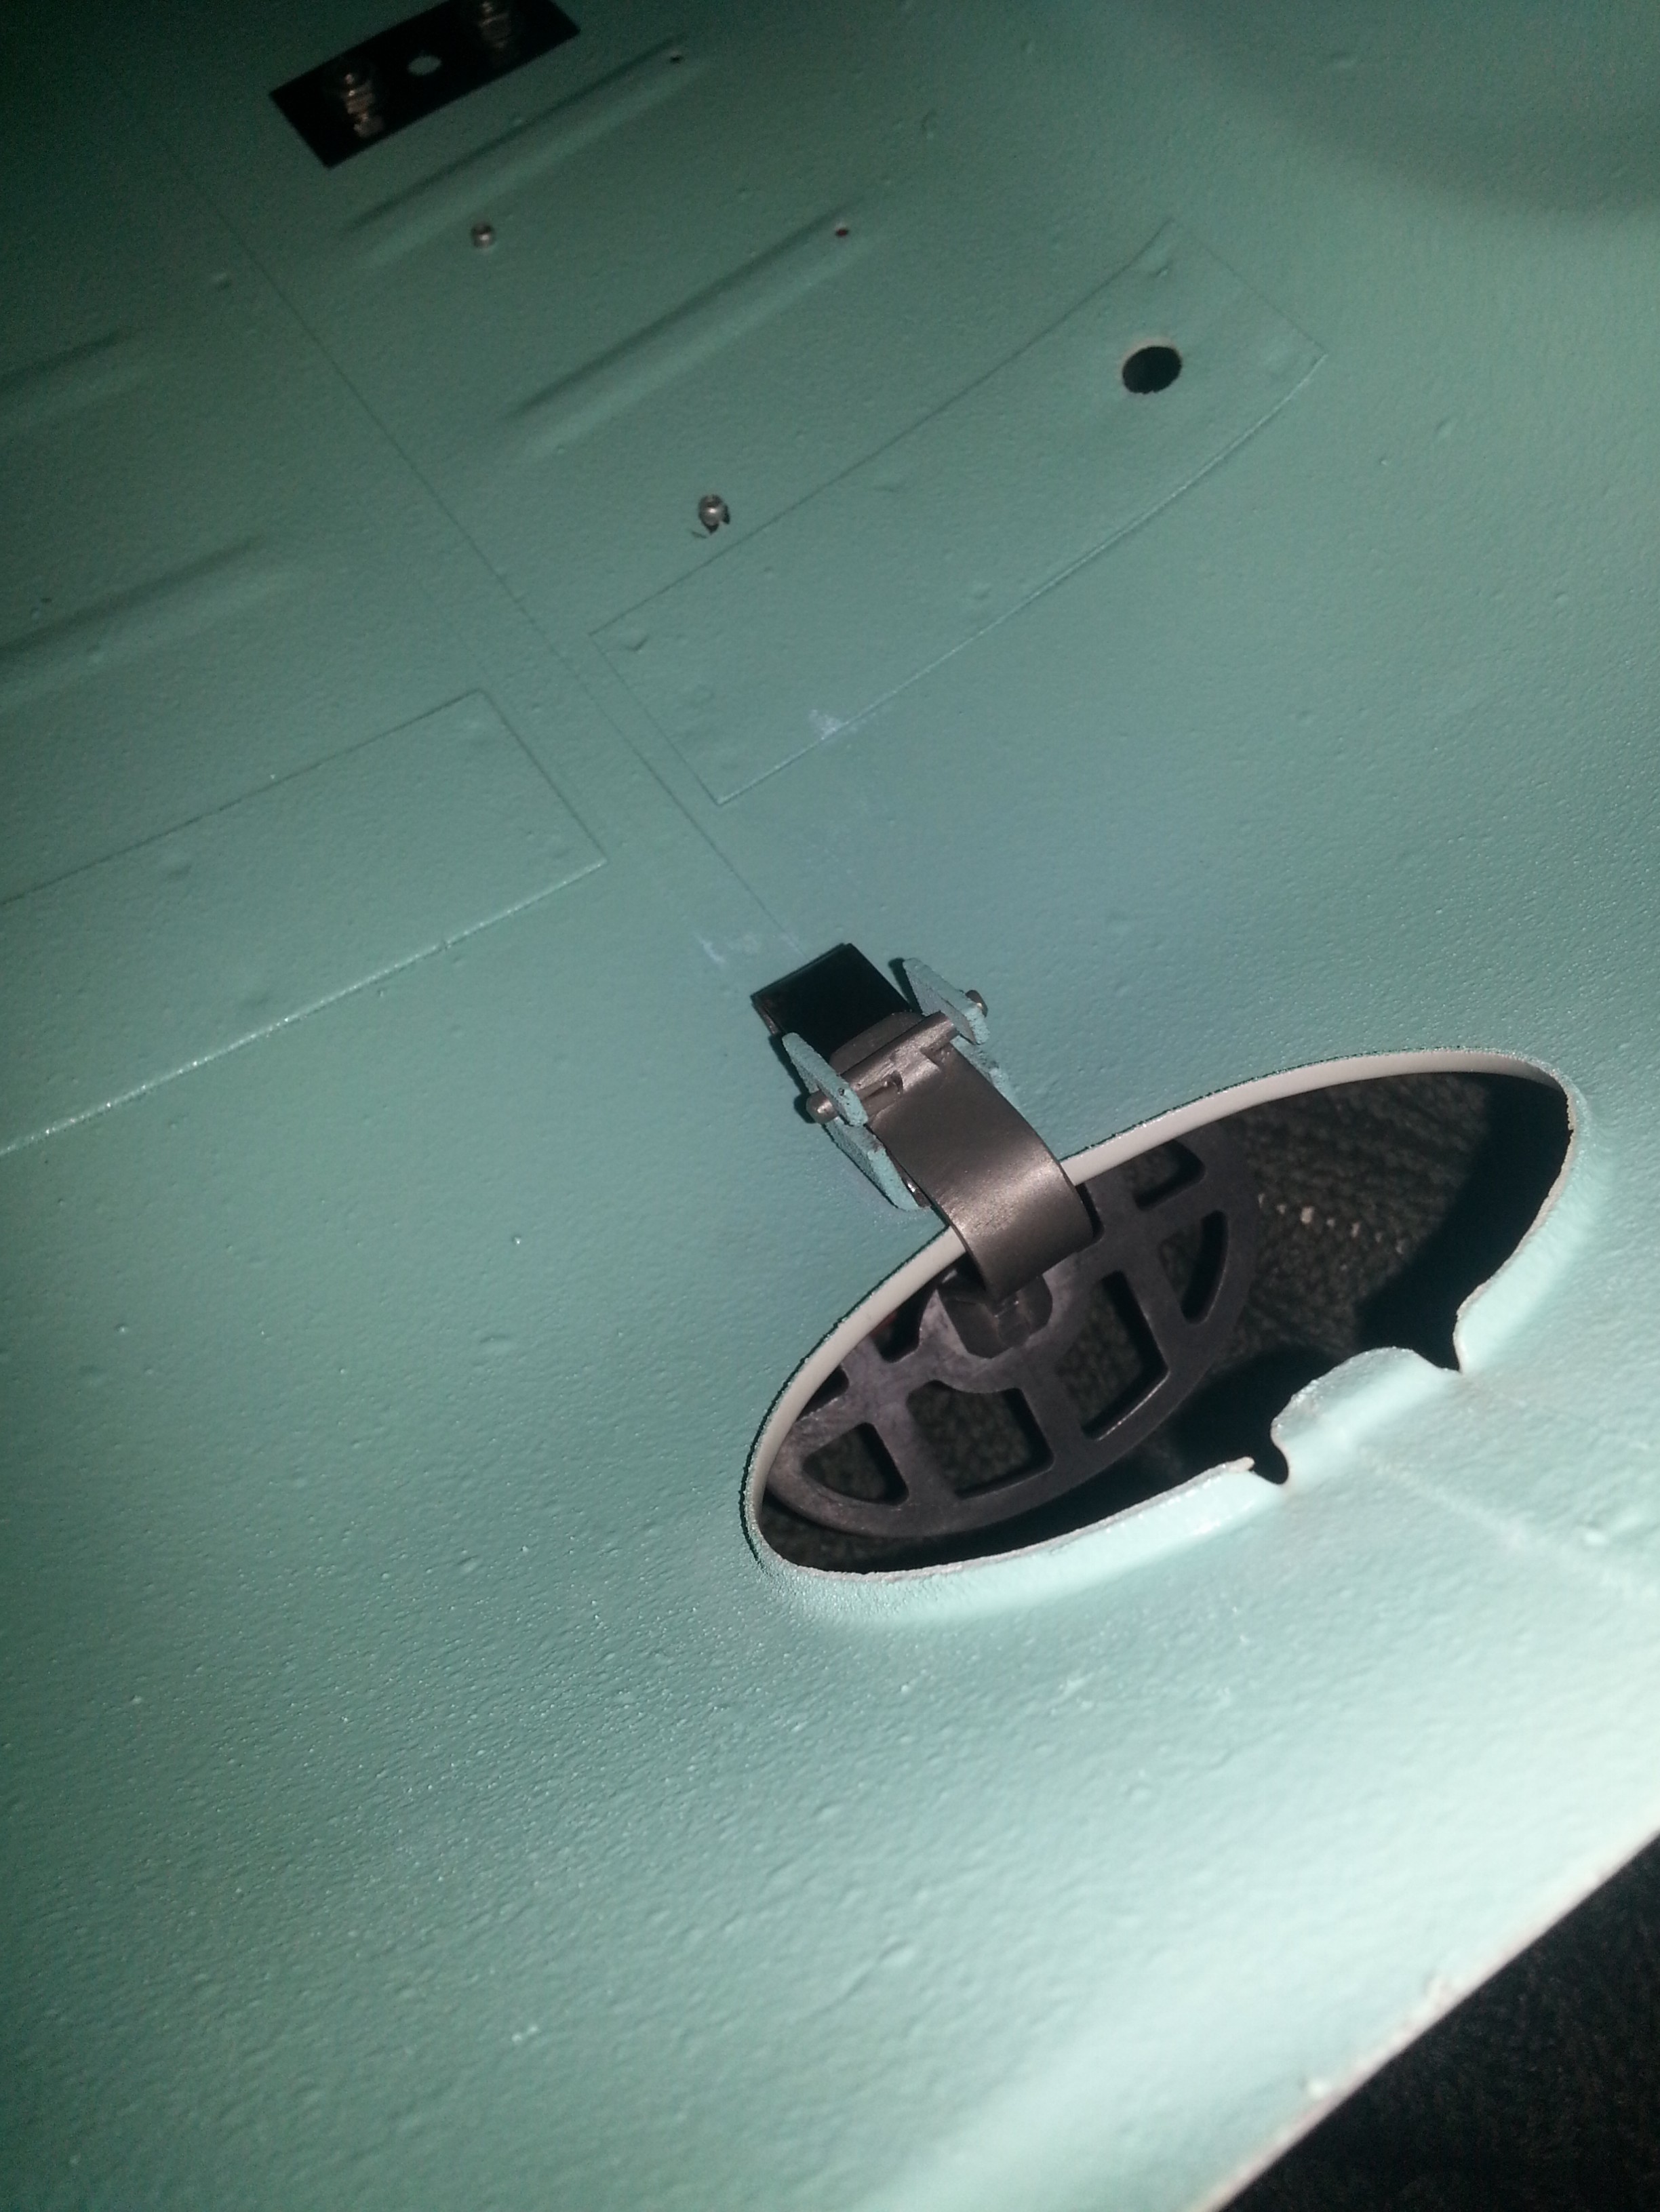
You can see how the lamp bracket is mounted. The toolbox lid is supposed to fit underneath, but in my case didn’t quite make it. I had to increase the height of the bracket using some washers:

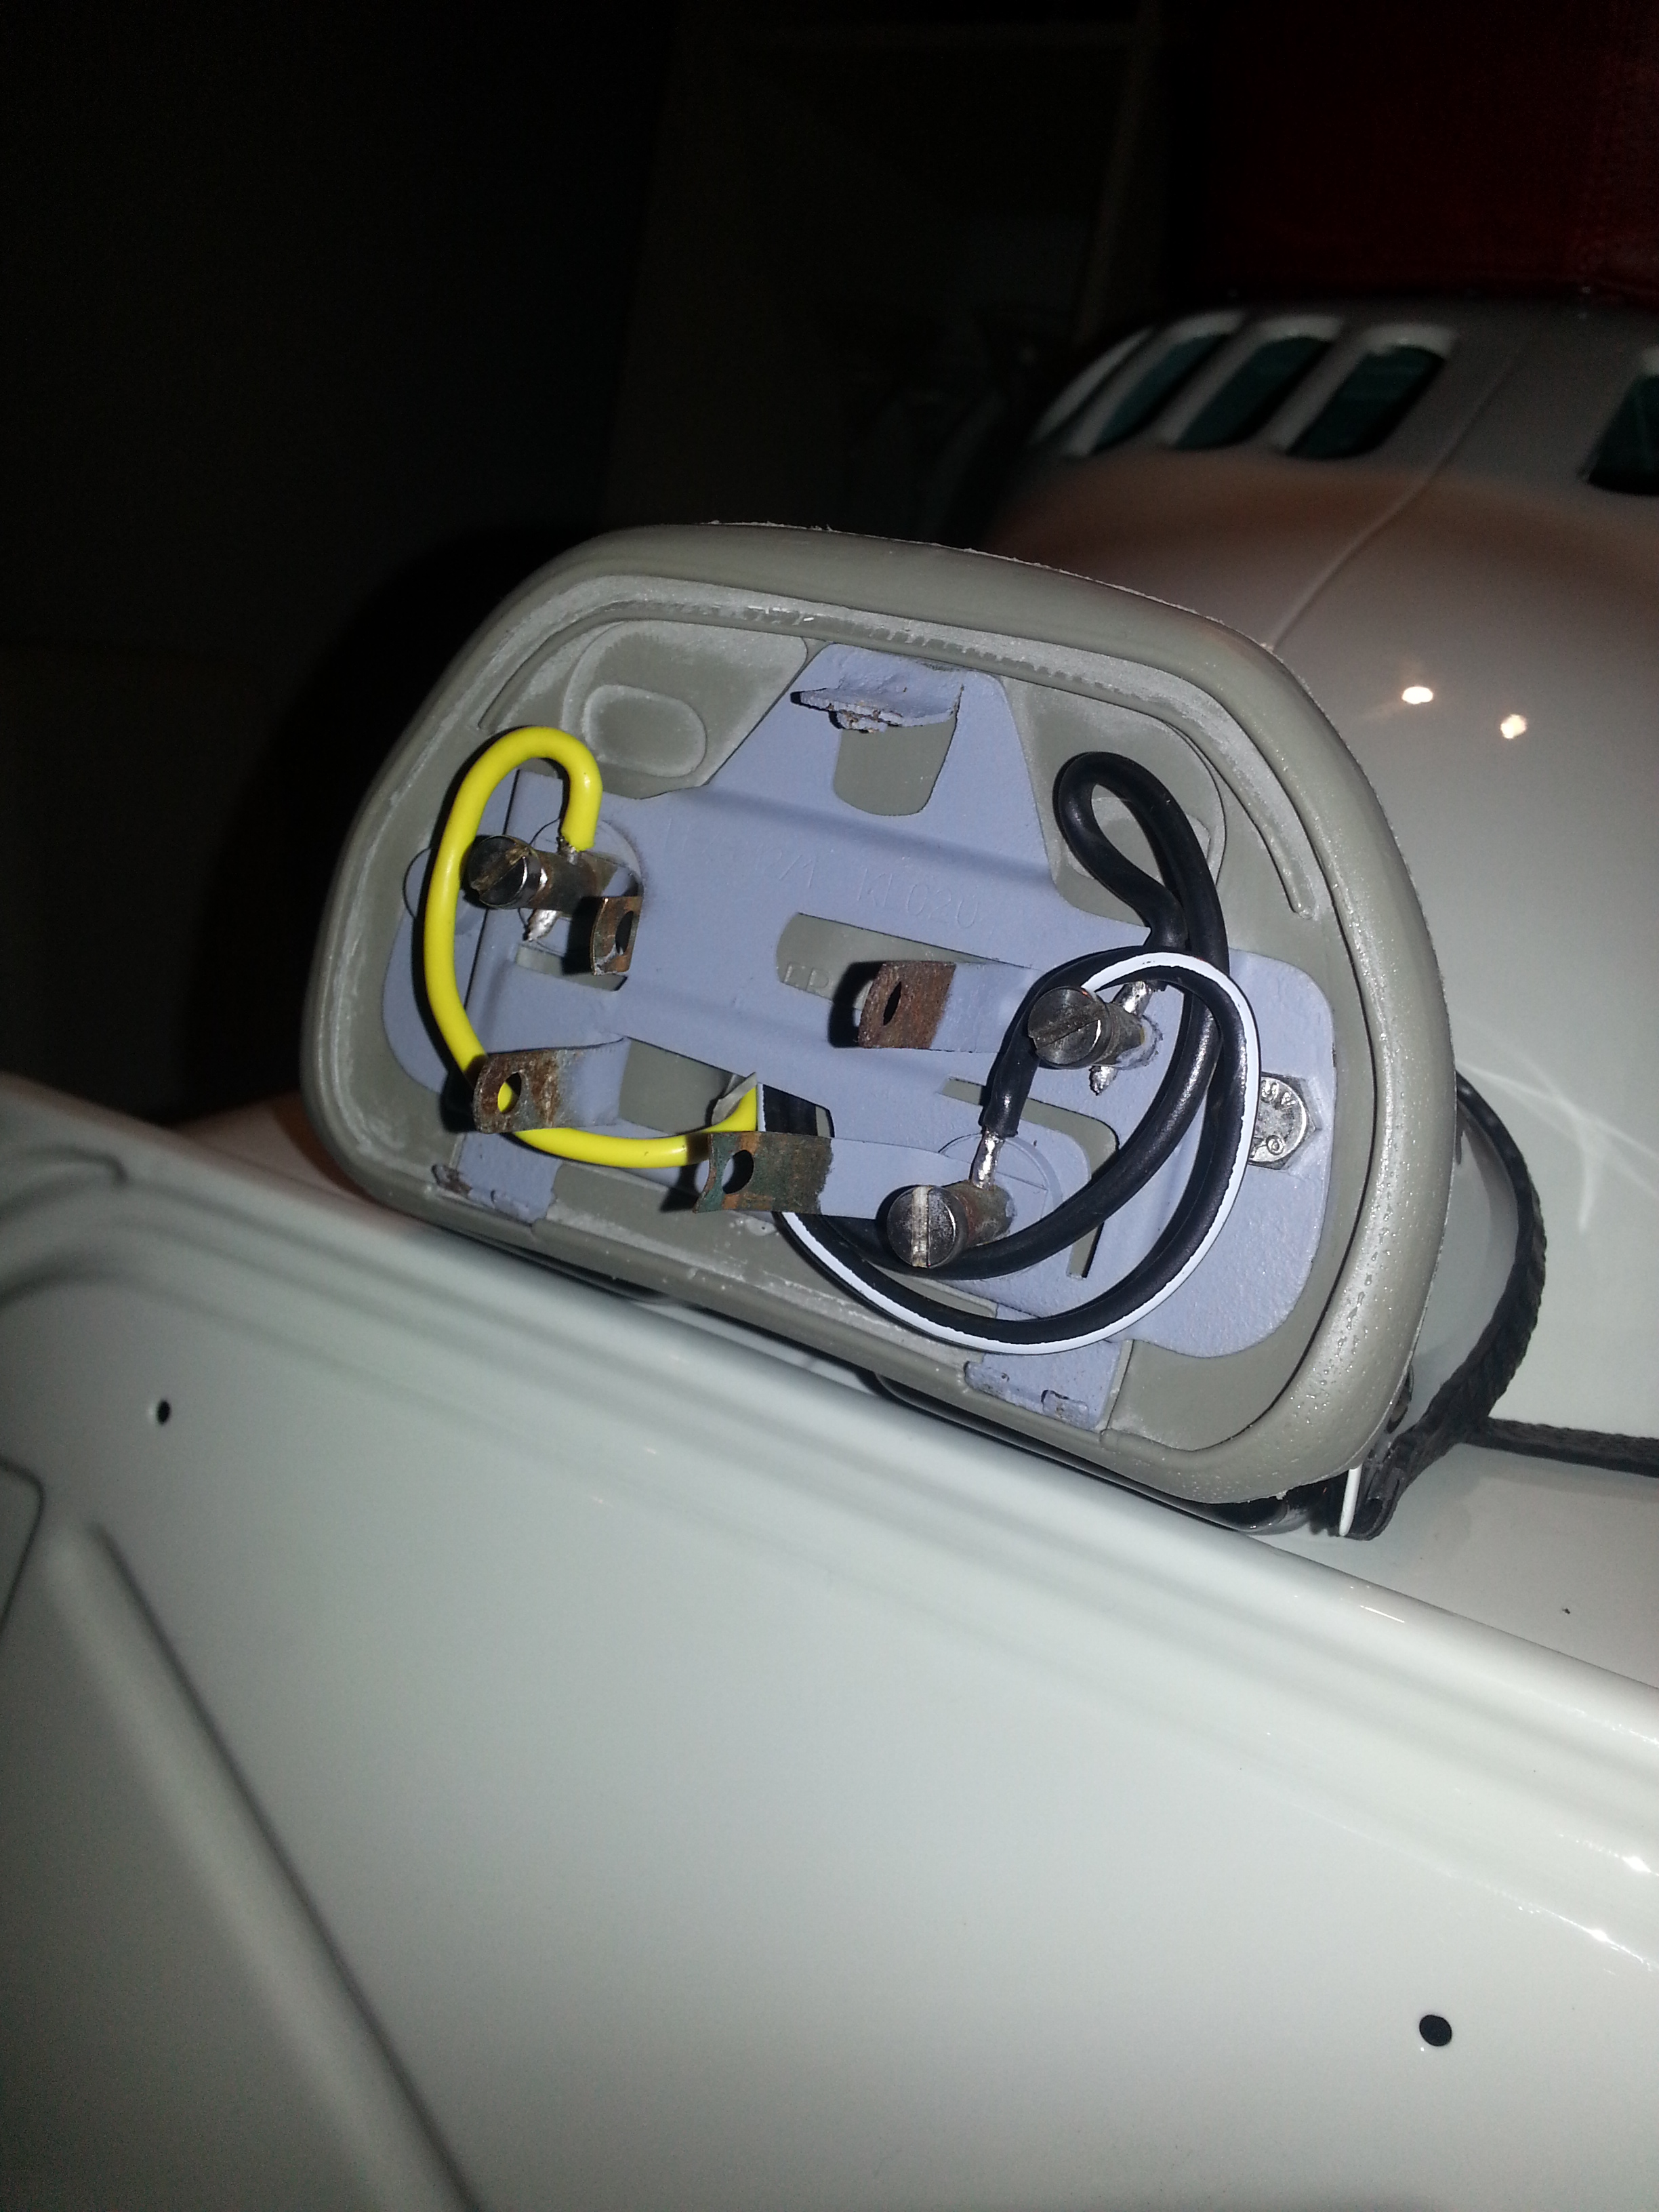
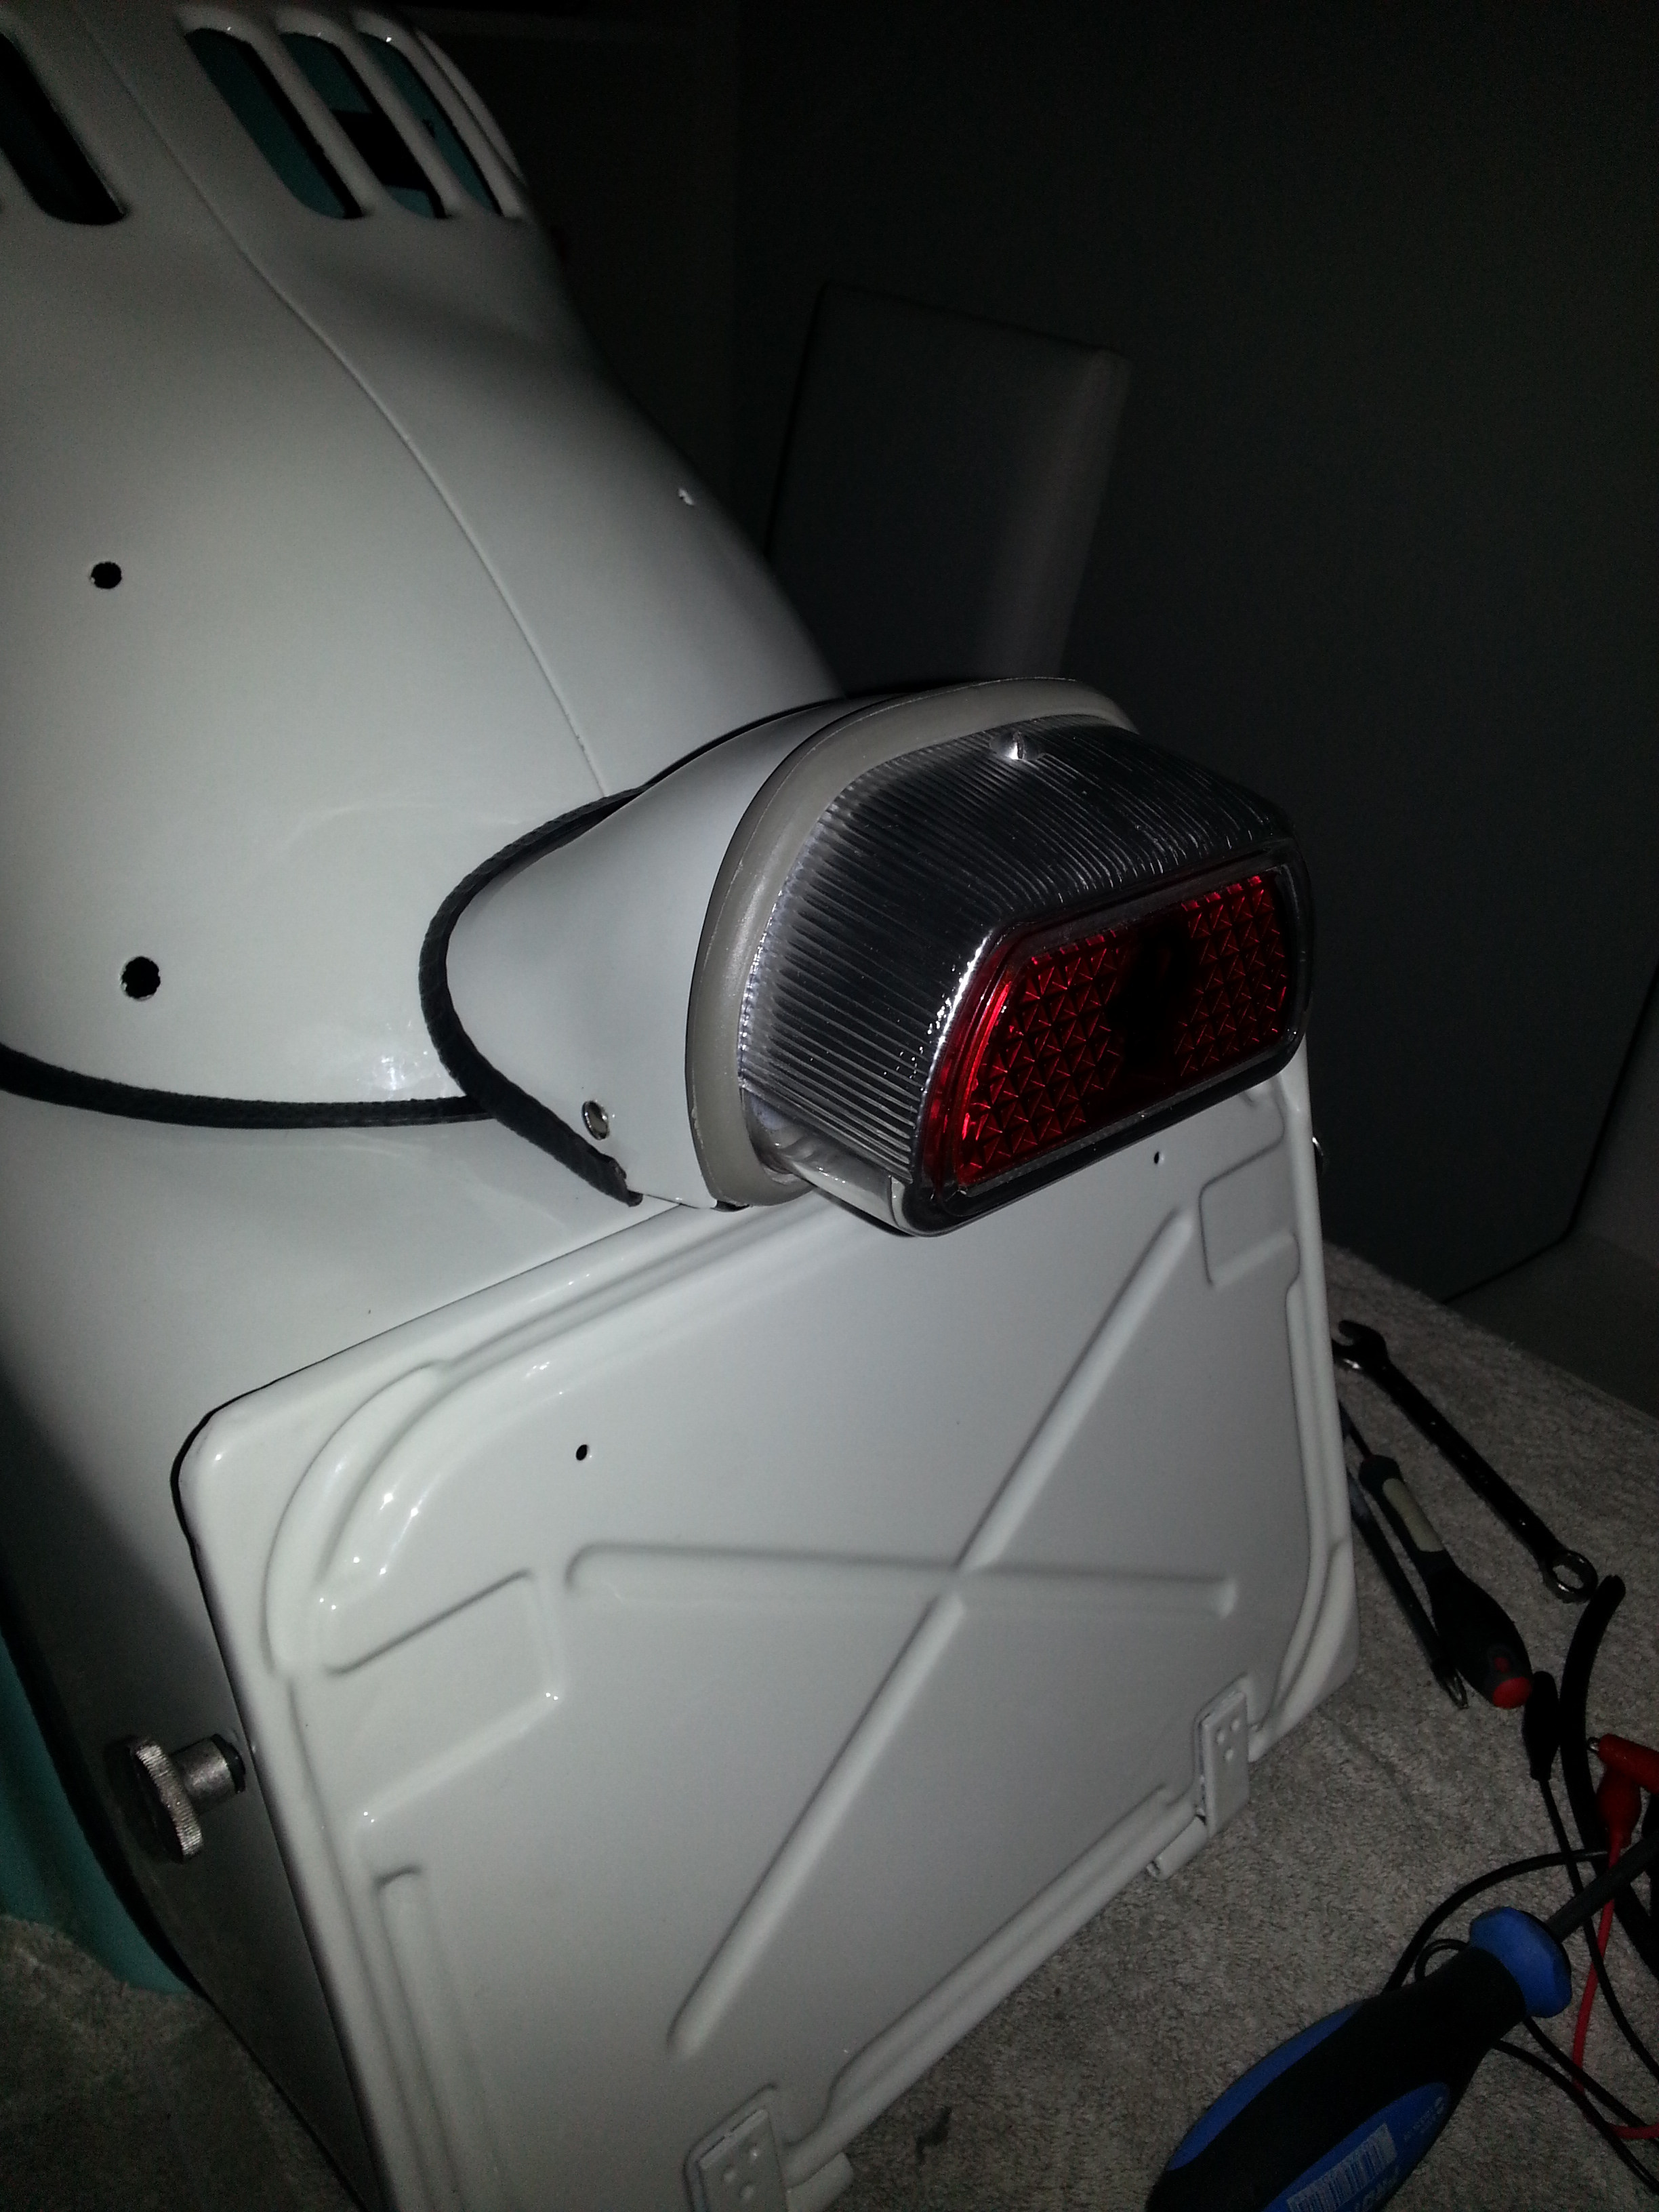
Don’t fully tighten the bolts yet as some moving around will be required. Next is the lamp rubber:
Make sure you mount the flat side to the rear. Behind the rubber comes the lamp holder:

I had to drill out one of the lamp holder bolts and replace it, but that works fine. Next is fitting the cap. This is where moving around is required to fit the cap, the rubber the lamp holder and the light bracket. Don’t forget to install the trim:
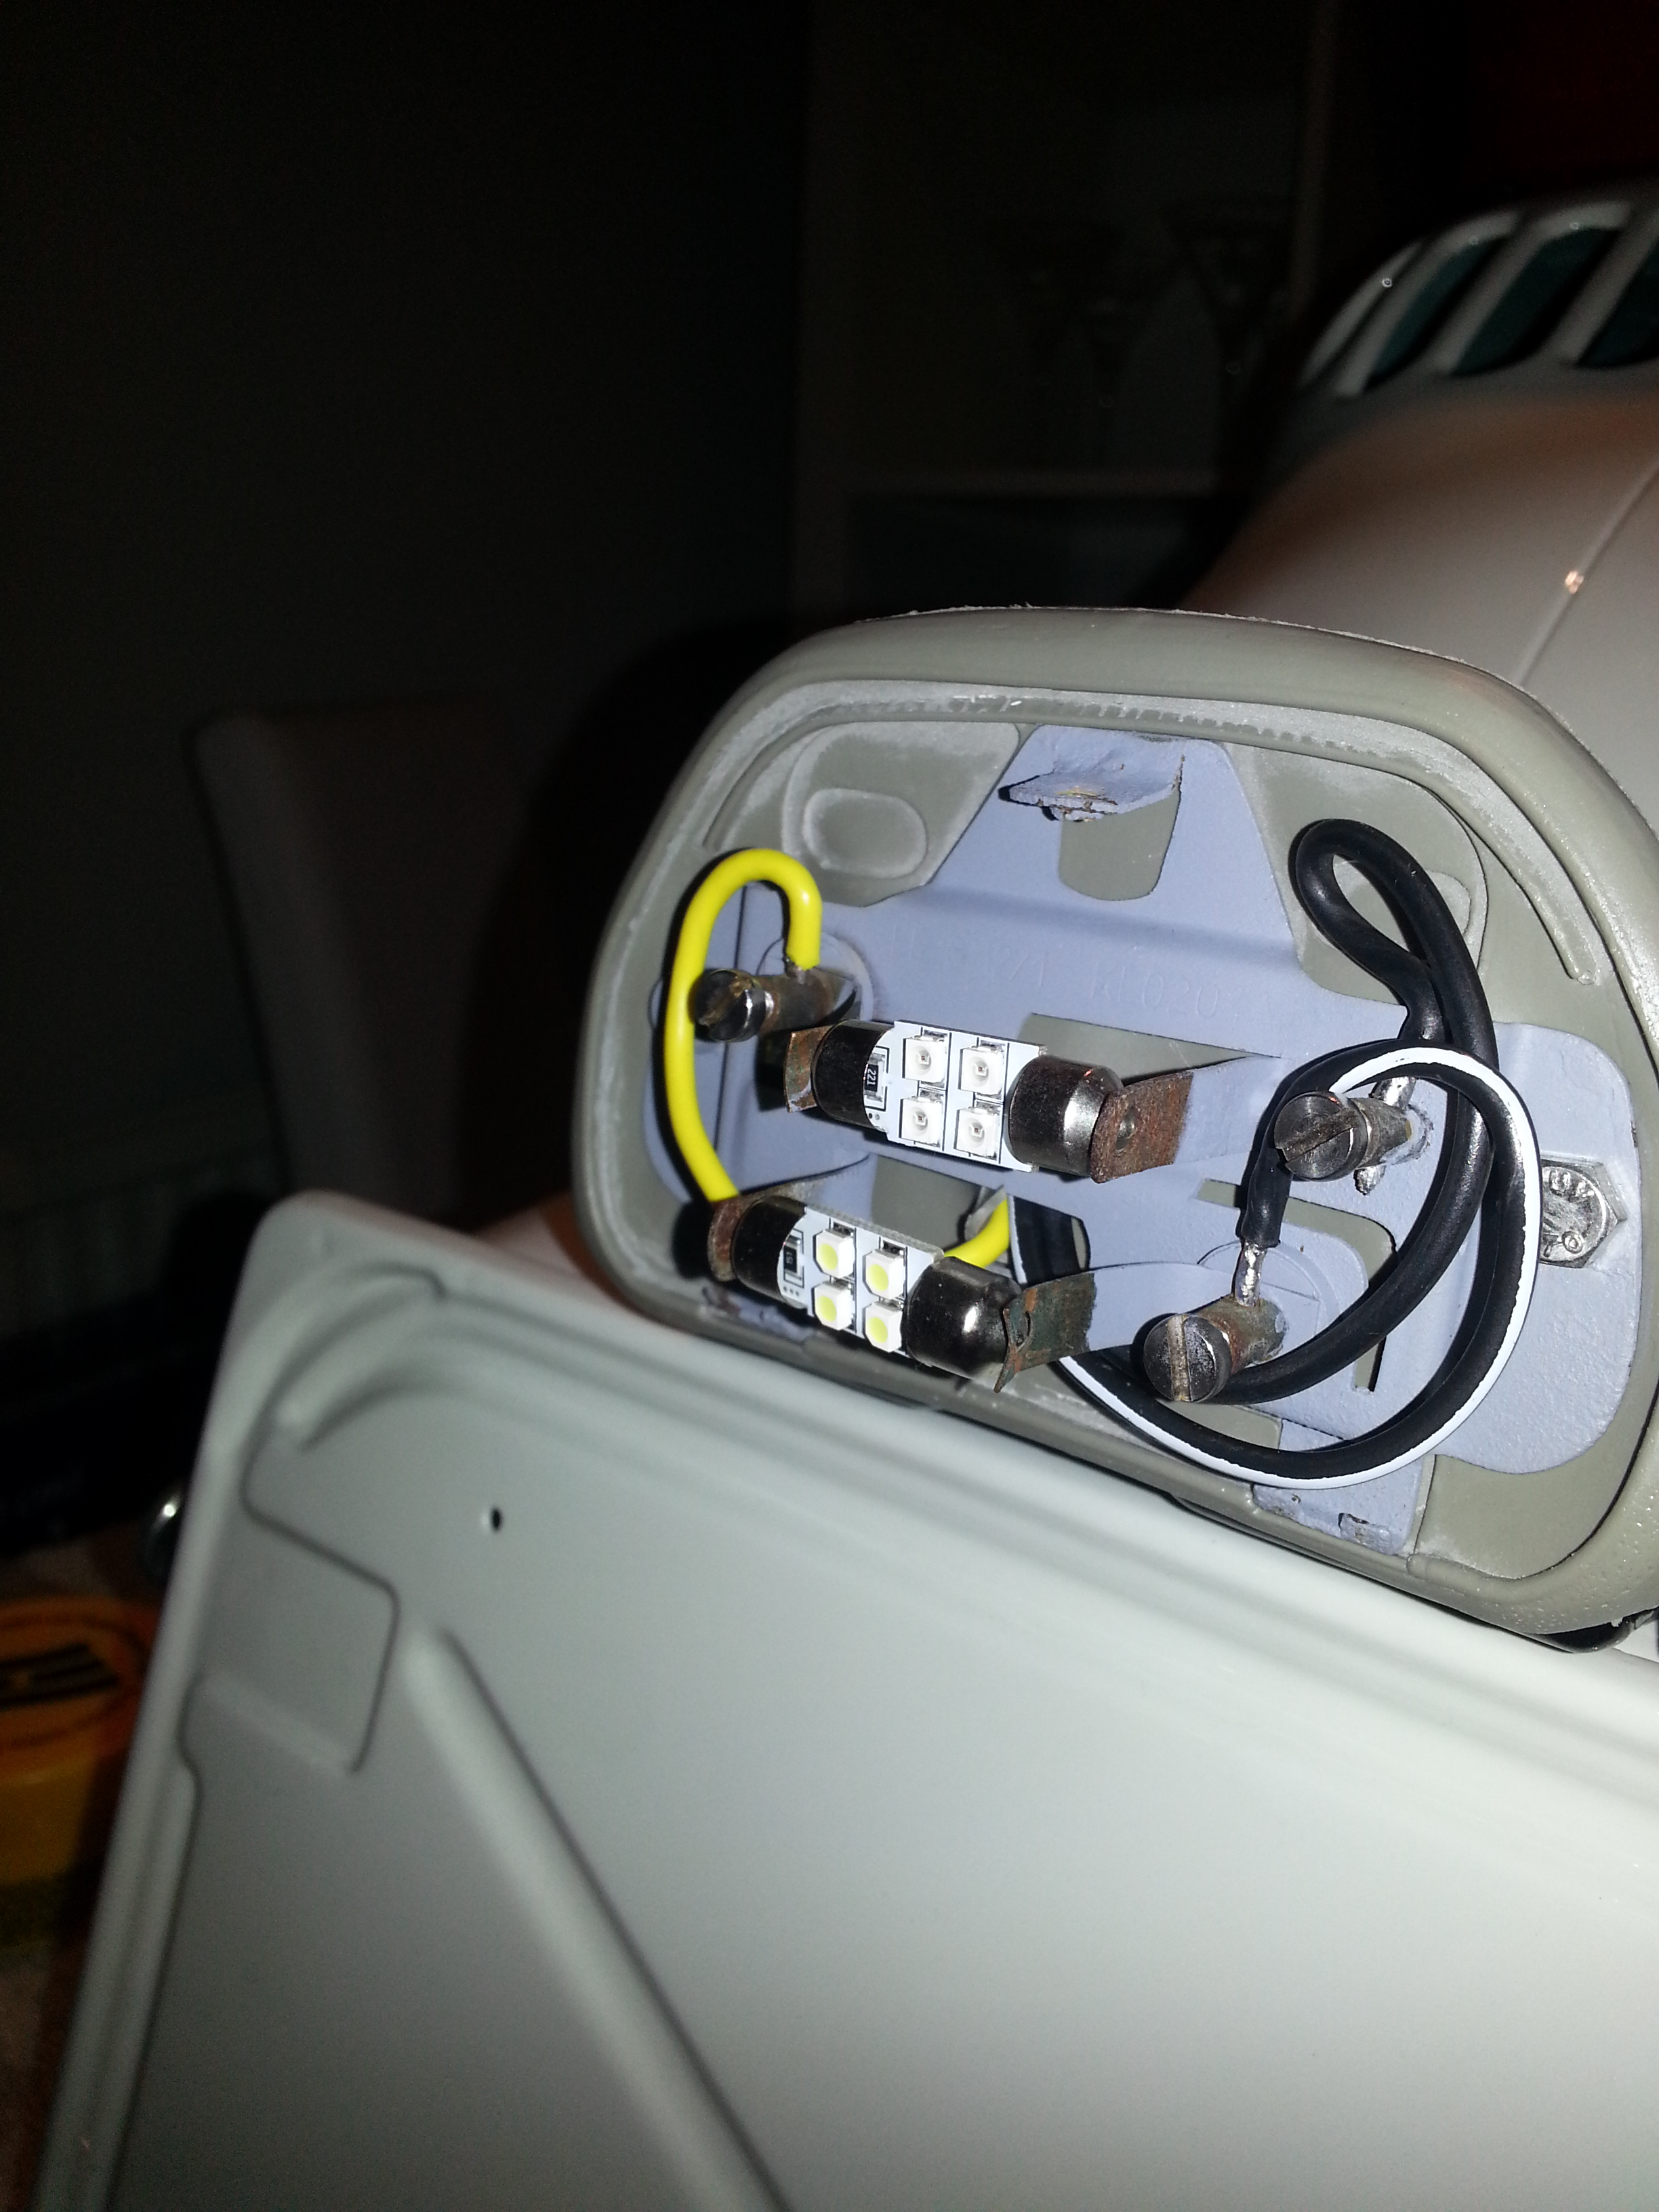
Next is tinning and connecting the wires:

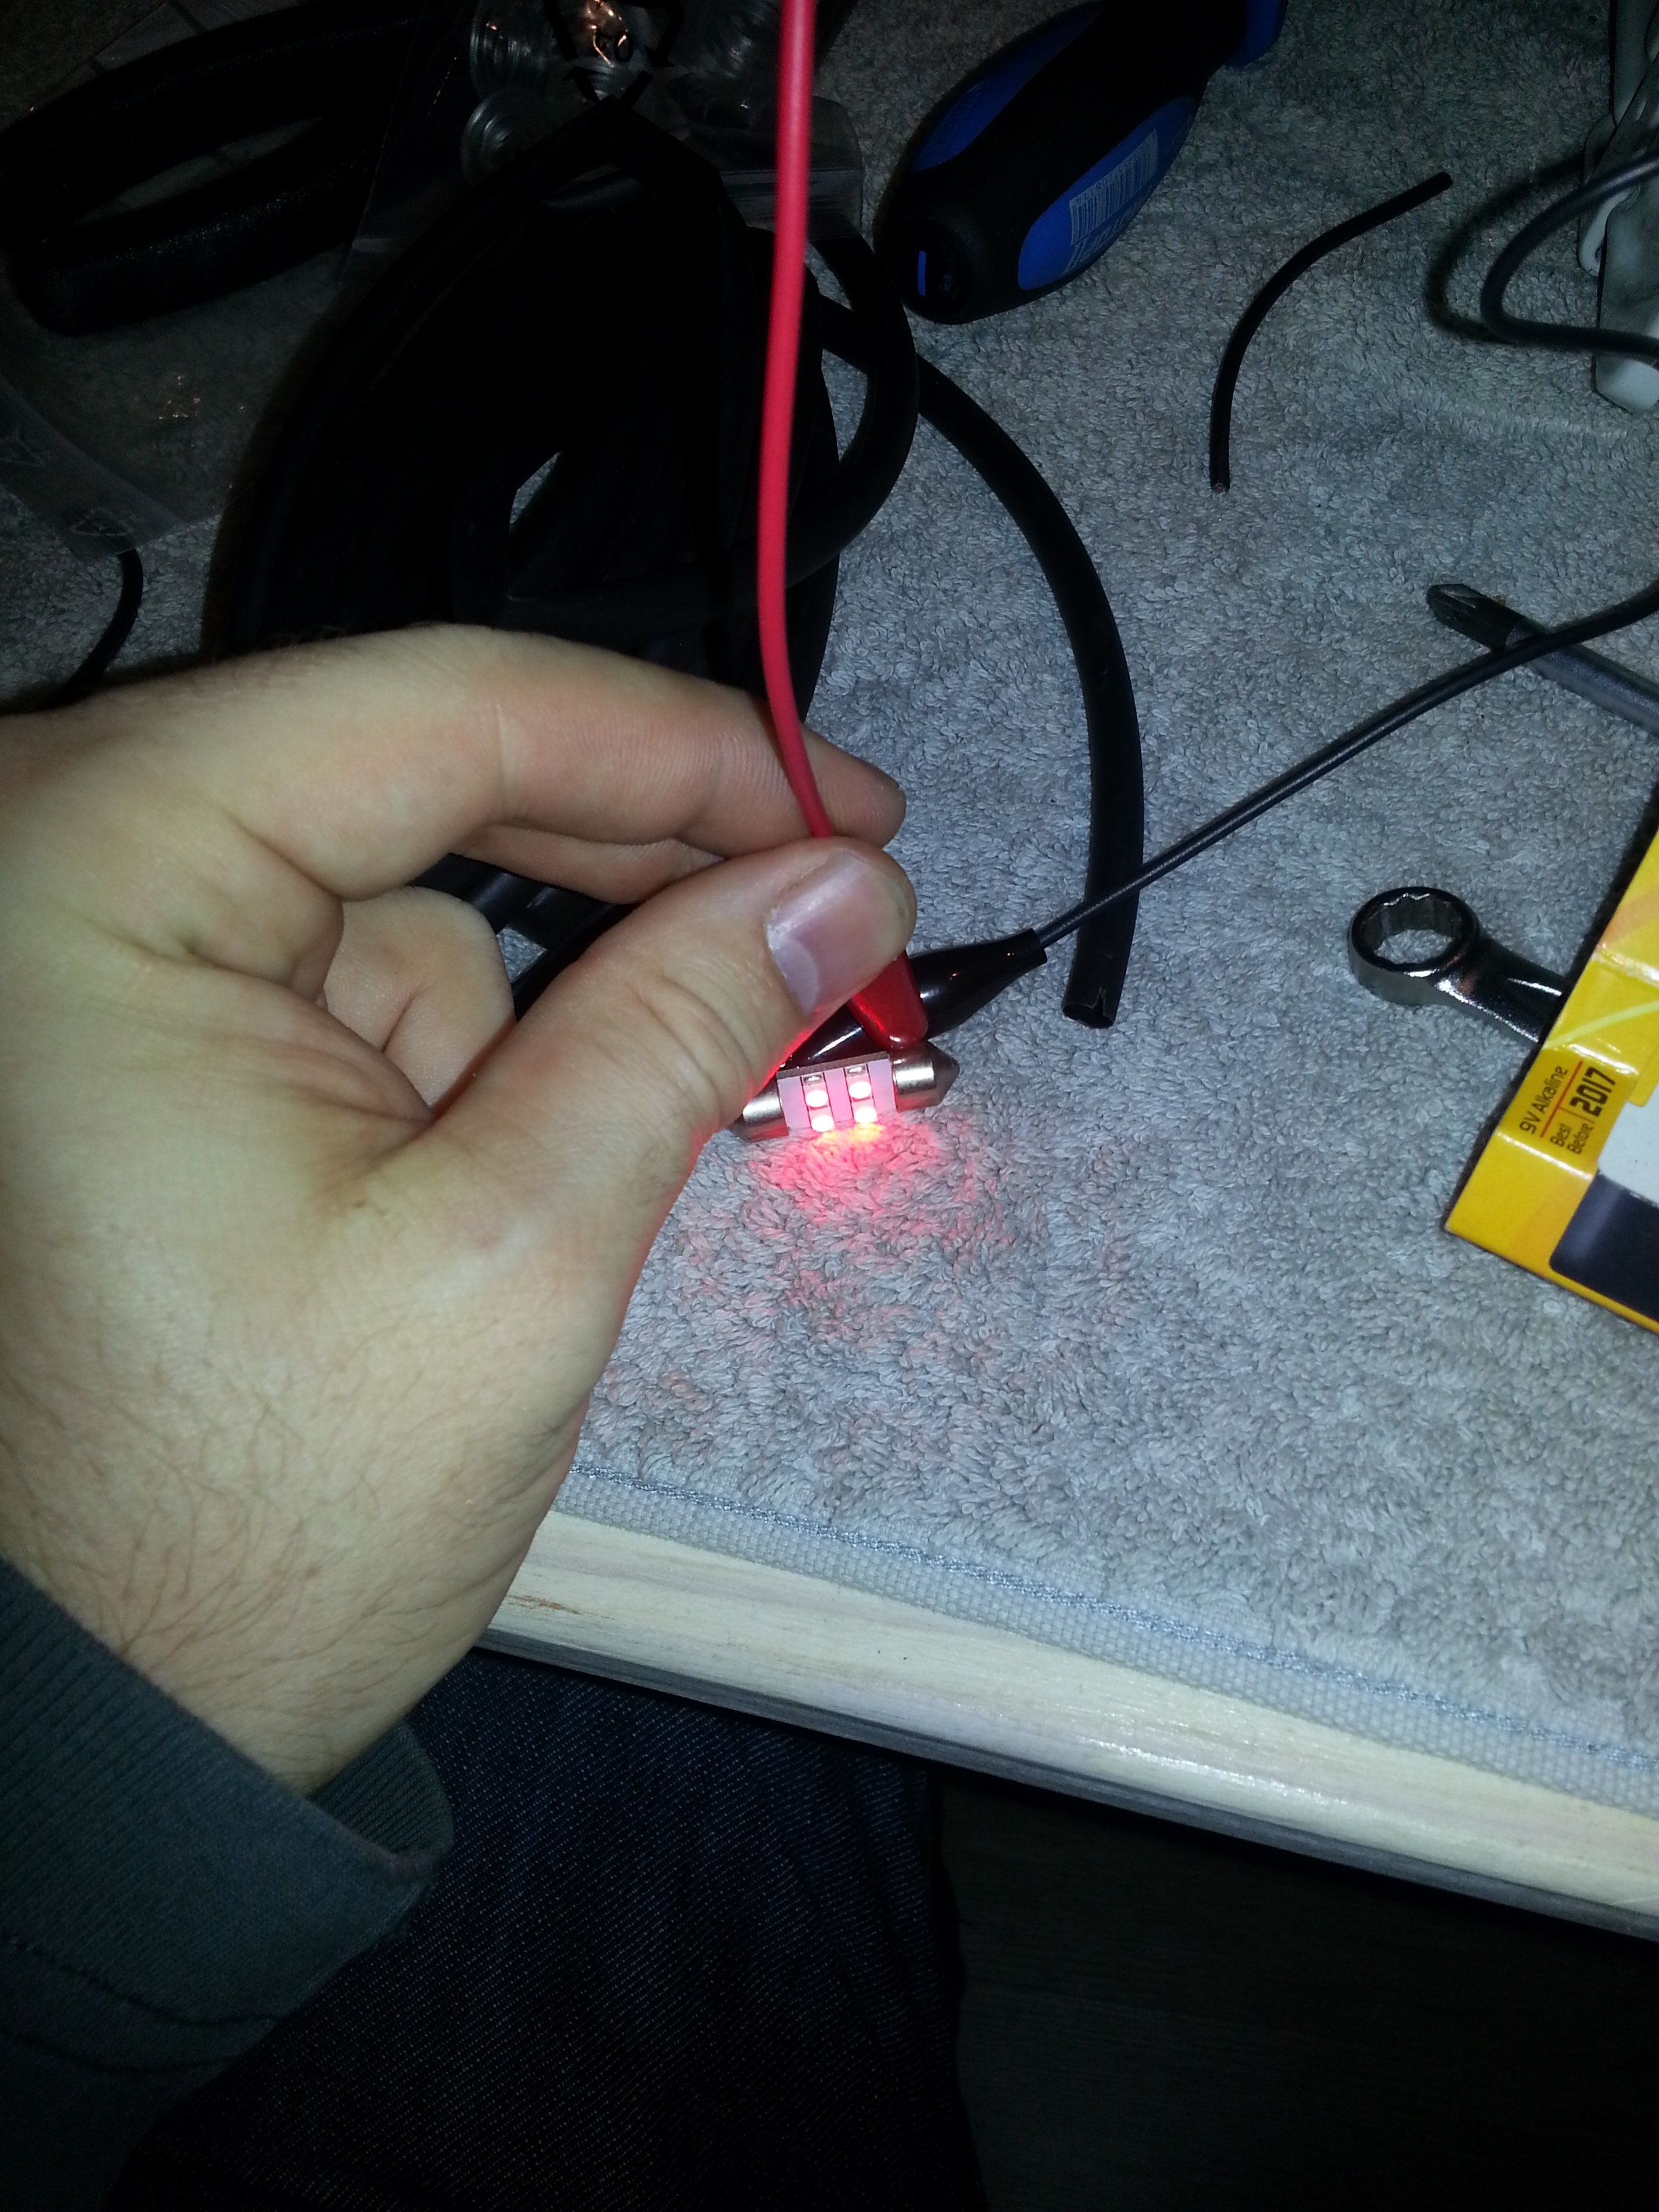
I used LED festoon bulbs (red and white) rather than the traditional ones. They are diodes, so only light up in one direction; test them before mounting with a 9V battery:
The lens cap can then be mounted. Mine was missing so I ordered one from Helmut and Iris Bougé. Claussstudios also does them. Together with the buddy seat this is the result:

Final touch will be the sparkplug cover. This is a bit of a weird contraption. I personally find it a bit of minimalist engineering from Zundapp; could have been done better in my view. The cover consists of the cover itself and a spring.
The spring is lost in many restorations, so here are some dimensional photos of the spring so you can reproduce one if you want:
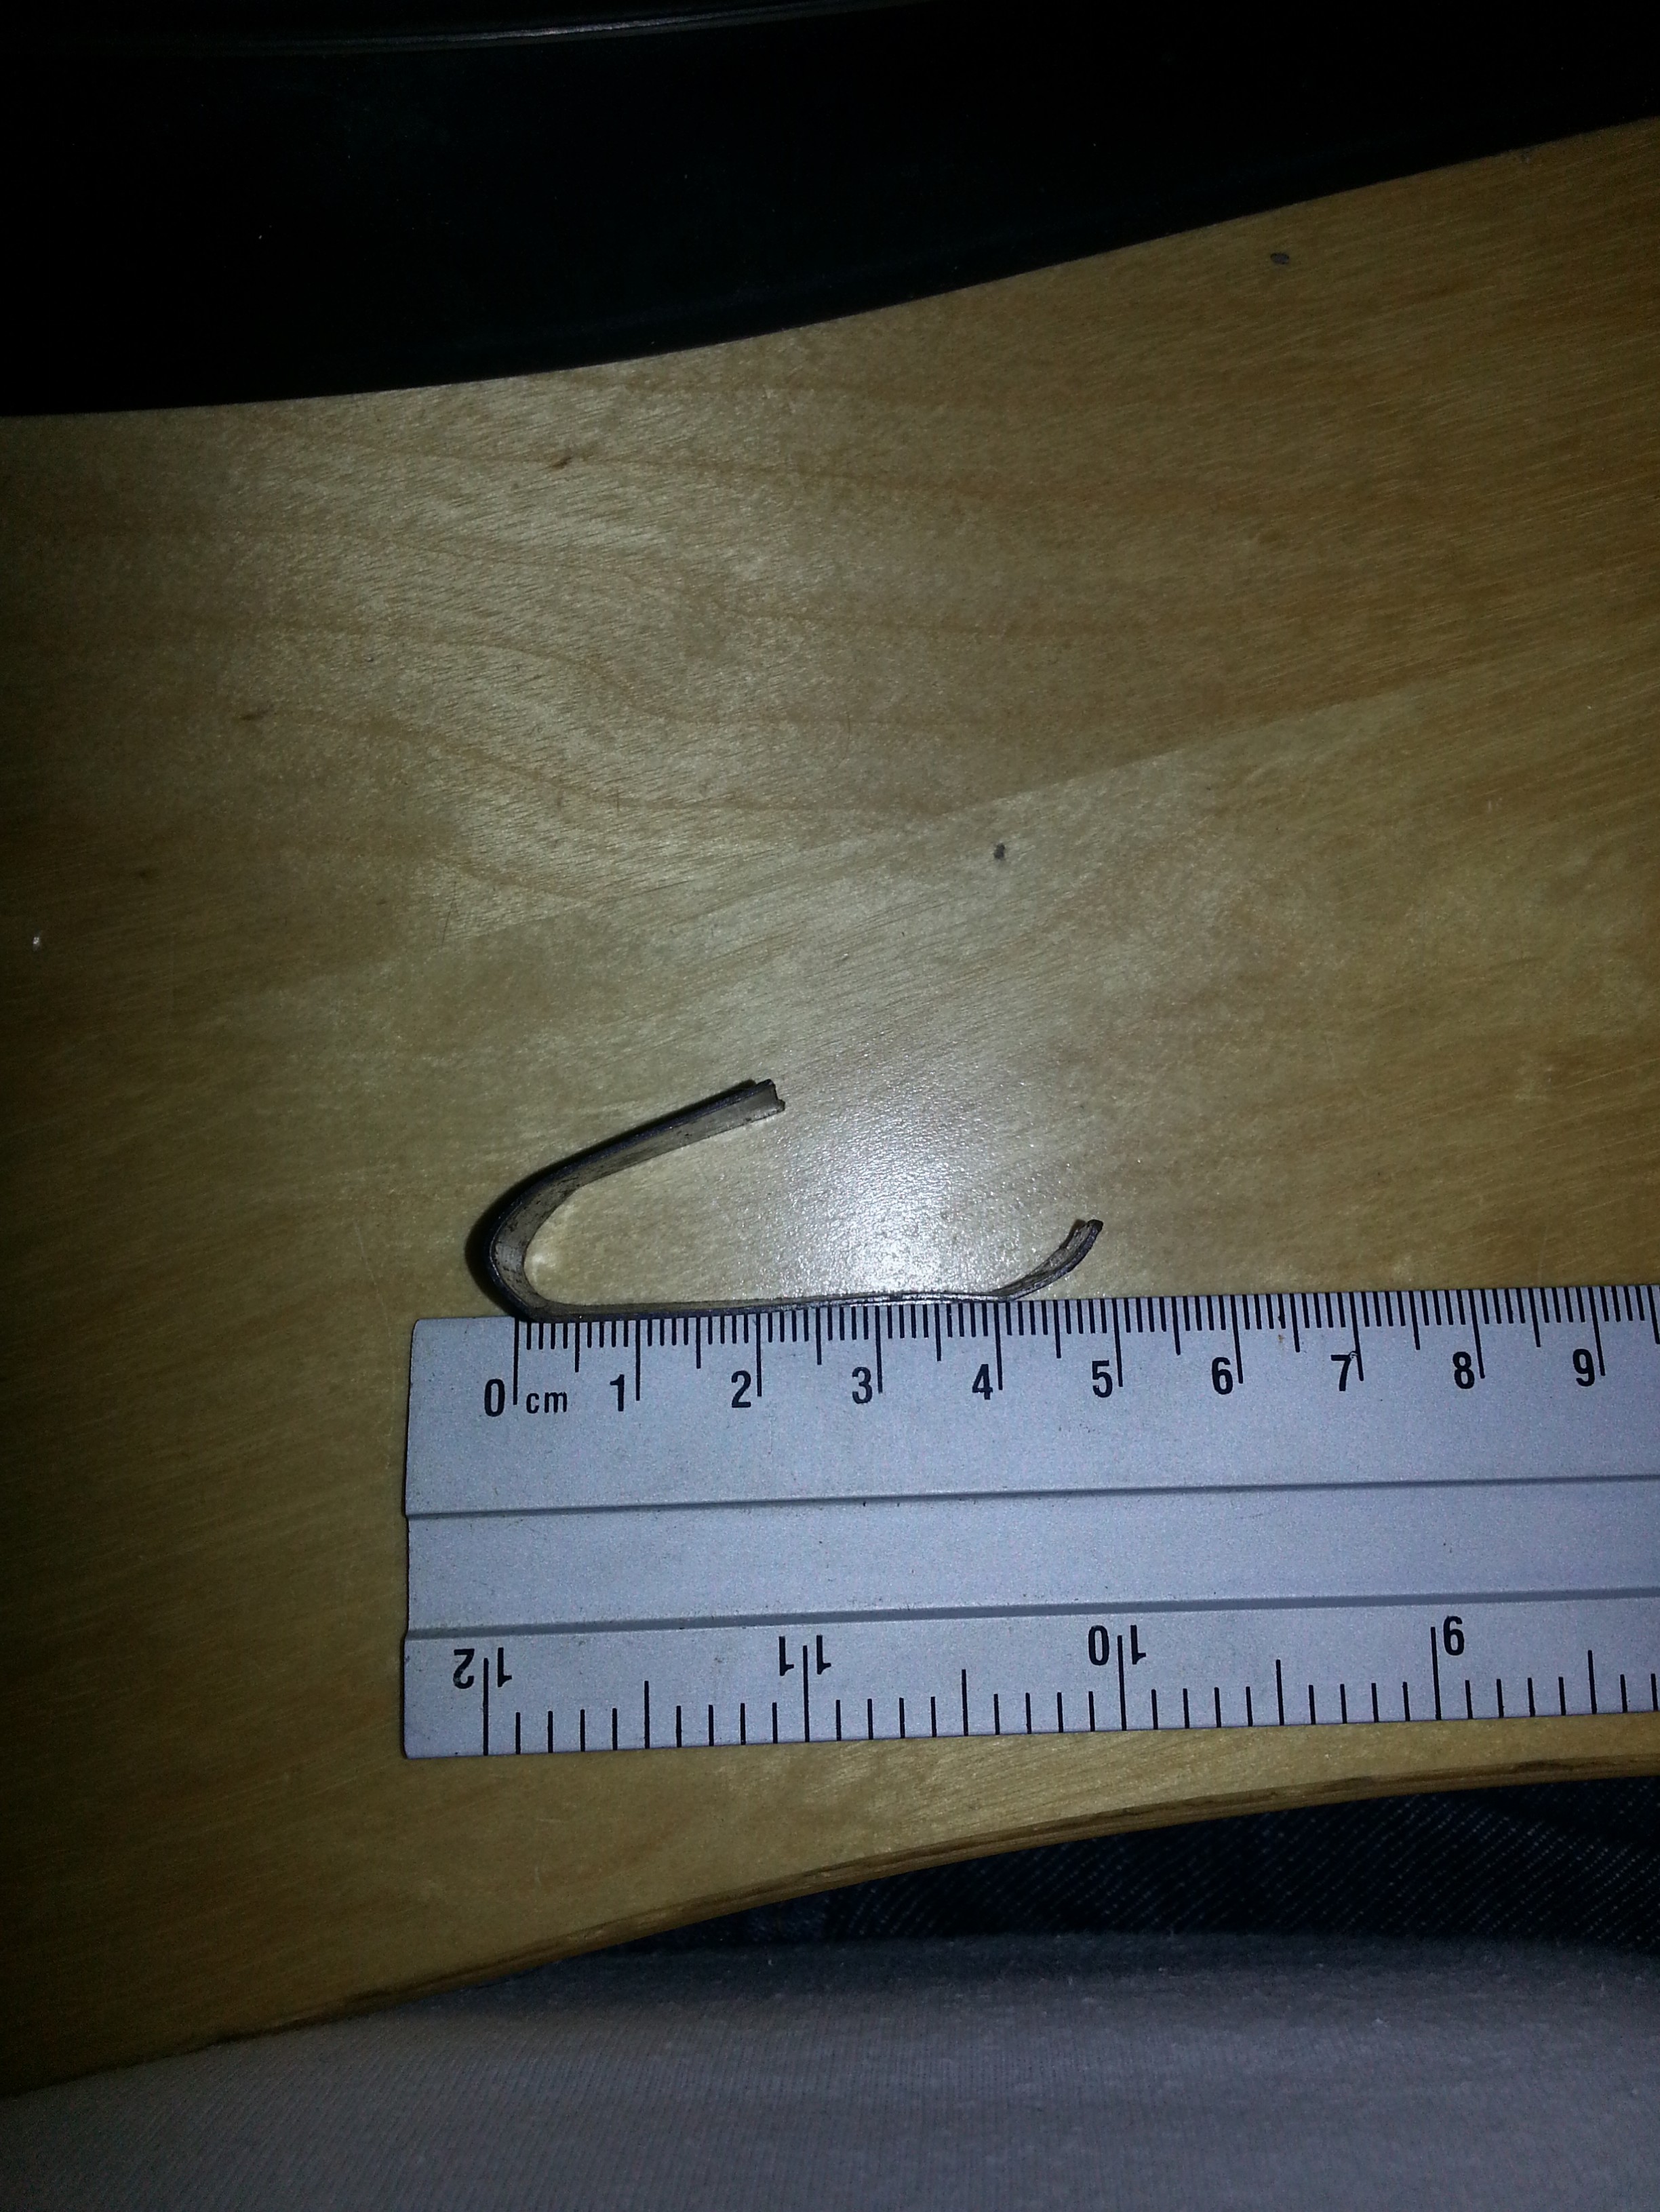
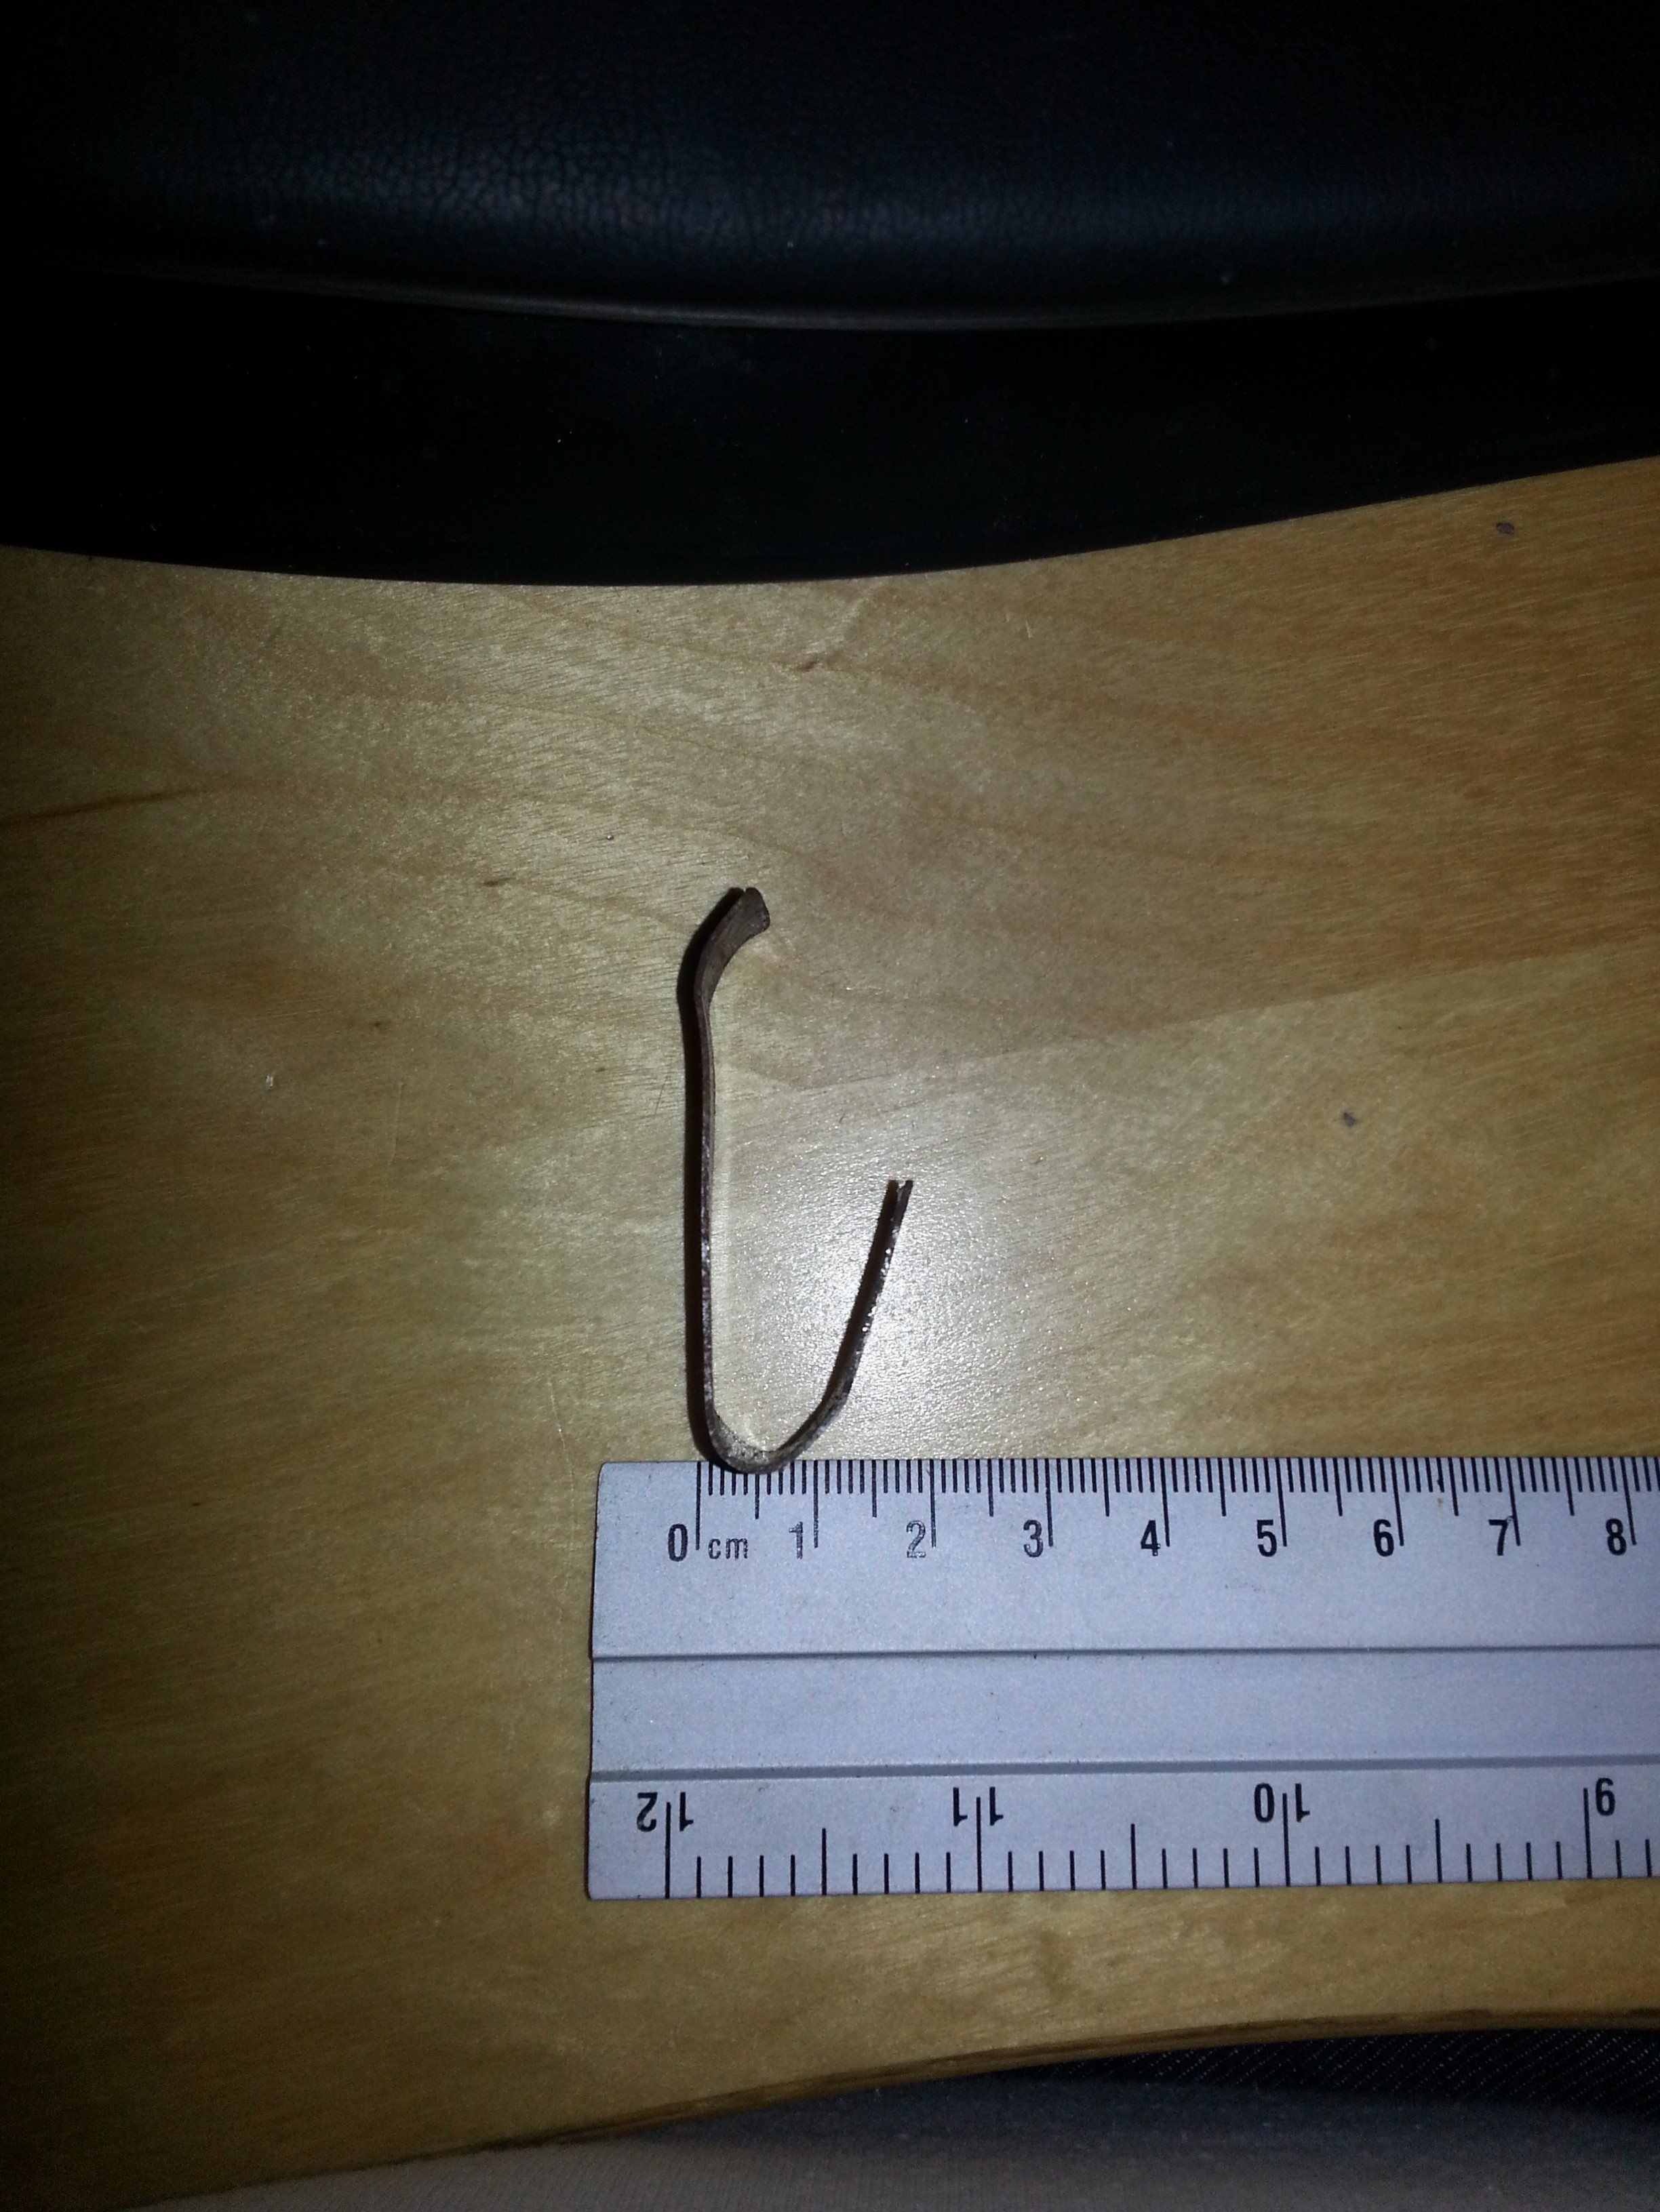
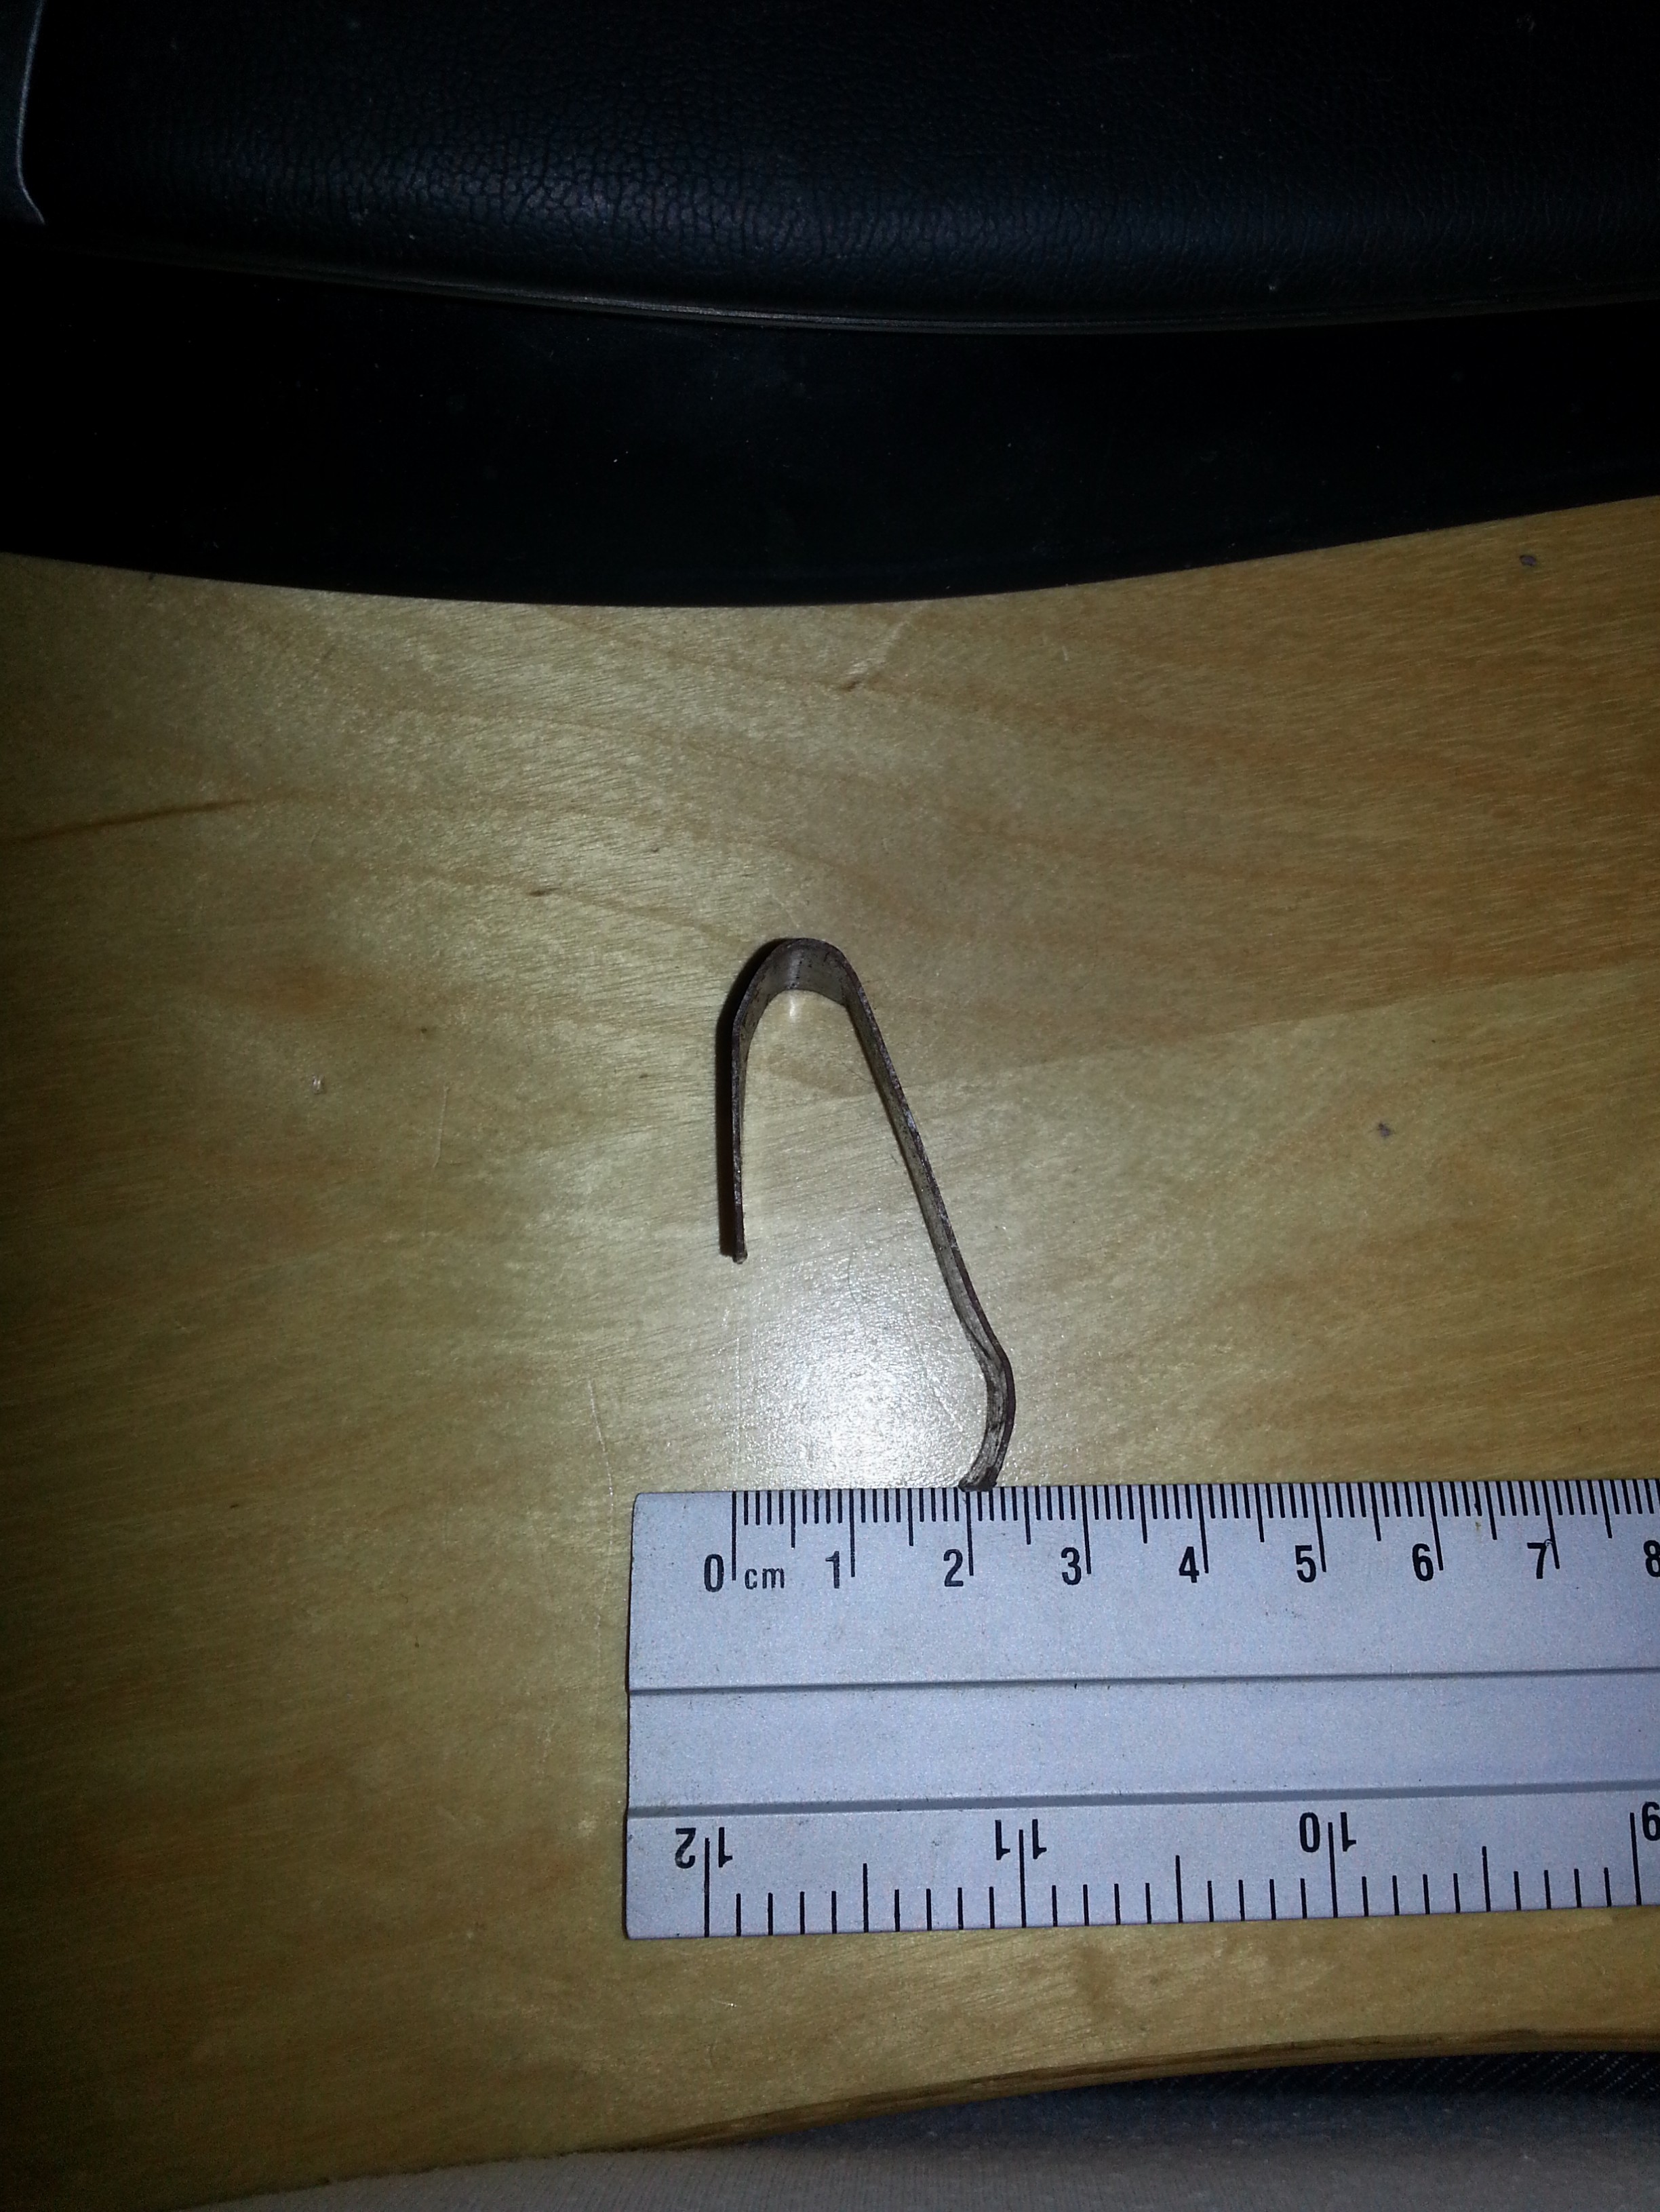
Note the slight curve in the long end; this is what will hold the cover in place. Once you know how to put the spring in it is very simple, but it can take a bit to figure out (thanks for the tips Brian), here are some photos on how to do it:
As you can see the cover doesn’t quite fit yet. I took it out and decreased the angle of the curved bit slightly in a vise. That did the trick and it fits fine now.
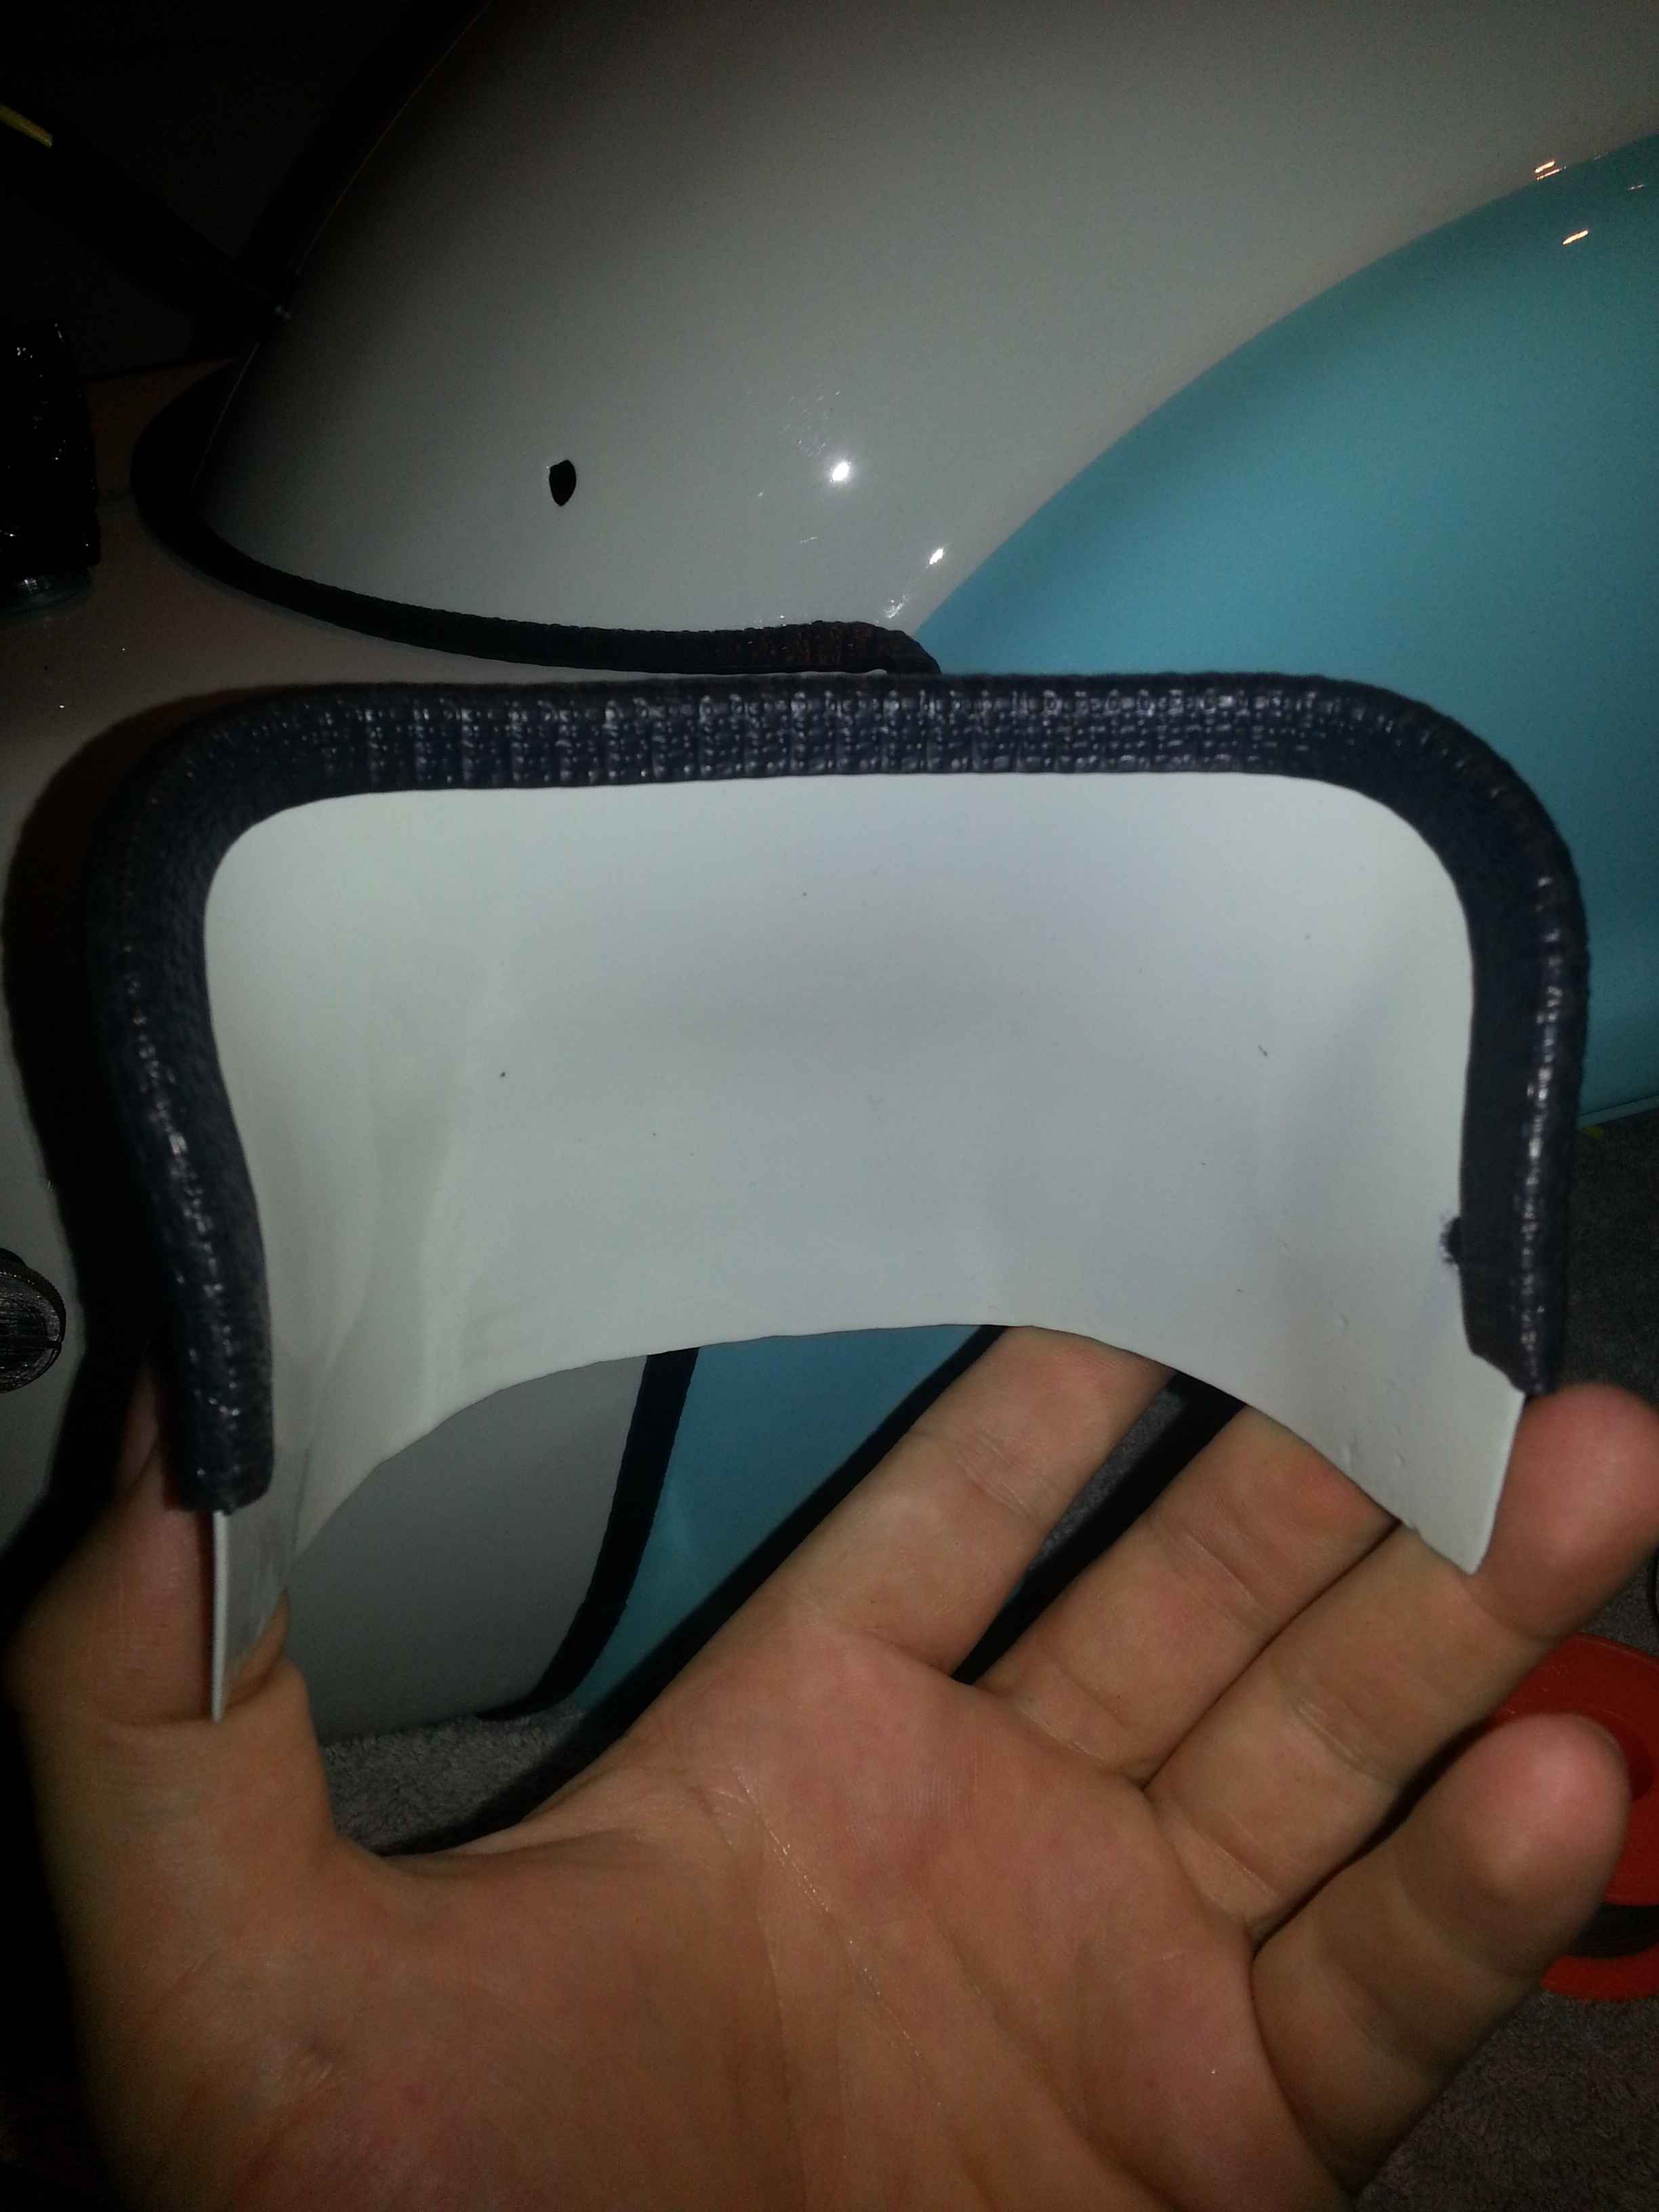
Finally, a few tips for when you put the rear cover on or off:
- Make sure the fuel cap is removed so the tank will fit through the rubber of the cover
- Ensure that you always remove the fuel tap rod before removing the cover so it does not break off; these are hard to replace.
- Disconnect the rear lighting.