
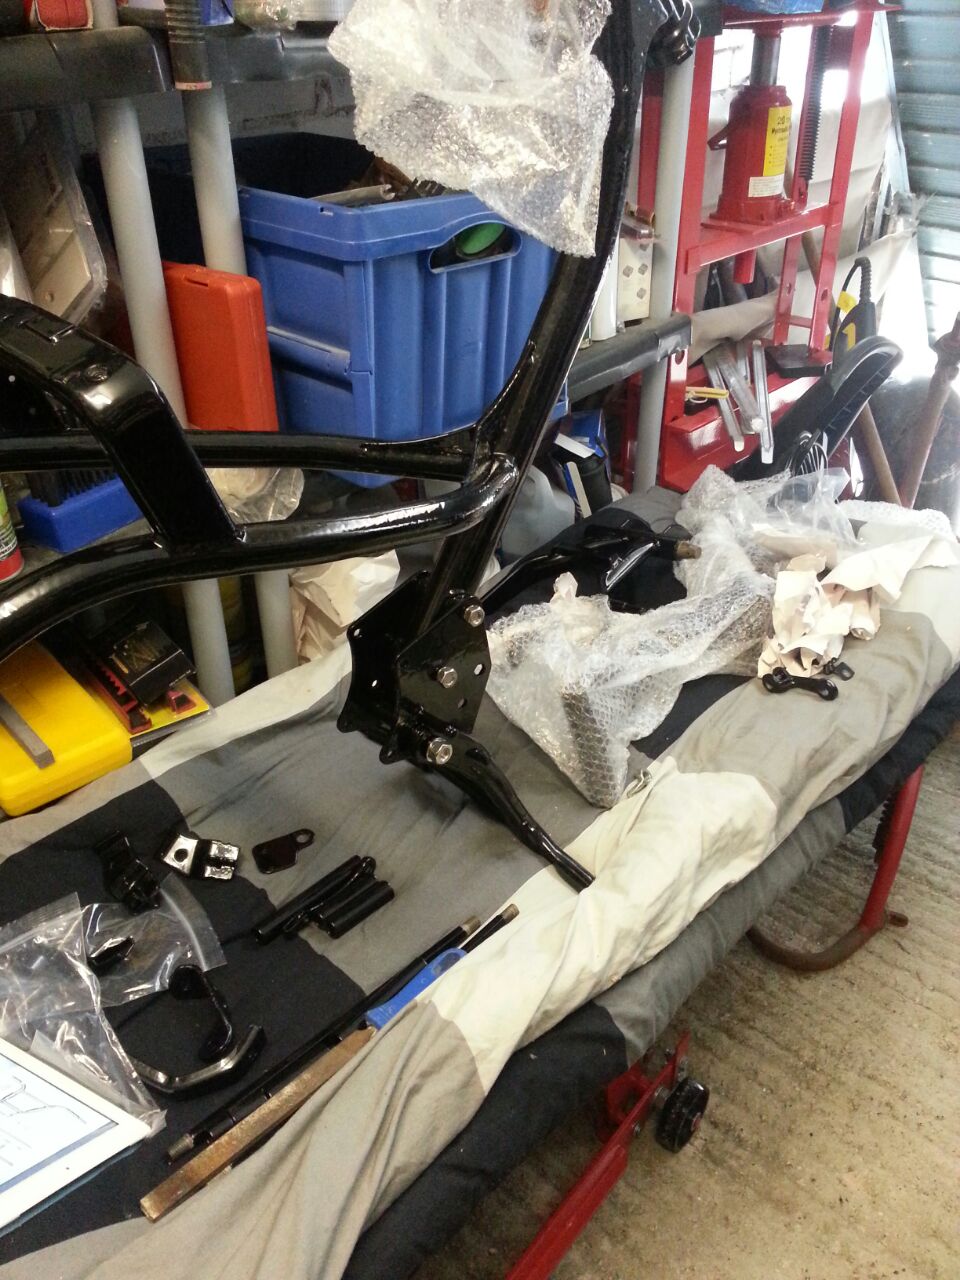
Frame
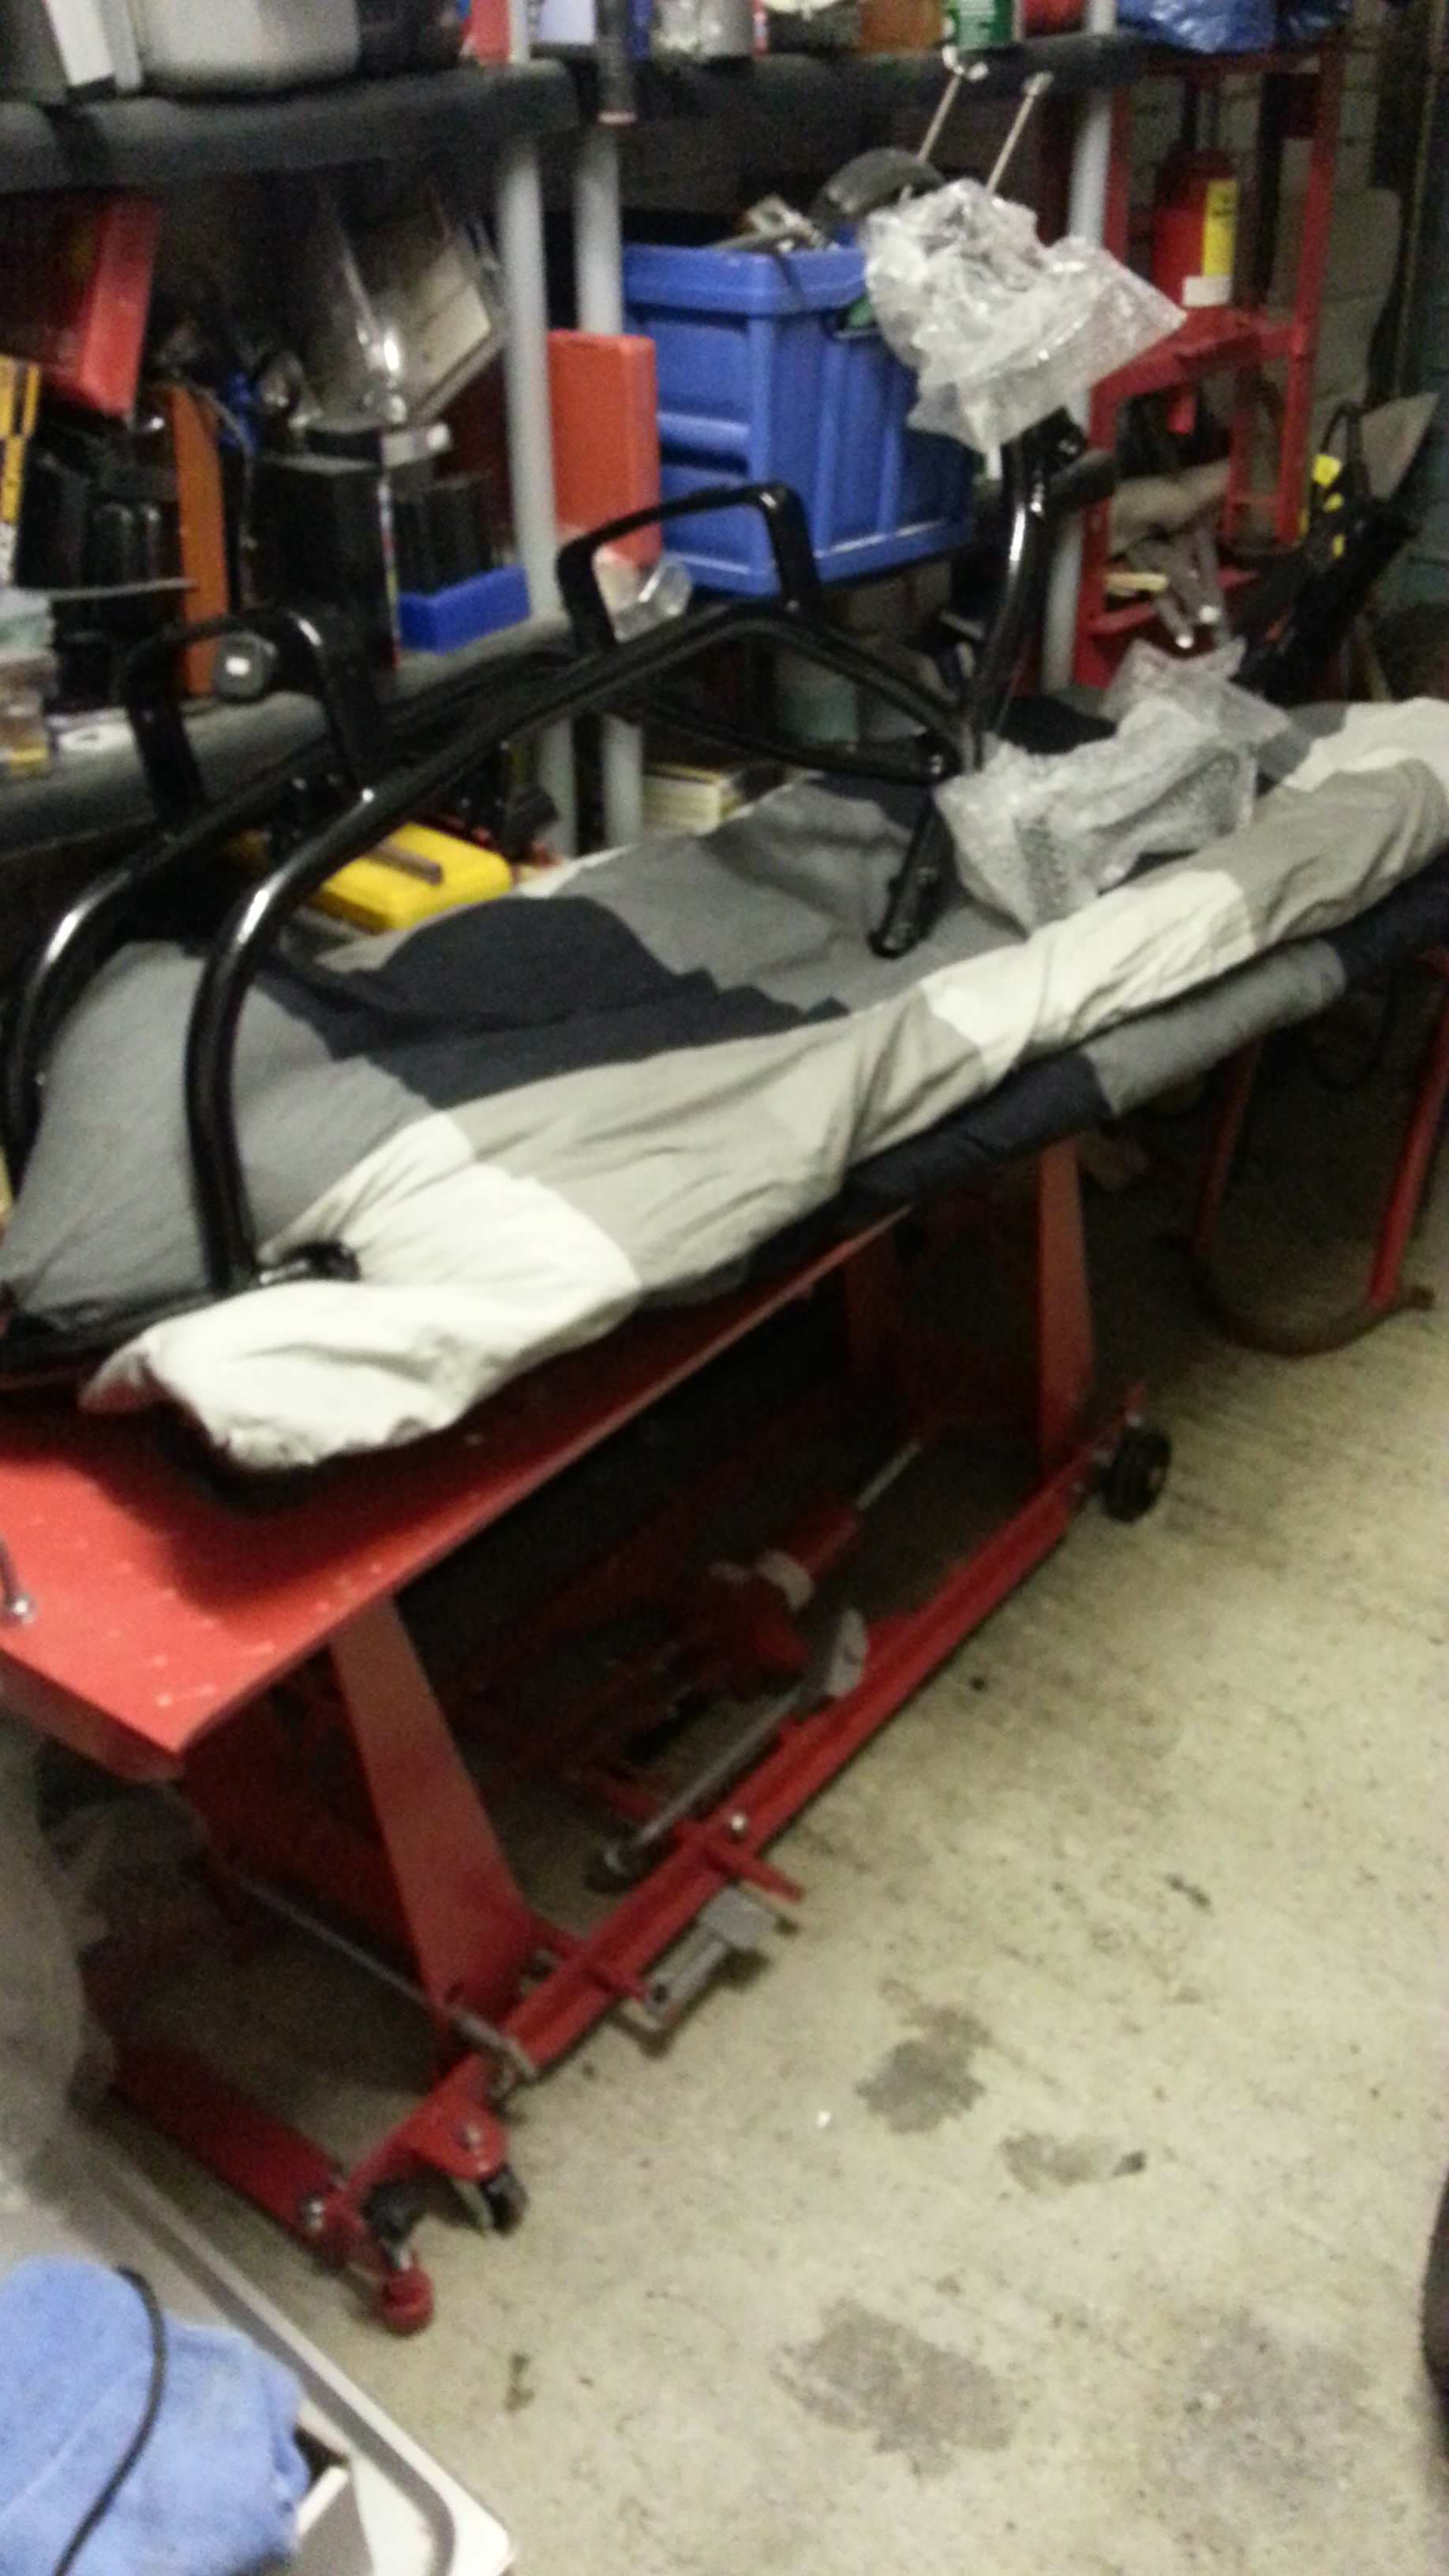
The Zündapp Bella R204 frame is quite sturdy. I had mine powder coated at most will not be visible and due to rust pitting it would have been expensive to wet paint. Here is the powder coated frame, looking a bit forlorn:
Stand and front engine support brackets
To be able to work on the Bella, the front engine support brackets and the stand need to be installed. The front engine carrier is bolted to the frame and the stand is bolted to the carrier using a pipe bushing. The dampening rubber for the stand can be ordered from www.claussstudios.com:
The Zündapp Bella swing arm connects to the rear engine carrier which in turn bolts to the frame. So the engine carrier needs to be installed first.
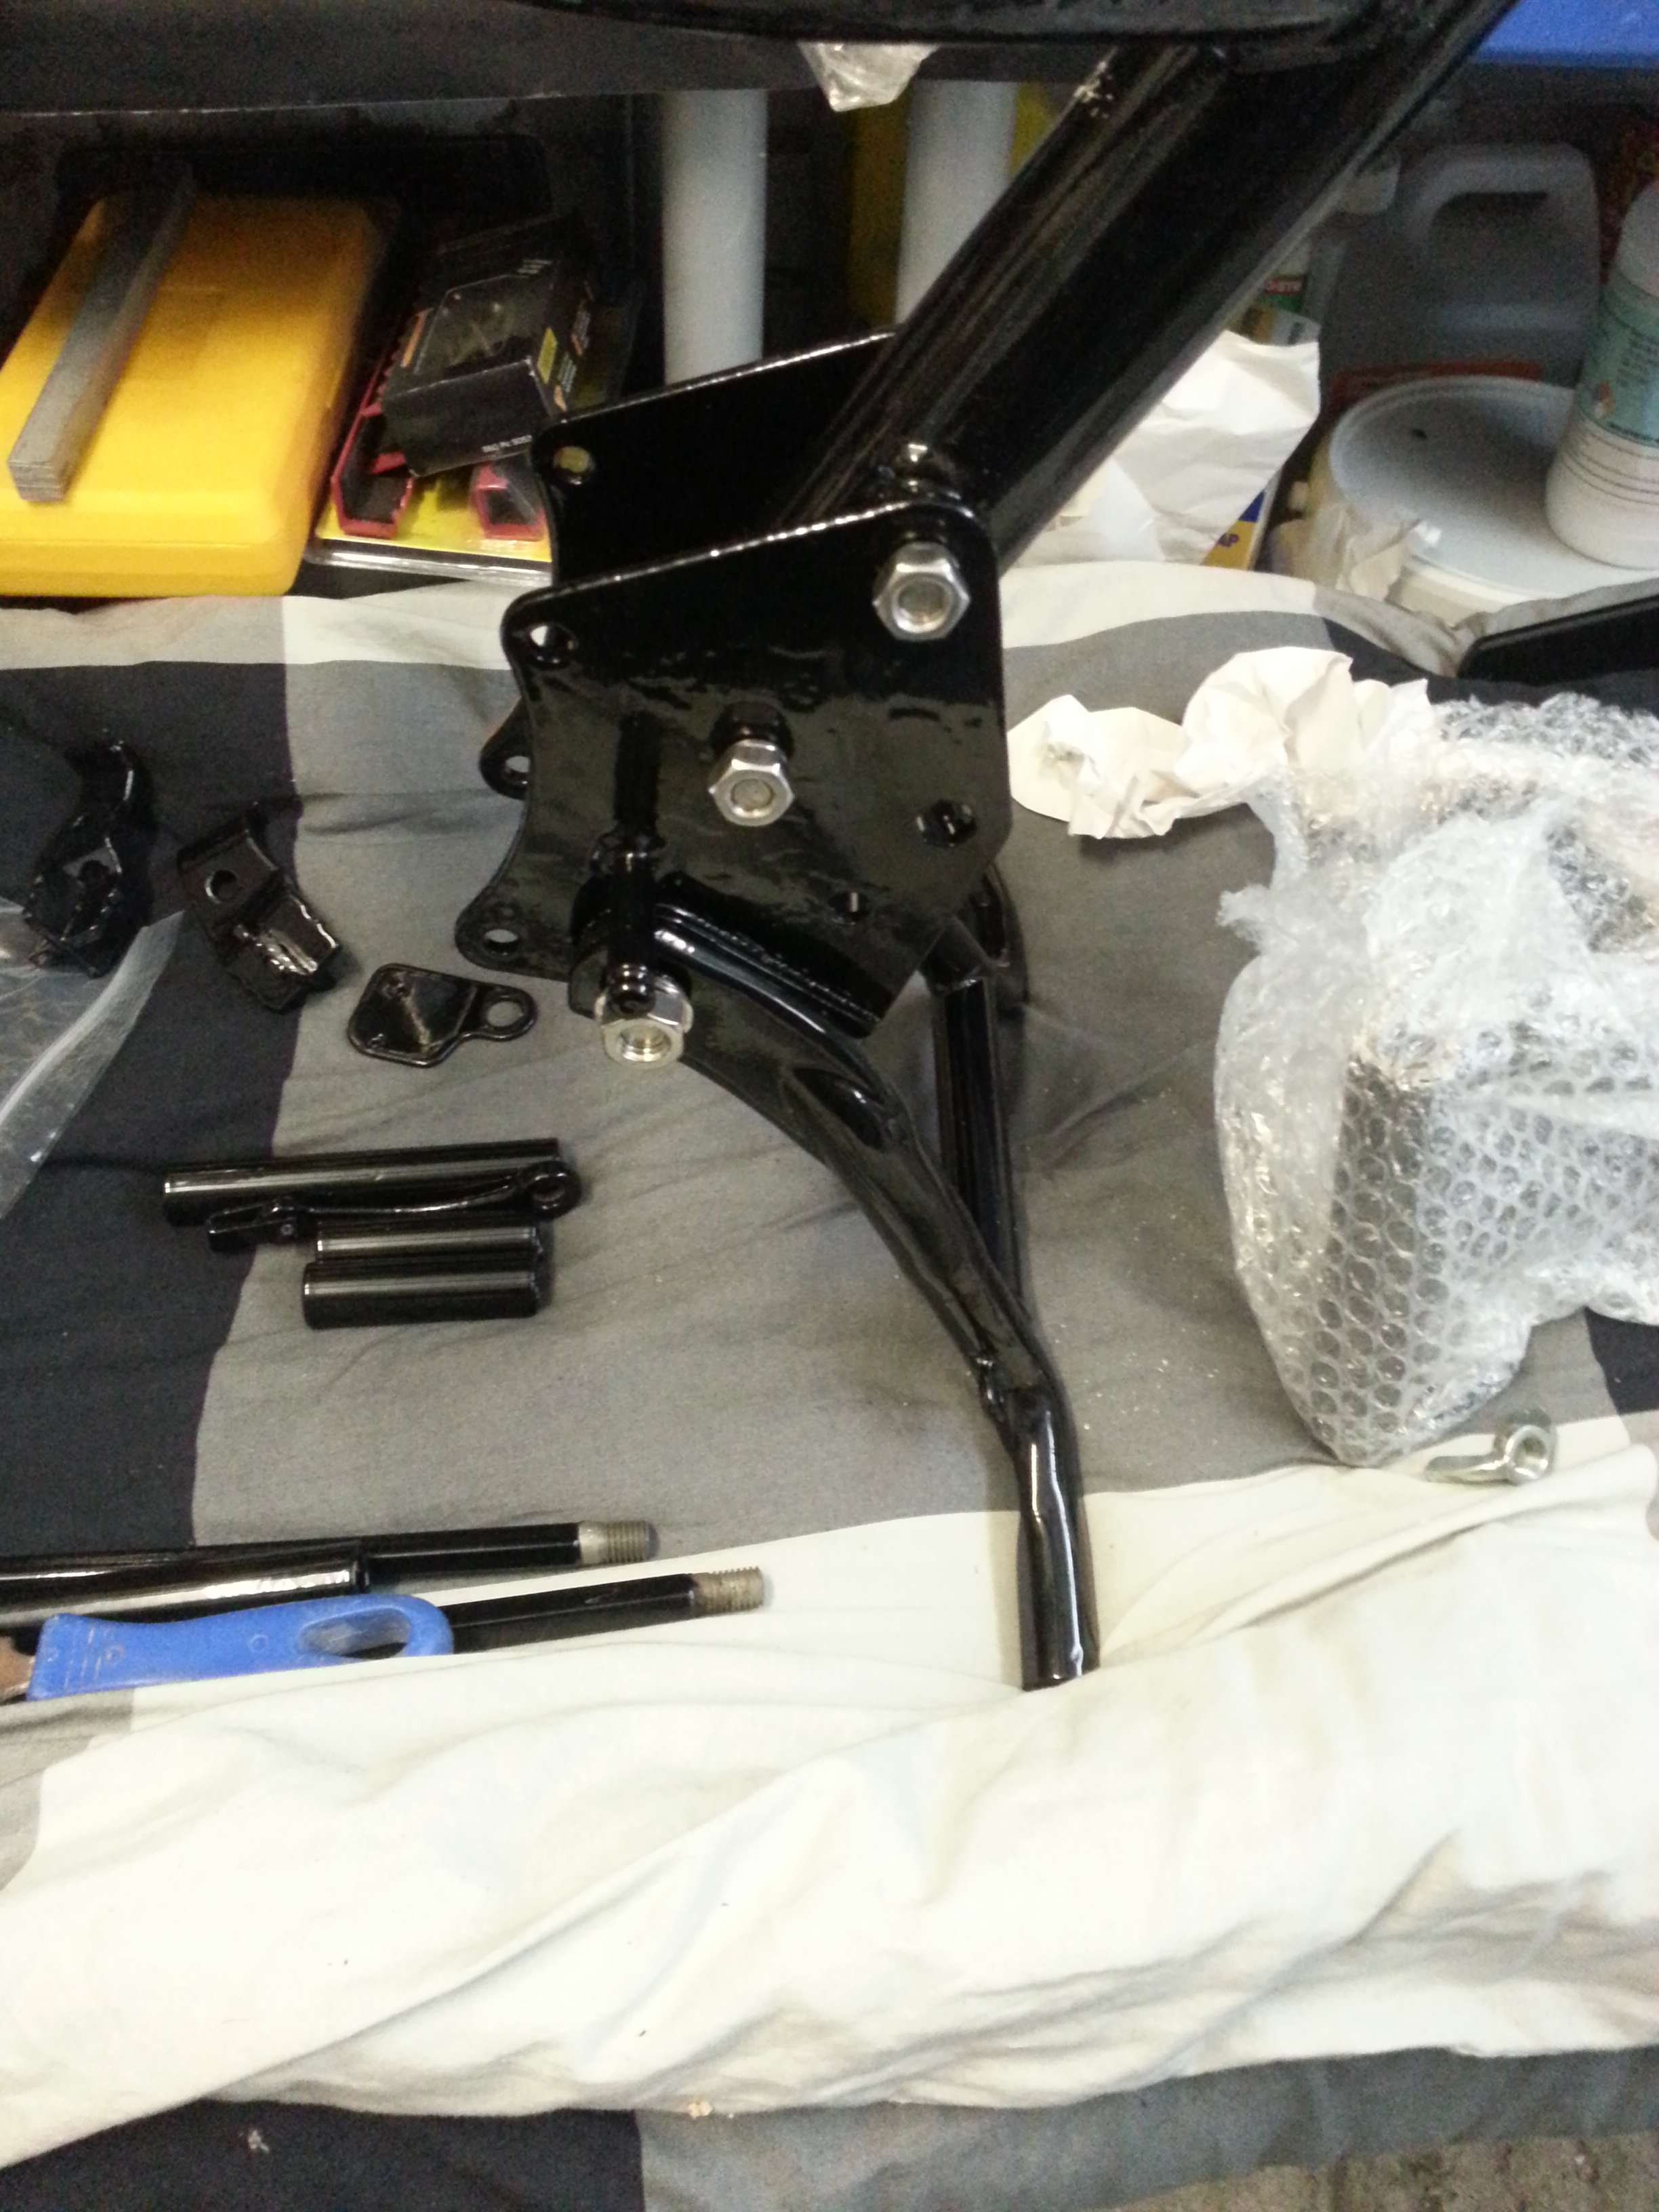
Engine Carrier
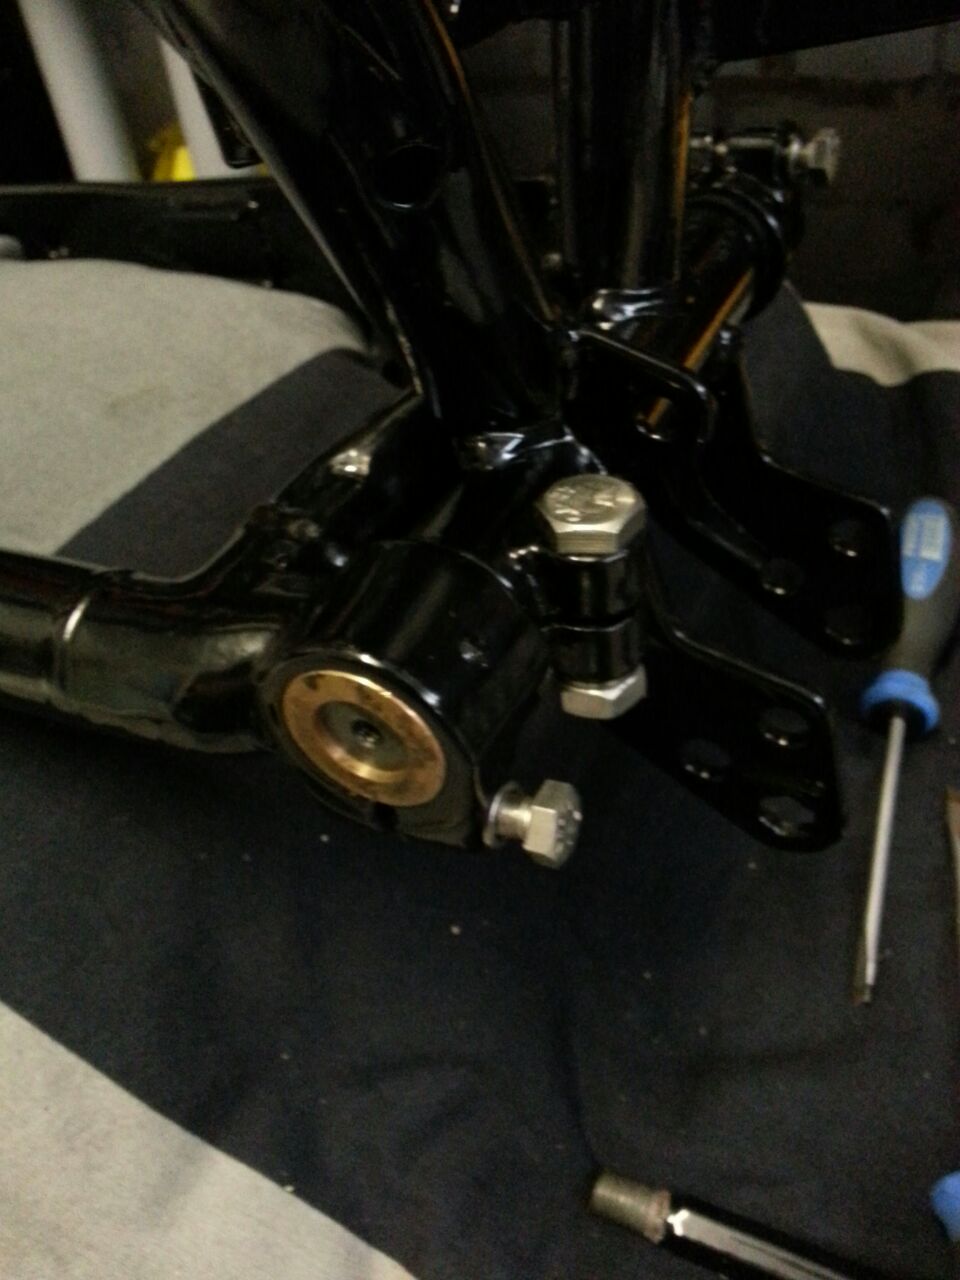
Installing the engine carrier is simple. Two bolts at the top connect it to the frame. The prescribed bolts to be used may seem a bit long, but this is because the fuel tank strap is bolted down on top of the engine carrier nut. So make sure to install the bolts facing outward; the fuel tank won’t fit otherwise either.
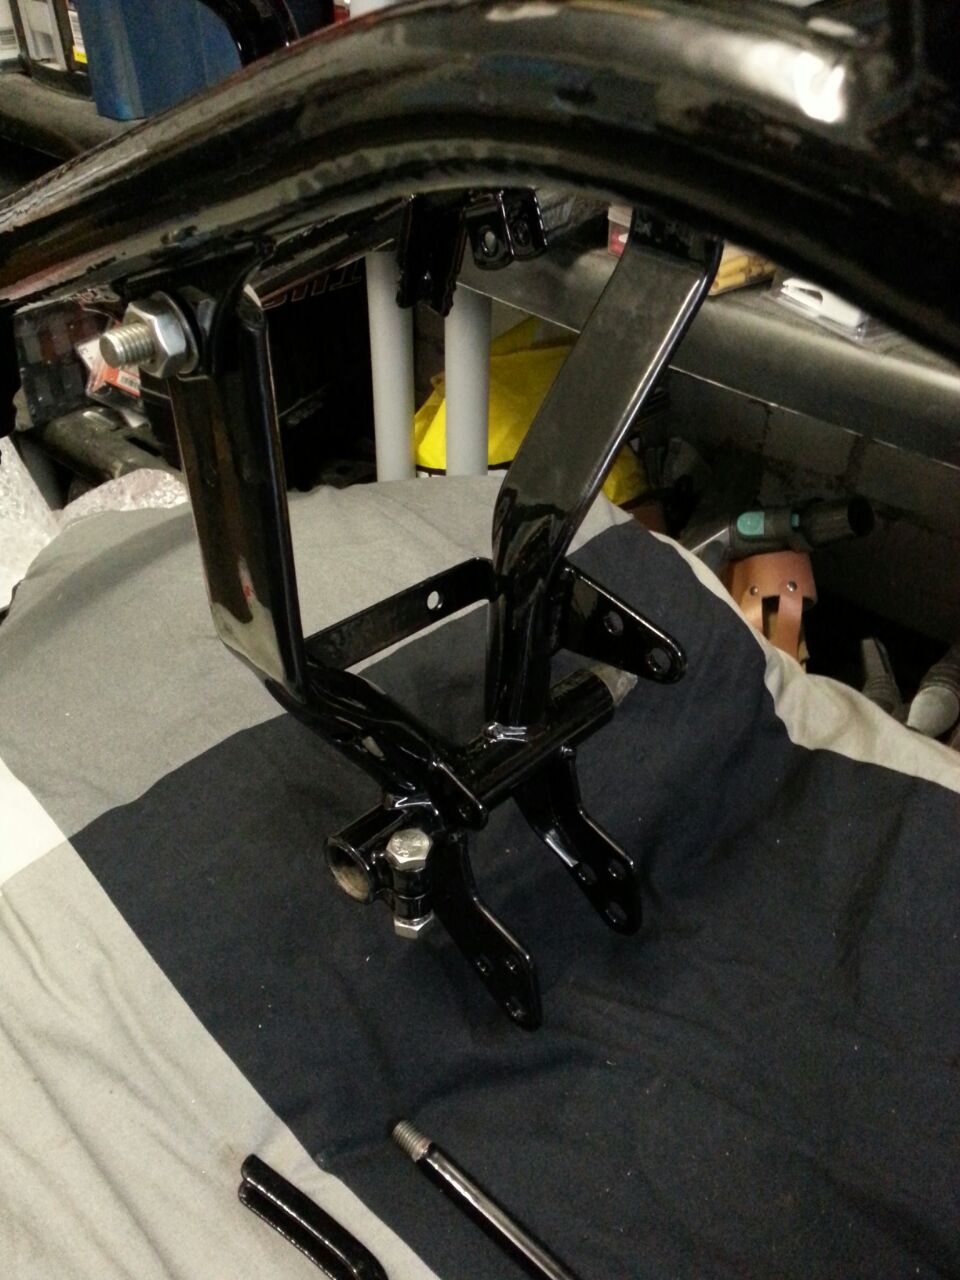
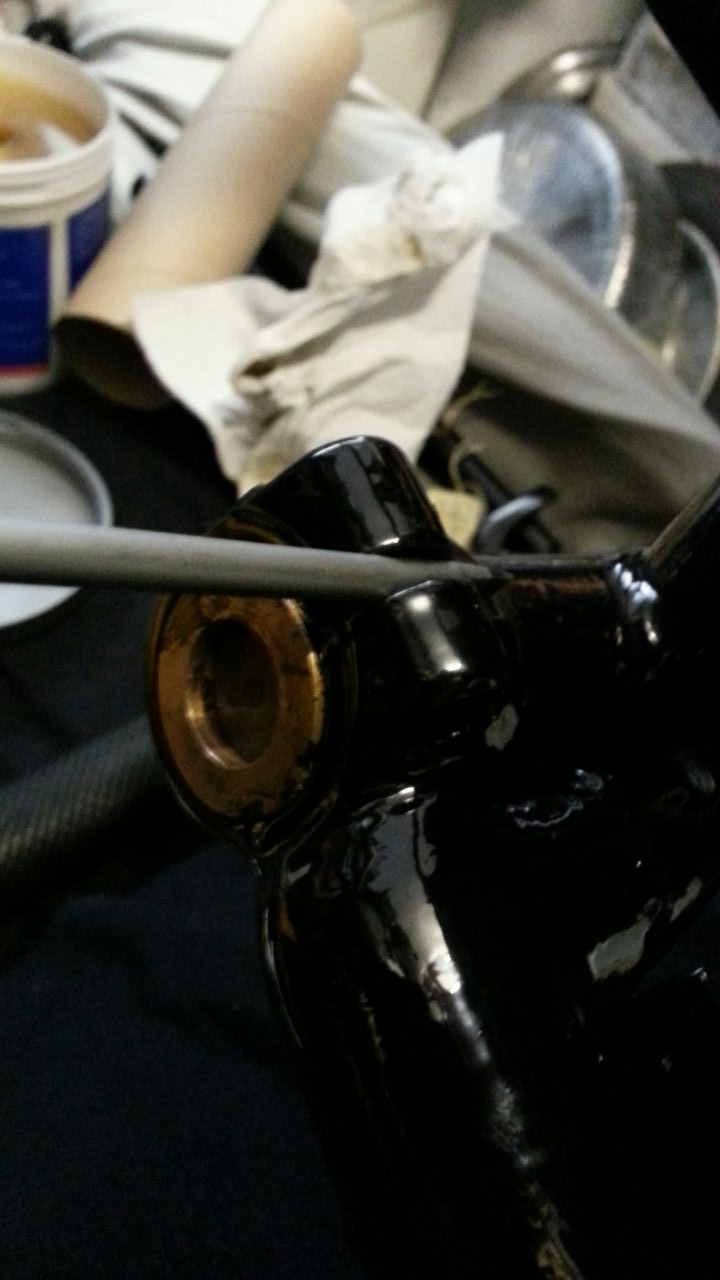
If you look at the engine carrier, you will see a metal conical shape sticking out one end; this end is pressed in. It can be replaced, but would have to be engineered. On the other side is a single bolt to squeeze down on the other conical bolt. The wing arm is installed on top of these conical bolts and play can be reduced by pulling the adjustable bolt outward:
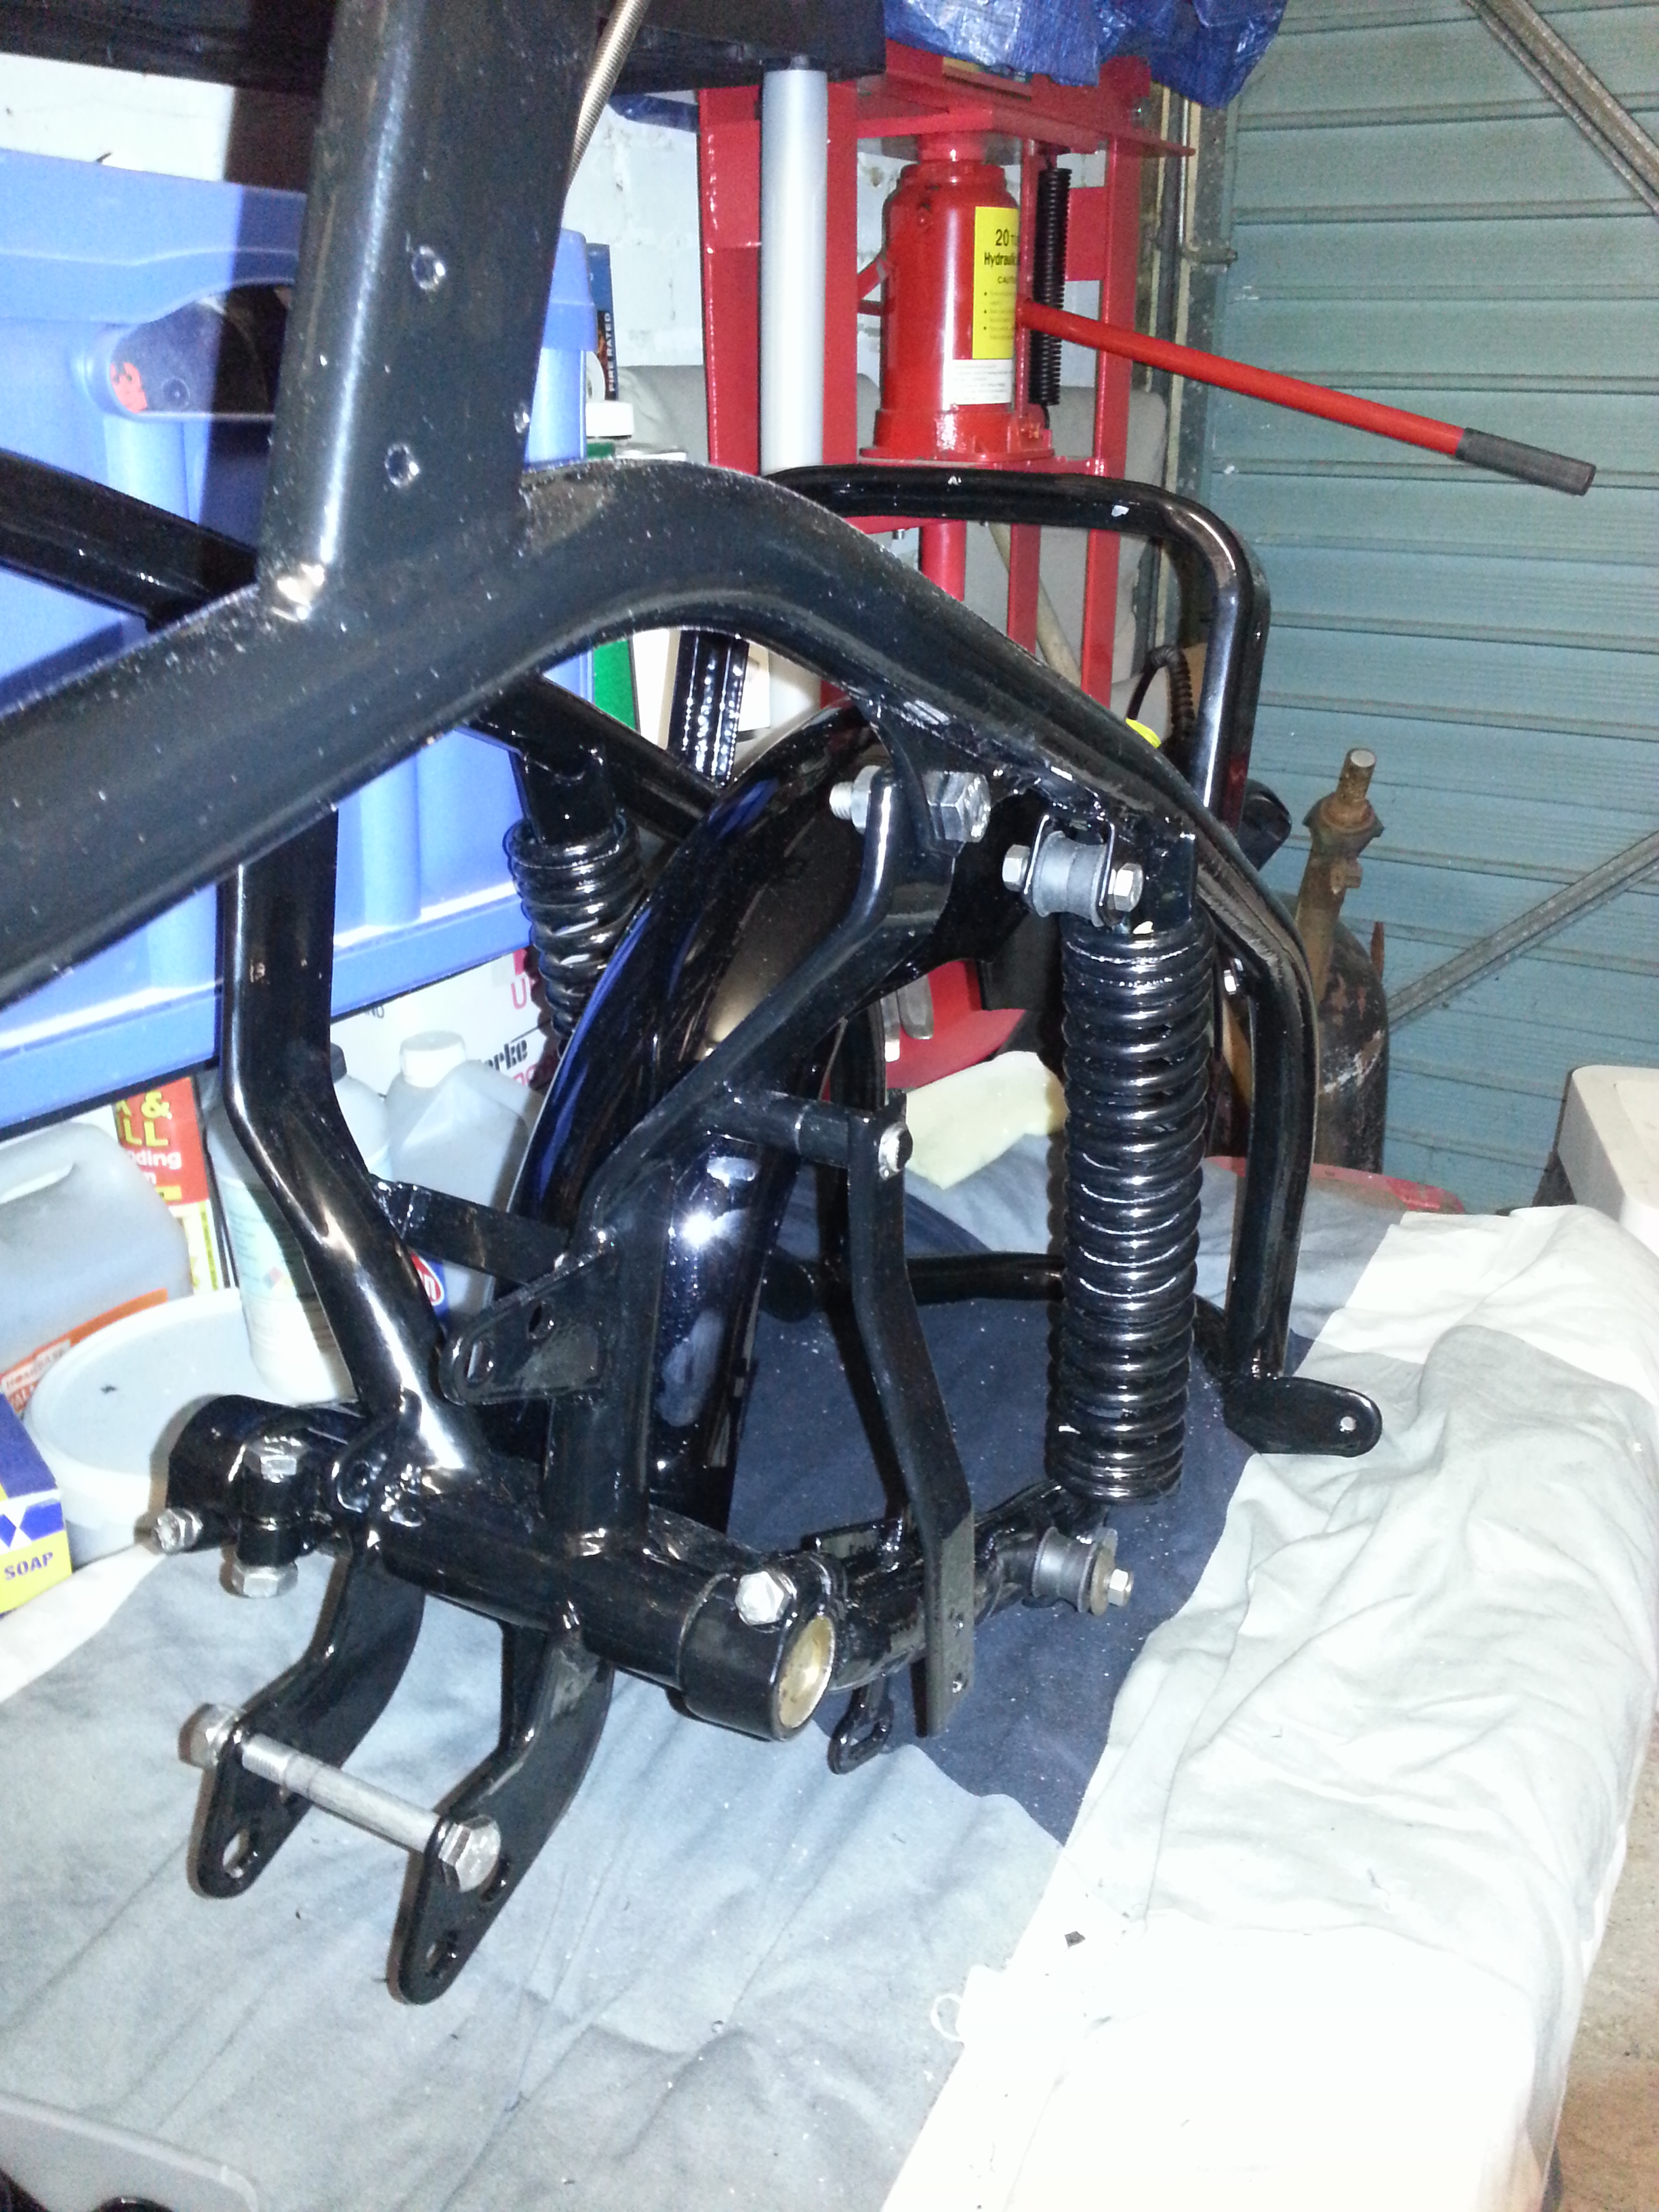
Swing arm
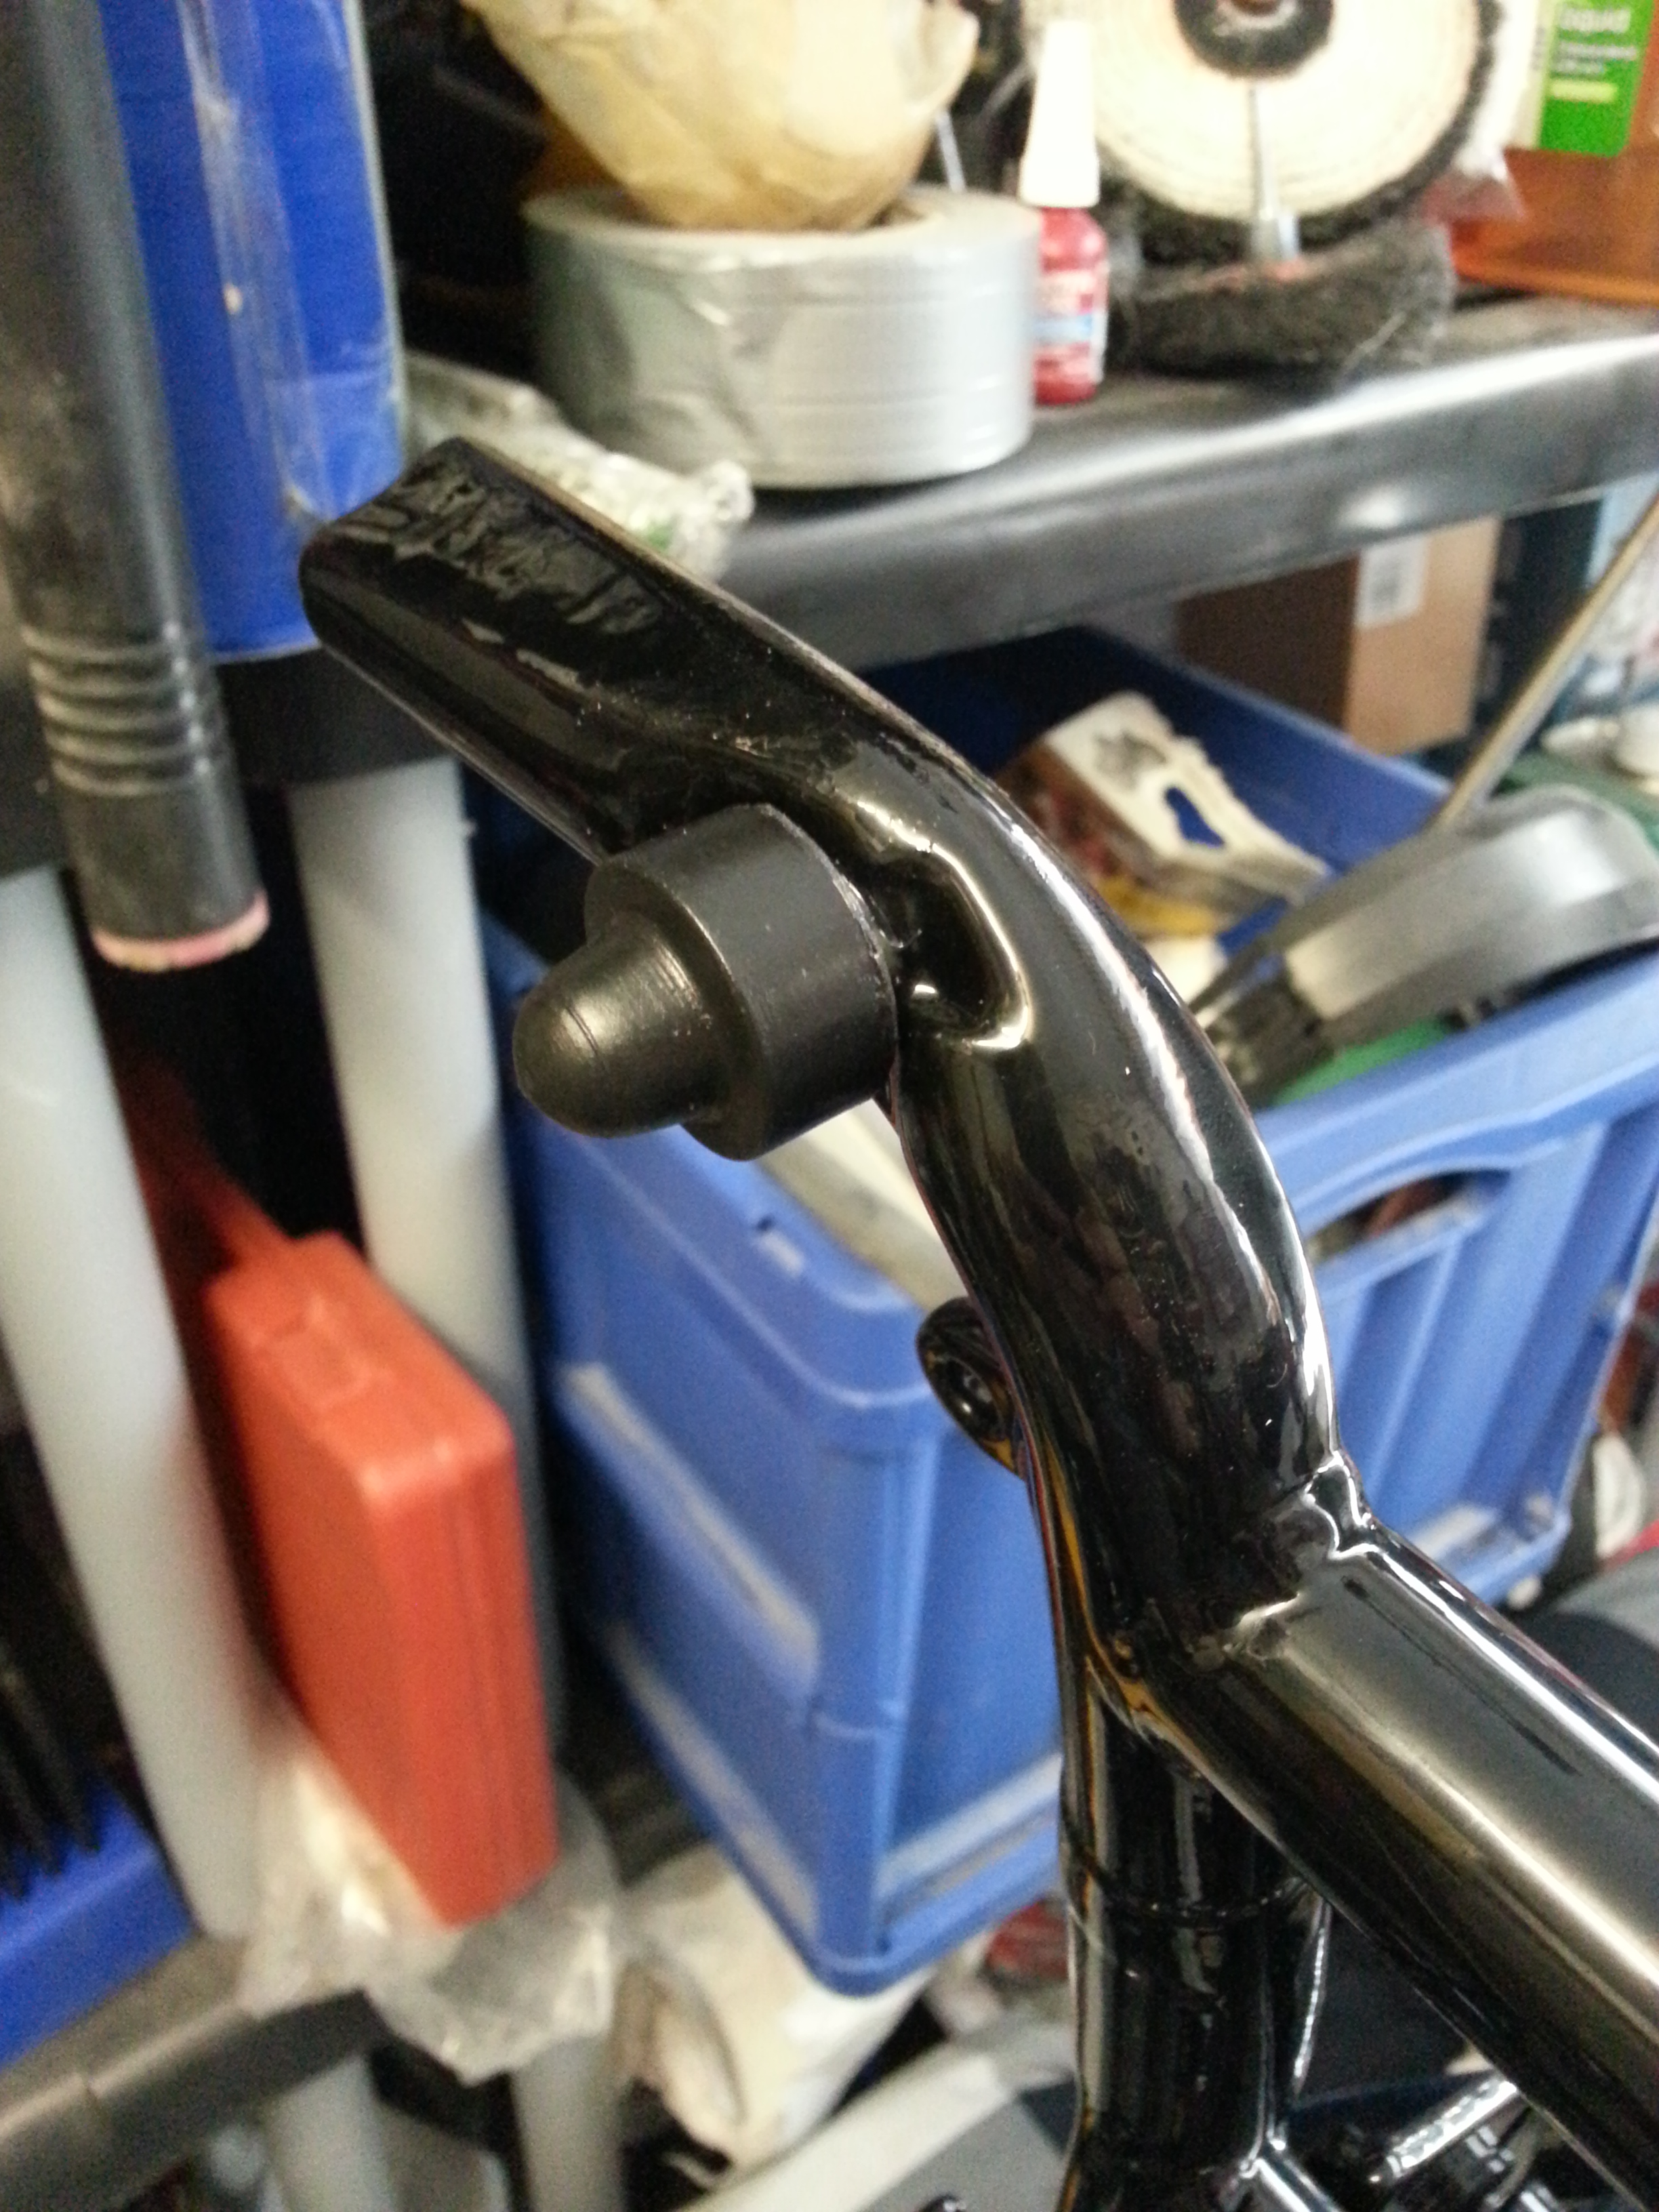
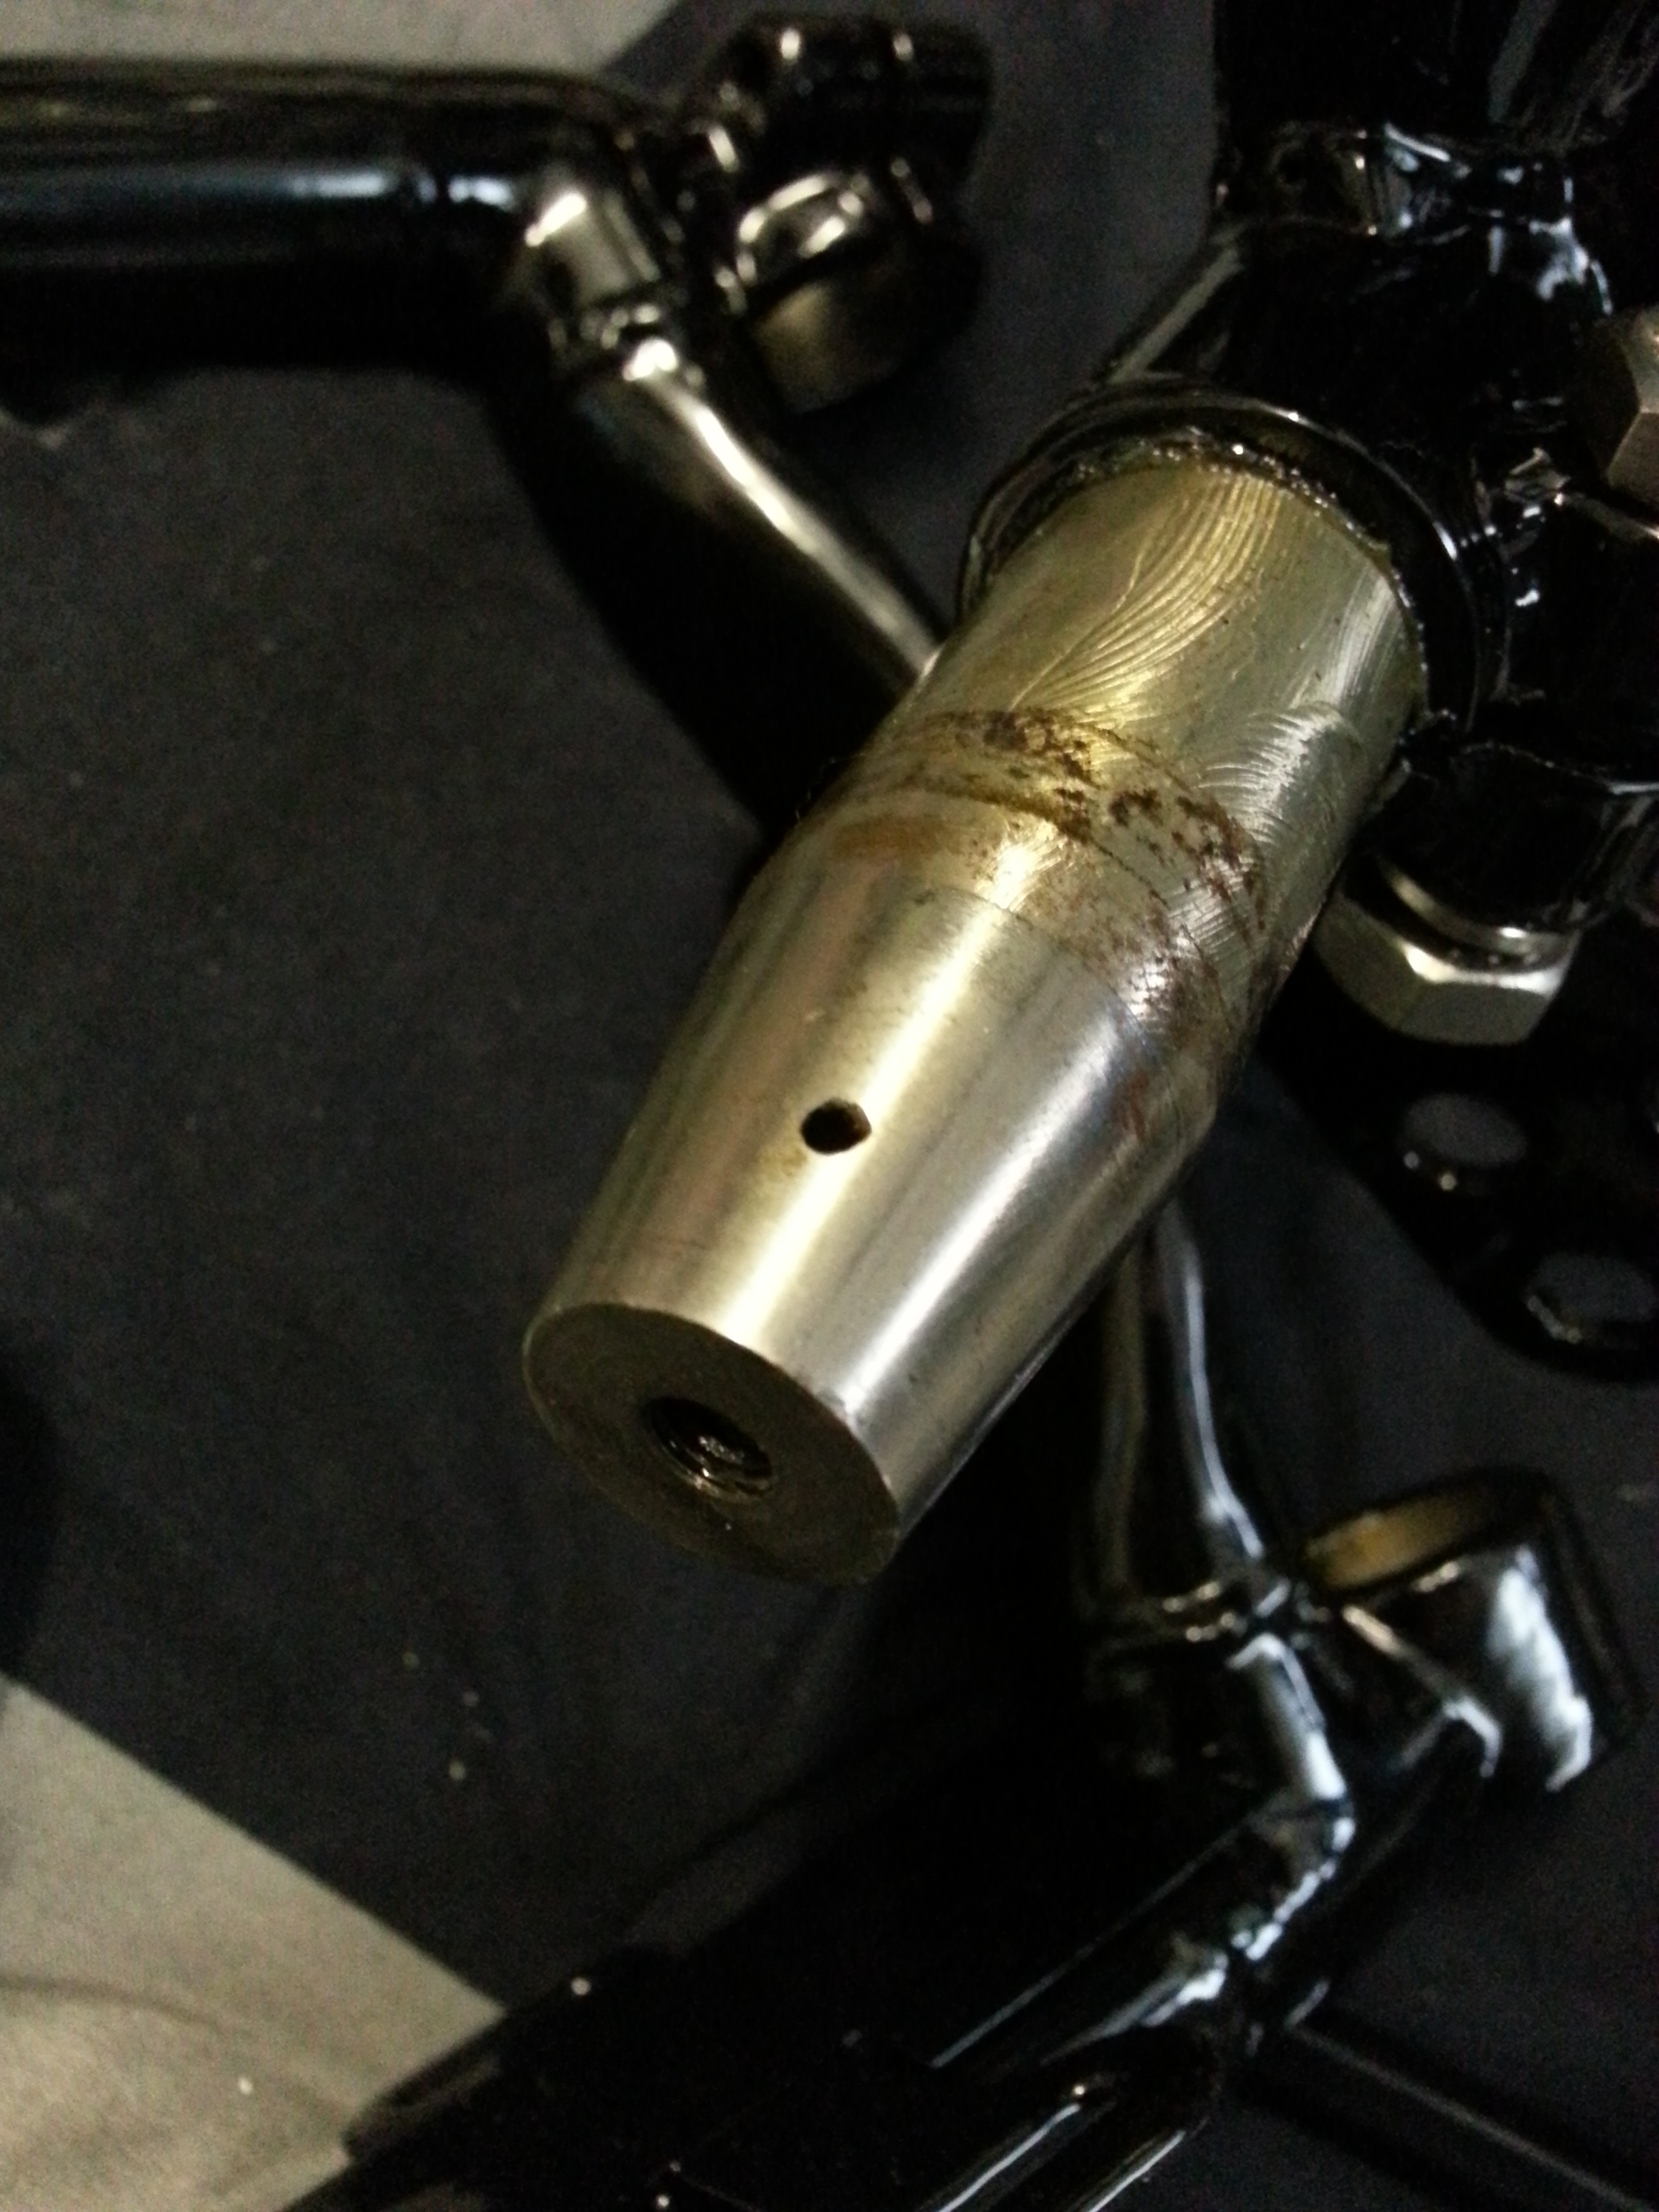
An M6 thread is inside the bolt which you can also use to attach a slide hammer to to get it out; which you will need to do to remove the swing arm. Once installed a grease nipple is screwed into the bolt. Note the small hole in the bolt through which grease that is inserted will reach it destination; make sure it is not clogged.
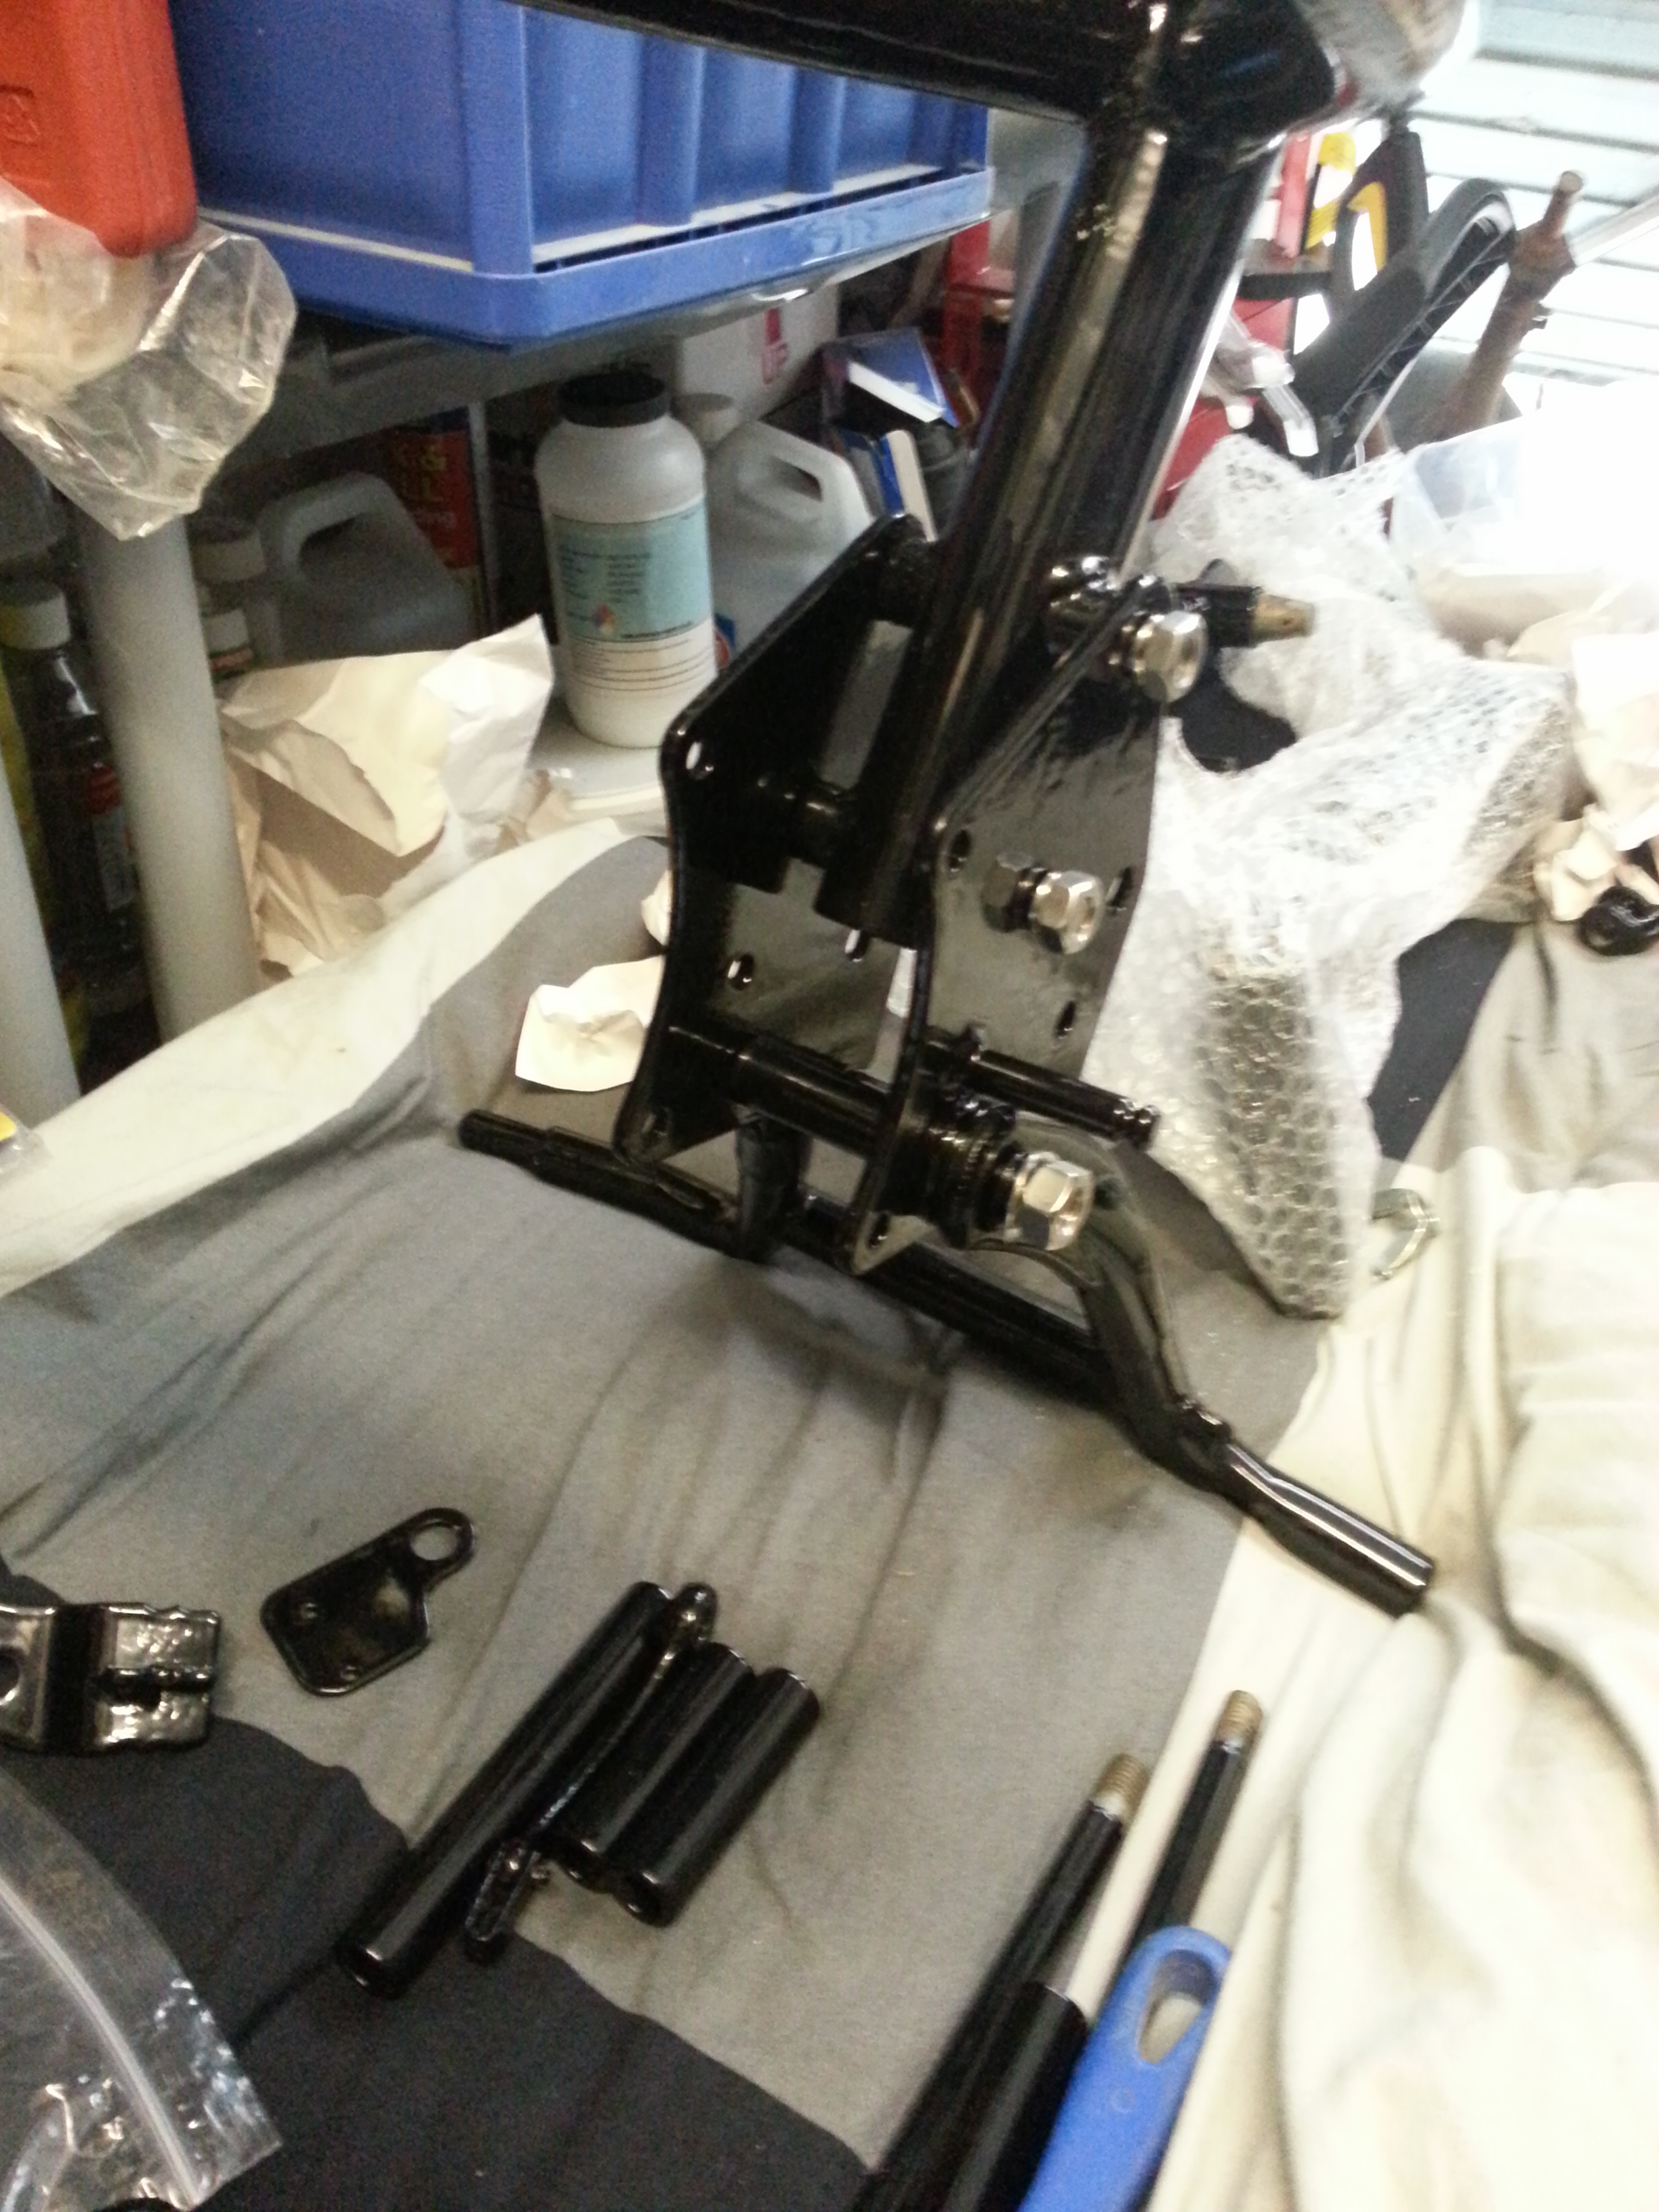
To get the bridge on, push the conical bolt into the frame, insert the two rubber rings that fit between the engine carrier and the swing arm. Note that these can be of variable thickness, but need to be a very tight fit. The result of this step looks as follows:
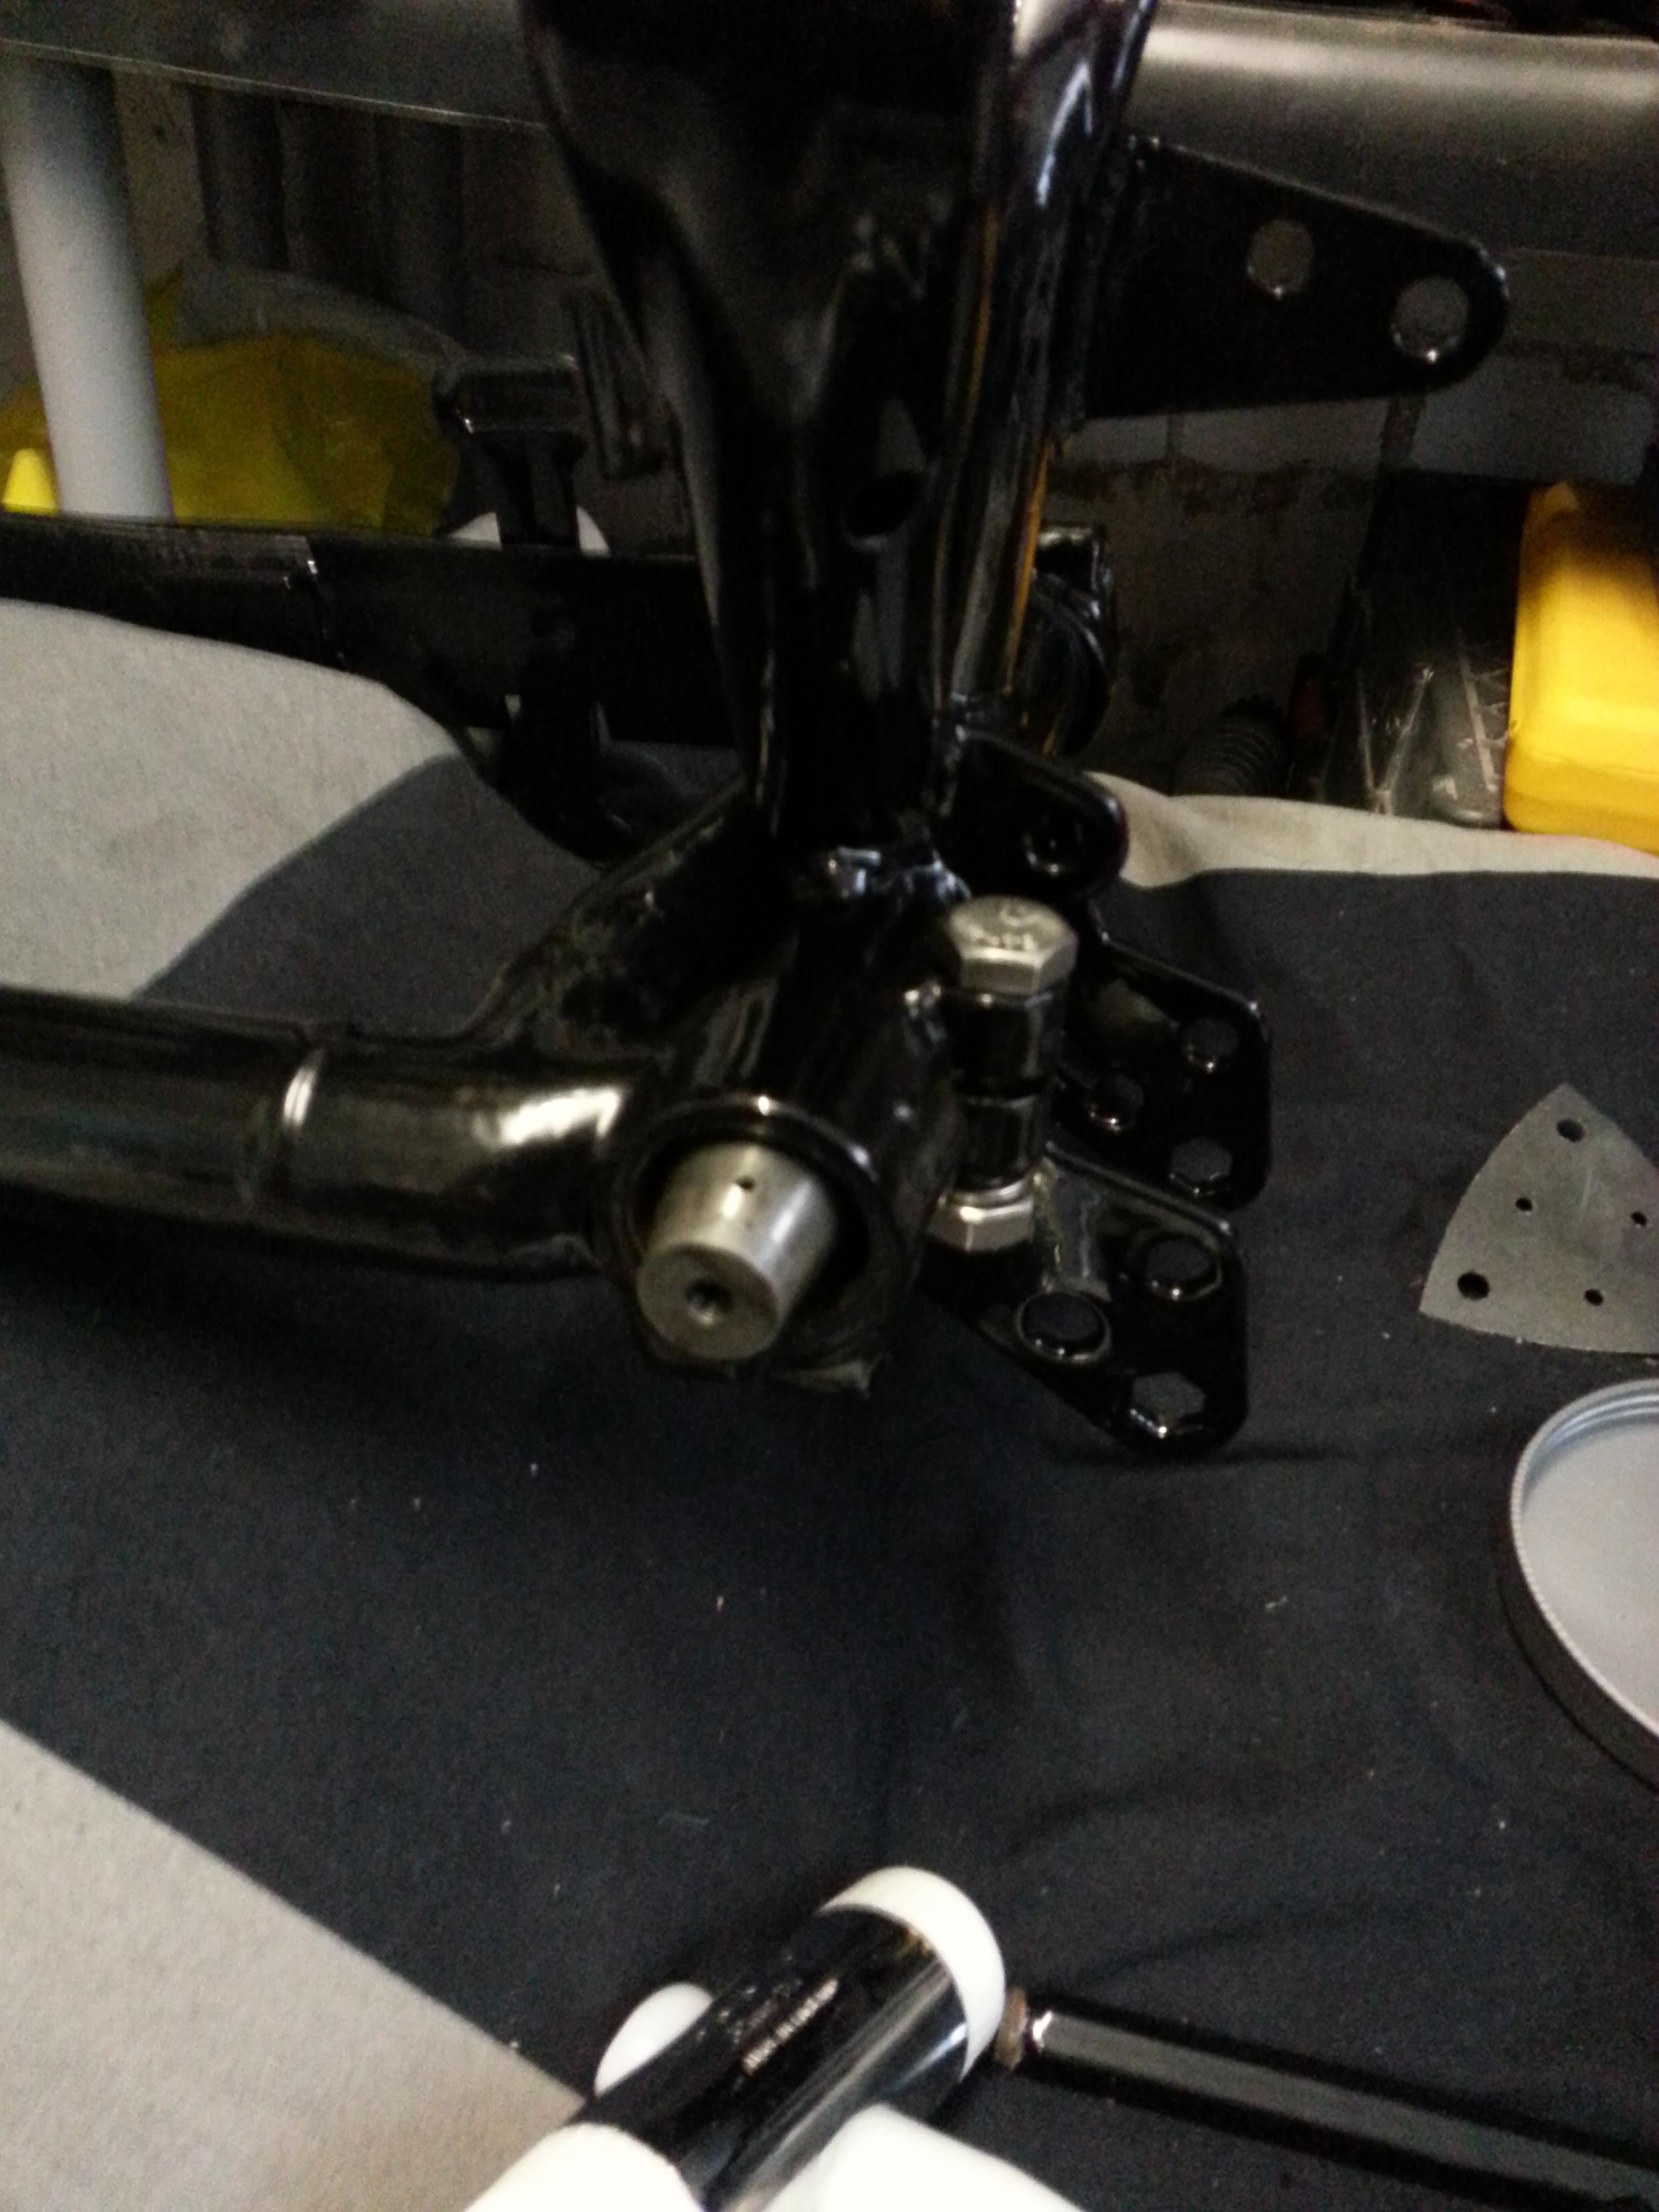
The next step is to install the two brass bushings either end of the swing arm. Start with the fixed bolt and then do the other side. The bushing looks as follows:
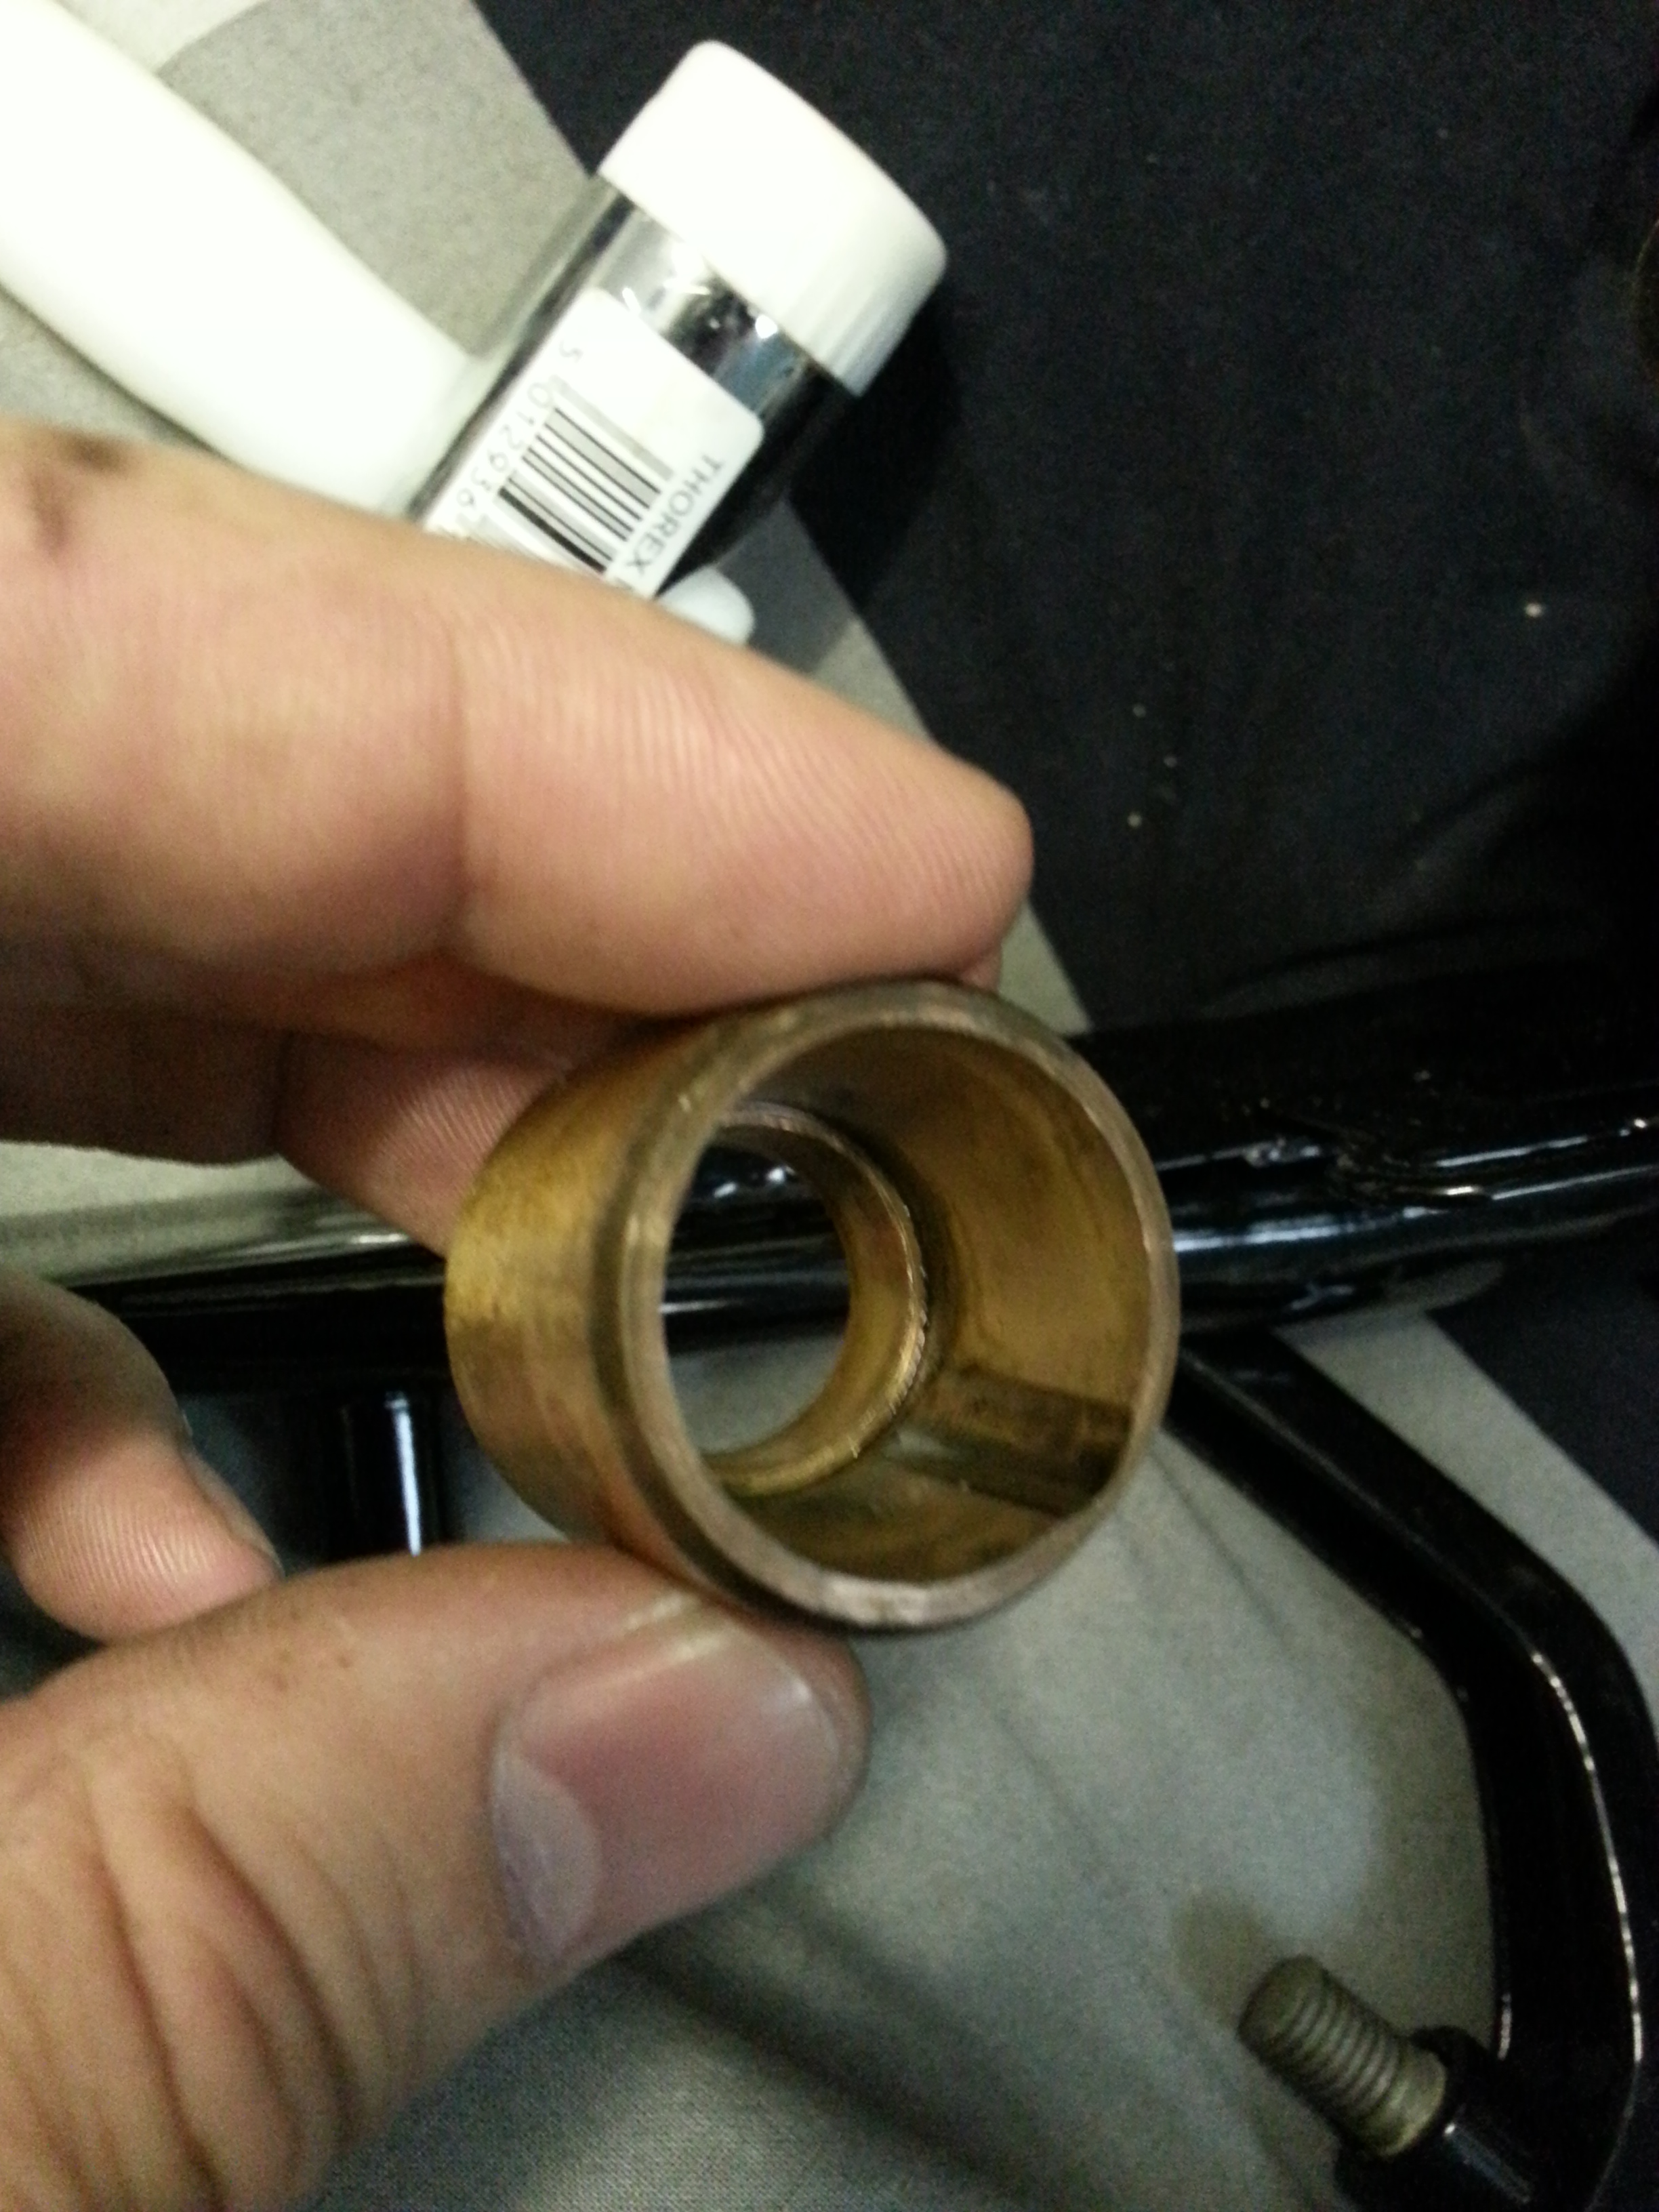
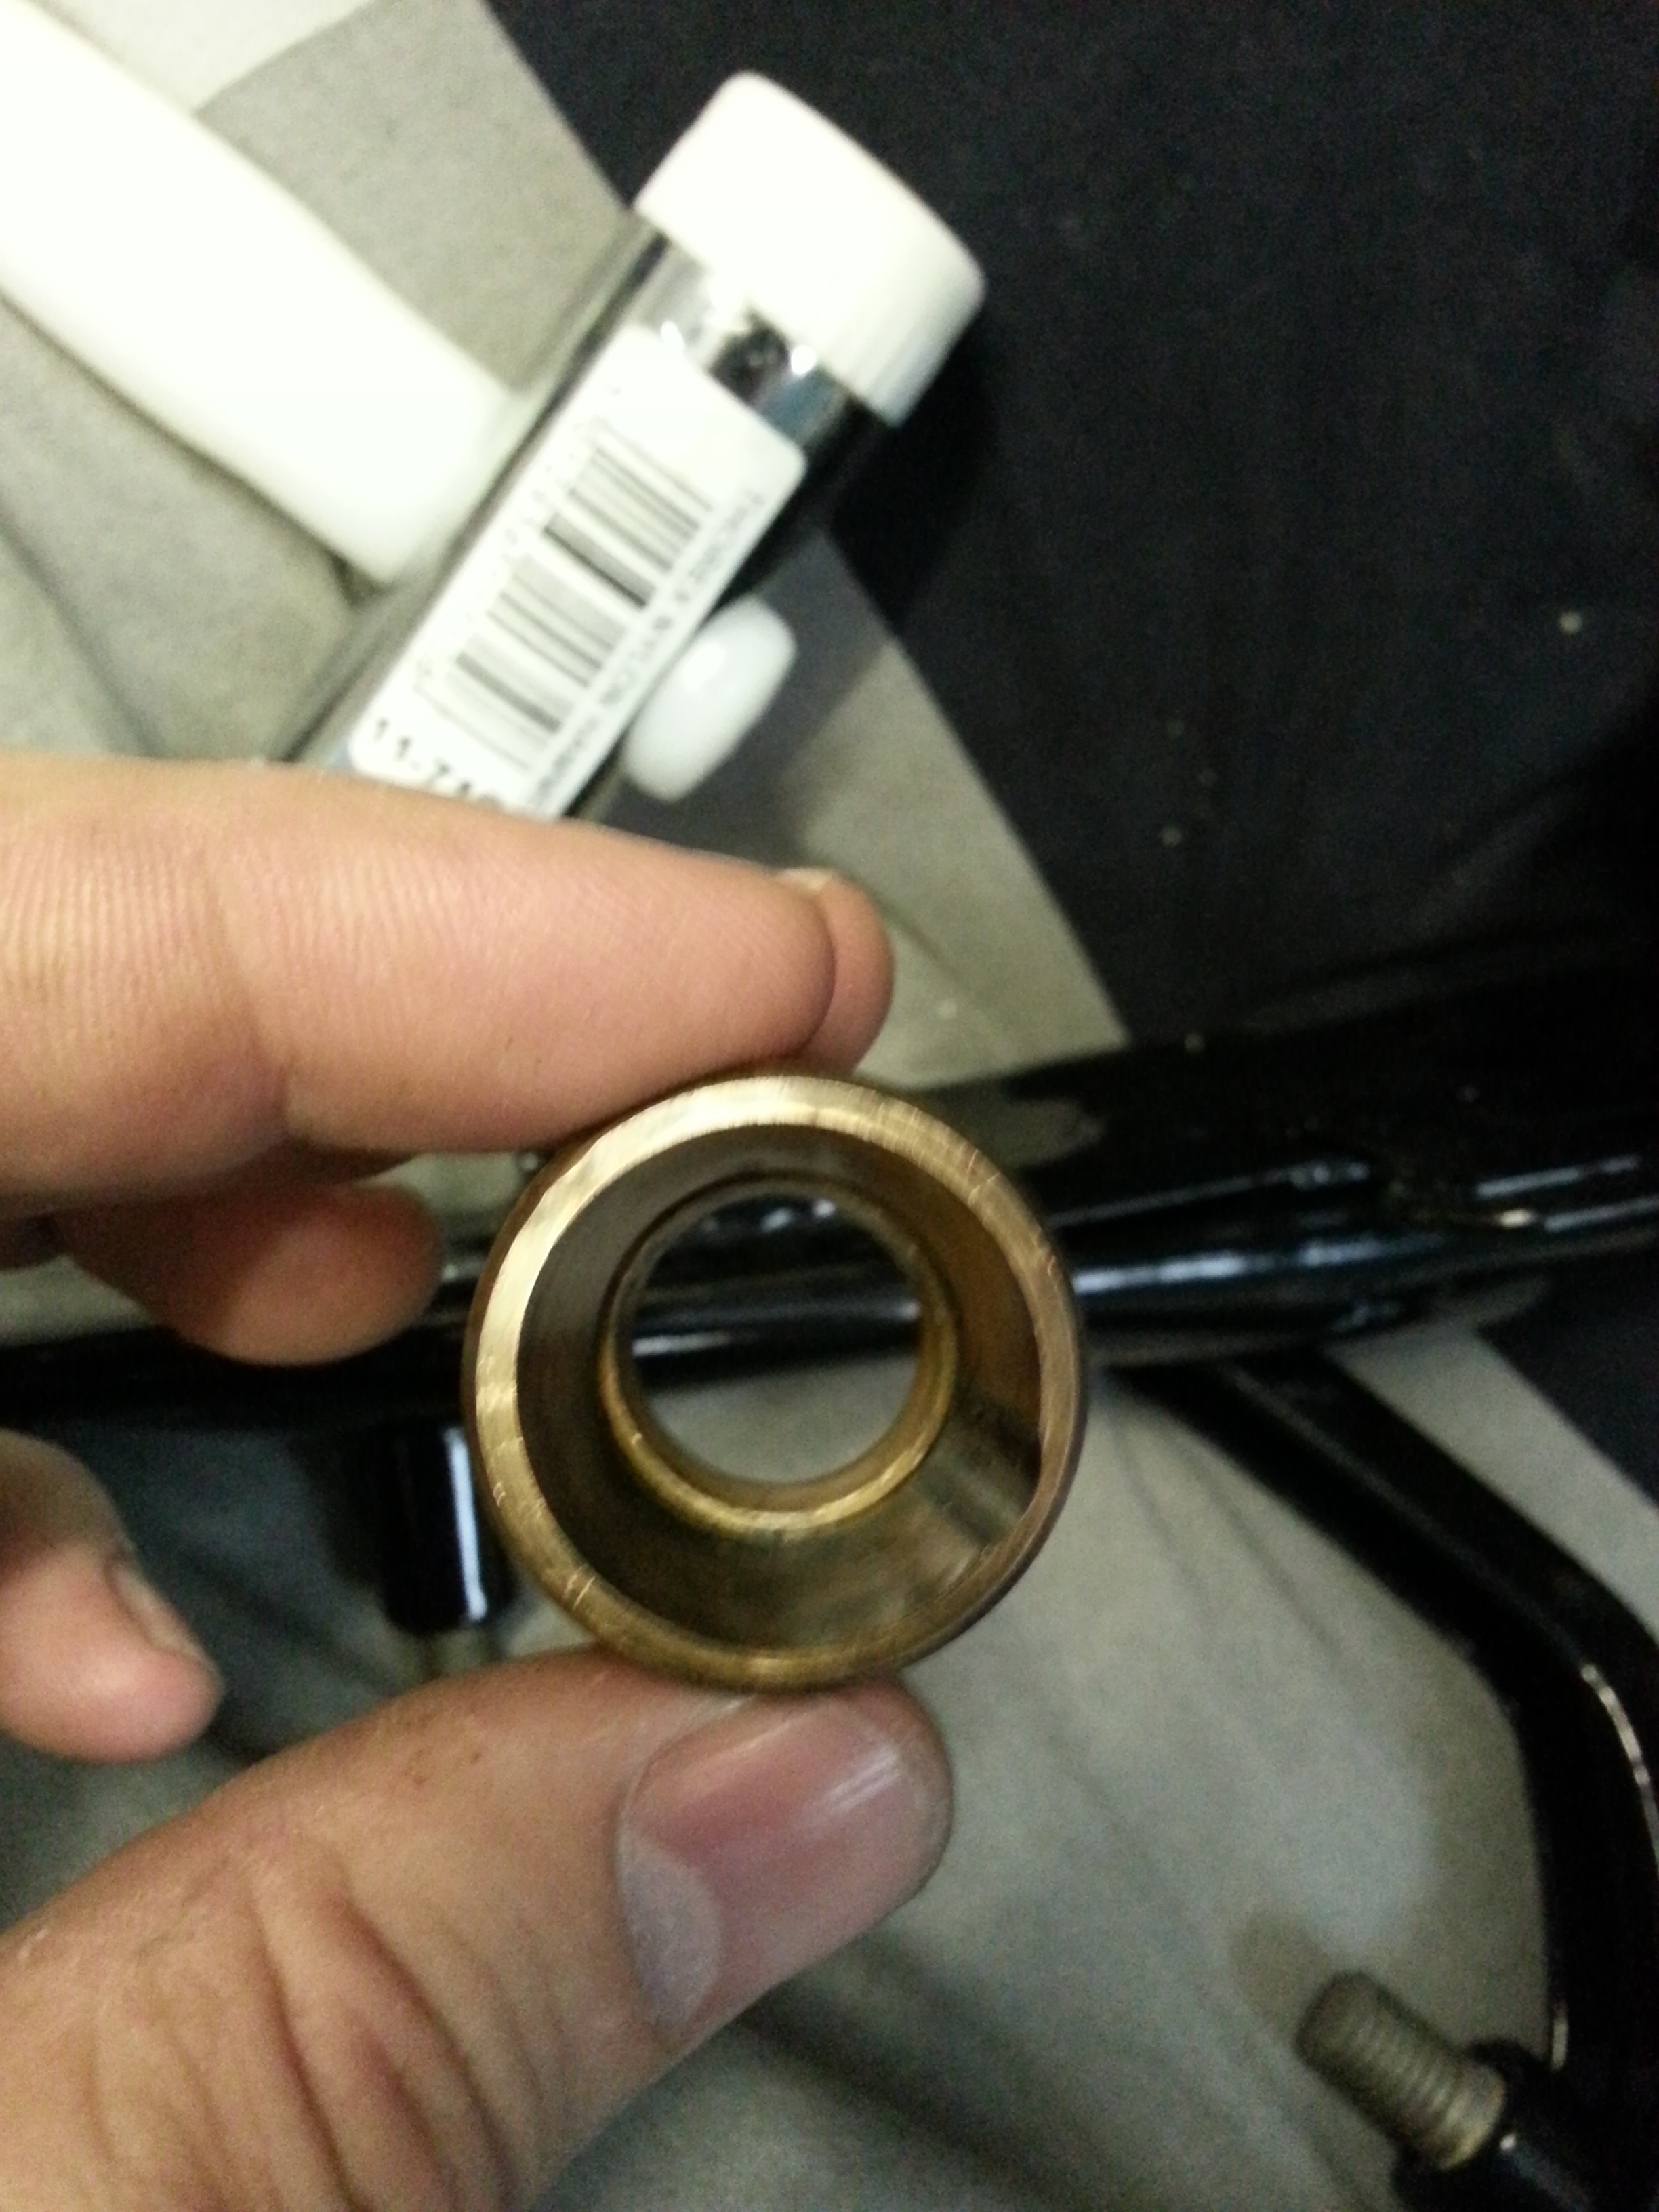

Note the groove in the busing; the bushing should be inserted so that the groove is over the pinhole in the conical bolts; this will allow for better grease distribution and prolong the life of the bushing and bolts.
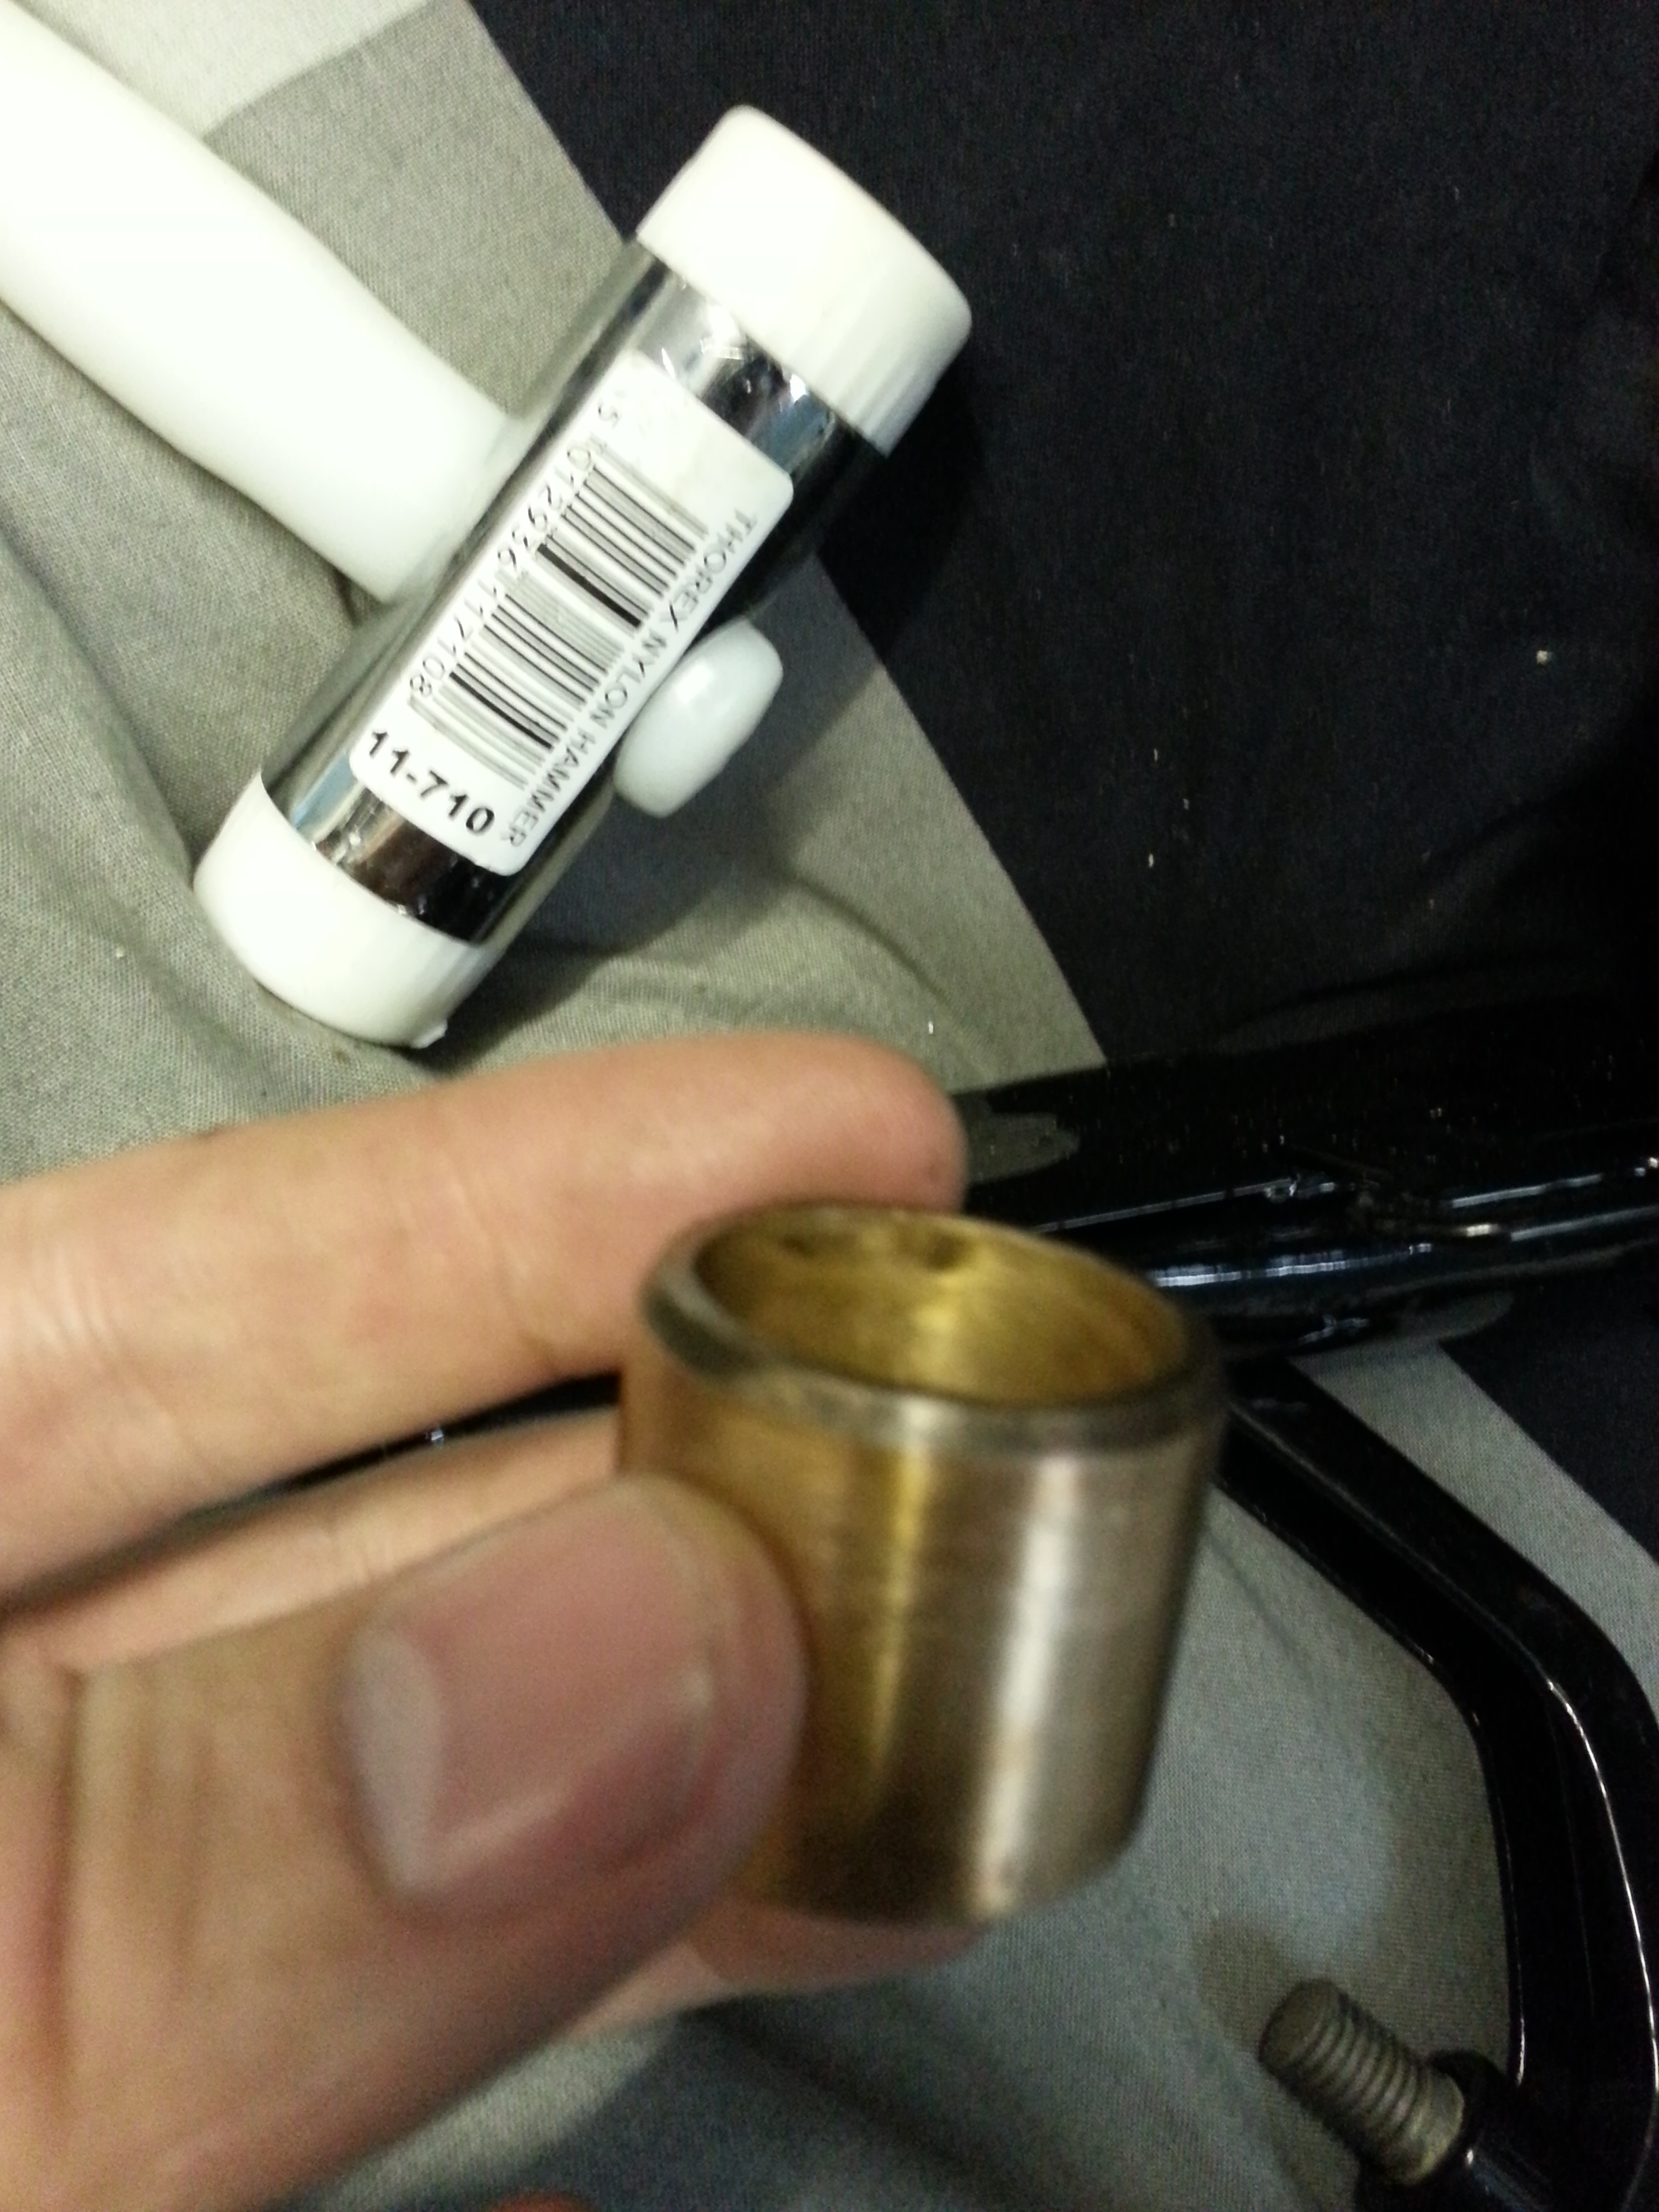
The bushings are brass, so softer than the frame or steel bolts. Do not use force to install them and gently tap them in place with a rubber or nylon hammer. Force the bolt passage open to ease insertion:

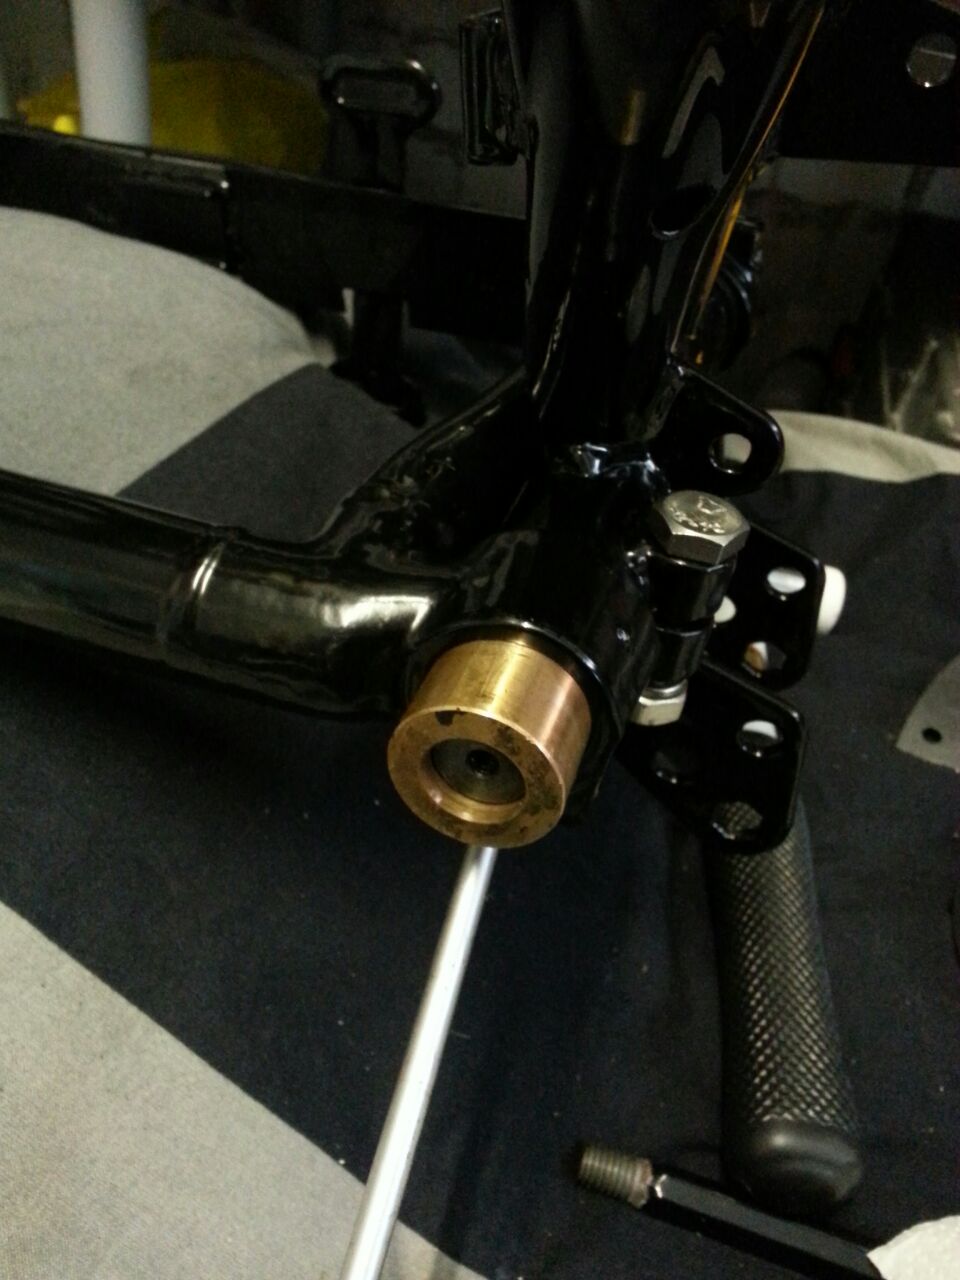
On the fixed bolt side the bushing should be flush with the swing arm. Once inserted, bolt down that side of the swing arm on the conical bolt. If your conical bolt on the adjustable side is loose enough, you can get a perfect fit by inserting the bushing on the conical bolt and tapping both into the engine holder at the same time. Once the bushing is flush with the swing arm, bolt down fasten the conical bolt and the bushing. The final product looks like this:
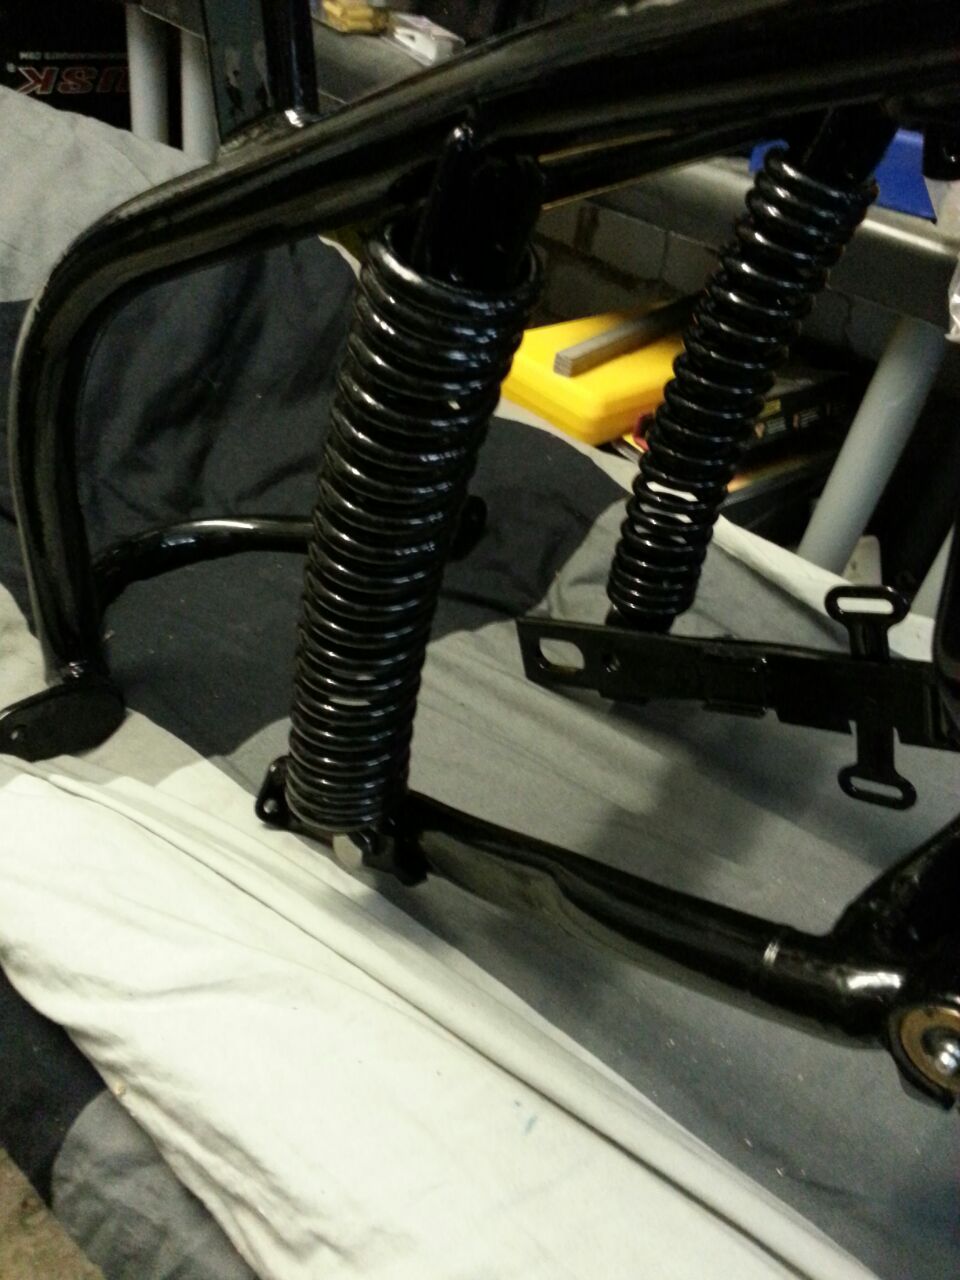
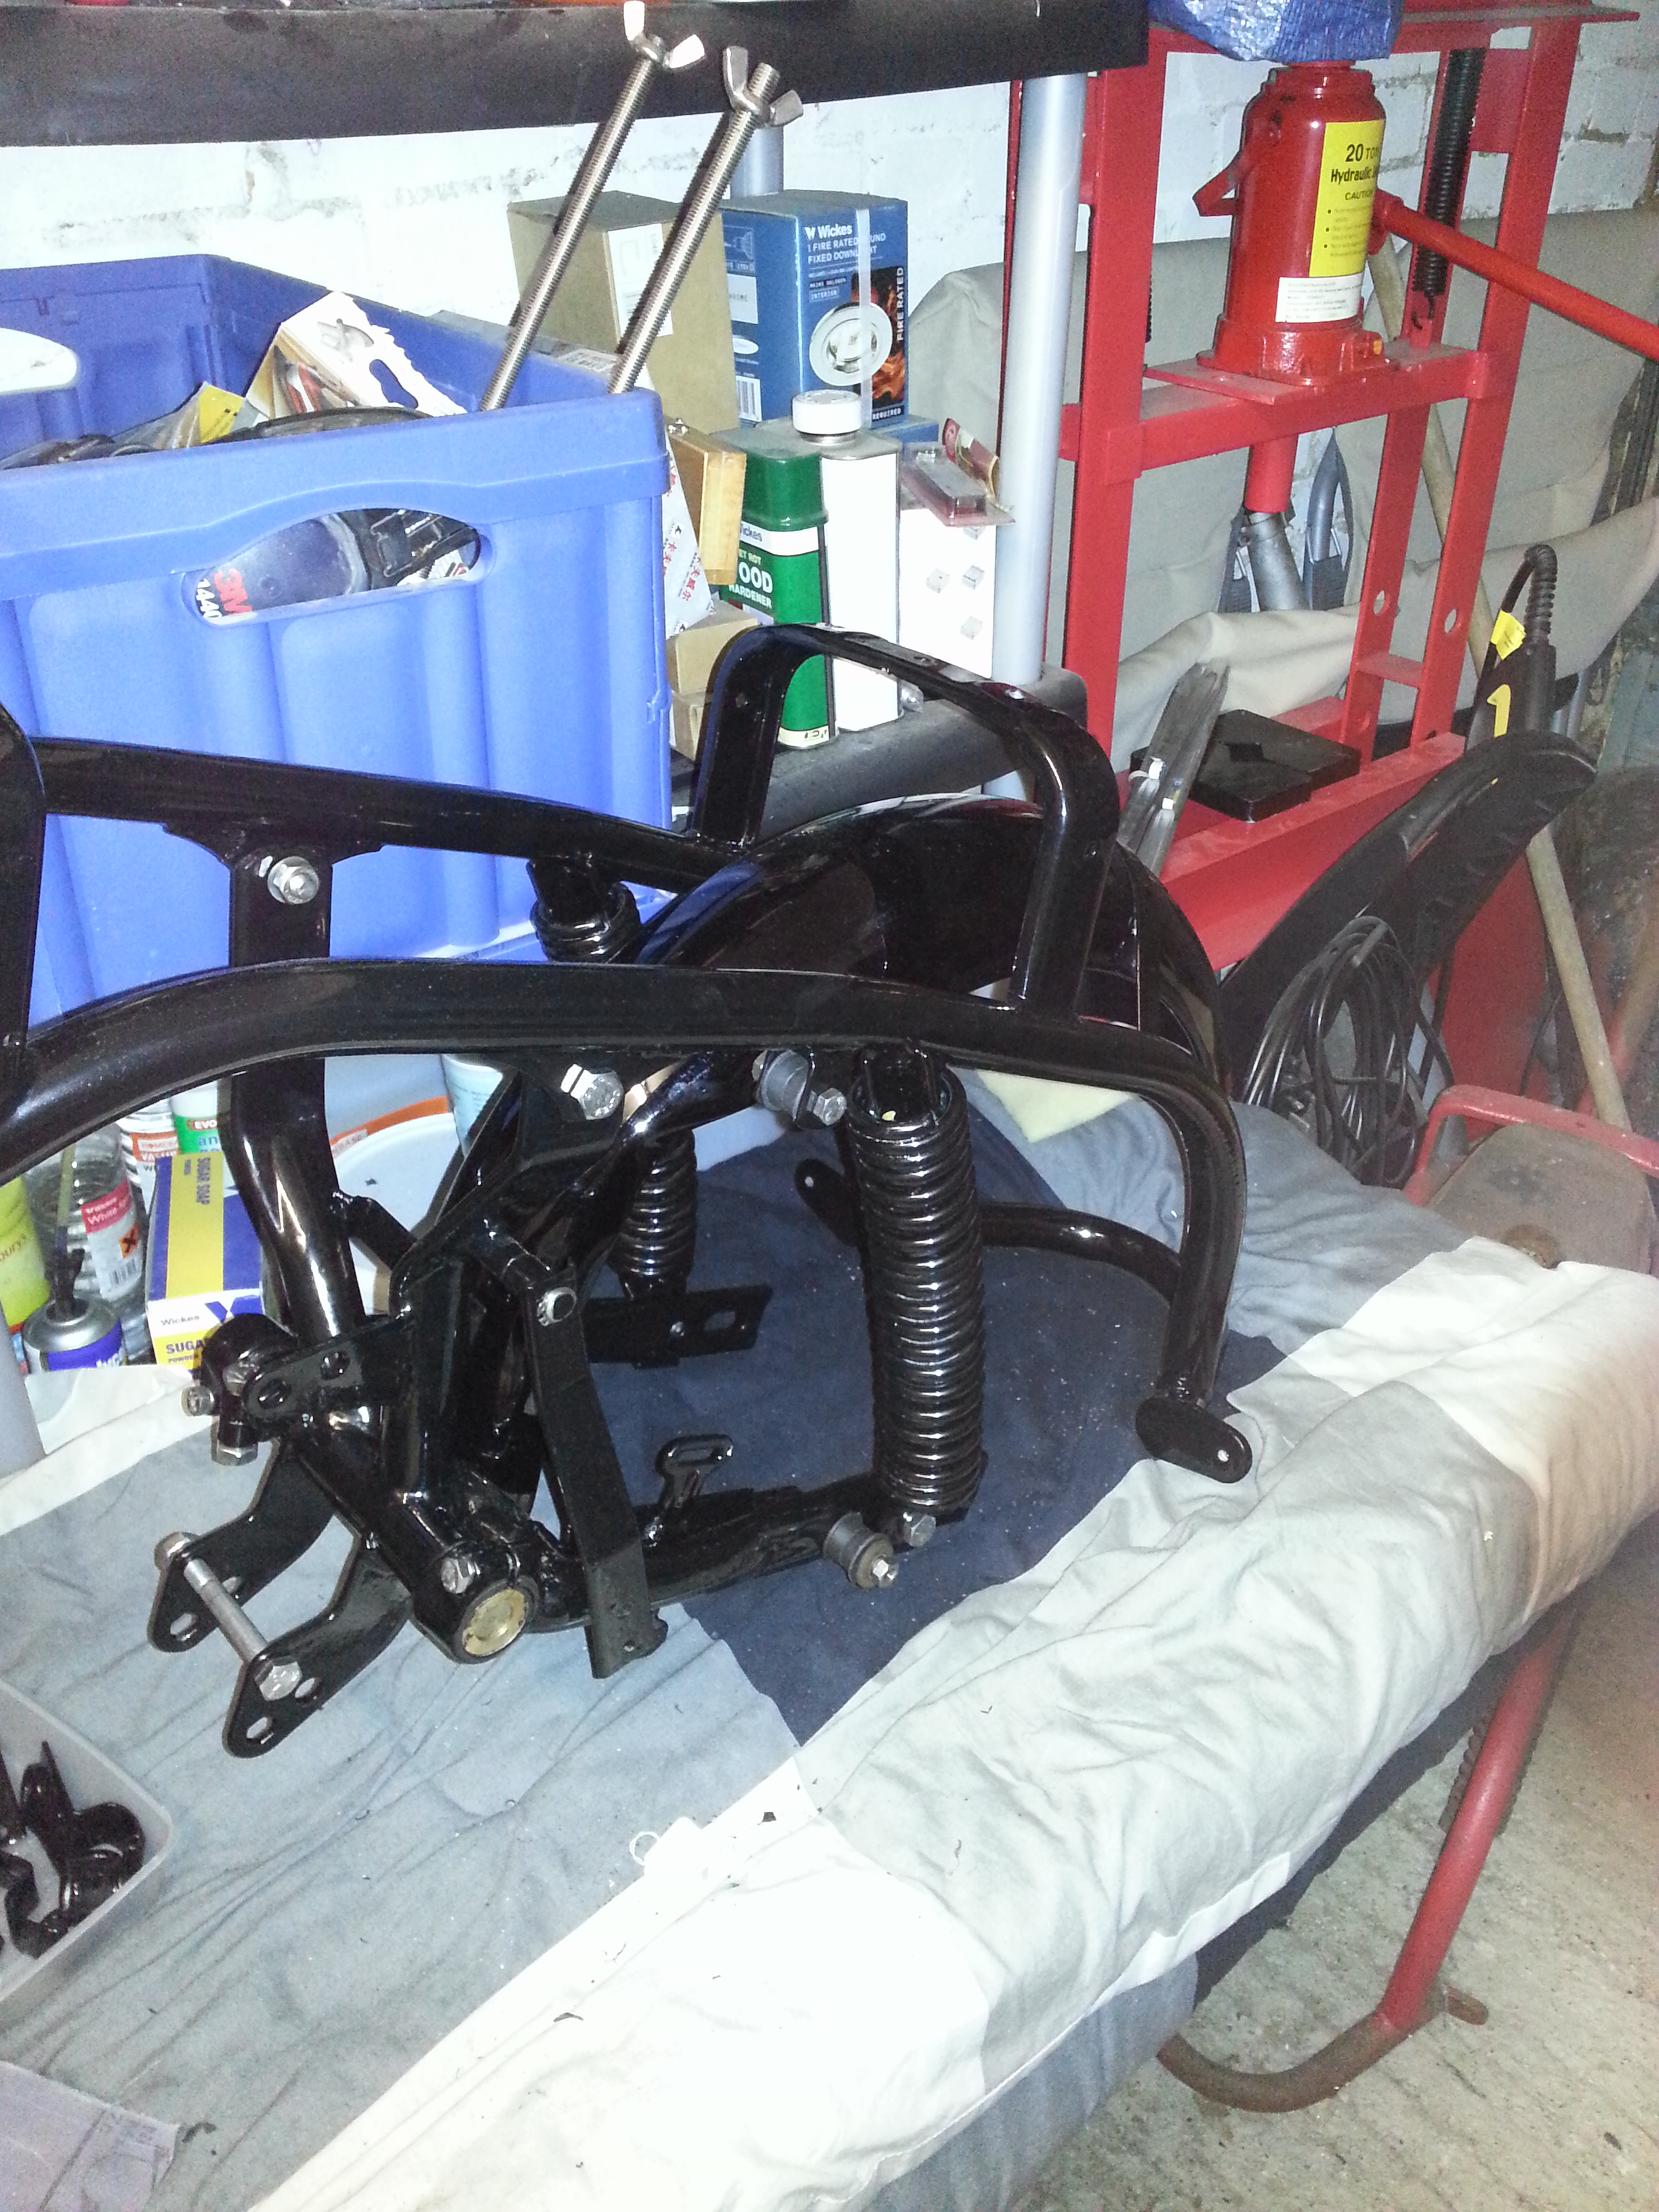
Suspension
With the swing arm installed it’s time to put in the suspension springs. First step is to screw the spring supports that go on the bottom in. If you use some grease to do so it will go quite quickly:
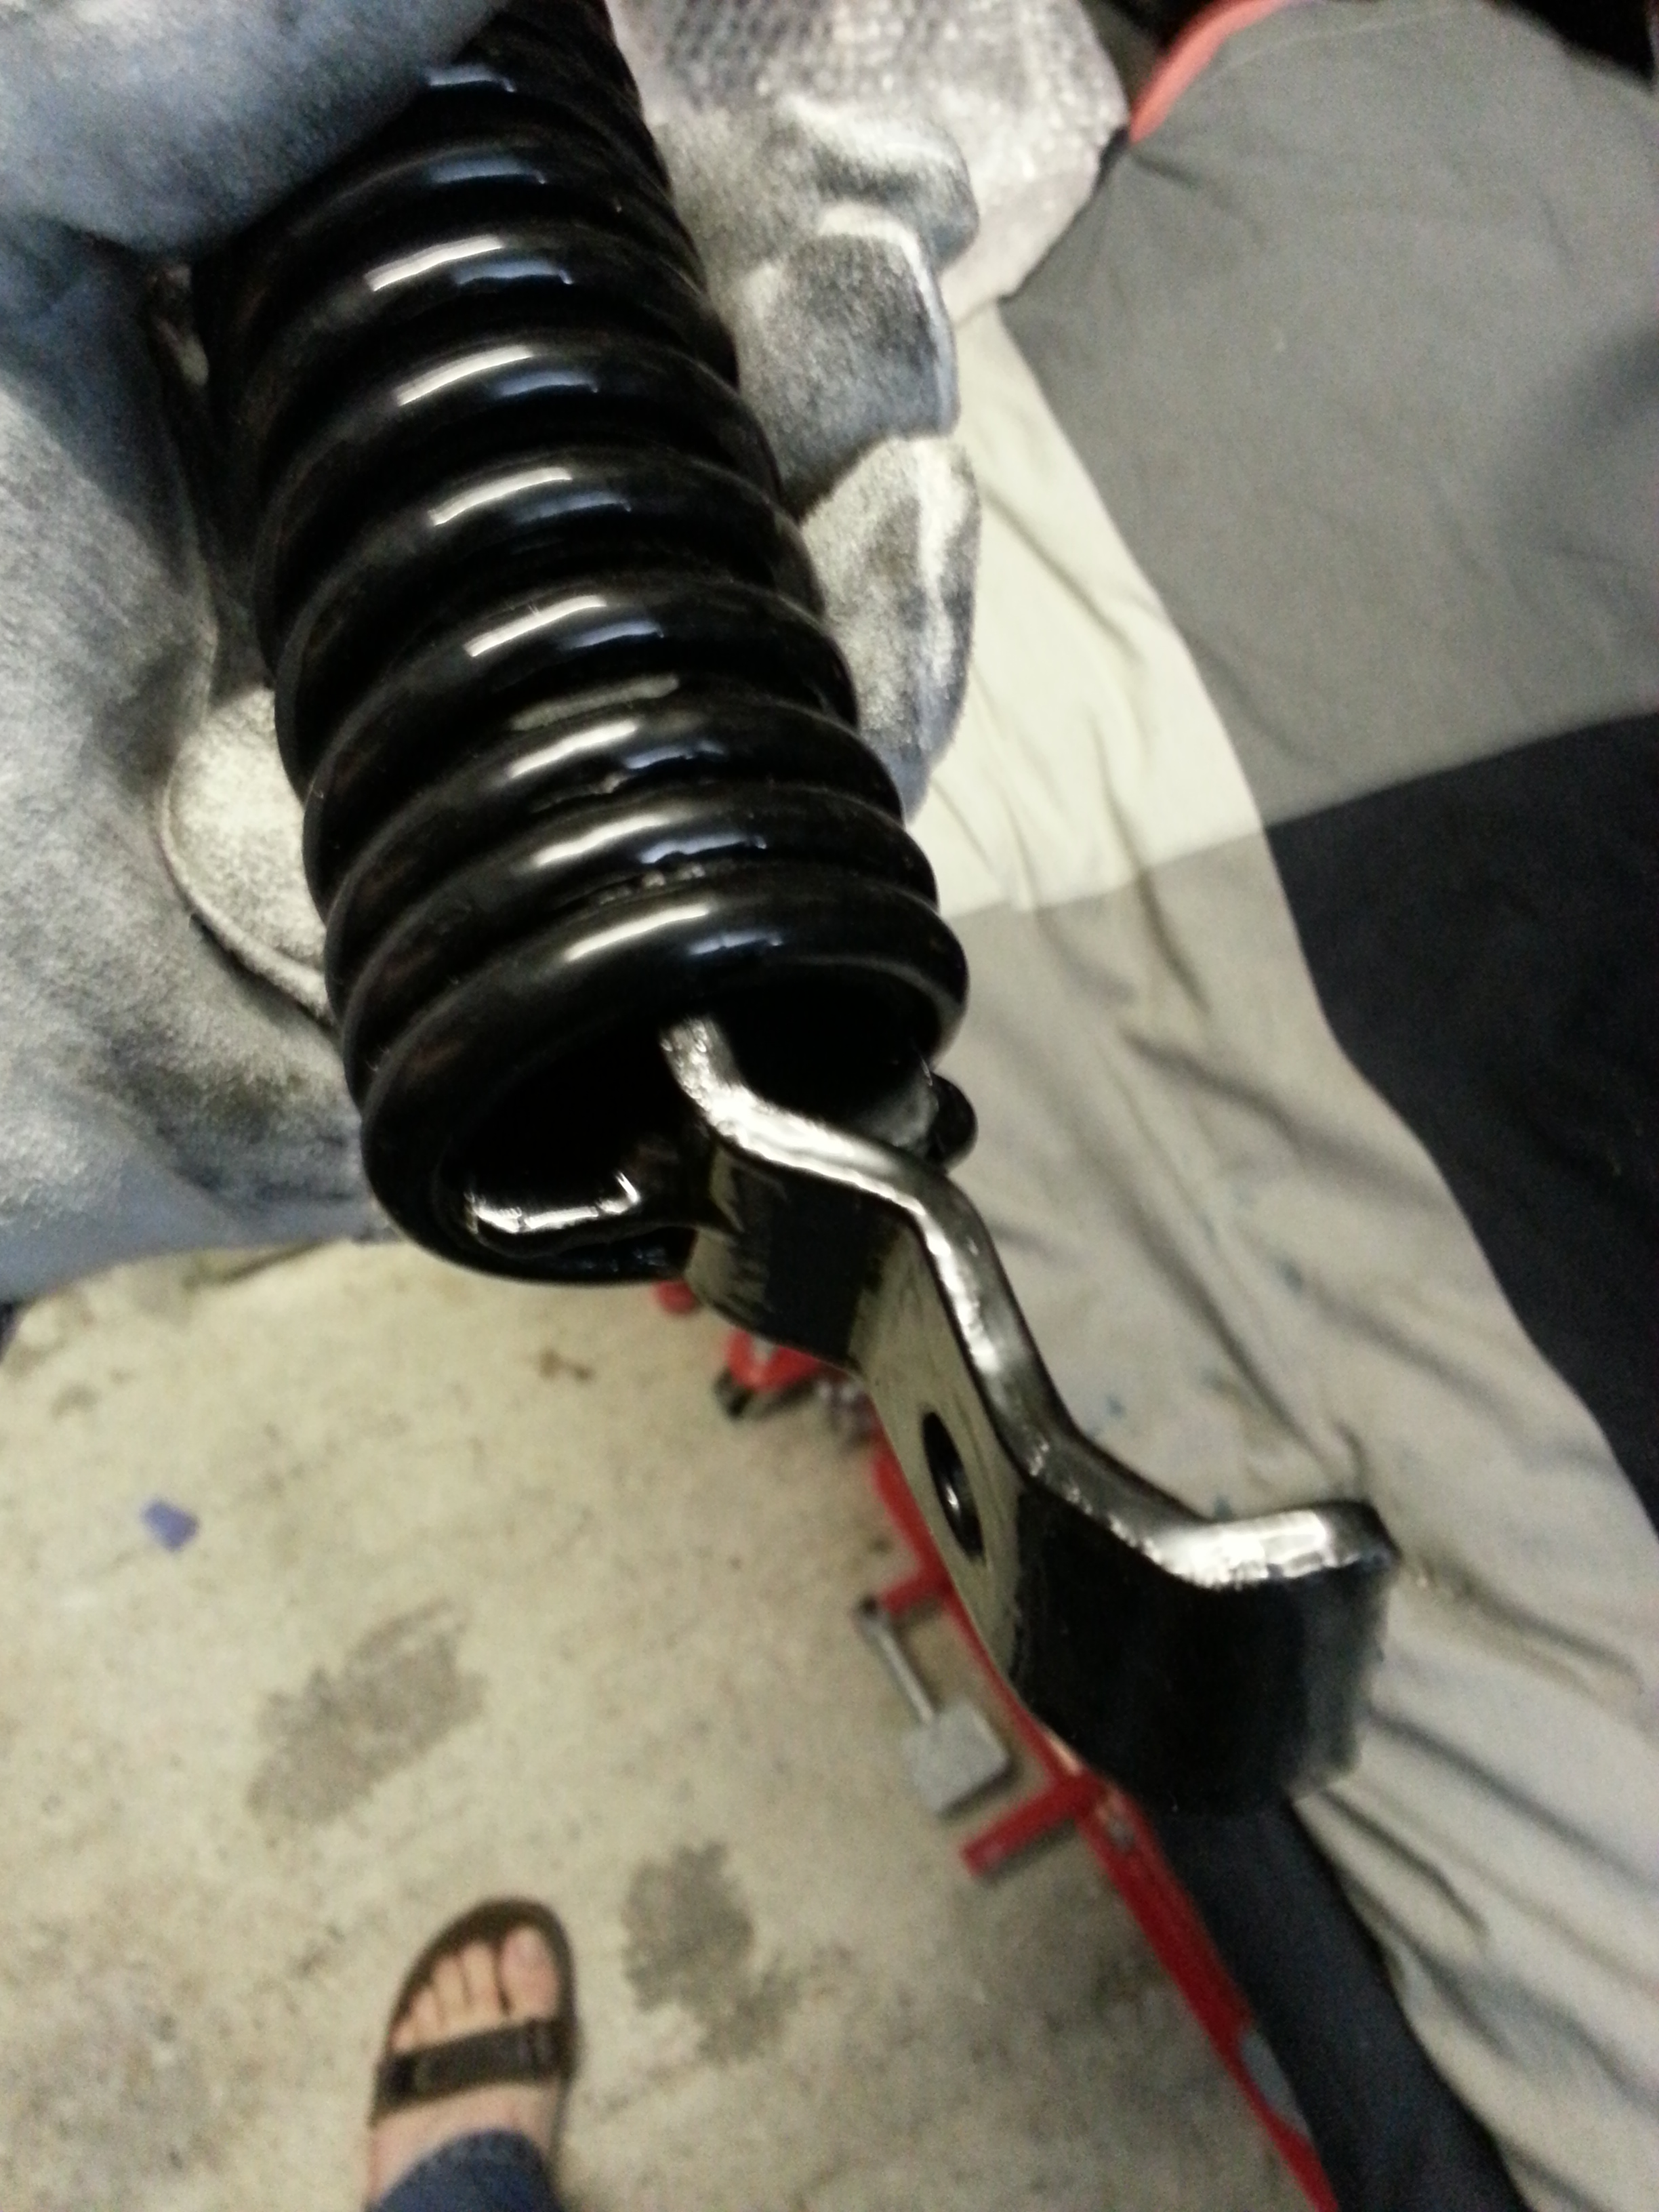
Once done you can screw the top parts directly onto the frame:

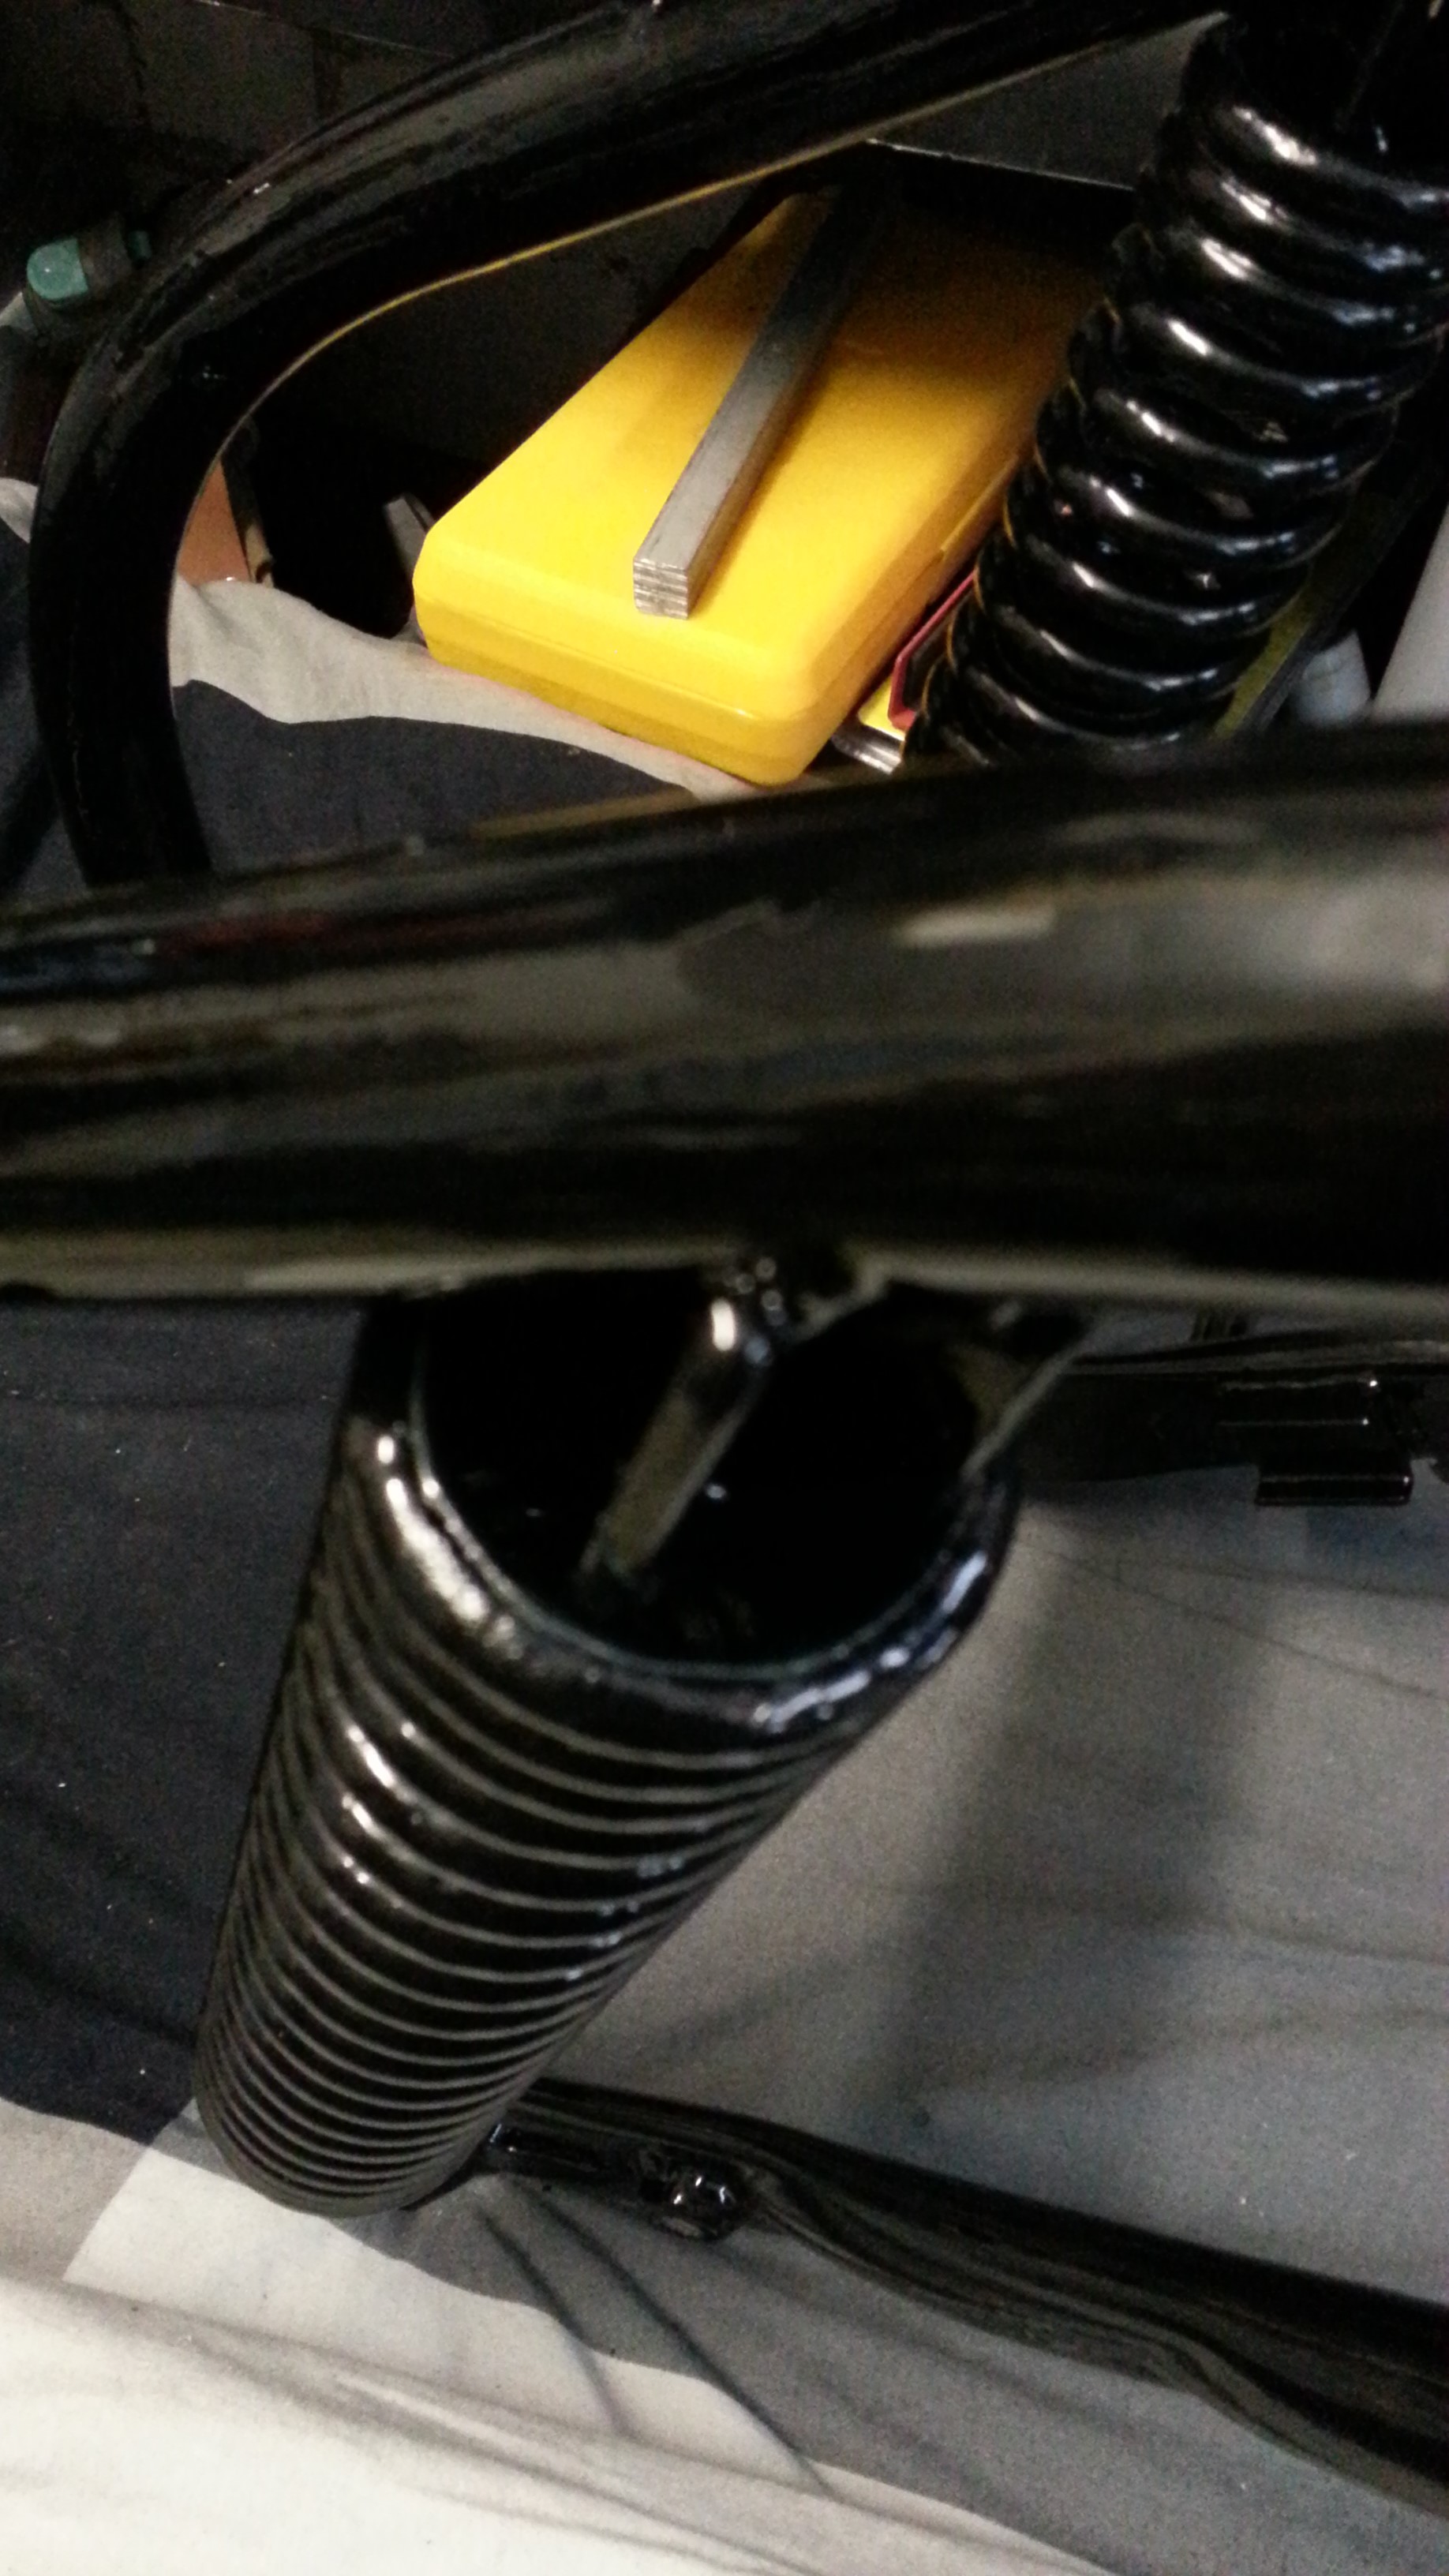
The suspension is now ready to be bolted to the frame:
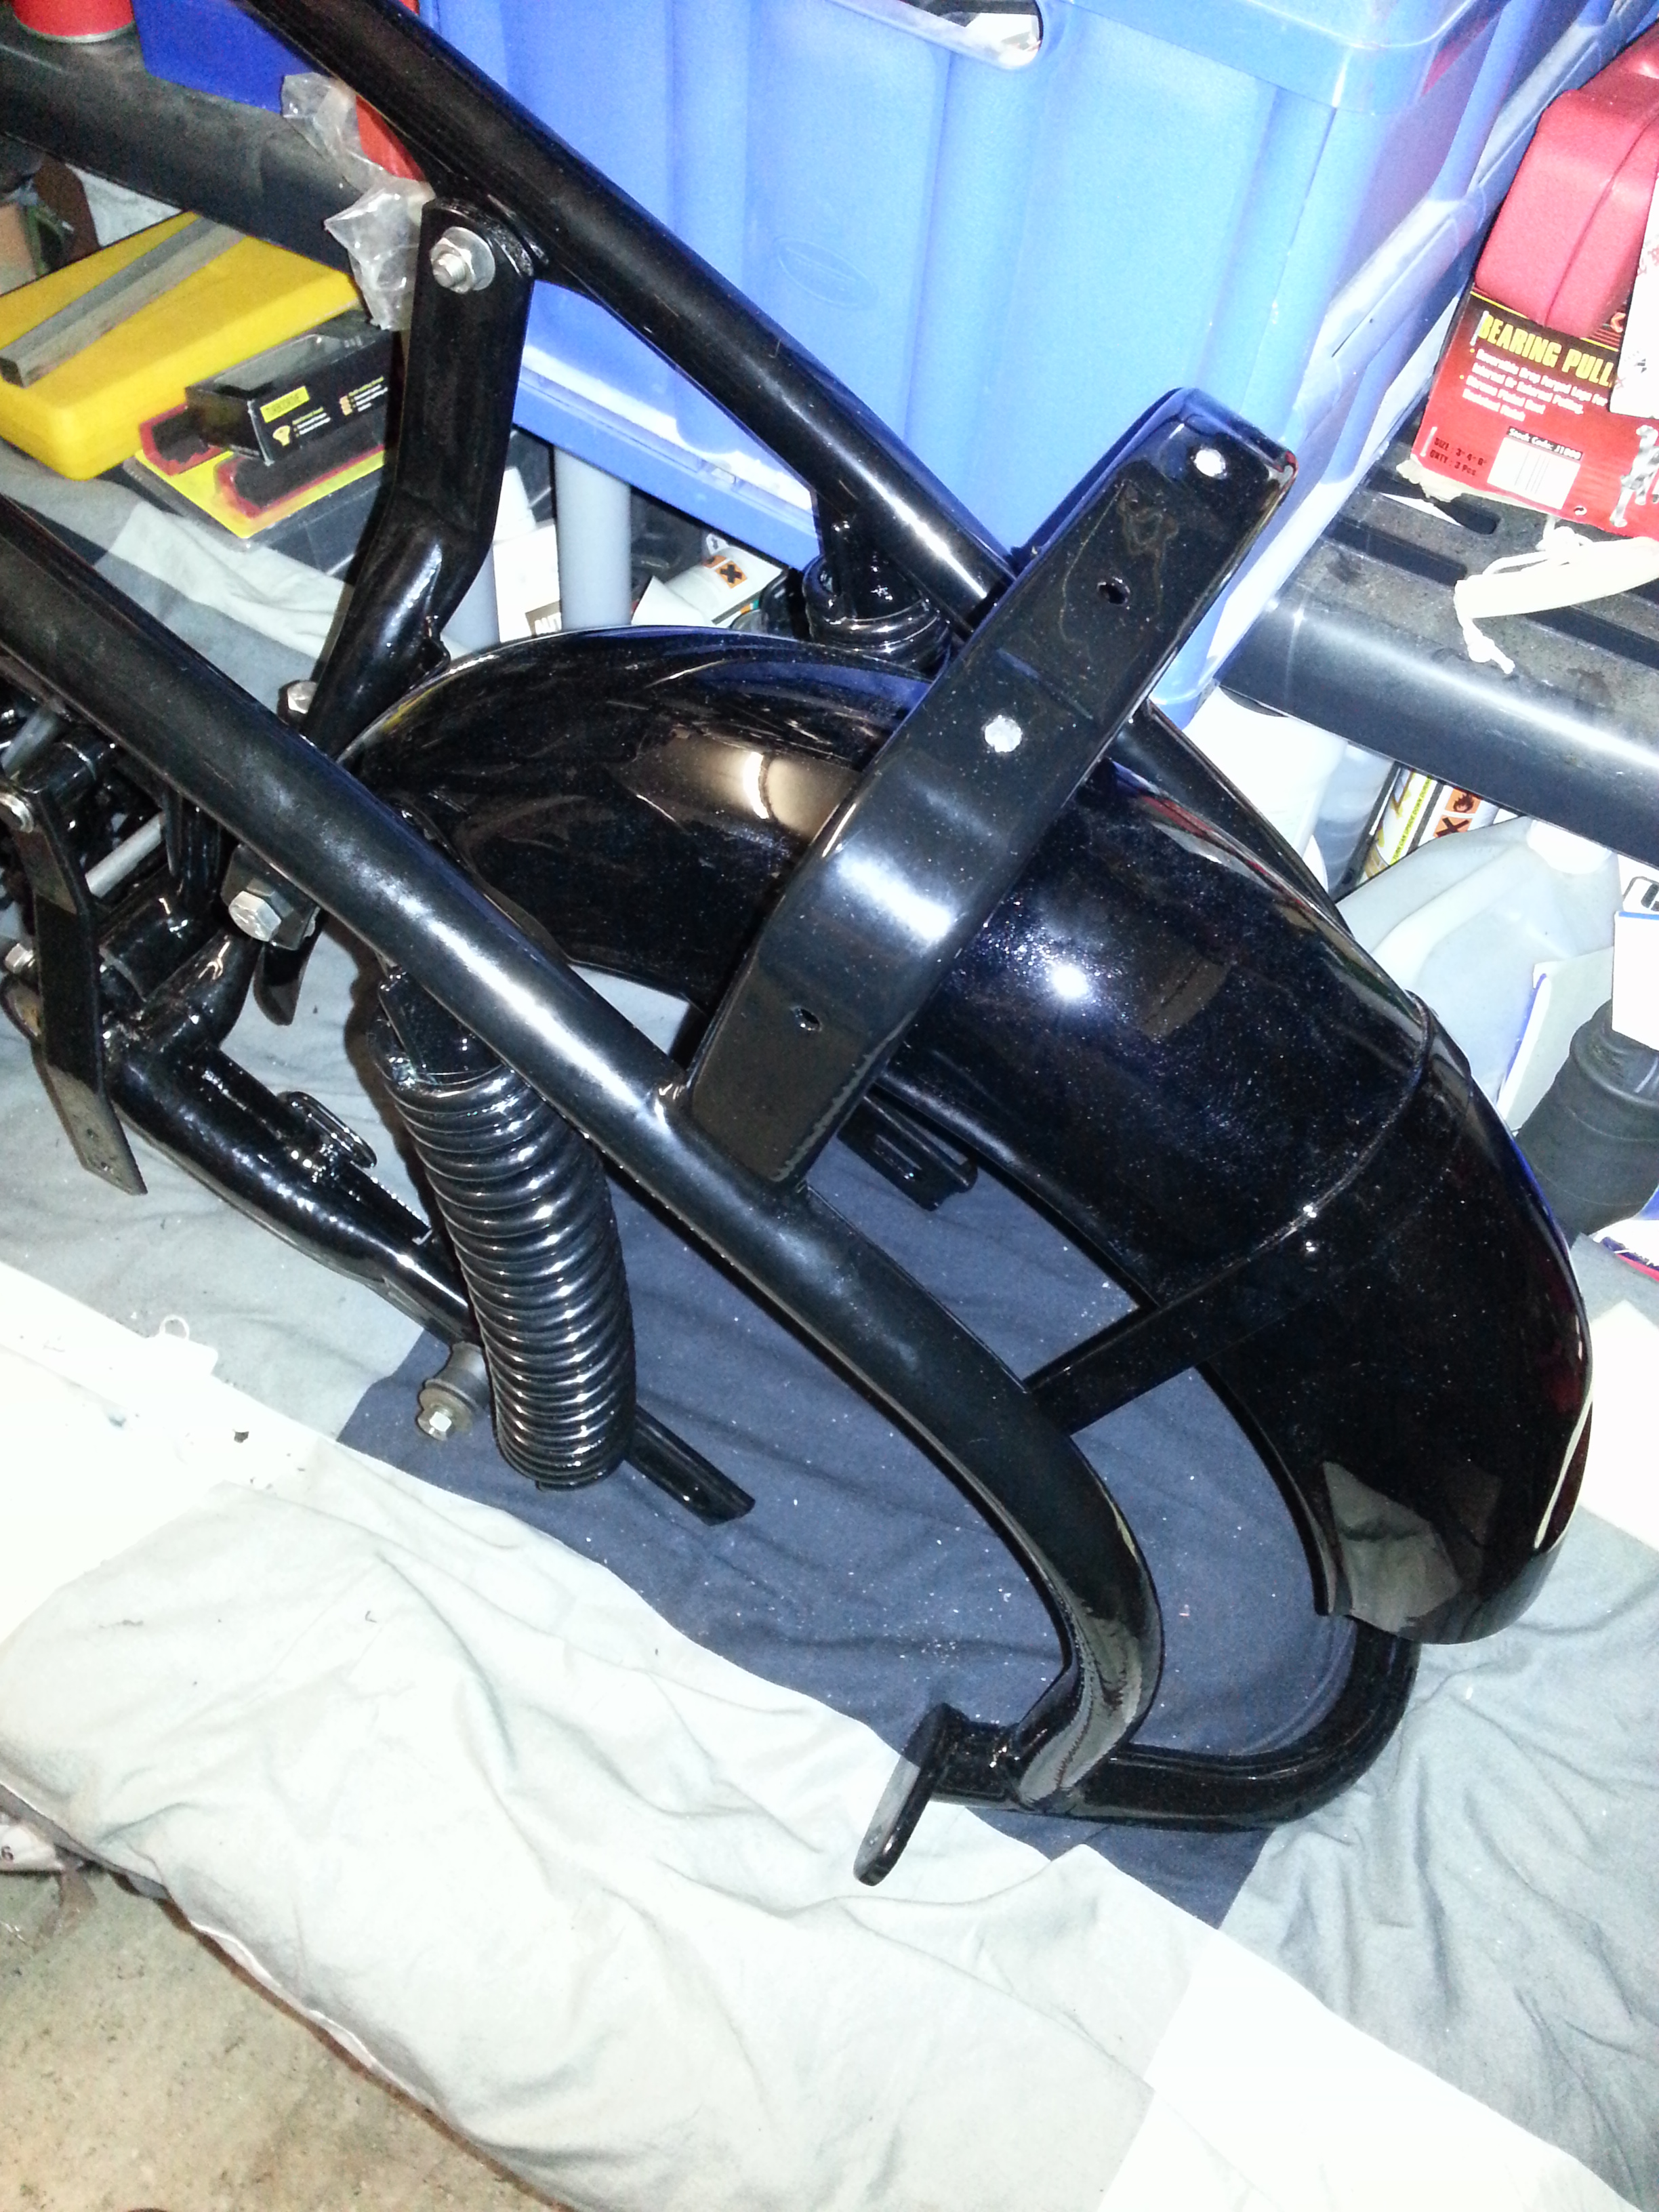
With the suspension springs in place the rear mudguard can be installed. It is connected to the frame directly at the rear using two bolts and to the engine carrier using another bolt:
With the frame in place, the engine can be mounted.