
This section contains photographs of individual parts during stripping. They provide a better view of what the parts looks like and helps to understand how the Bella fits together.
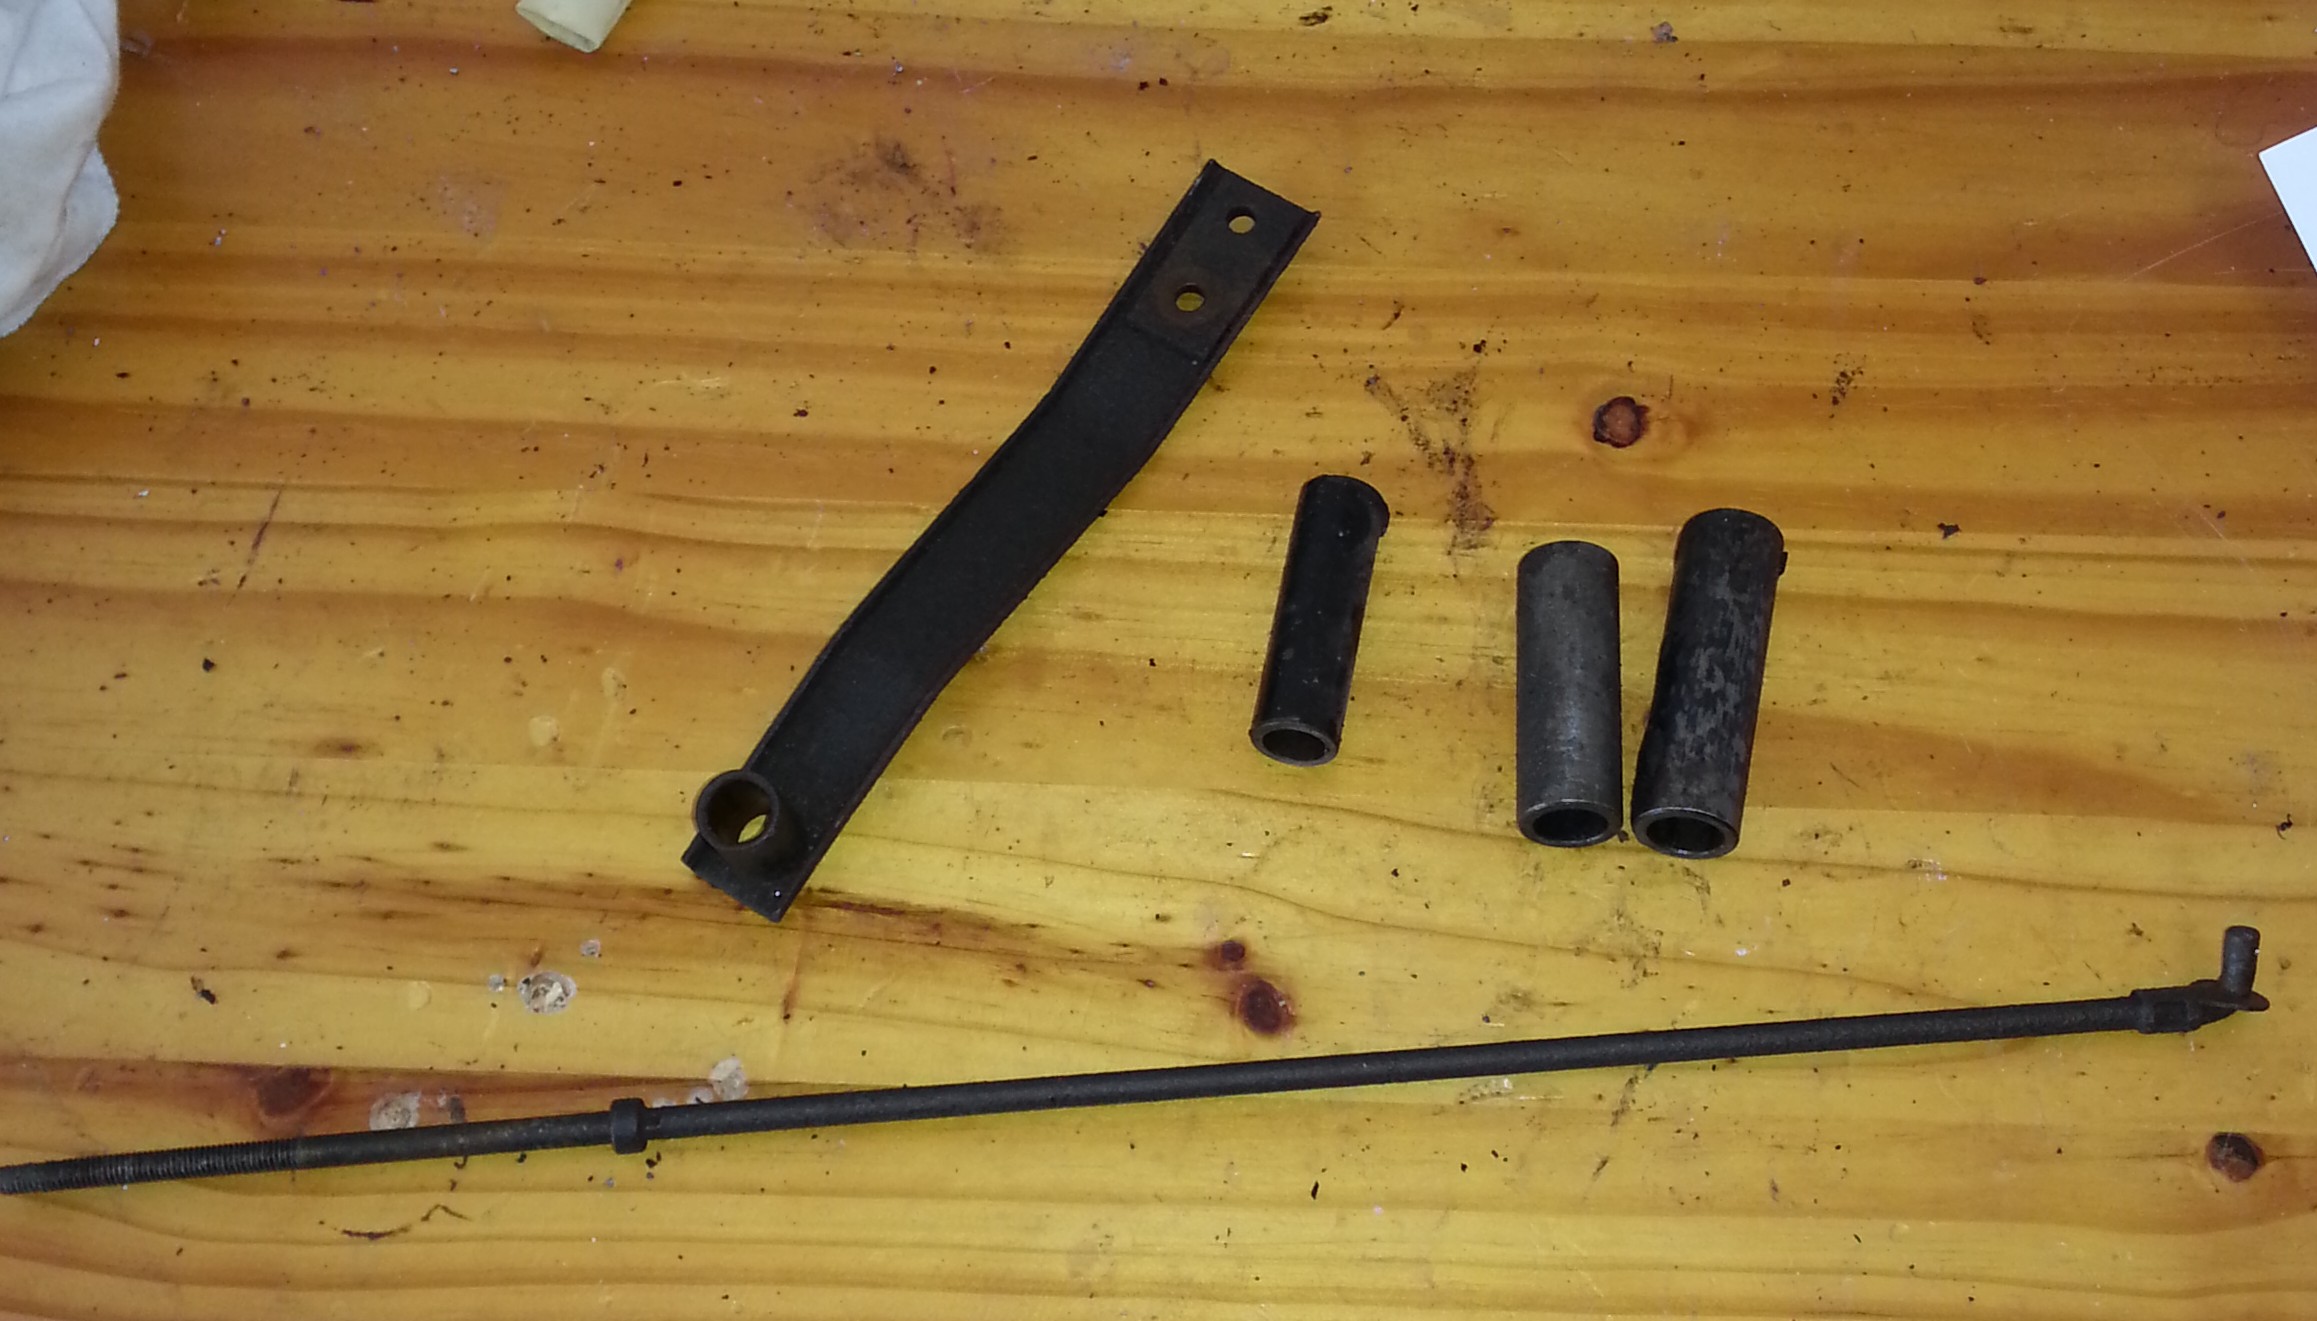
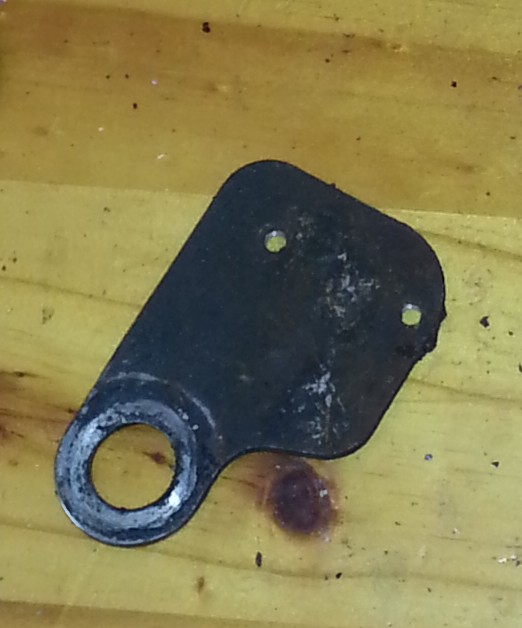
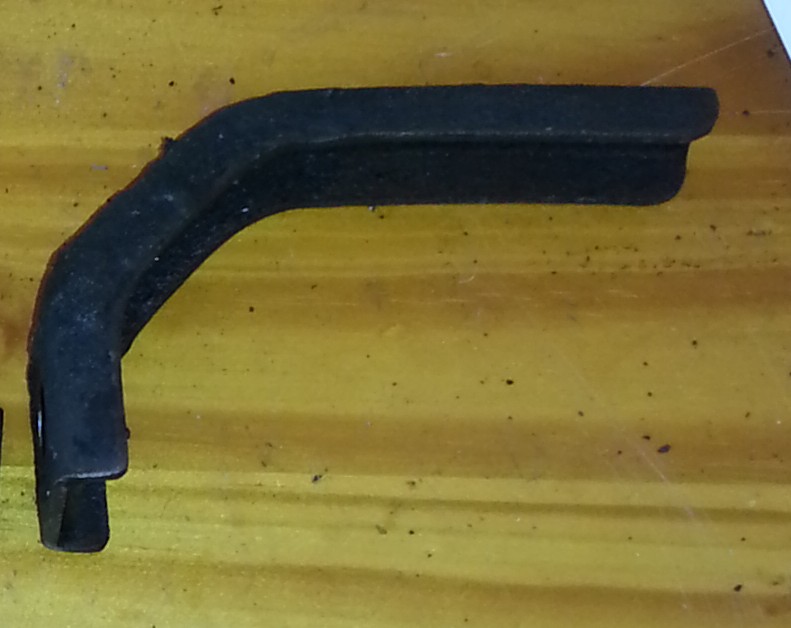
Front bearing bolt with parts:
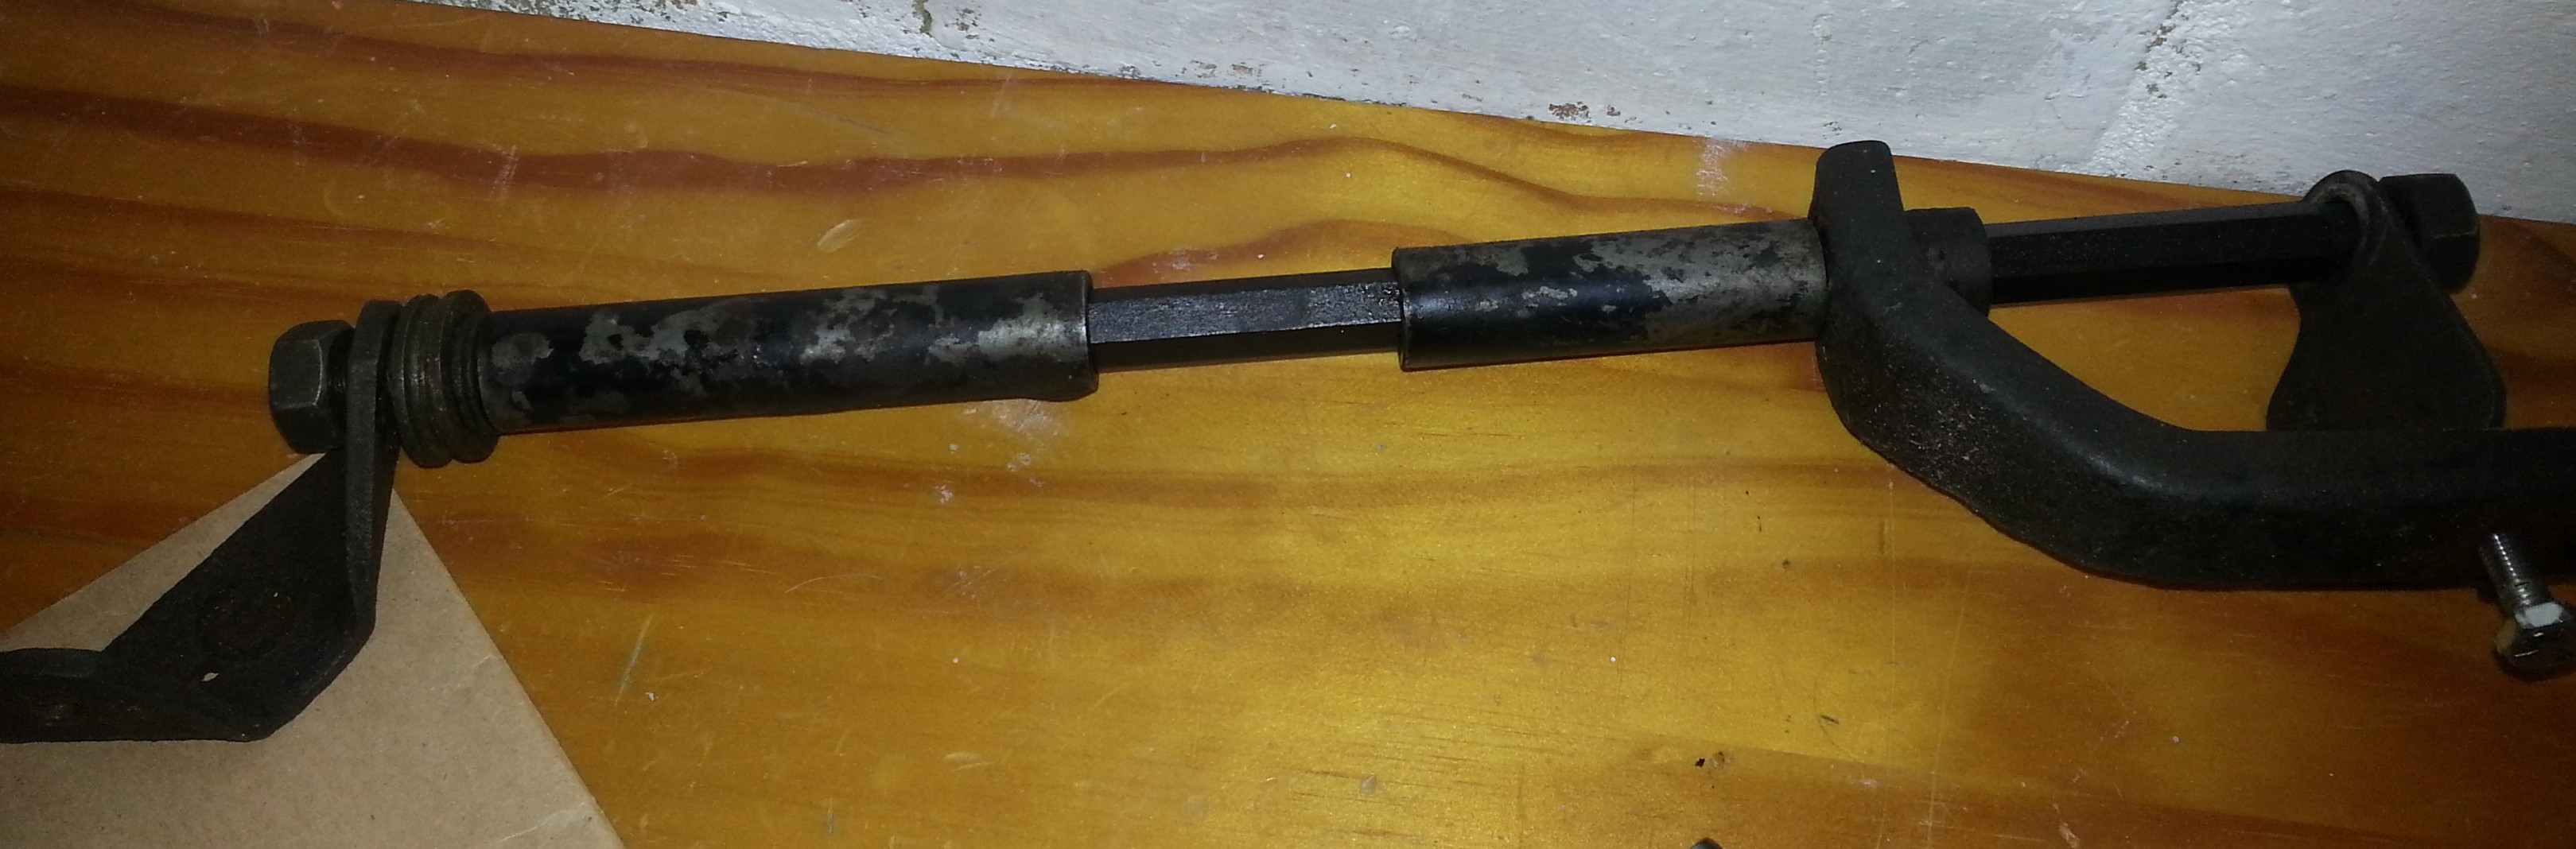
Missing is the shift lever that goes between the two washers on the left. This fills part of the bolt that is not covered. The other gap is filled by the chain guard element closest to the engine through which the bolt goes. The plate on the right holds the brake switch. Attention should be paid to the washers between which the shift level is pressed; O-rings need to be inserted there (see rebuild section).
Air filter parts
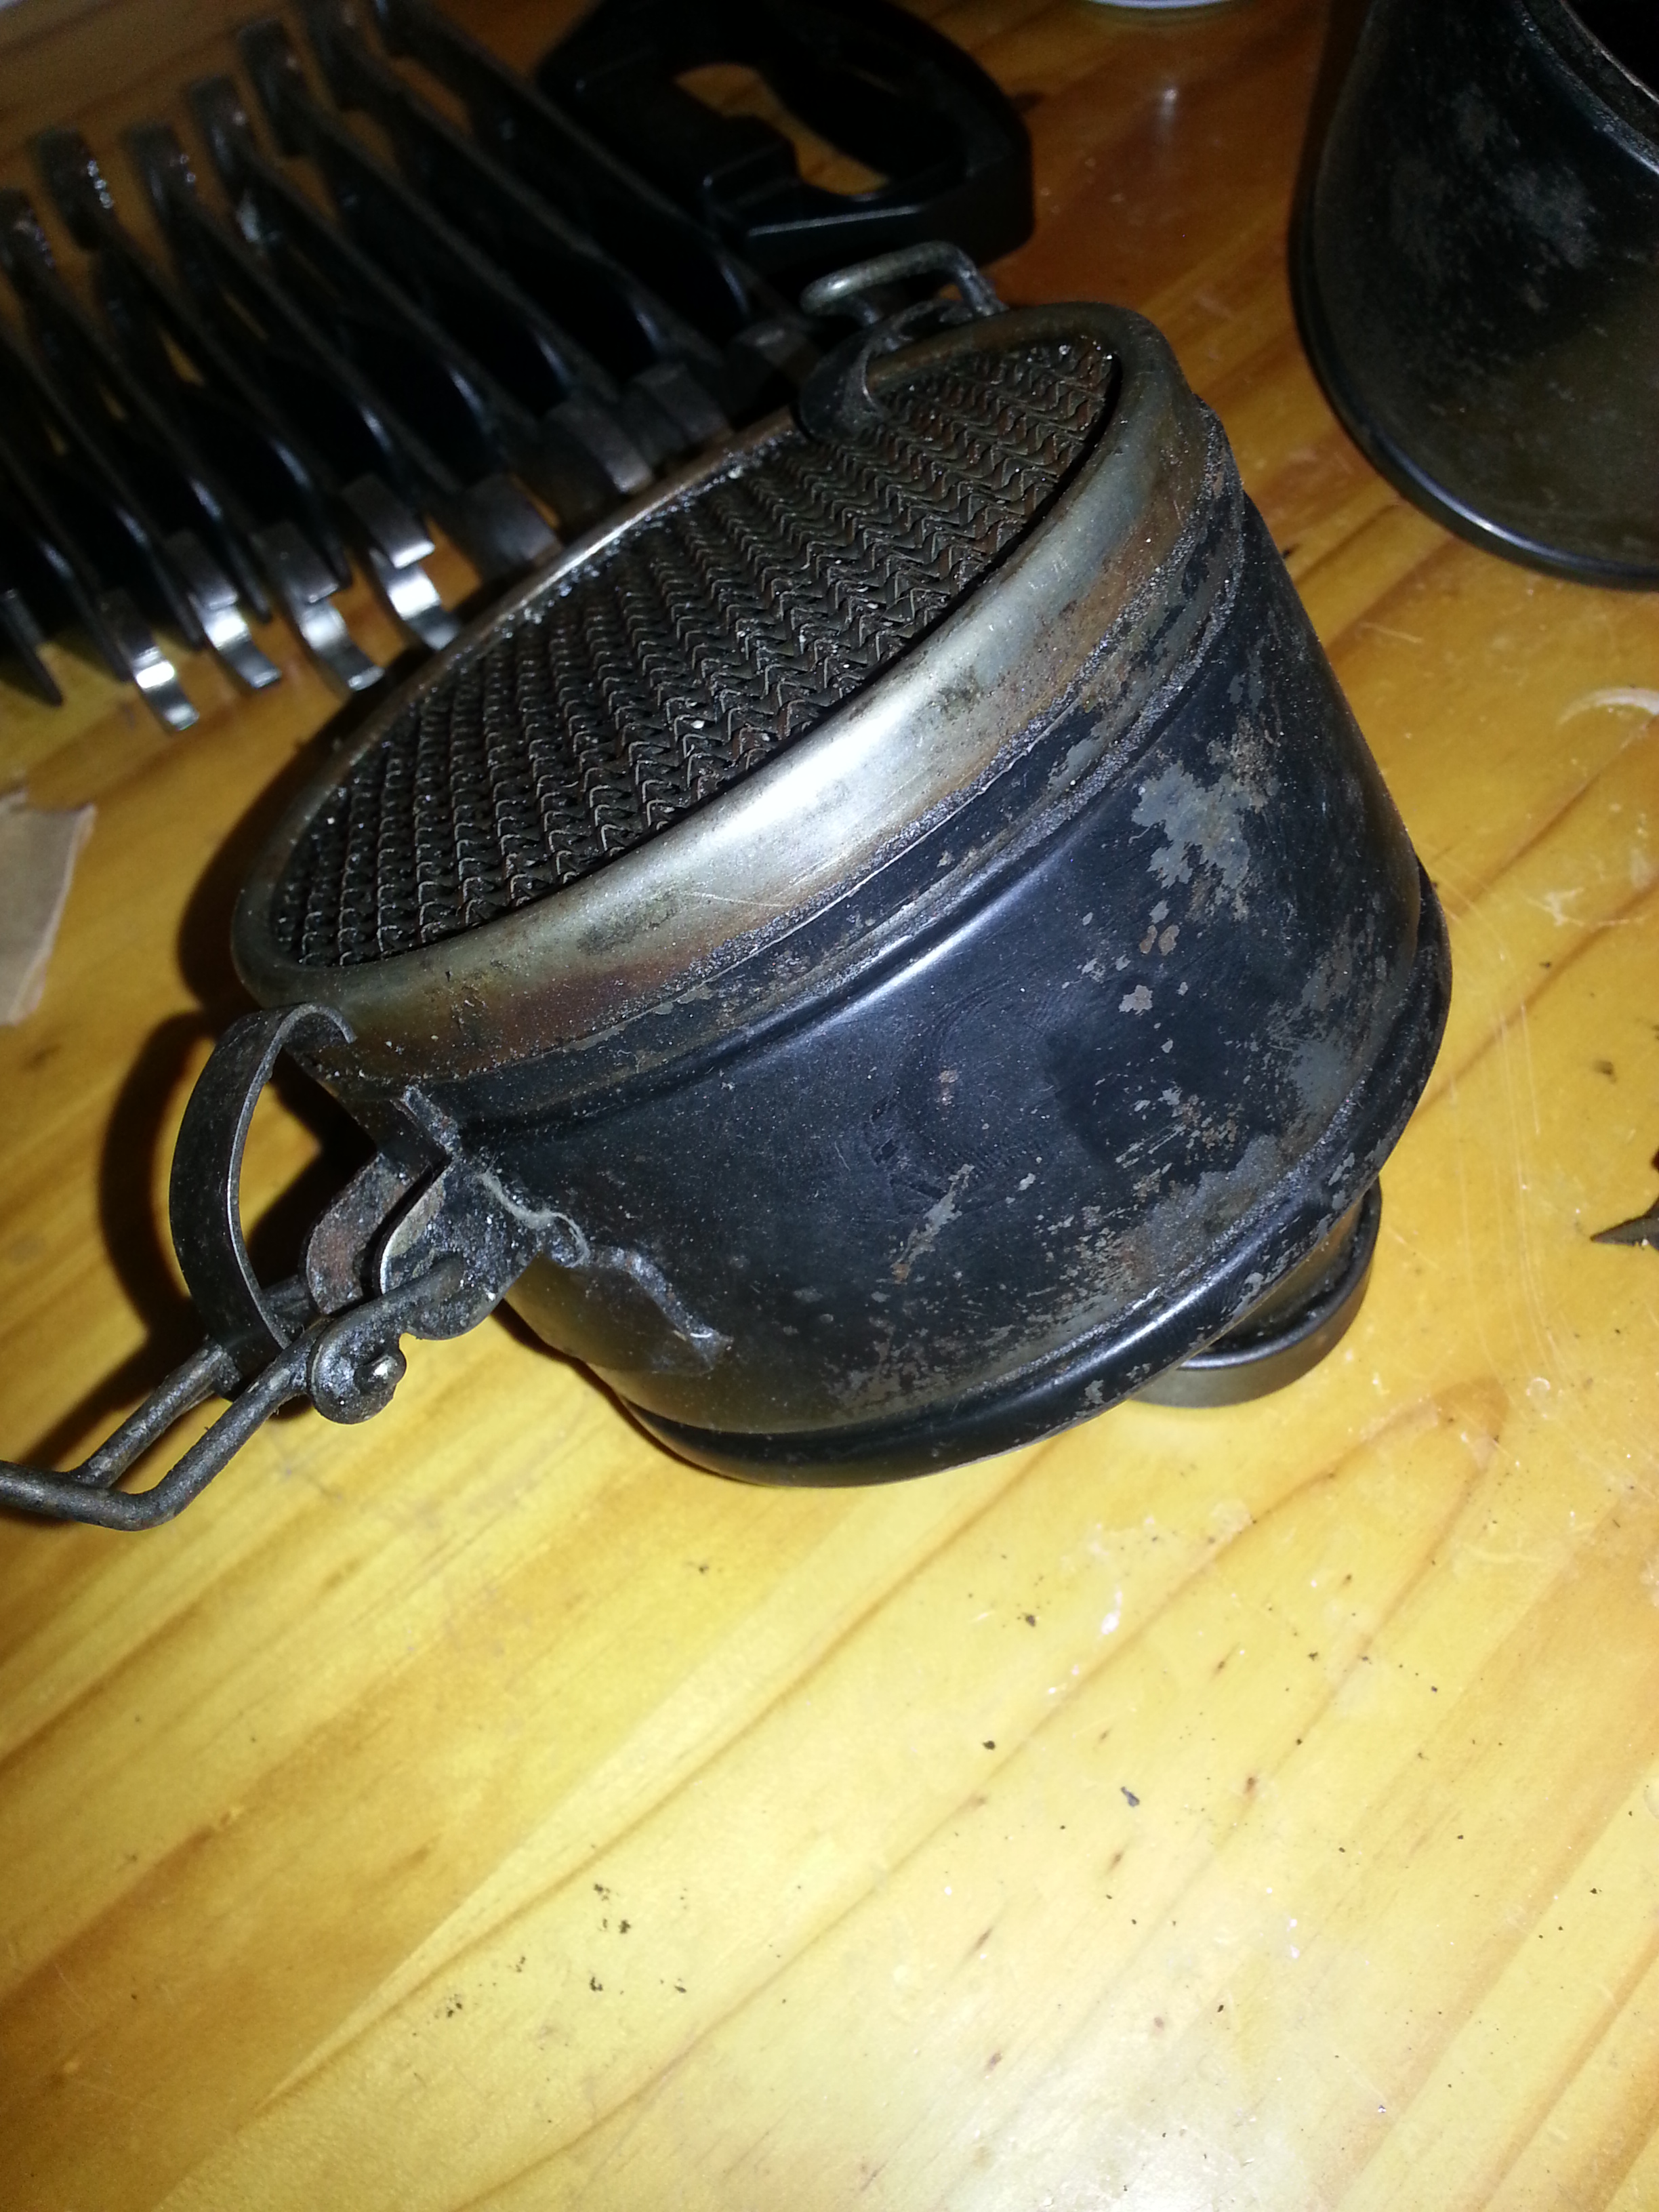
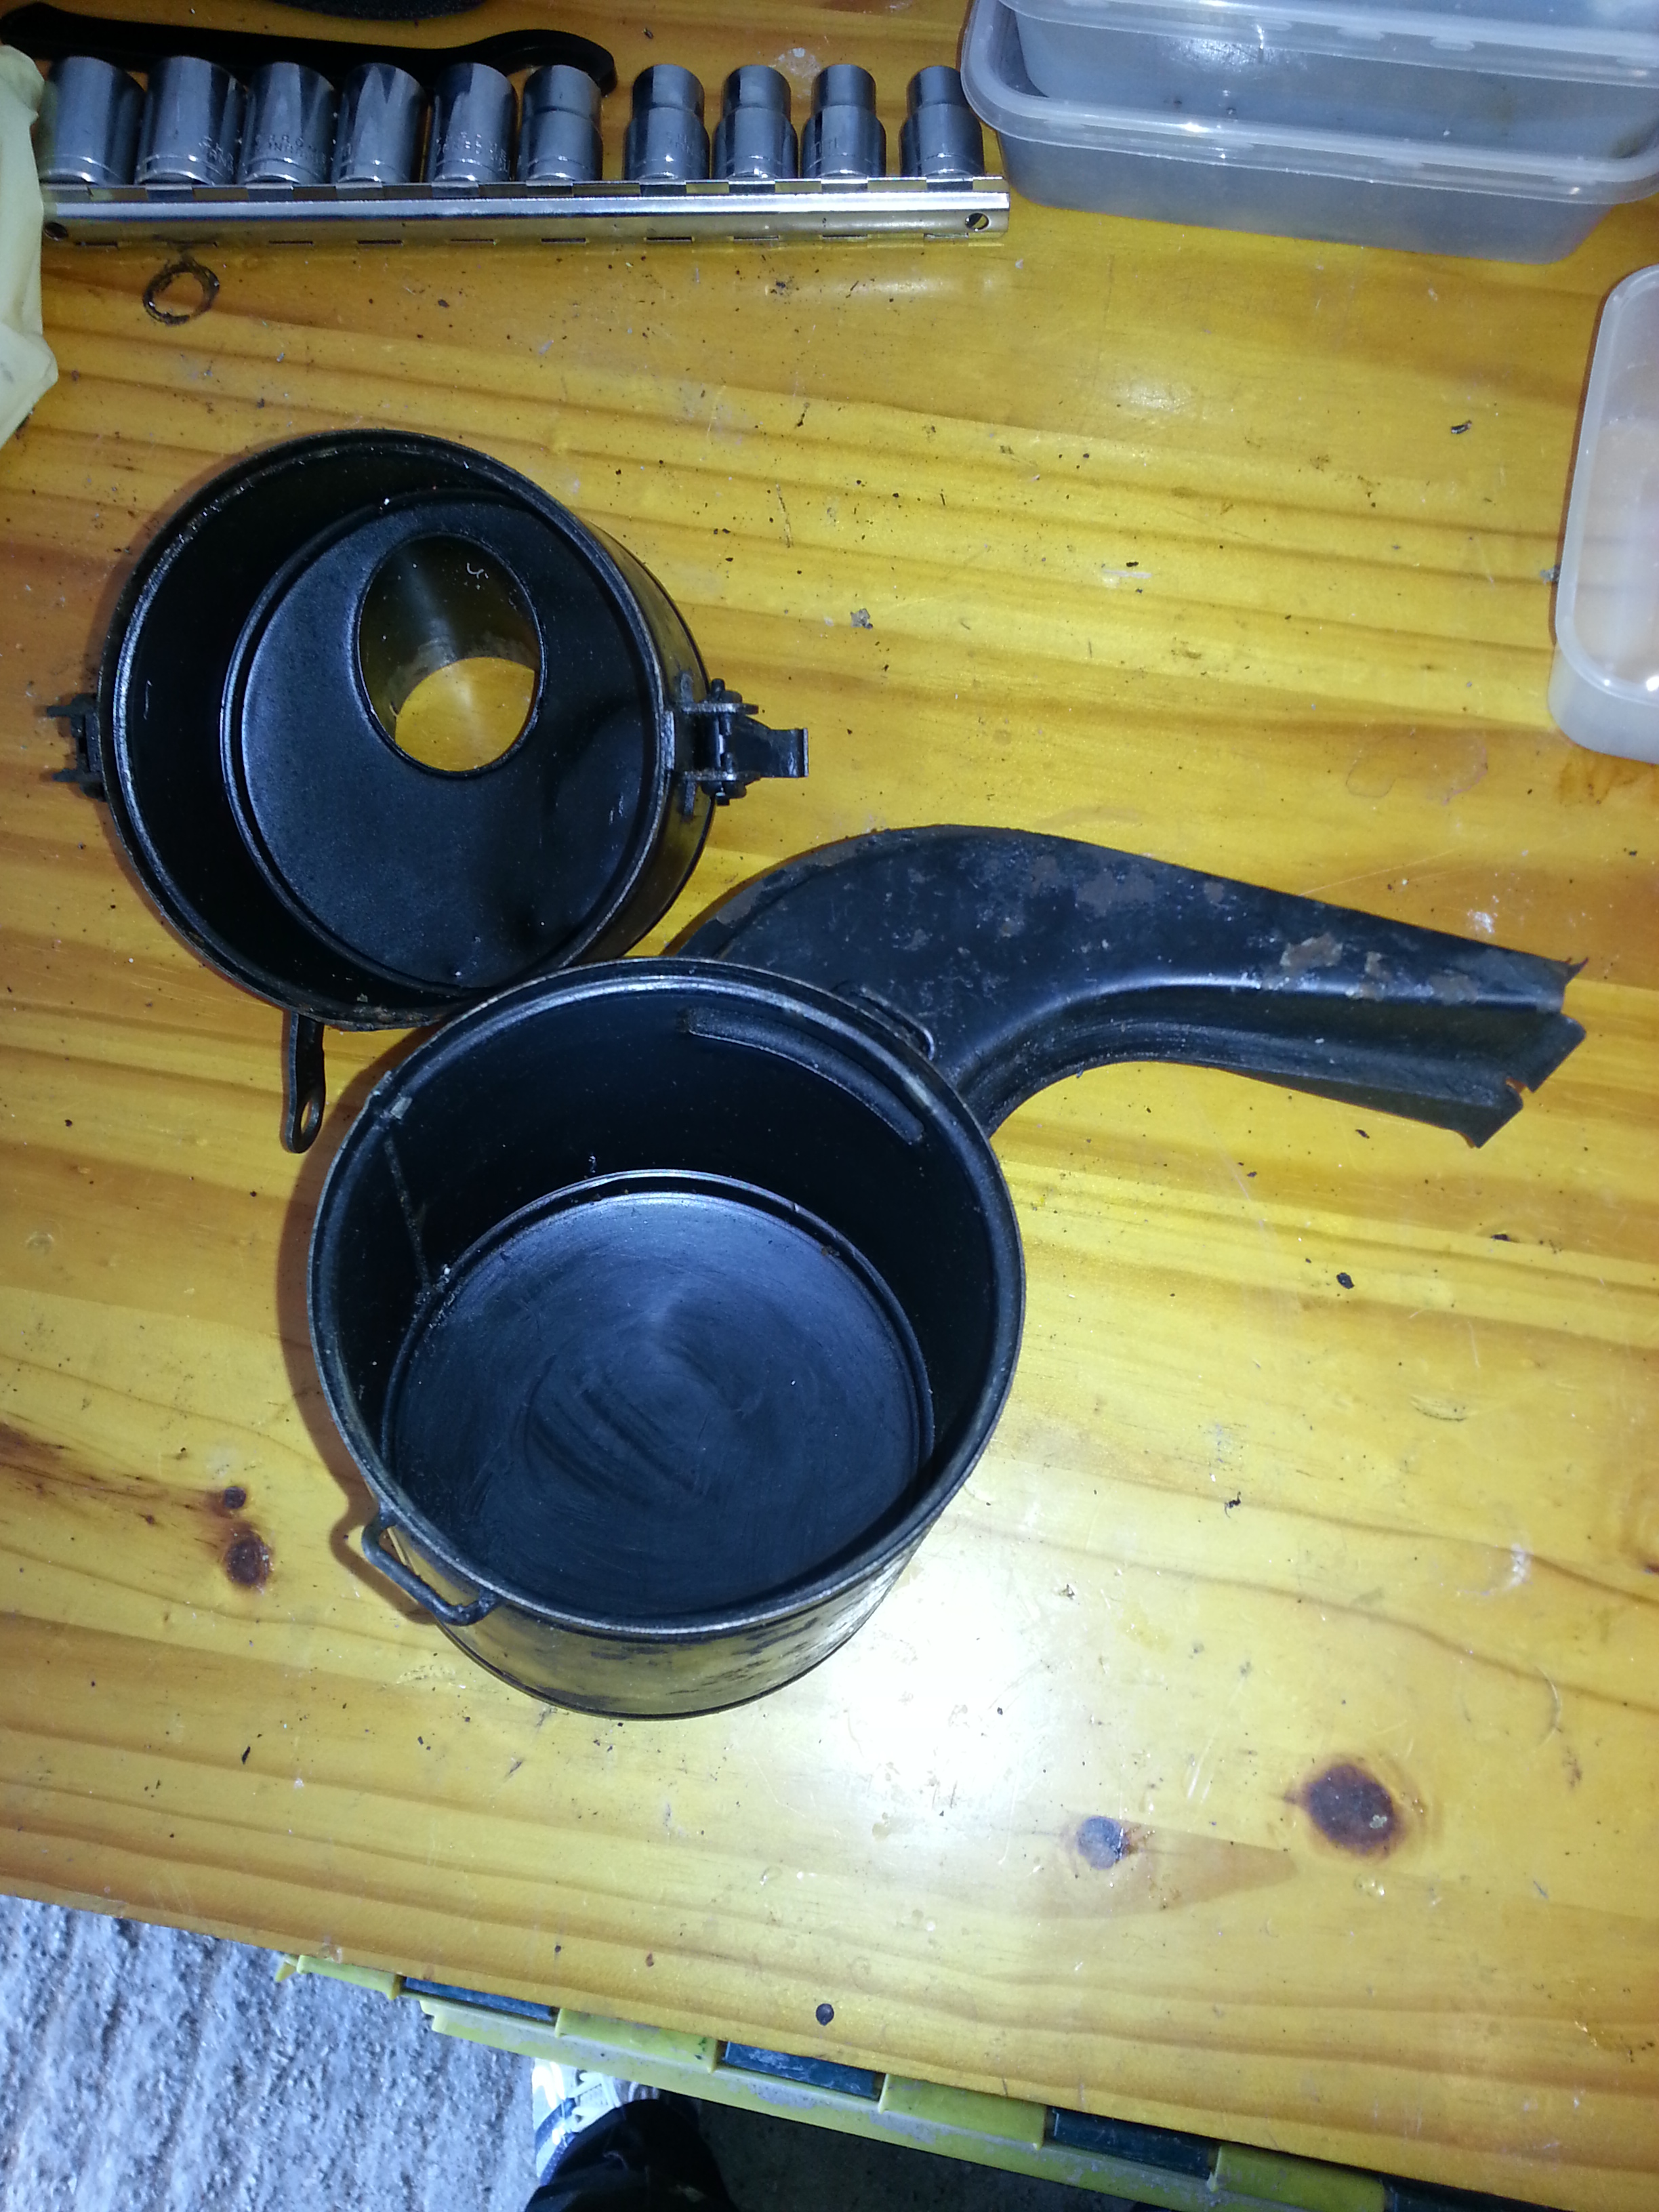

The air filter is rather simple; it is connected to the carberettor on one end and to the engine block through an eyelet. It comprises three parts: two parts of the housing and the air filter unit that is in the middle. The air filter should be oiled to trap particles.
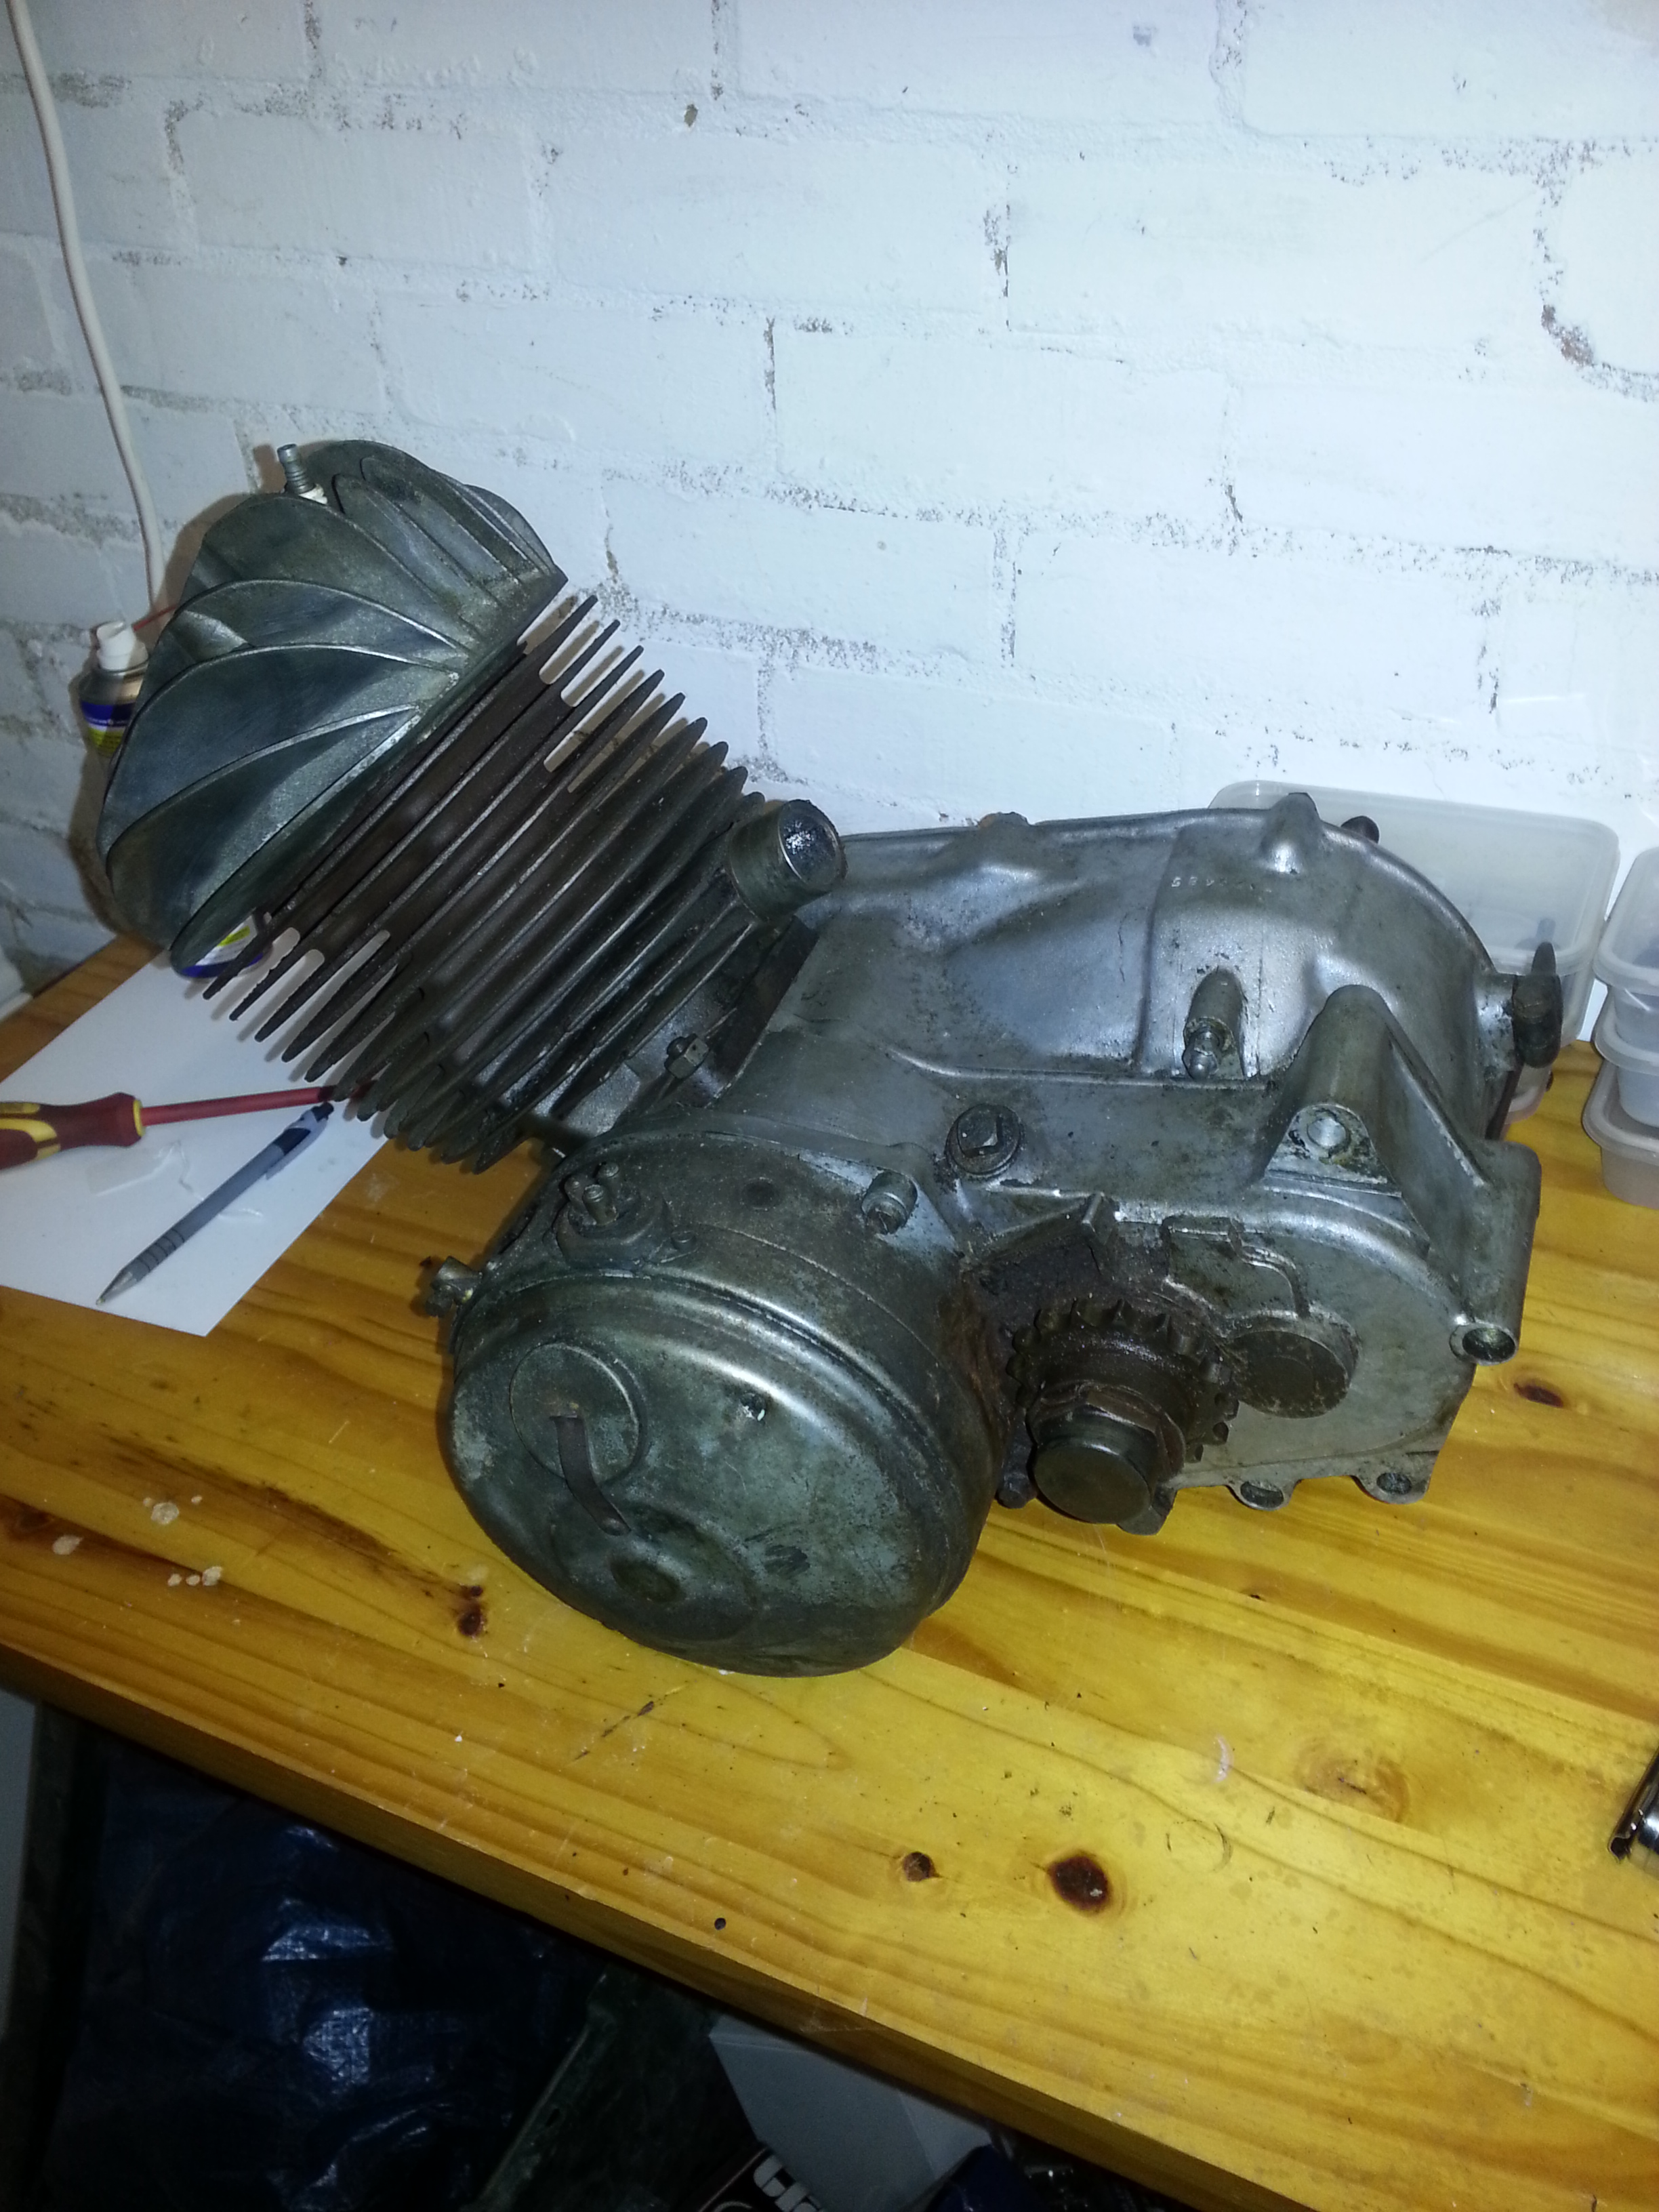
Engine
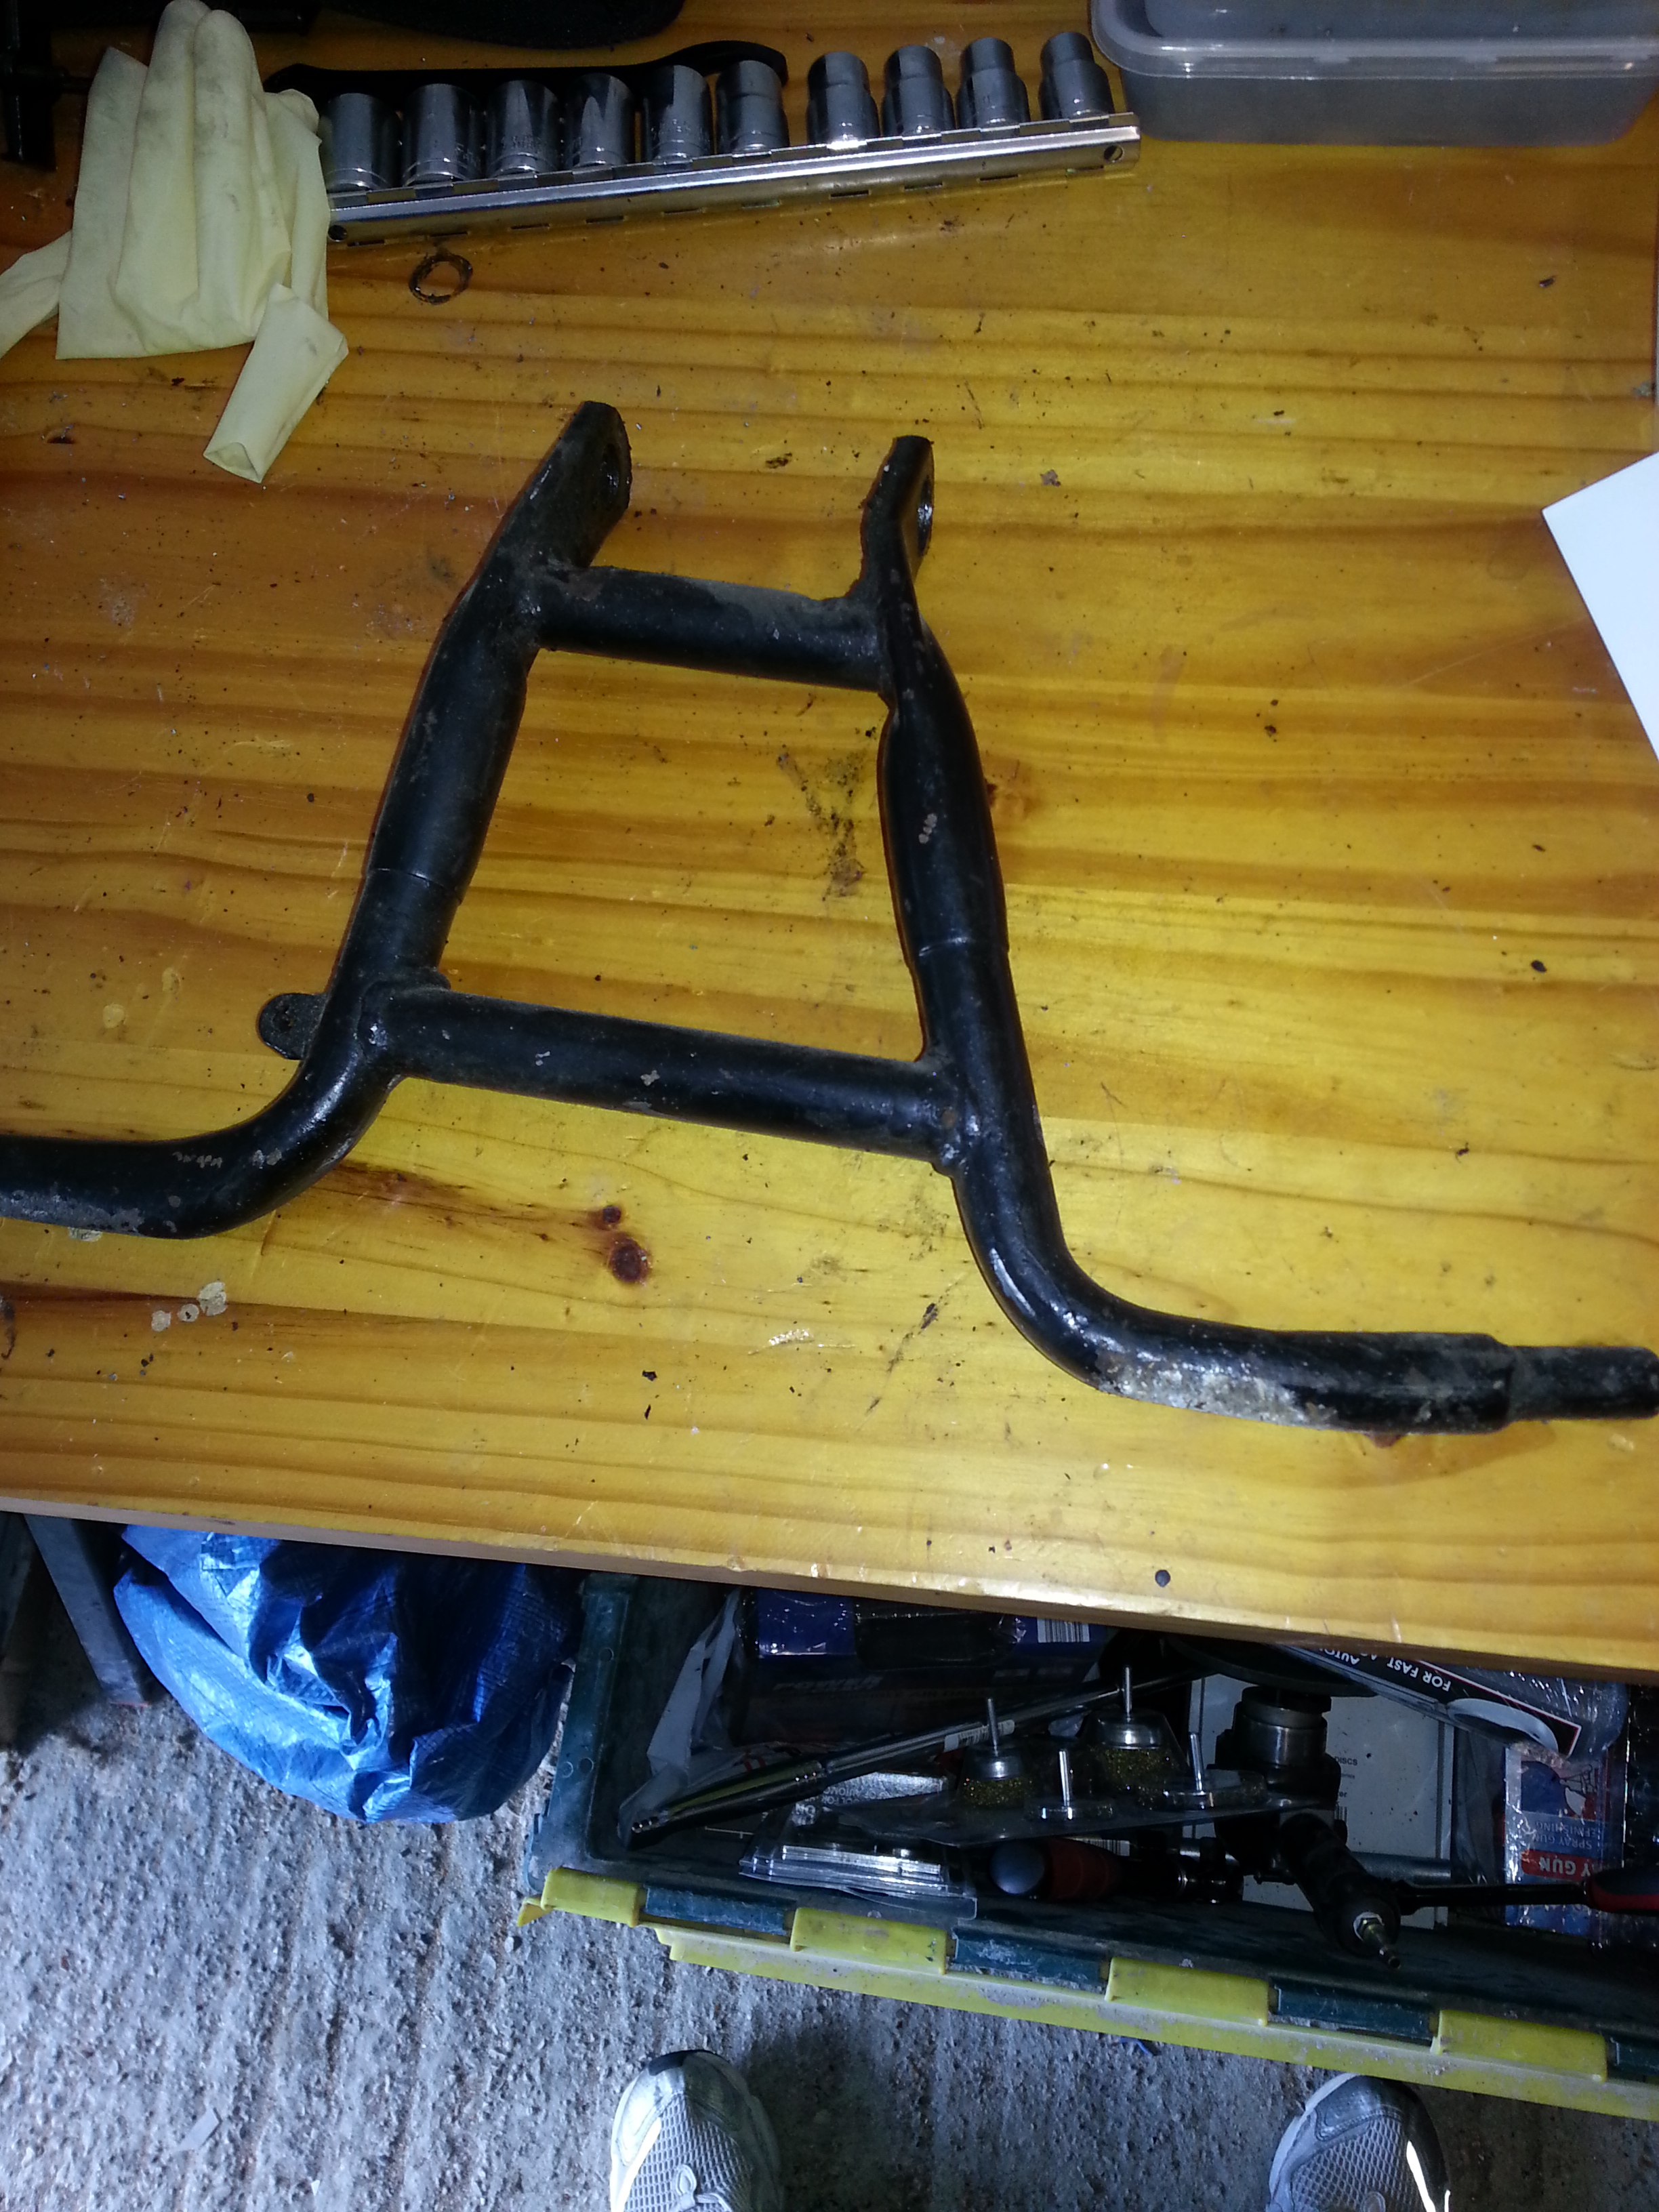
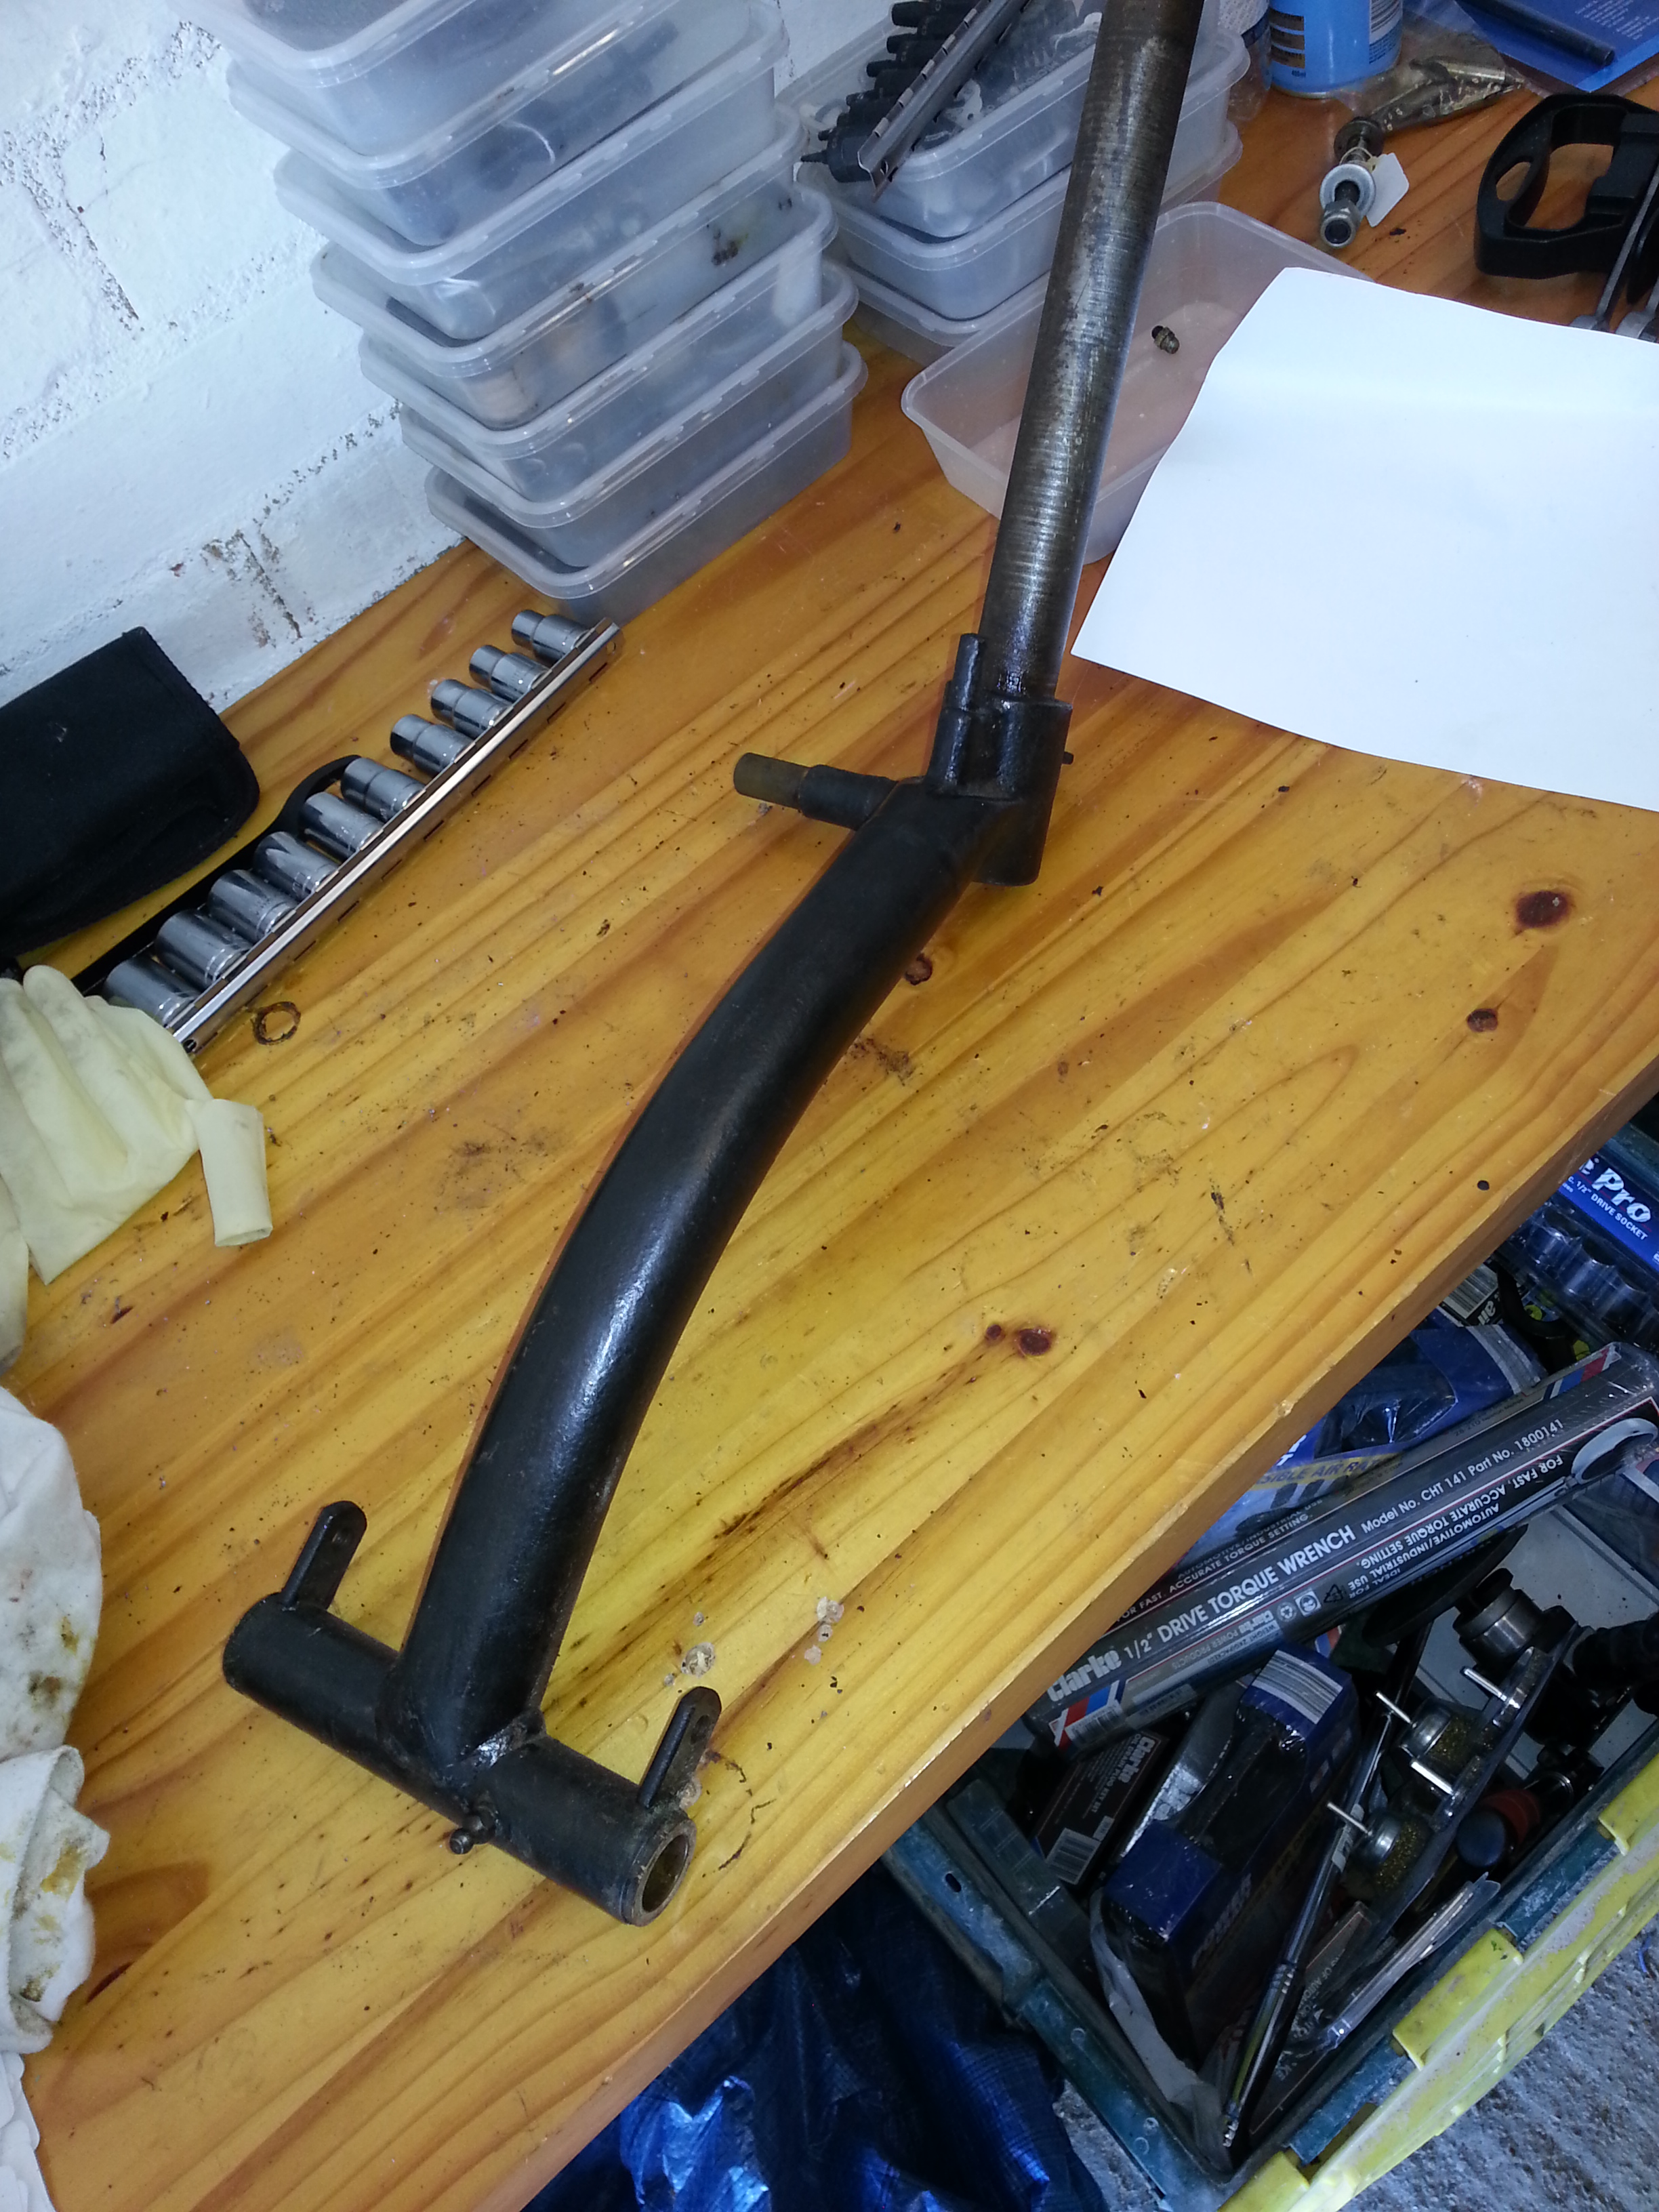
Rear engine carrier
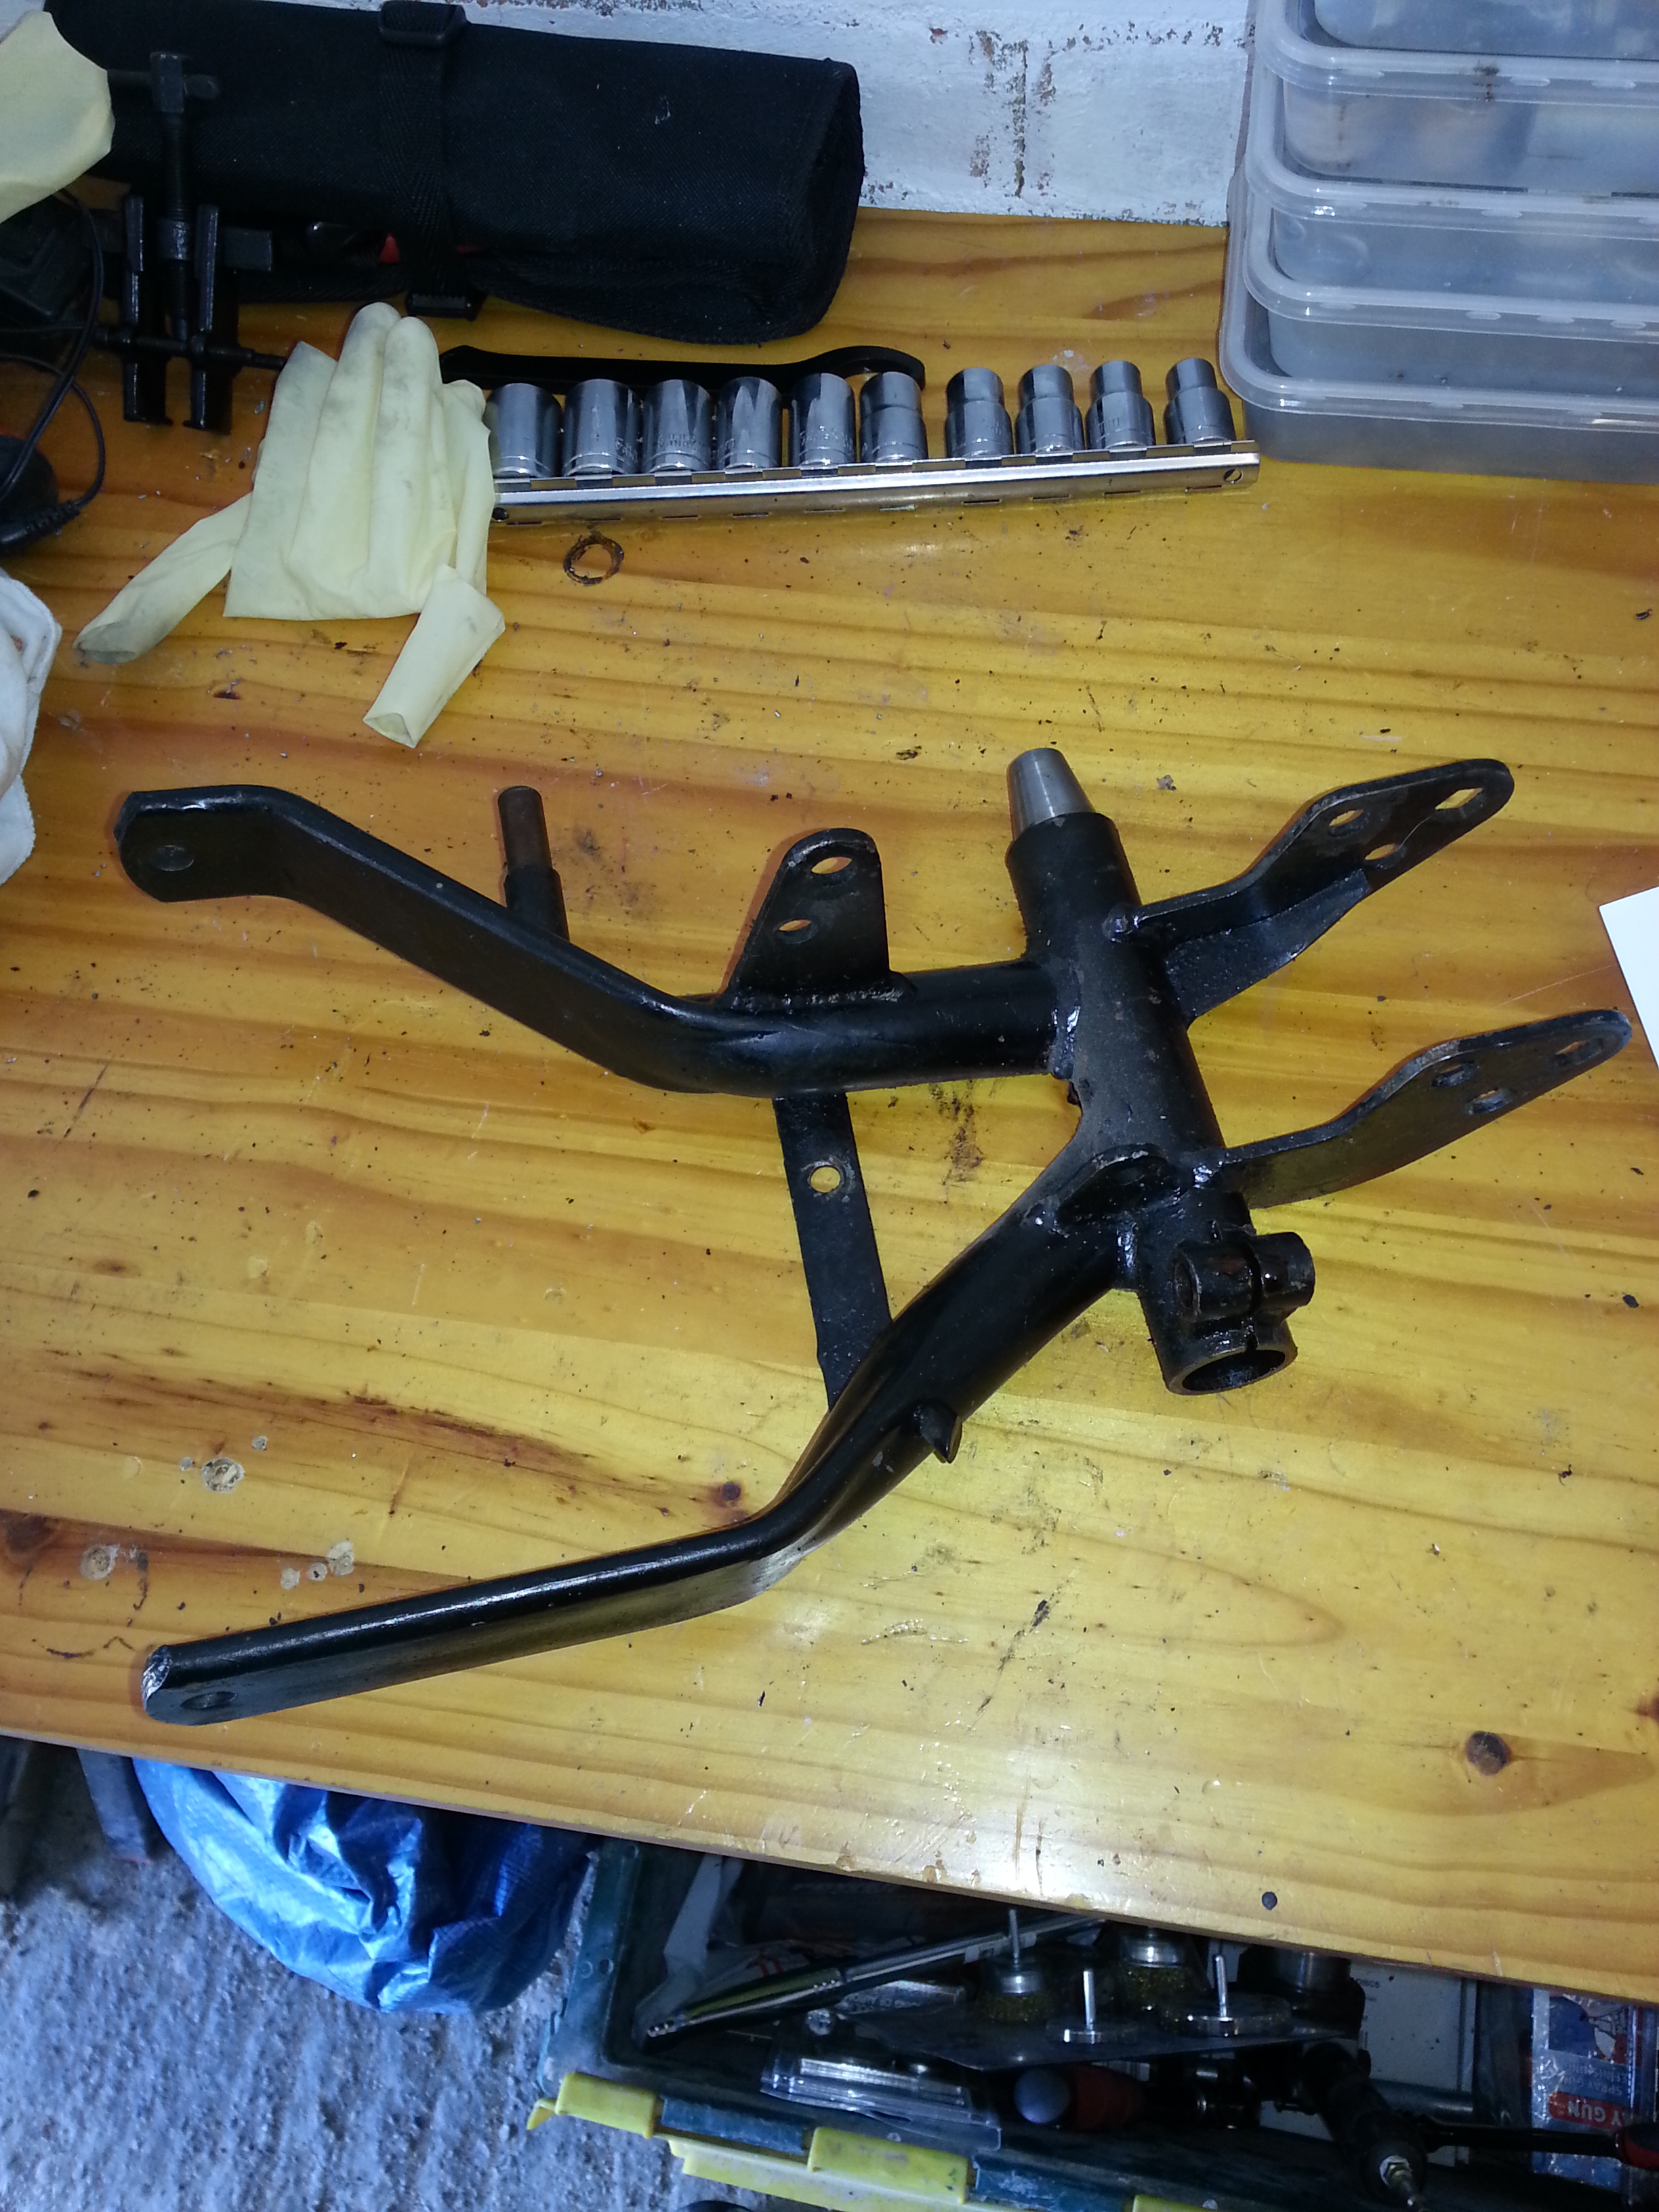
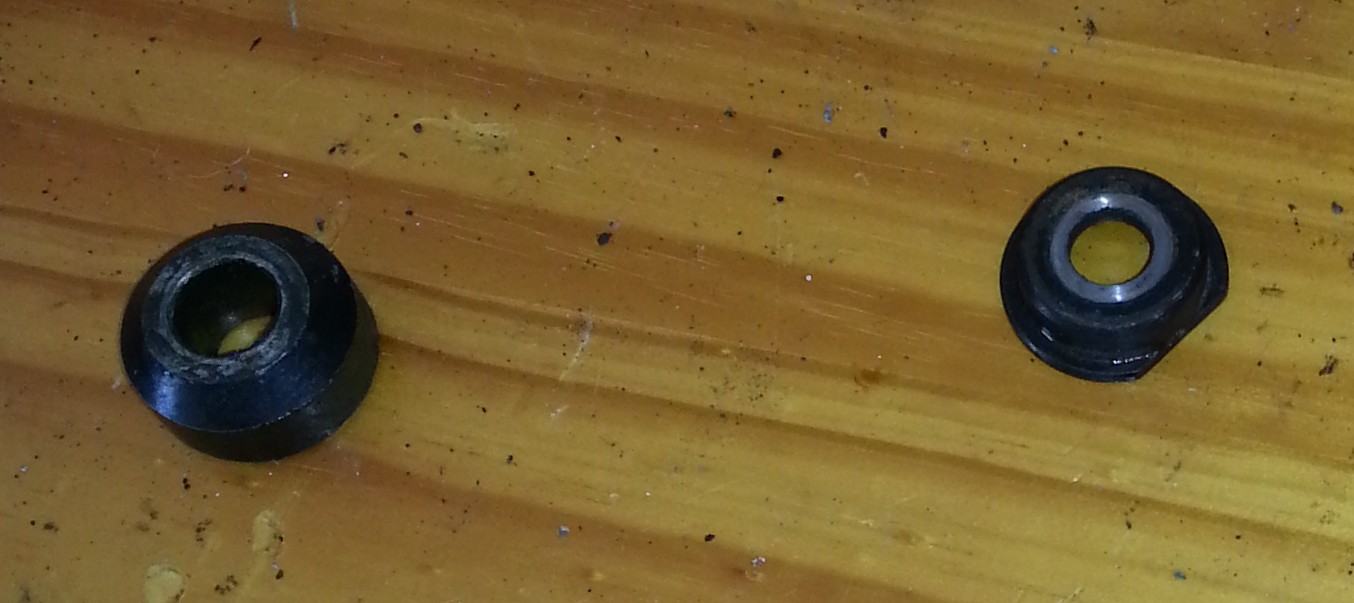
Note the bottom bearing bolt missing from the swing arm connection point.The diameter is 25.7mm and narrows in a cone to 17mm.
Play in the swing arm can be adjusted by moving the bushing inward or outward. Rubber rings go between the engine carrier and the swing arm. A simplistic setup, but it works.
These rings are 33.5 mm outer diameter x 26mm inner diameter x 3 mm thick.
The rear mudguard connects to the metal strip between the legs of the engine carrier. The protrusion on the top left holds the mid break lever.
Swing arm

Not much to say other than that the two brass bushings that can be seen lying in the plastic box fit inside the eyes and meet the conically shaped bushings that extend from the engine carrier above. Measurements are:
30mm diam, 25mm long, 17mm hole that widens conically to 24.3 mm at the end
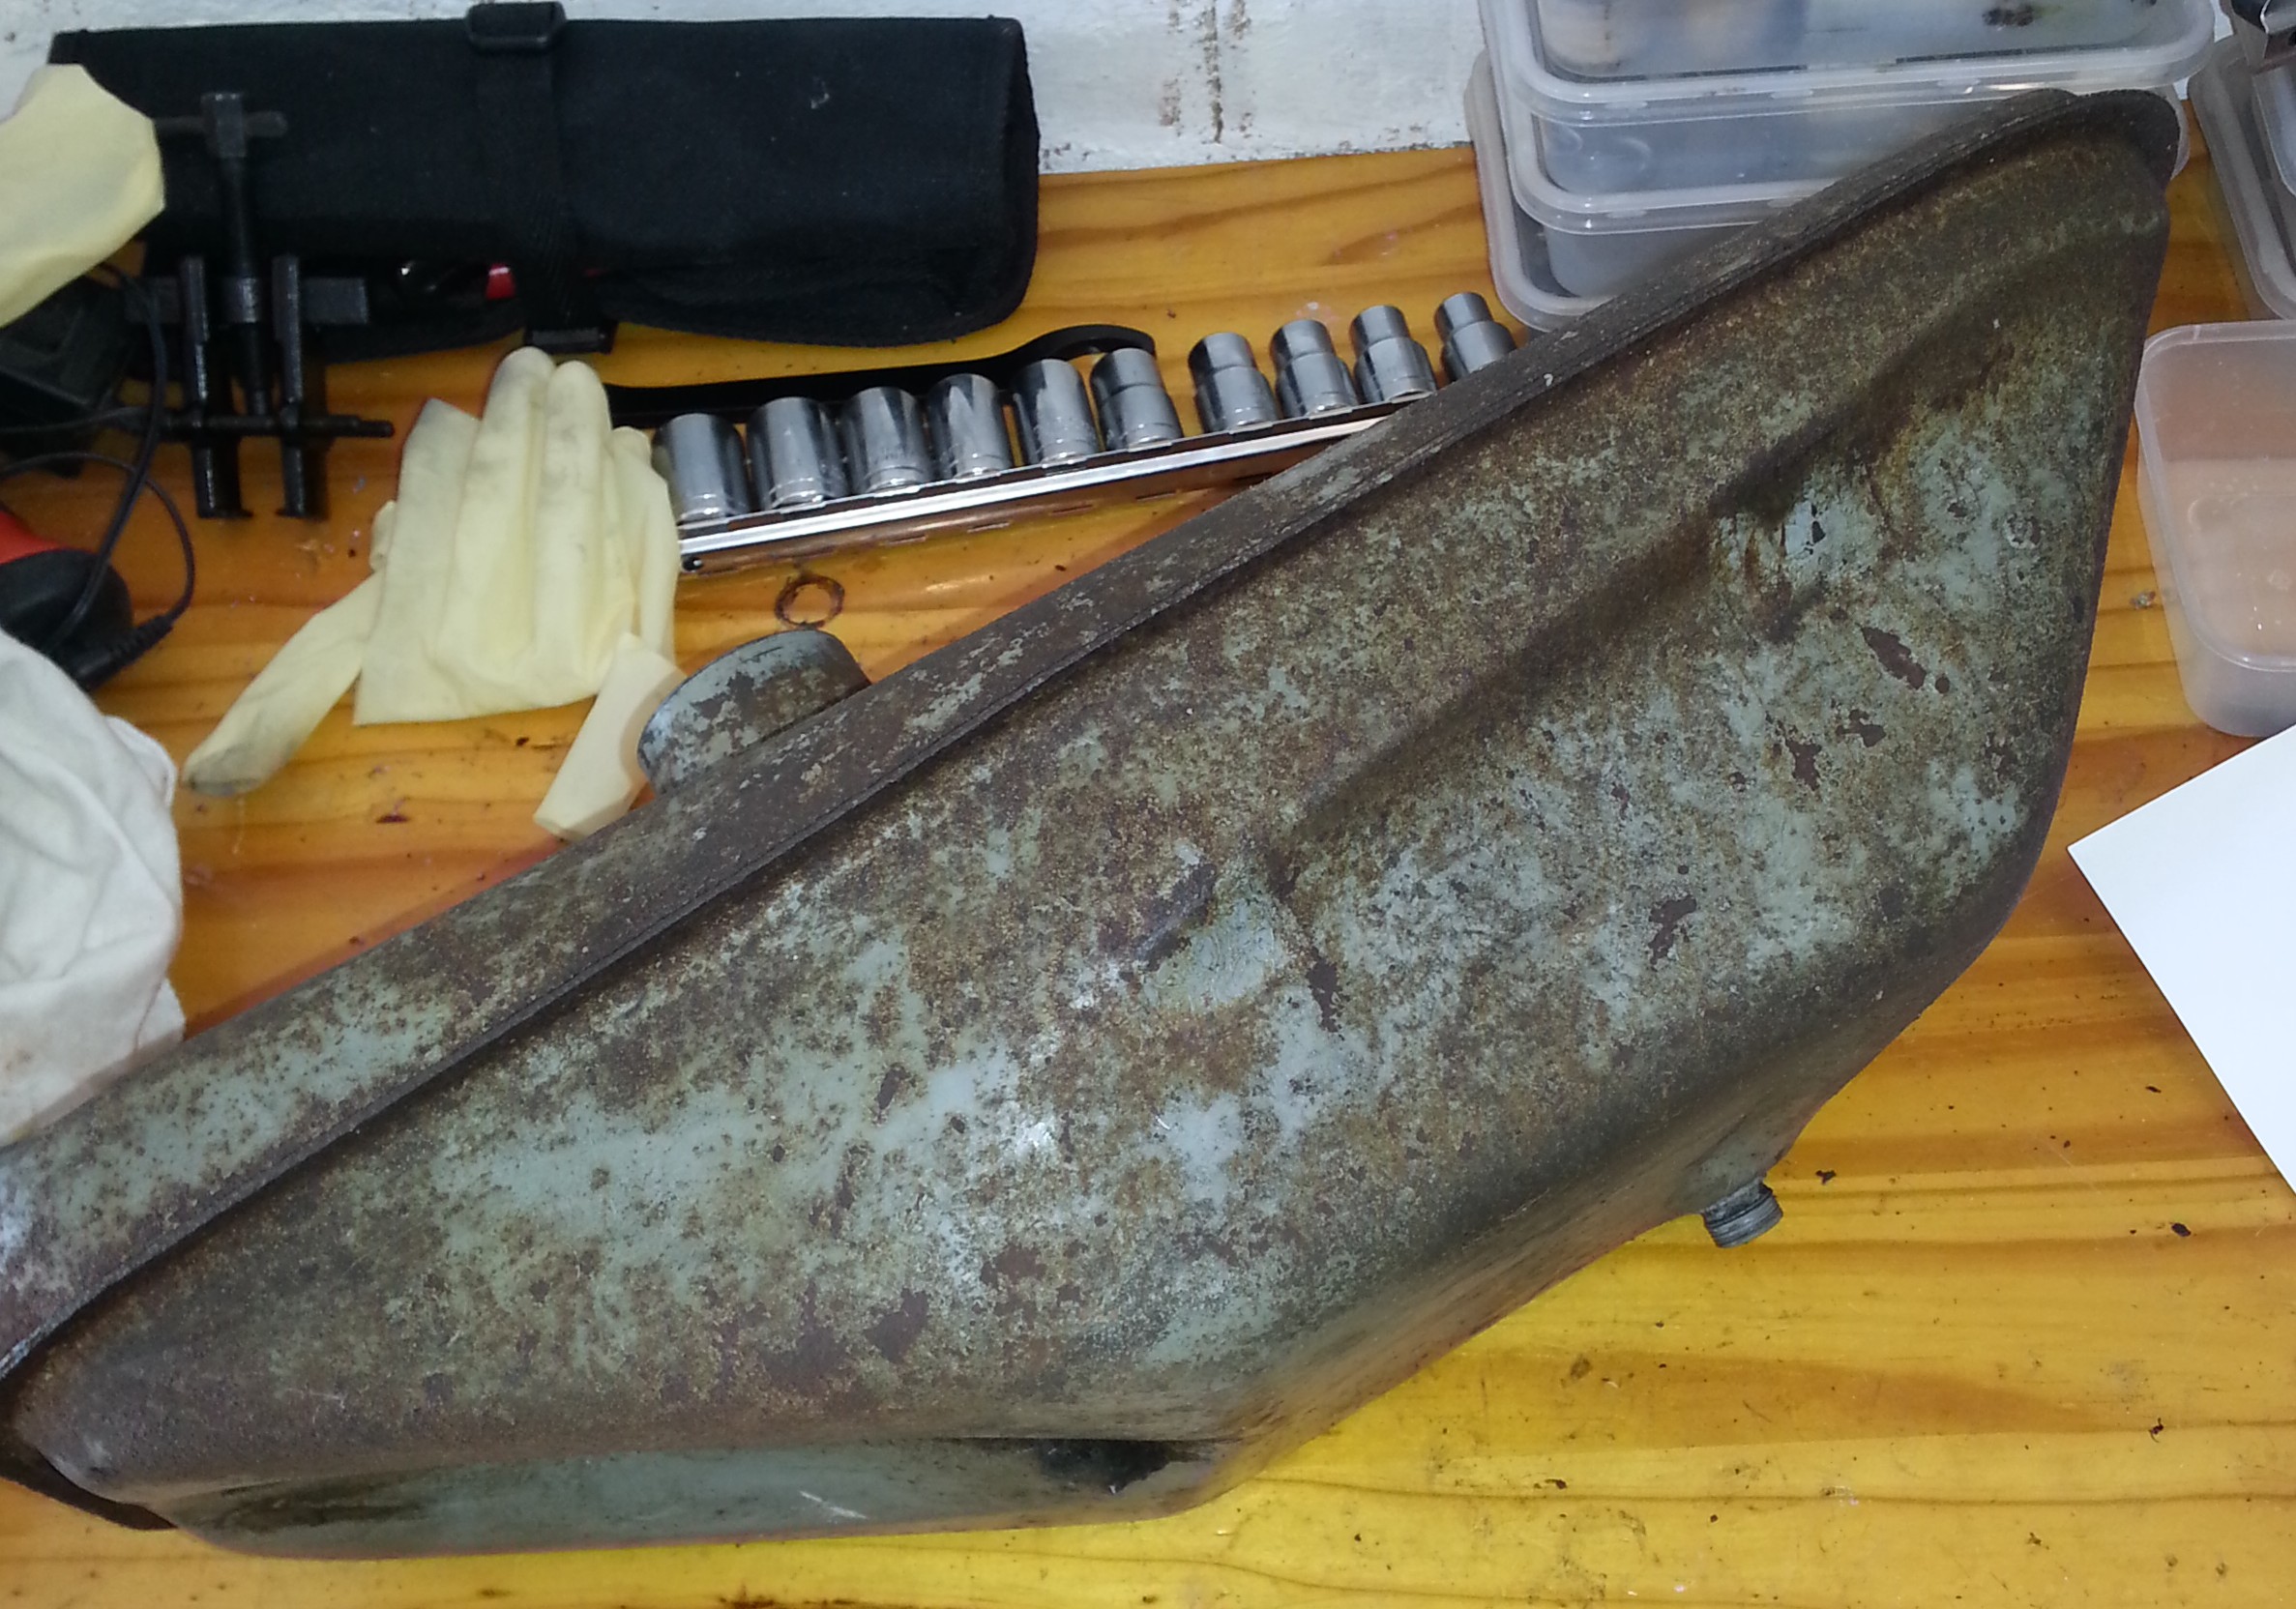
Front mud guard
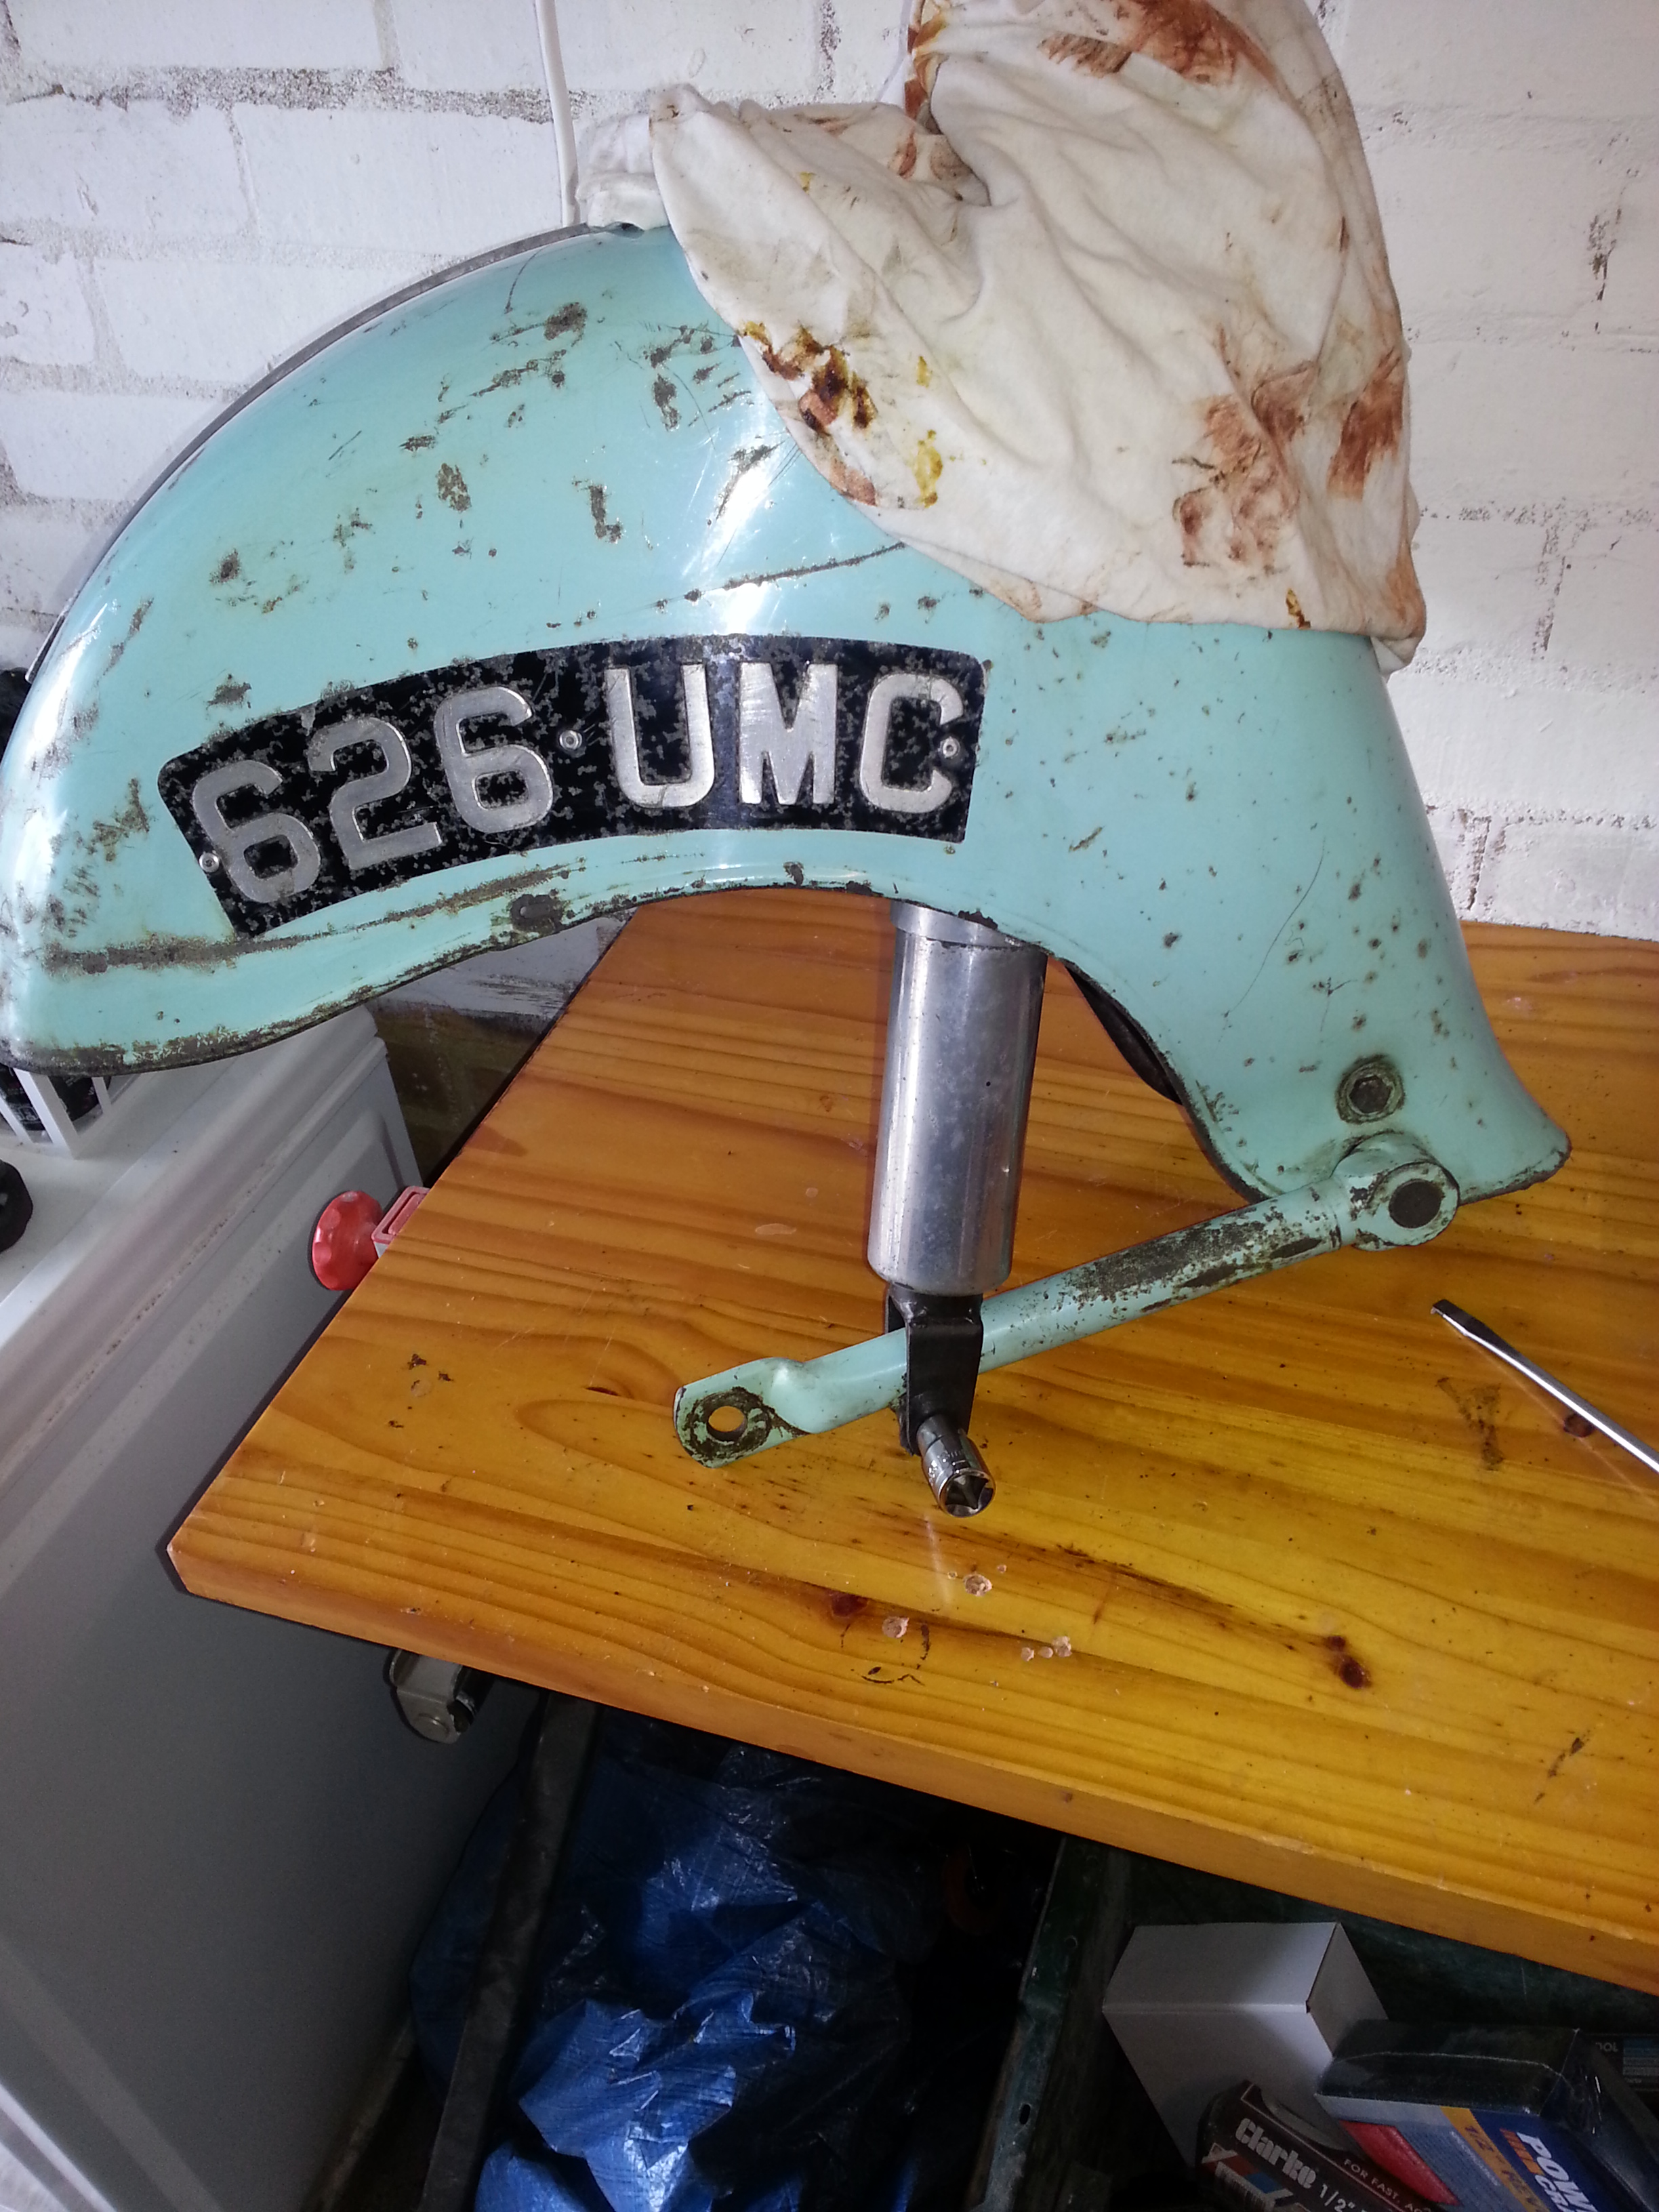
Not much to say here other than that getting the mud guard back into presentable shape will be an expensive exercise.
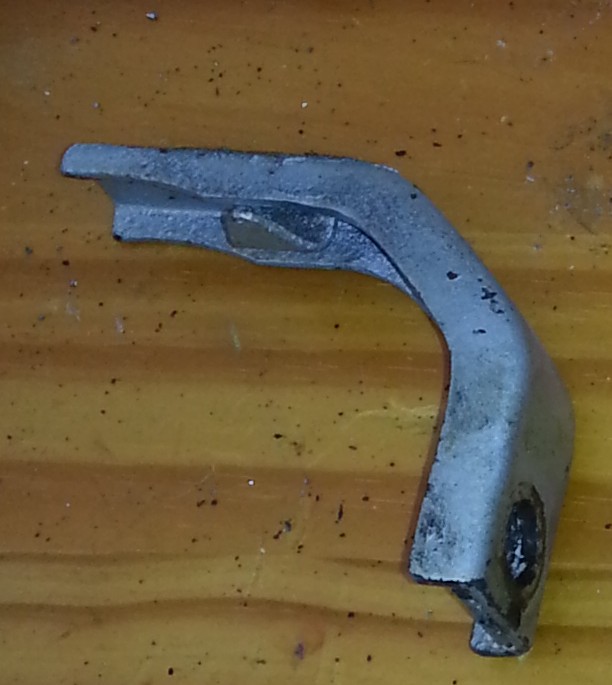
Kick stand
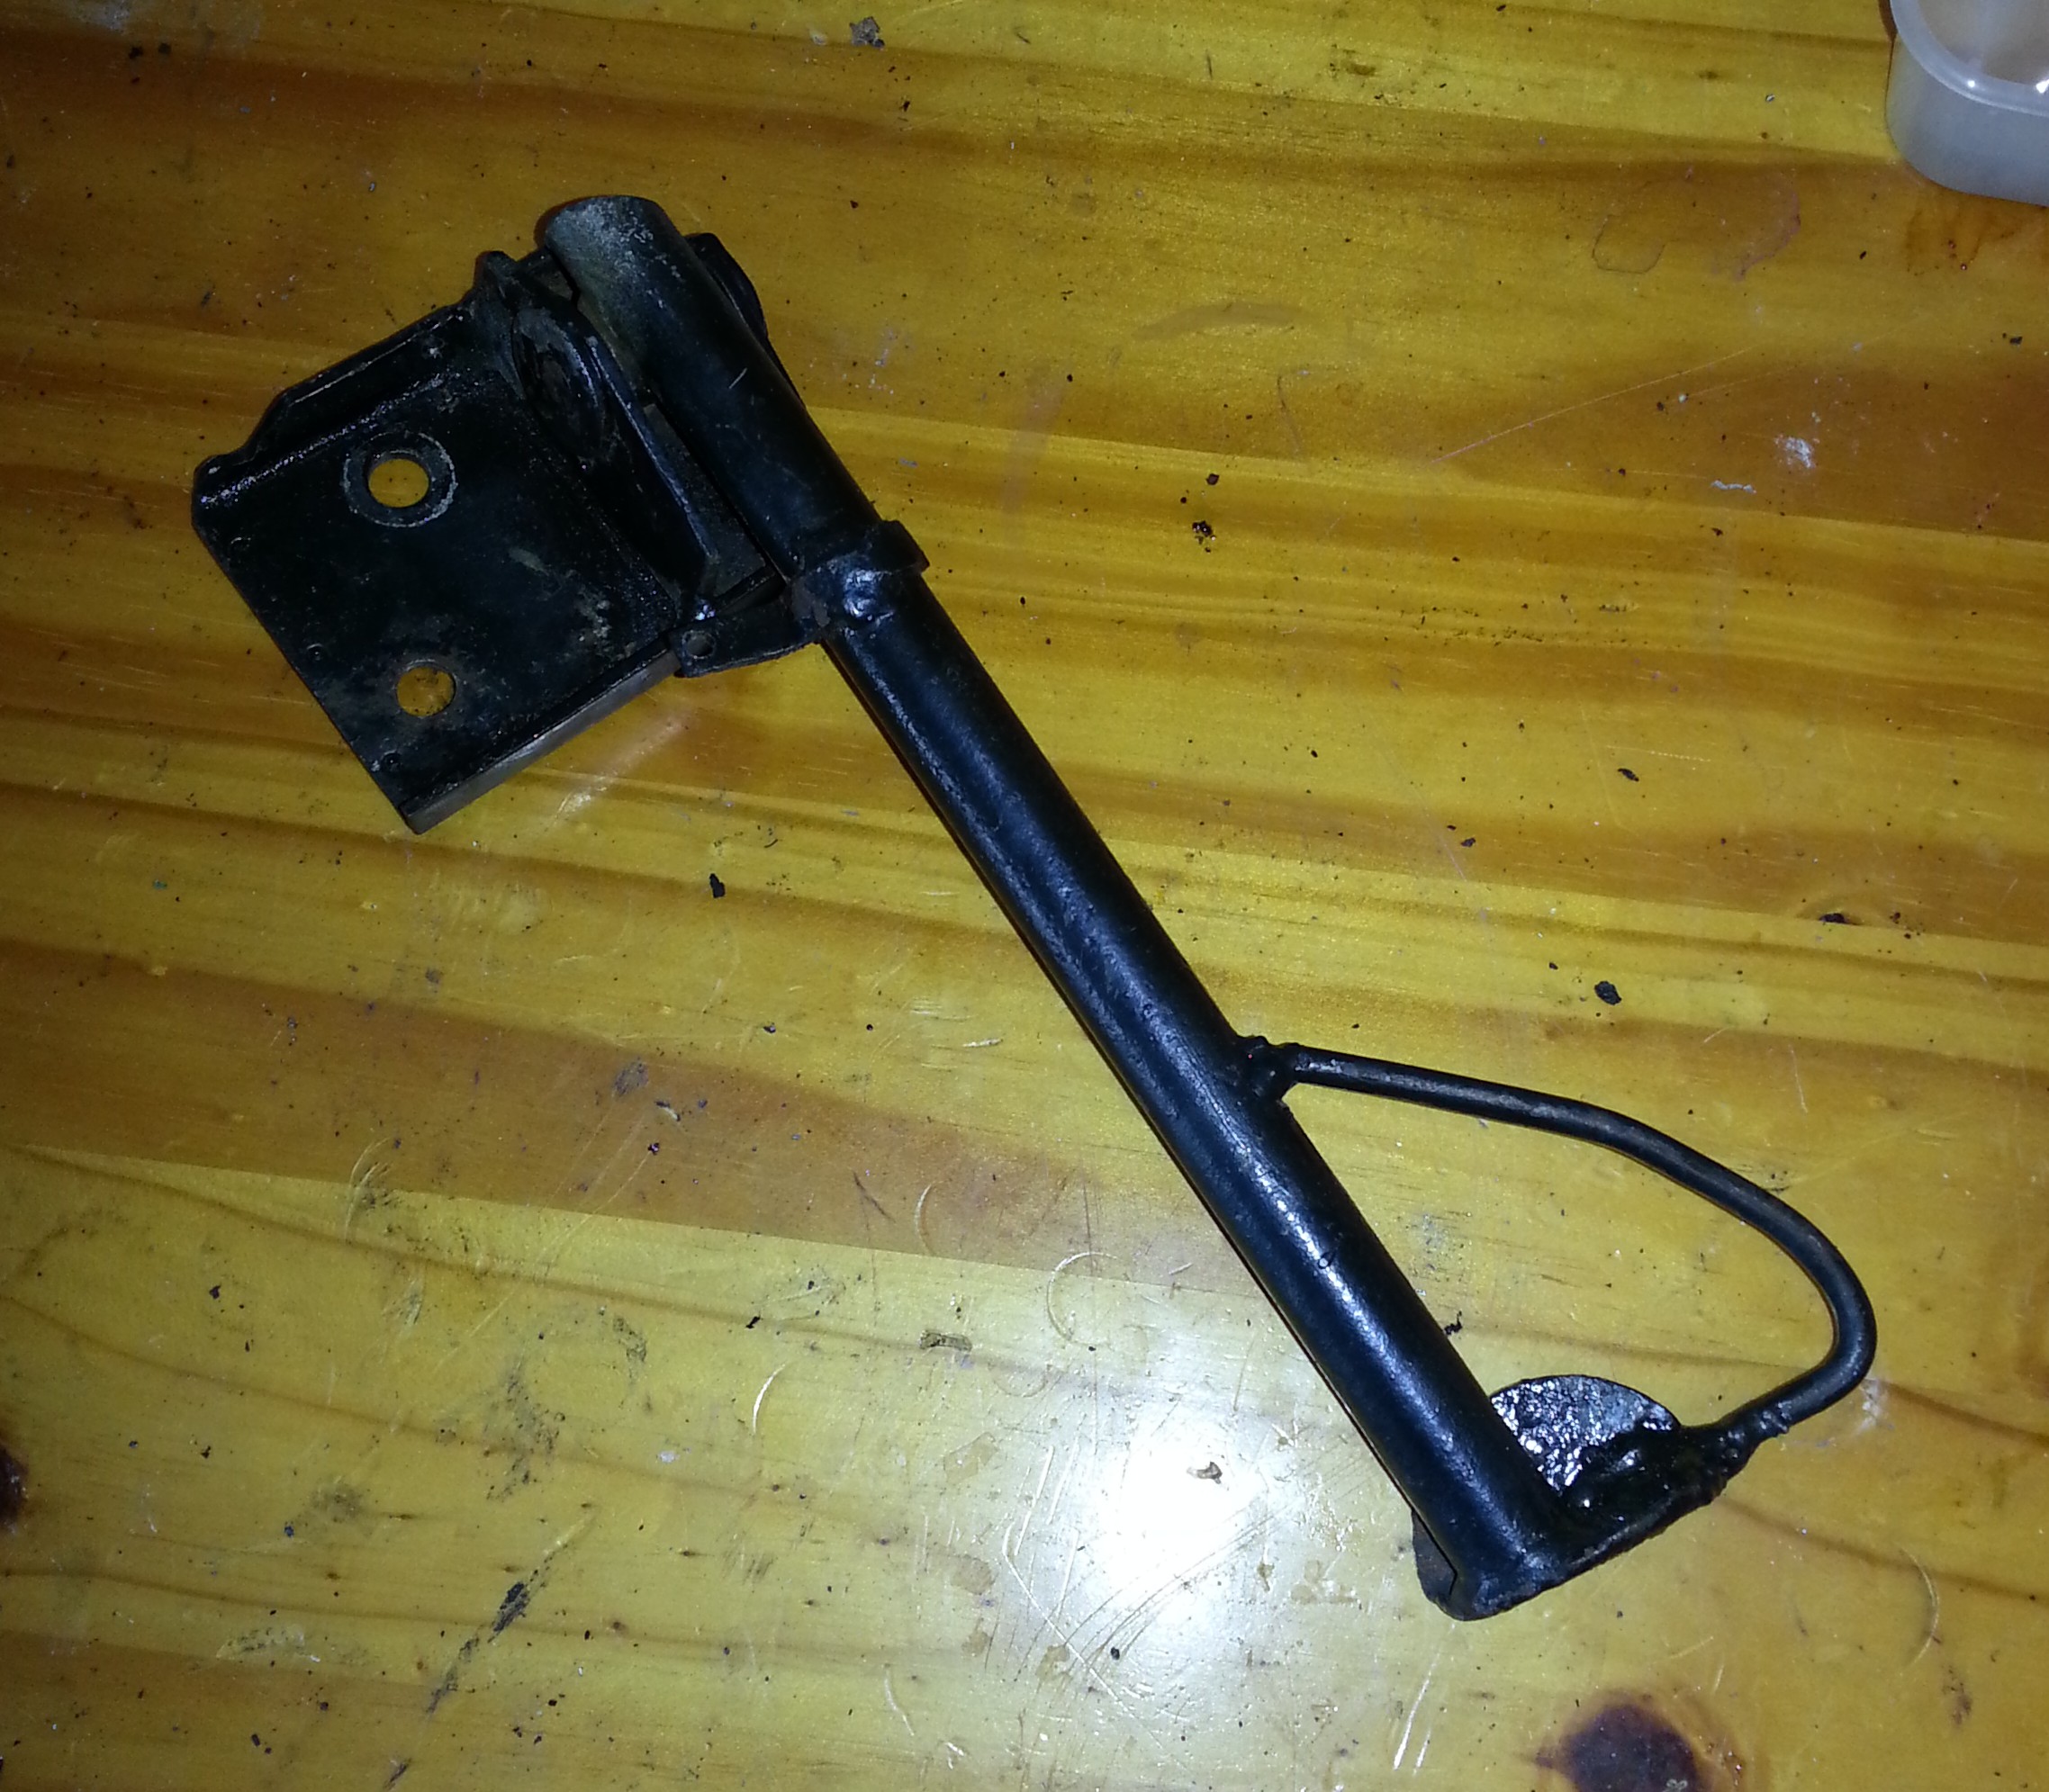
A simple kick-stand; it fits to one of the foot boards.
Rear mud guard
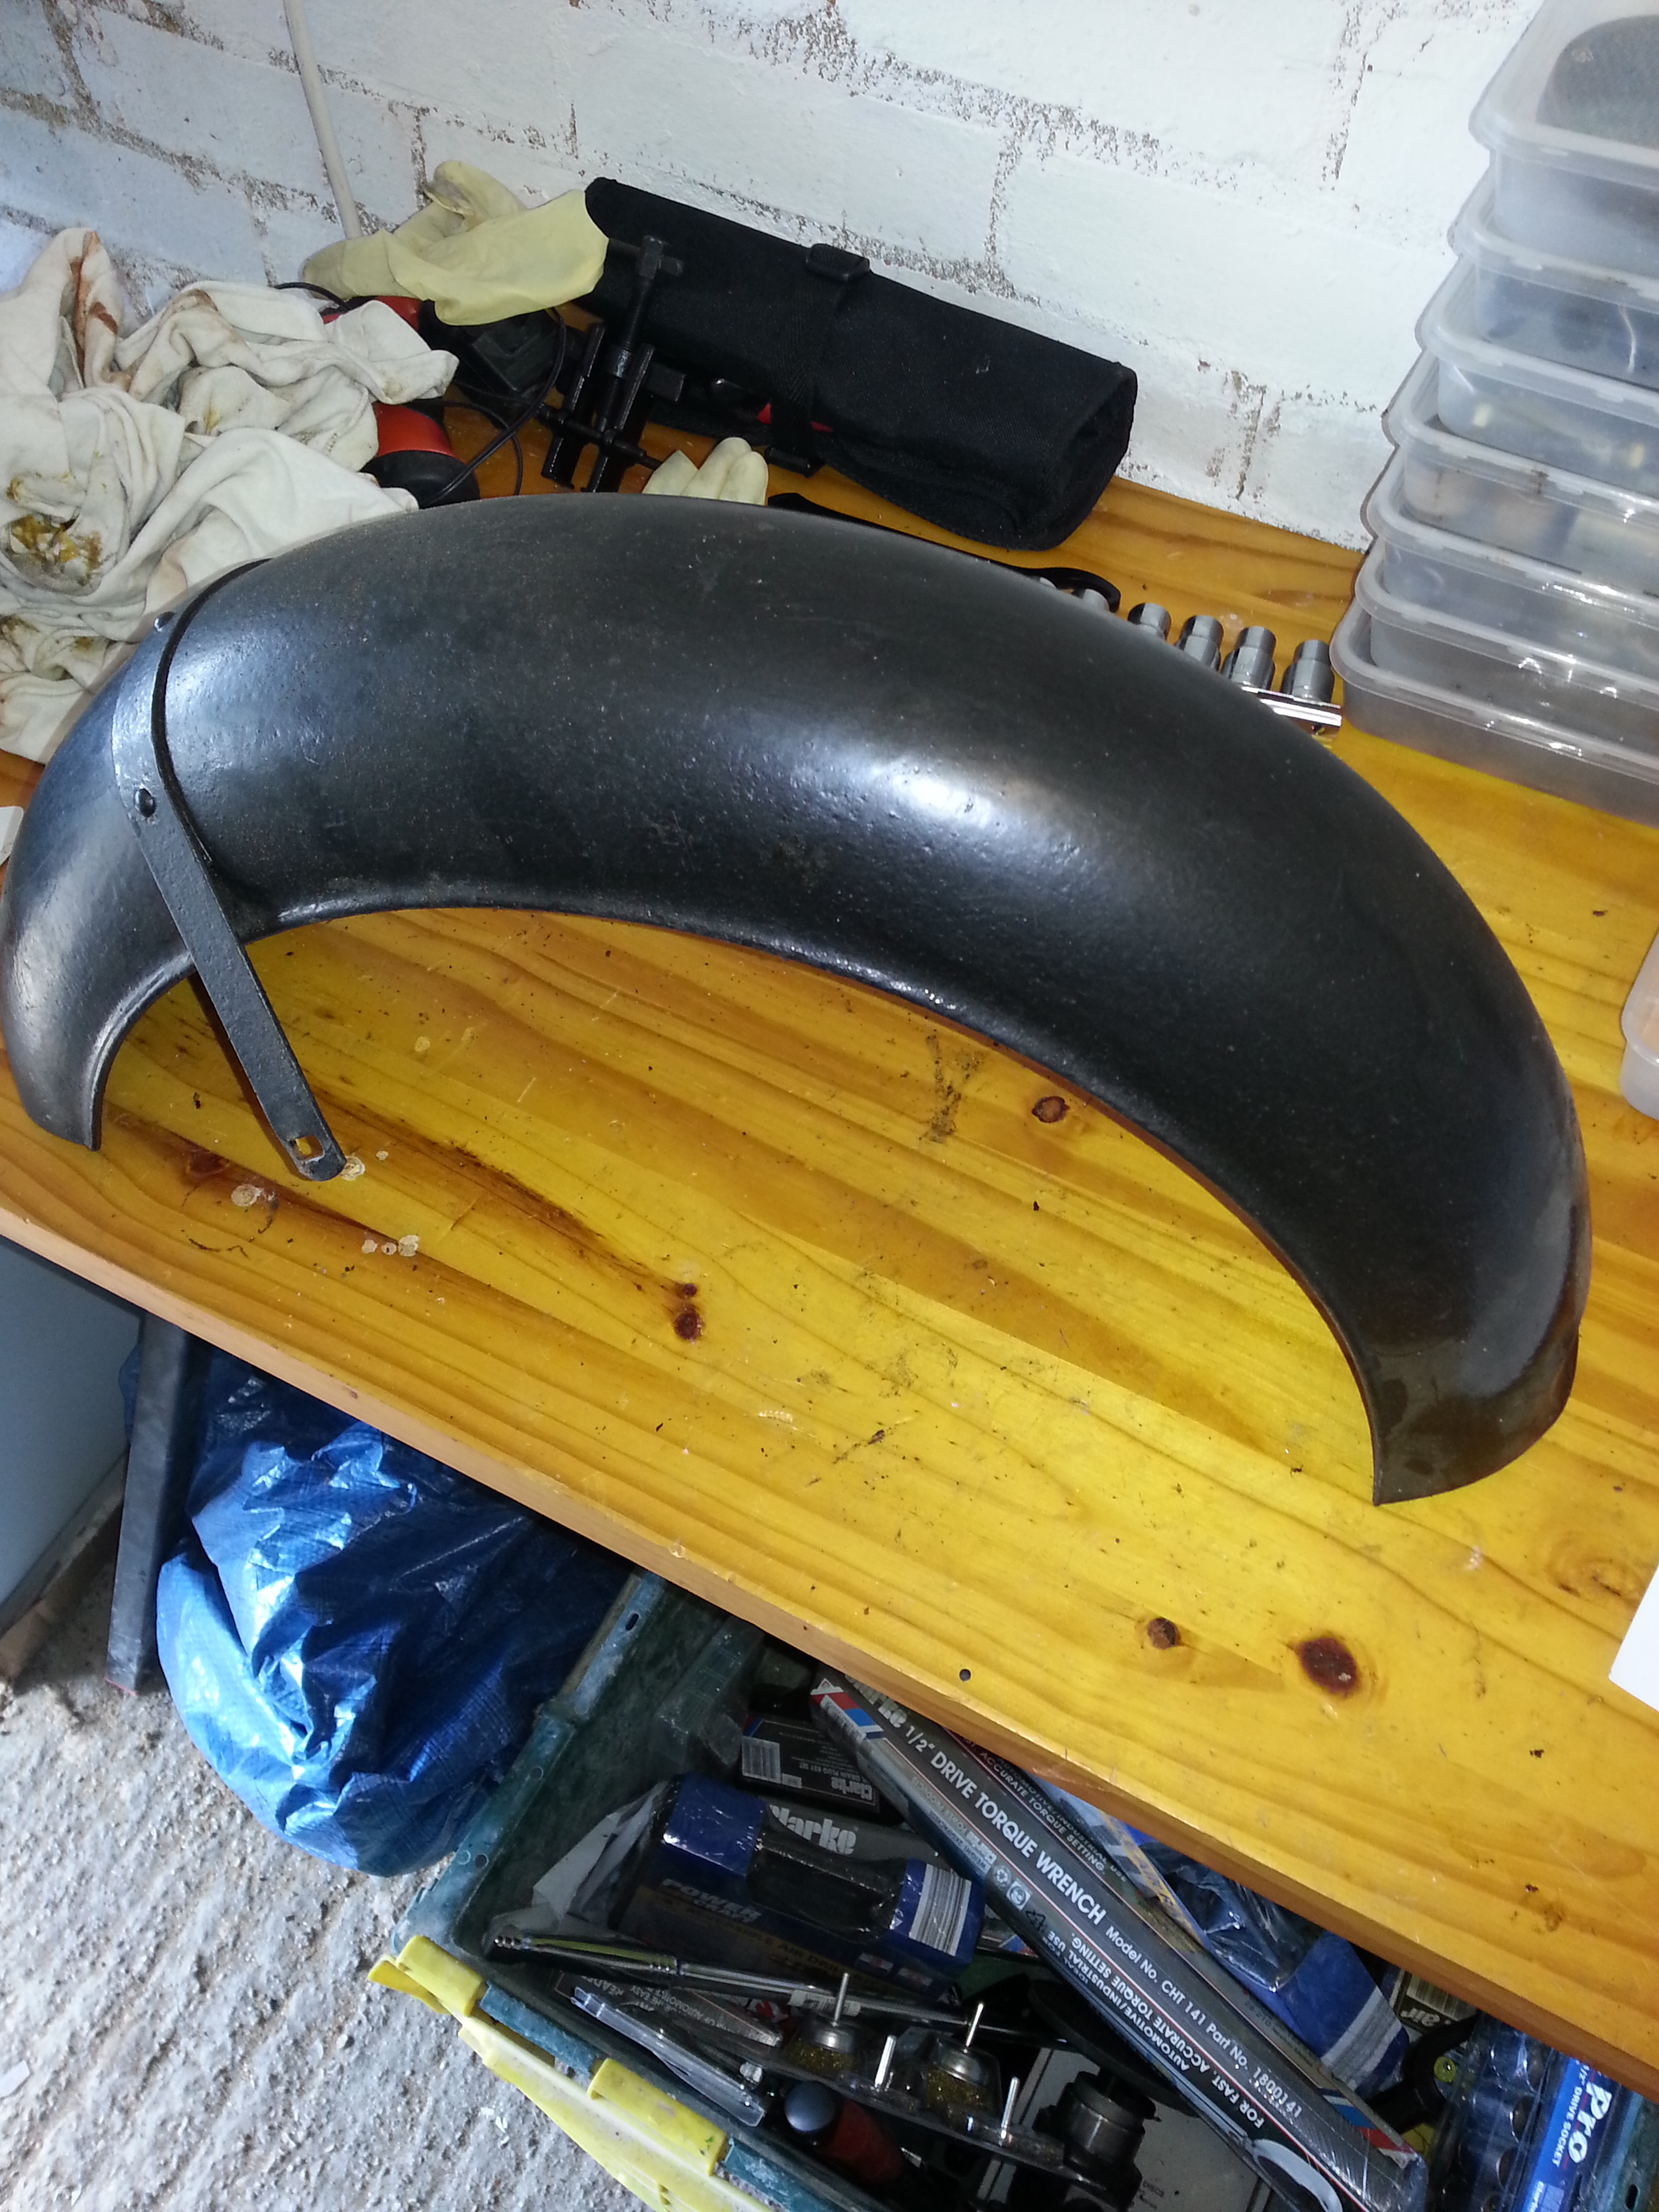
The rear mud guard connects to the frame on two points directly using the metal strip and once to the rear engine carrier.
Chain guard
The chain guard comprises four parts. The first part connects to the front bearing bolt. The second part is front of the chain guard and connects directly to the rear brake cover. The last two parts connect to the swing arm.
Main stand
One of the eyes at the top that are bolted to the front engine carrier plates requires a bushing of sorts; it is not yet clear to me what exactly.
Fuel tank tie
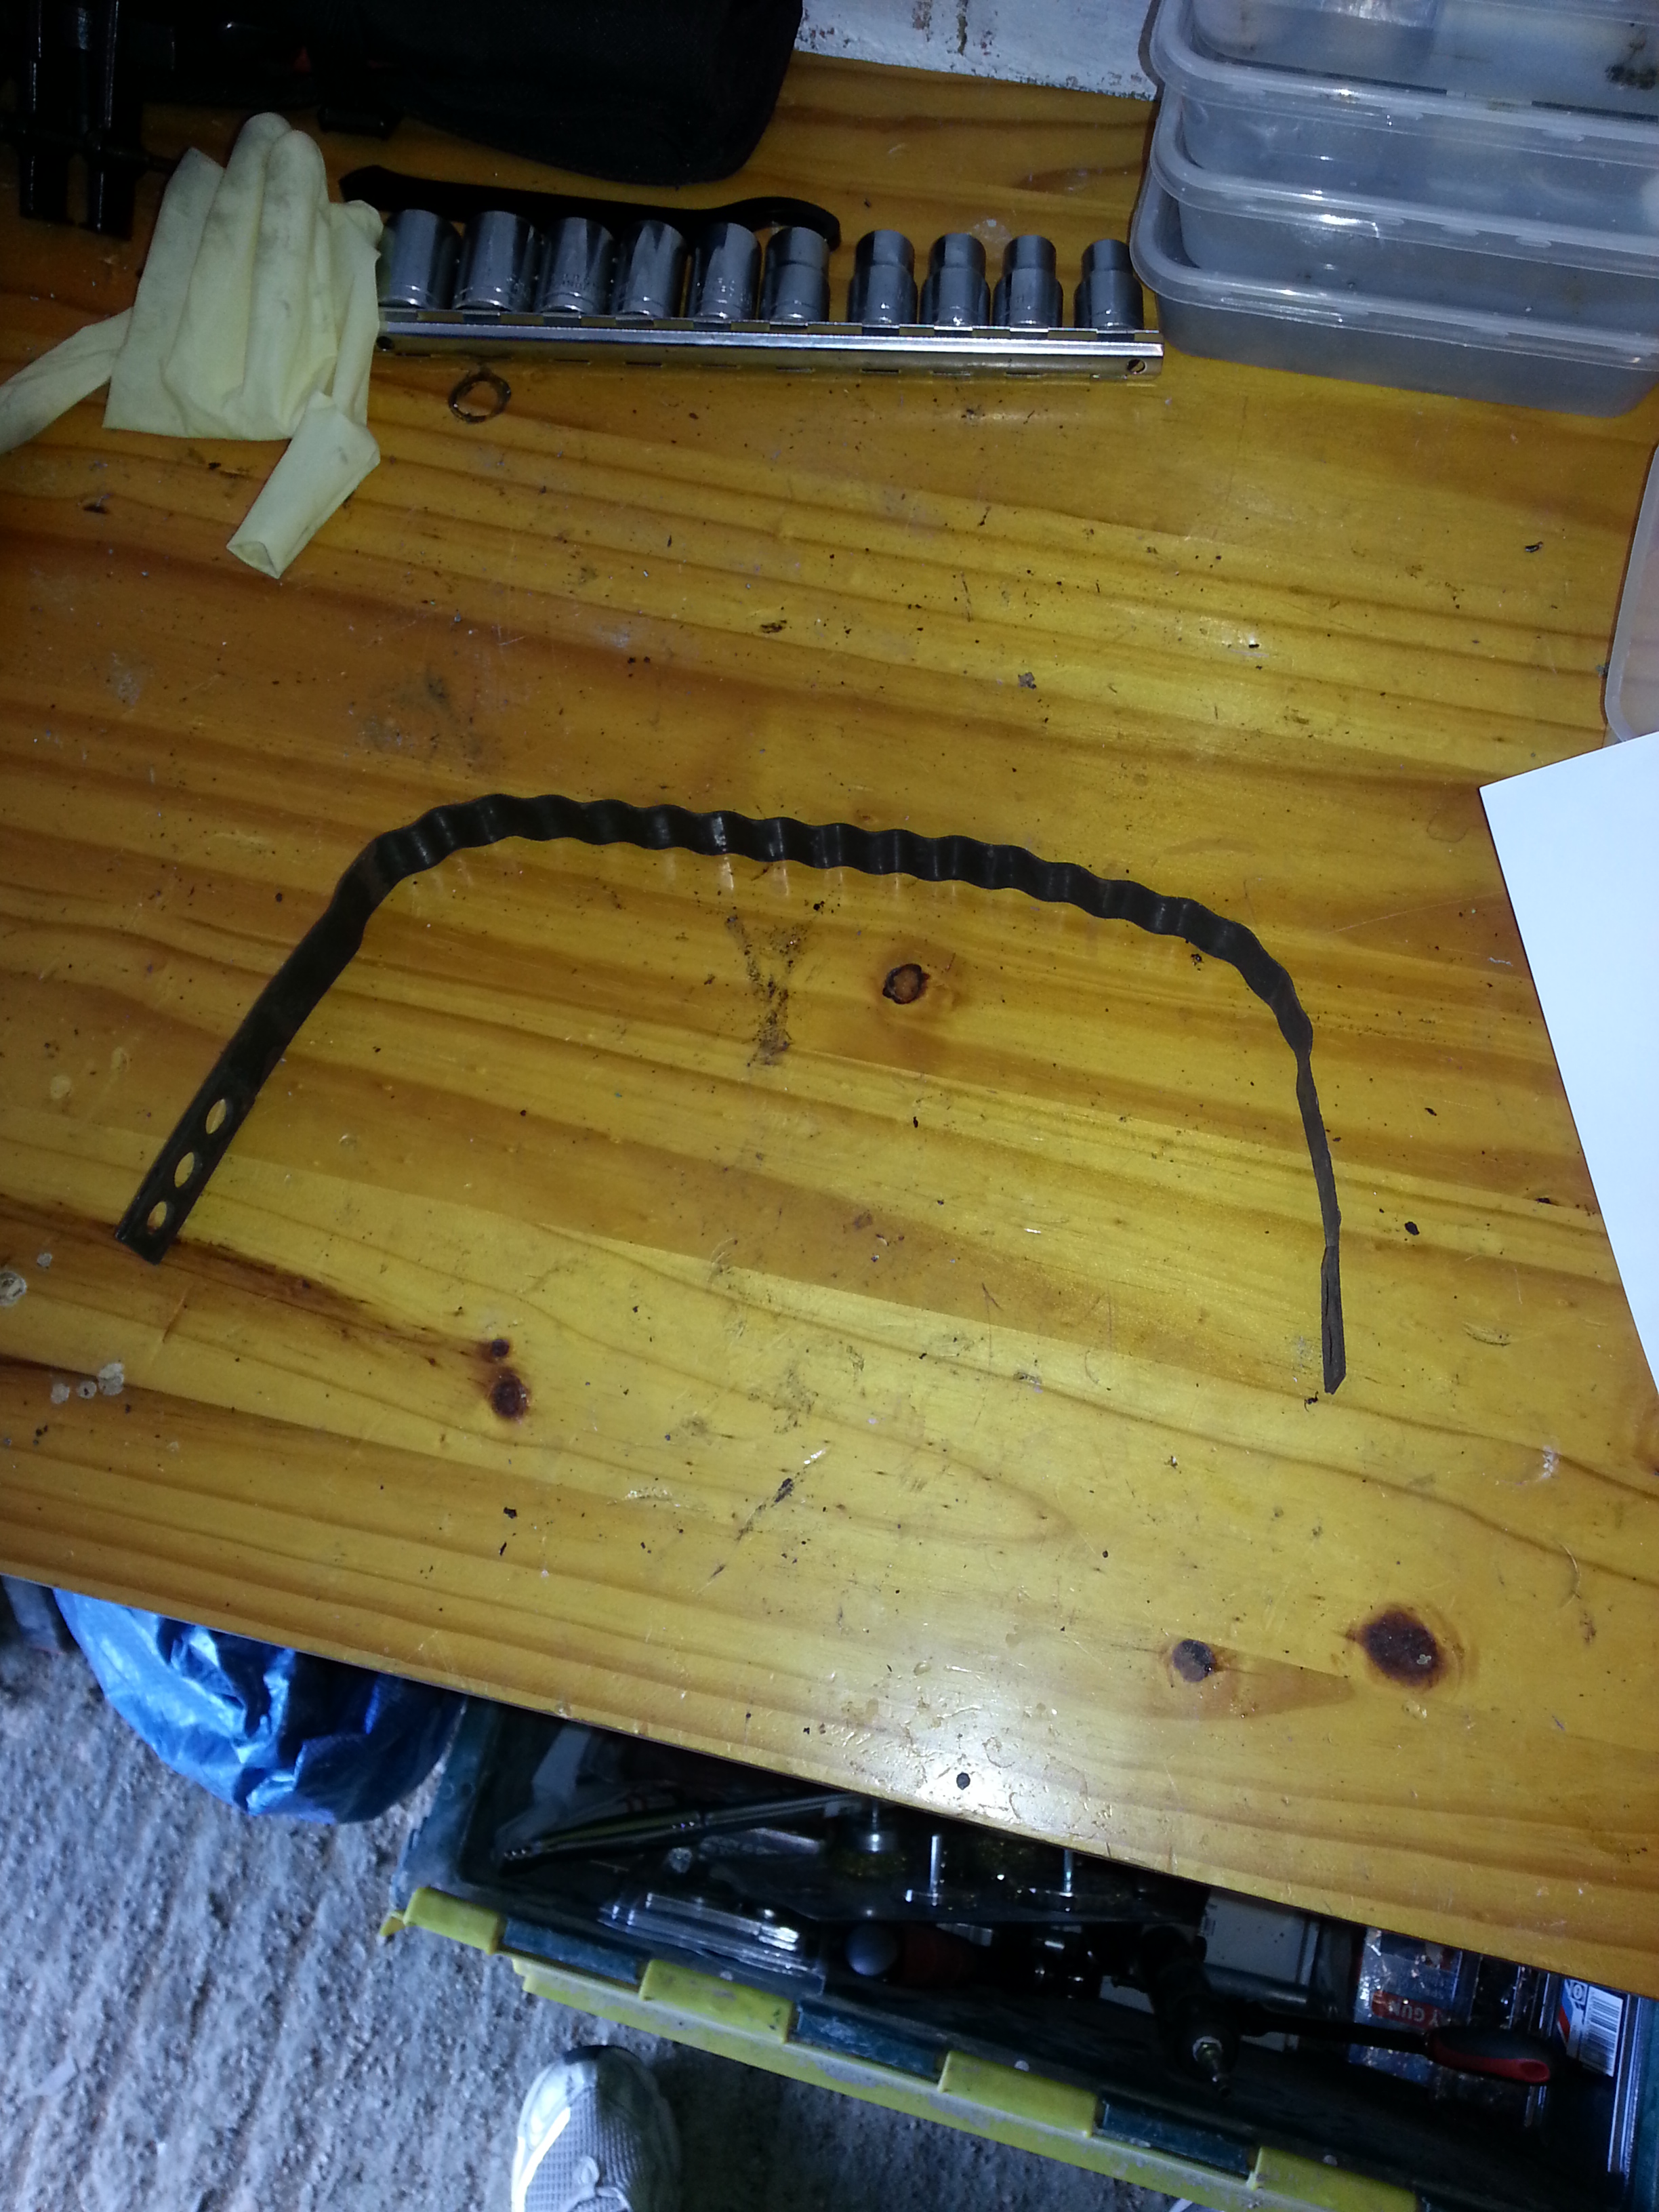
This ties the fuel tank down onto the frame. Tightness can be adjusted using the holes. In a pinch it can be replaced by punched steel strips. It won’t look as nice, but will do the job.
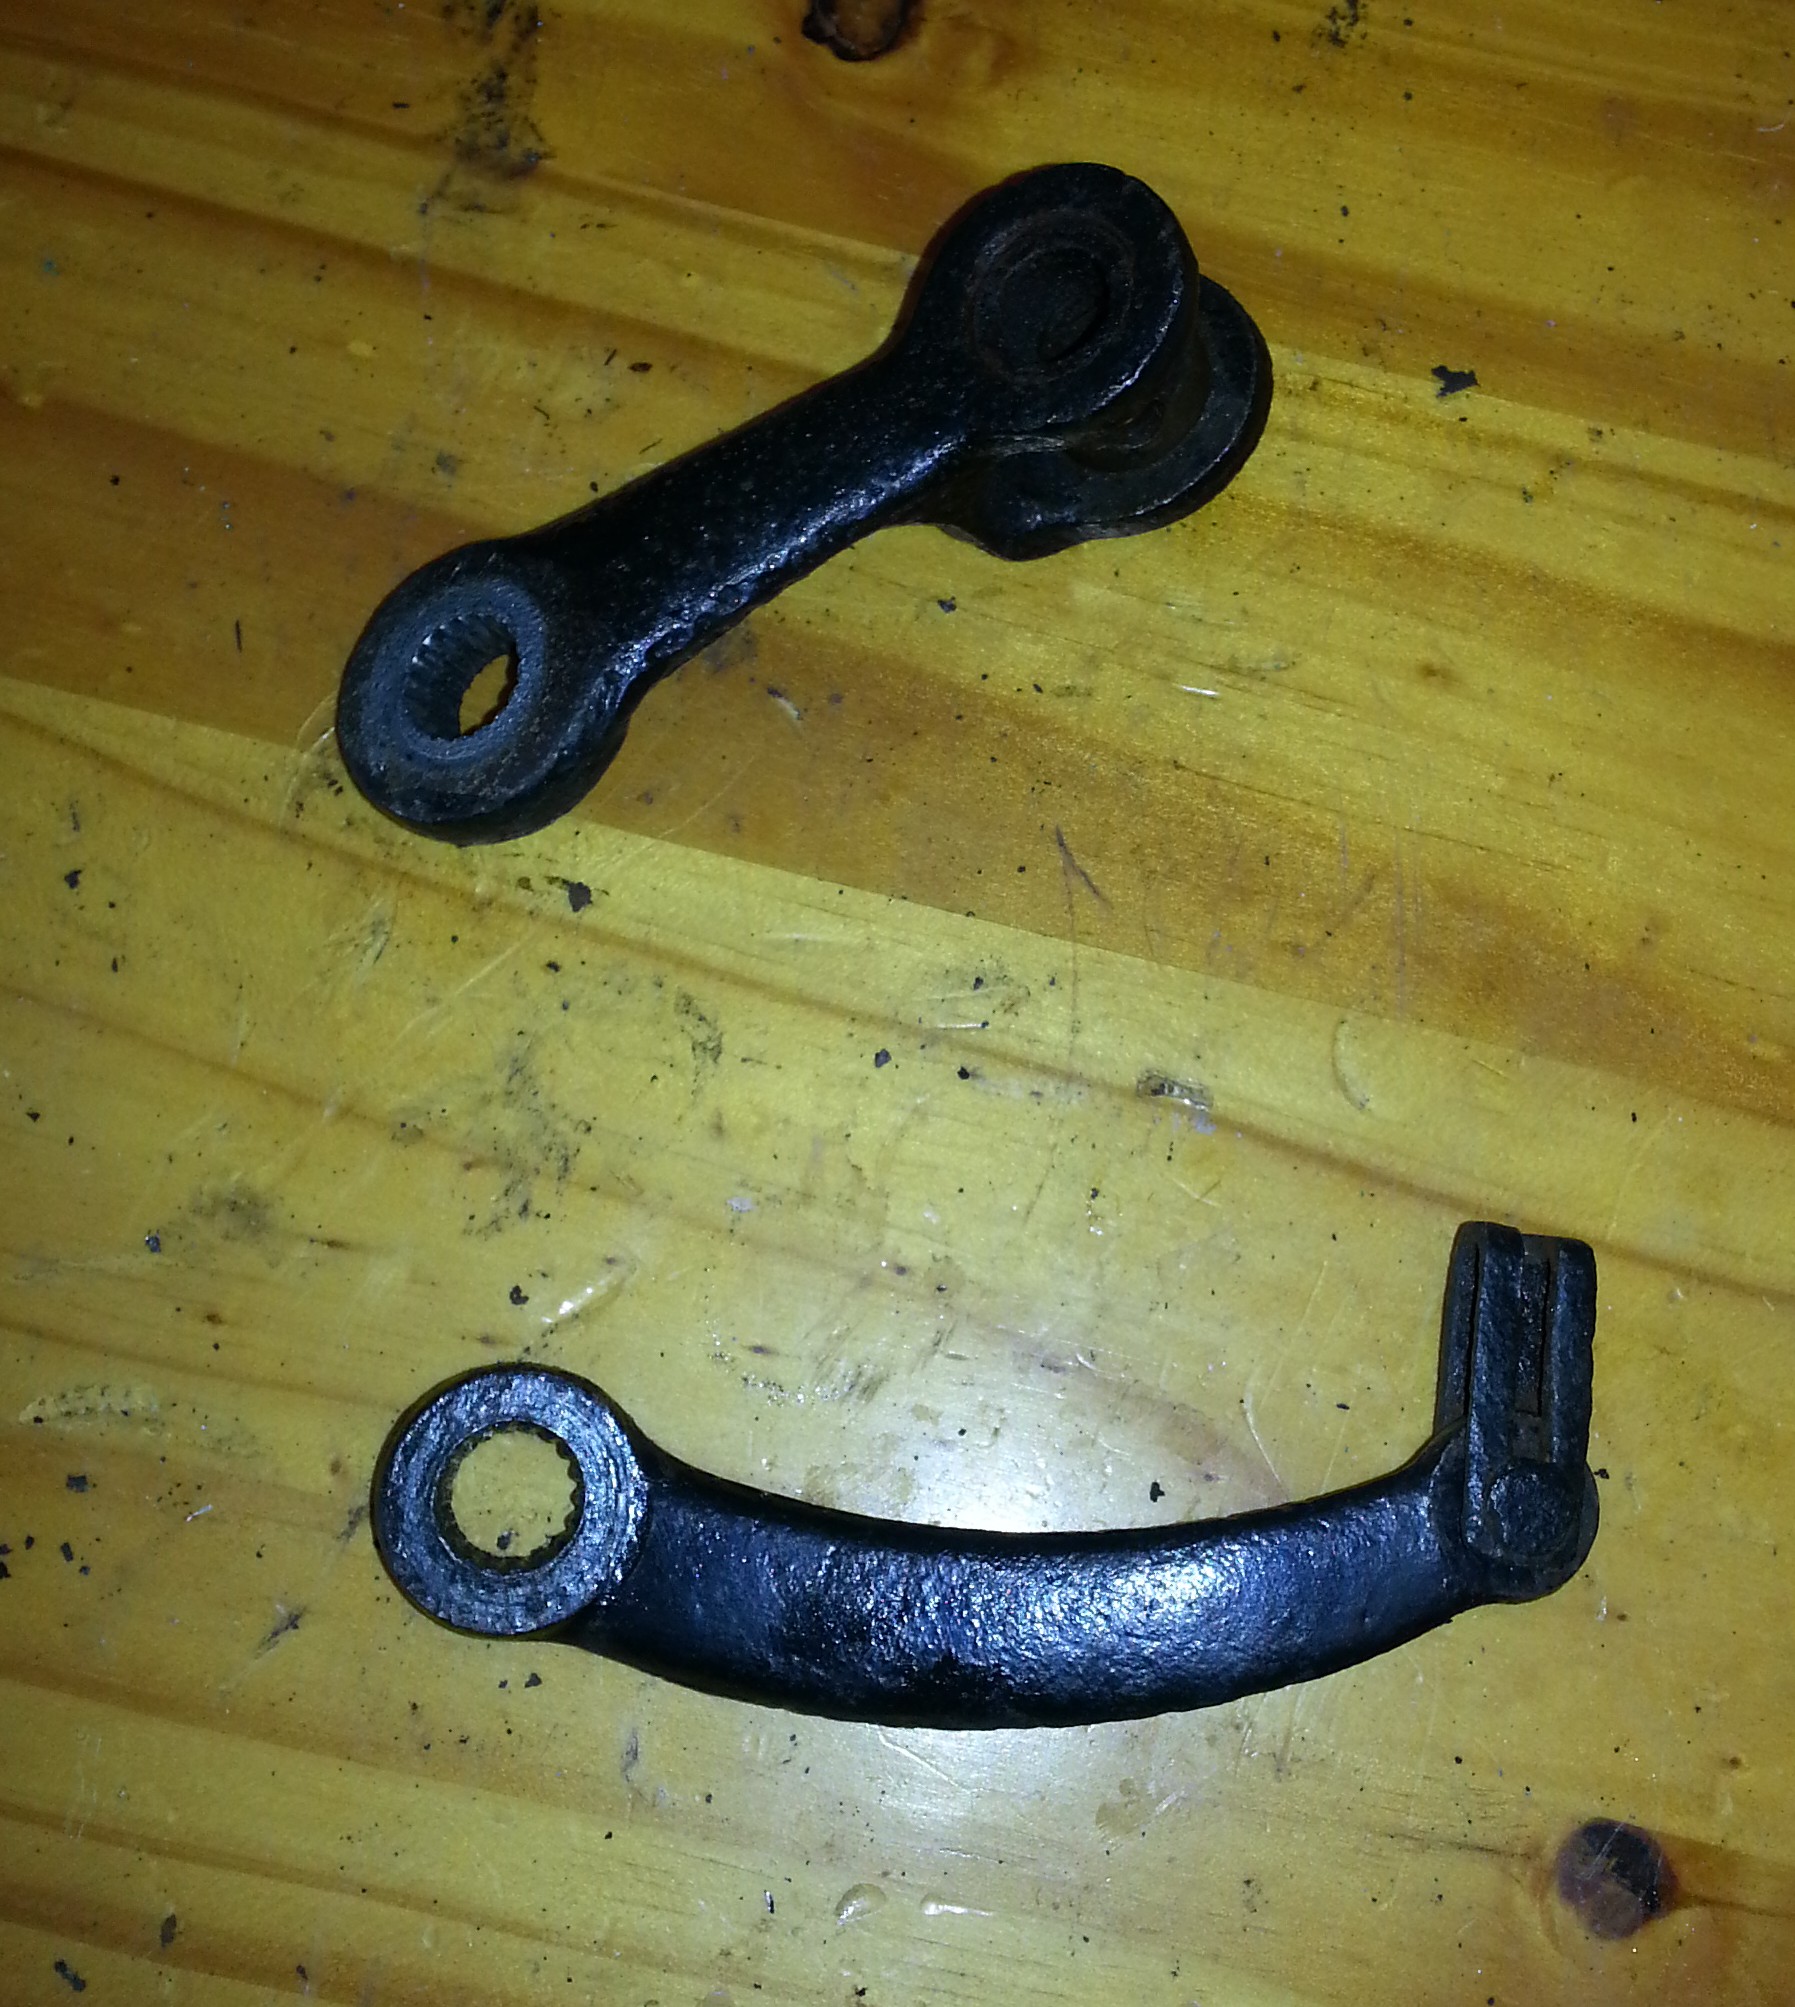
Brake pedal
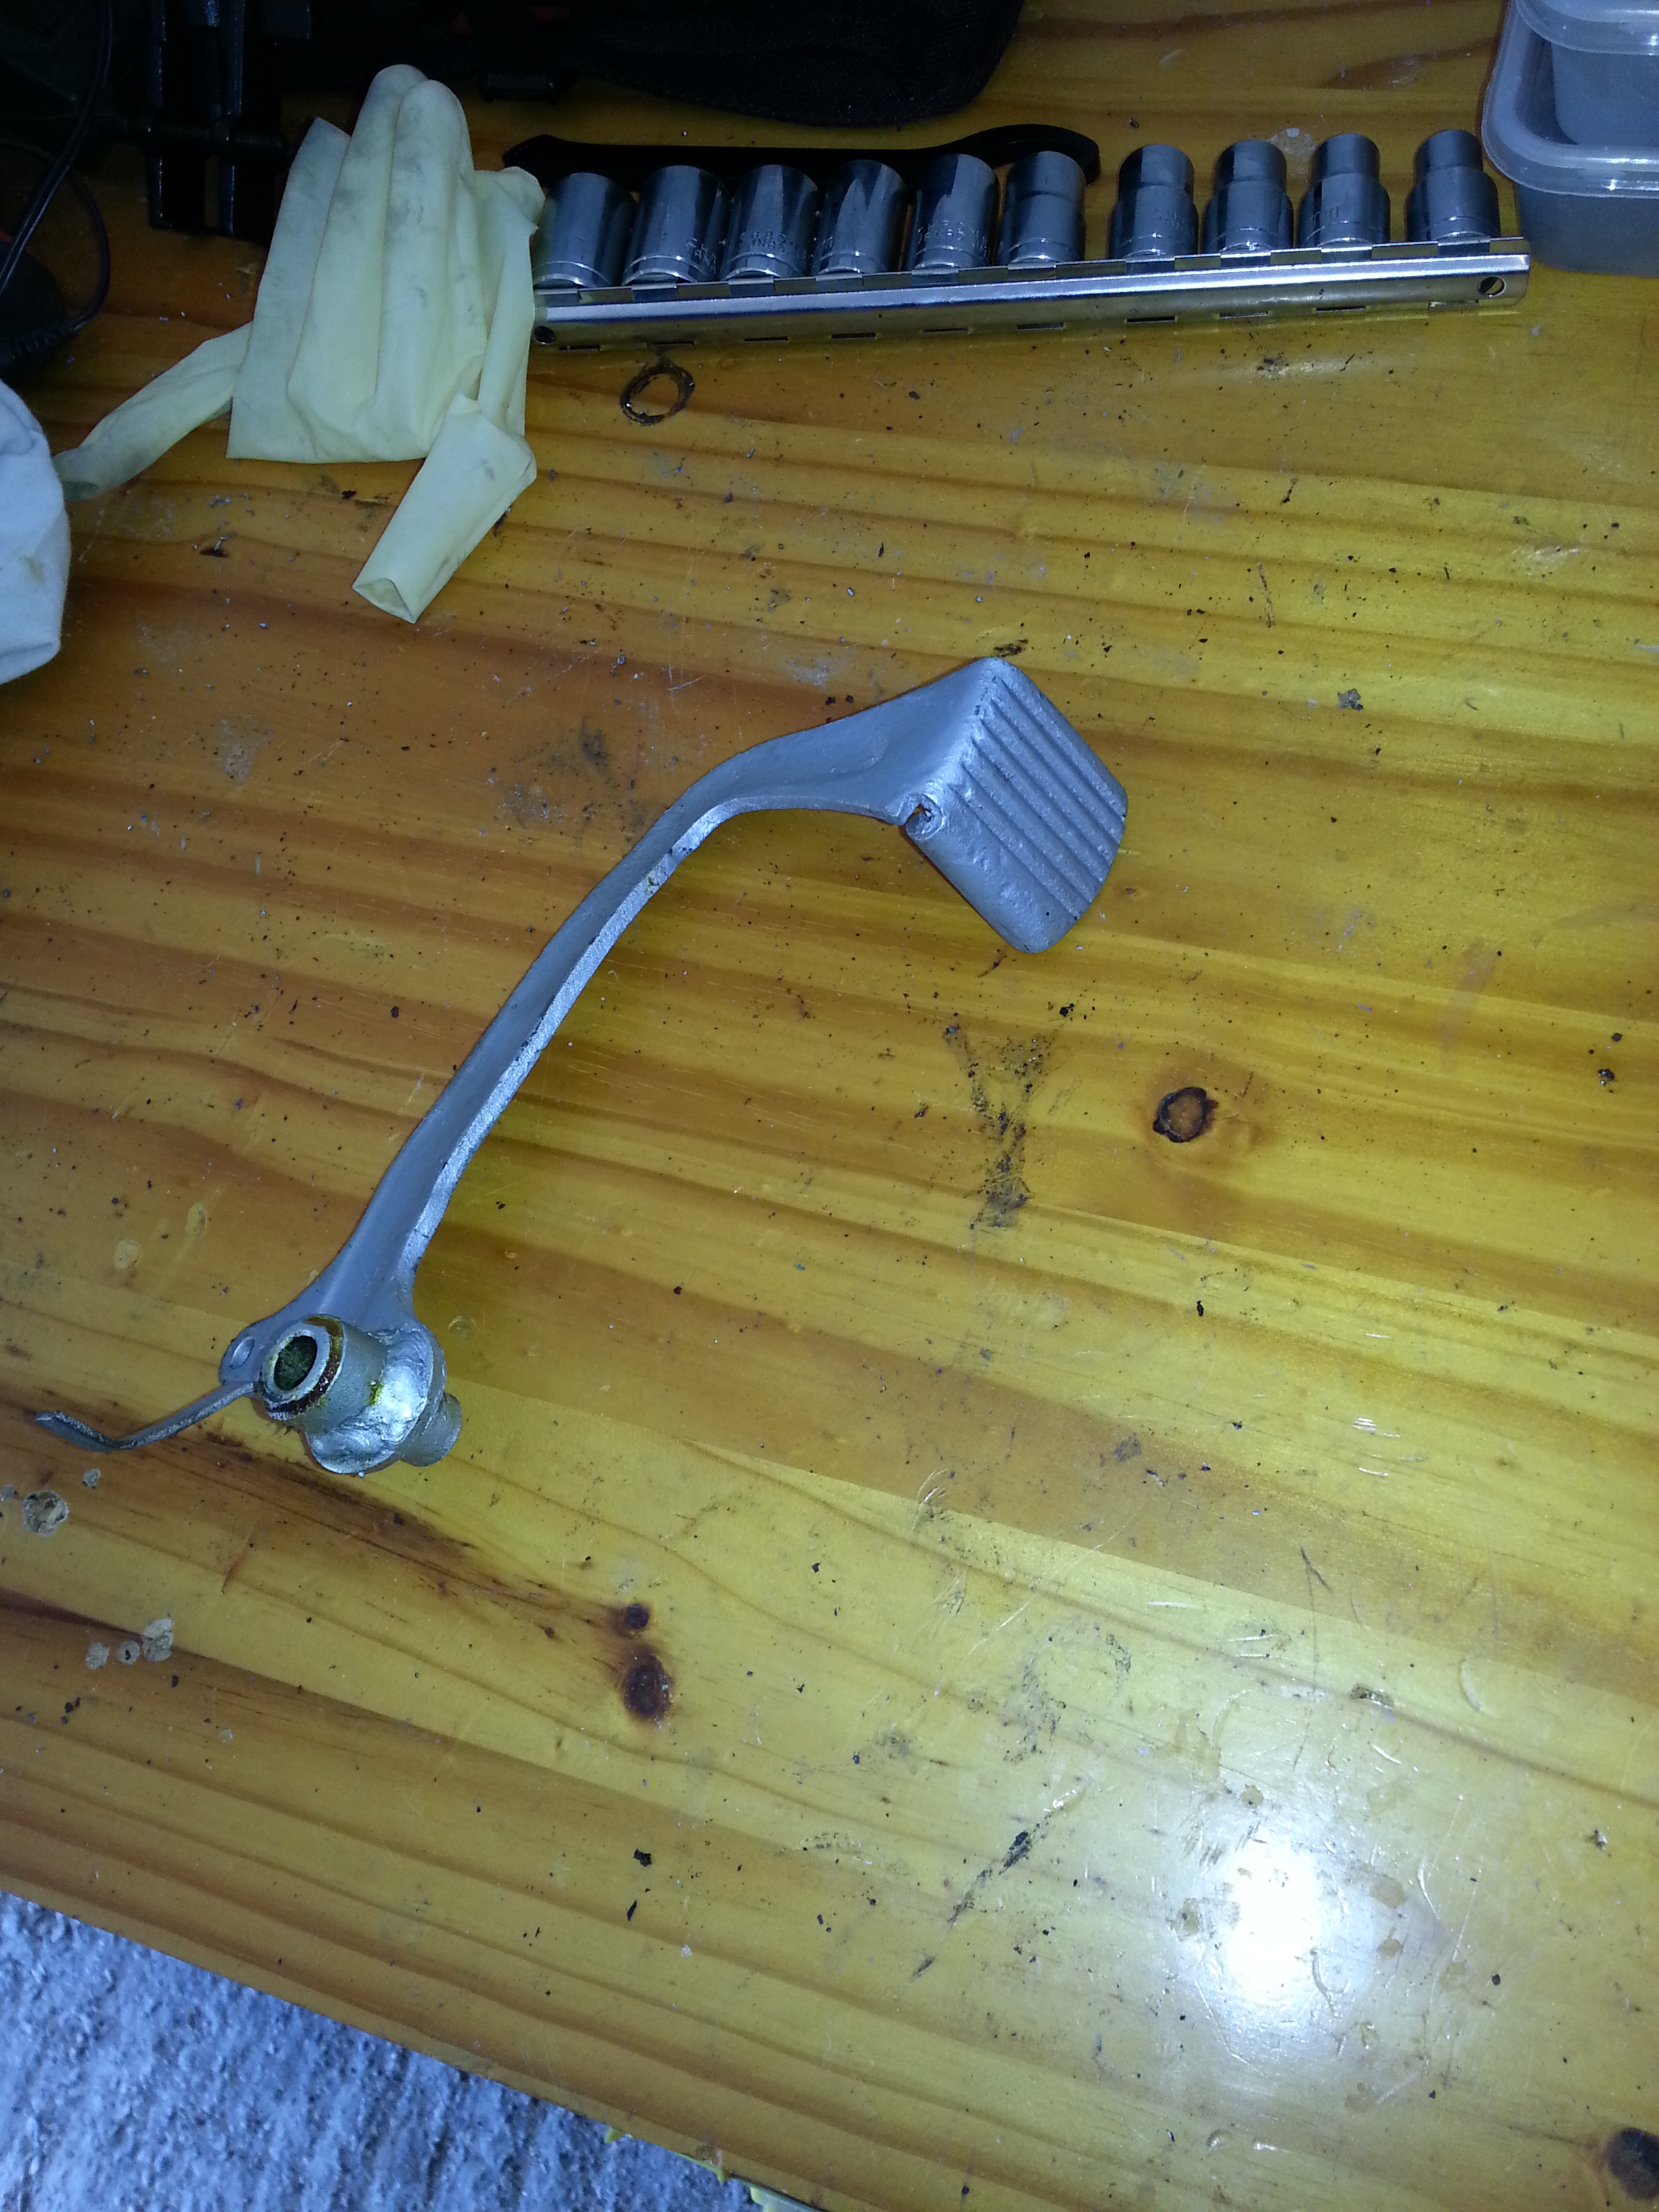
The brake pedal has a bearing bolt that might need replacing. You can order one from zuendapp-parts-hannover on e-bay. They do a remake shift connector too; both in stainless steel.
Spring carriers
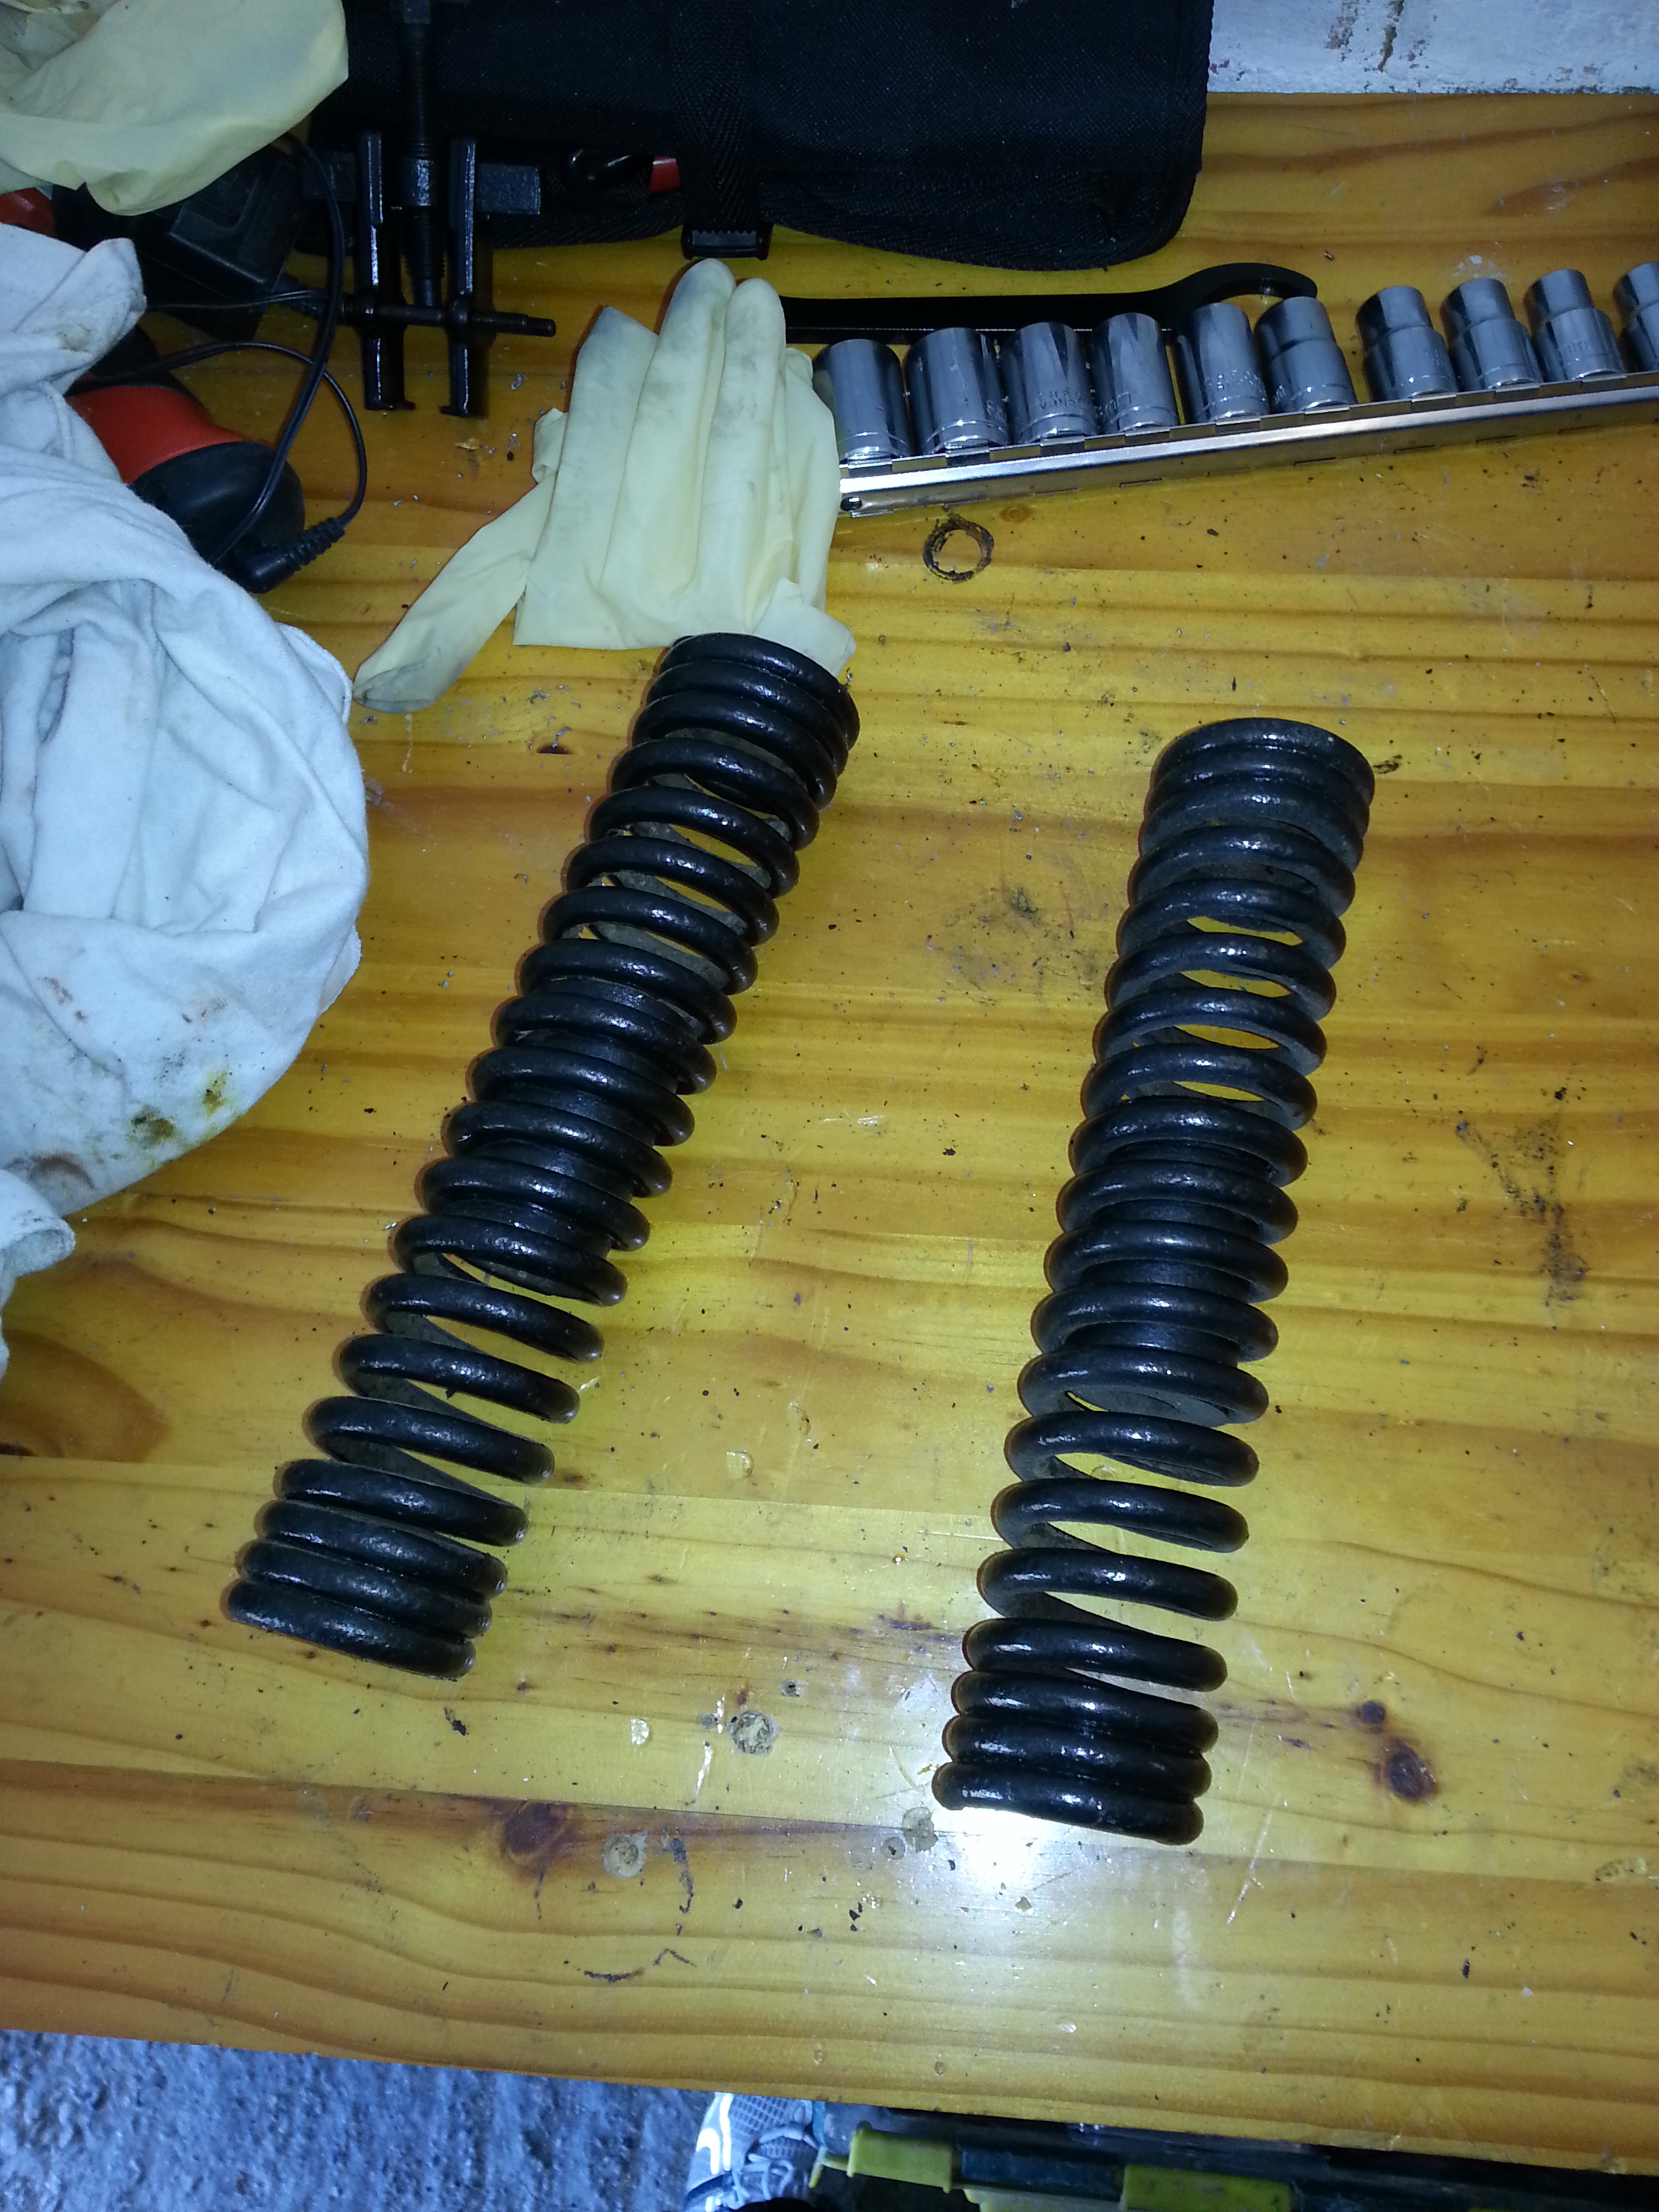
These spring carriers connect to the swing arm after being screwed inside the springs. The springs themselves in turn screw onto the frame. Inside the spring is a rubber dampener that I couldn’t remove. I had the springs powder coated with the rubbers inside which seems to have worked.
Handlebar clamps
Wheel screws

These screws are used for the wheels and are bespoke. Should you have a dodge one or a head that’s beyond salvage; you can order a new set from ww.zuendappshop.habaspiele.com who charge 59 EUR for a set in stainless steel (H1 2014).
Wheel bushings
These bespoke bushings are used in the front wheel axle.
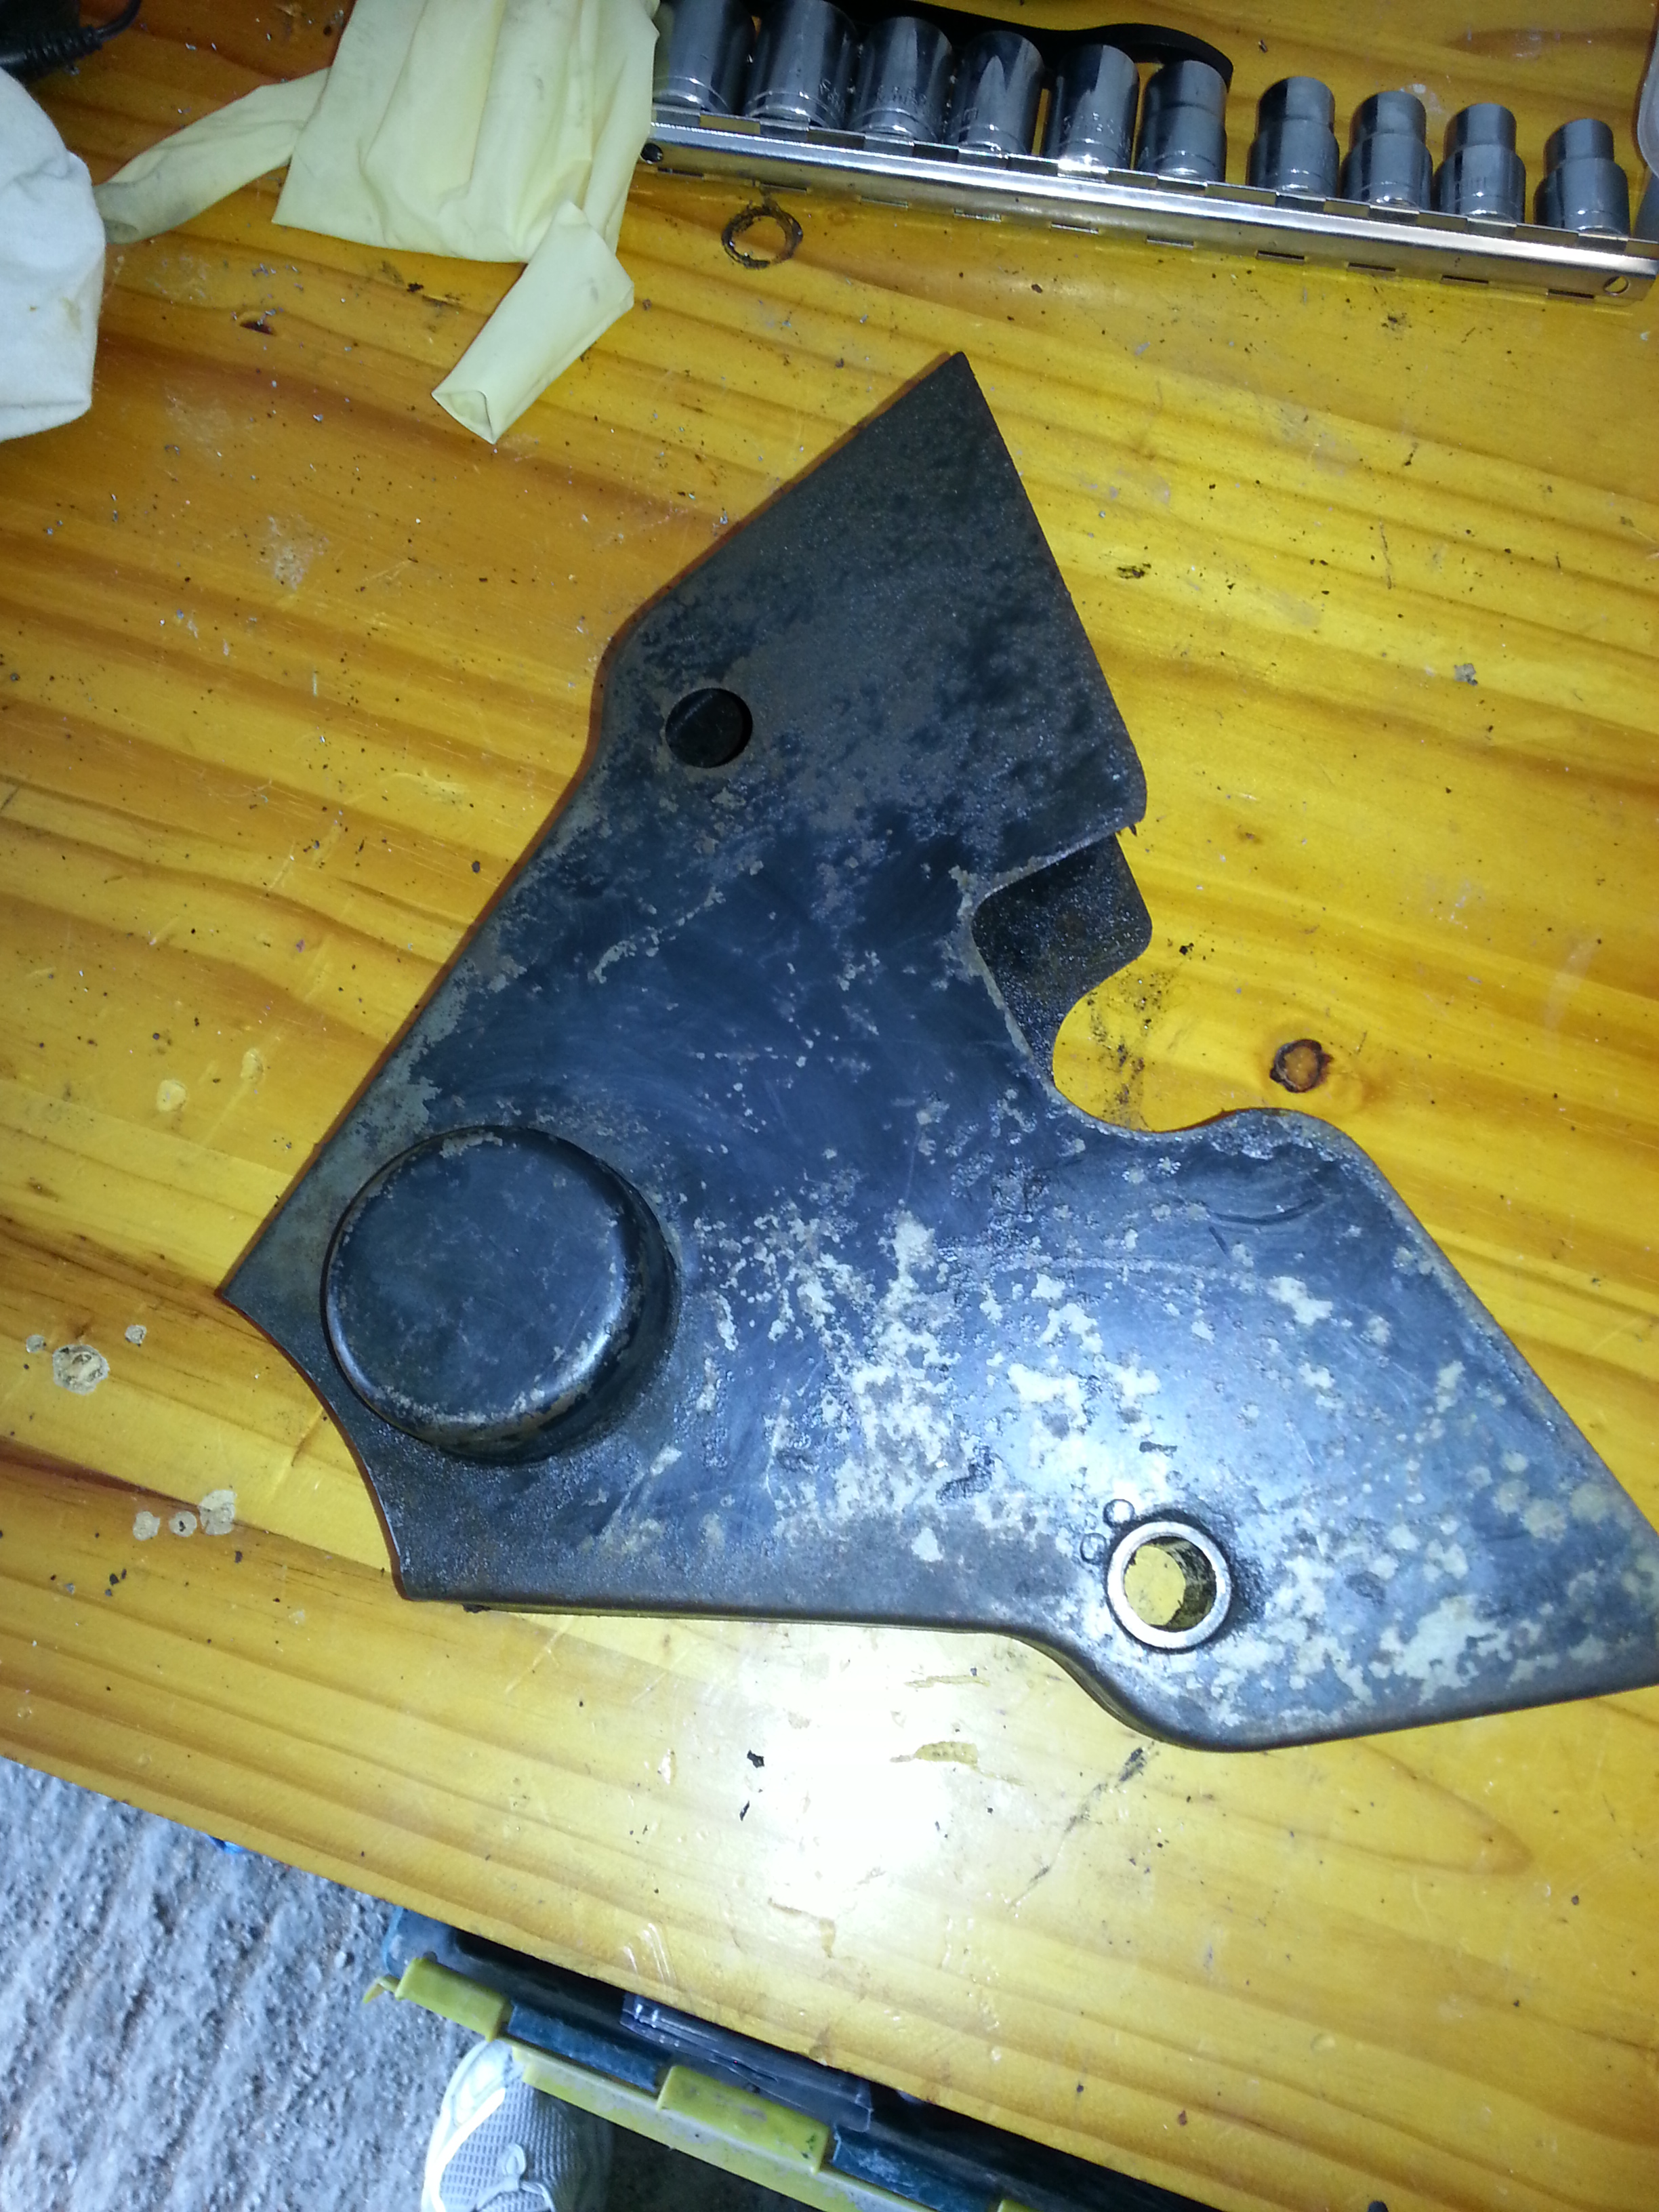
Front engine carrier plates
These plates attach to the frame with a few bolts, hold the engine and the front carrier bolt goes through these plates (the hexagonal hole). Tip: the bolt won’t fit if powder coated as I found out.
Carrier bolt bushings and rear brake rod
The round bushings are sample bushings that go around the carrier bolts. They are best kept with the correct bolt to avoid confusion; there are quite a few and they differ only minimally in size.
The brake rod connects to the brake lever on the top left. Some NOS rods were offered in 2014 on line after Domi Racer in the US went into receivership, but these will be hard to replace.
Front fork
The front fork is built is bespoke. Two brass bushings are inserted and are likely to be in acceptable condition.
Handlebar

The handlebar is relatively standard and was used for more than just the Bella back in the day.
Fuel tank
The fuel tank is clamped down onto the frame using a strip pictured above and rests on rubber rings. As it is not in sight, it can be powder coated rather than spray painted which will save some cost.
Foot boards

The foot boards on my Bella look reasonably ok at first glance, but paint is covering a lot of rust. These had to be metal sprayed and bits of metal replaced. Quite expensive.
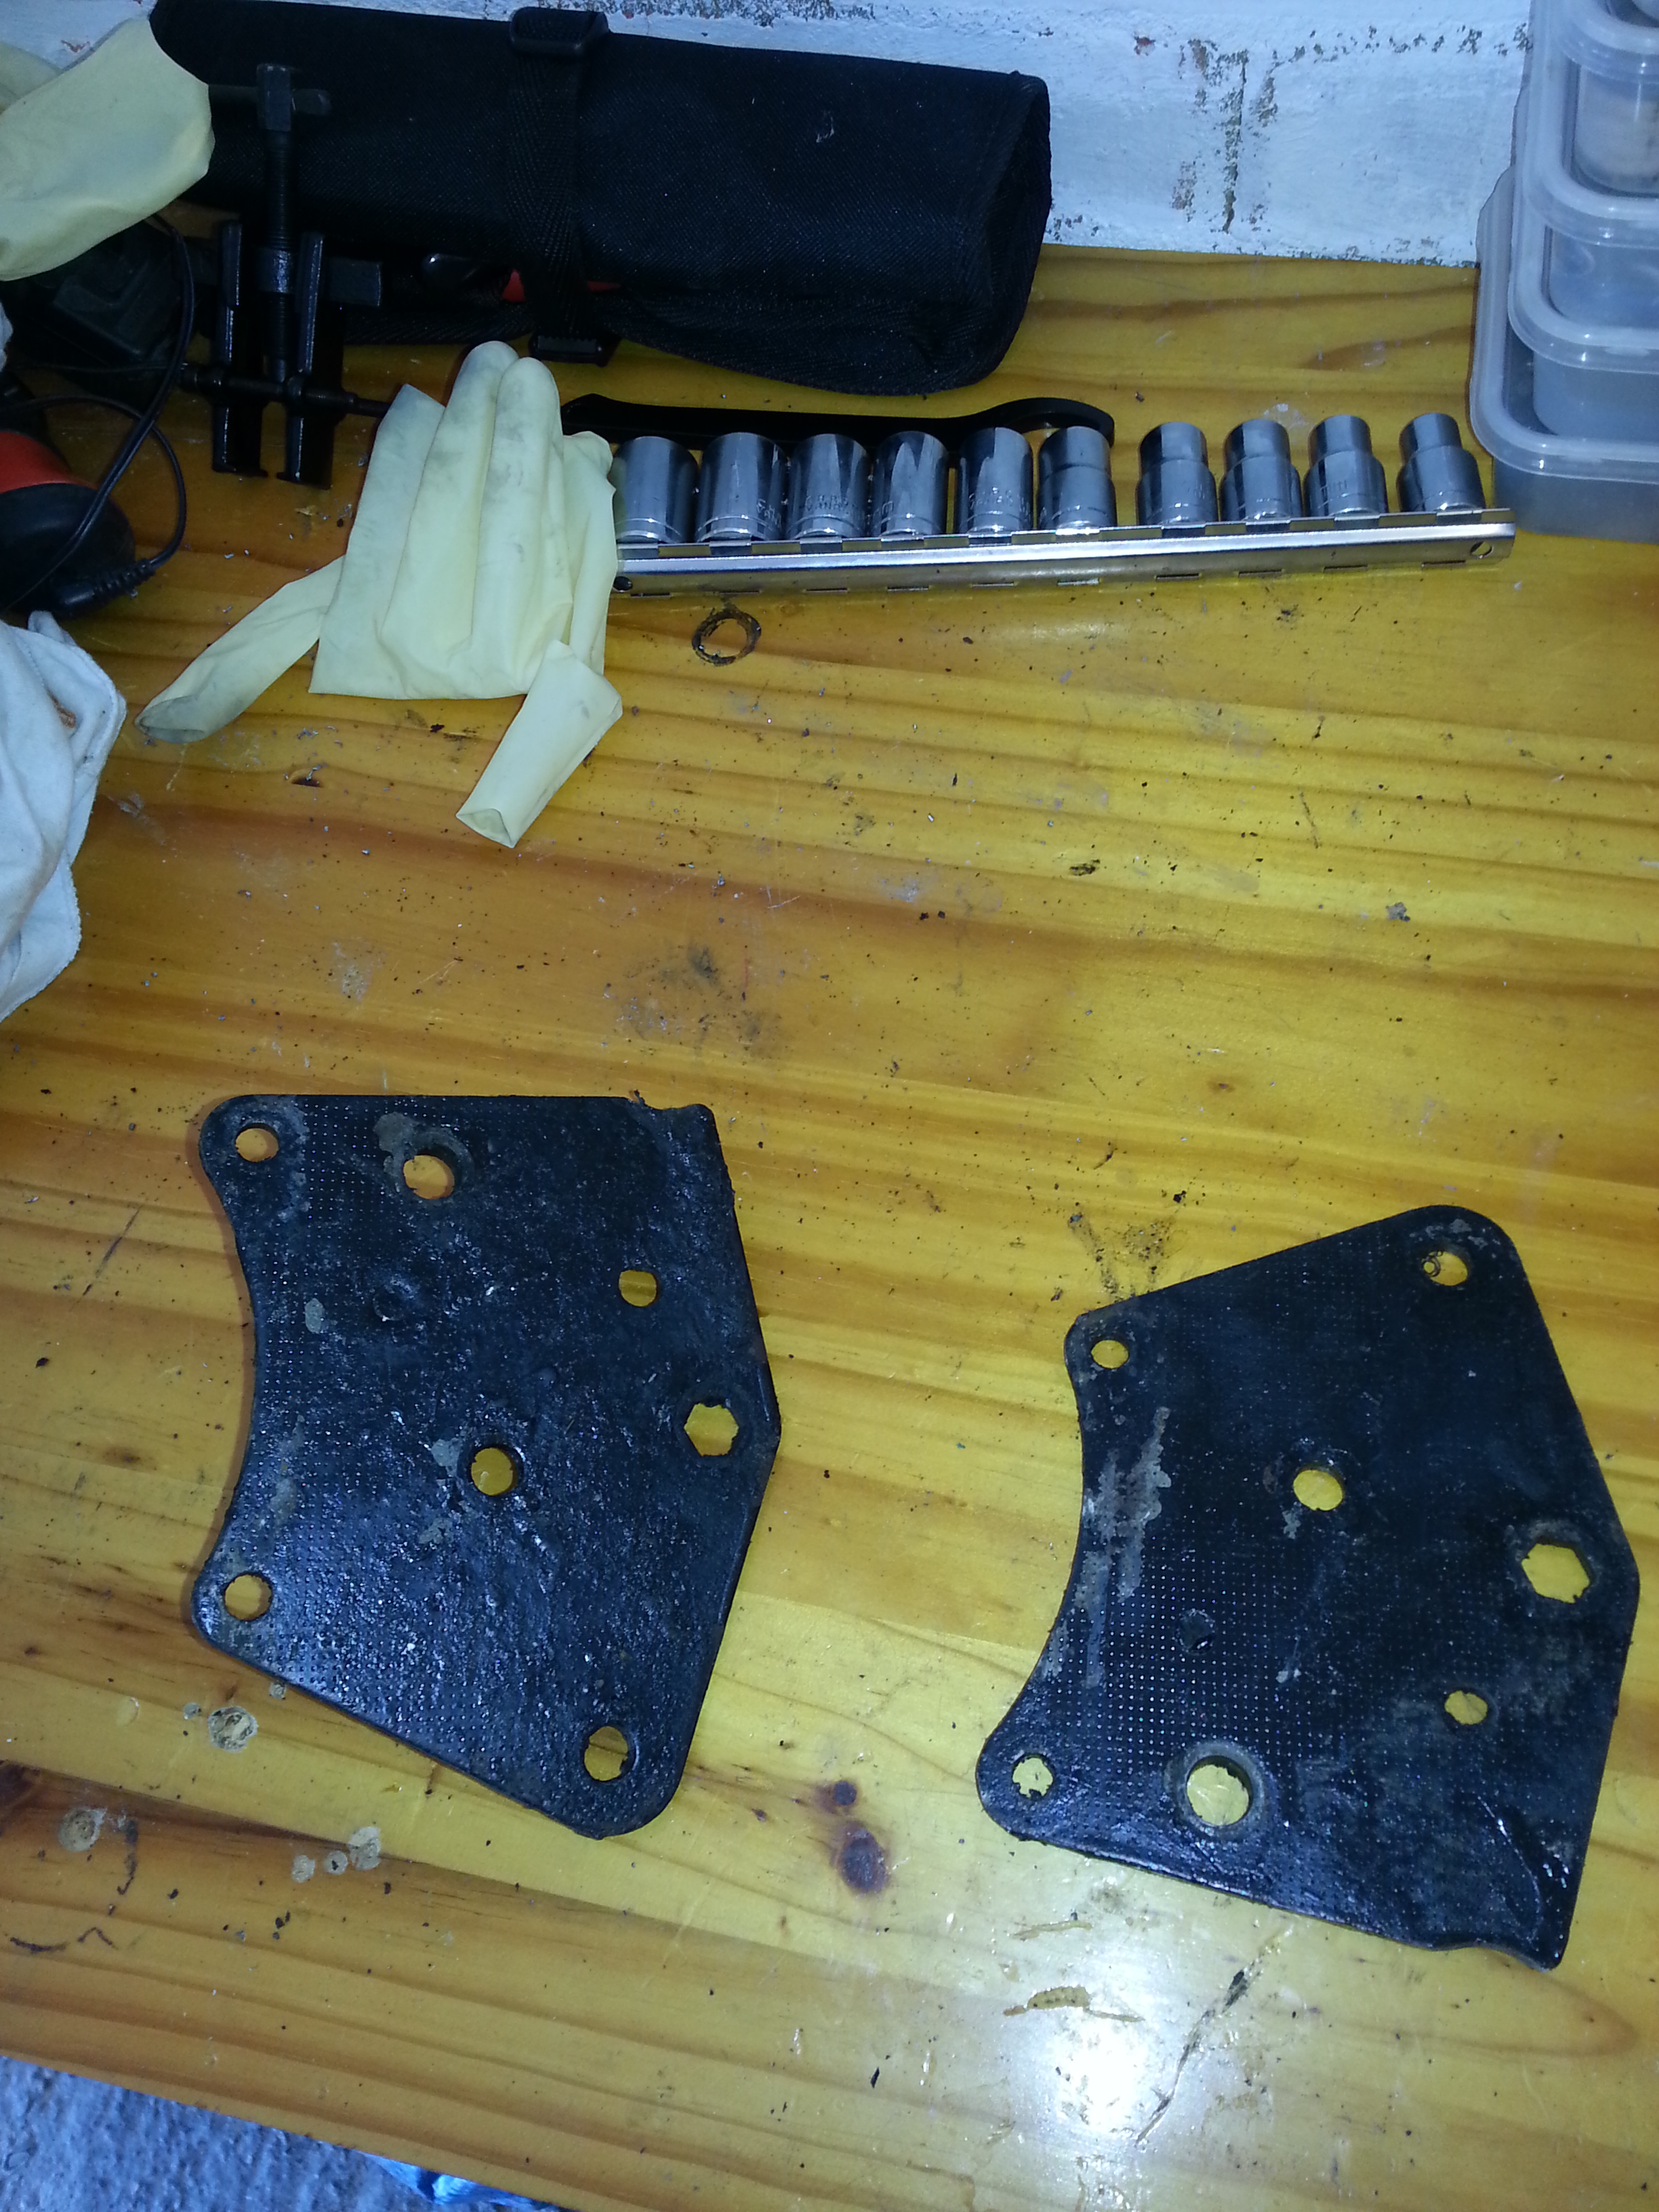
Bodywork attachment plates
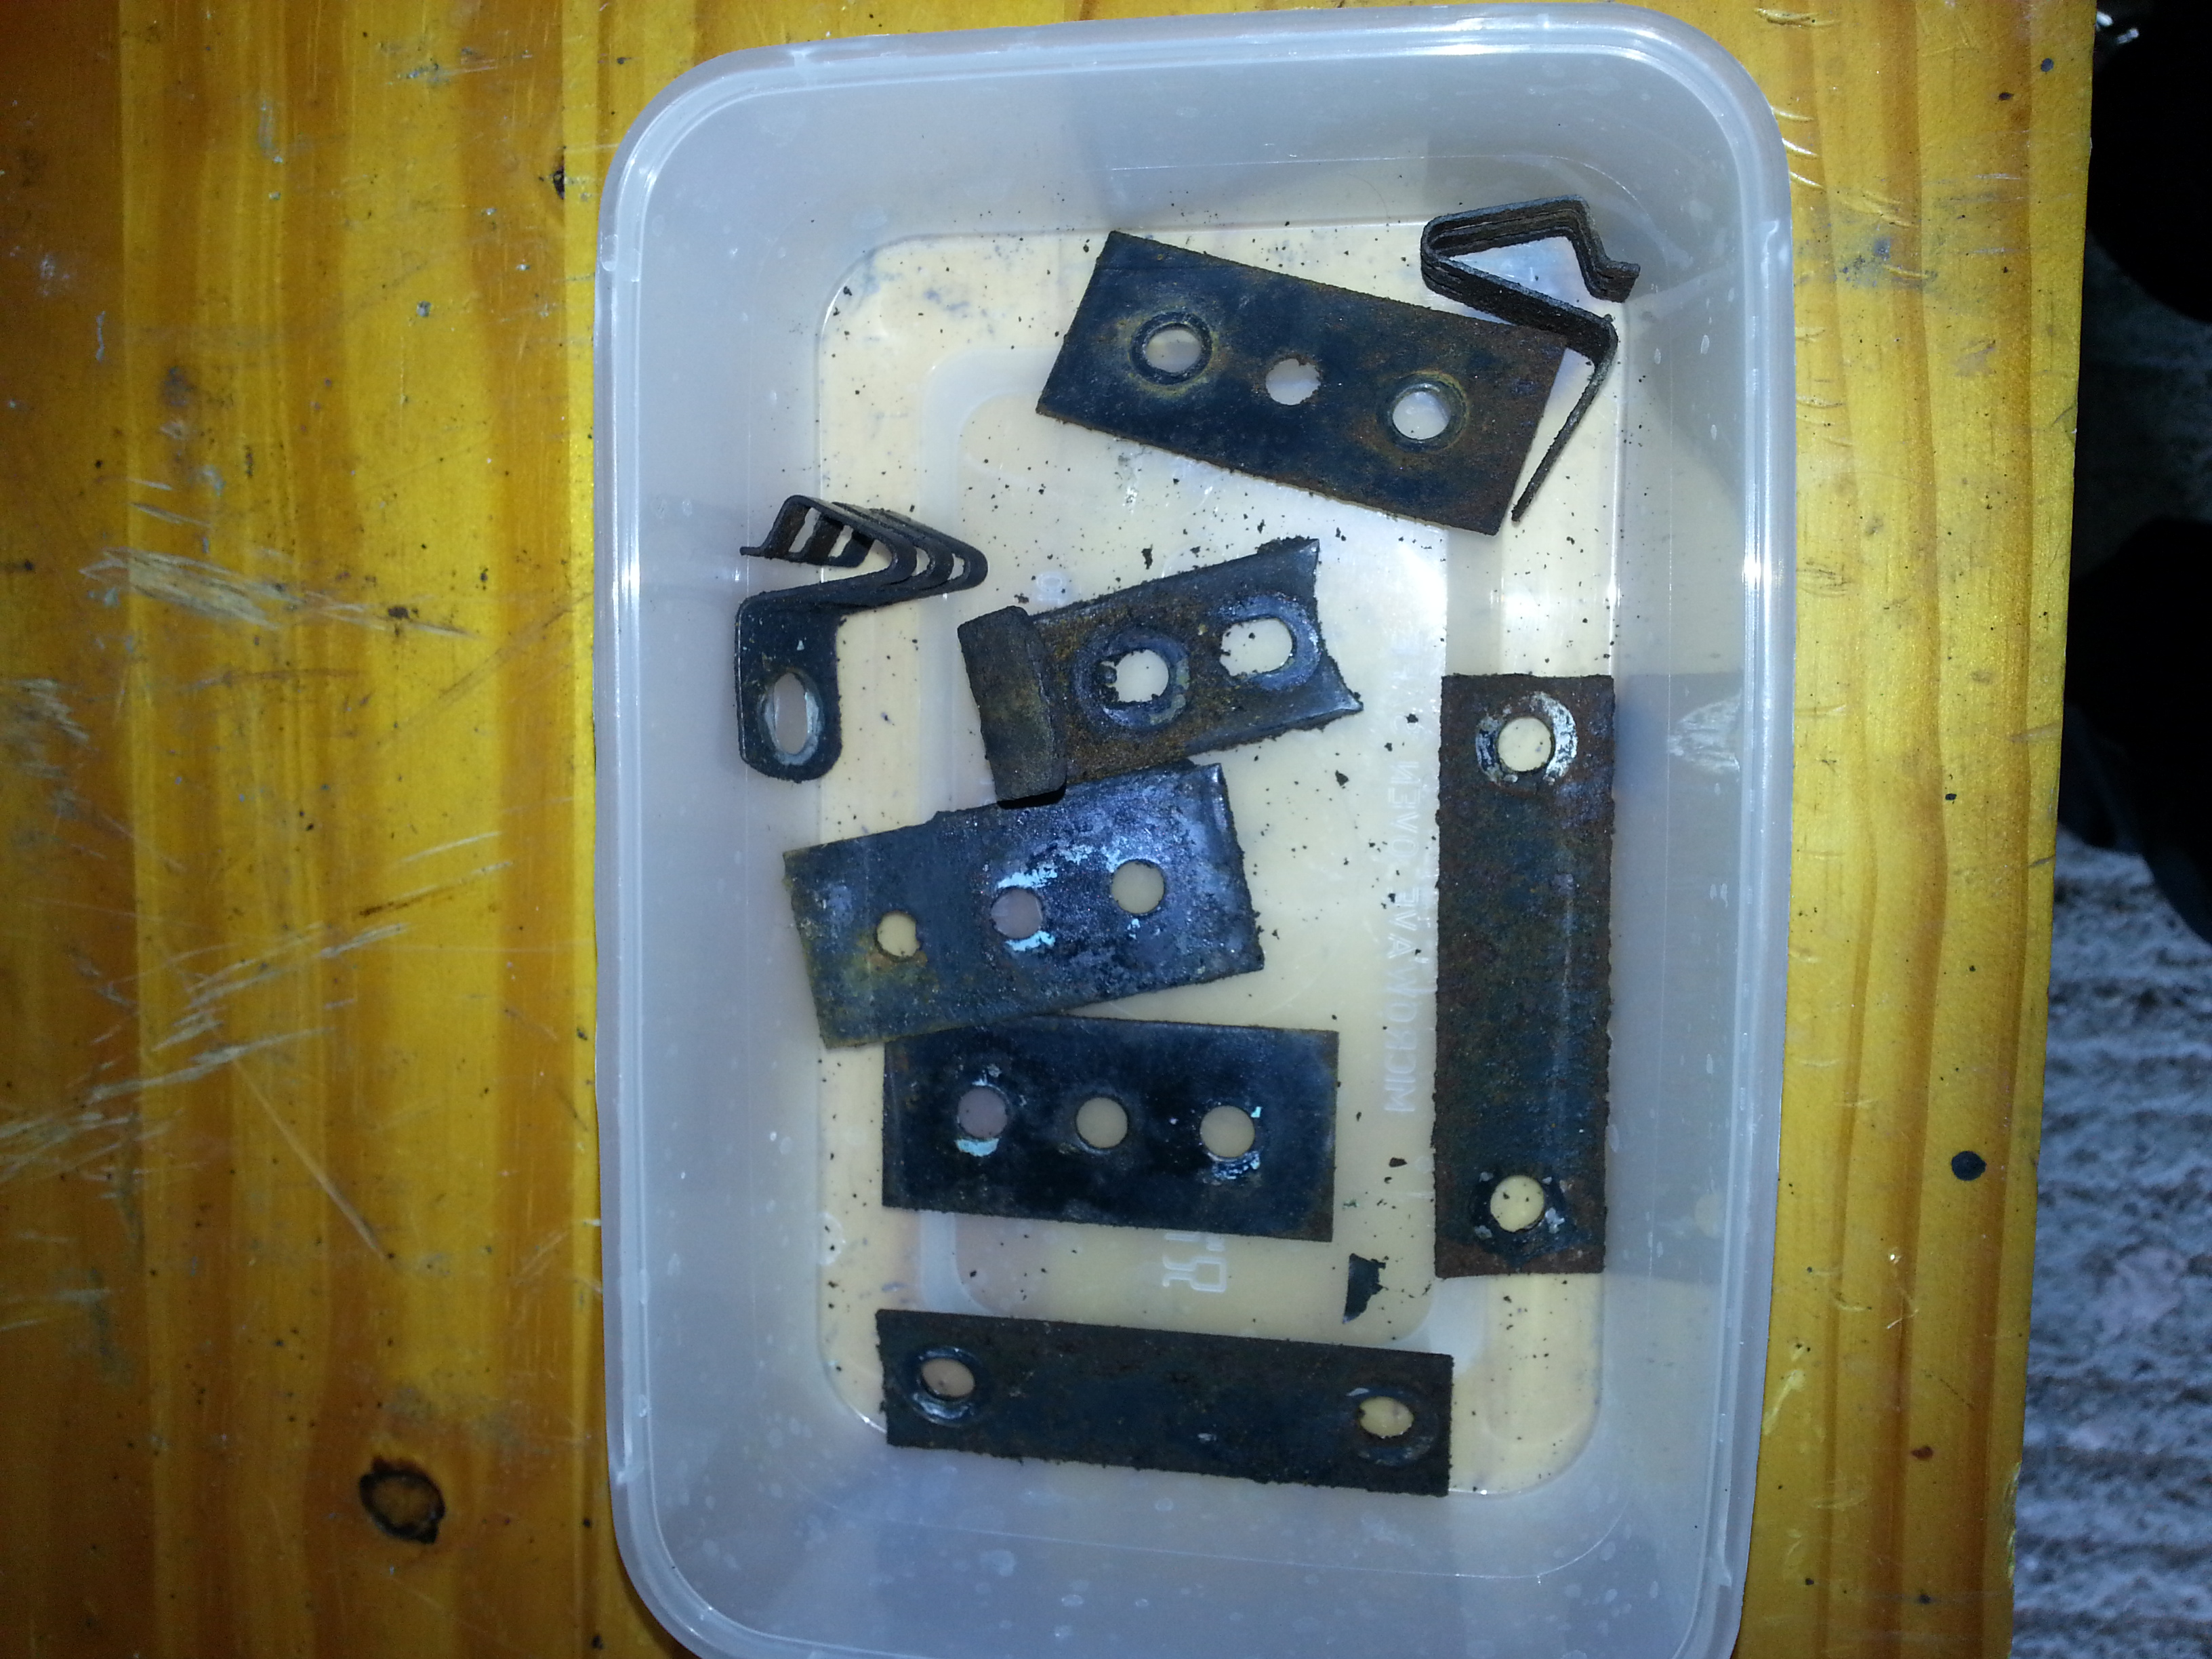
In the box are the various bits that attach the luggage hooks to the body (the long bits with two holes), the inspection hatch hooks that look triangles and keep the hatches in place and the smaller parts that hold the buddy seat in place; so in essence the body work is squeezed between these plates and the part to be attached.
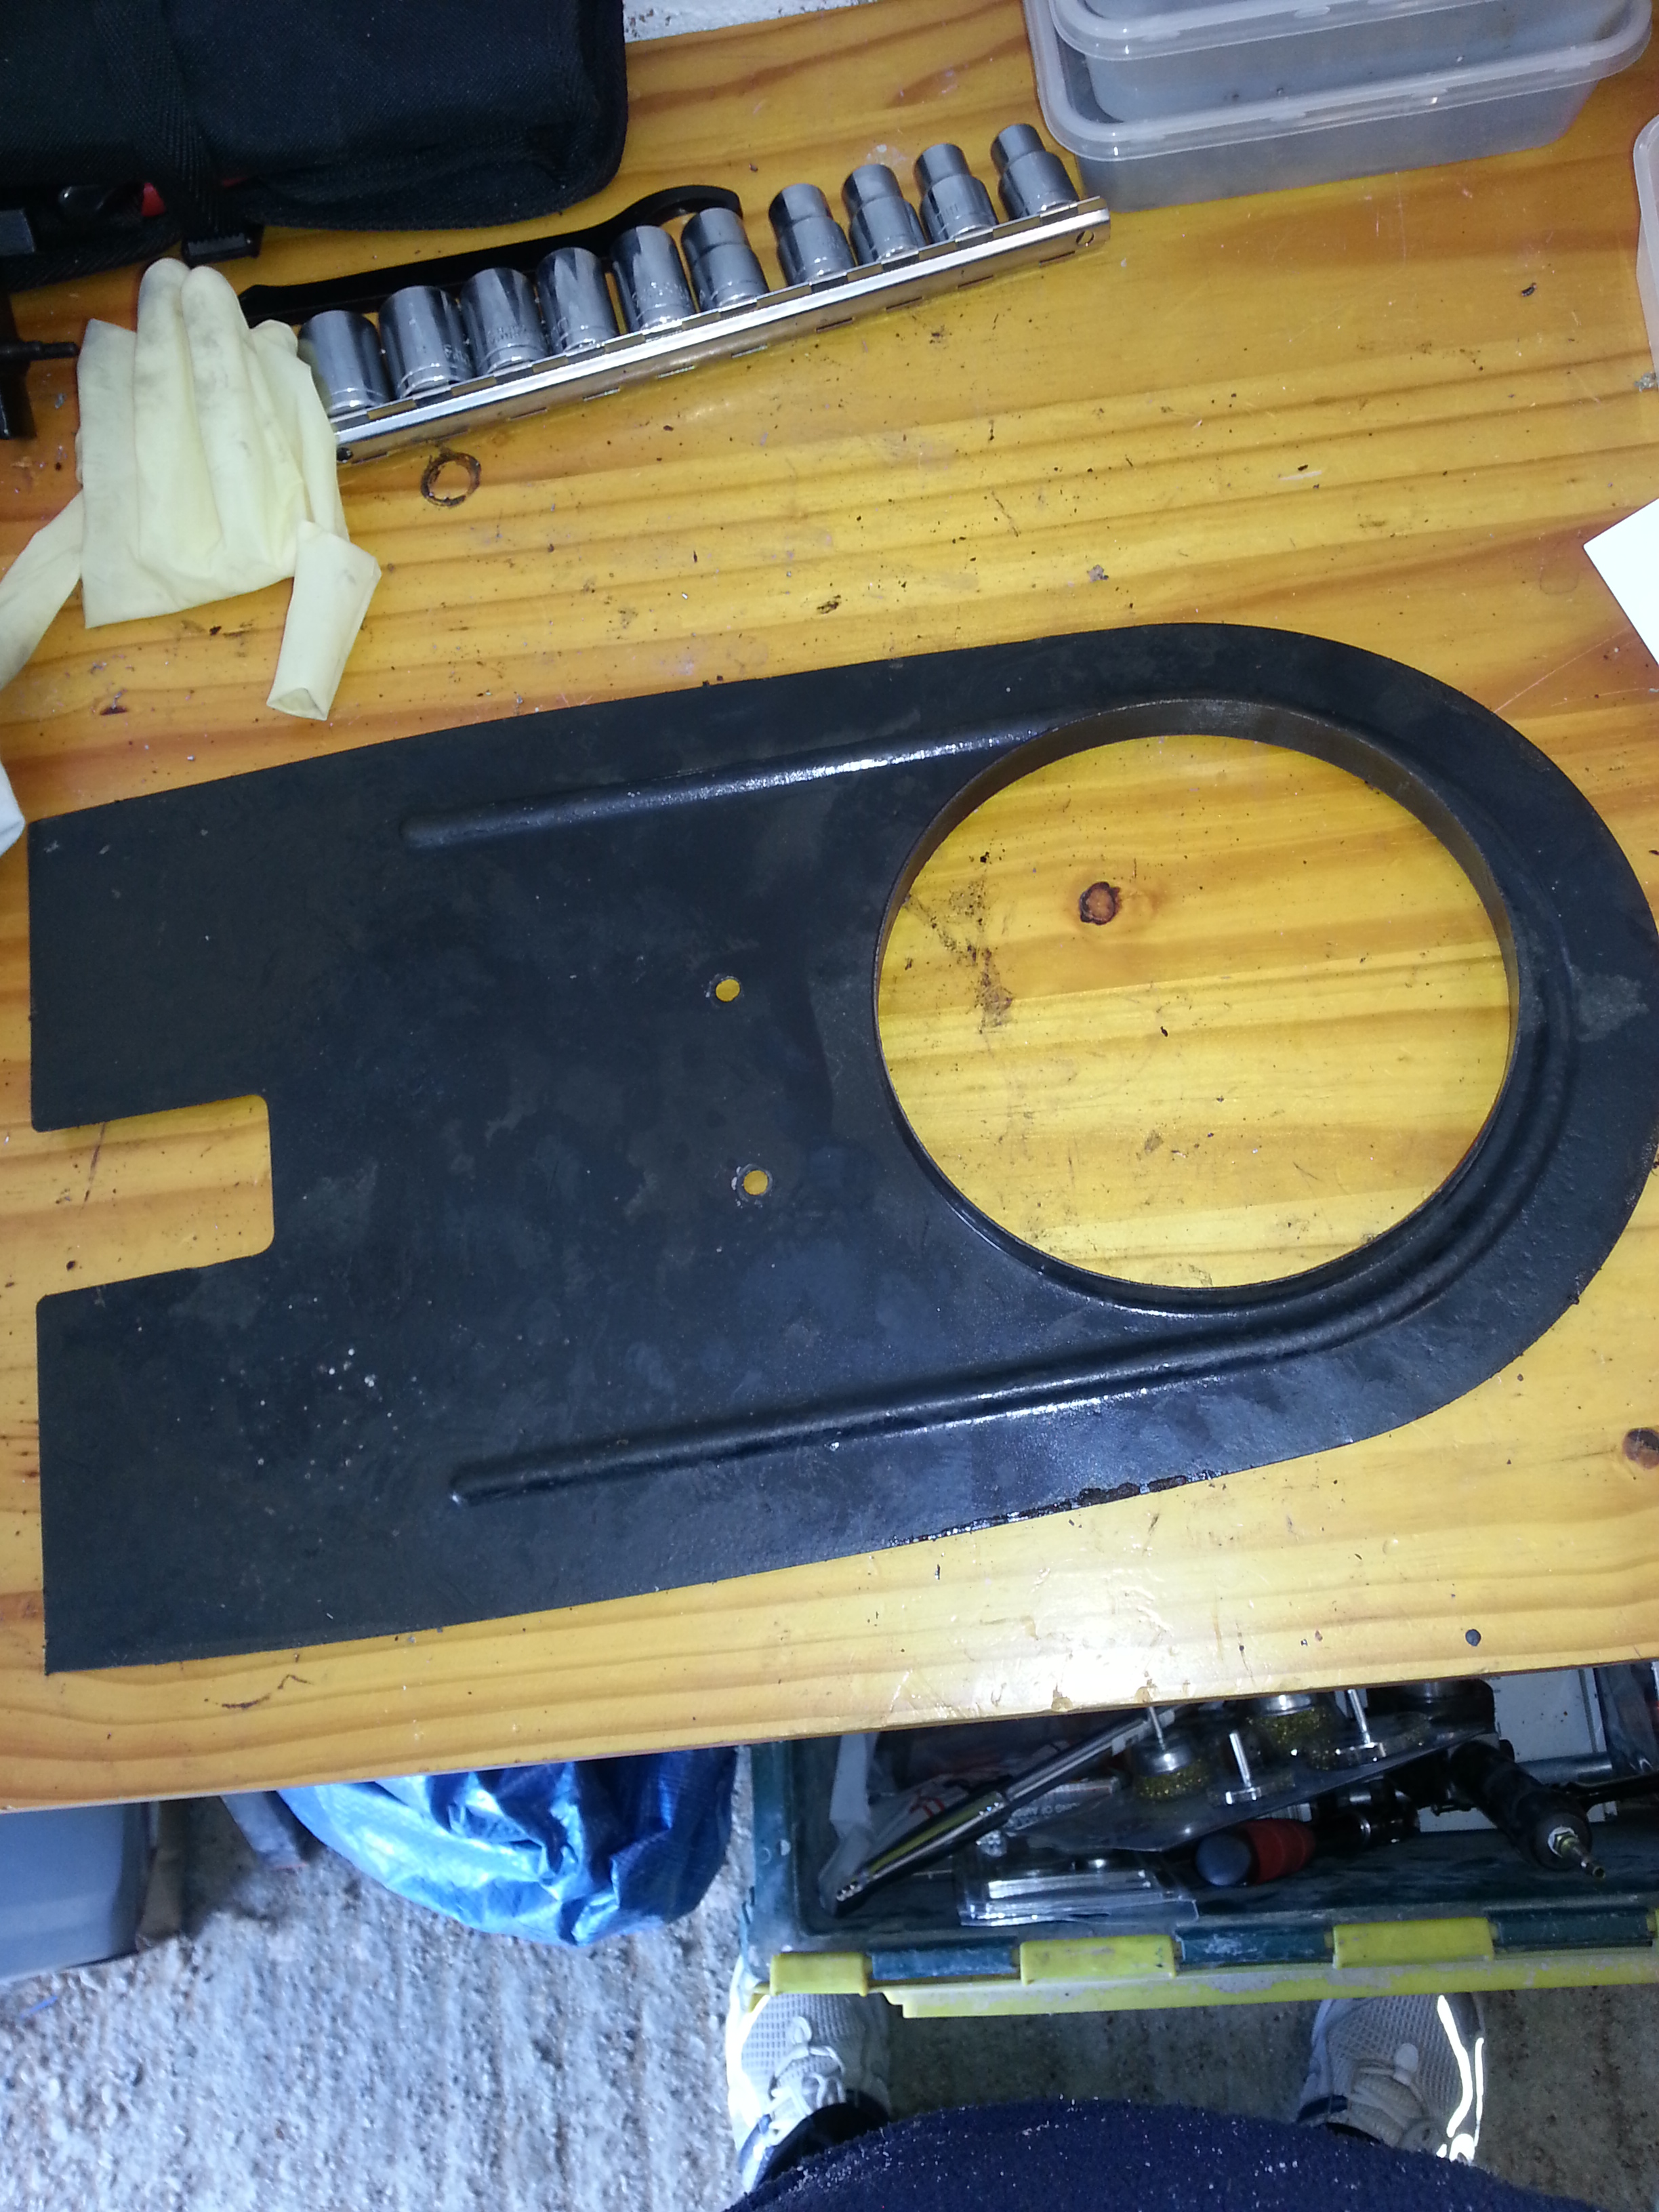
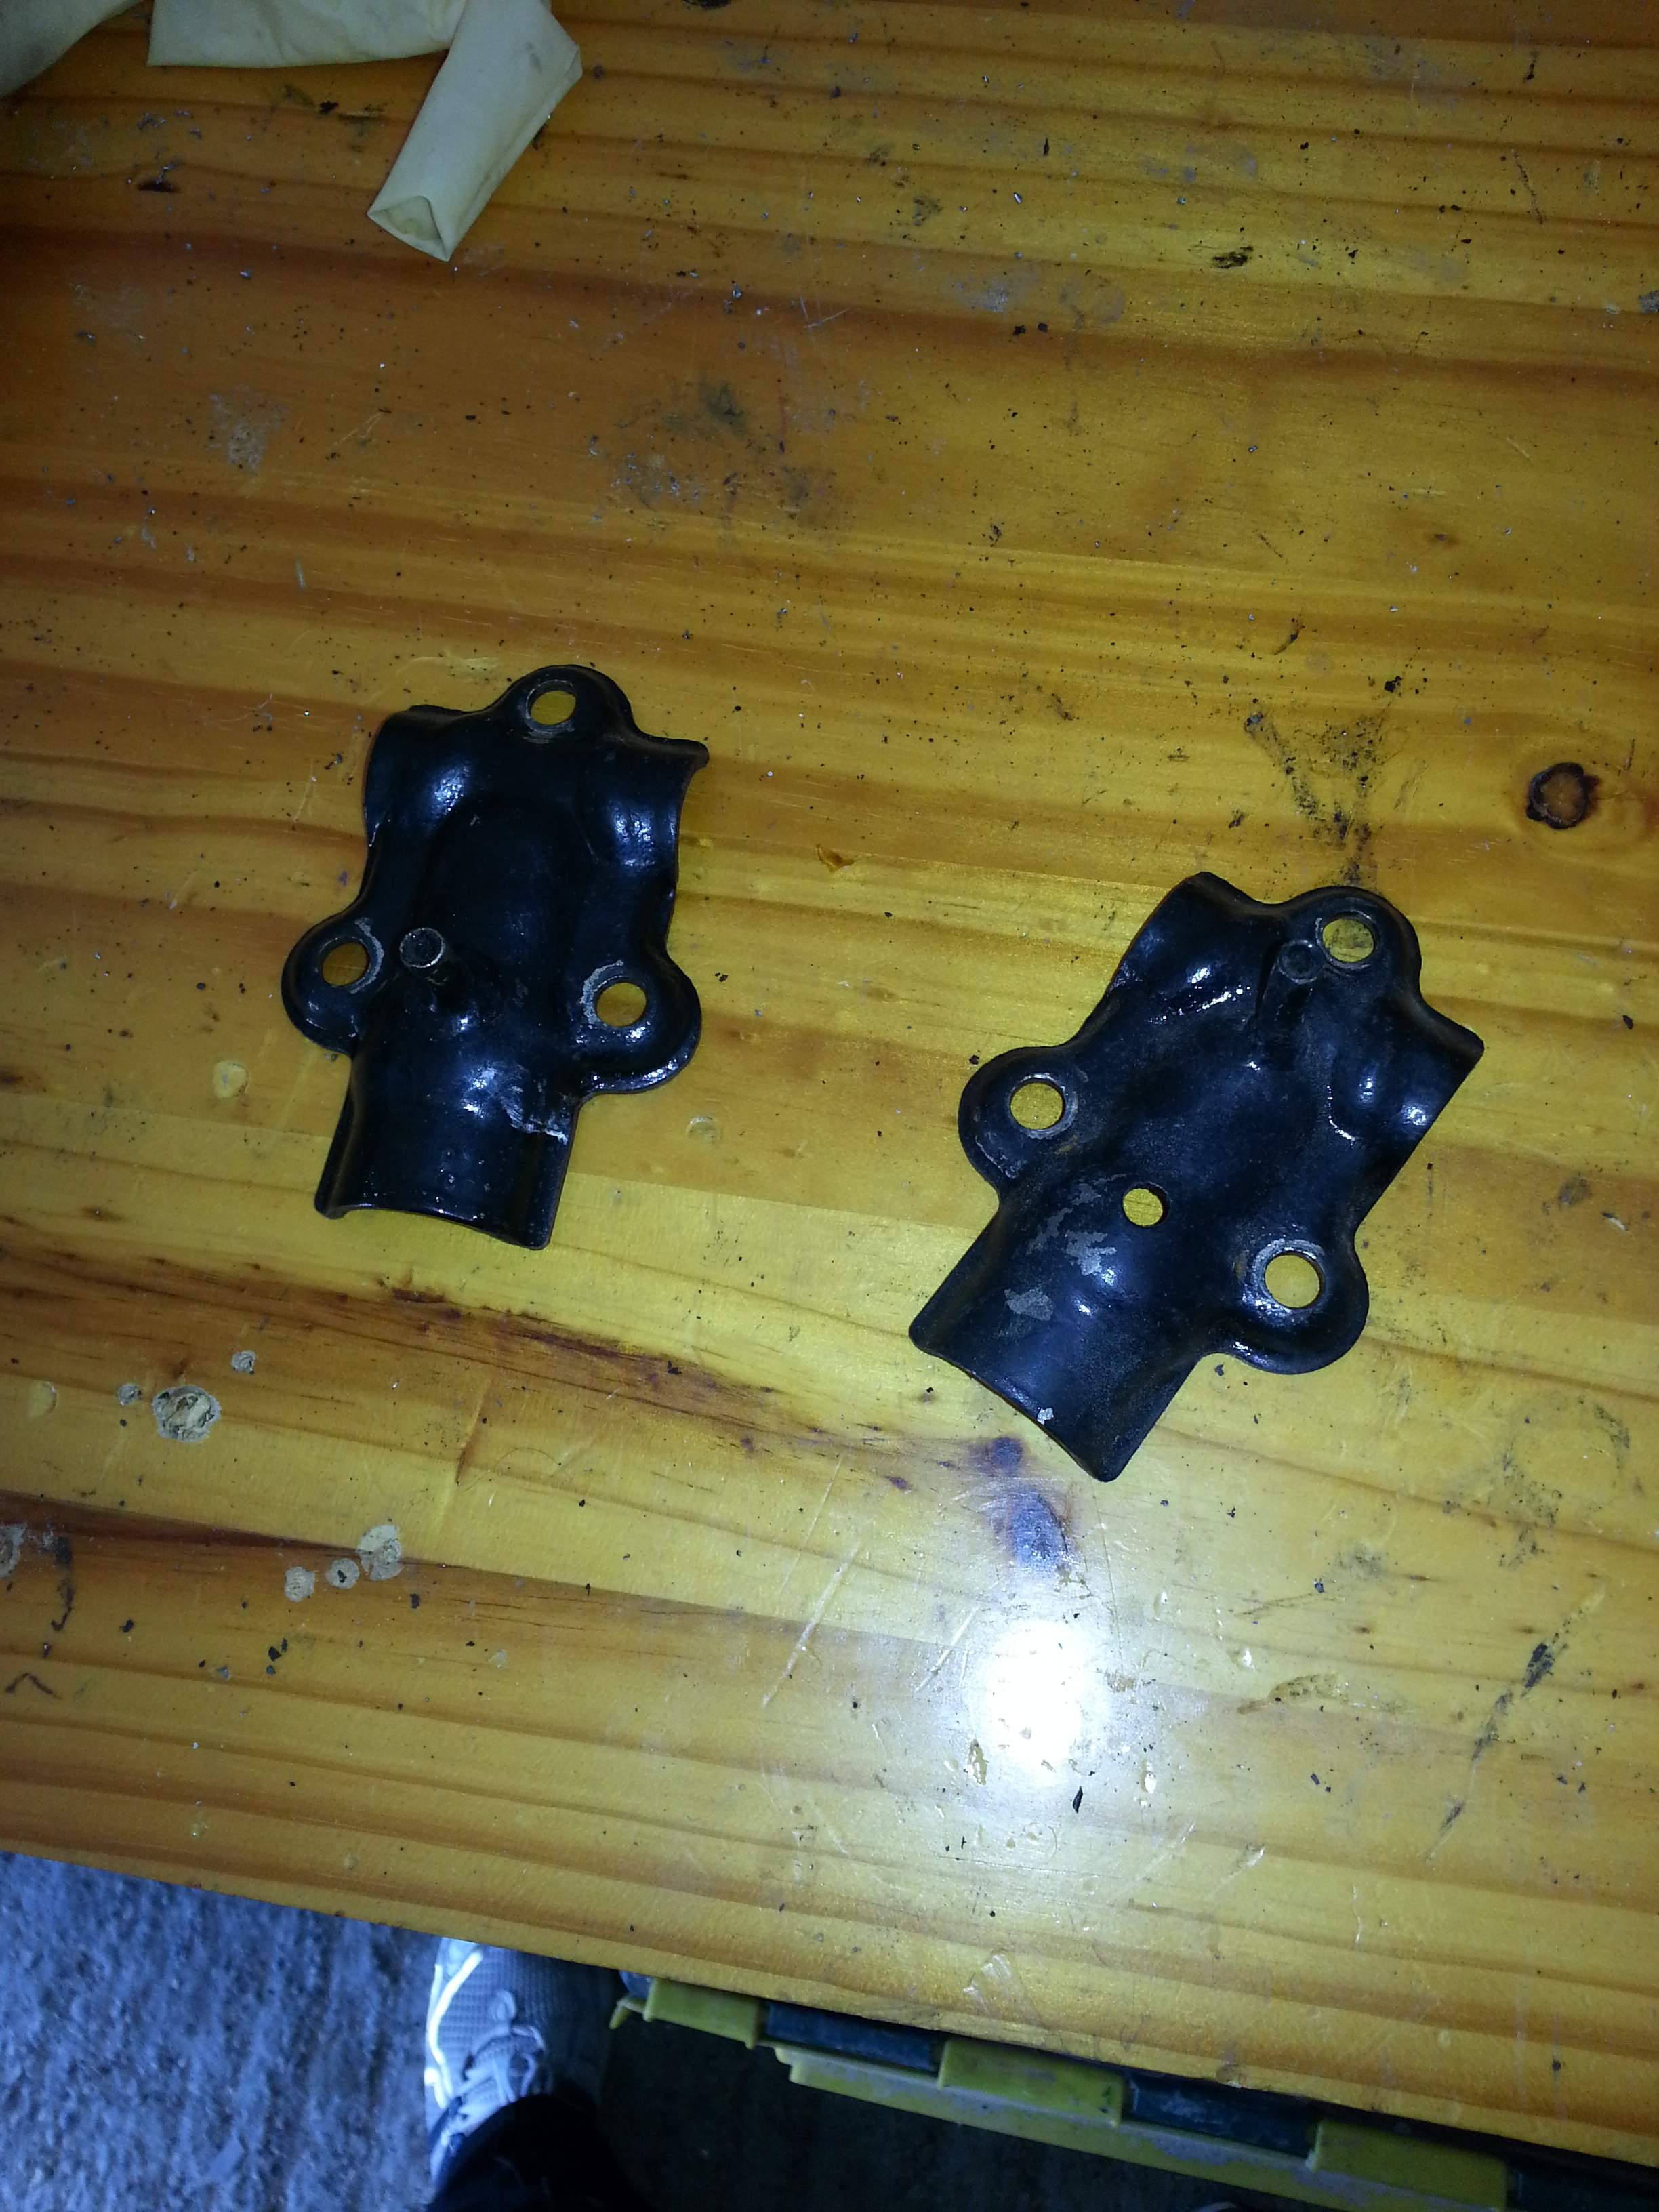
Rear light brackets
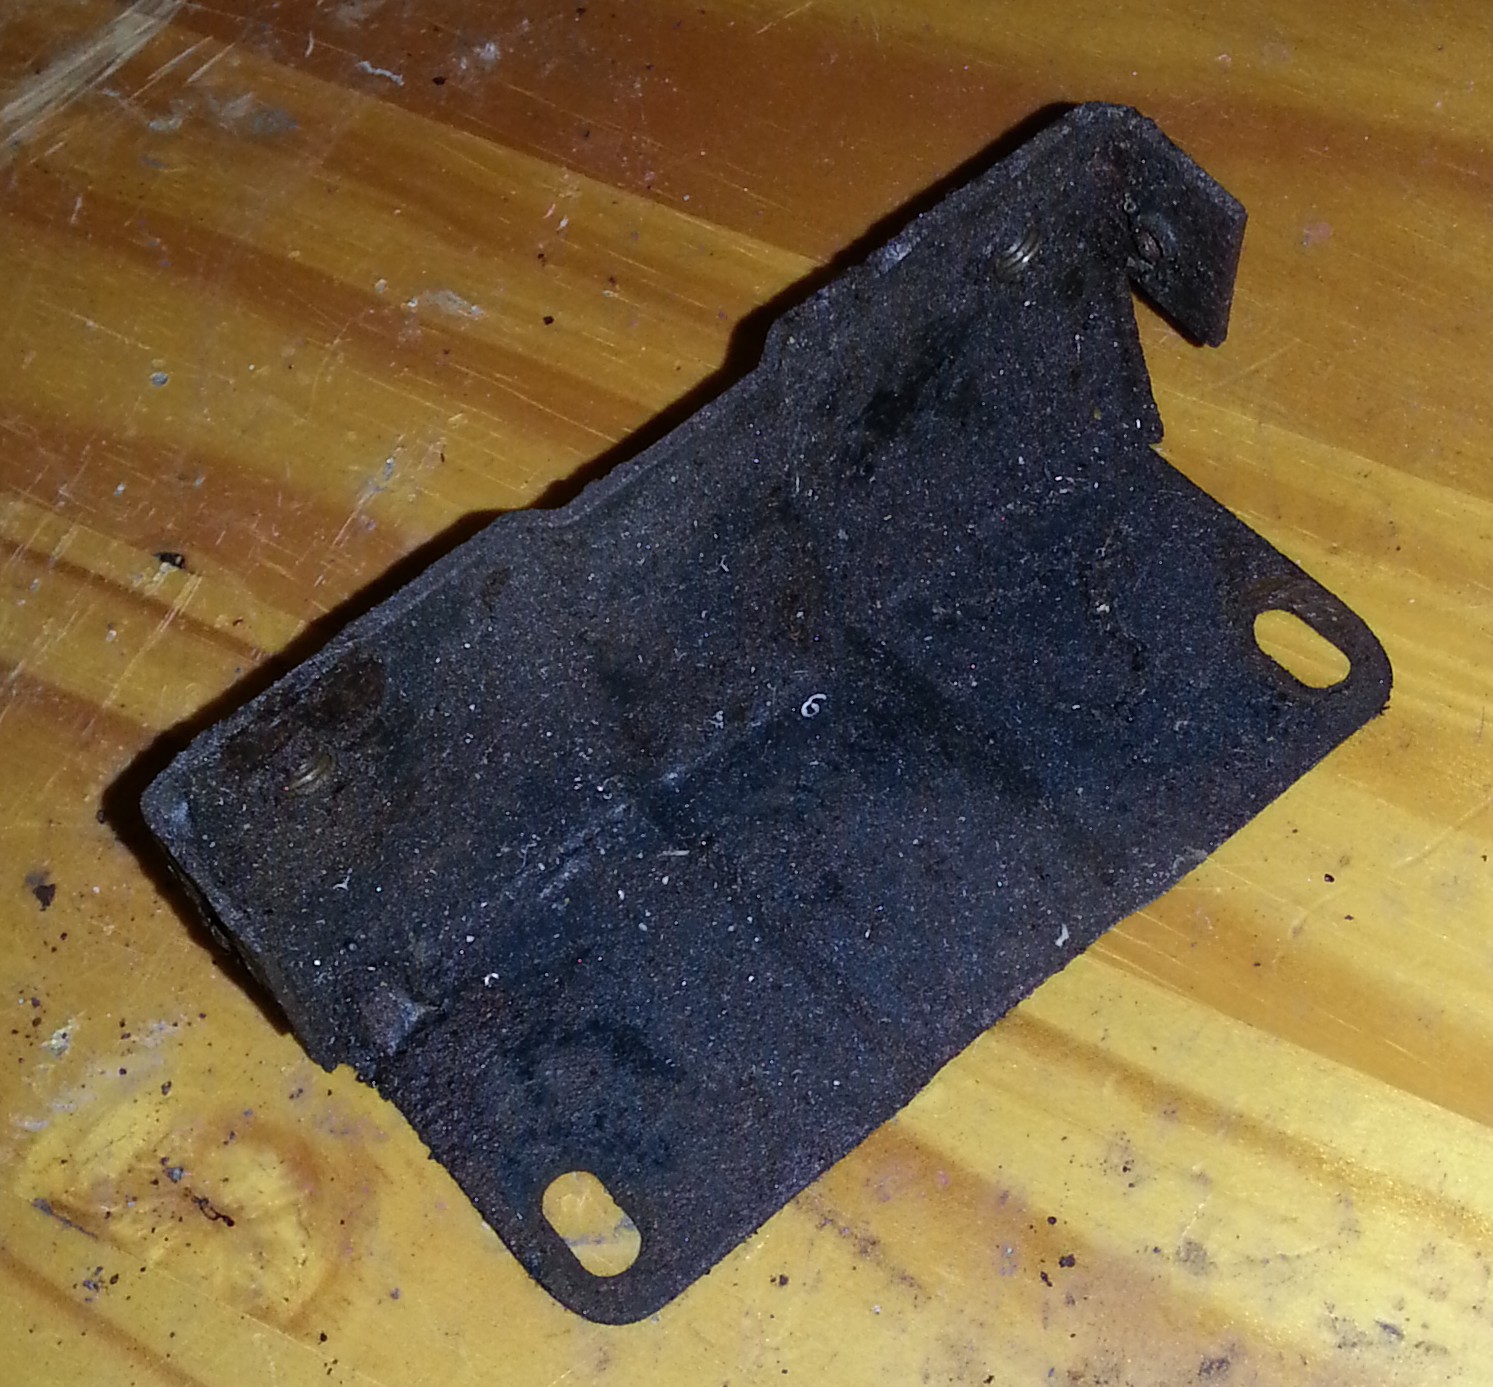
The lower bracket is screwed onto the toolbox through the holes on the upright part. The holes in the part on the table face outward and the rear light plate is connected to this. The tool box door can just close underneath. The top cover goes on top of the bracket. The holes on the photo above align with those on the side strips on the part of the bracket that is vertical to the table.
Regulator cover
Horn connection strips
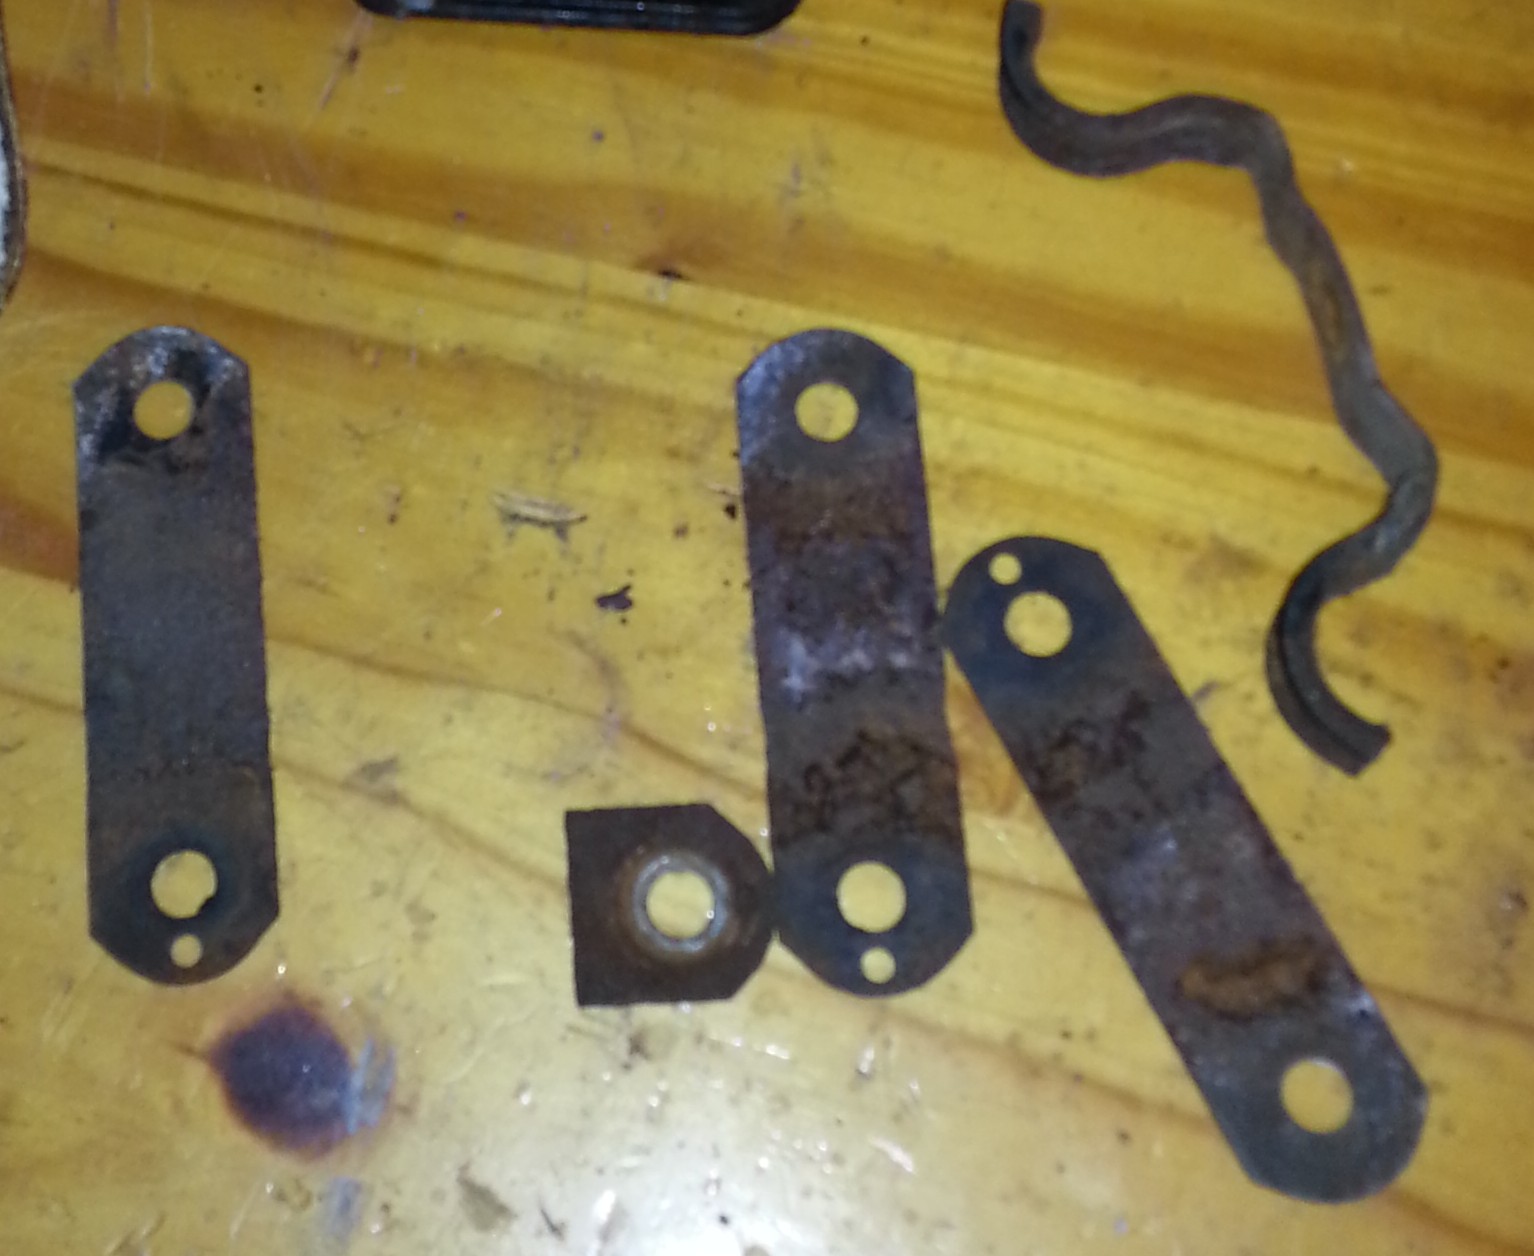
One part appears to have broken off. The remainder strip should be as large as the others.
Luggage hooks
These connect to the body just above the aluminium portholes.
Toolbox
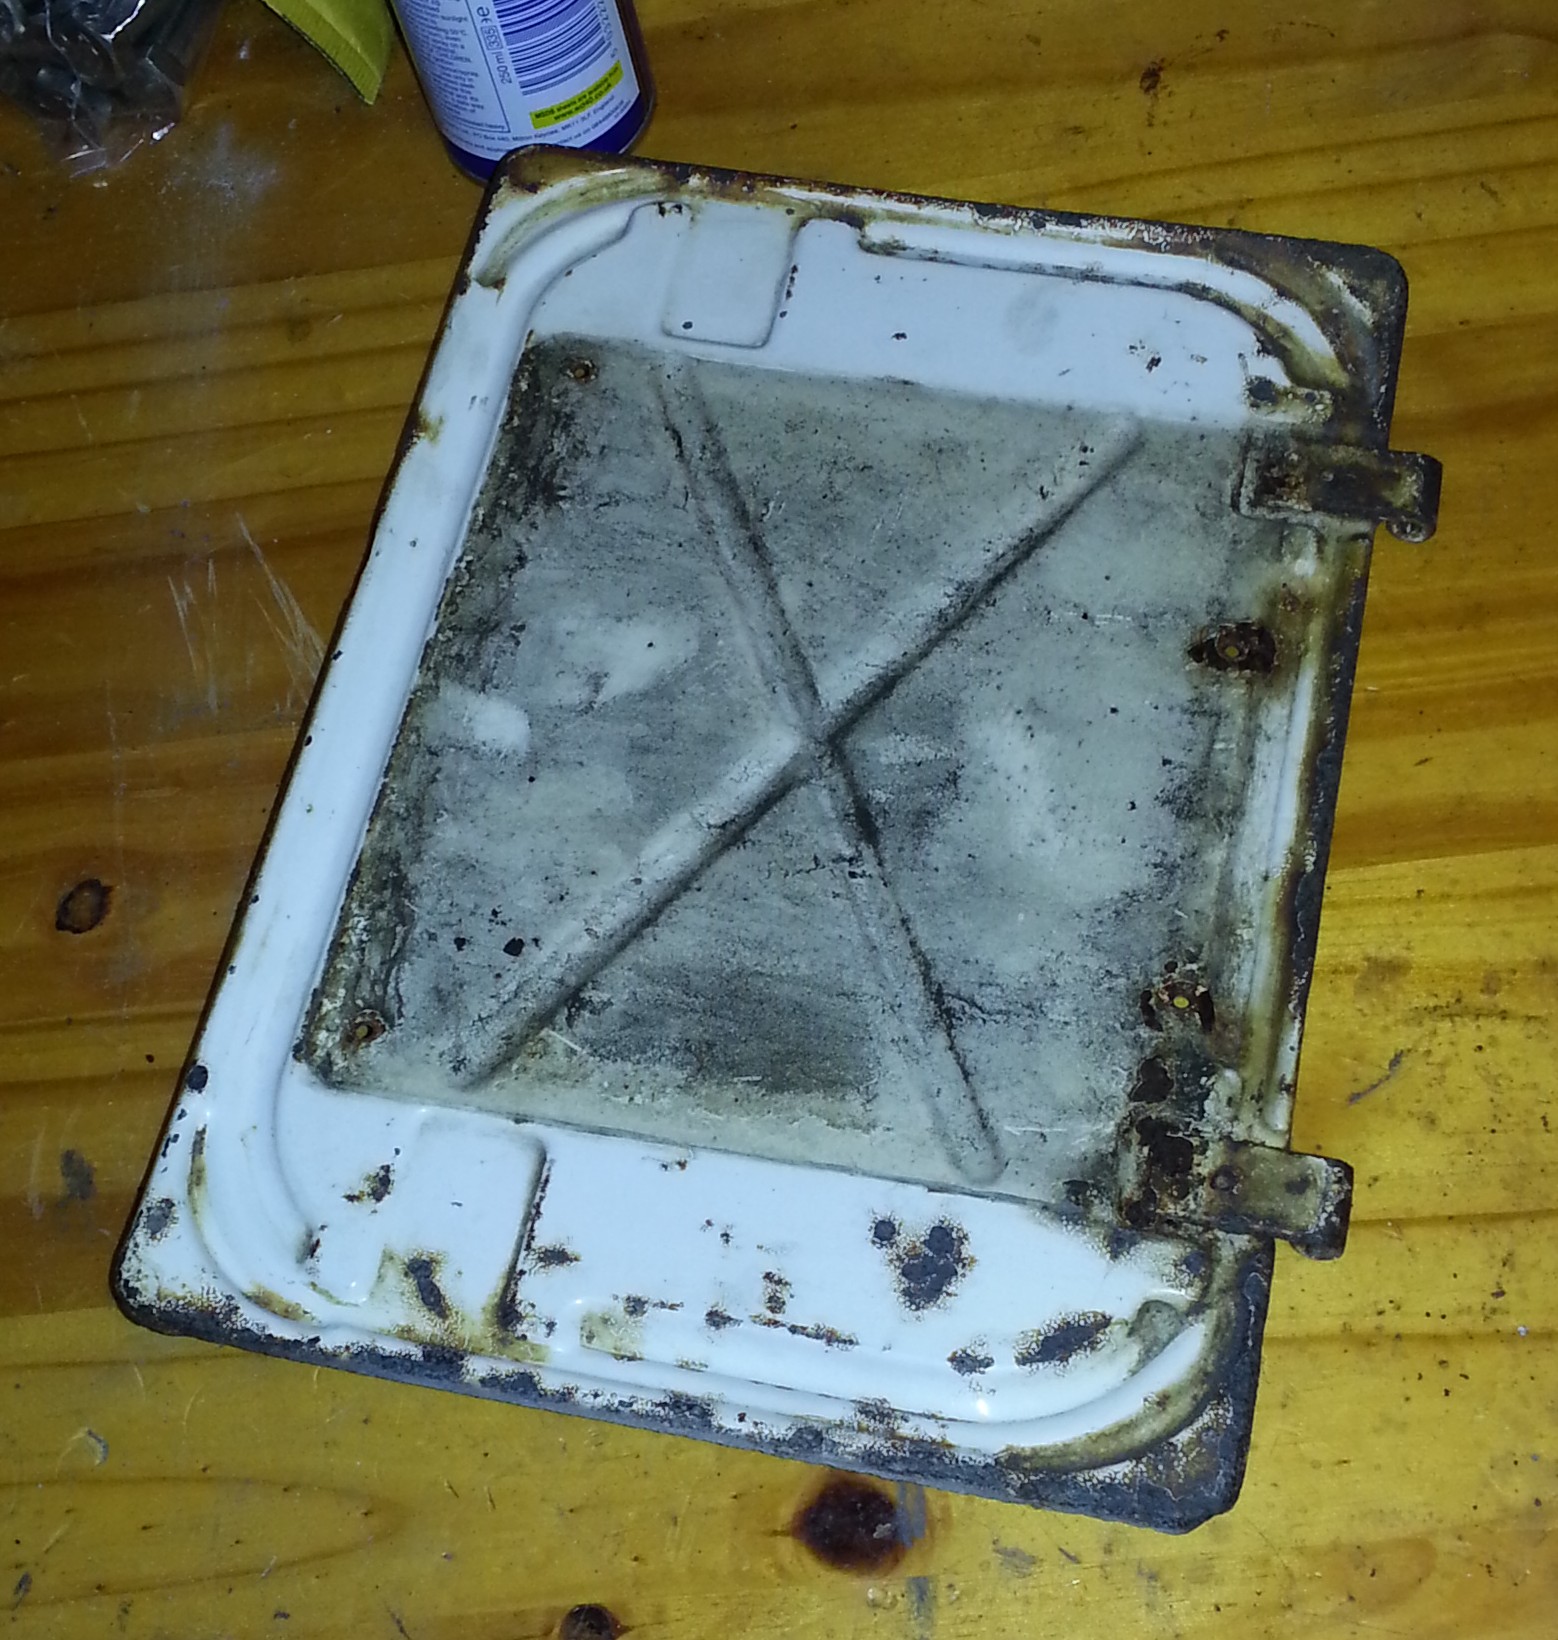
These are the two parts to the toolbox. The bottom part of the box itself is usually quite rusted. Mine has been welded already in the past and will require more work. The returned toolbox after completion of metalwork looks great and will work, but the closure screw doesn’t quite match up to the hole. Something to keep in mind when working on this; keep them aligned.
Inspection hatches
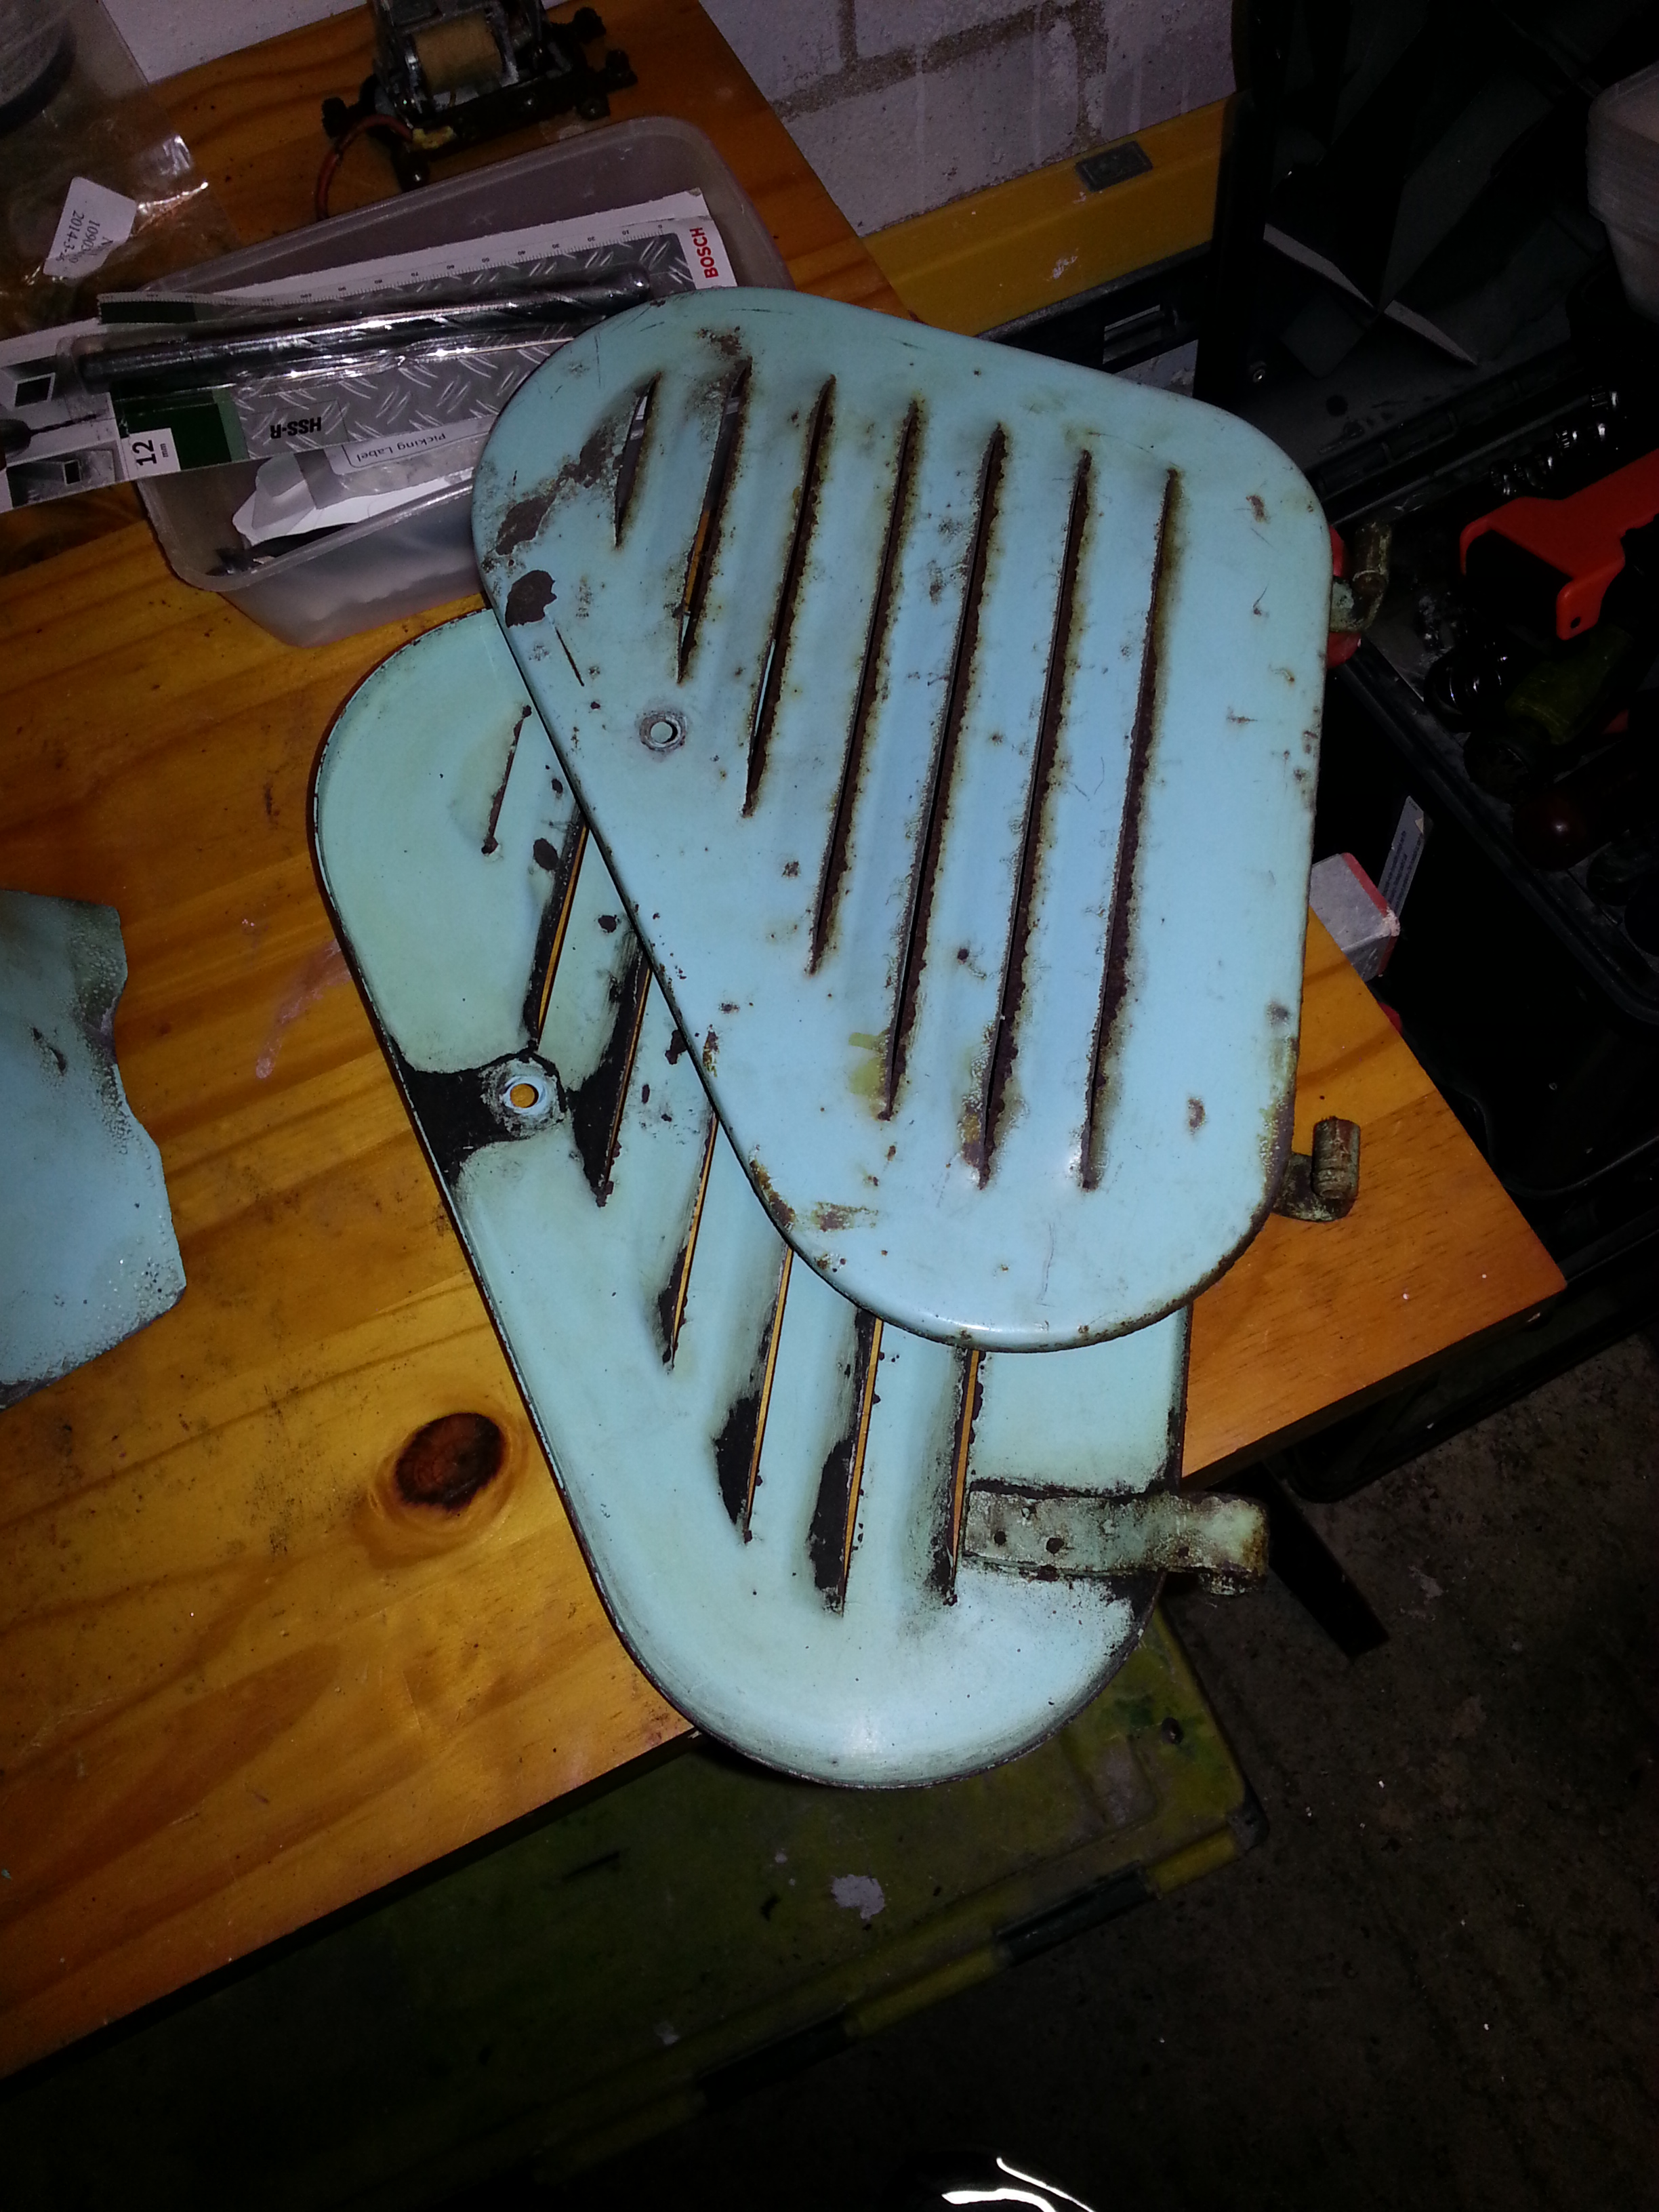
These are the inspection hatches. Main issue with them can be that they’re bent. Ensure they fit before sending them off for painting.
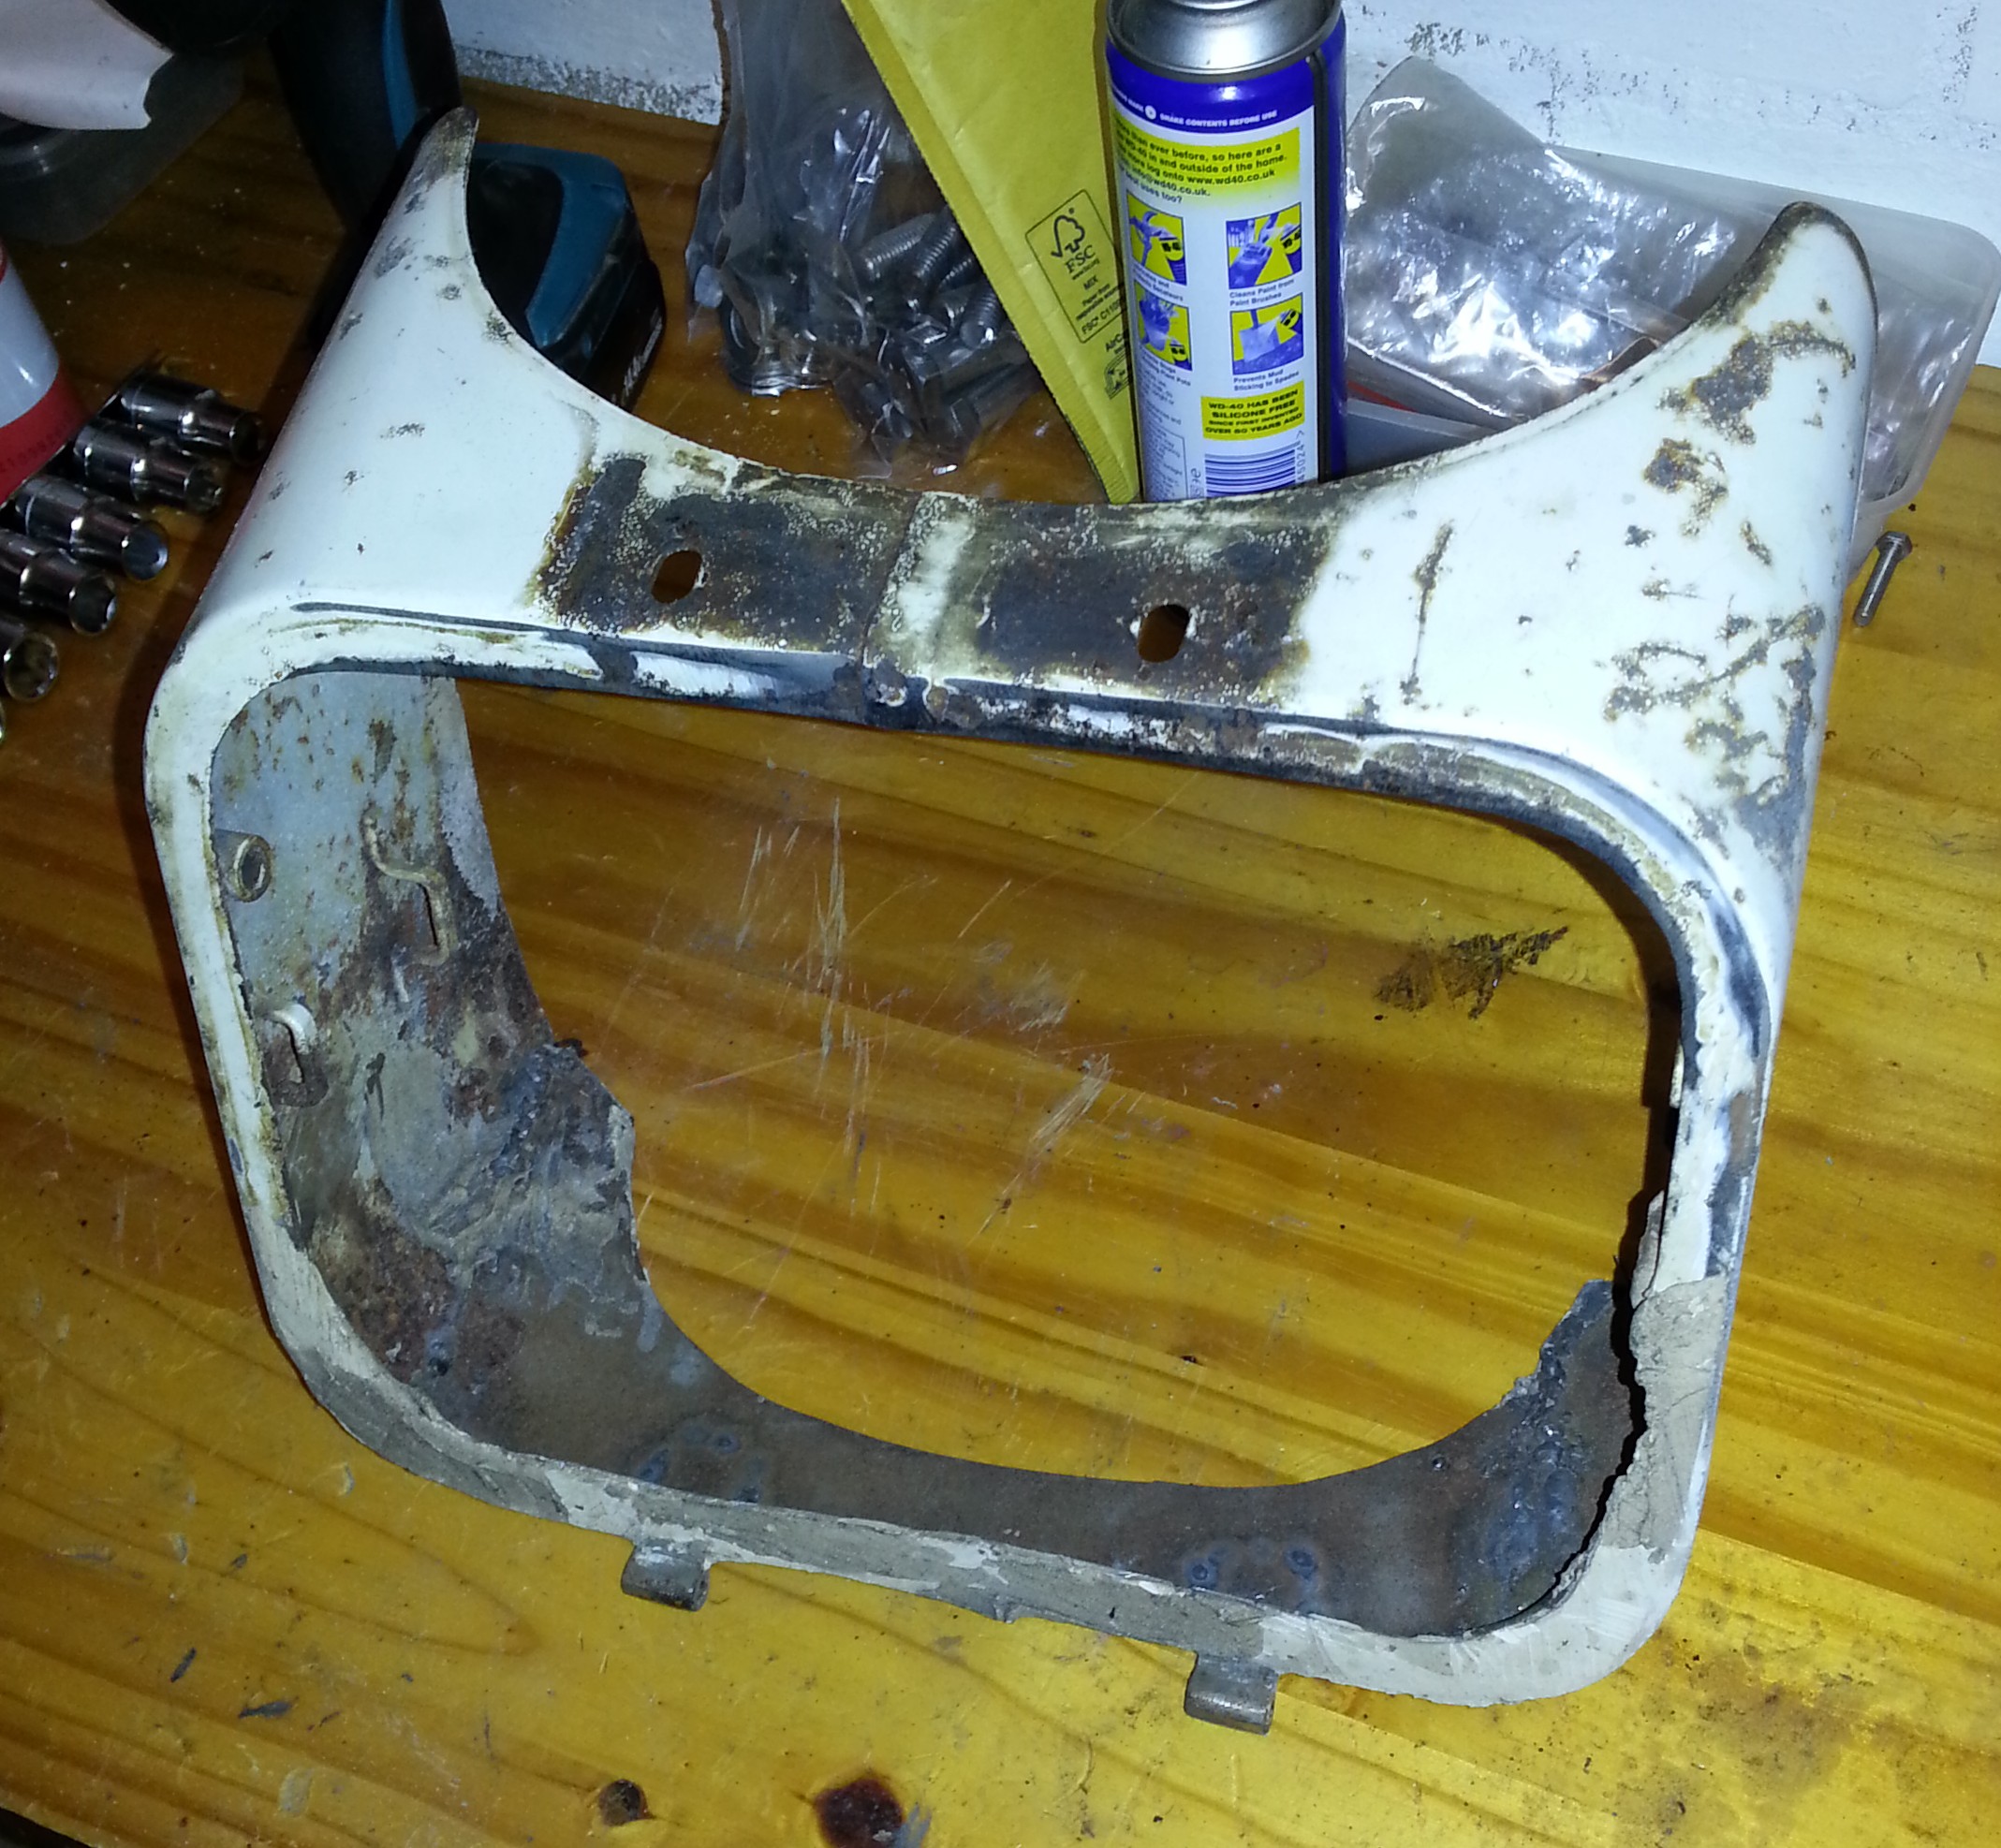
Lamp cover

The lamp cover rim edge is usually the bad part. Being aluminium, welding is hard, so fingers crossed it is of sufficient quality to be re-fitted. The obvious problem is that the lamp rim won’t be able to screwed down if the rim is gone too far.
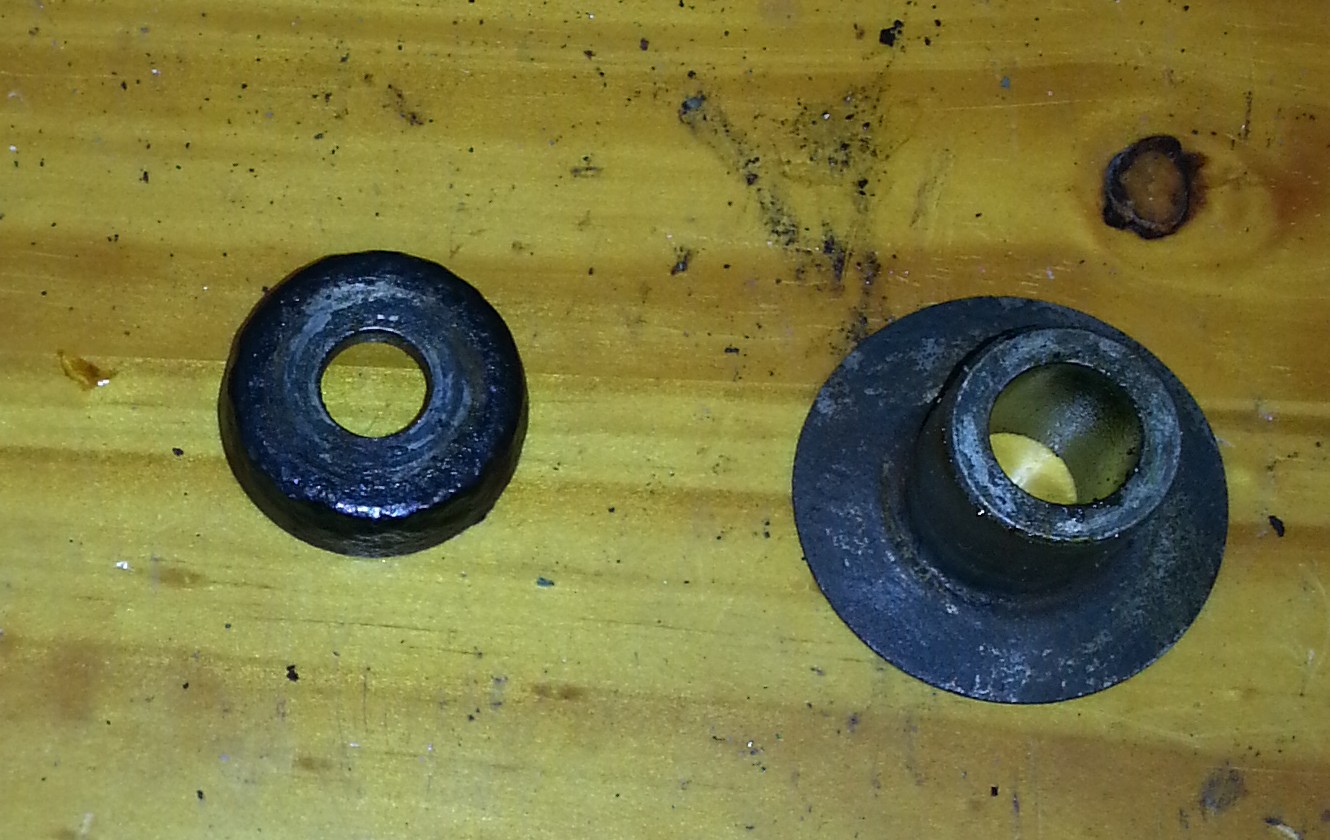
Rear axle bushings
These bushings are bespoke to the rear axle.
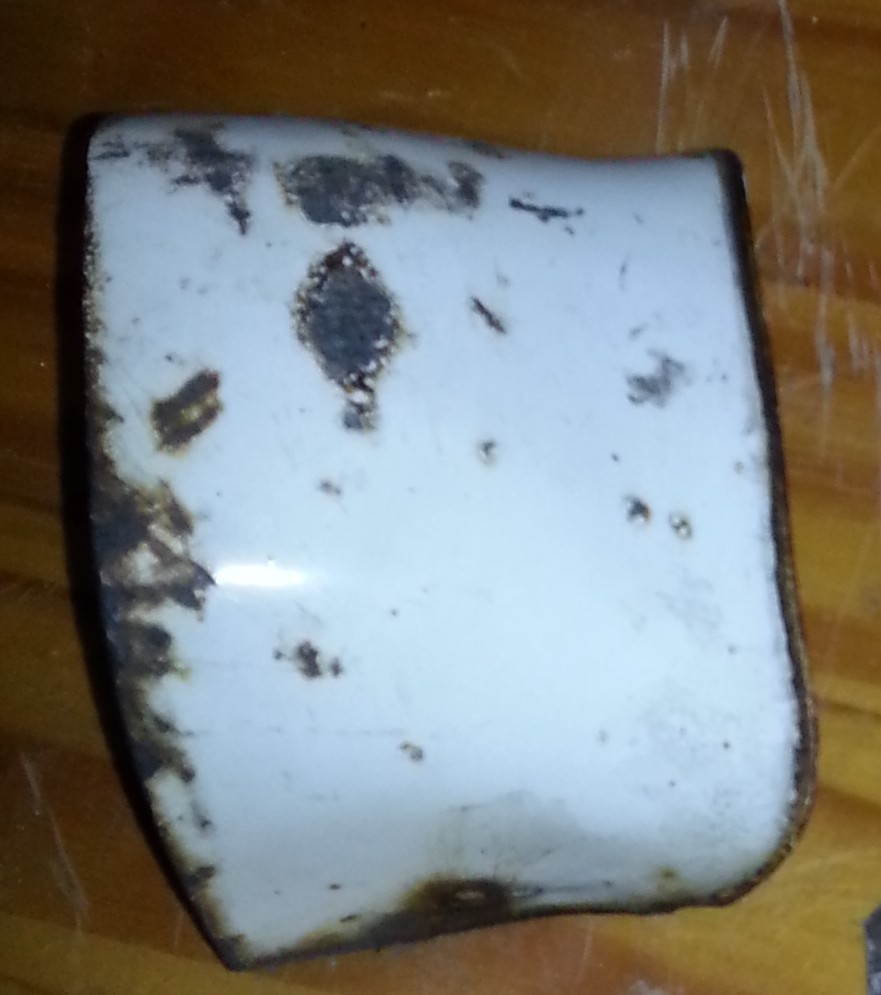
Brake light mounting place
Front and rear wheel hub brake levers
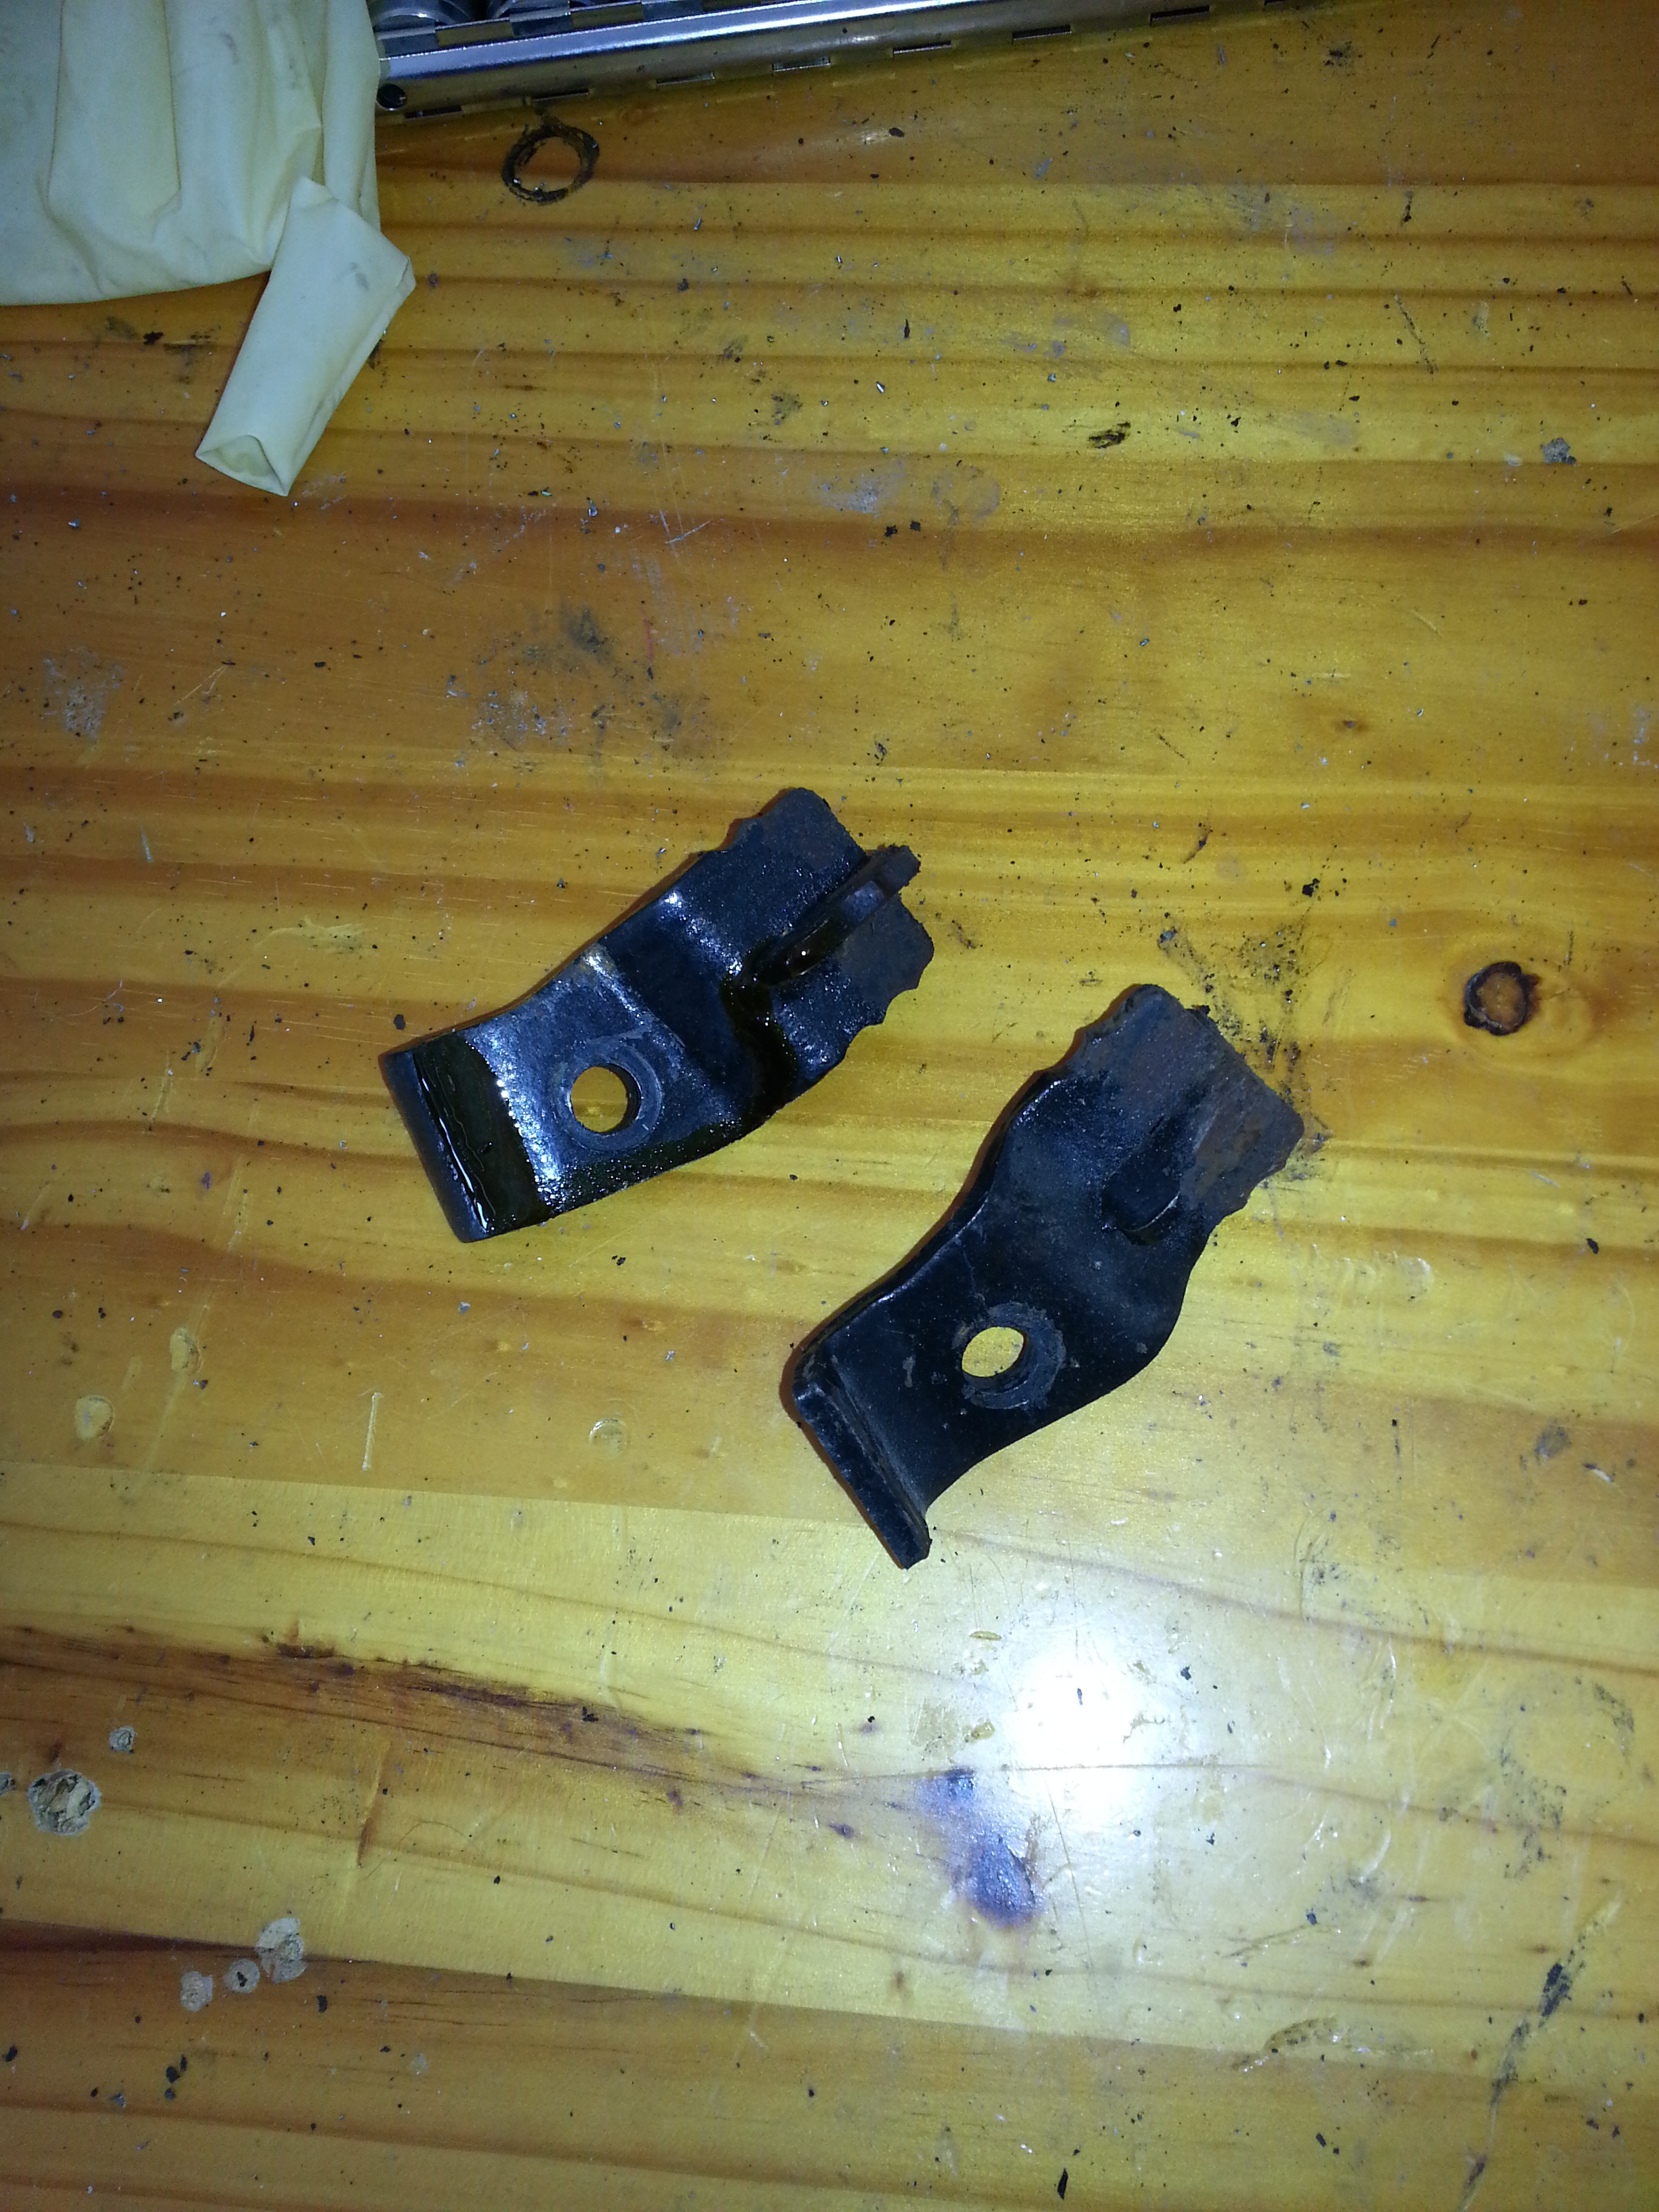
Foot board connection brackets

There are four connection brackets (the fourth is part of the exhaust).
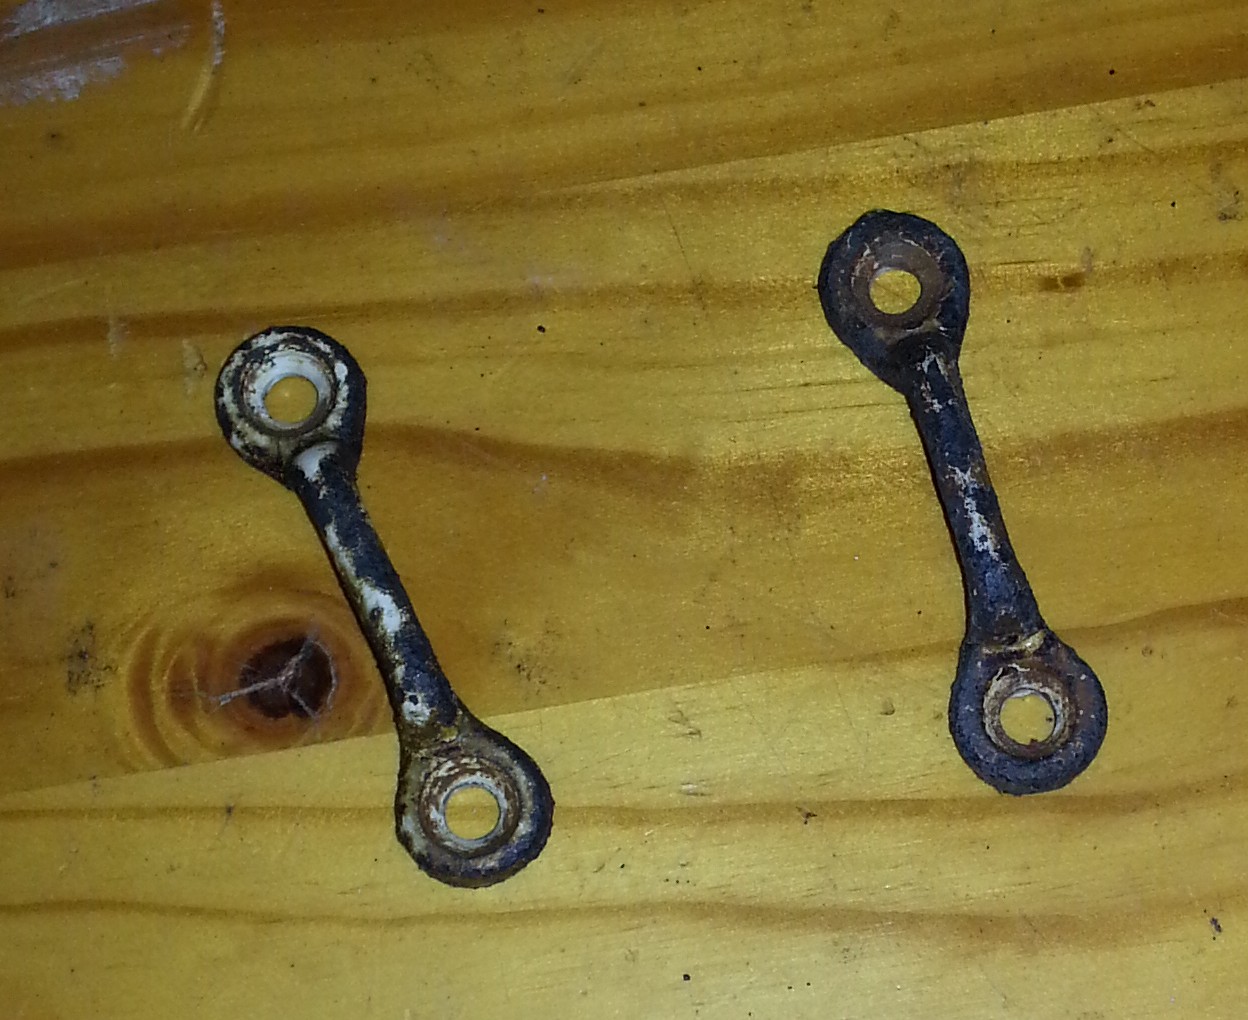
Front and rear bearing bolts
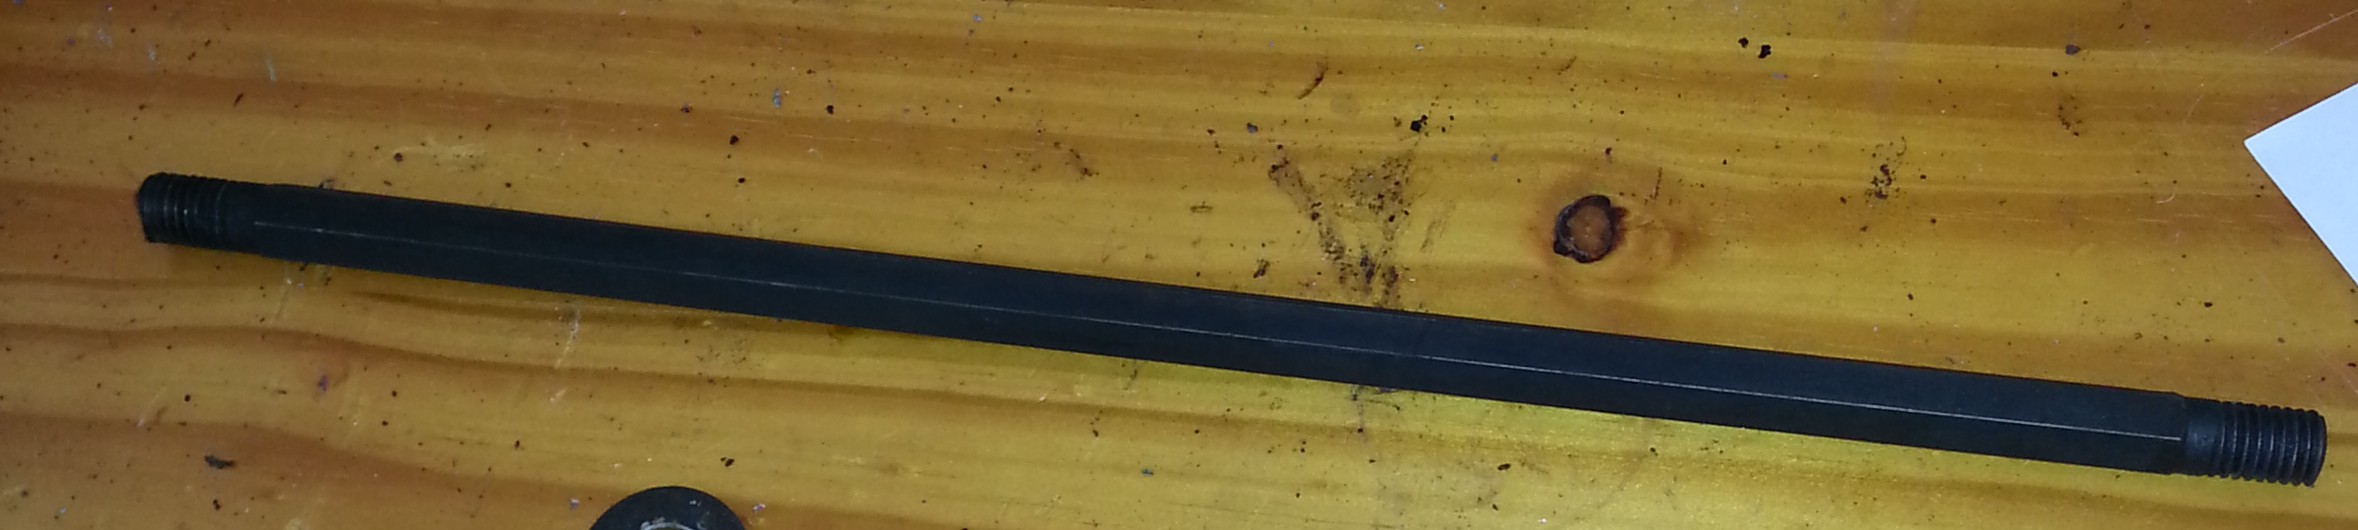
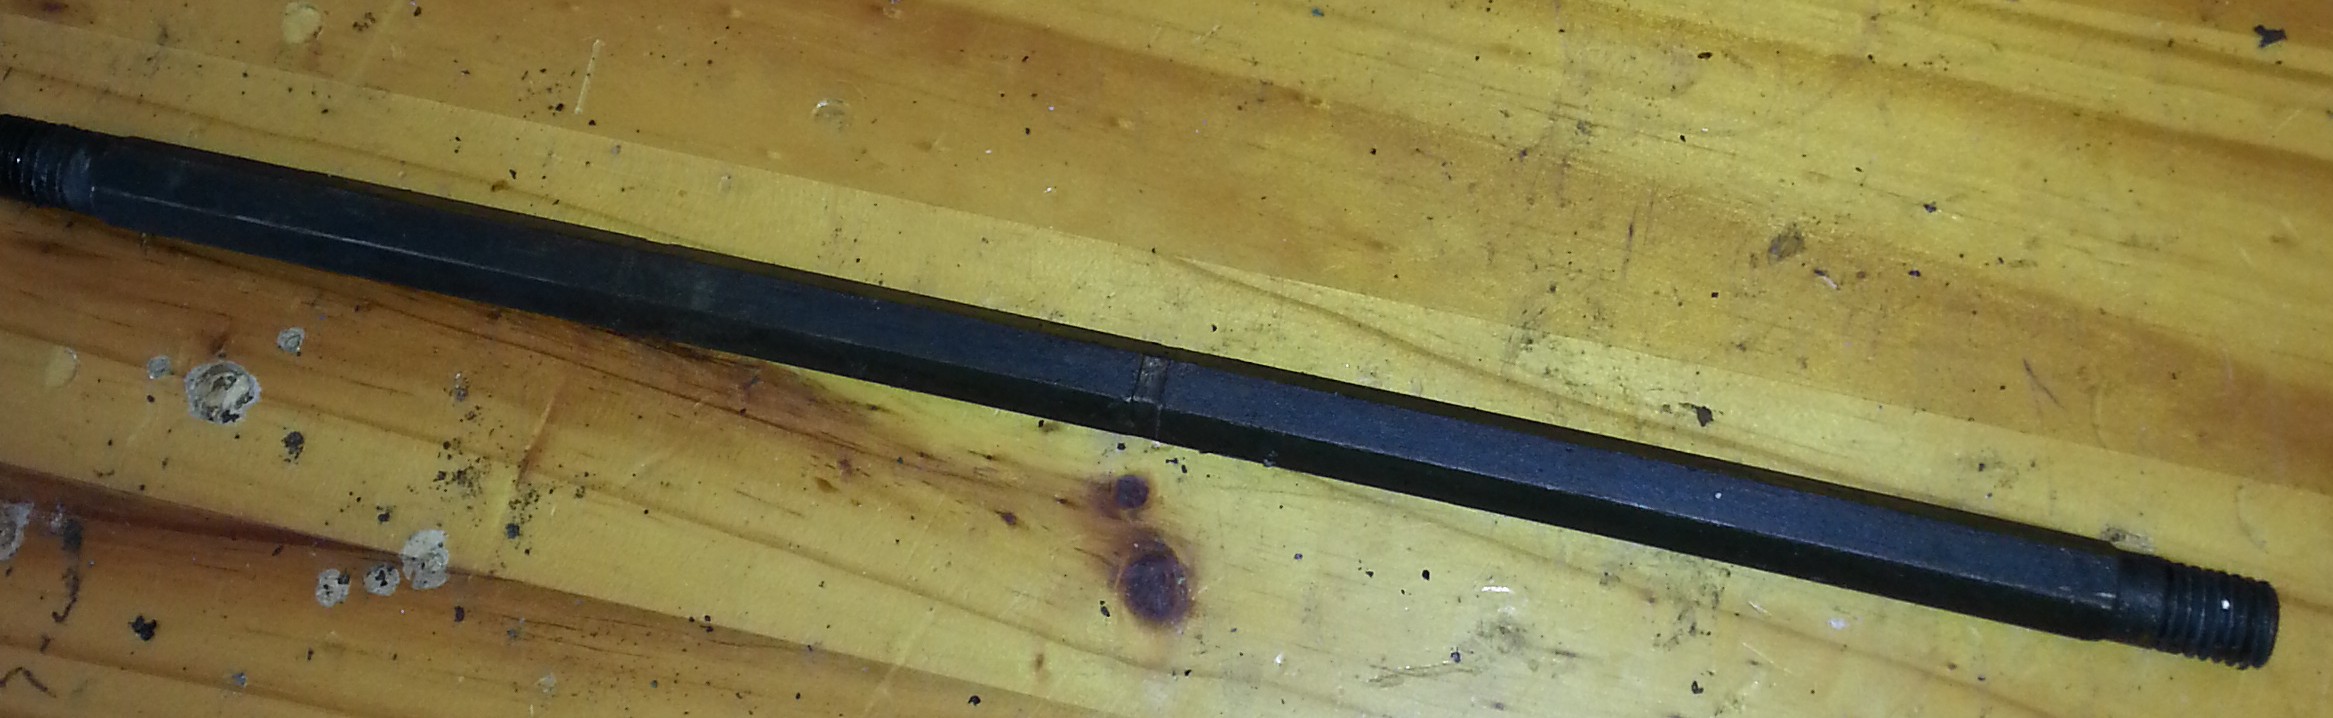
These two large bolts carry most of the brackets, shift lever, brake light plate and a few other bits. Note: they are not equally as long. The longest one goes up front (35 cm), the shortest at the rear (32 cm).