
The regulator that came with the Bella was in bad shape. It had been exposed to the air for a long time and was quite corroded. Rather than try and fix this quite intricate device, I decided to replace it with an electronic version from Udo at Data Kleiber (www.edknet.de). The great thing is you can send in the original regulator and they will build the electronic one on the old base so you can fit it straight back in. This is what it looks lide:
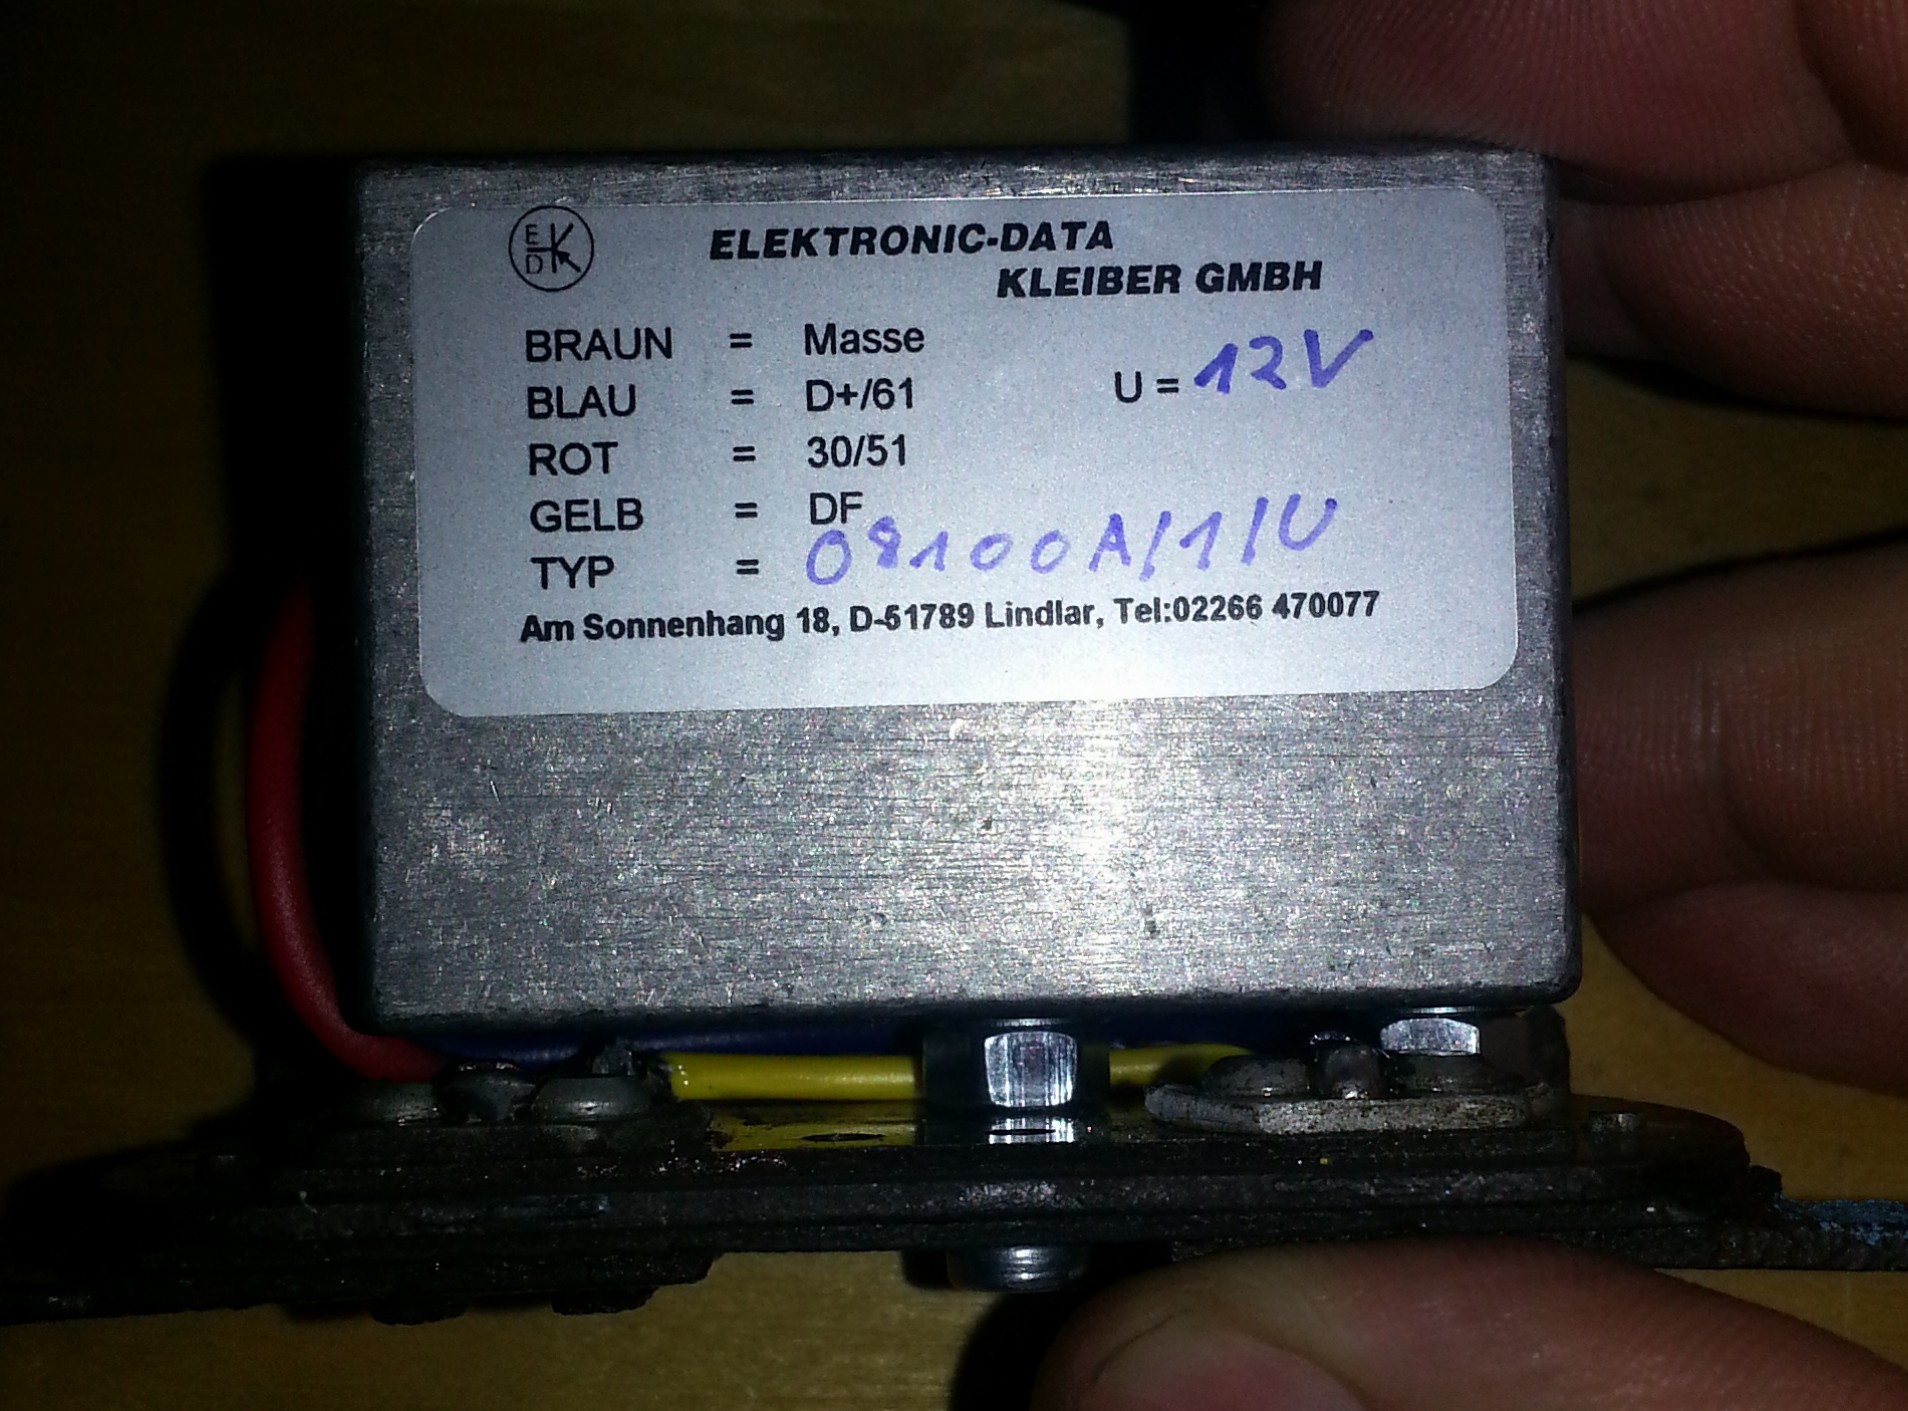

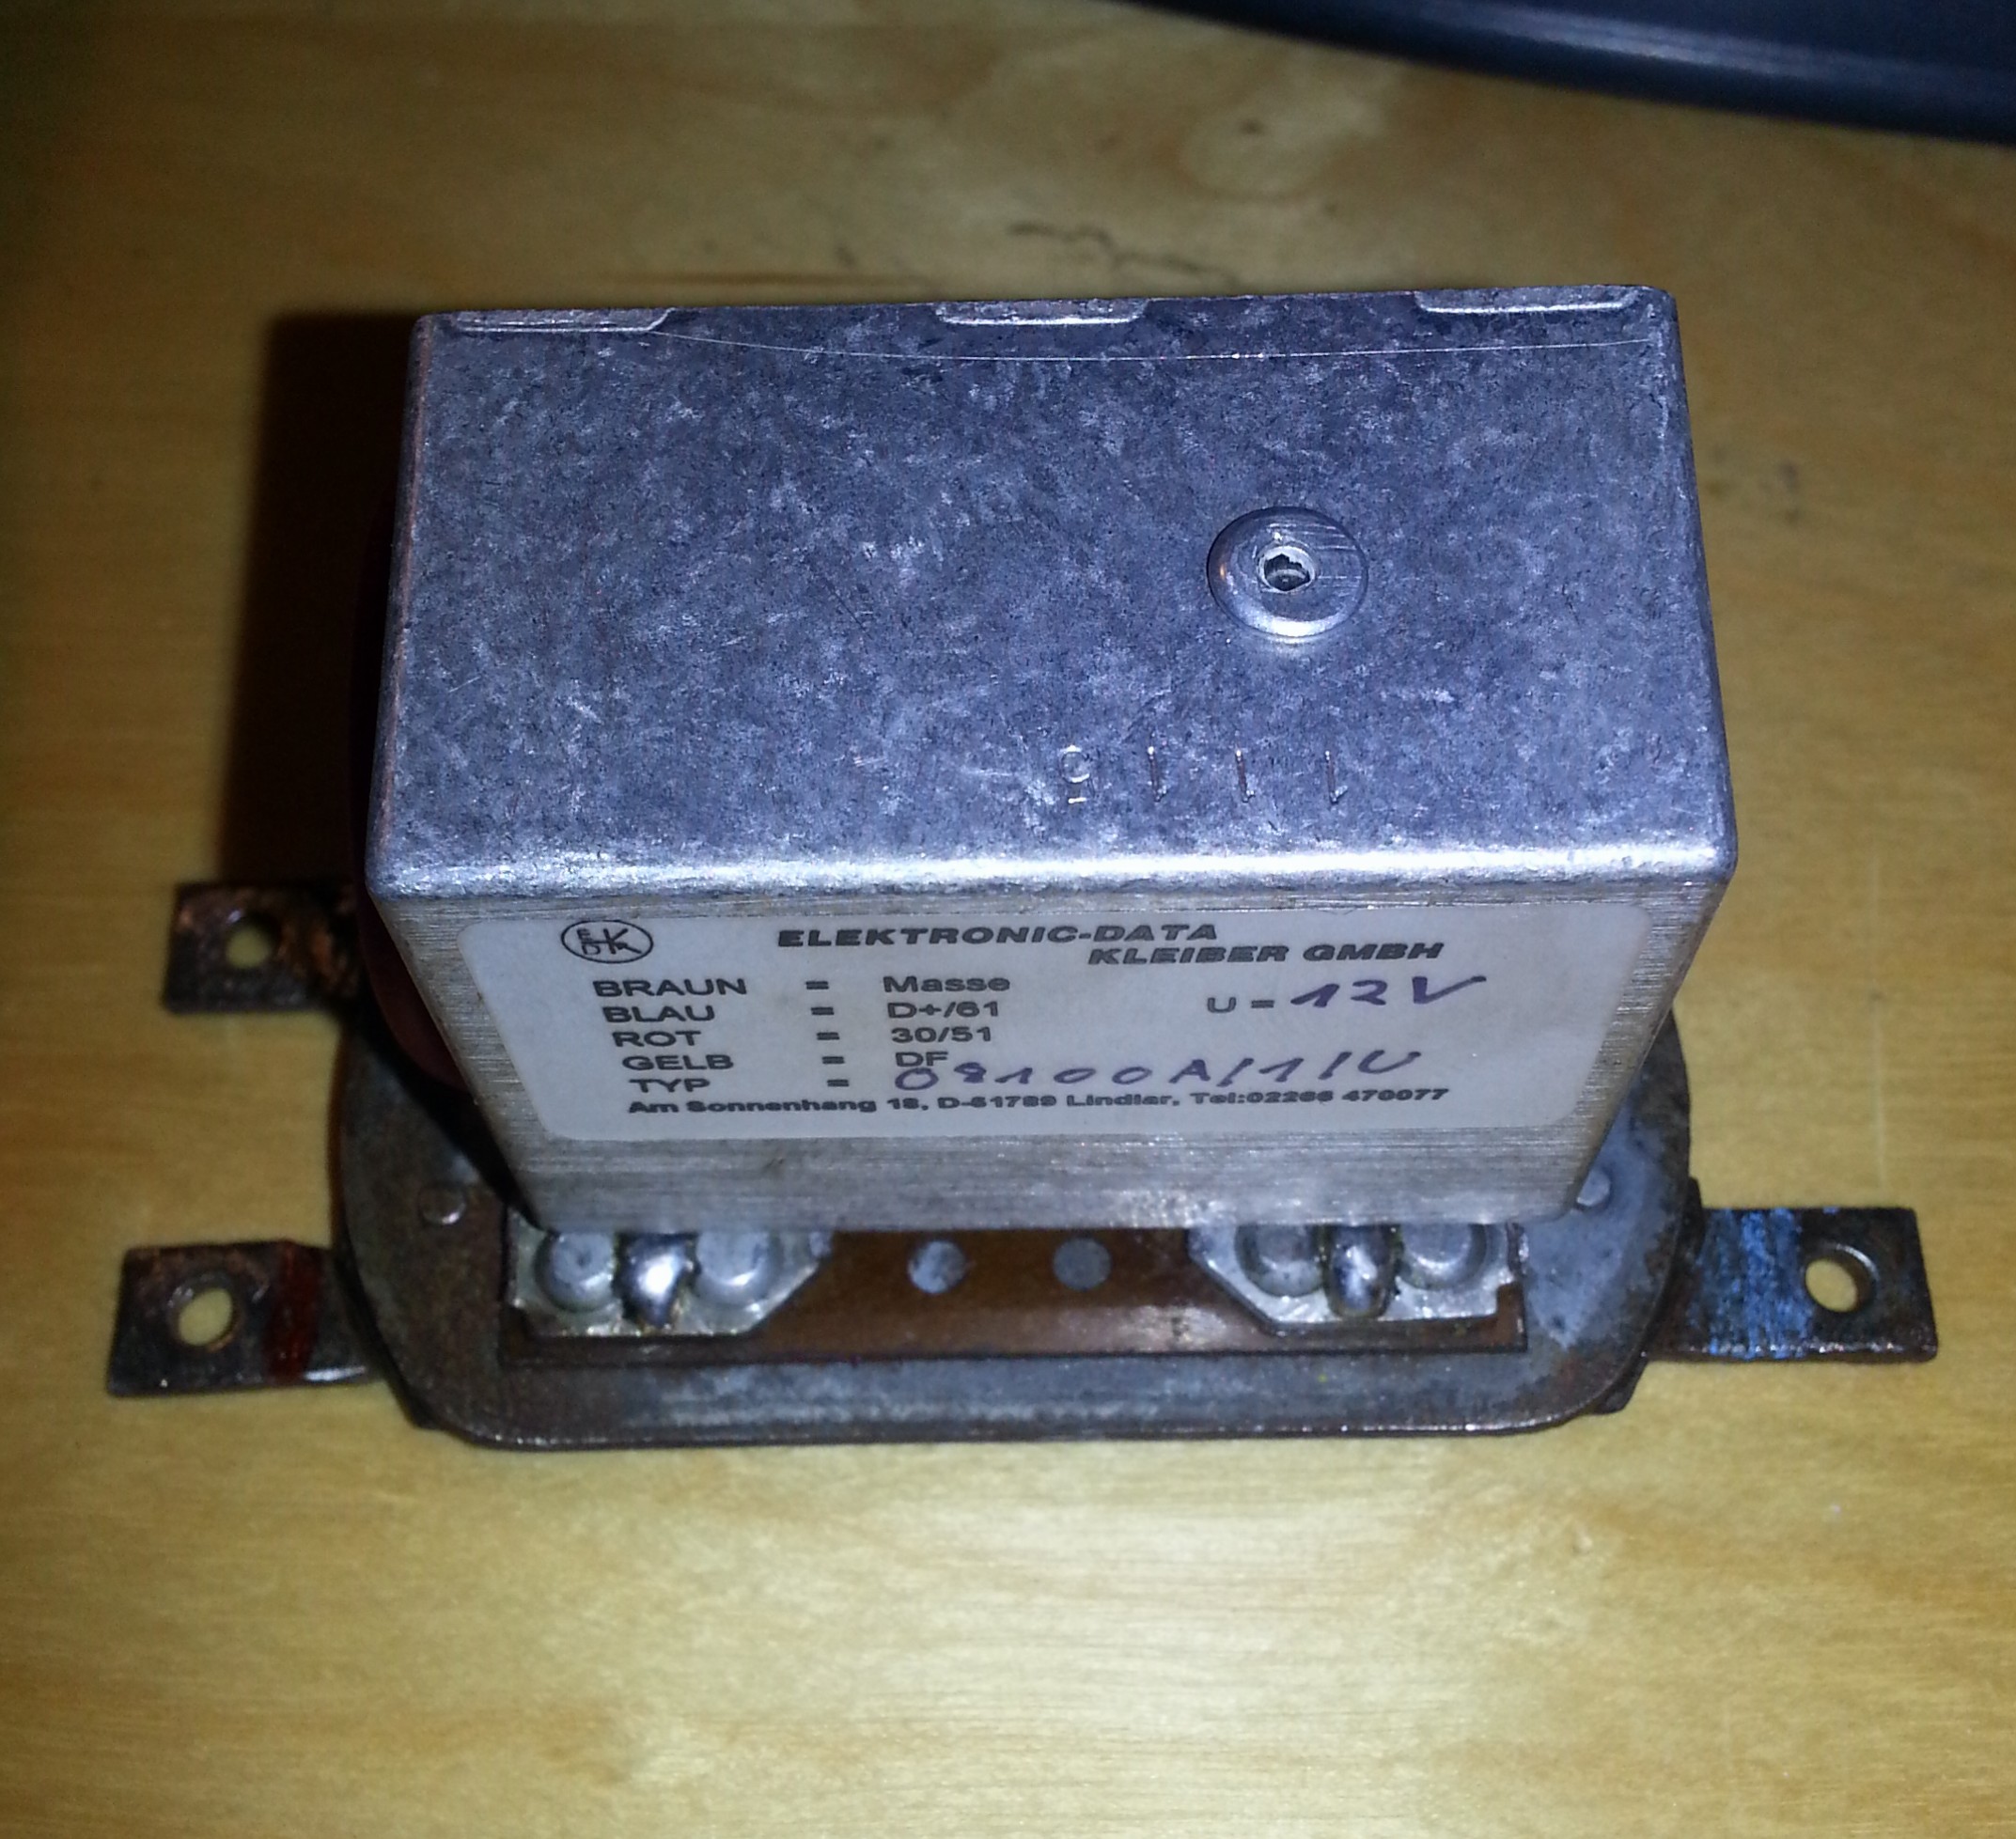
The regulator is built to fit into the original housing:
Unfortunately, mine stuck out just a little too much to bet able to fit the original cover. Rather than force it or start filing down on the corners of the regulator I will just leave it exposed. A bit of a shame, but the new regulator is solid state so exposure to the air shouldn’t be a problem really and it’s not in sight.
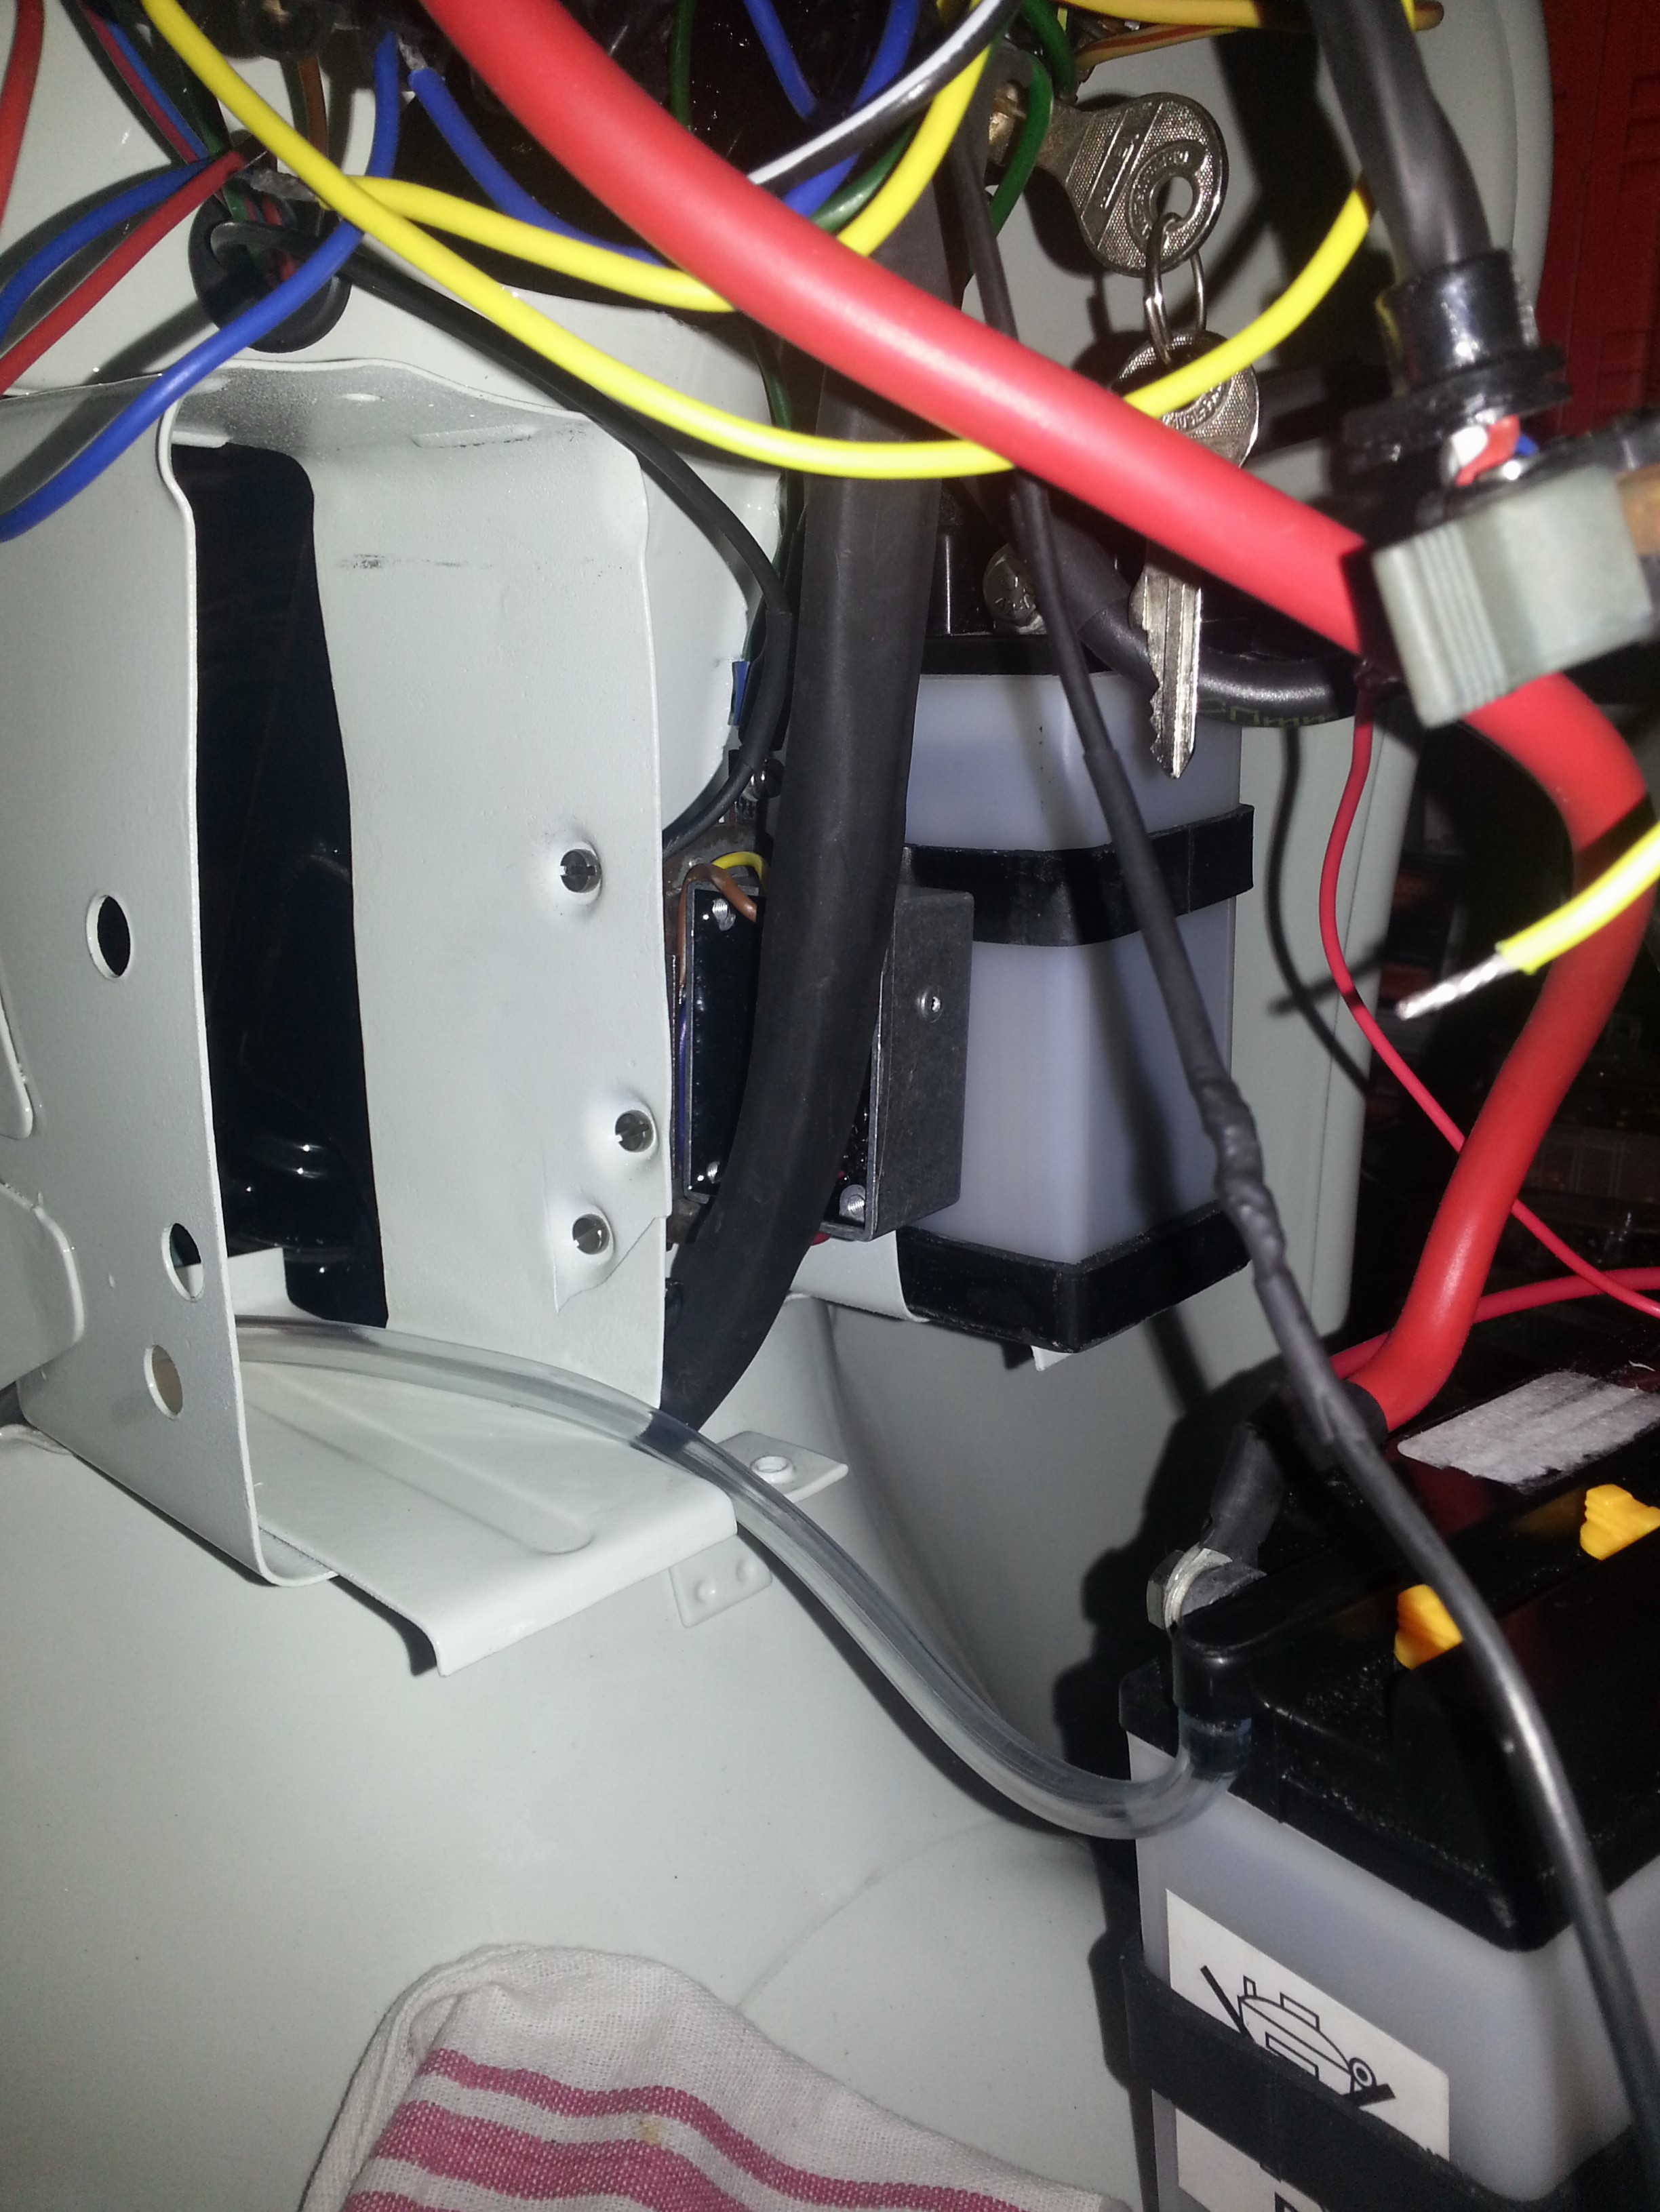
To install the regulator the left battery needs to be removed. The battery compartment is cleverly designed to you can put a screwdriver through the large hole on the outside to screw in the small screws that keep the regulator in place on the right side of the left battery compartment:
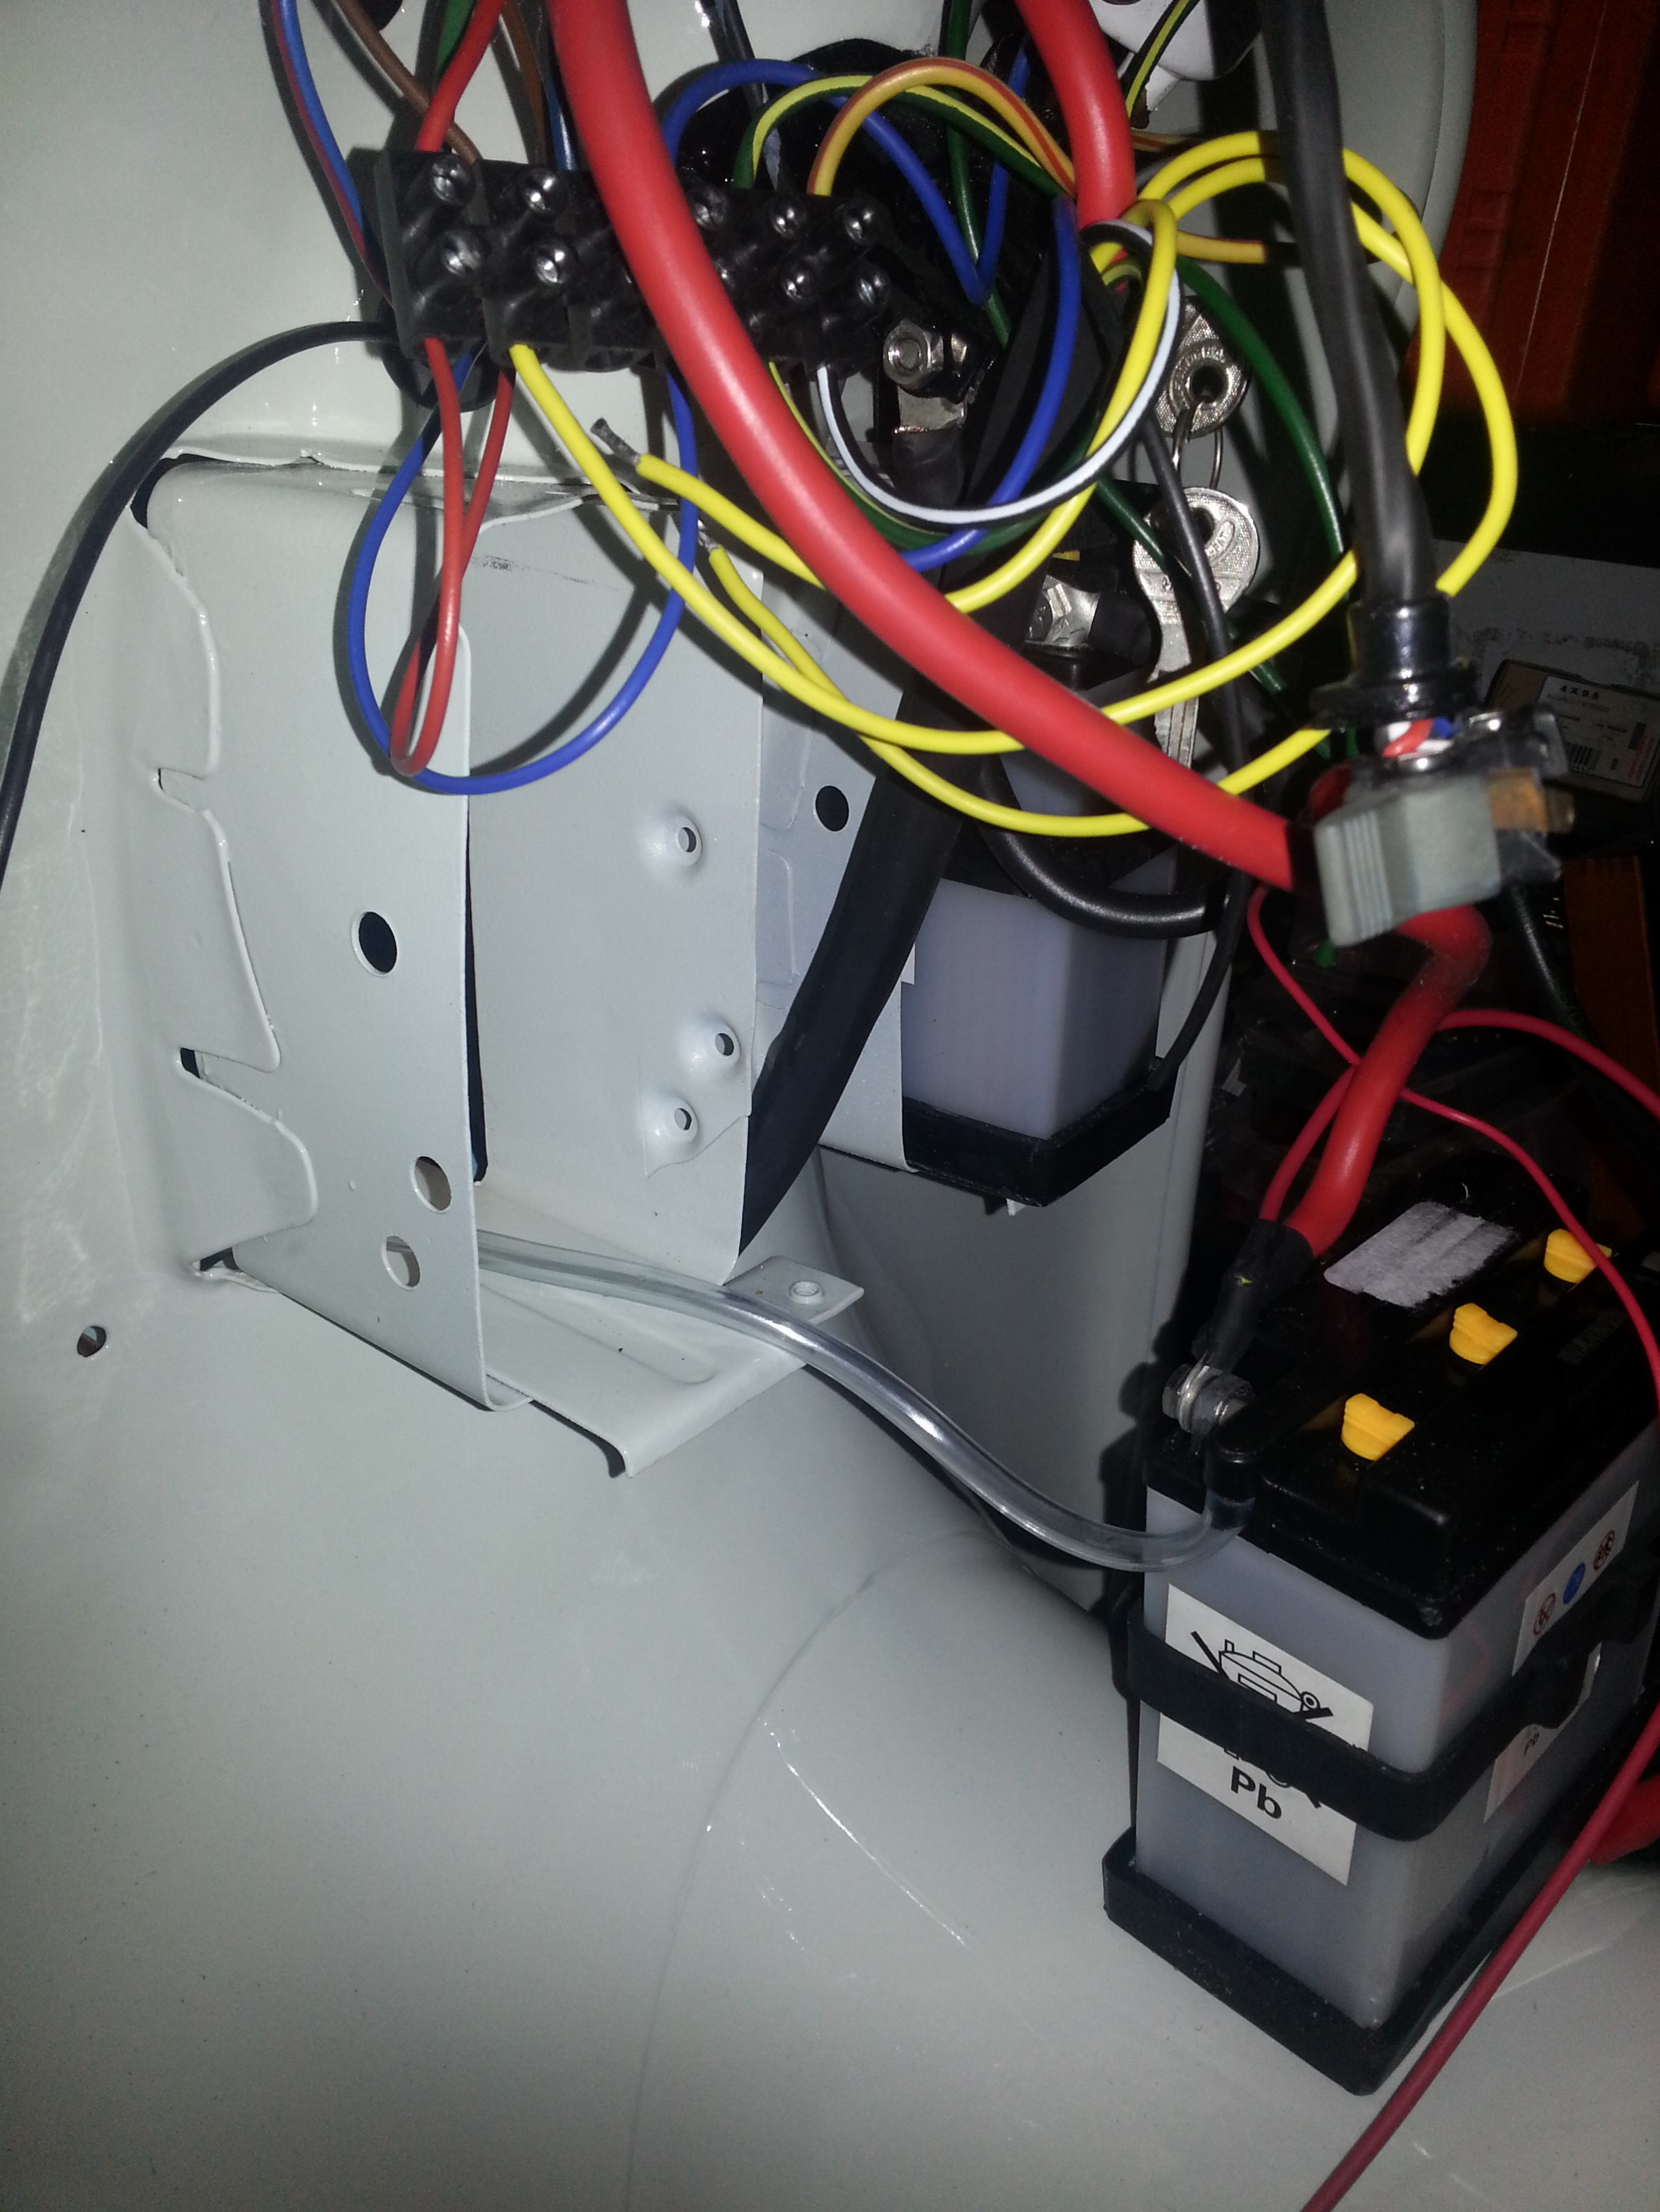
Here’s how it fits:
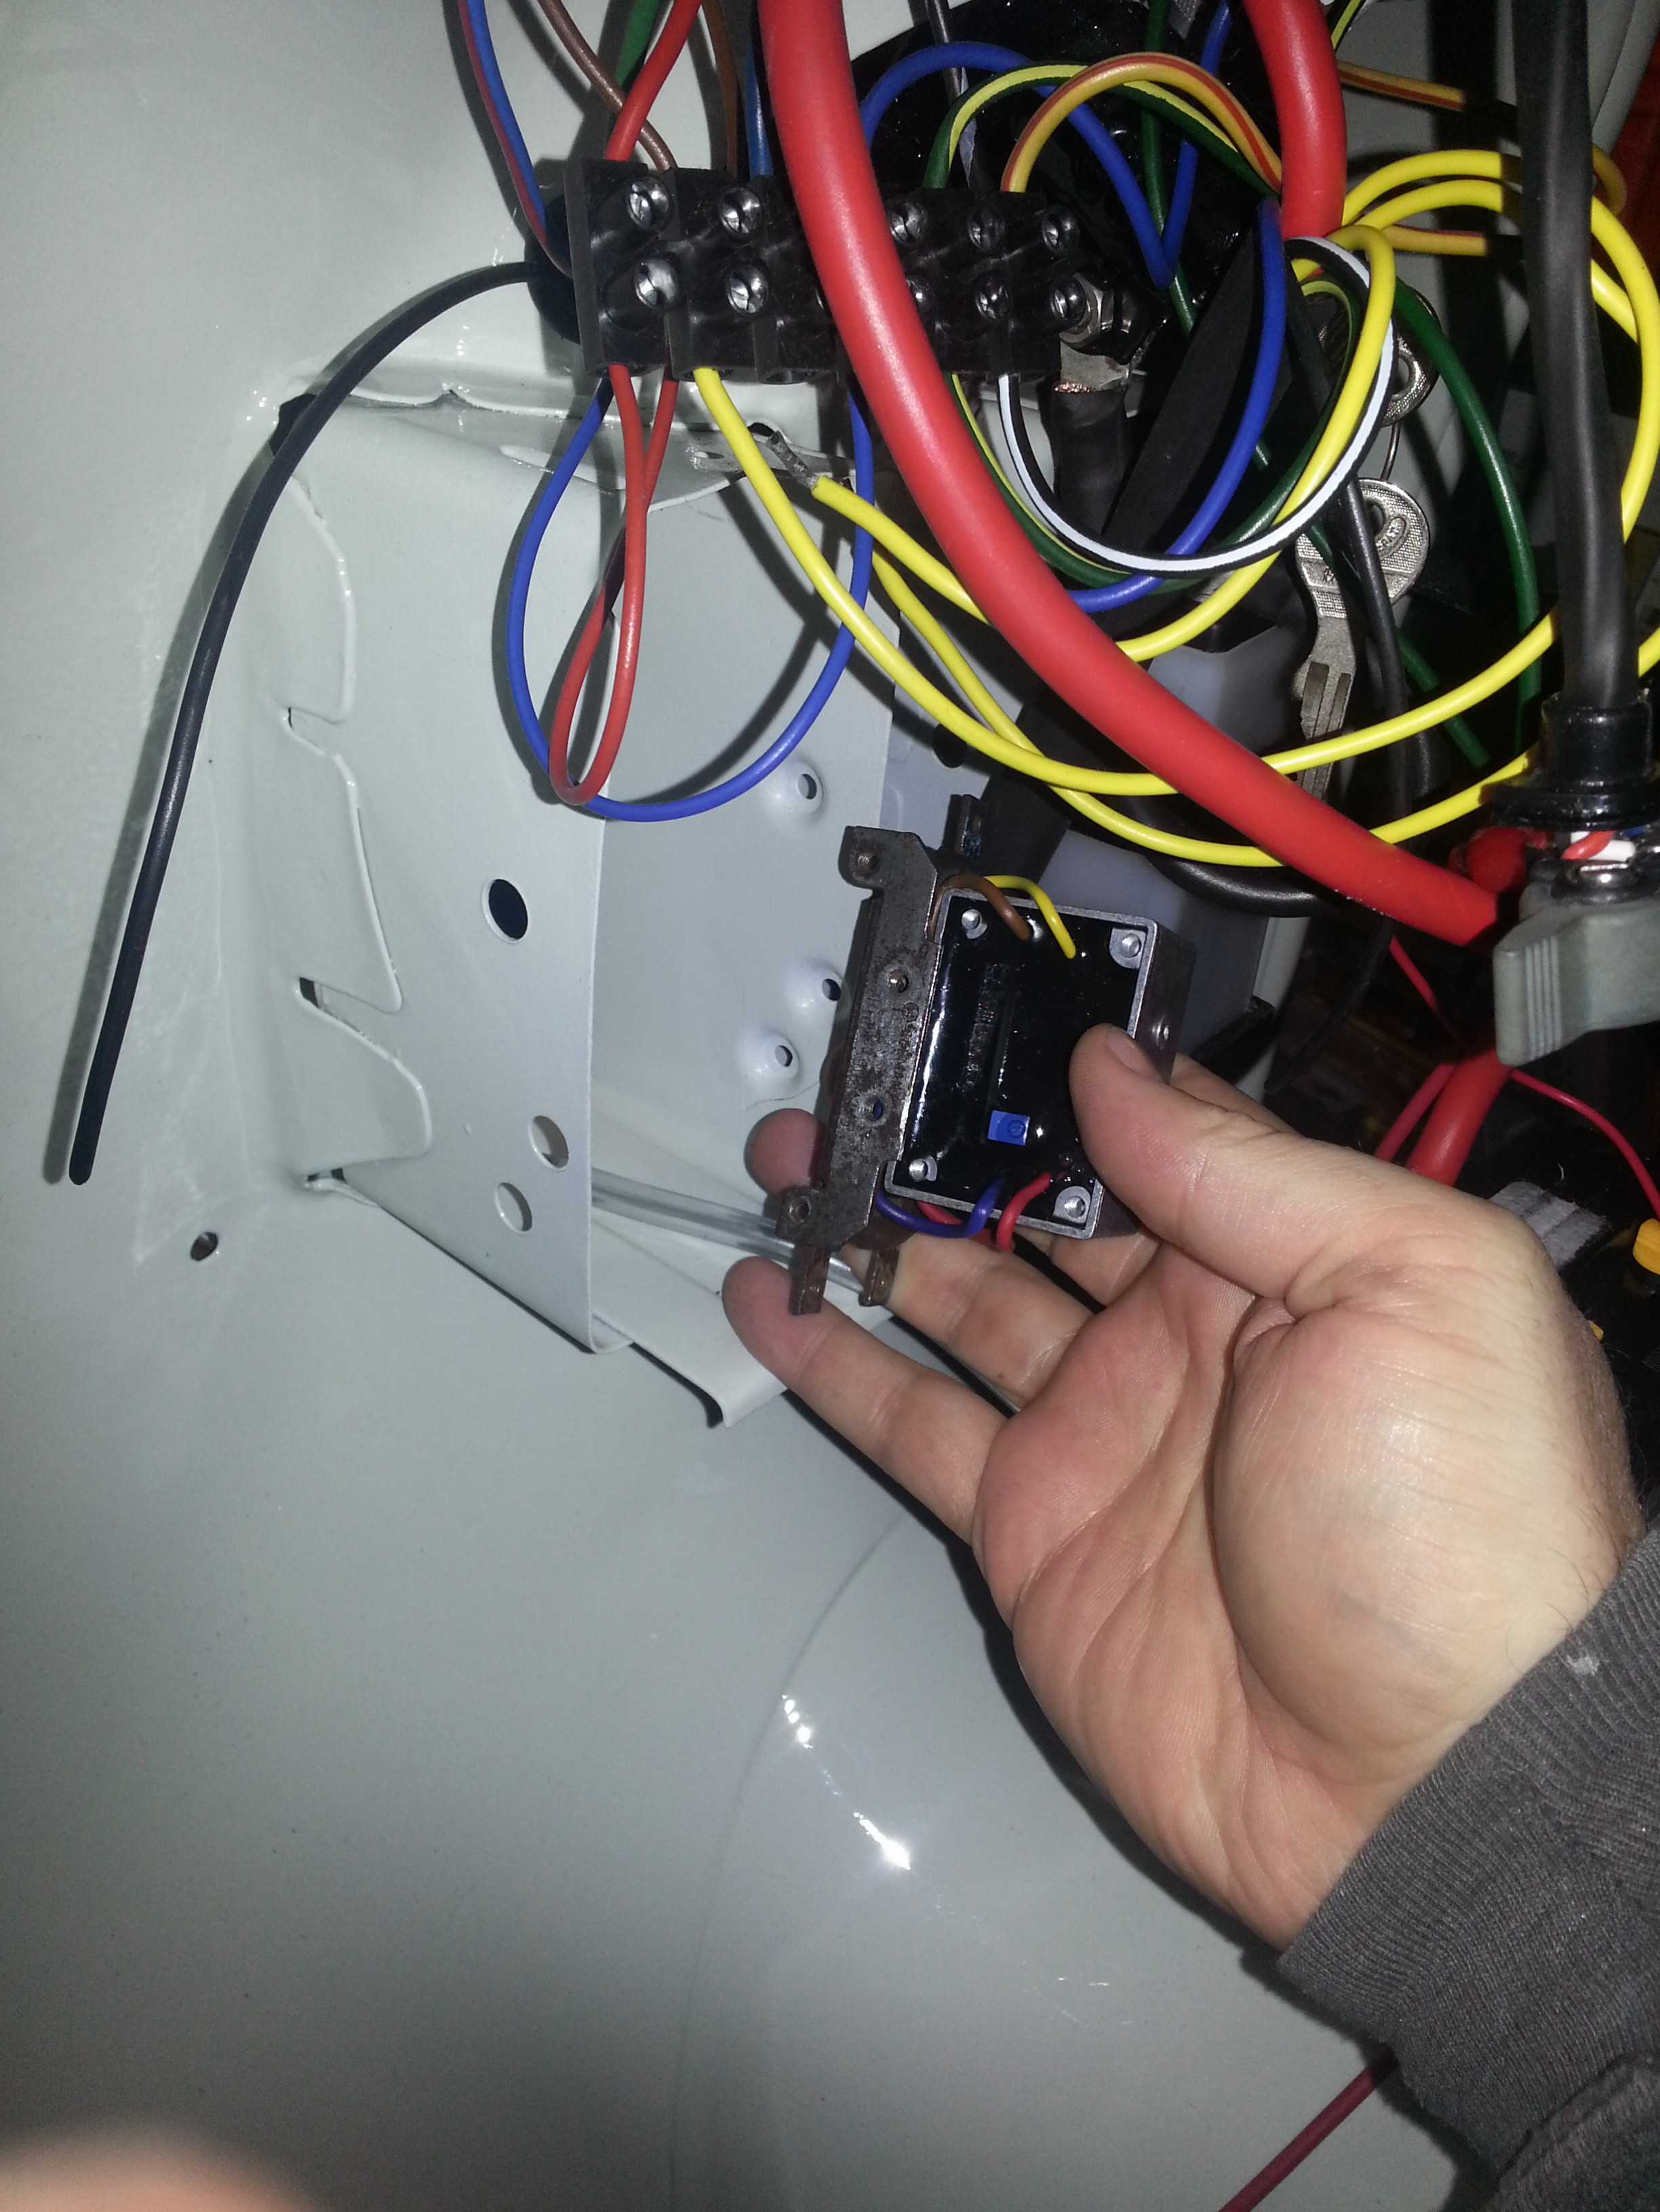
Note that the outside of the regulator is a mass connection. Originally screwing it to the leg shield would have made this connection but with new paintwork this can be tricky. I included an additional earthing wire in the new wiring harness just in case, which comes in handy now:
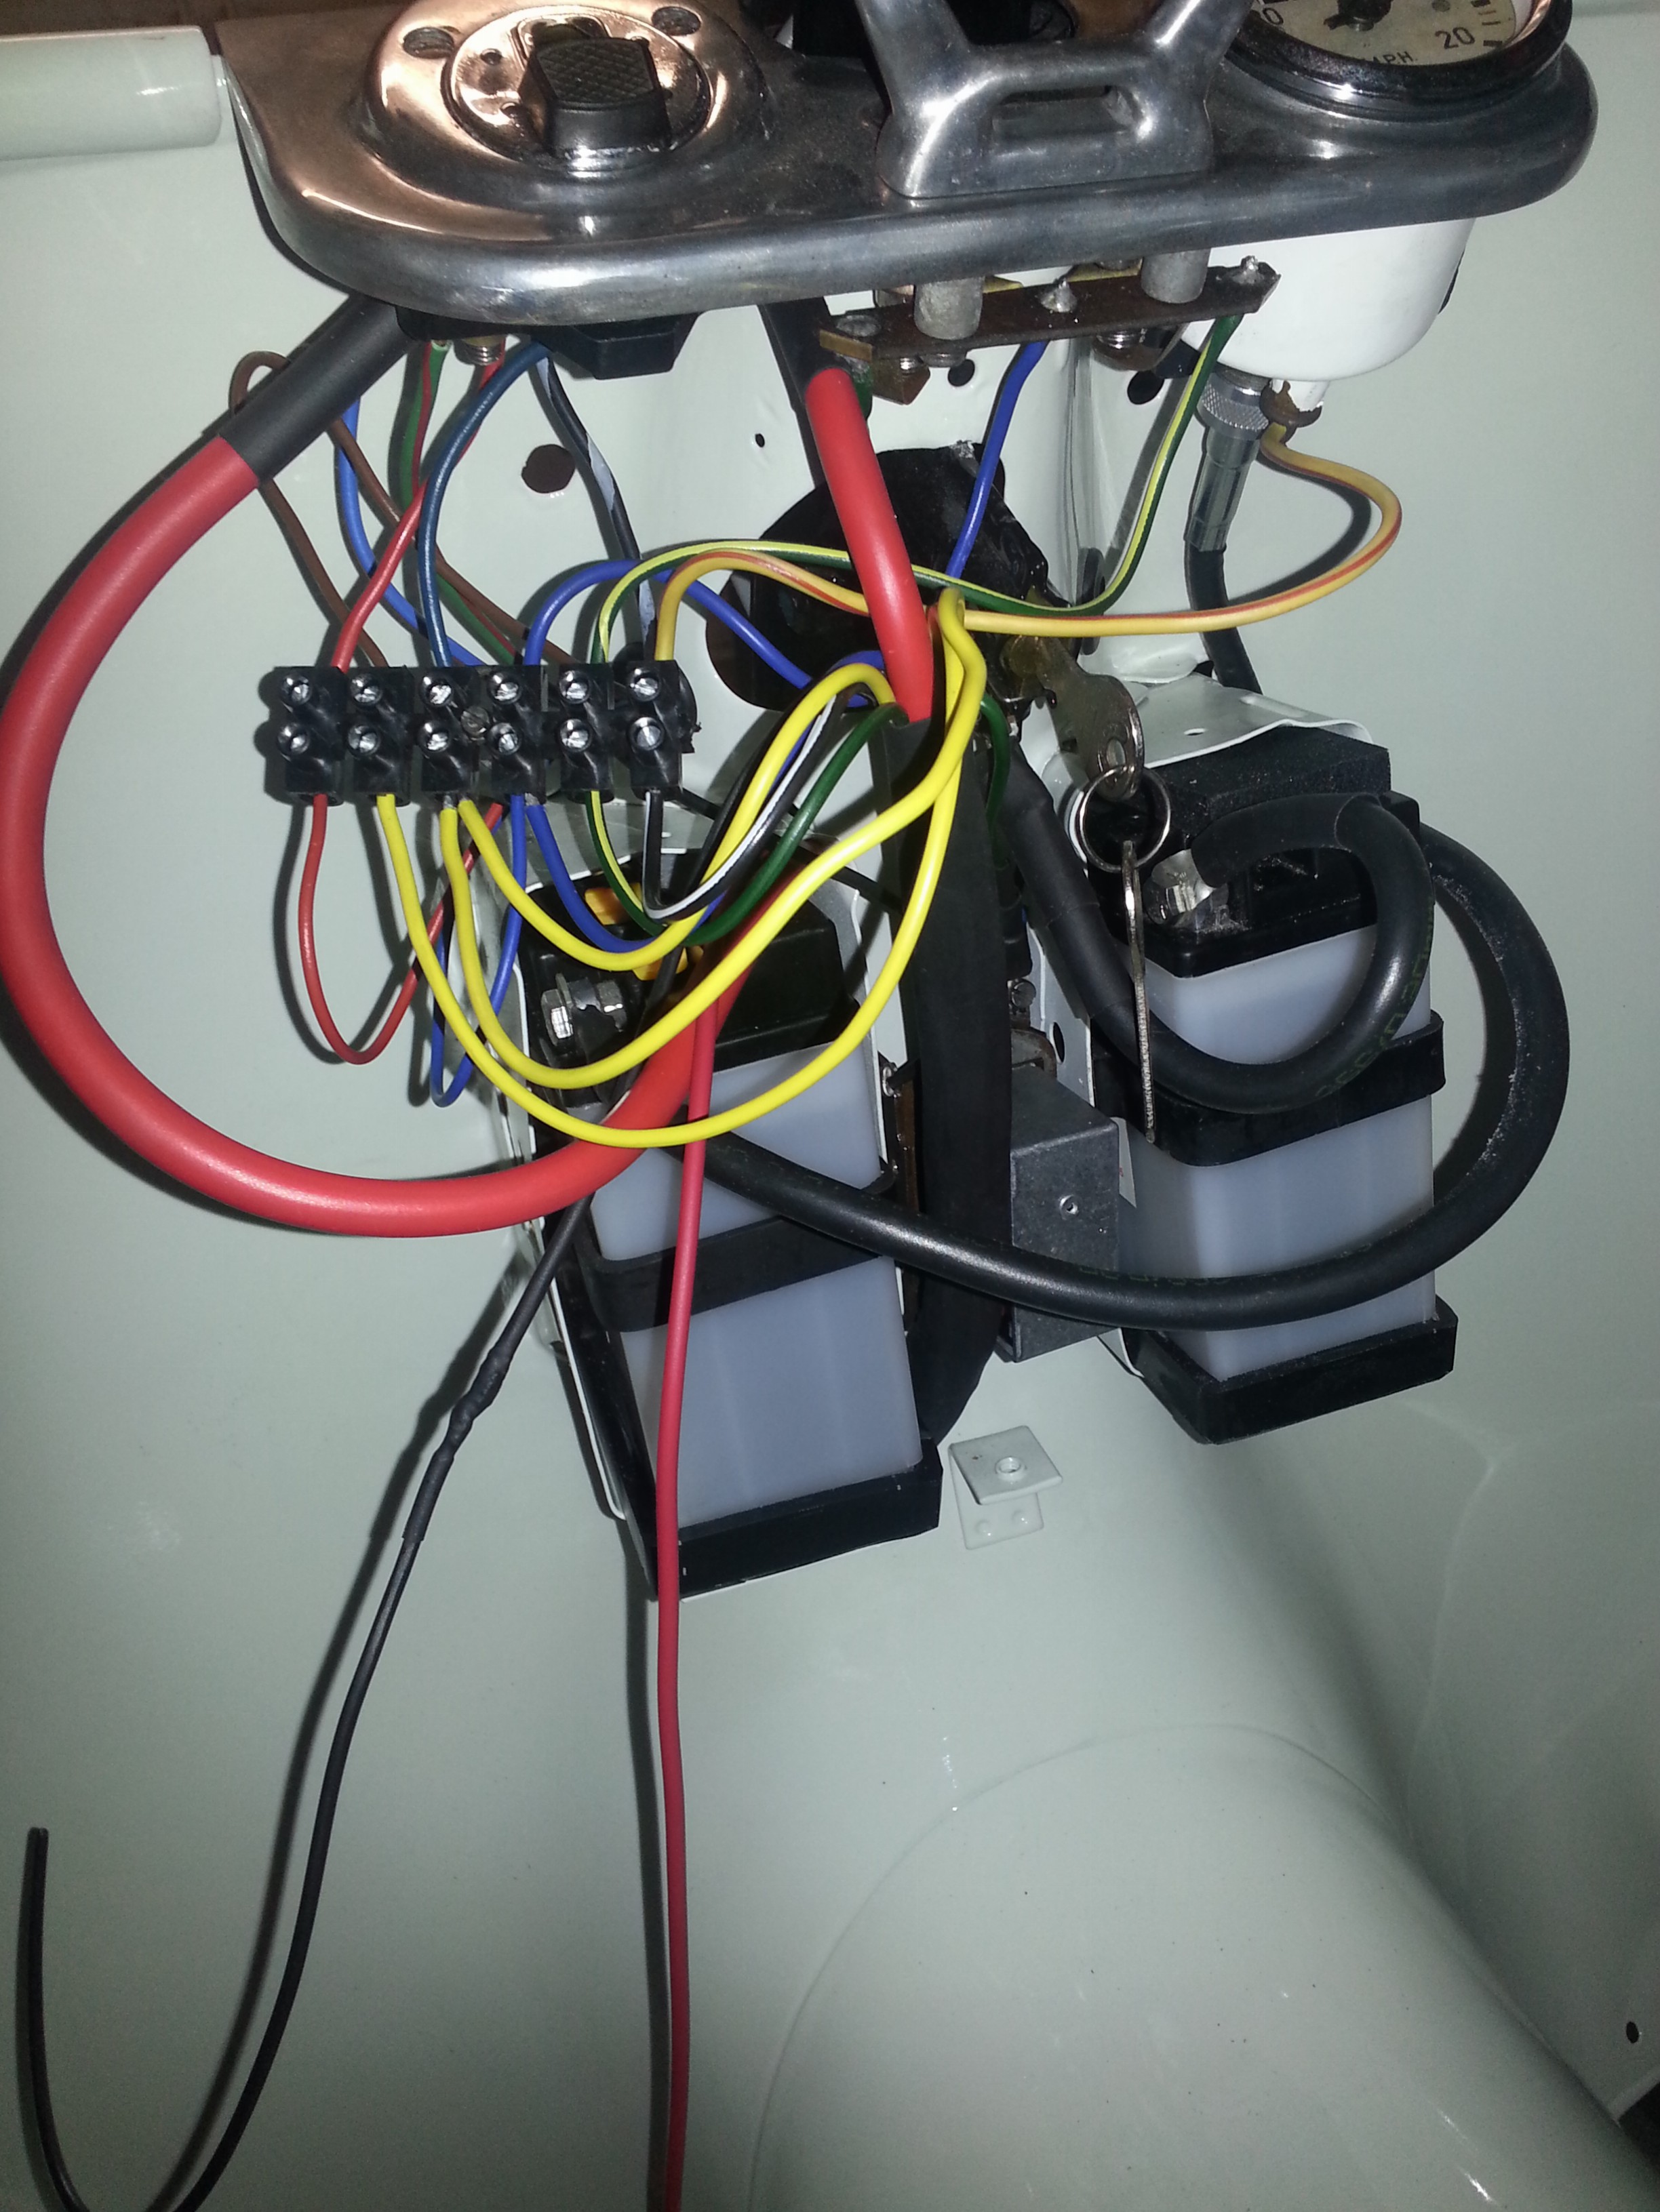
Next we put the battery back in and she’s almost done. Two more connections to make to the batter and the ‘Lichtmachine’ (Lima). As you can see I was a bit tight with the black wire to the Lima and had to solder on a bit of wire.
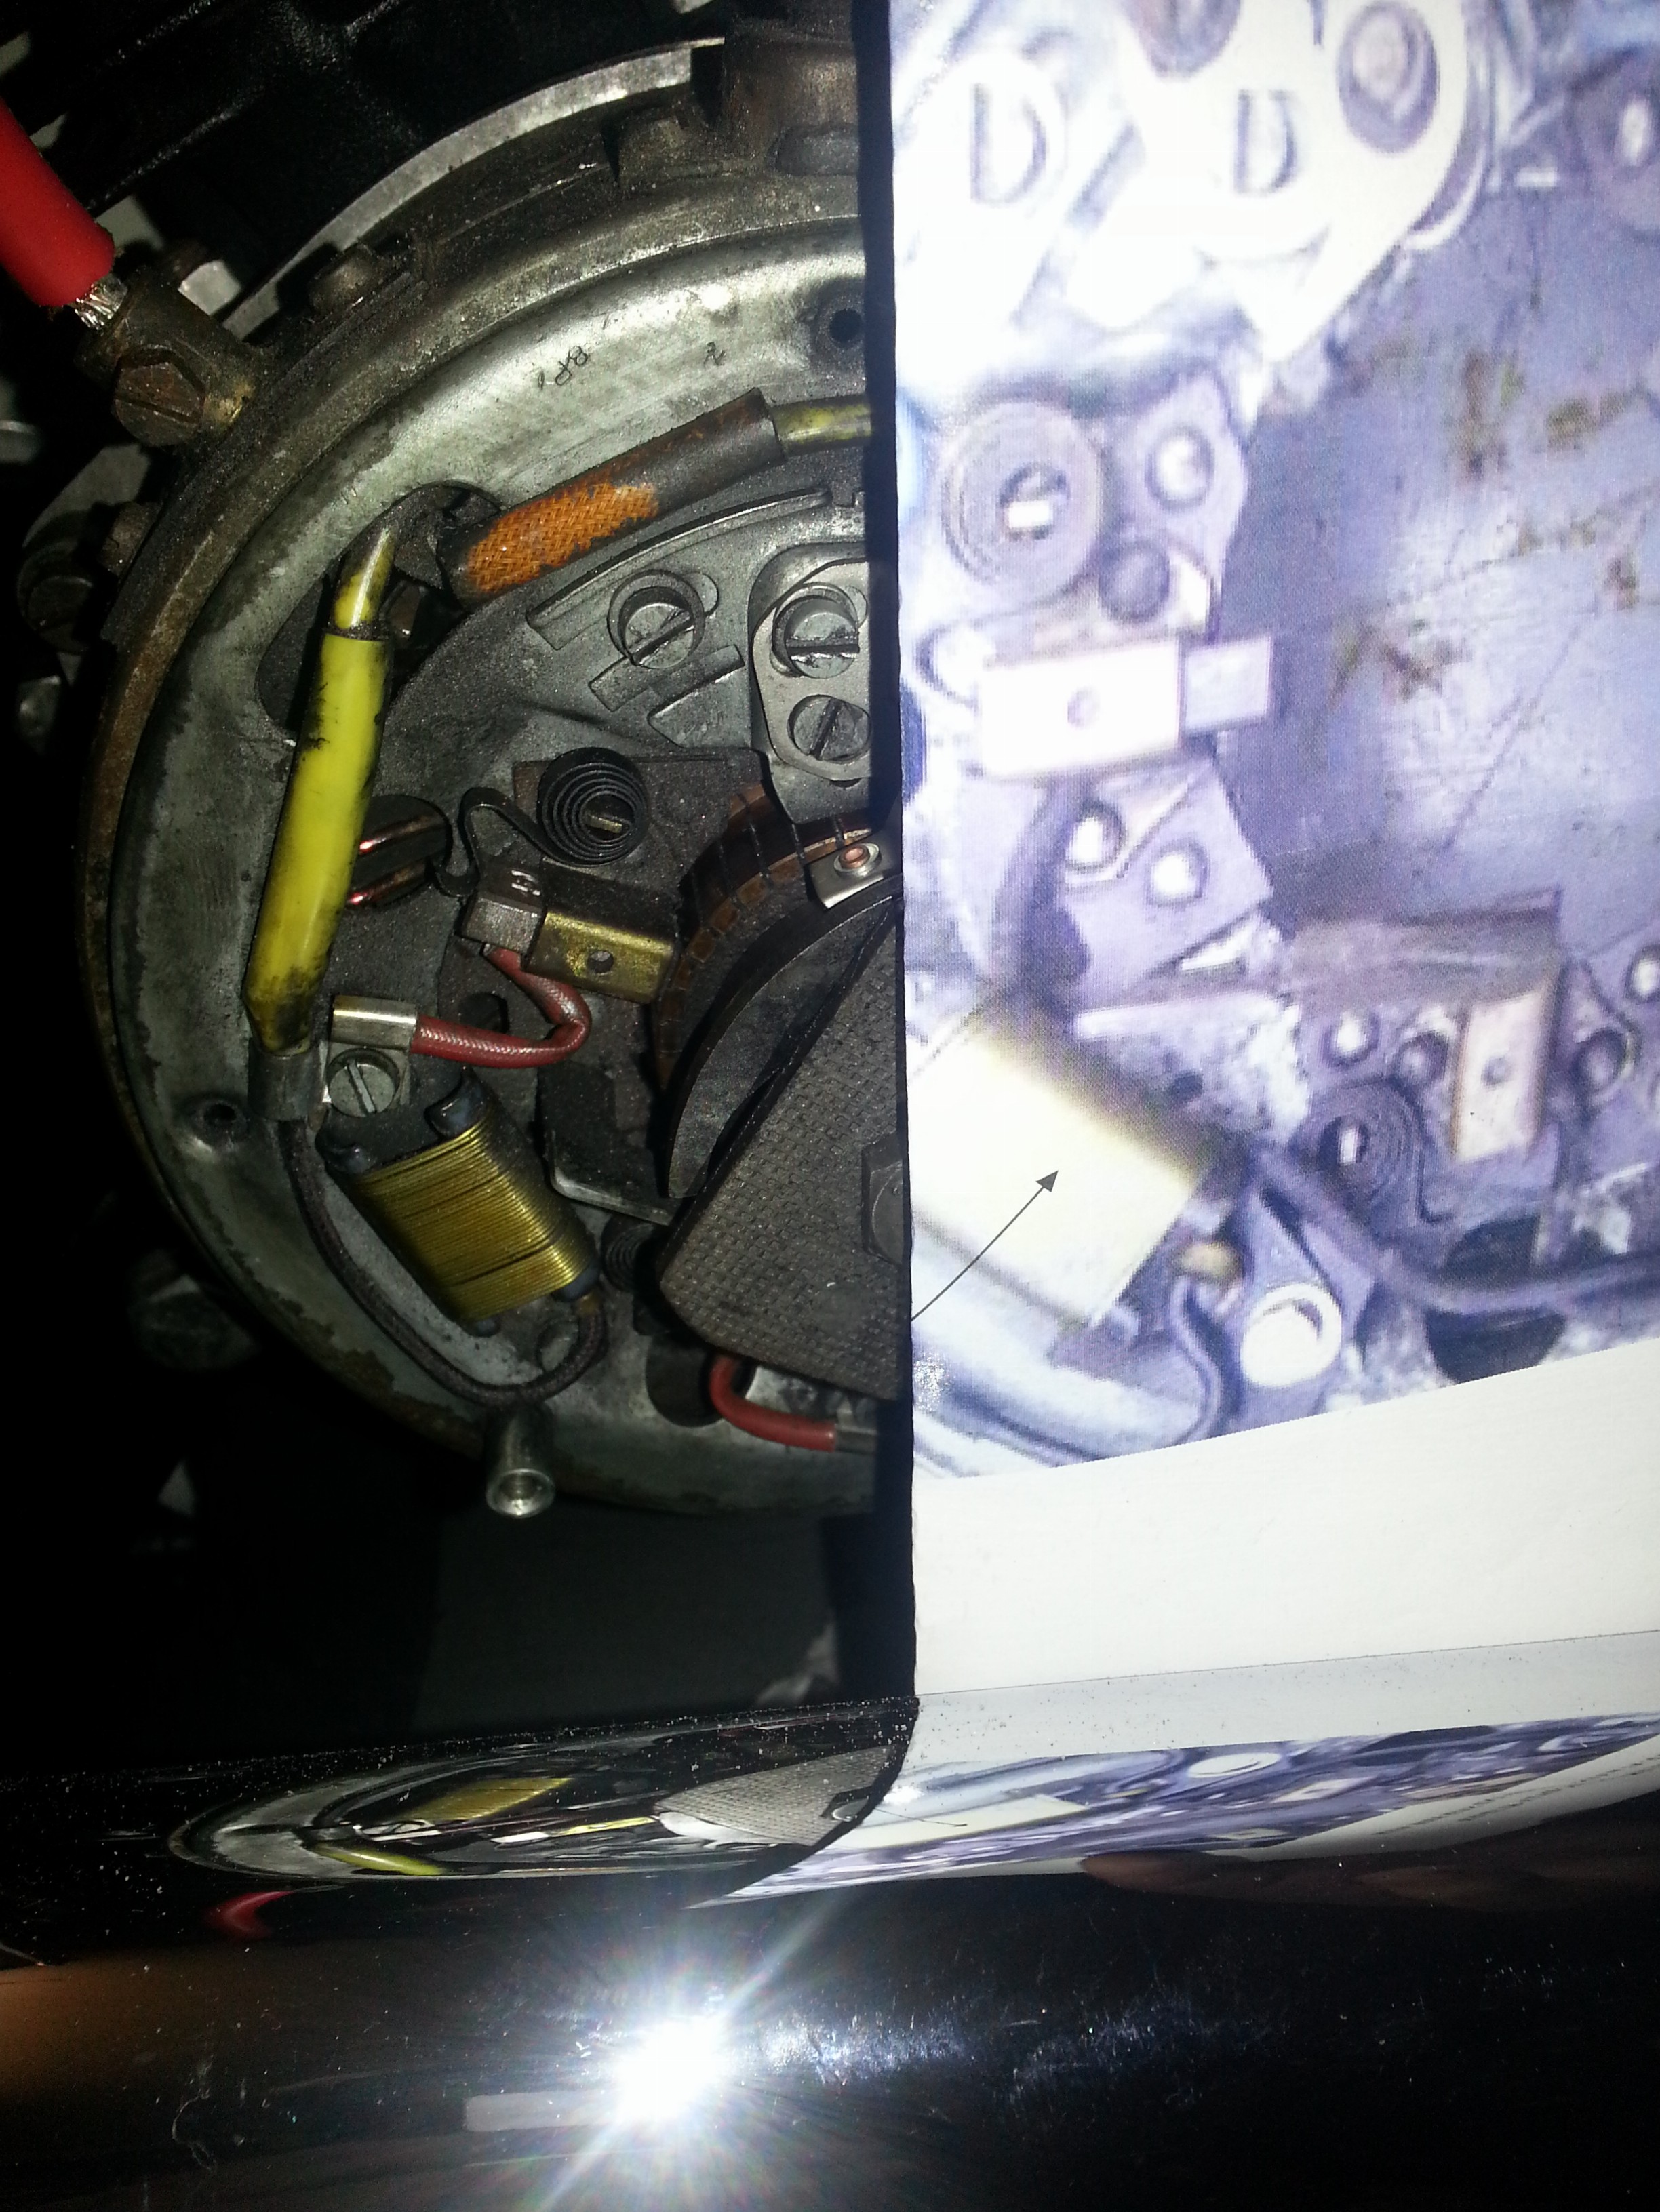
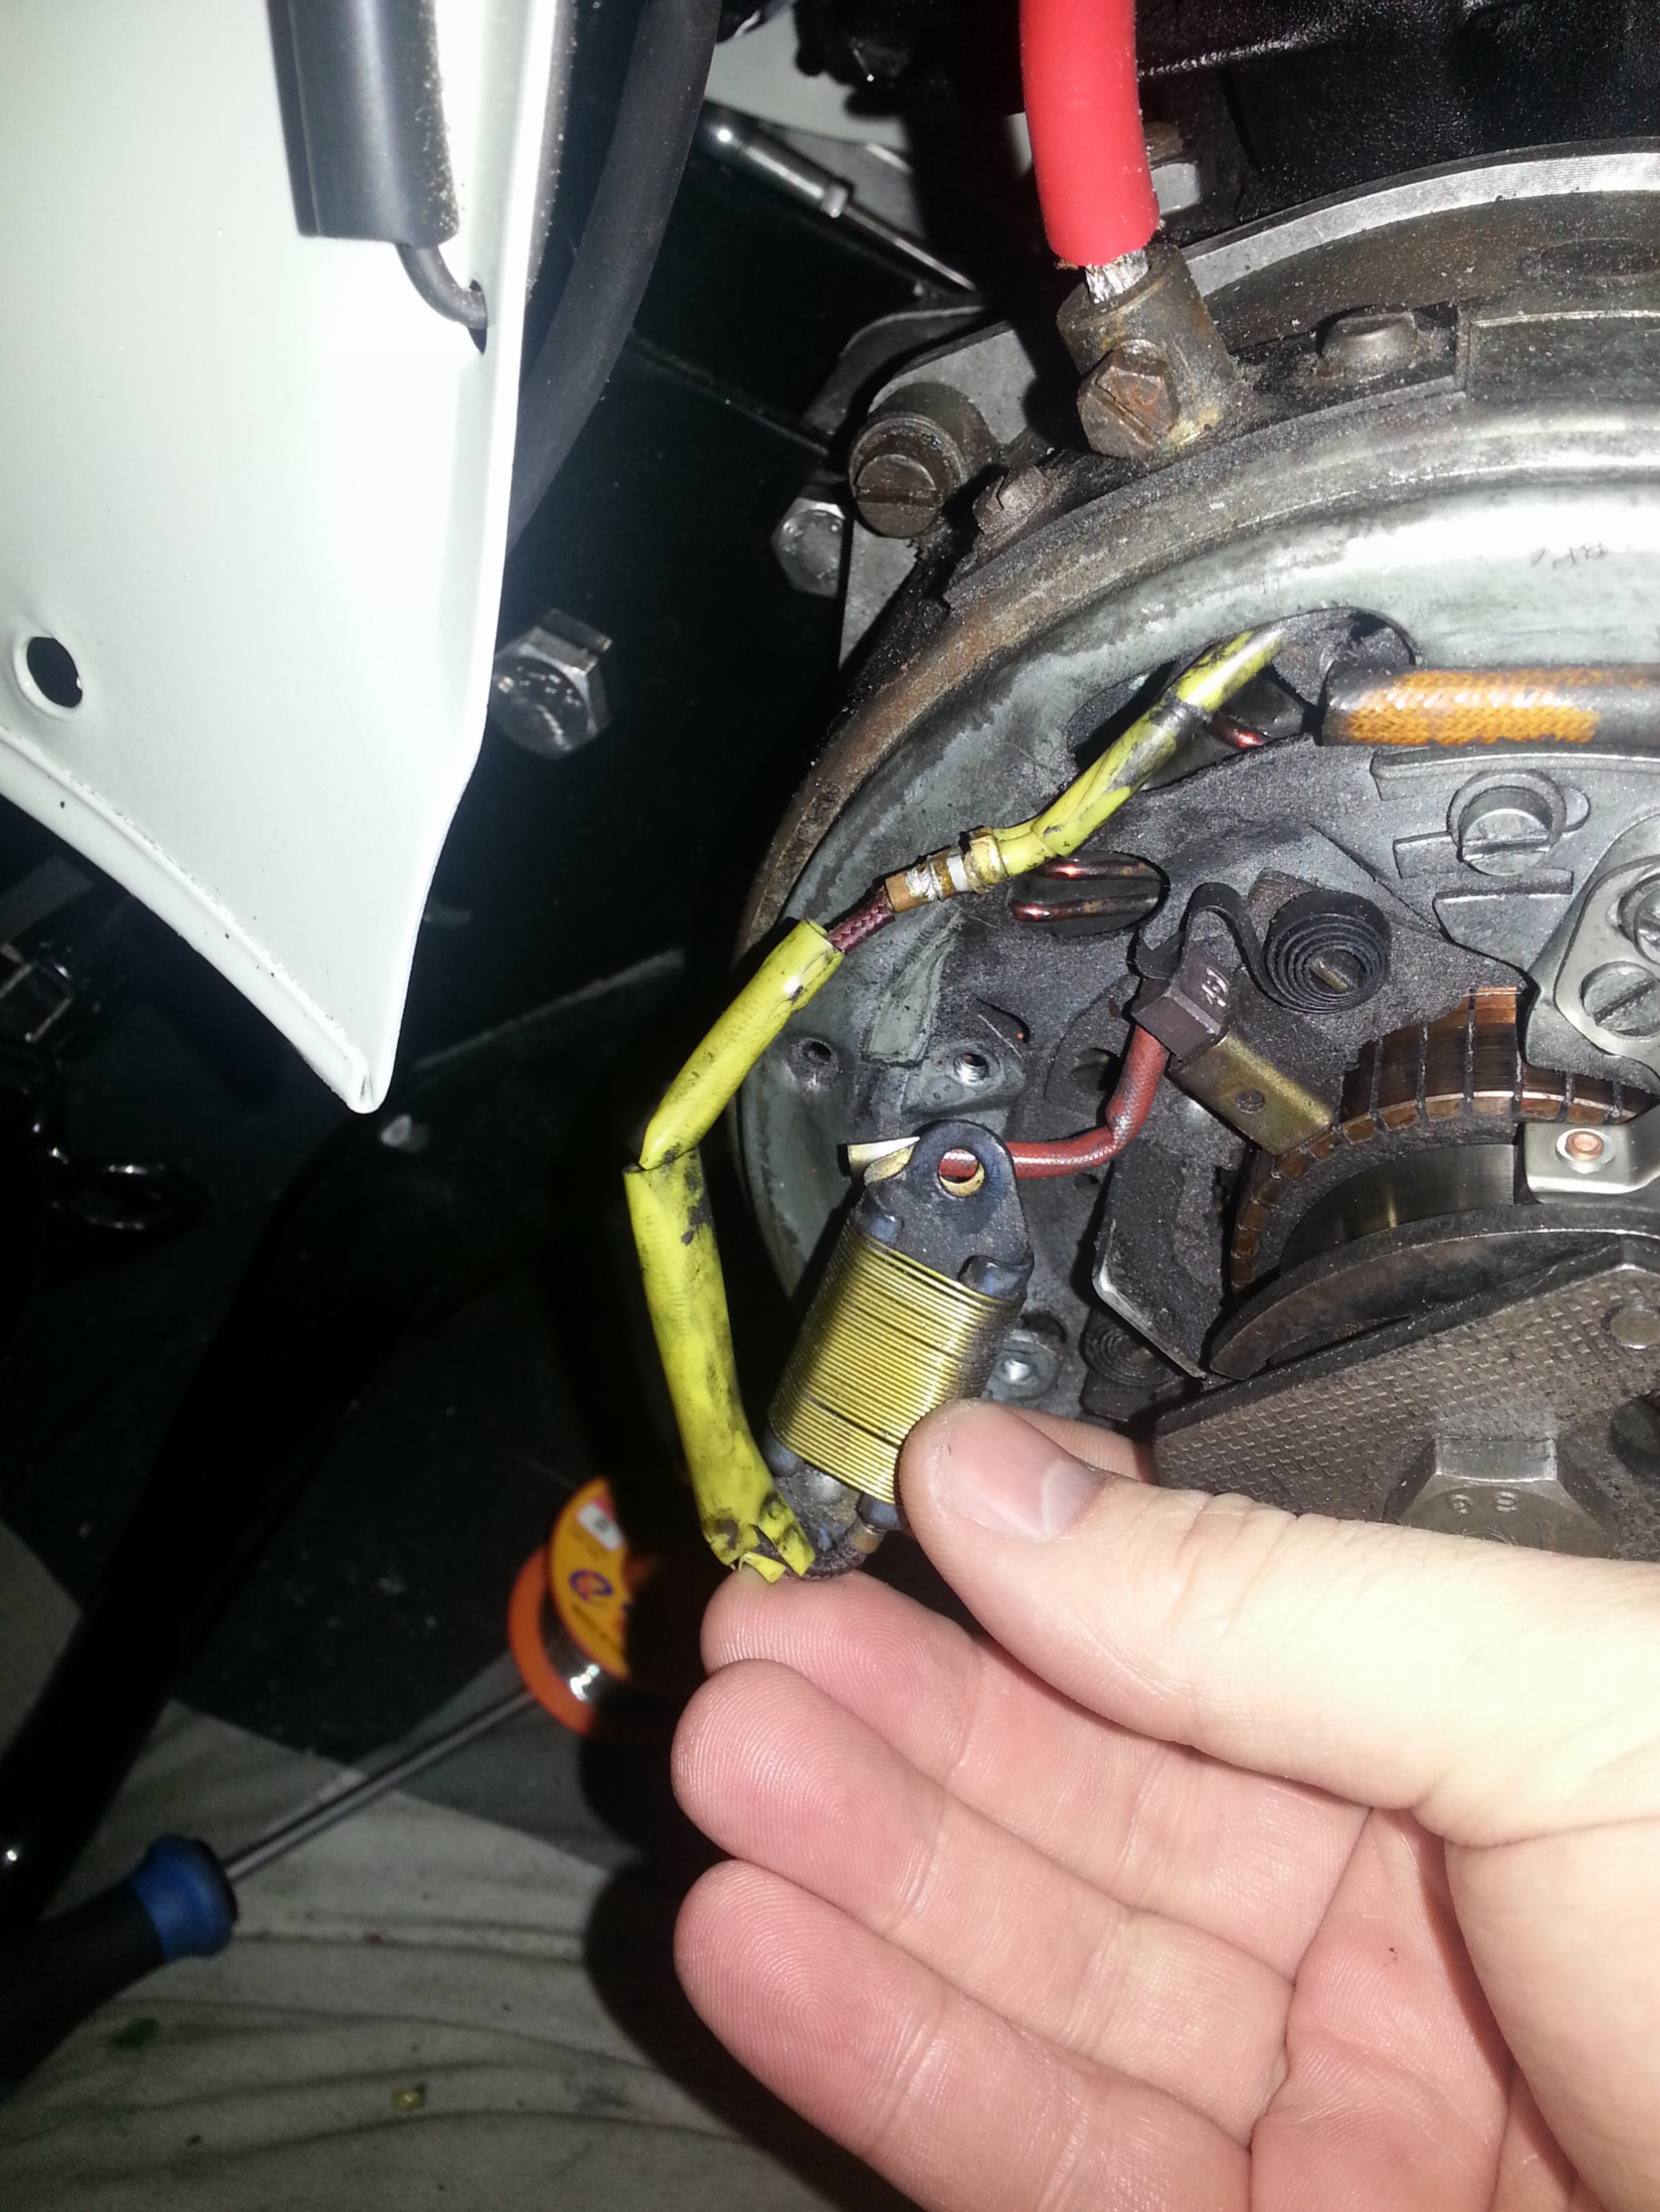
The manual for the regulator states that the resistor in the Lima needs to be removed. I found it by comparing the useful photo provided by Udo to the innards of the Lima; you can see it sitting at the bottom left of the photo:
This is where the instructions tells you to fully remove or isolate the resistor; however, I’m not sure how to do this. Removing the screws it looks like this:
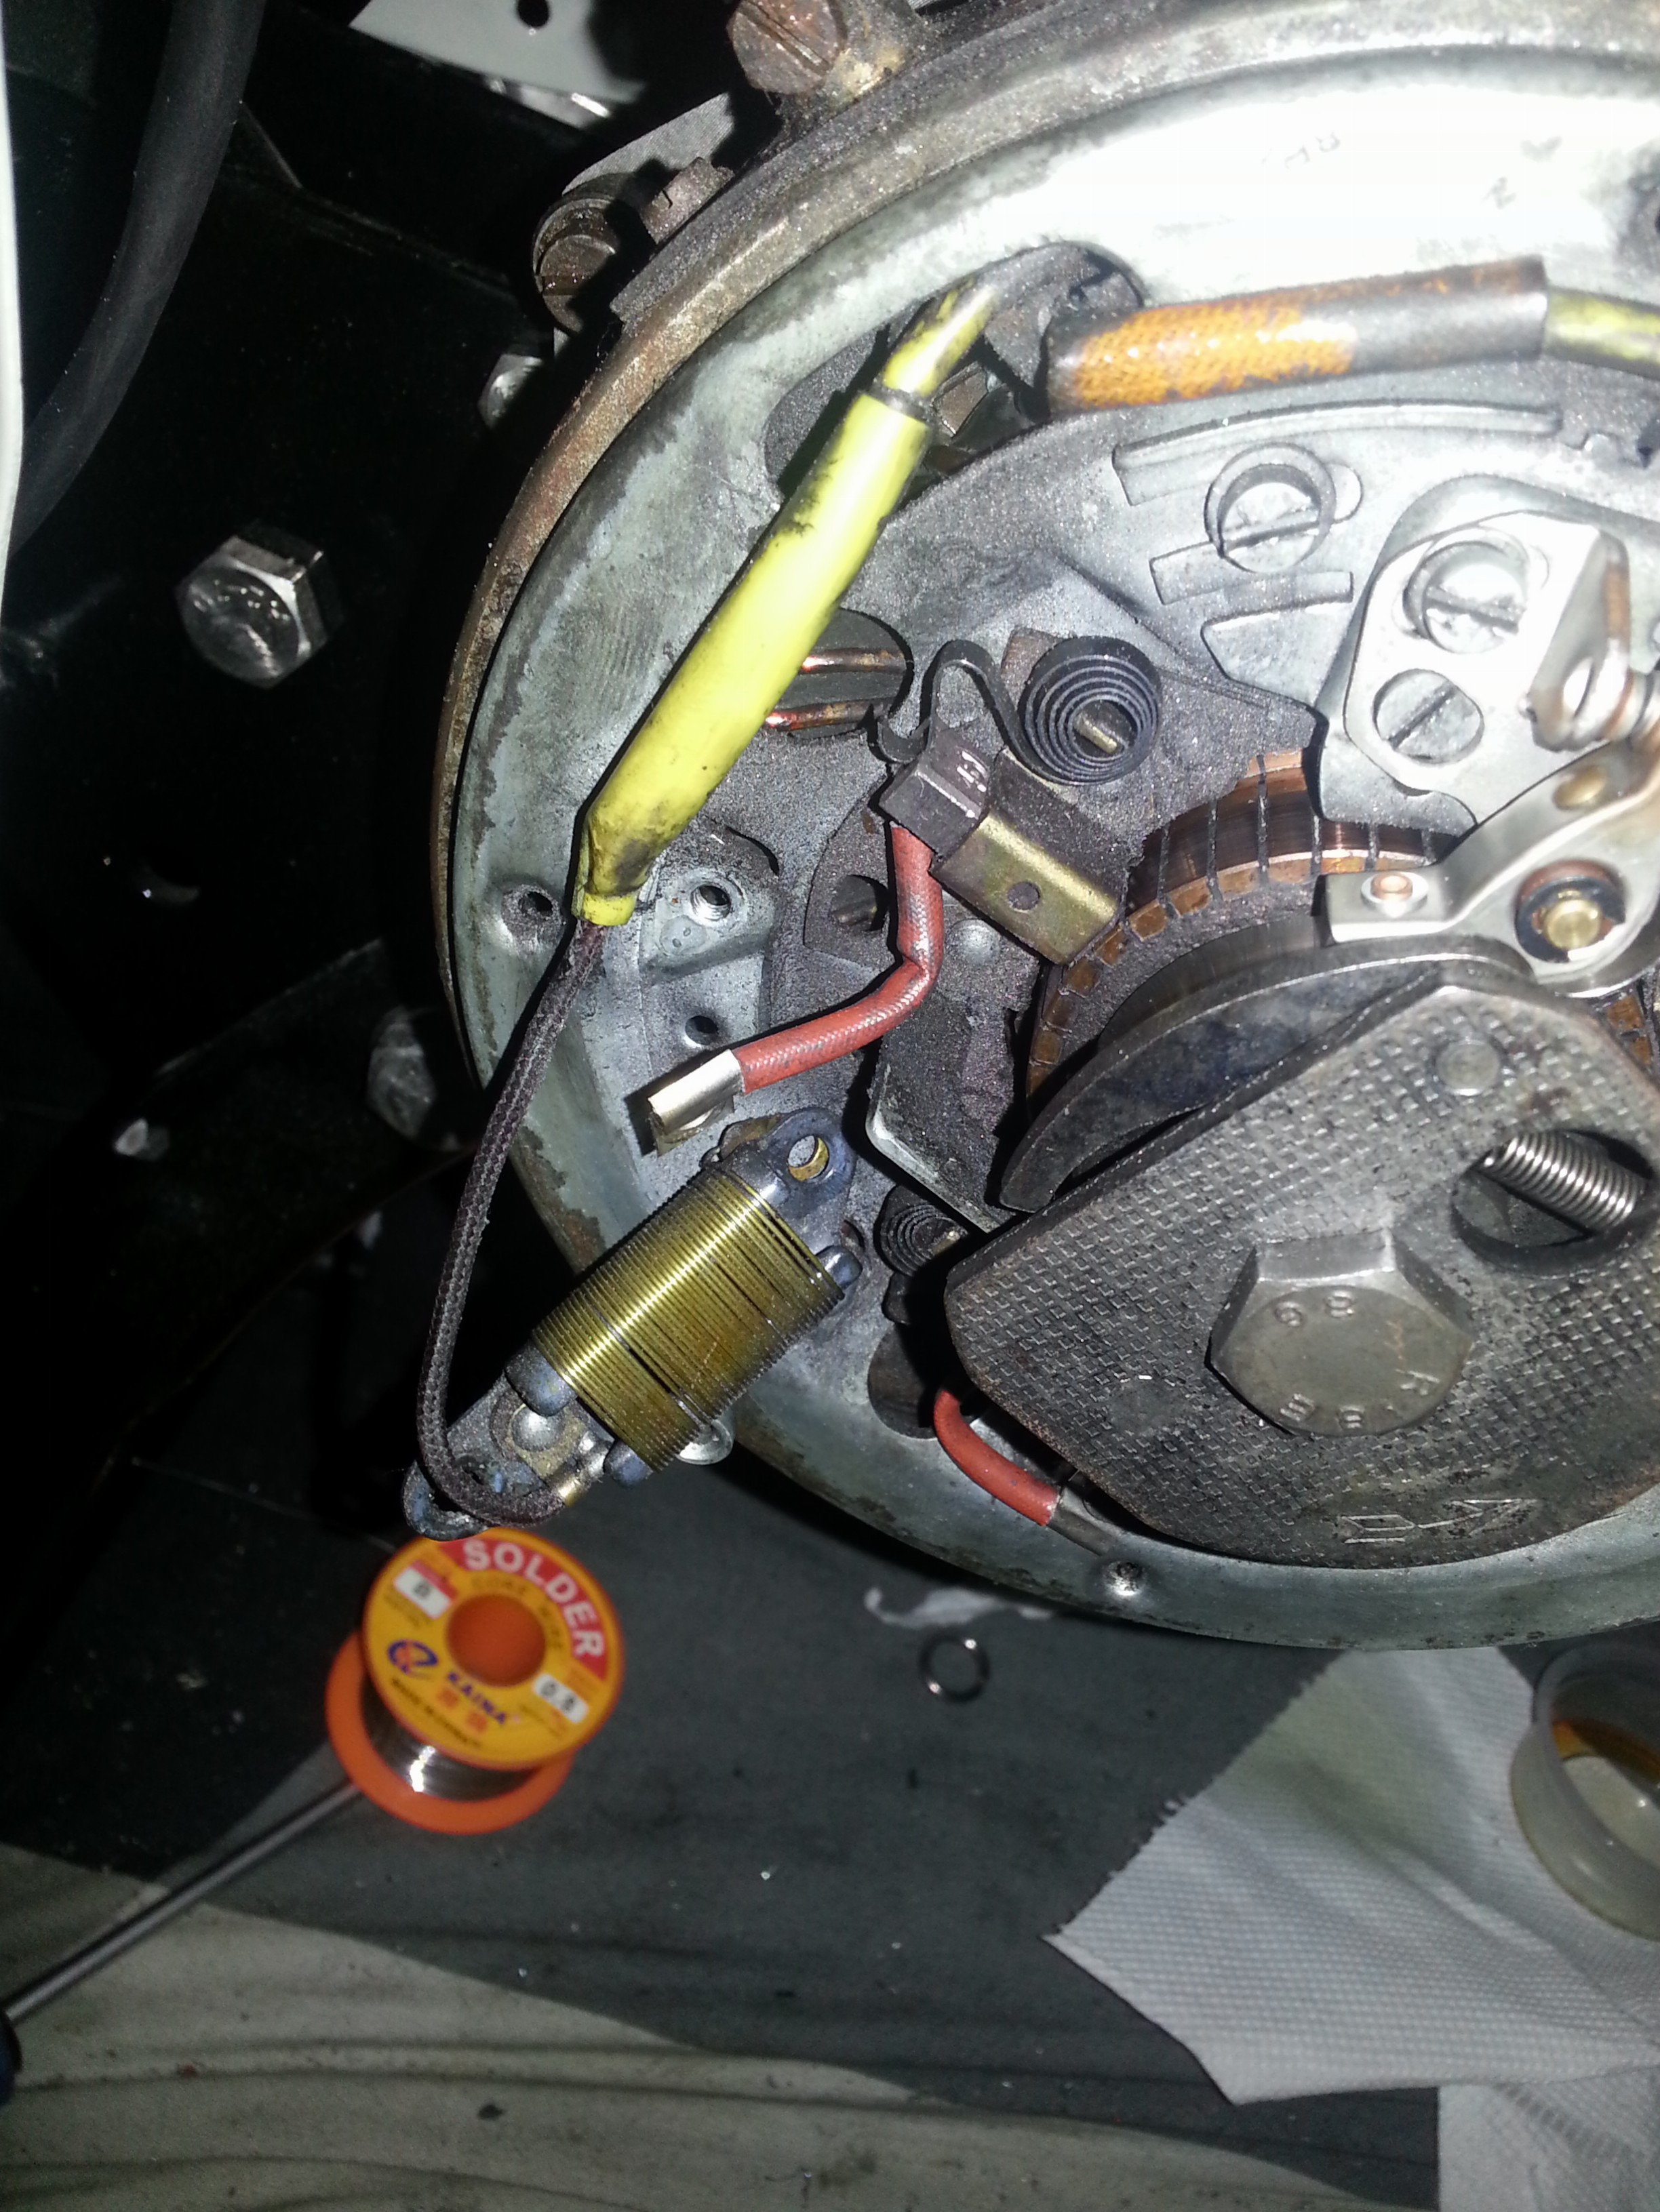
I’ve asked Udo for some guidance and I’ll post of the Zuendapp Bella forum in Germany to see whether anyone knows the detail. I suspect I can either remove the resistor entirely by prying open the clamp connecting the tow yellow wires at the top, or possibly by isolating the resistor and leaving it in place. I’d prefer to leave it in place; perhaps with some rubber washers or plastic screws, but the top screw holds both the resistor and a connector for the carbon brush, so not sure I can use plastic and rubber there. Let’s see what comes back.