
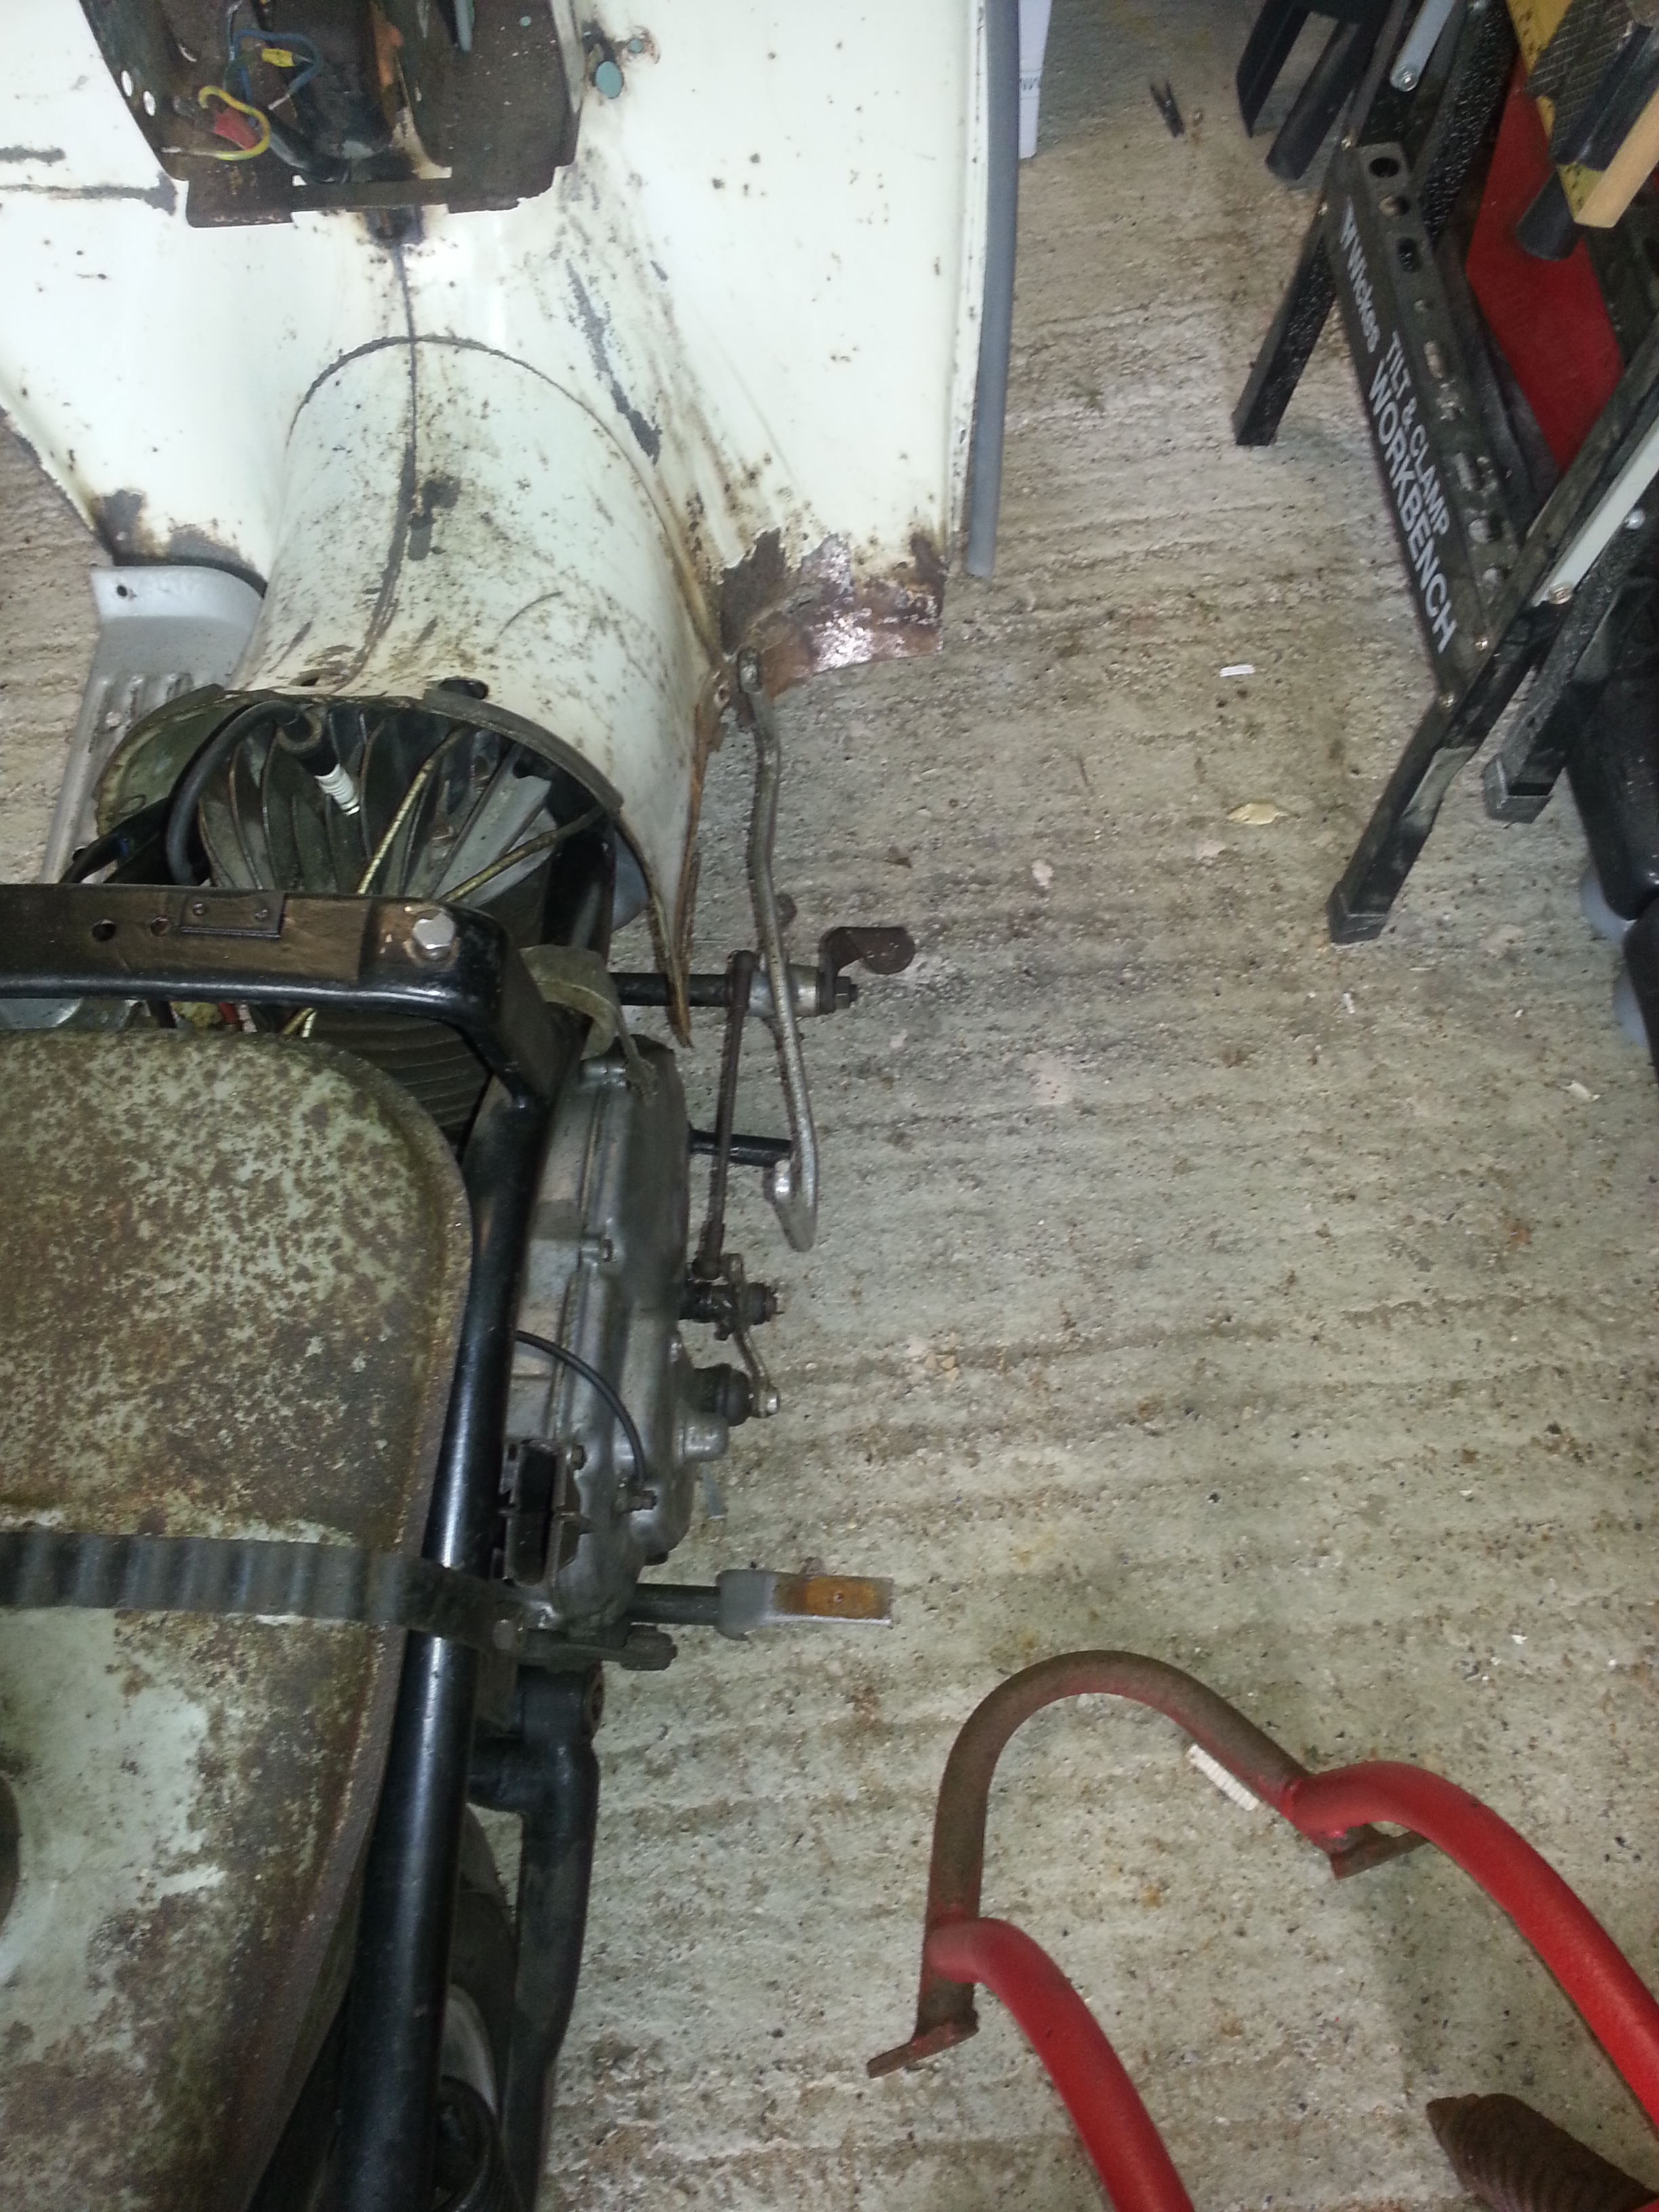
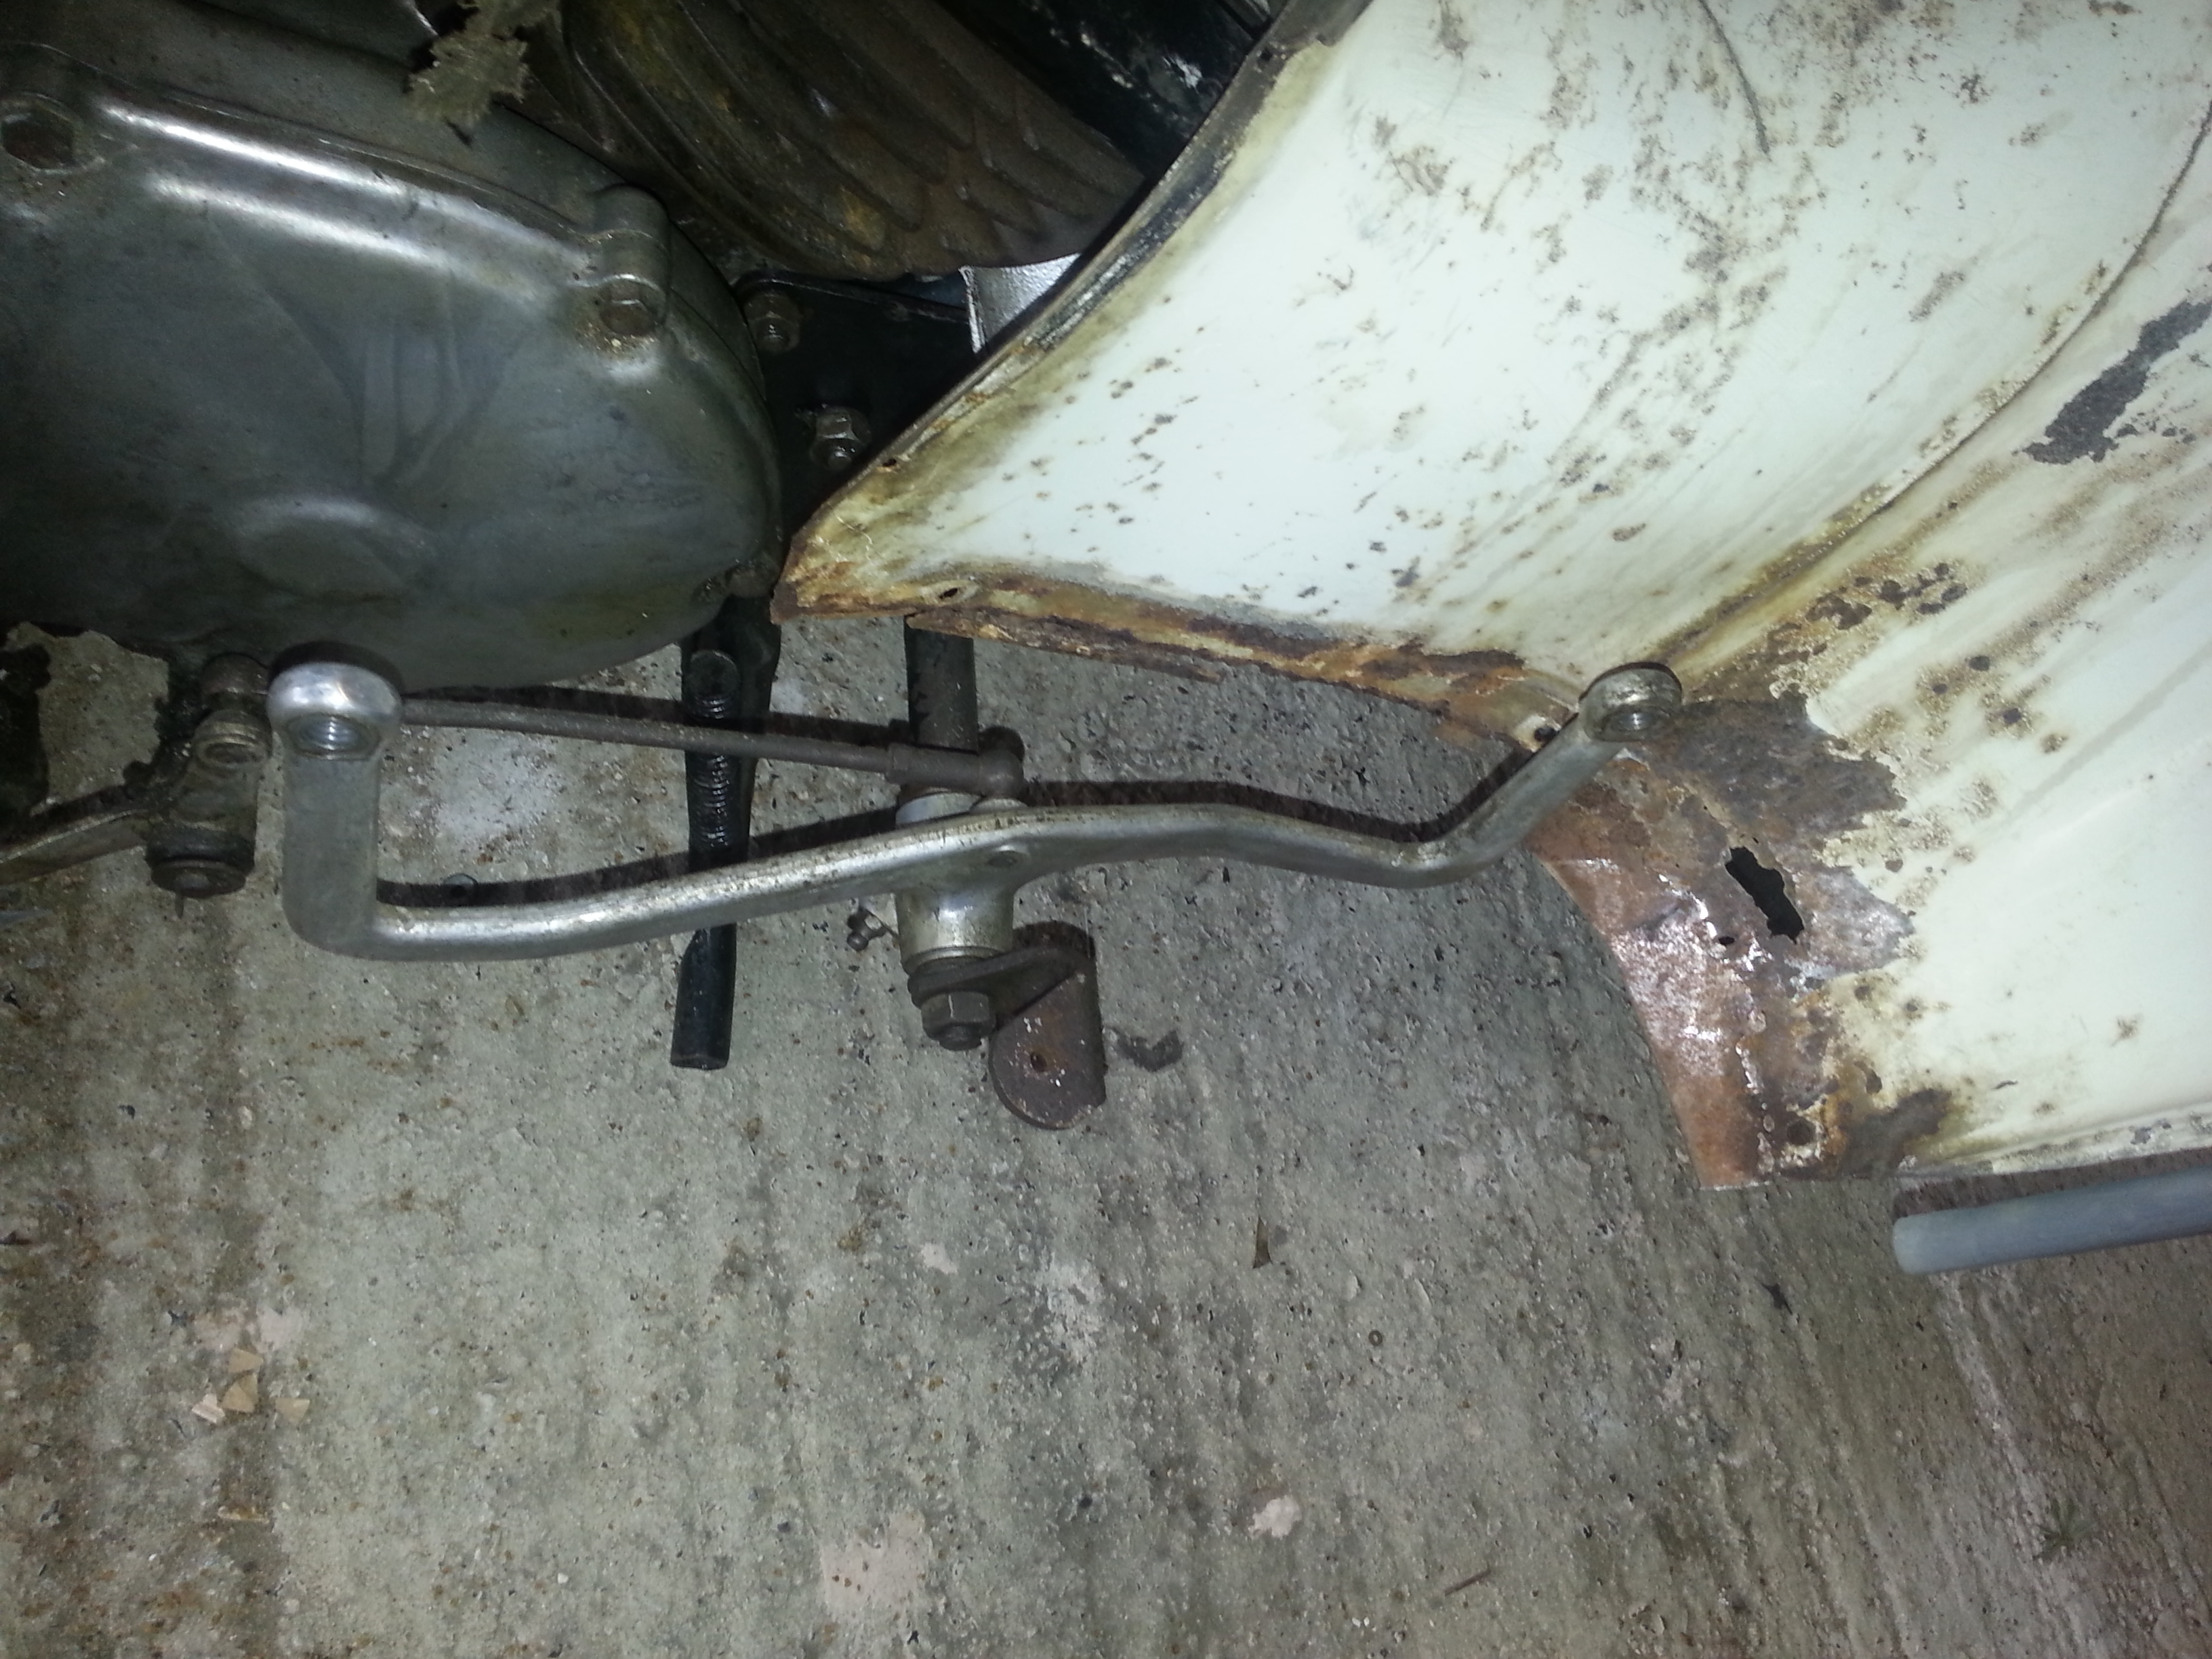
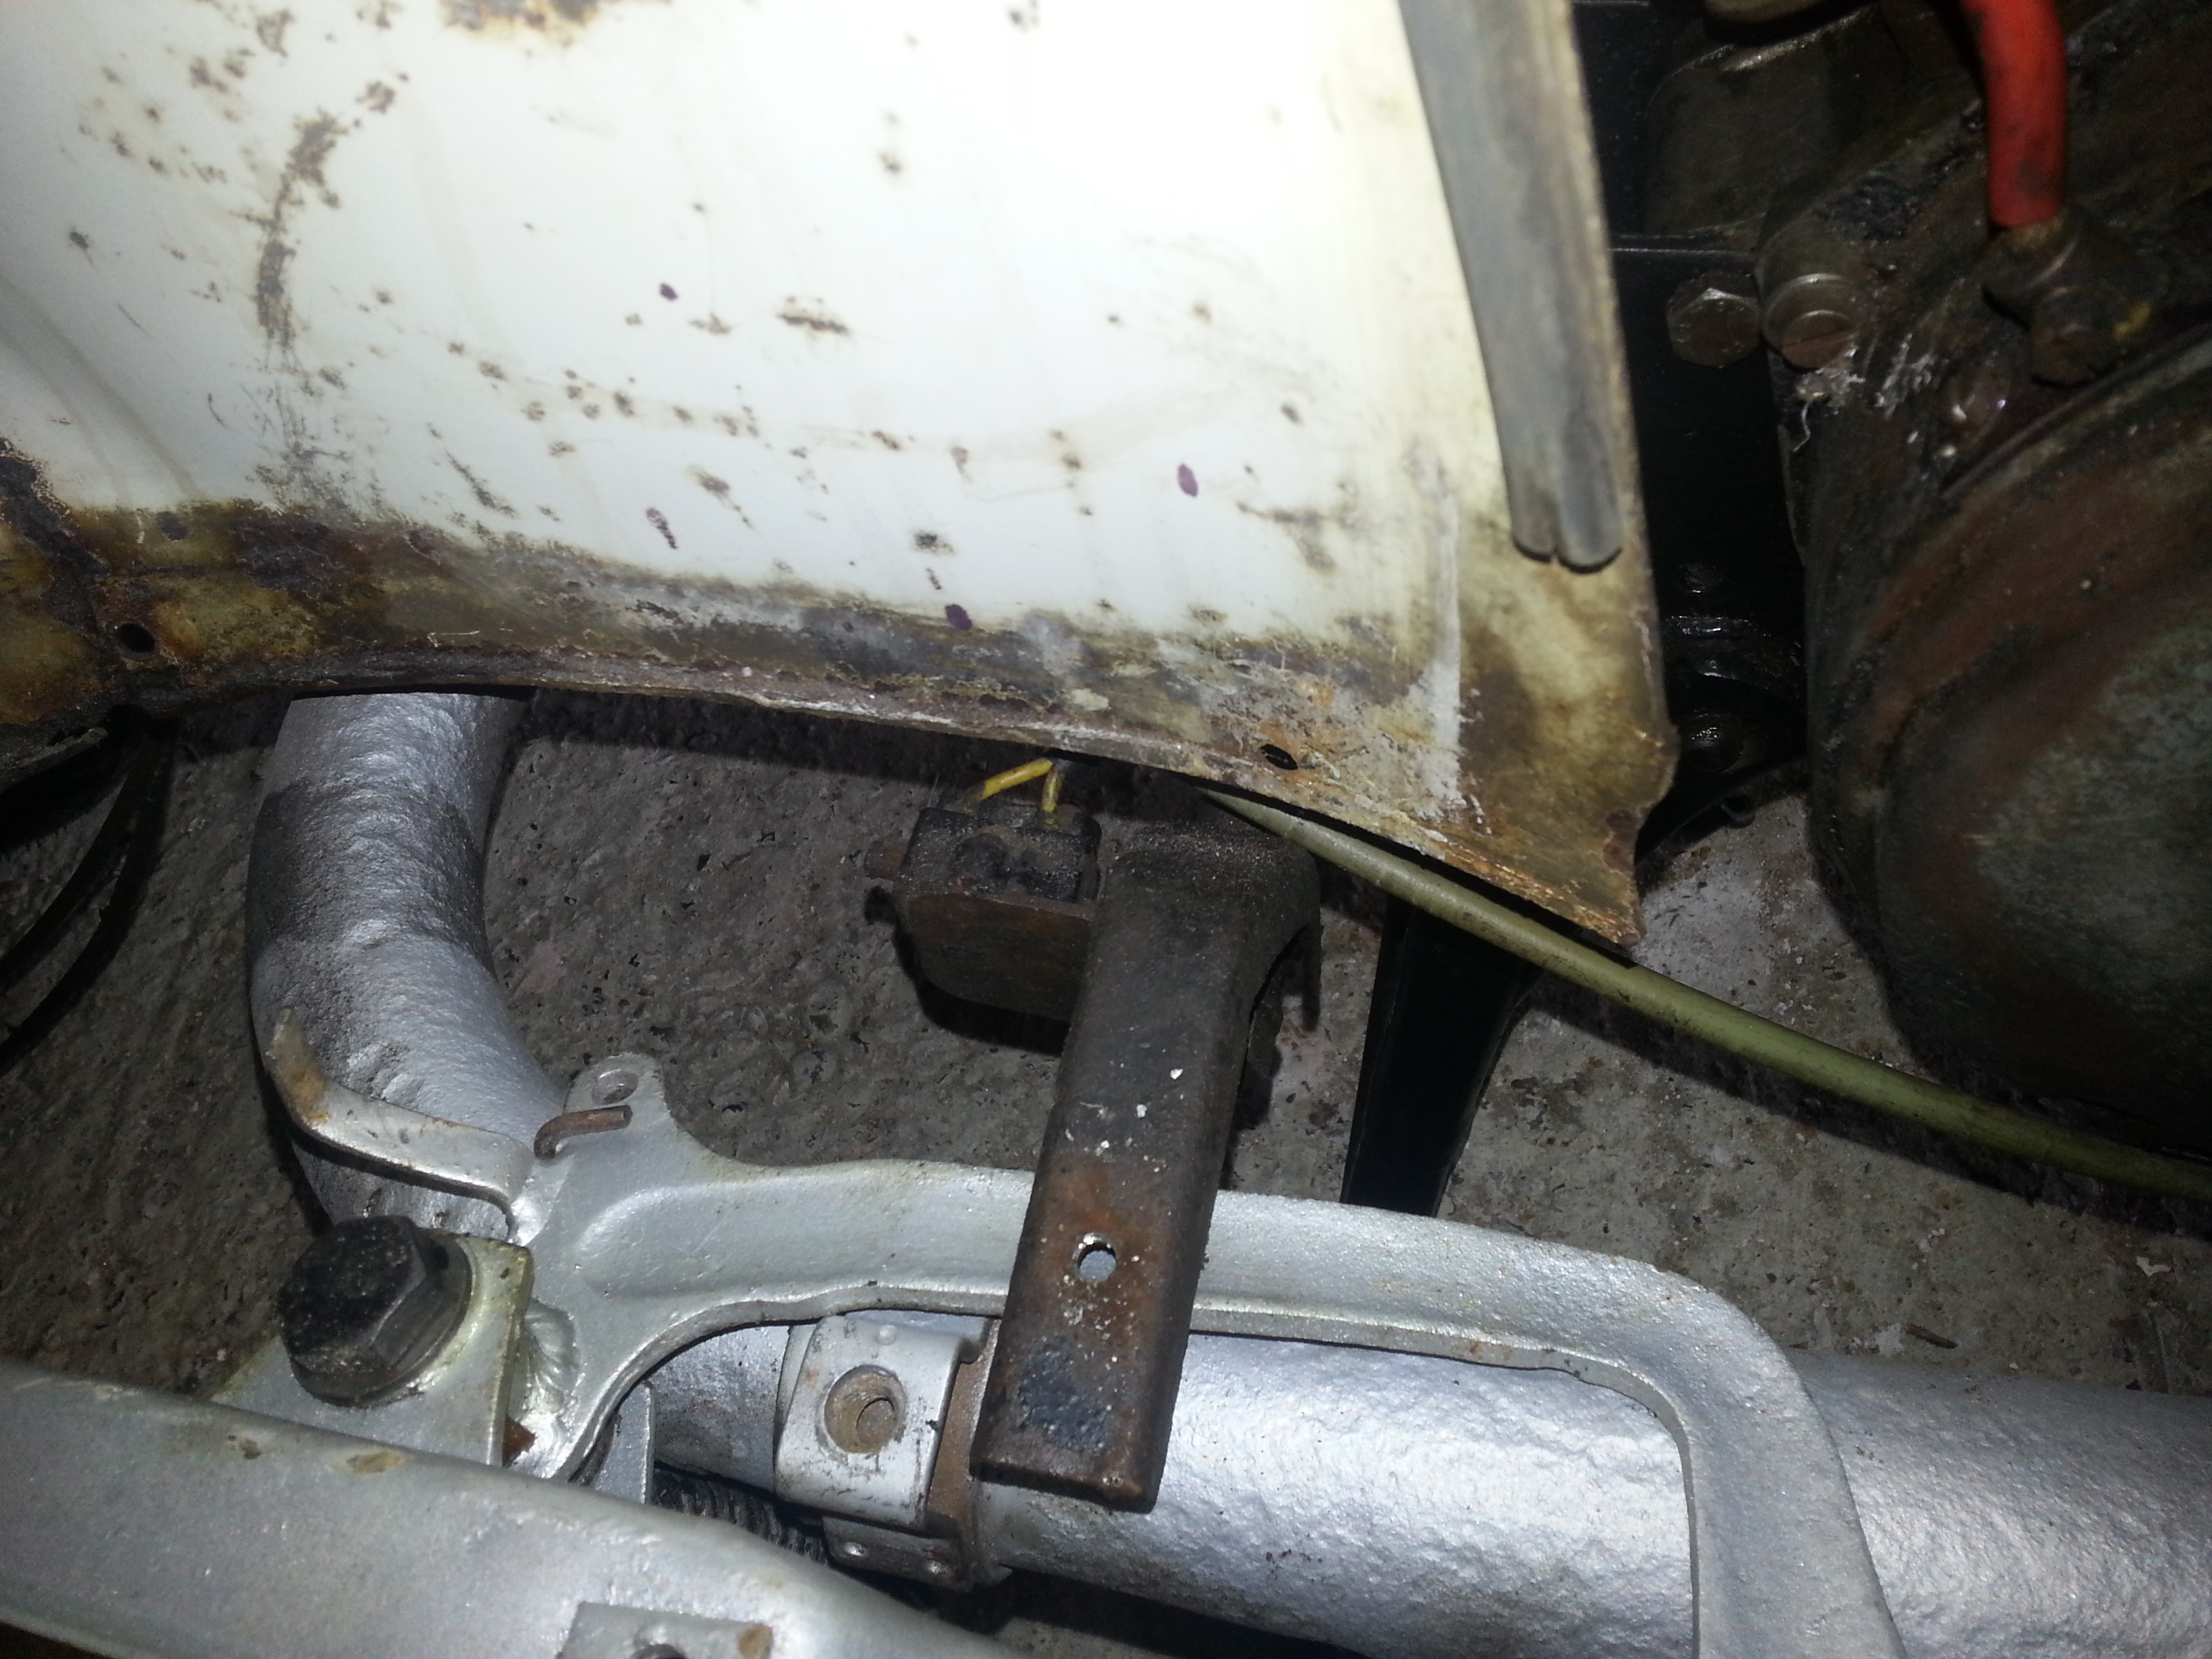
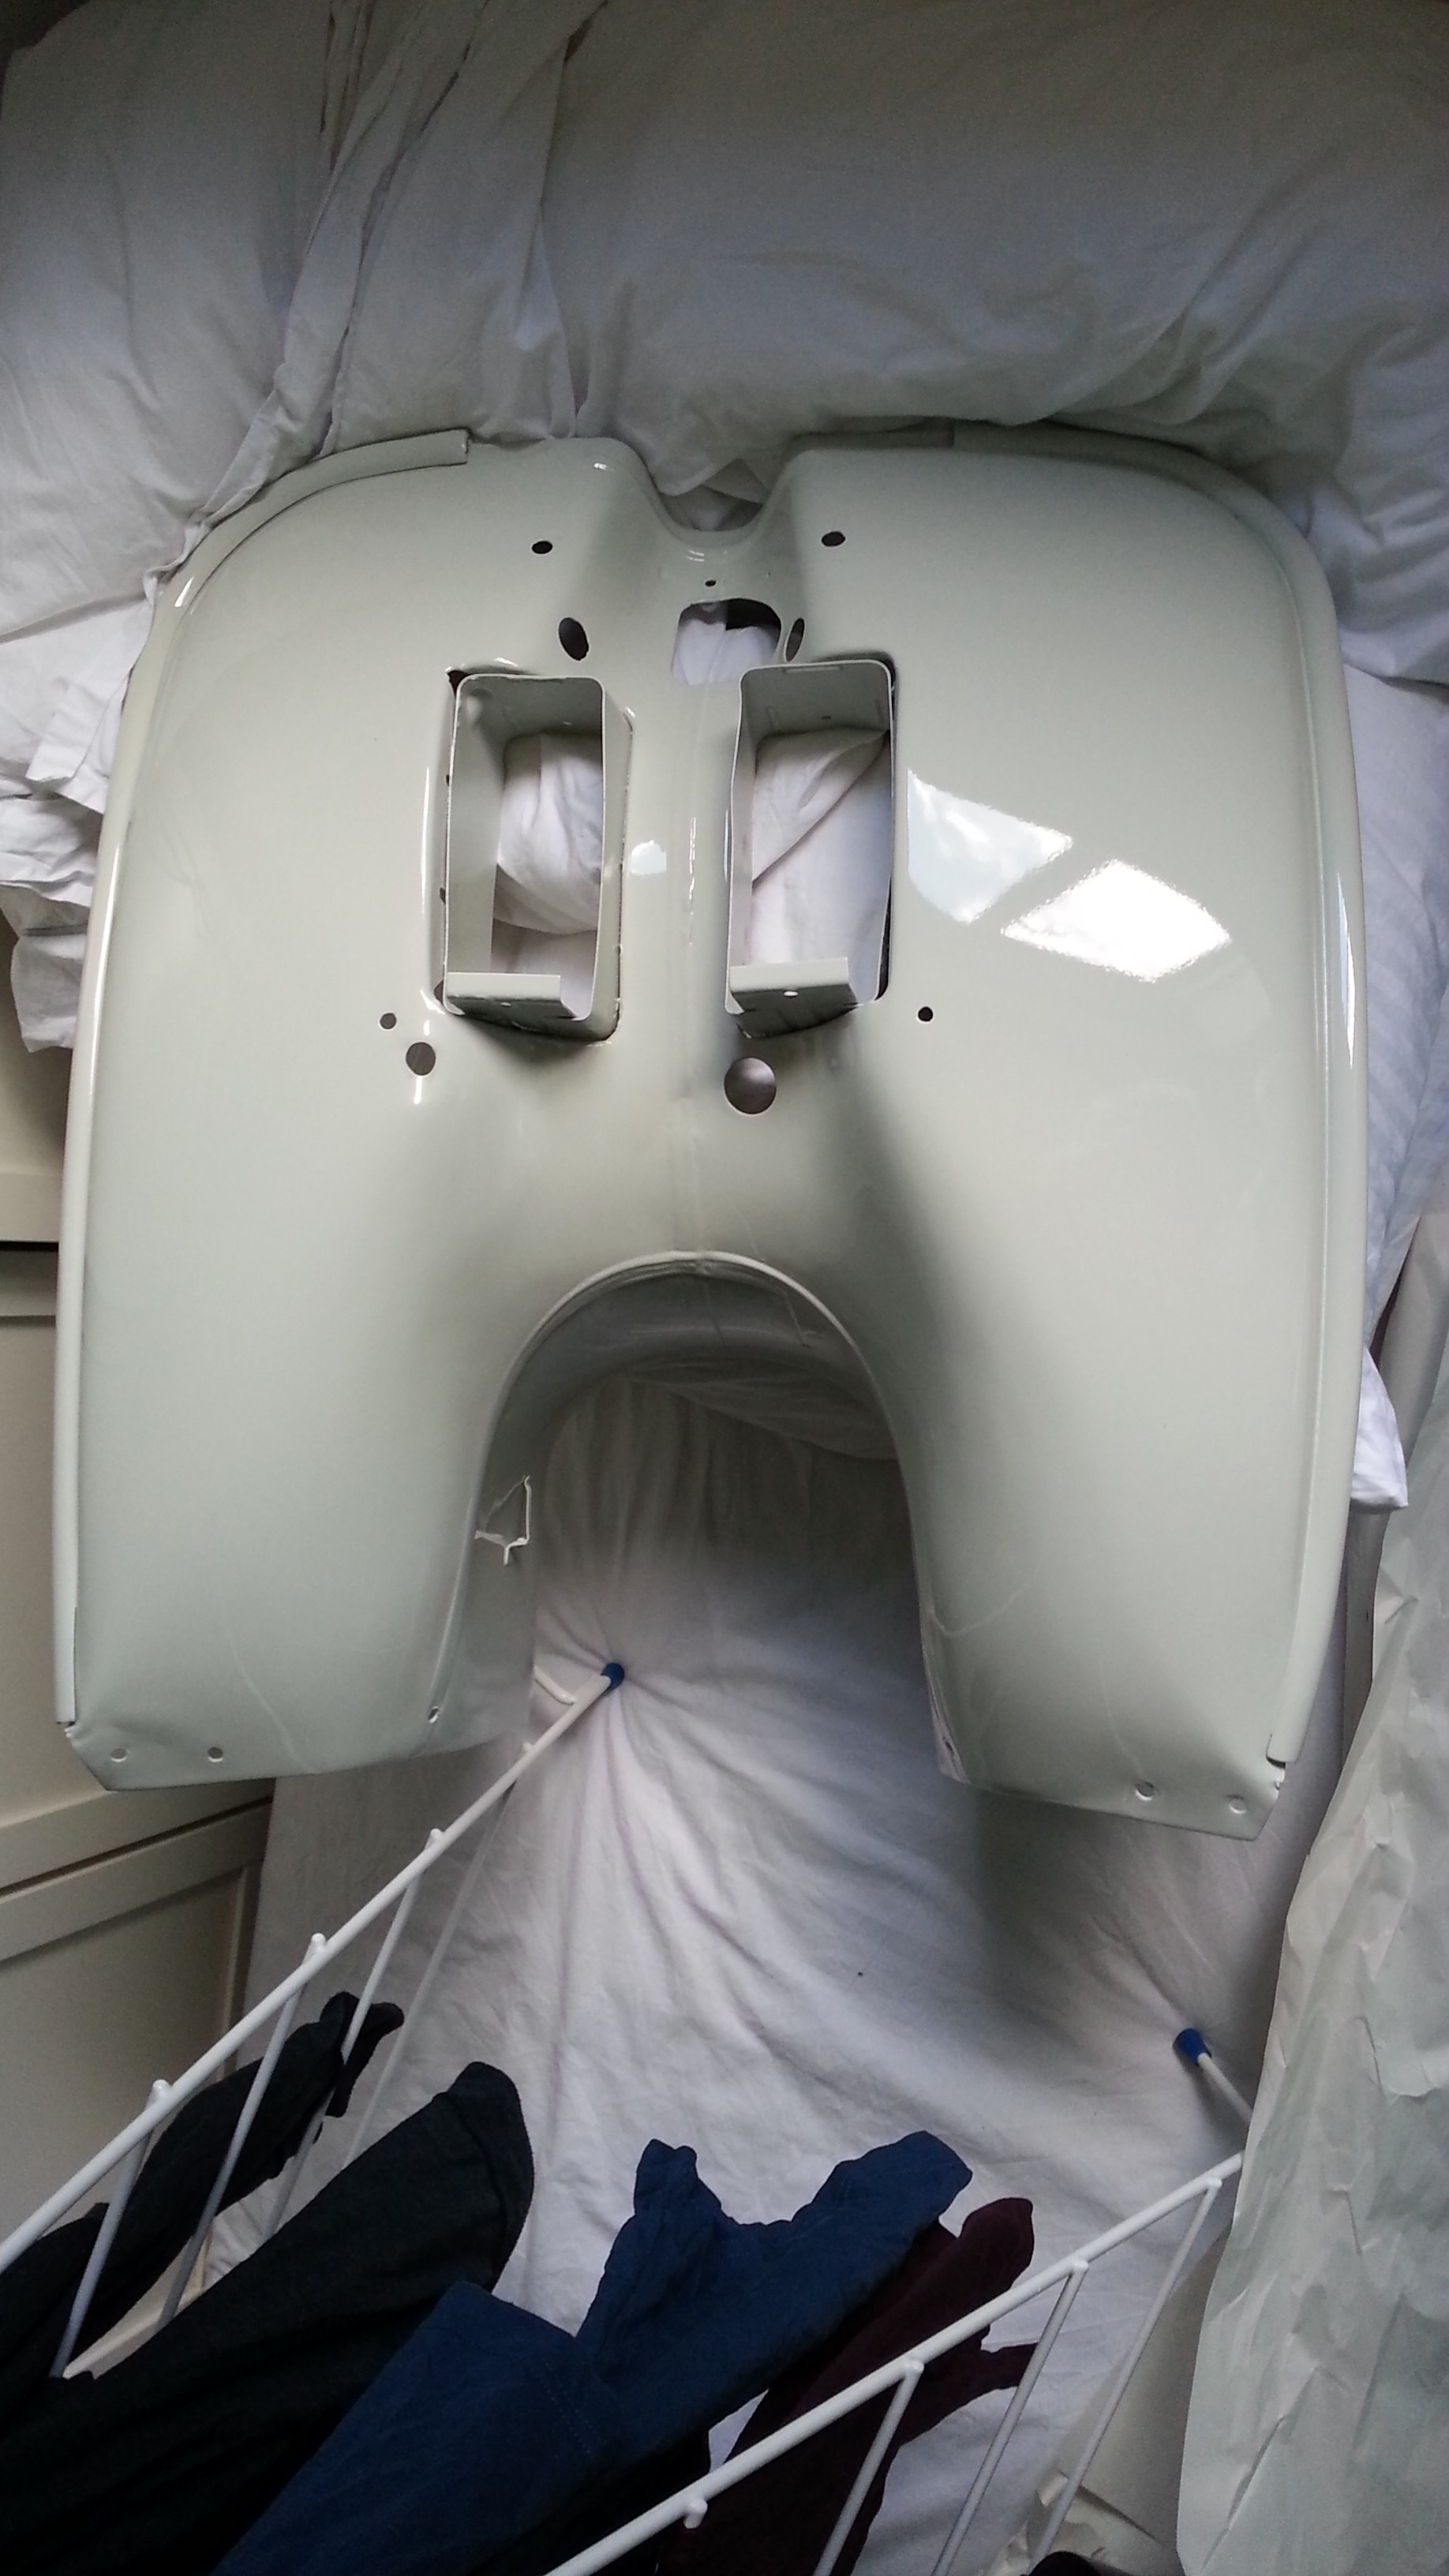
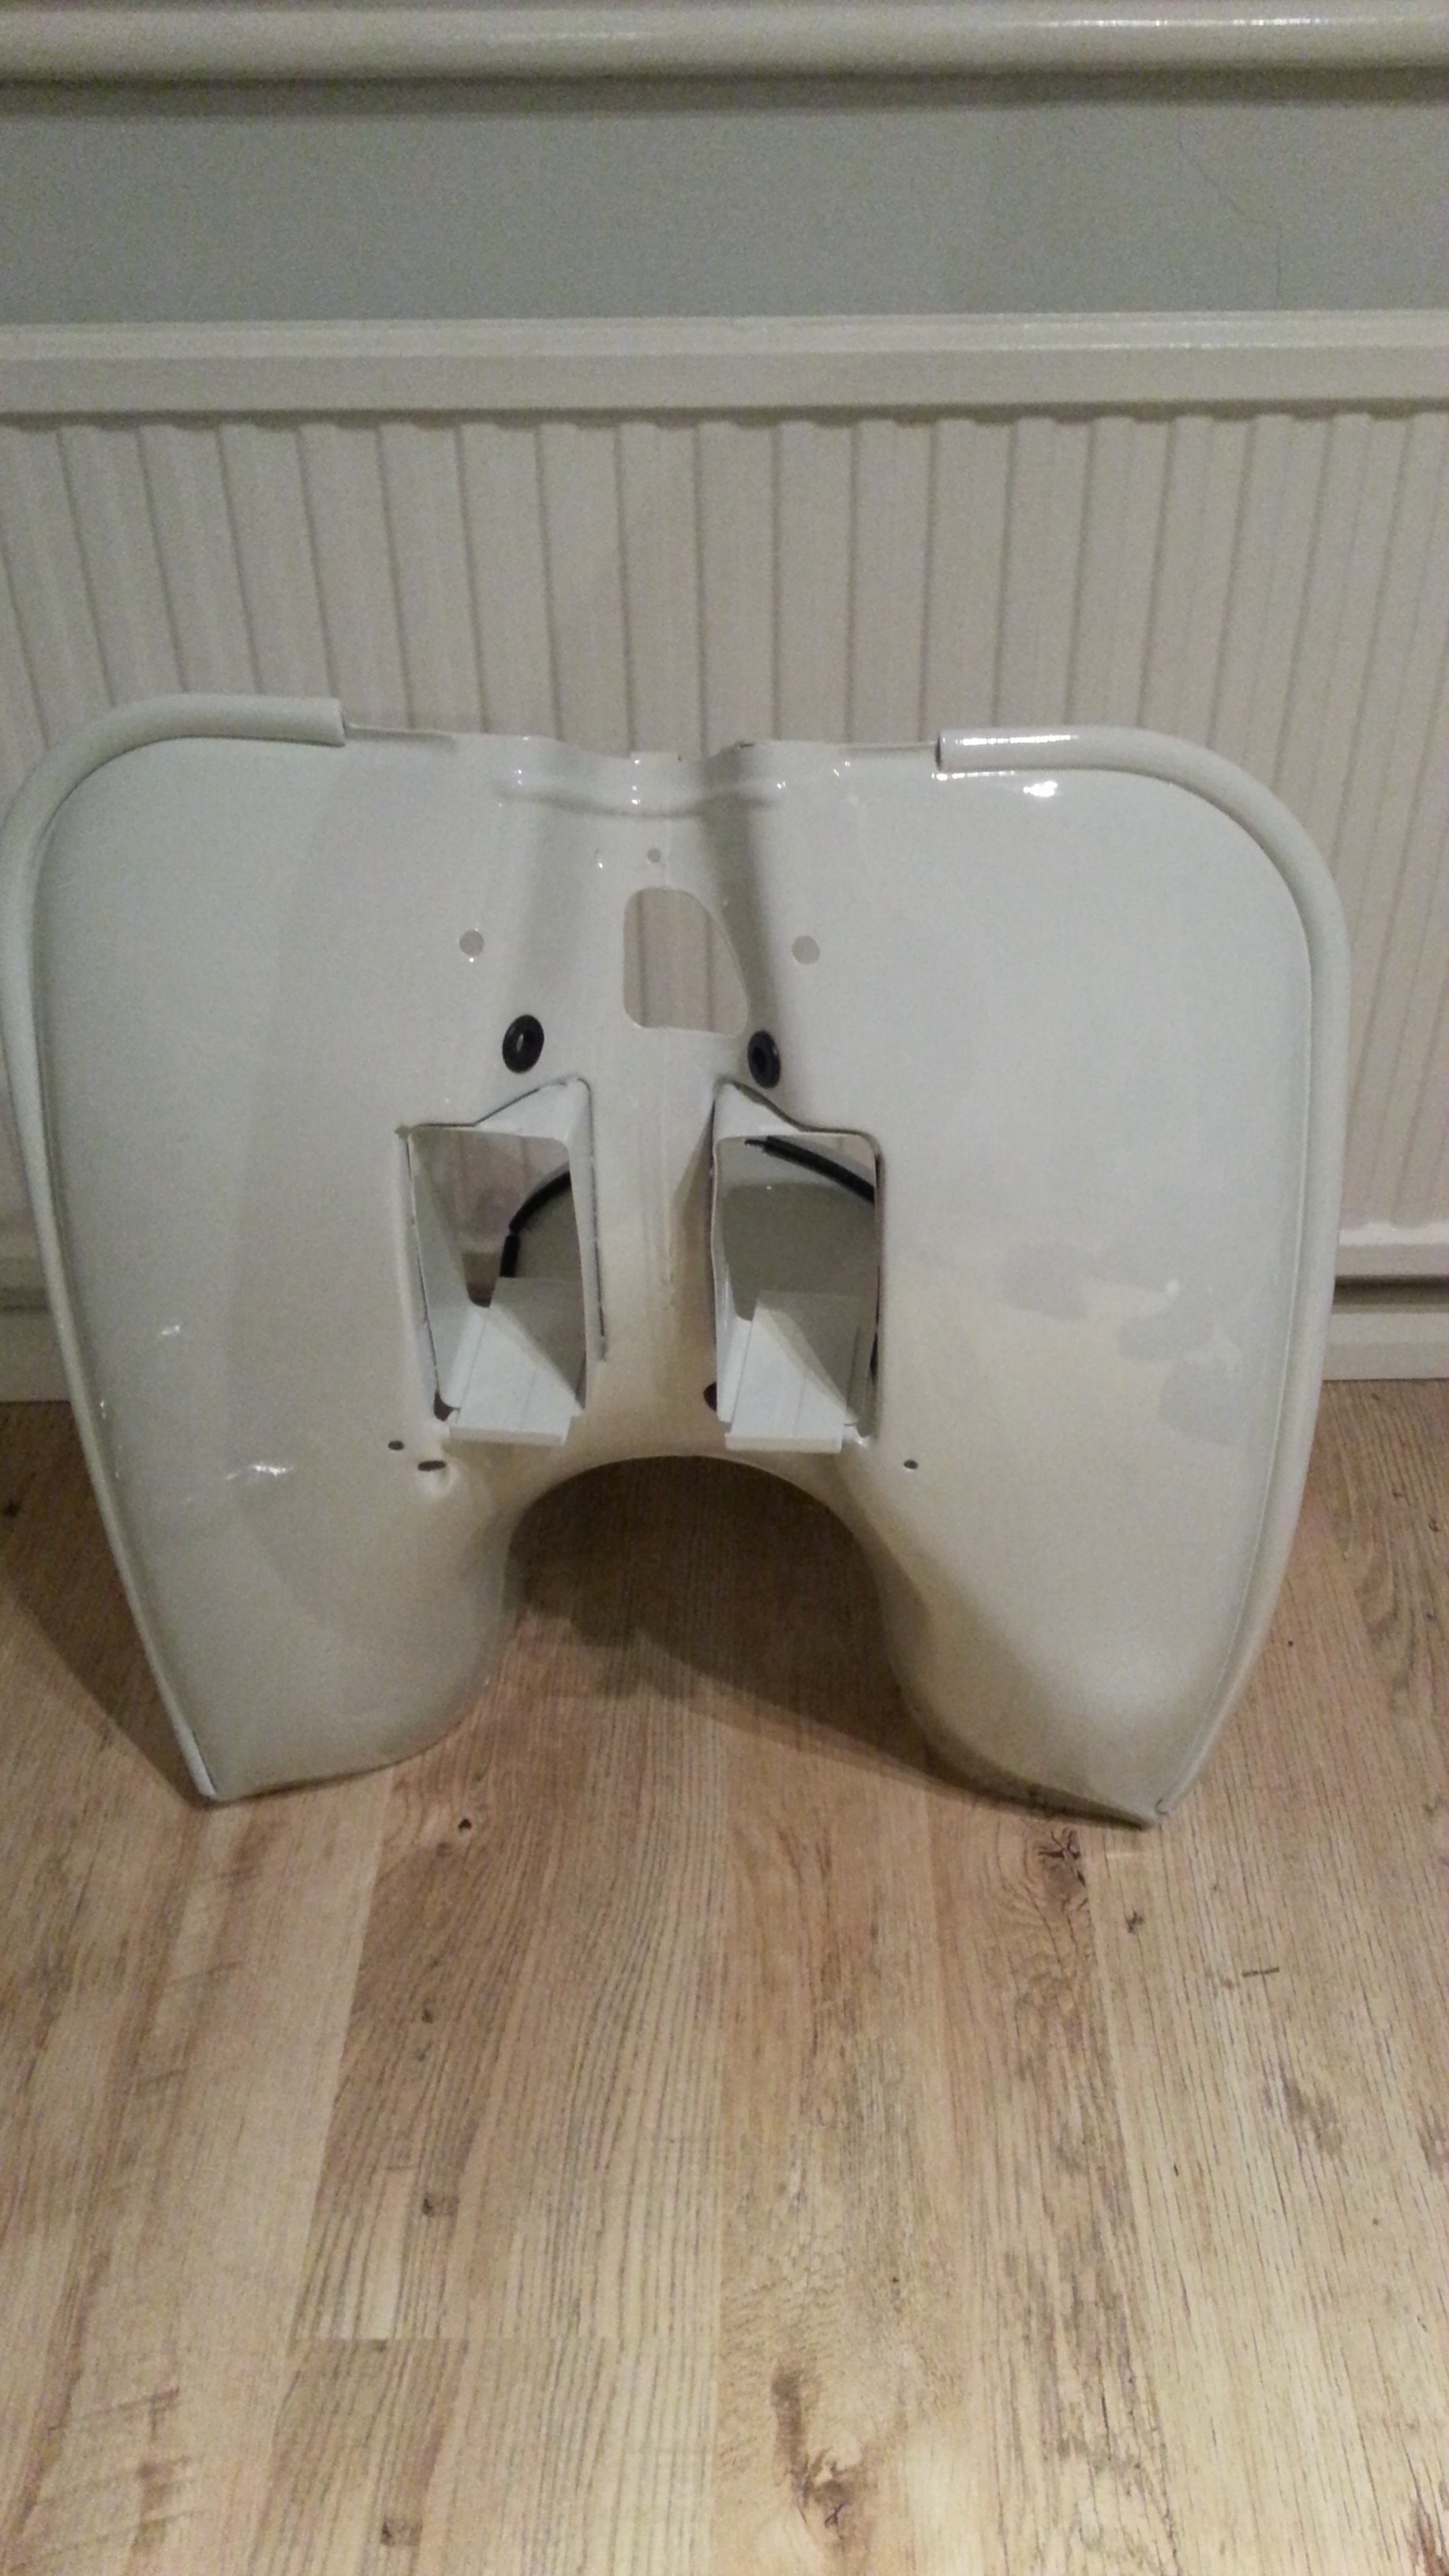
My leg shield was bent, very rusted at the bottom and damaged to such an extent that repair would have been very cost prohibitive. An estimate came in at hundreds of pounds. In the end I ordered another leg shield that I hope fits; although it does not have cylinder head screw holes which it should have for an R204 due to the diagonal placement of the engine. Fingers crossed… Some of the damage can be seen here:

The painted leg shield looks very nice:
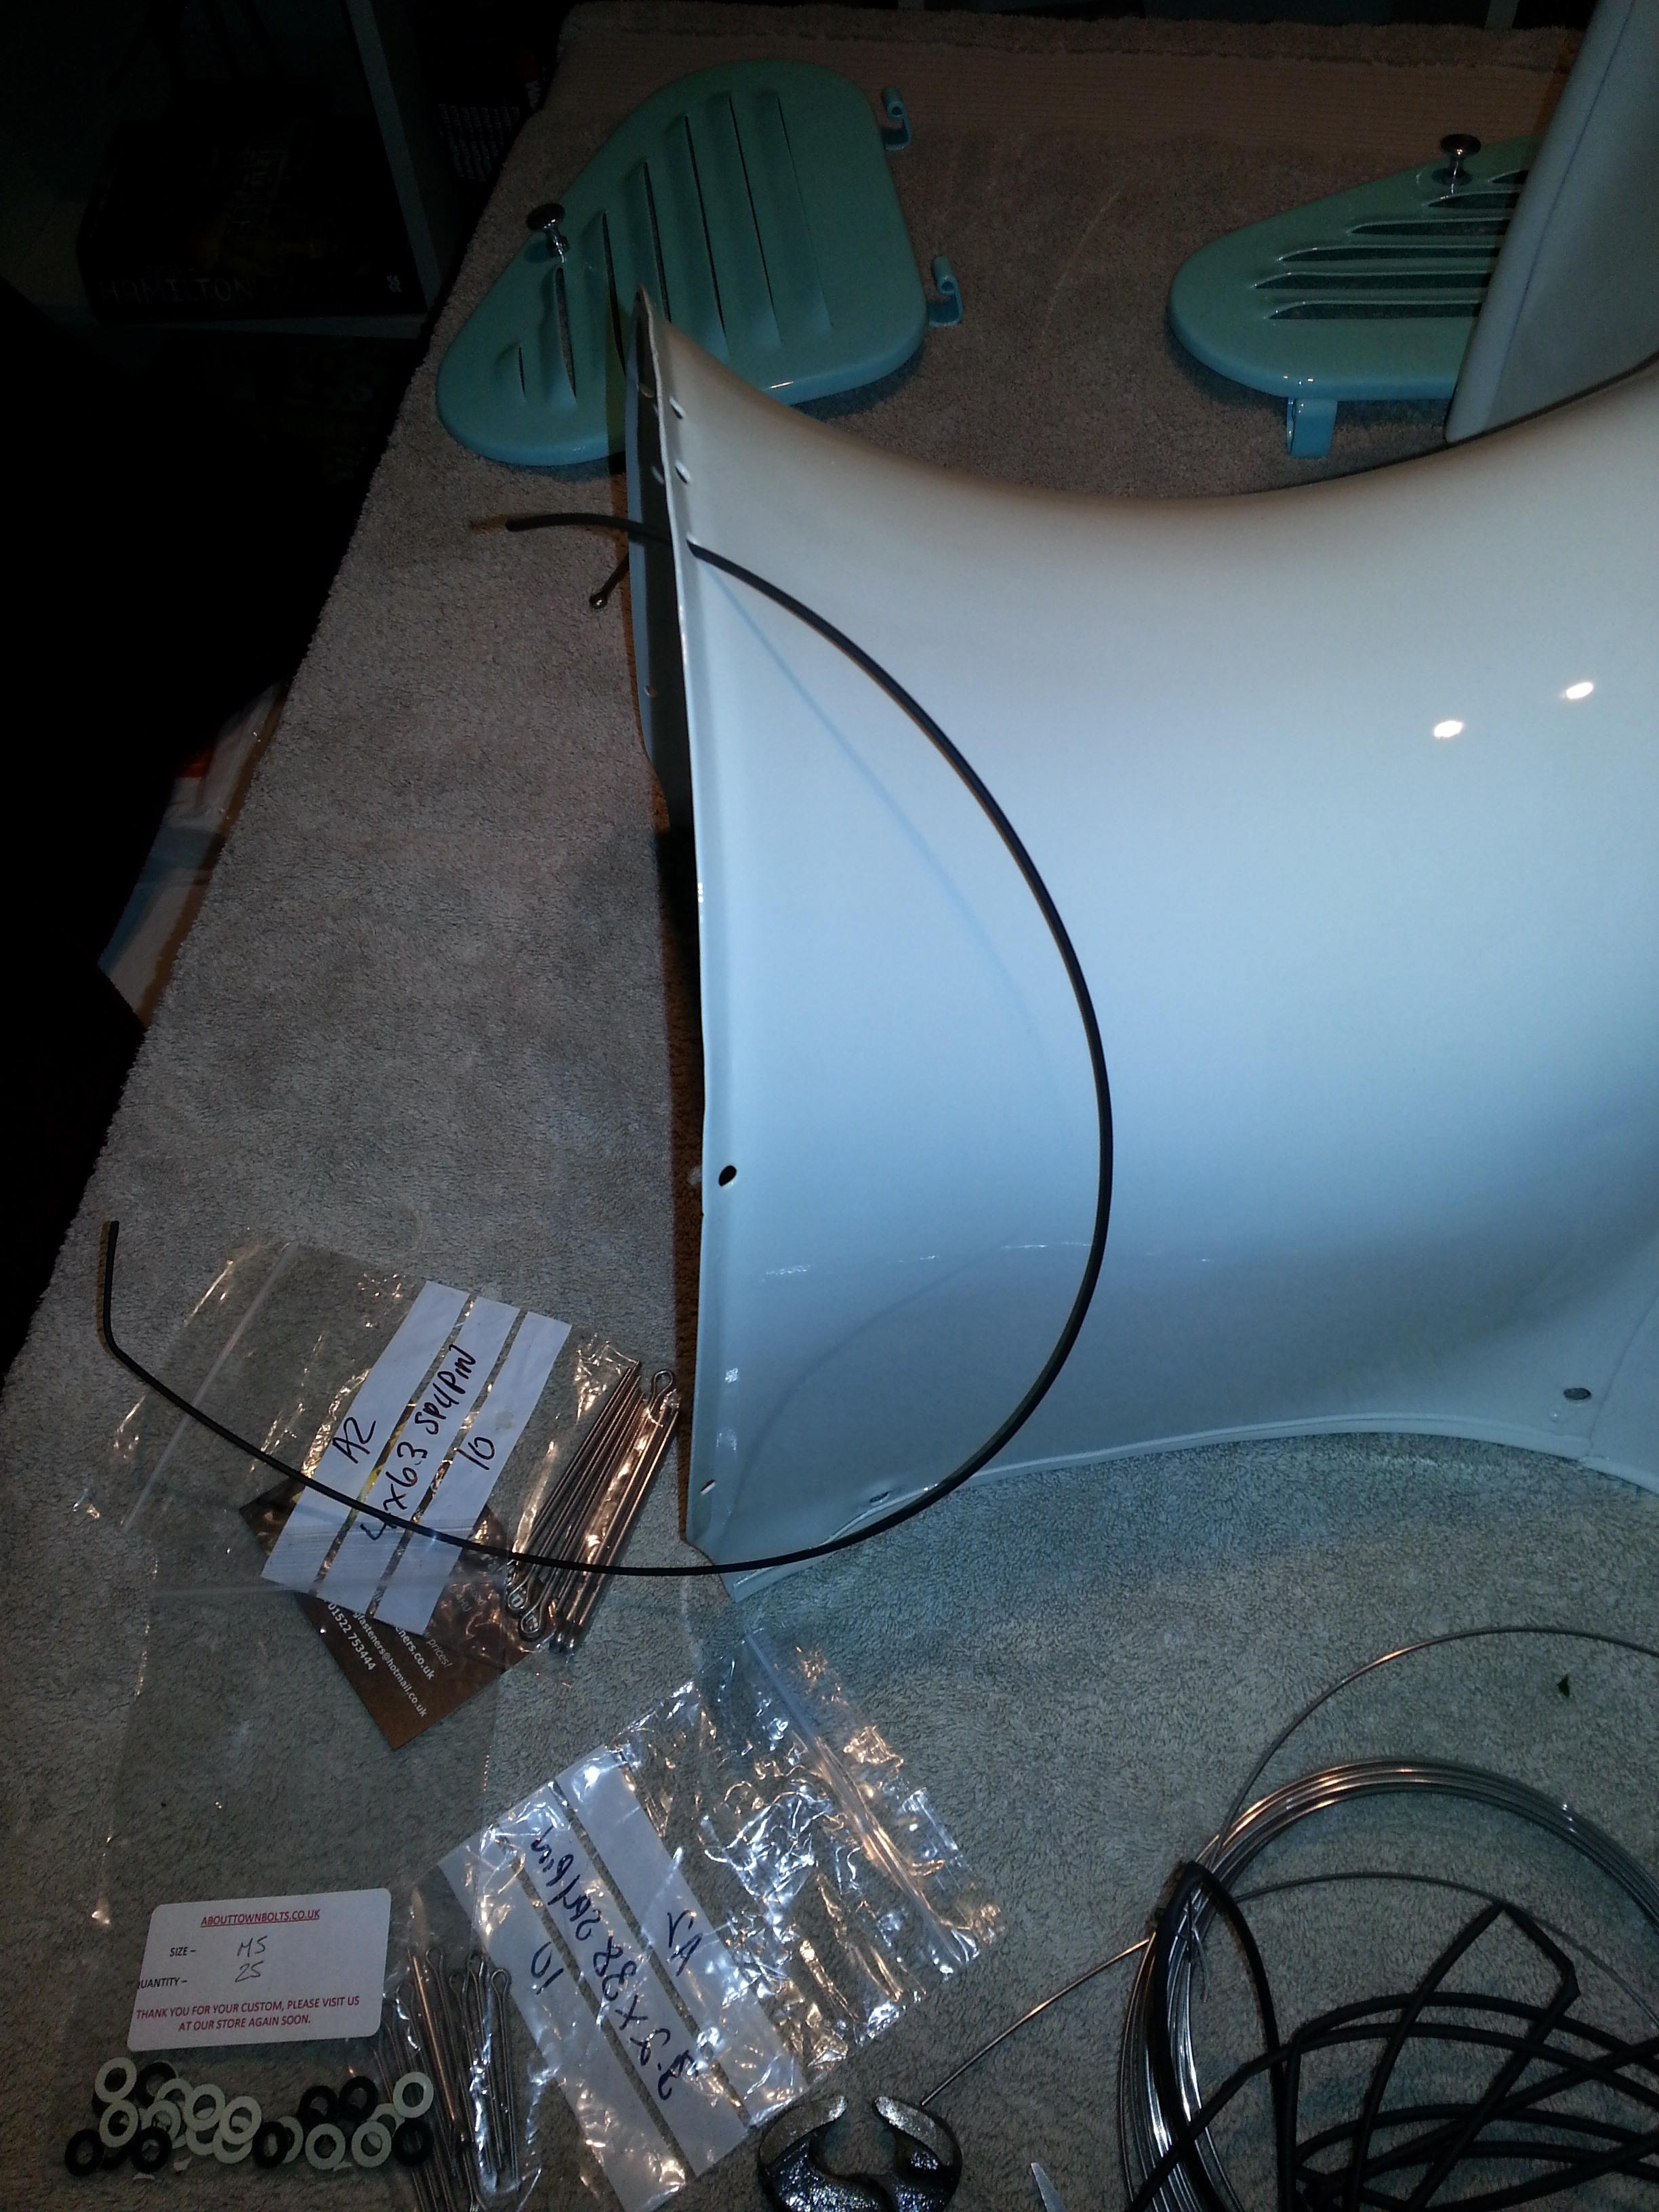
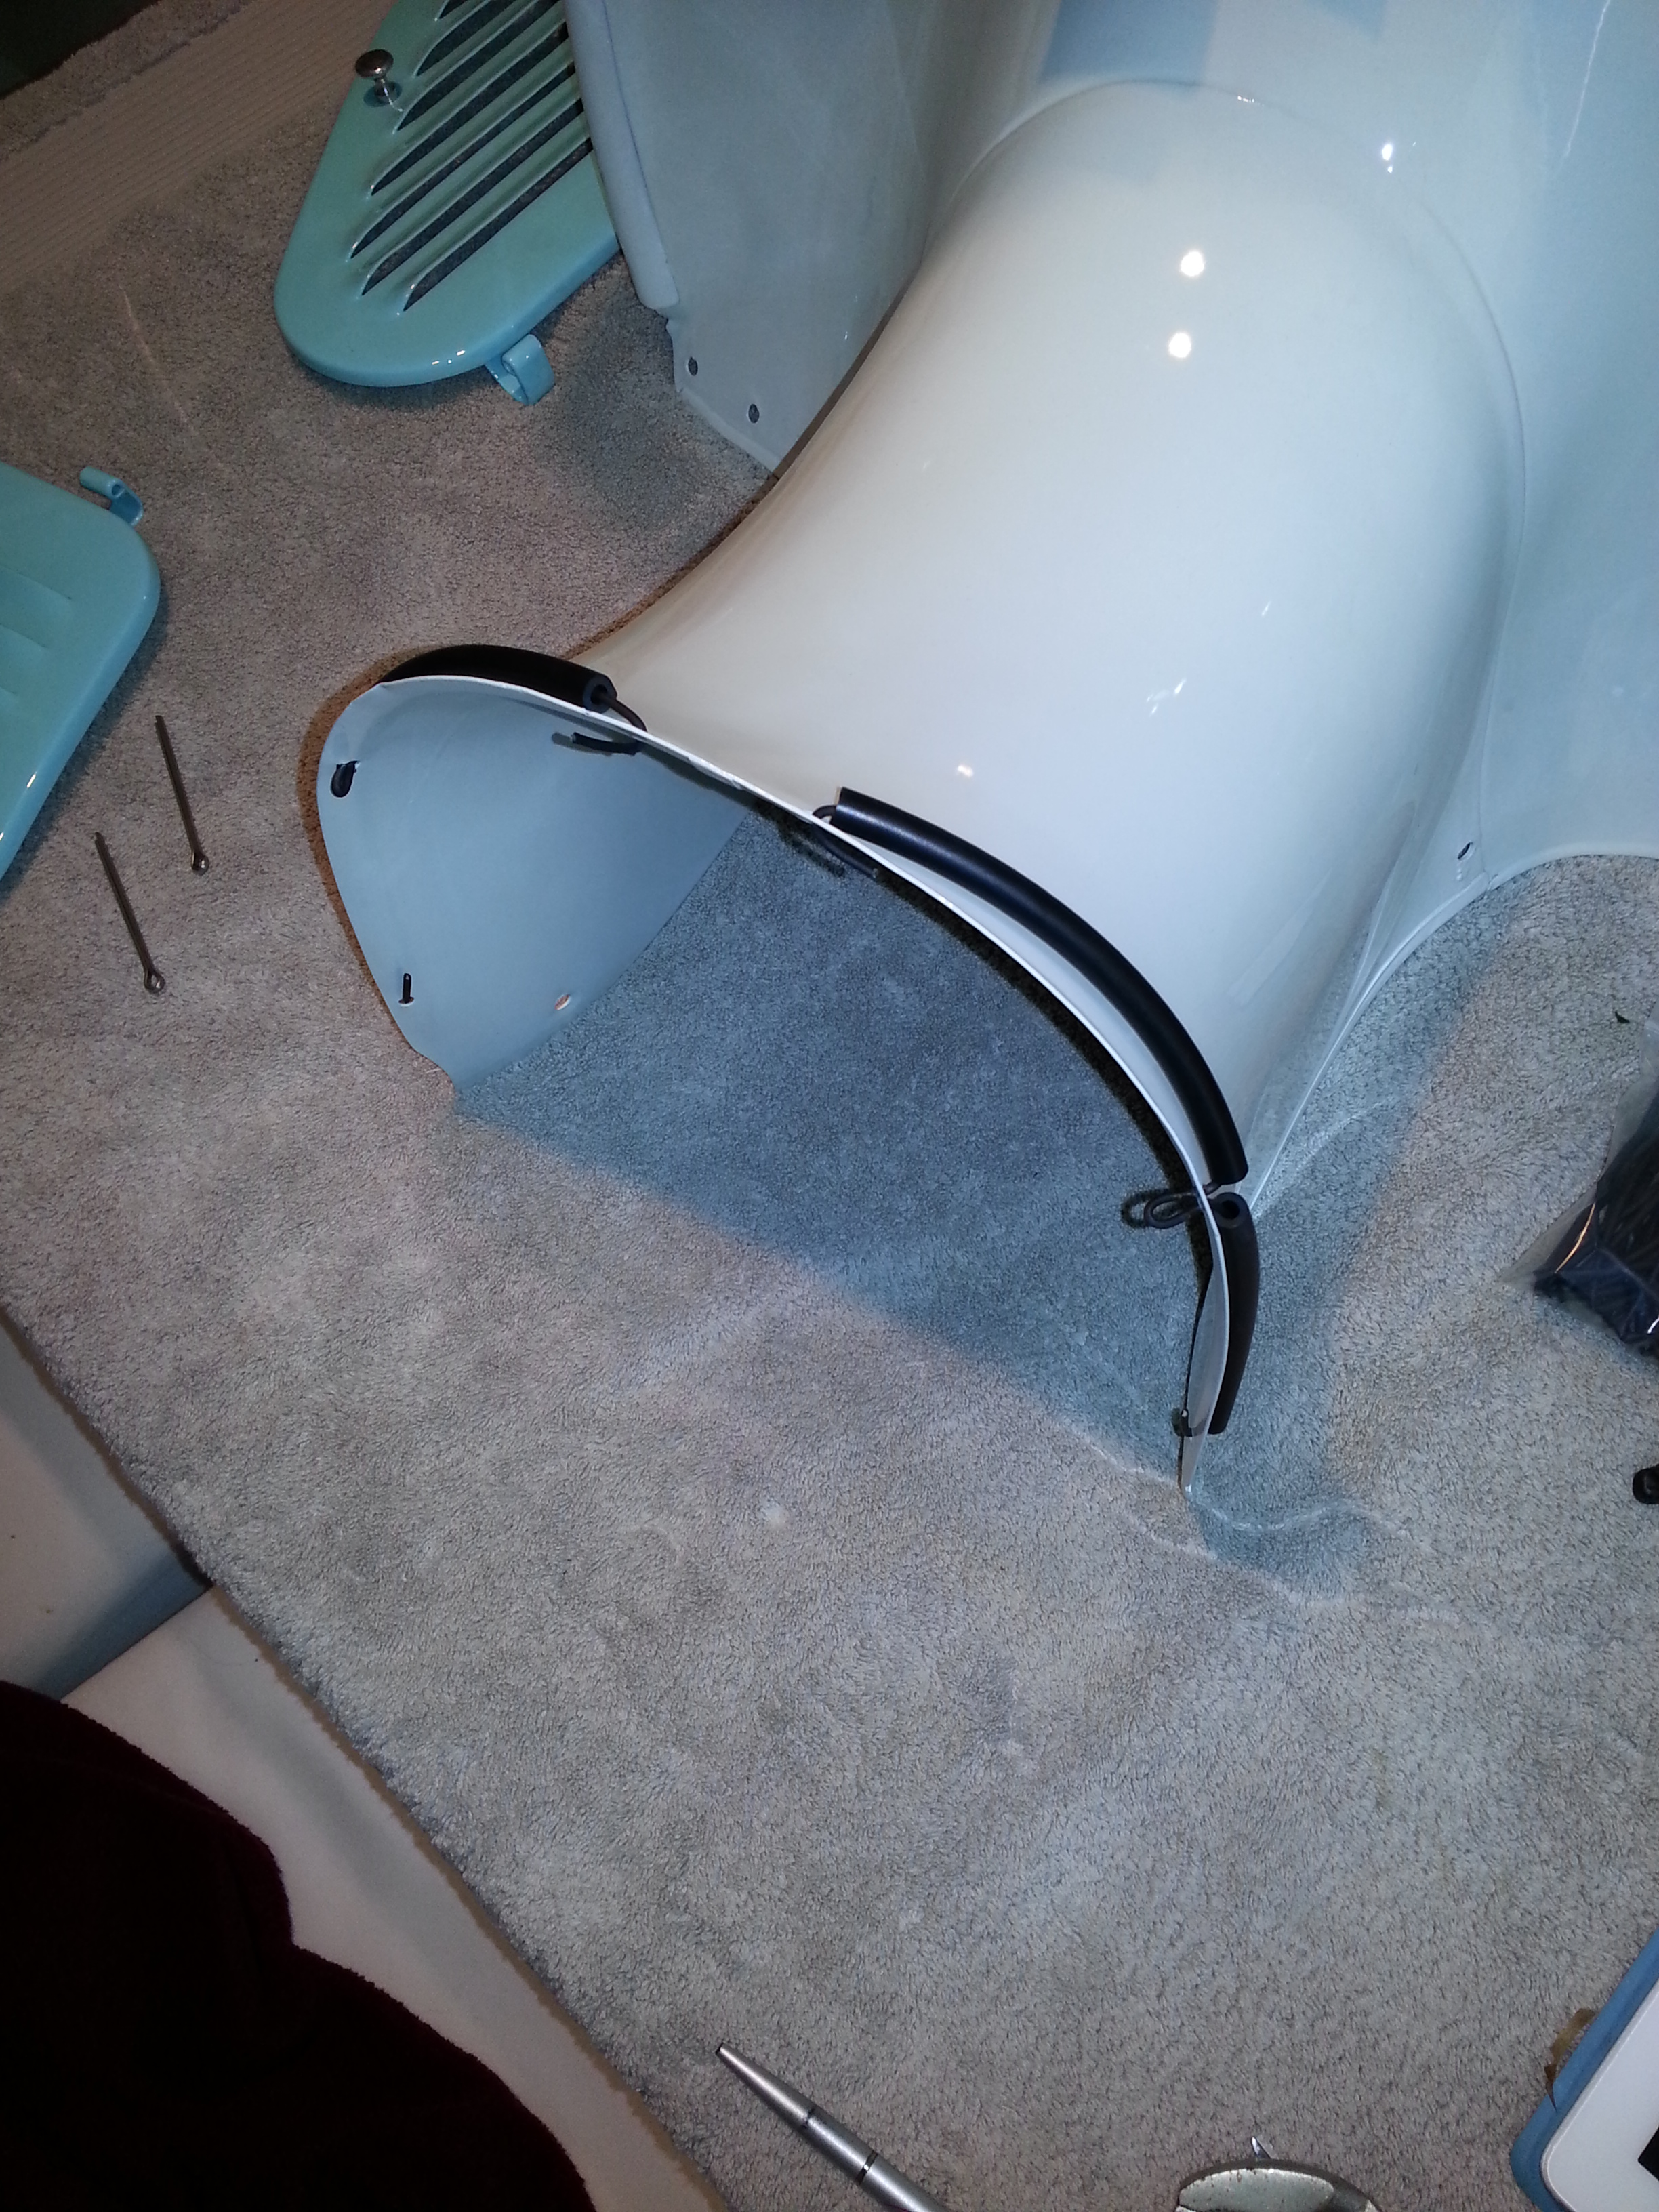
Protective rubbers
Protective rubbers should be present where the leg shield meets the rear body. These serve to protect the paintwork of the leg shield when the rear body is put on top of it, but also to reduce vibration.
It’s a quite effective but not very high tech solution, so they can easily be reproduced.
Start with (stainless) steel wire of 1.6mm diameter:
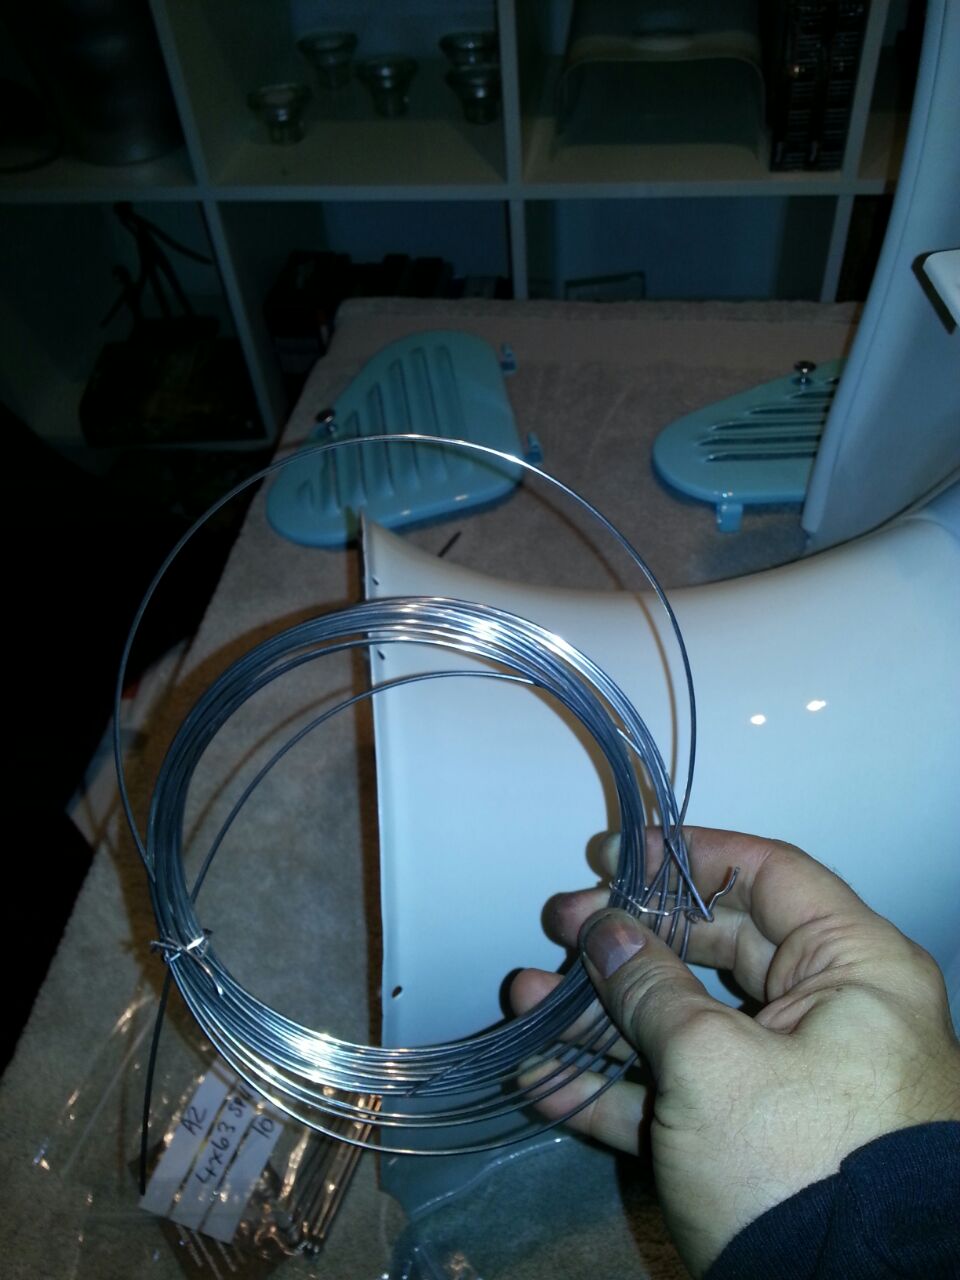
Cut two pieces of wire that are long enough to hook into one of the bottom holes in the leg shield, go through a middle hole, loop back through the same hole and then hook into one of the top holes. Next put the wires into the shrink hose and shrink with a heat gun or a lighter. The wire can then be inserted into the middle hole from the top and be looped back:
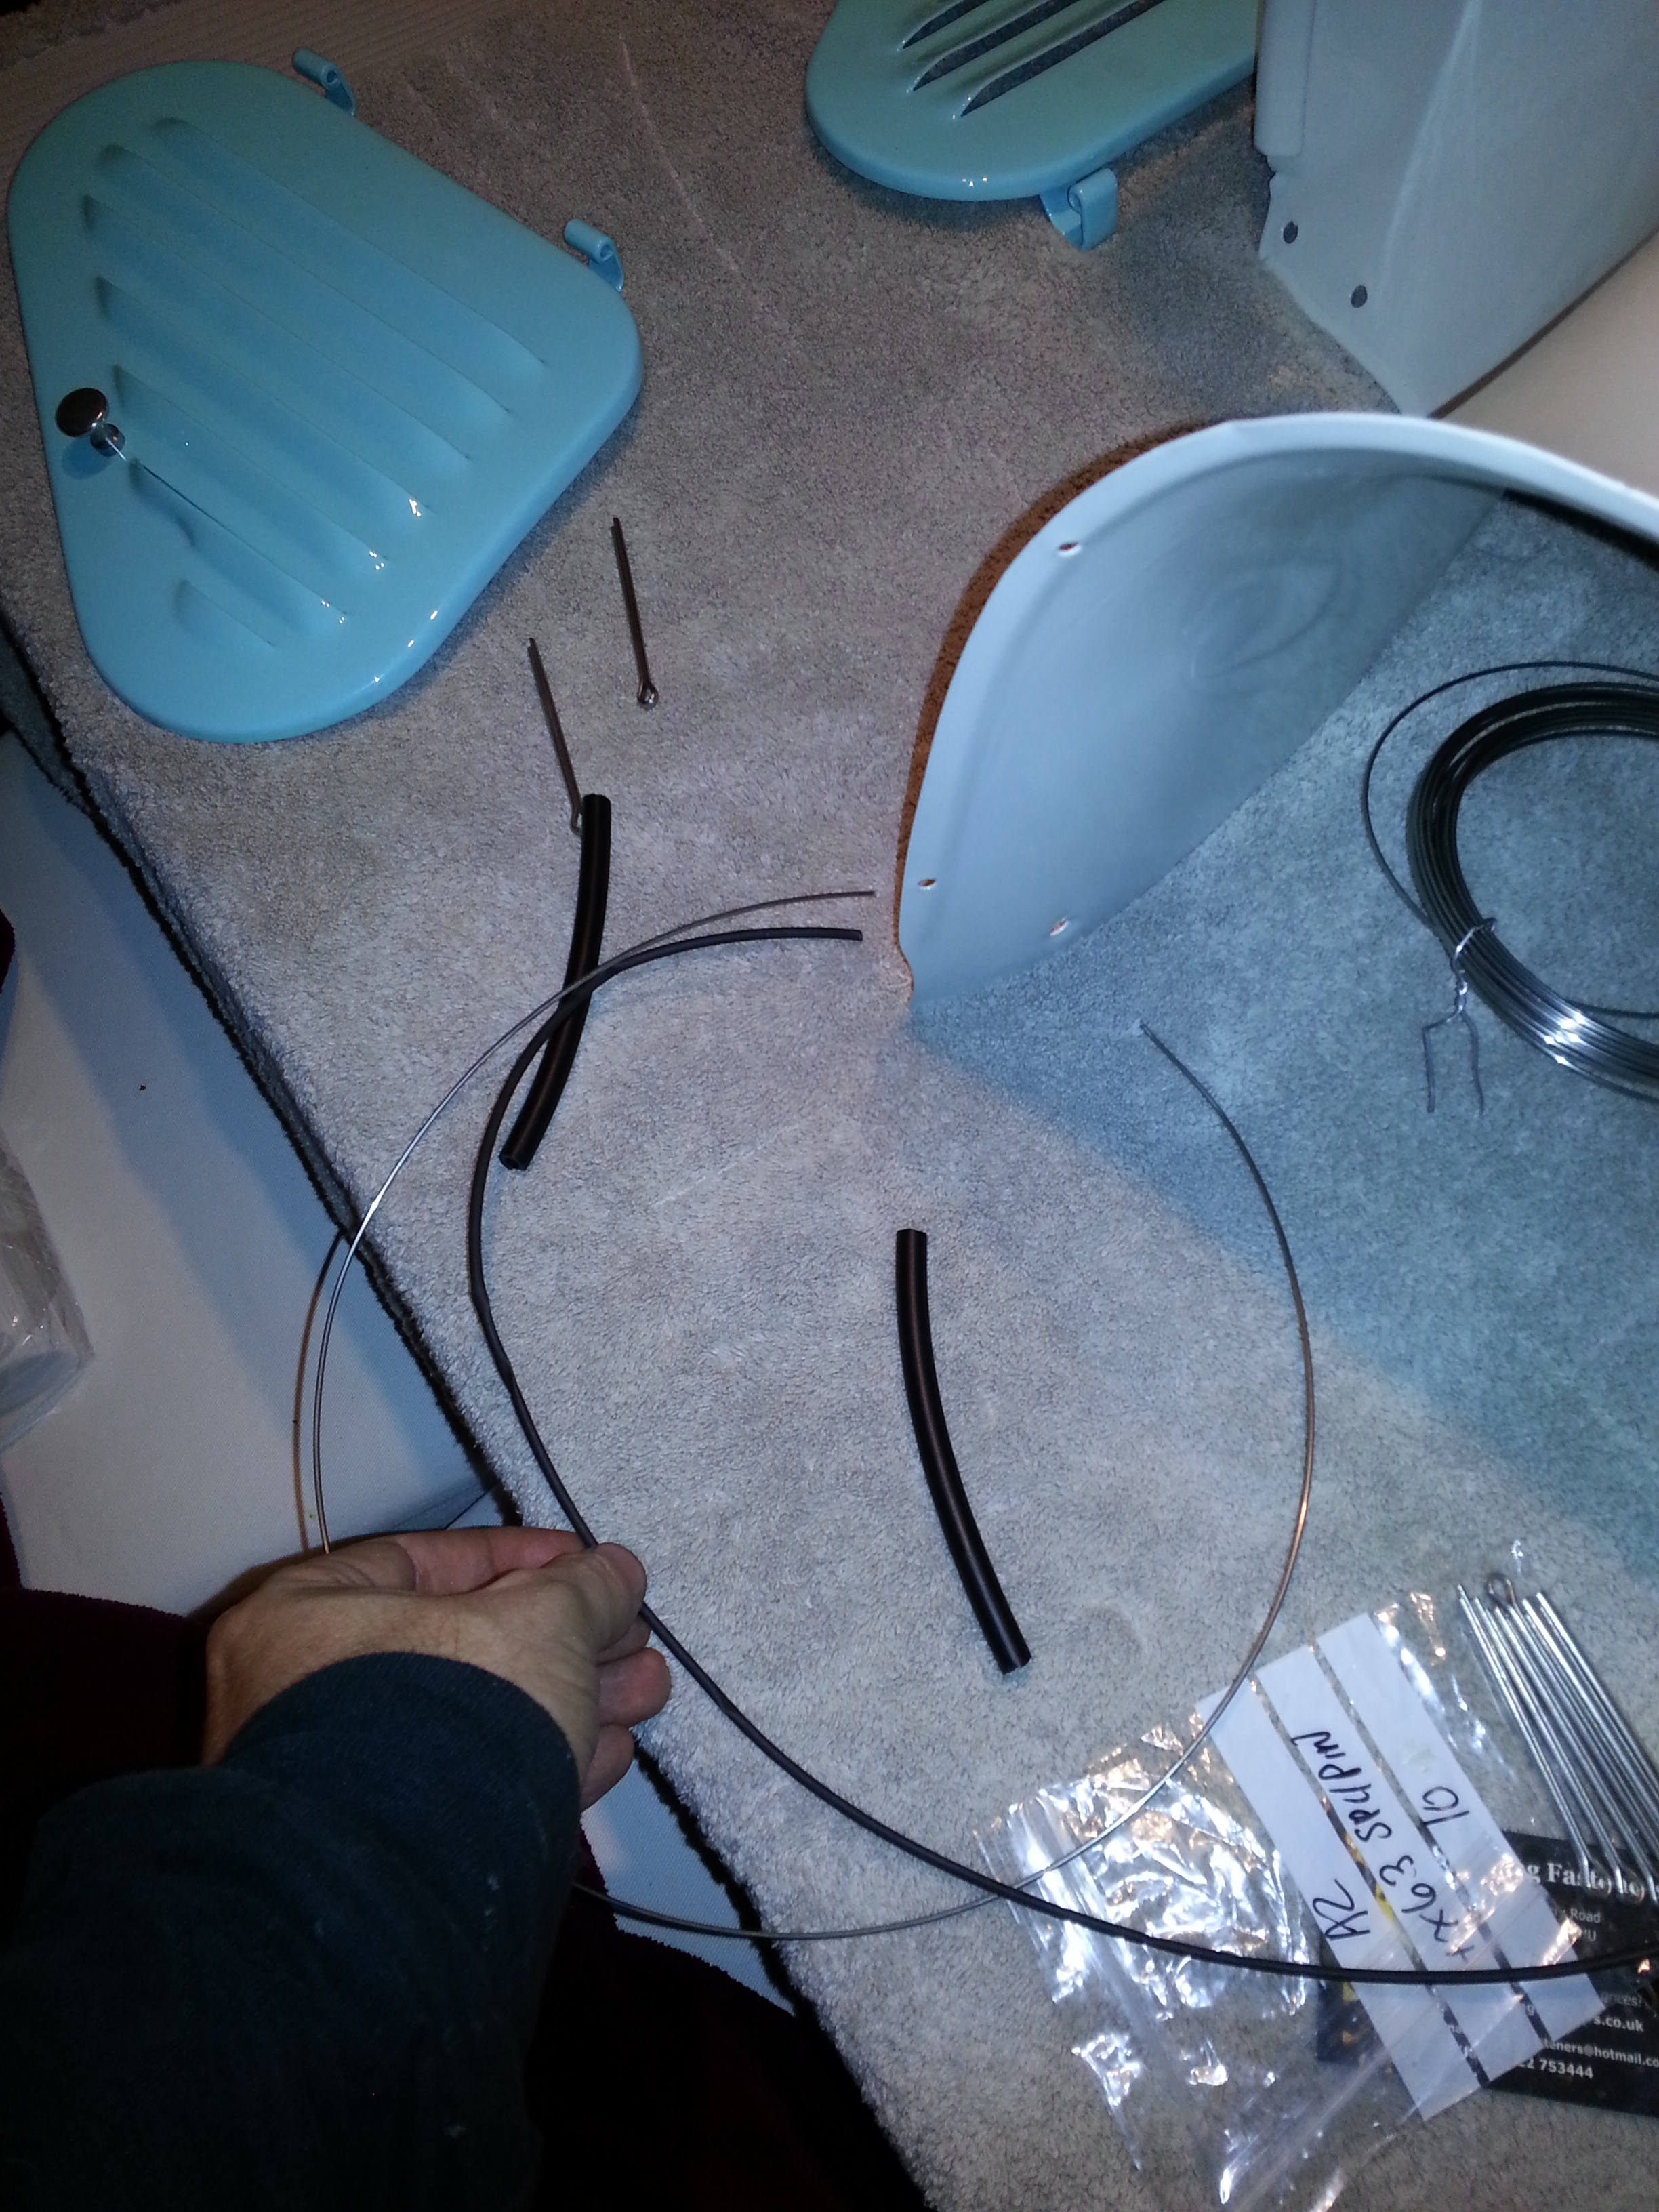
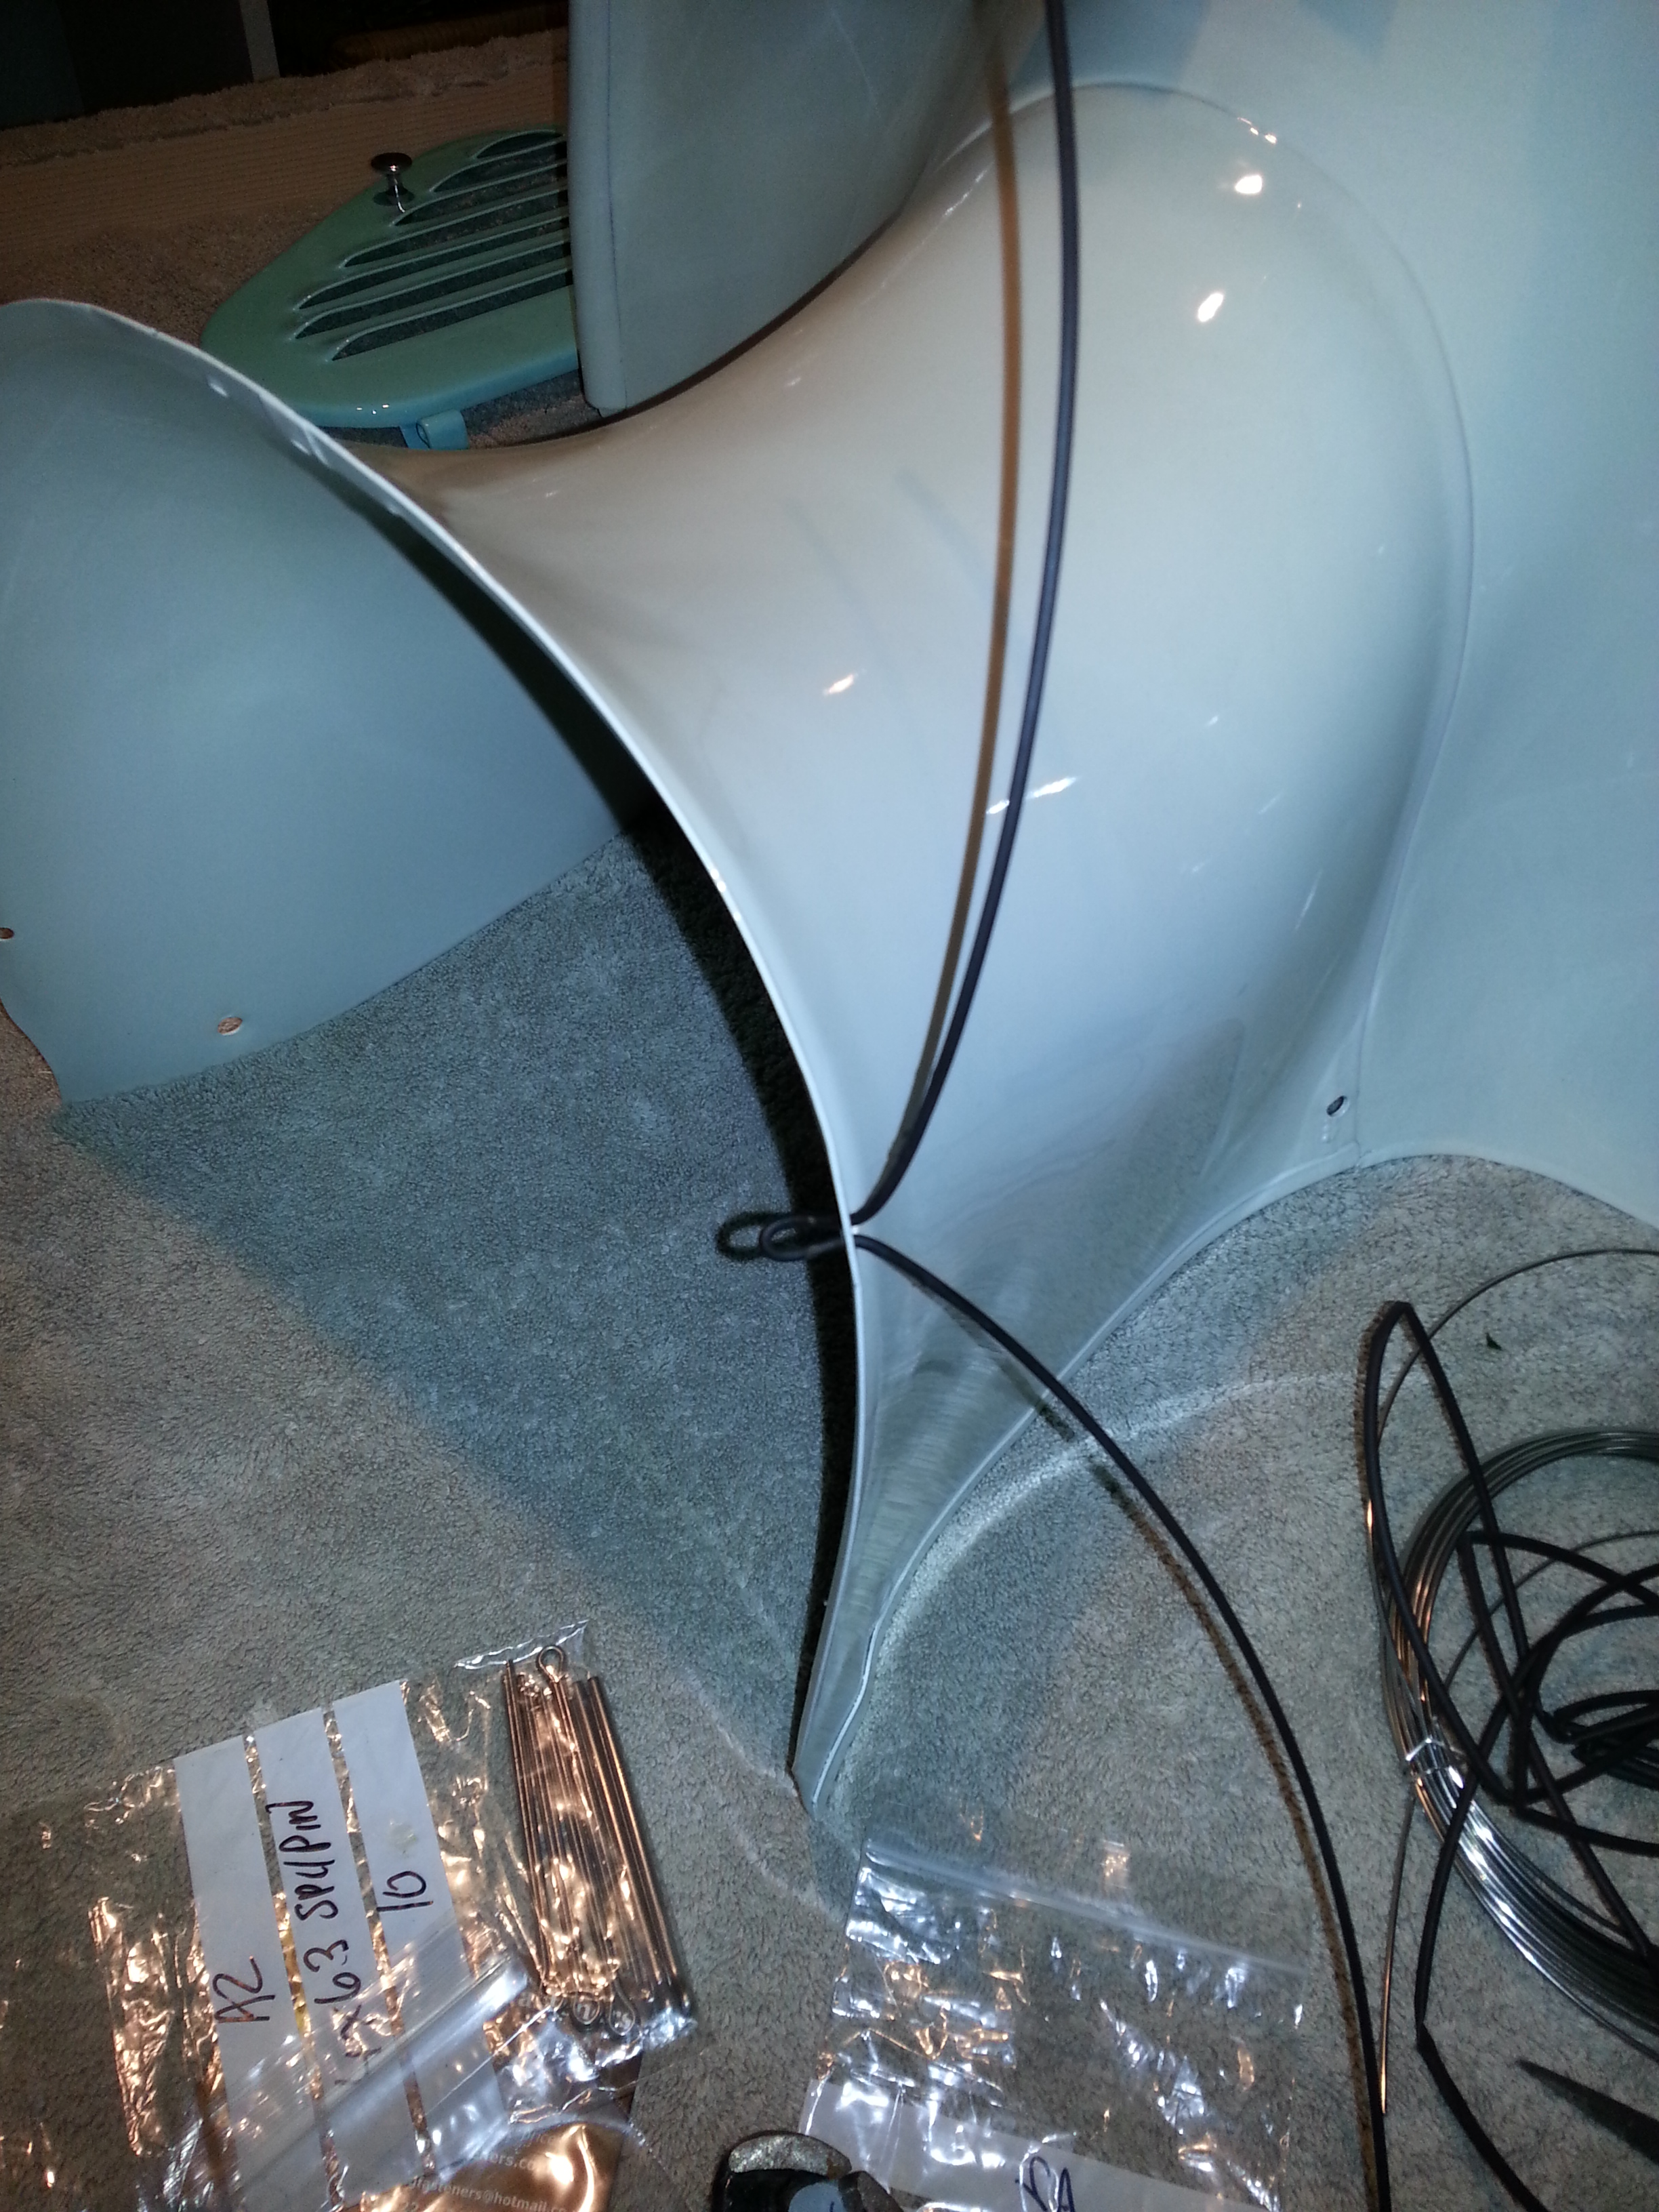
Cut two pieces of rubber hose to length that fit between the middle and top and bottom holes.
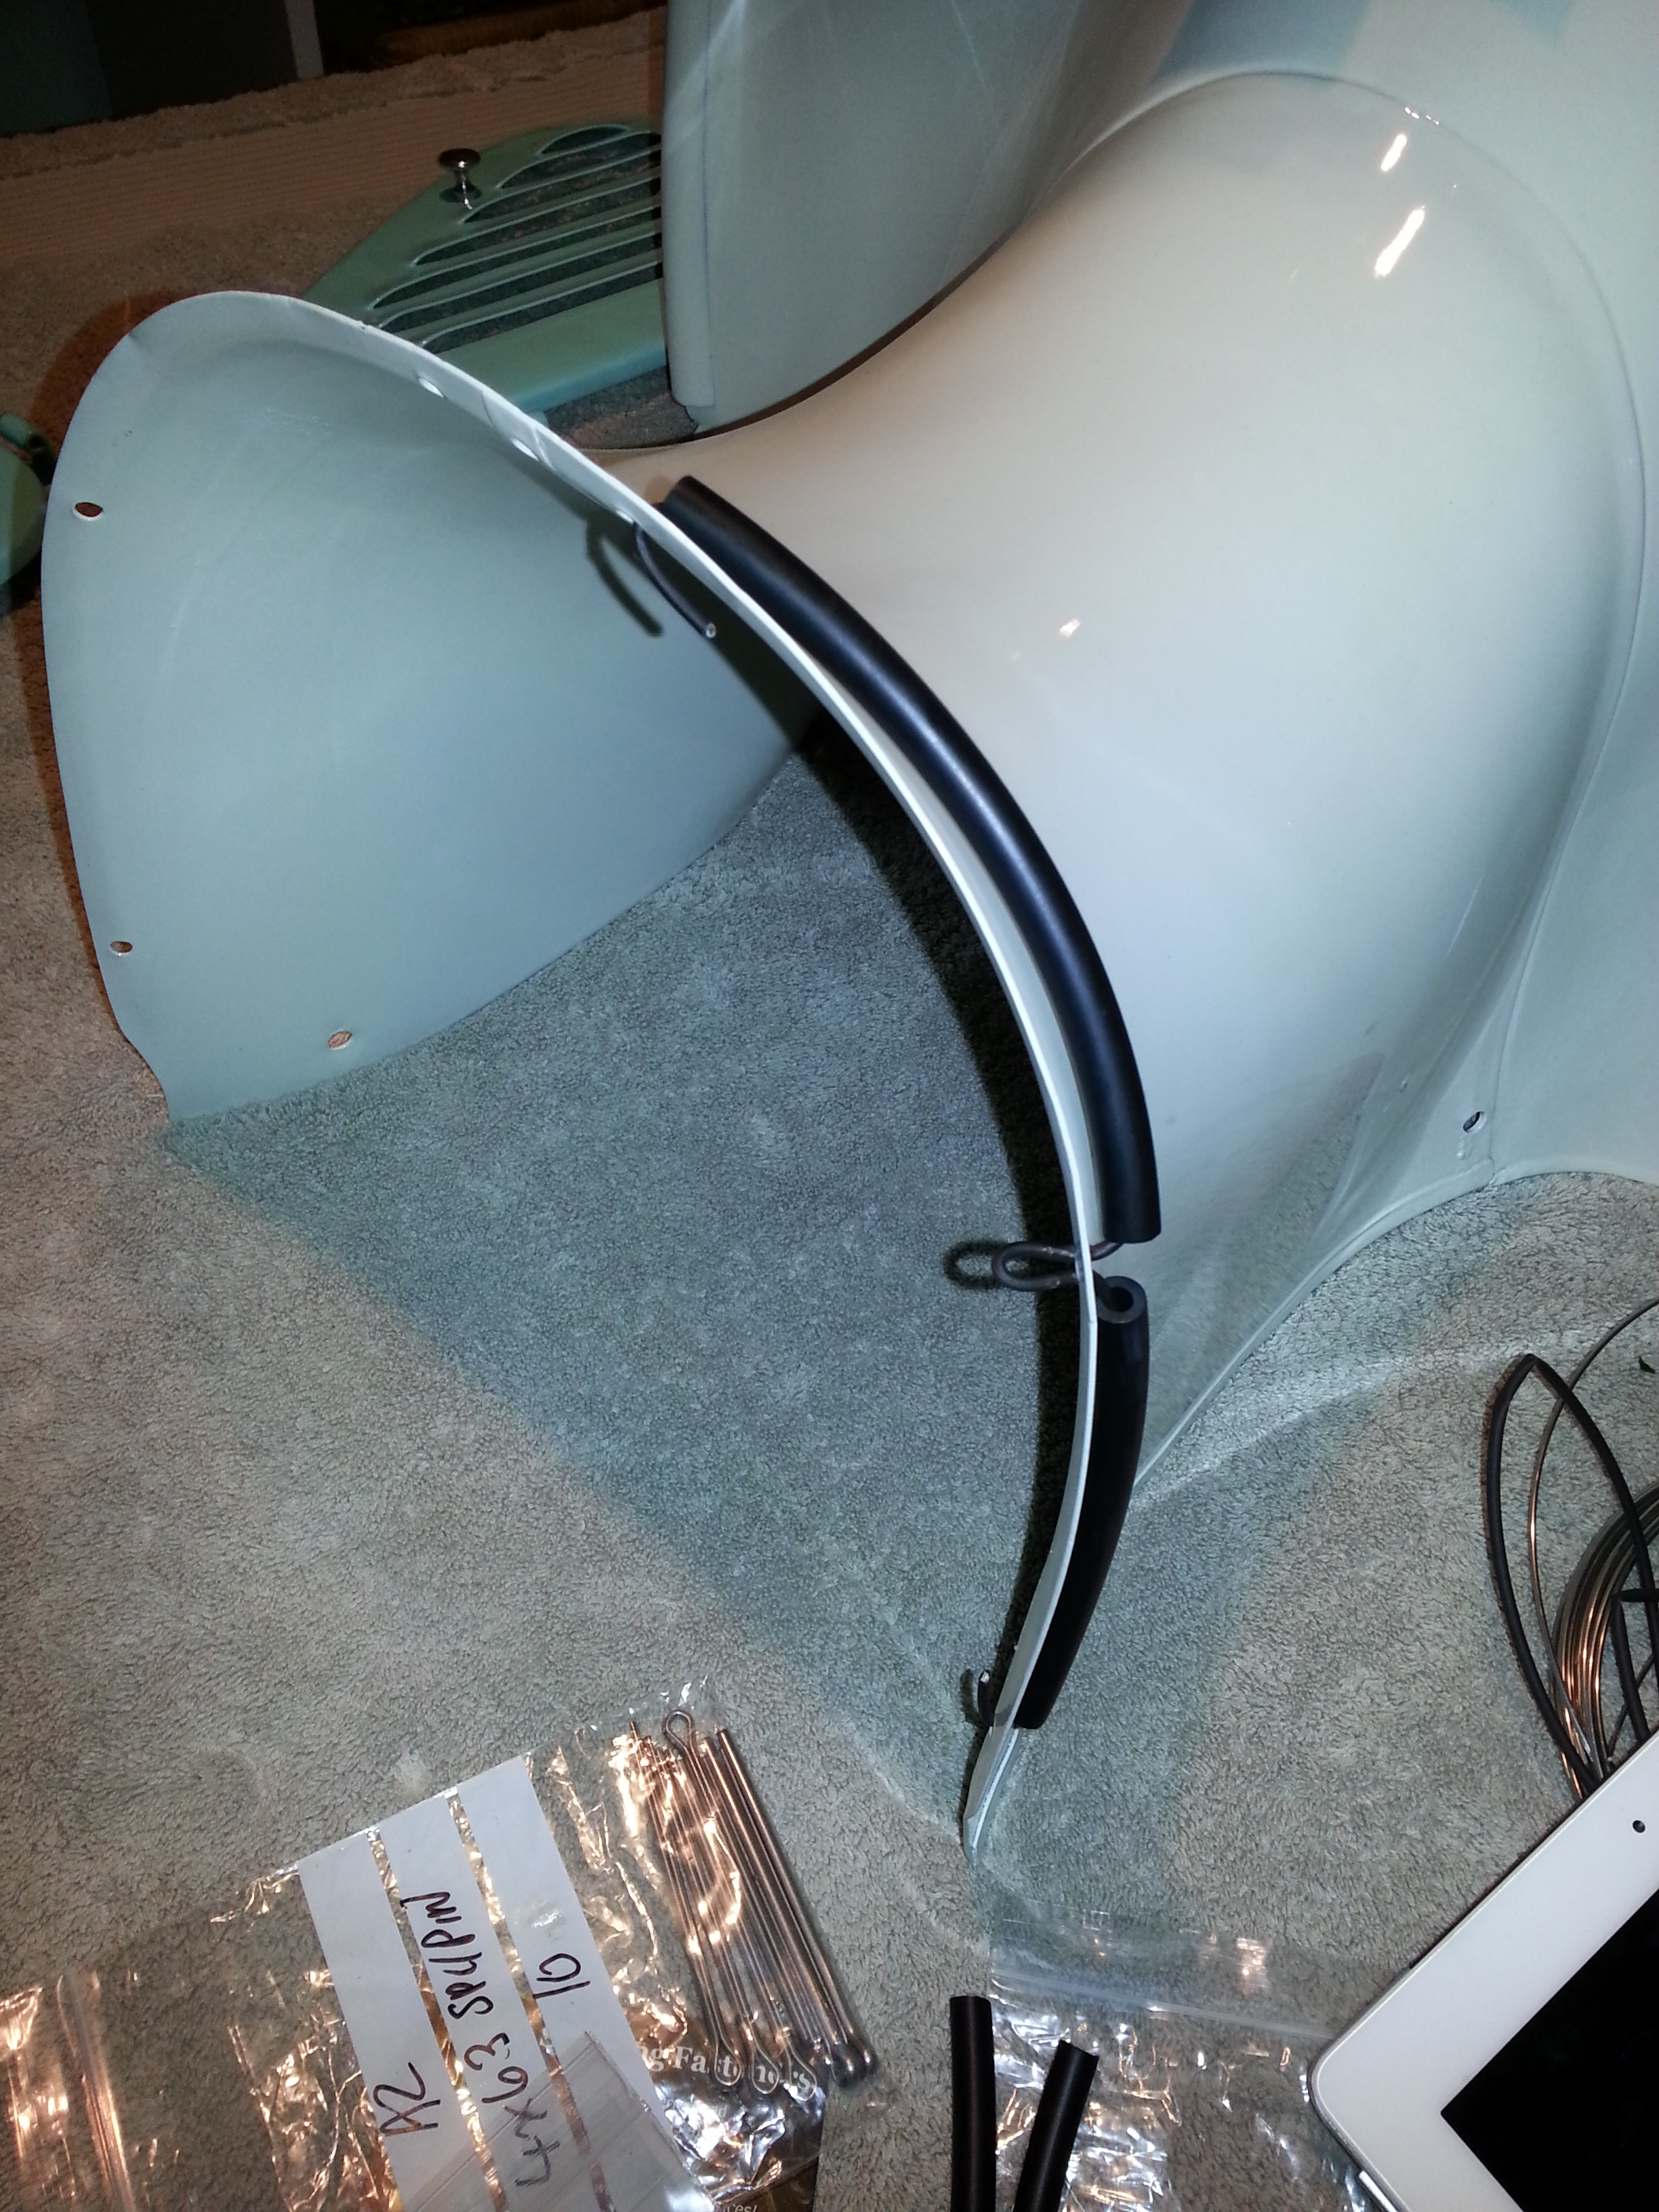
The hose on my Bella was 4×8 mm rubber. I ordered some 8.5 x 4.5 mm rubber fuel hose which works.
The ends of the wire can then be hooked into the top and bottom holes. The result is as follows:
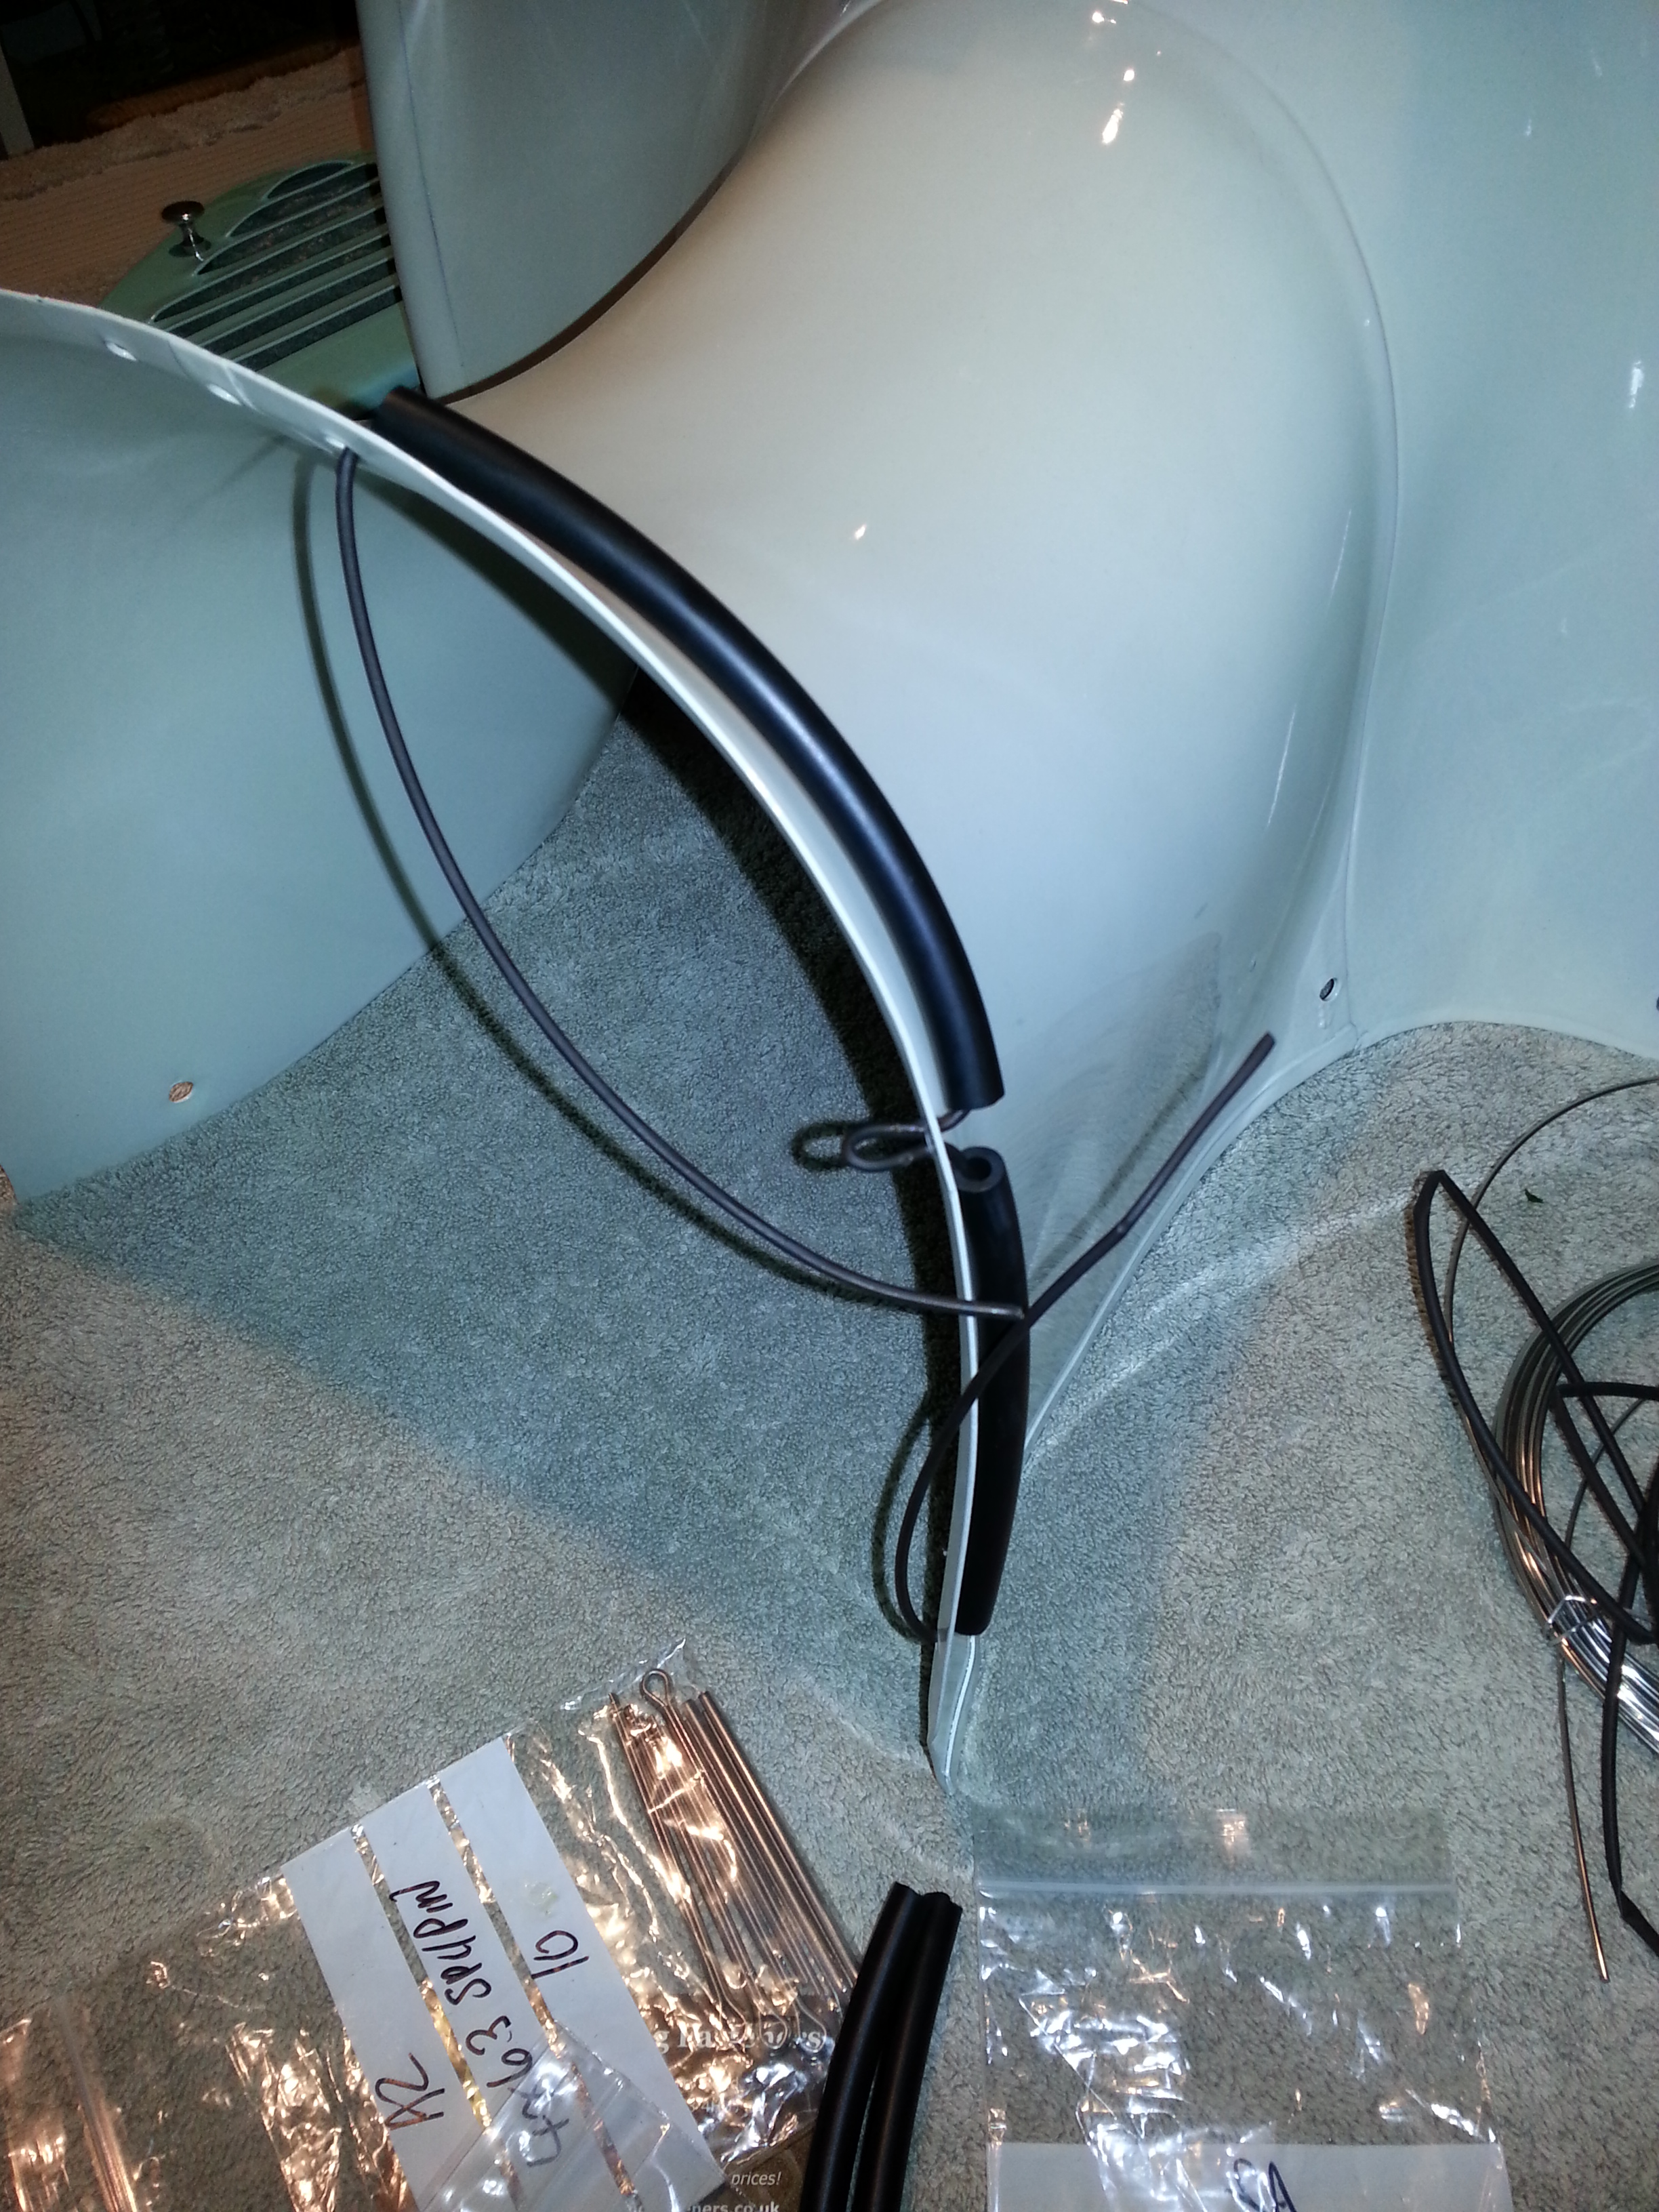
Finally, repeat for the other side:
Of course it is not necessary to use stainless steel wire or shrink hose to cover the wire, but it is my hope that it will prevent rubbing of the metal wire over the paintwork because of vibrations.
Stalk, daisy and emblem
To be continued