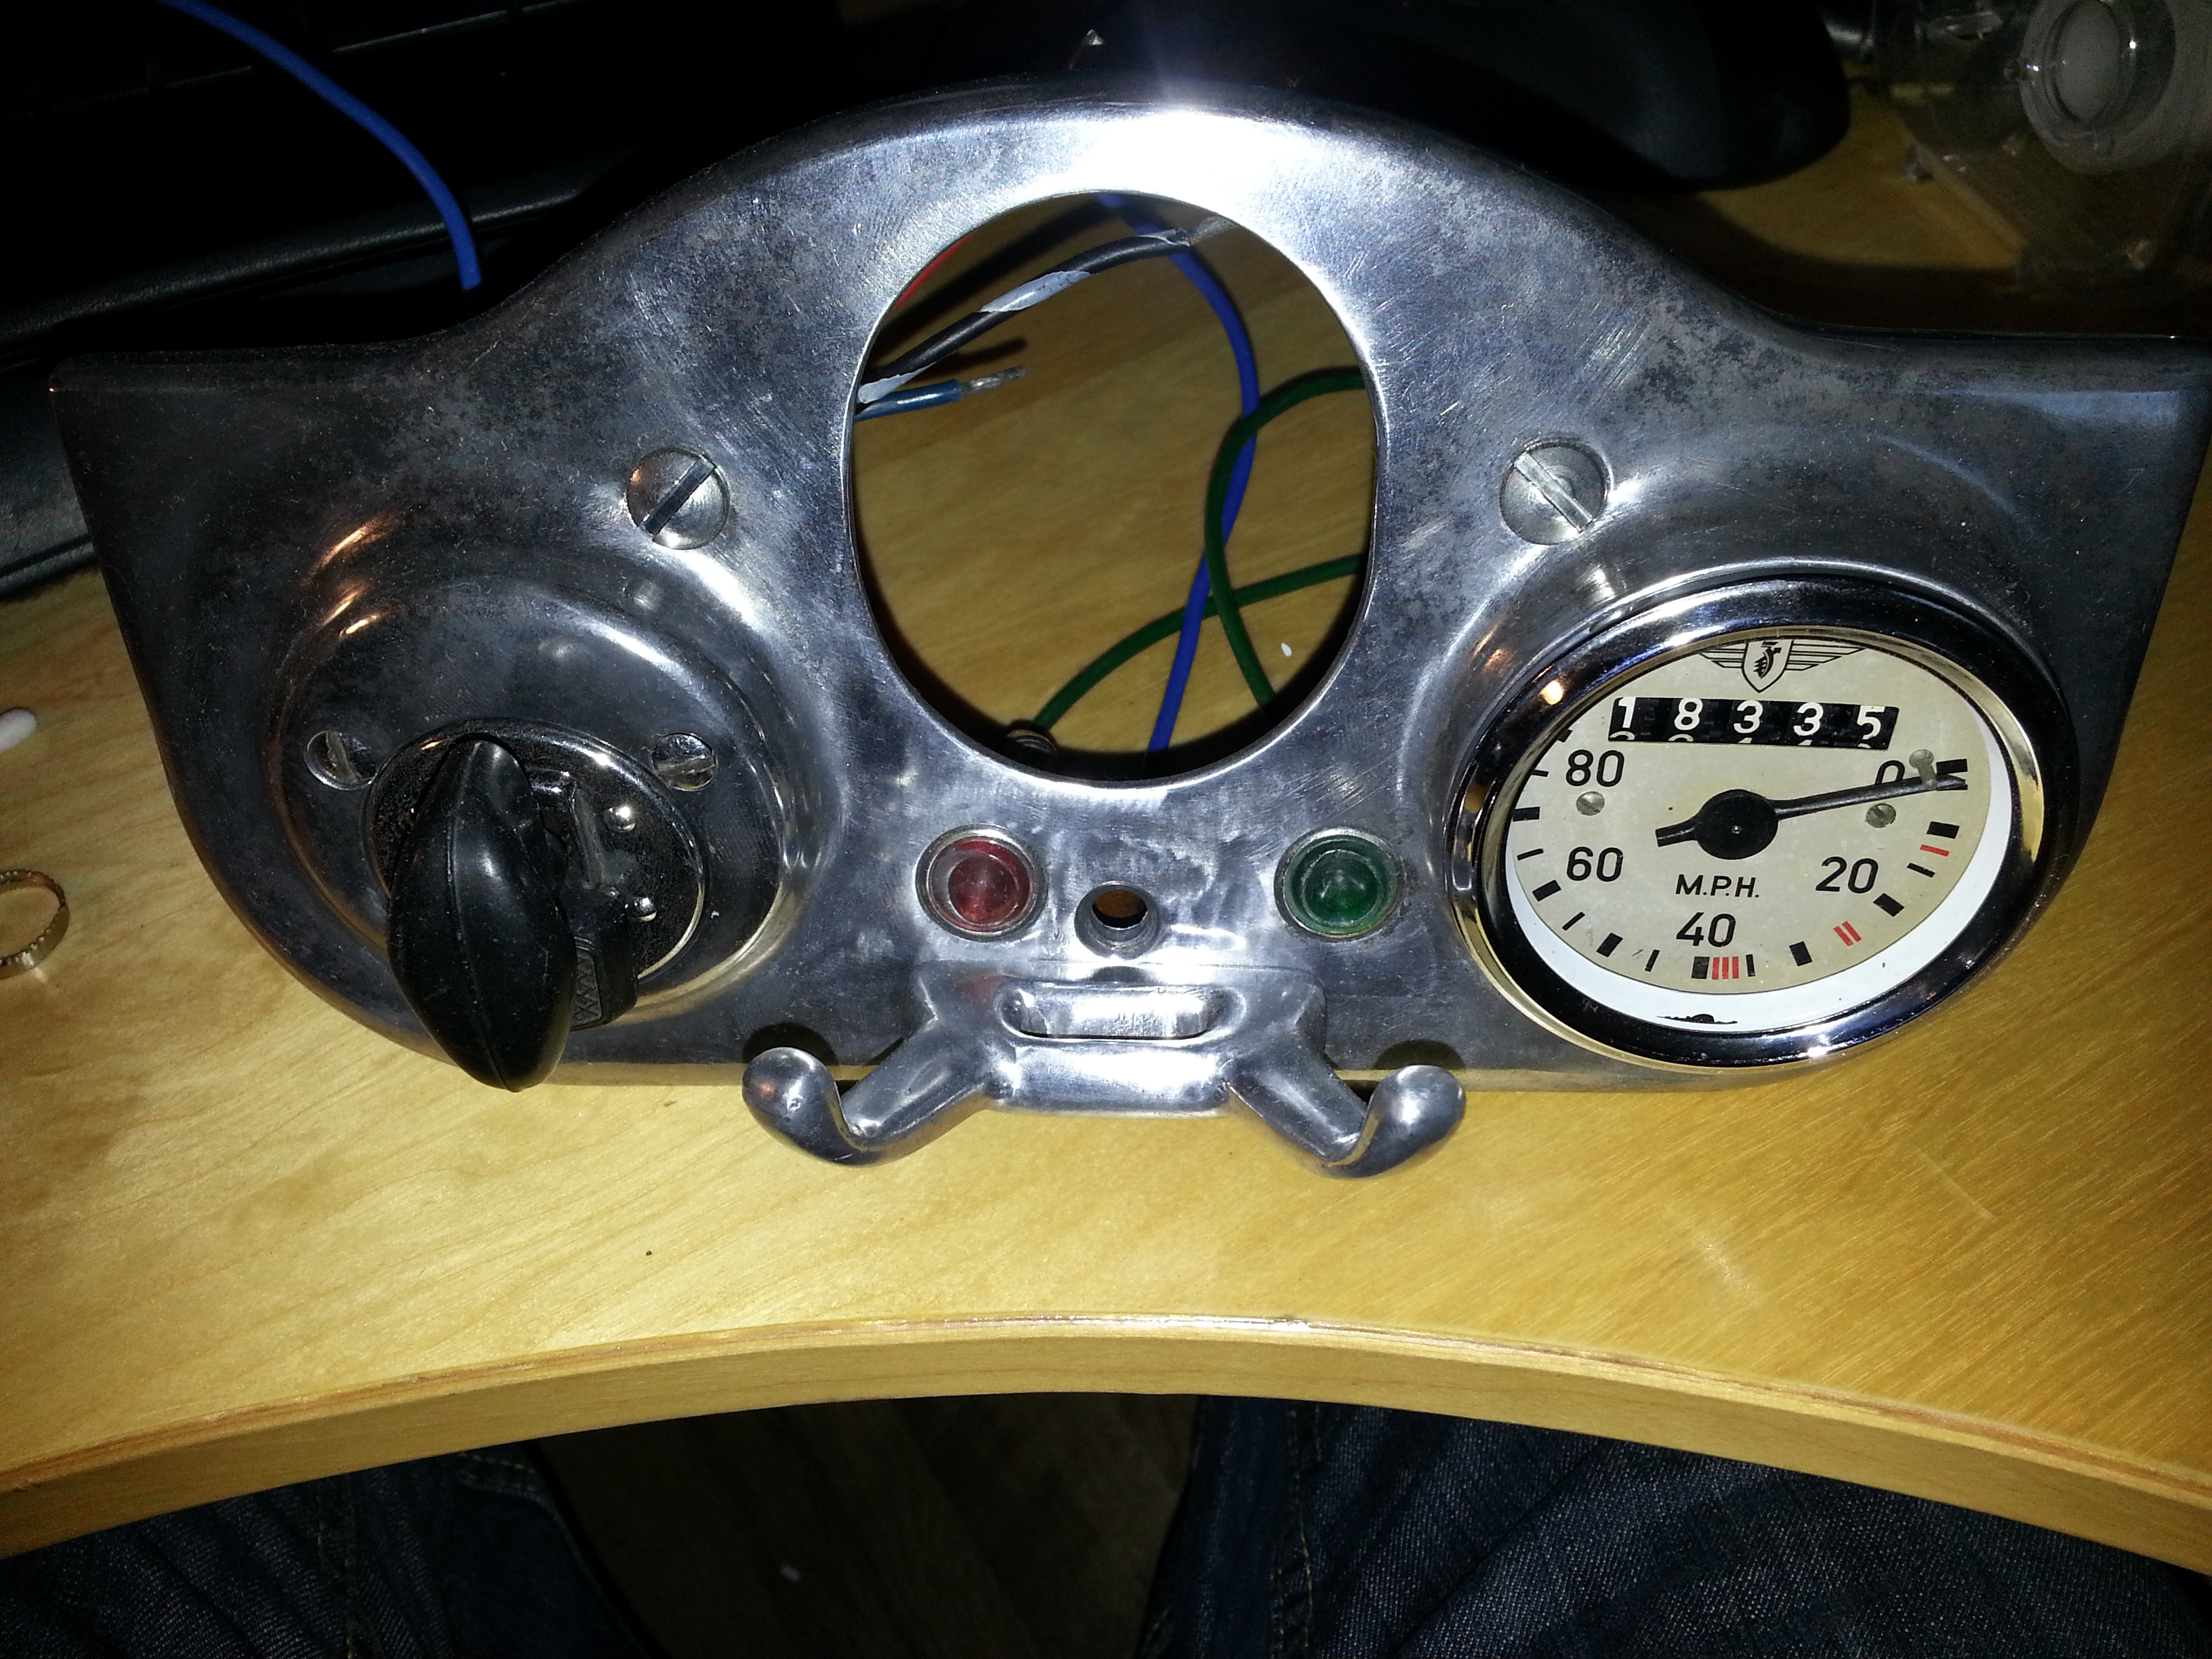
Speedometer restoration is a job that needs a bit of care; it is after all a precision instrument. The speedometer is fitted to the dashboard. Installed it looks like this:
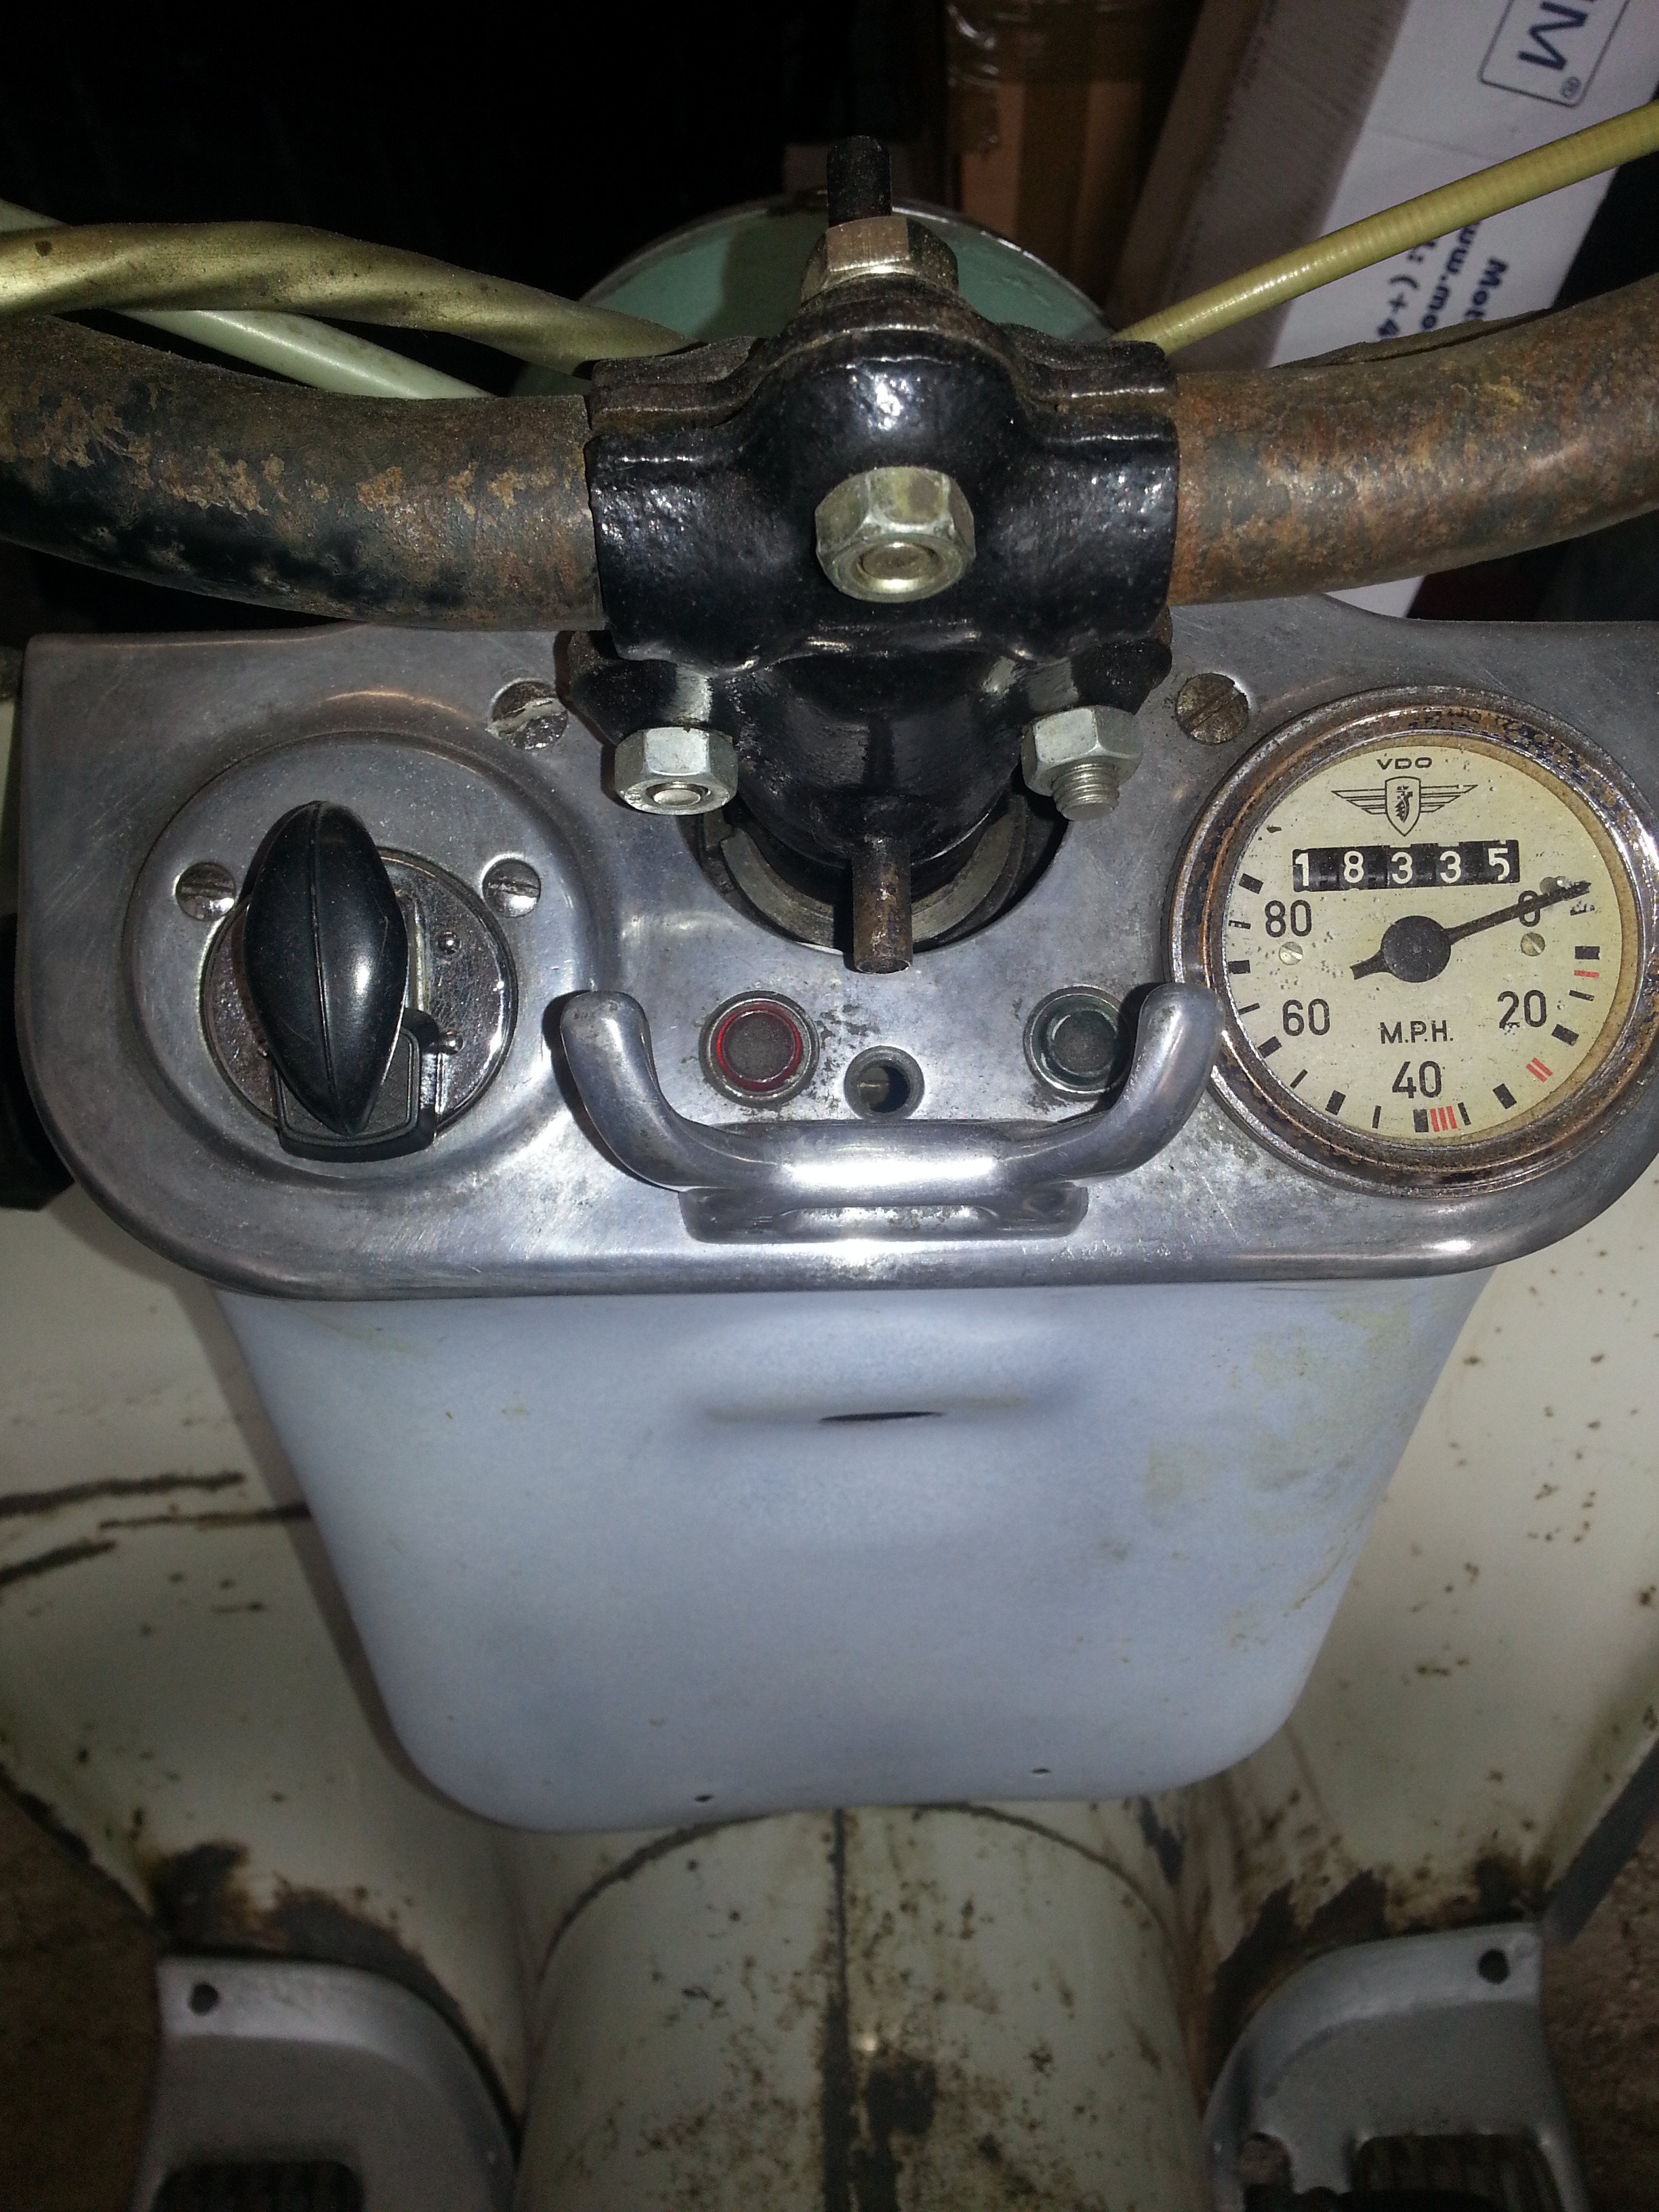
It drops in from the top and is held by the rim. From underneath it is connected to the dashboard by a bracket which pulls the Speedometer snug:
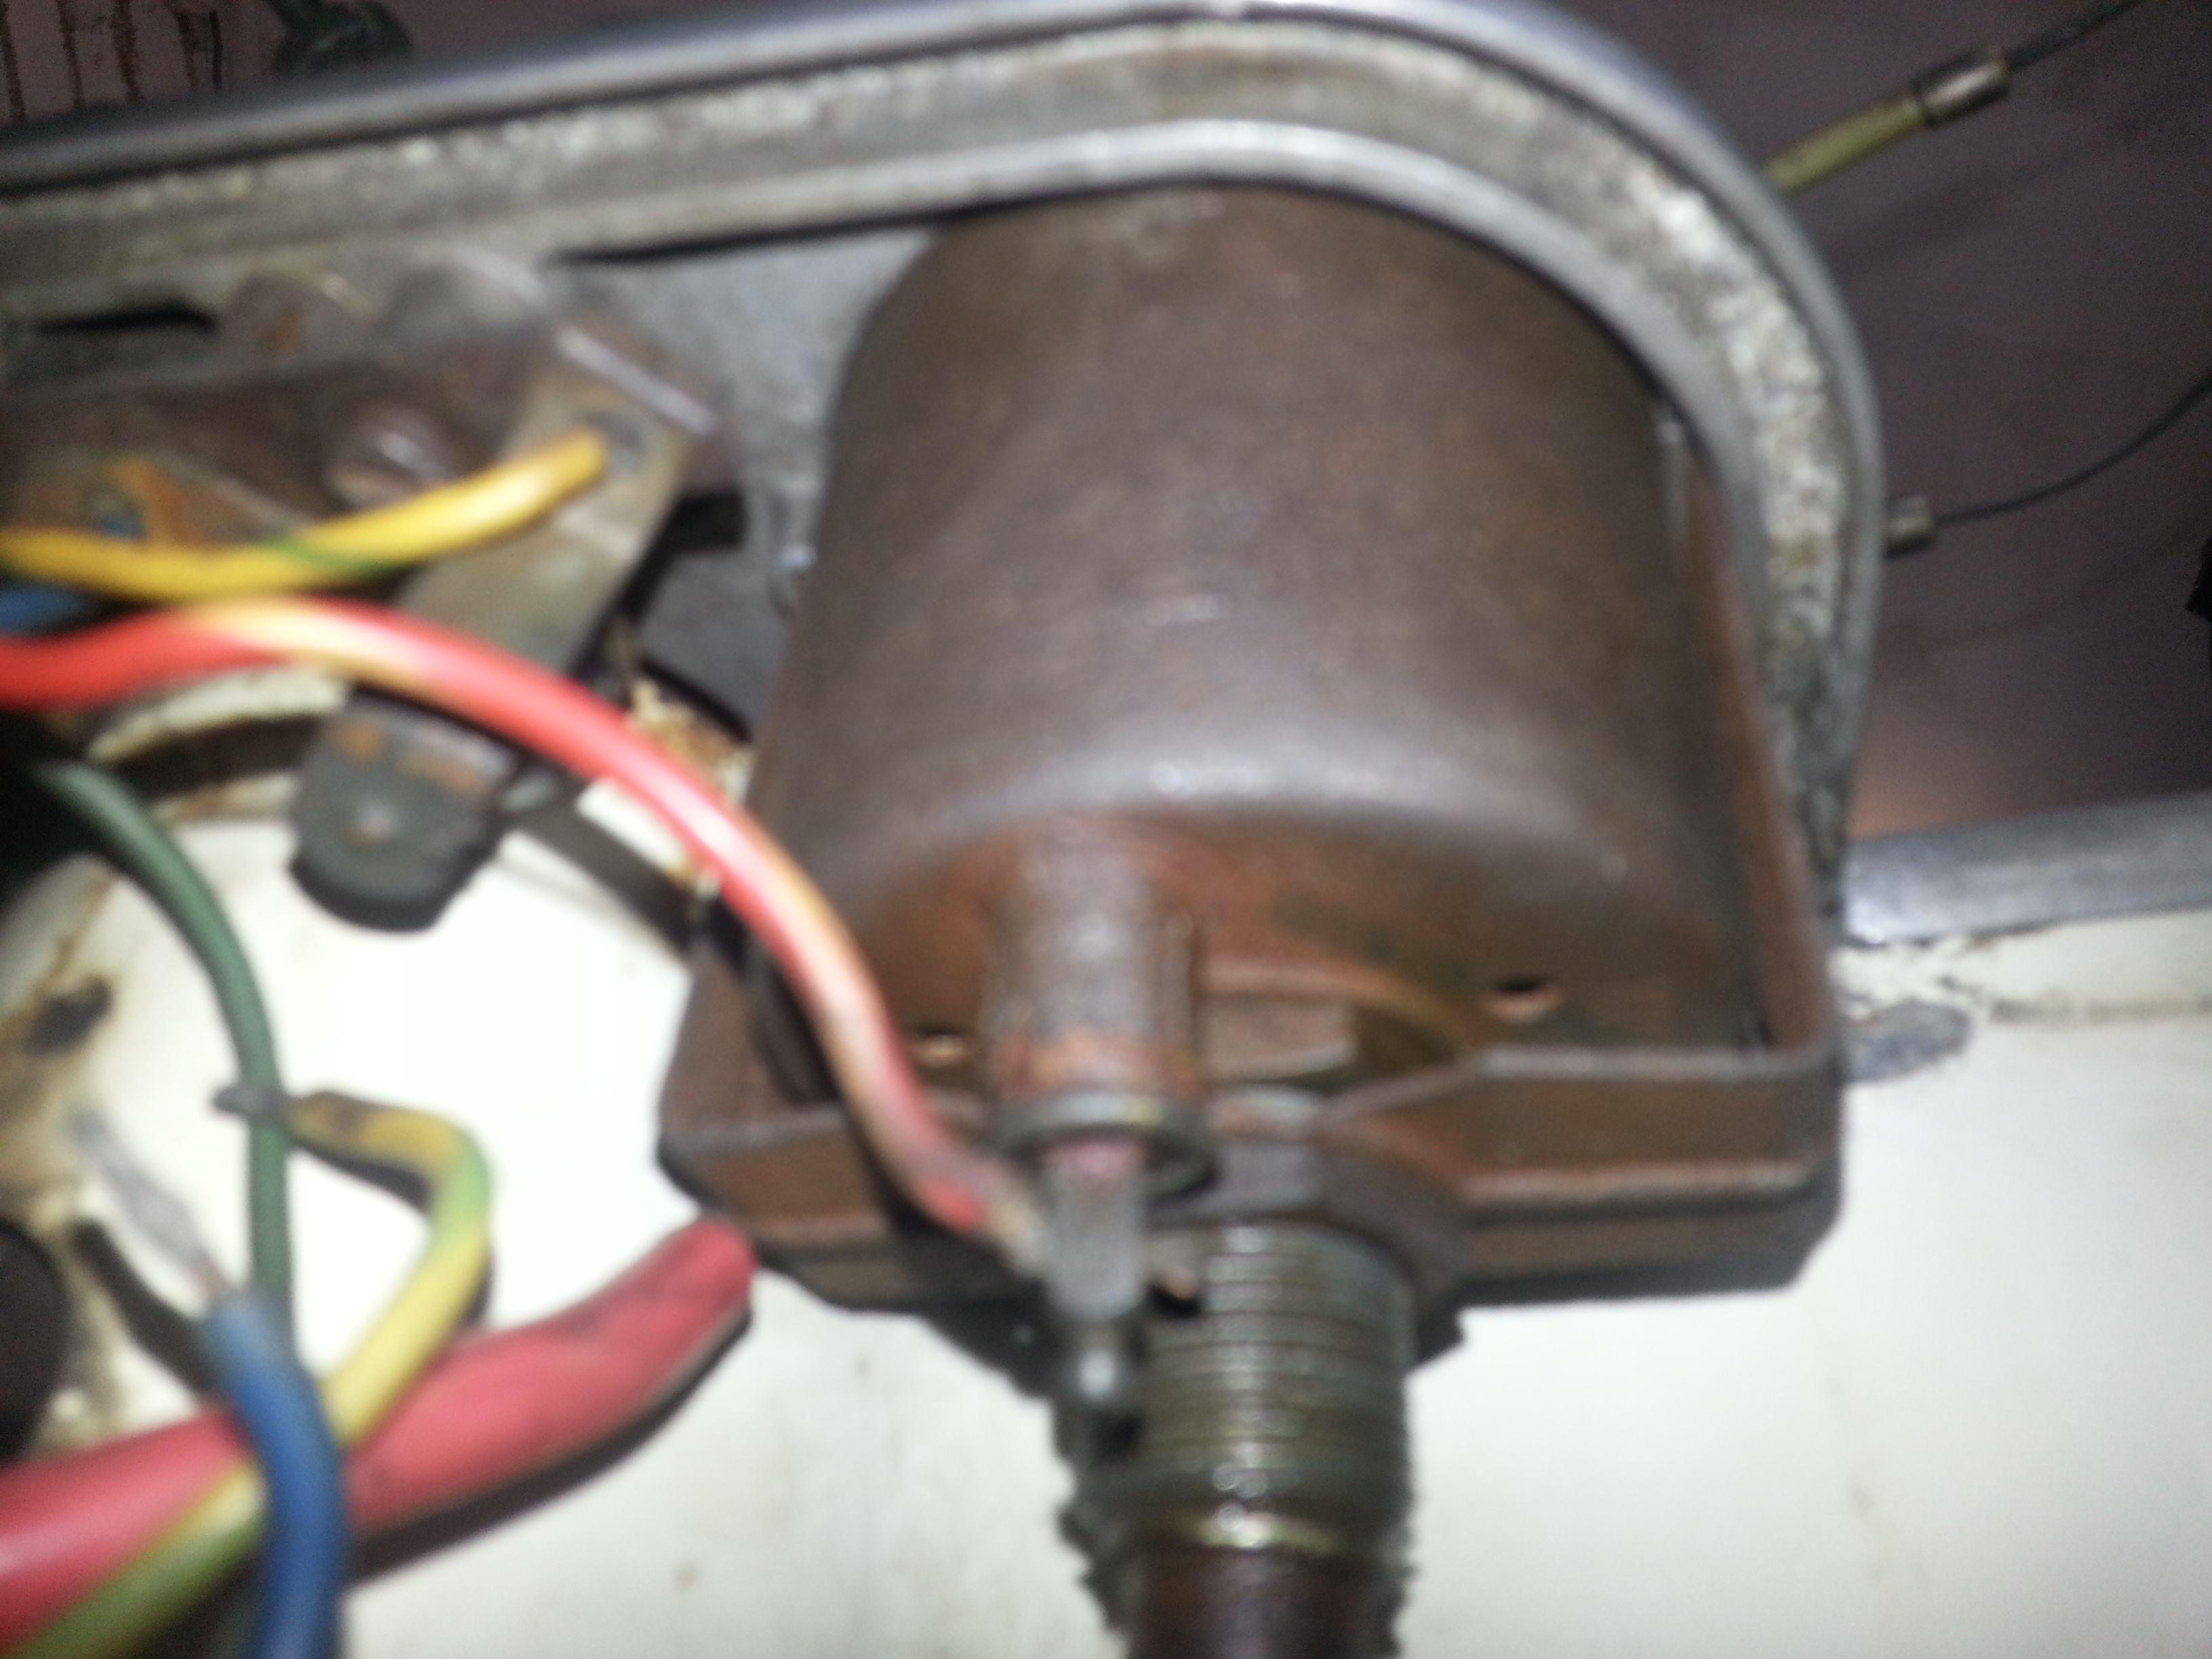
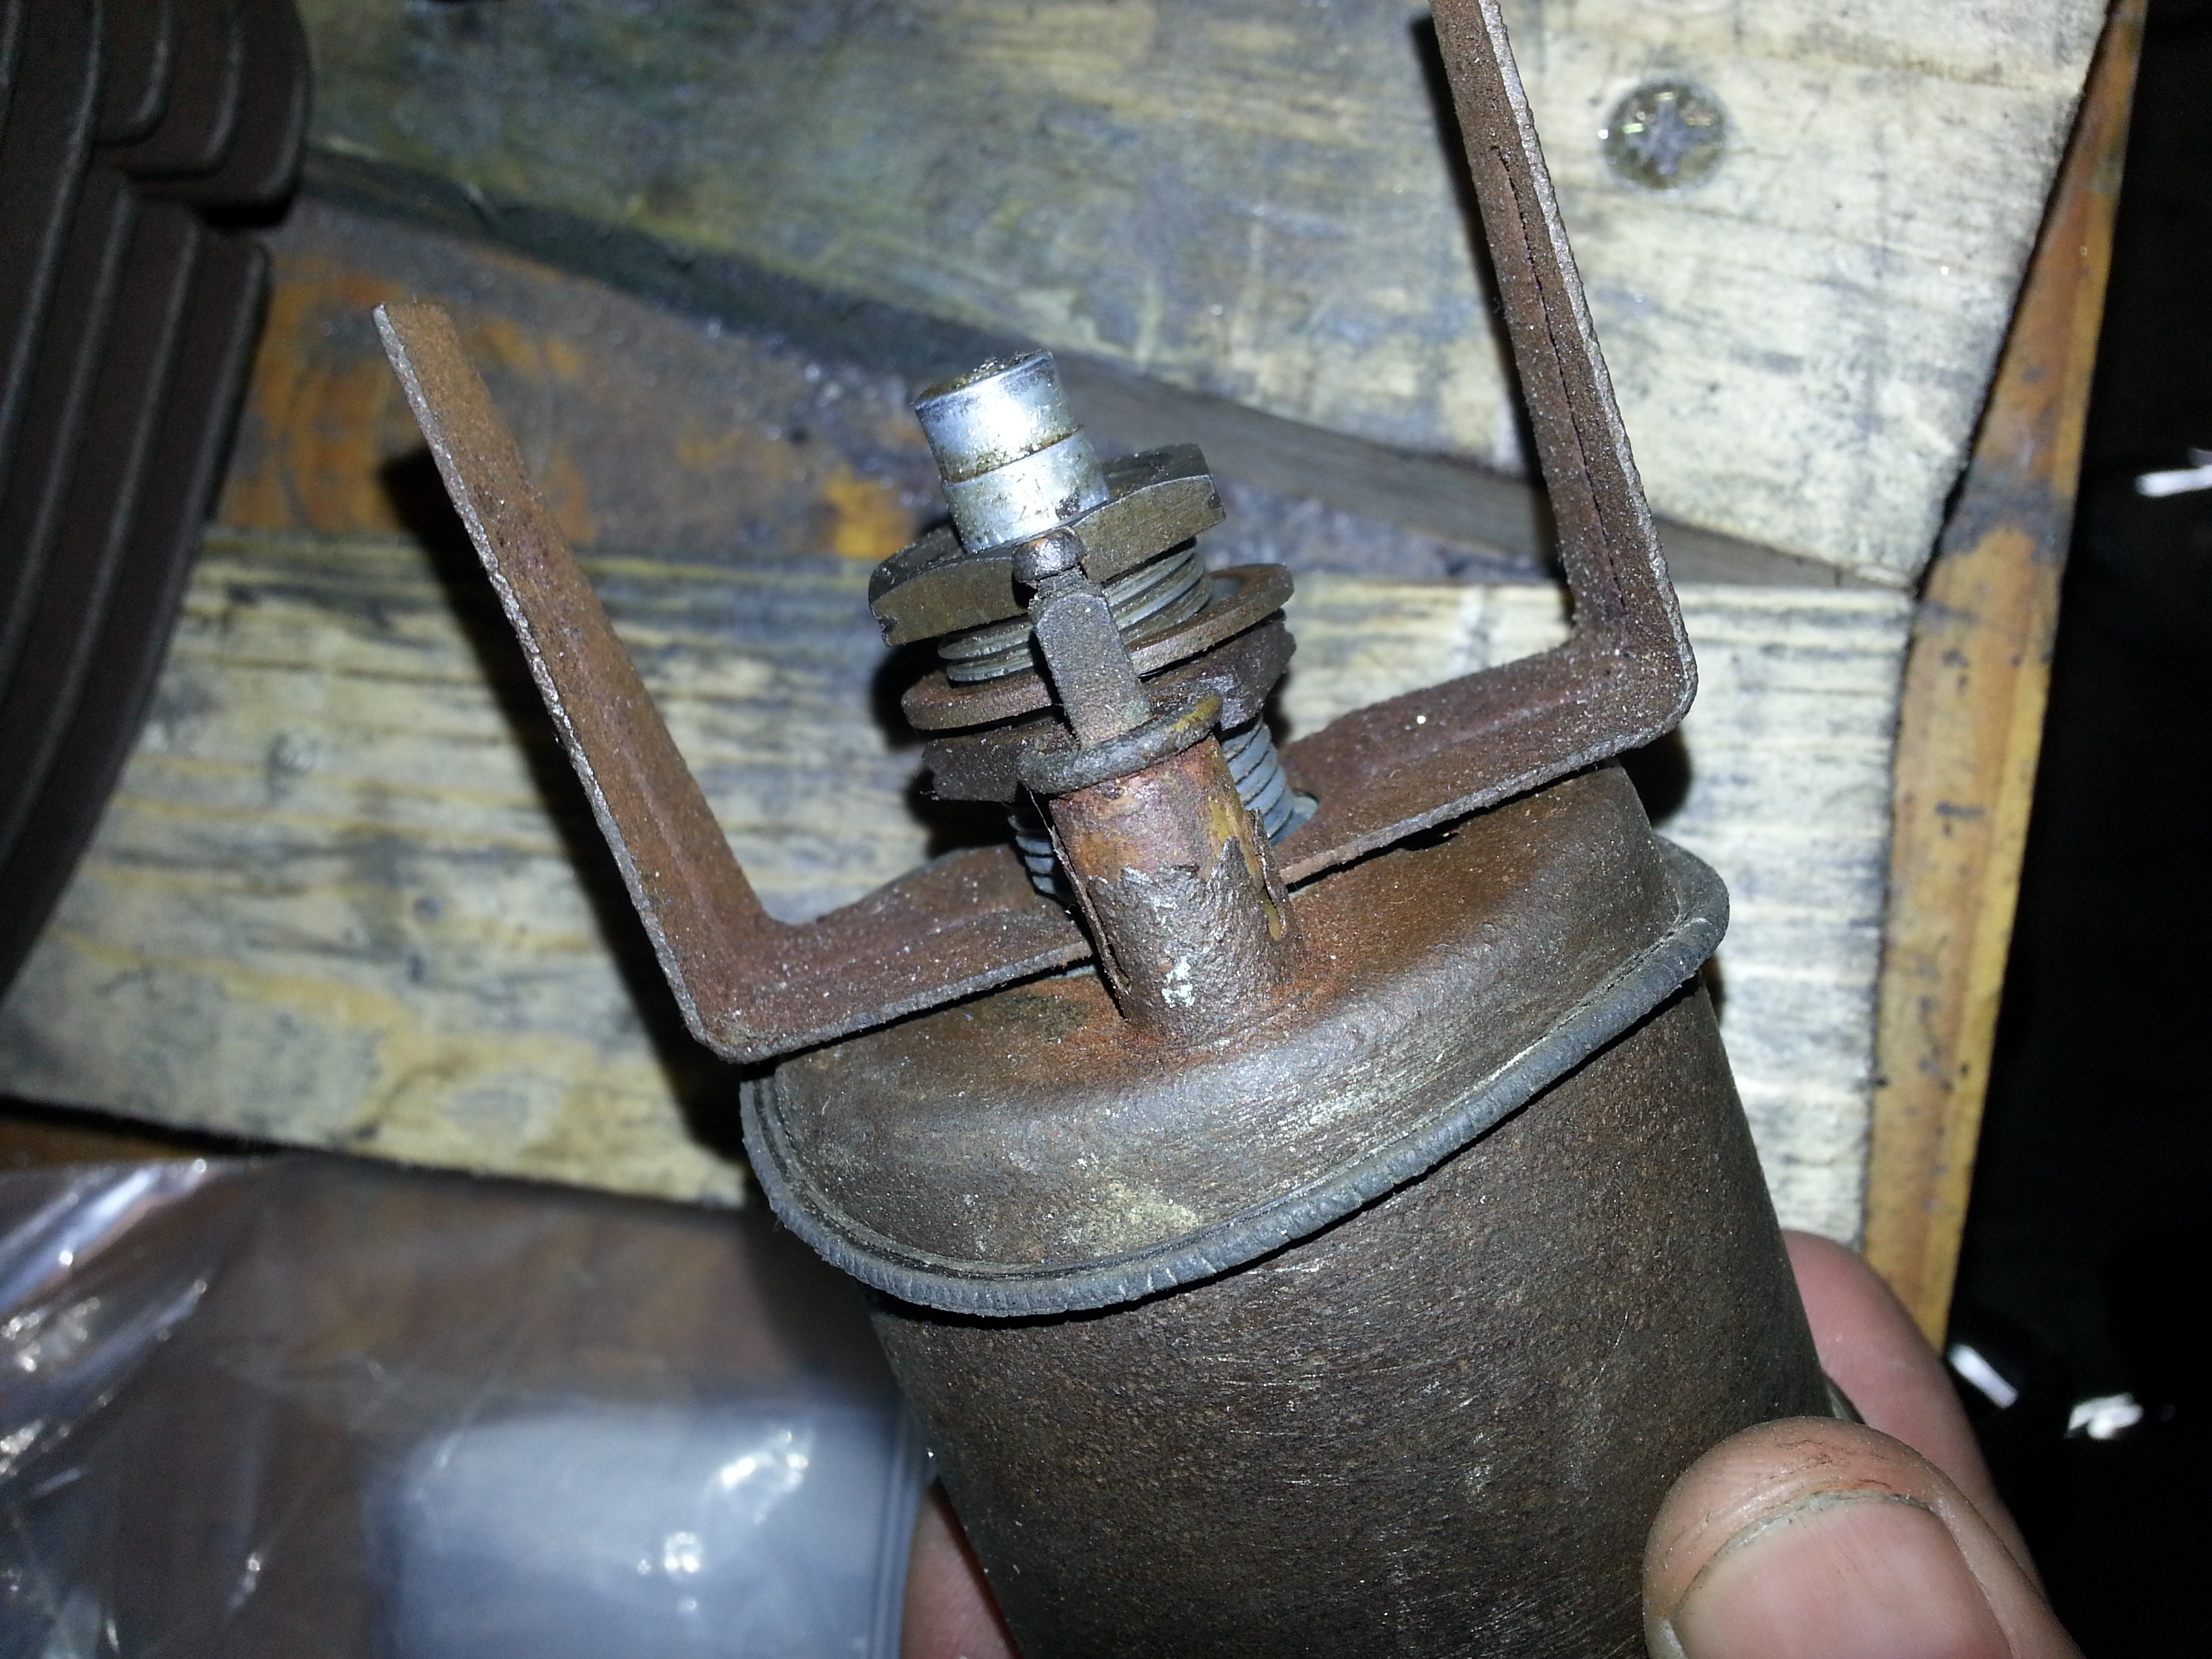
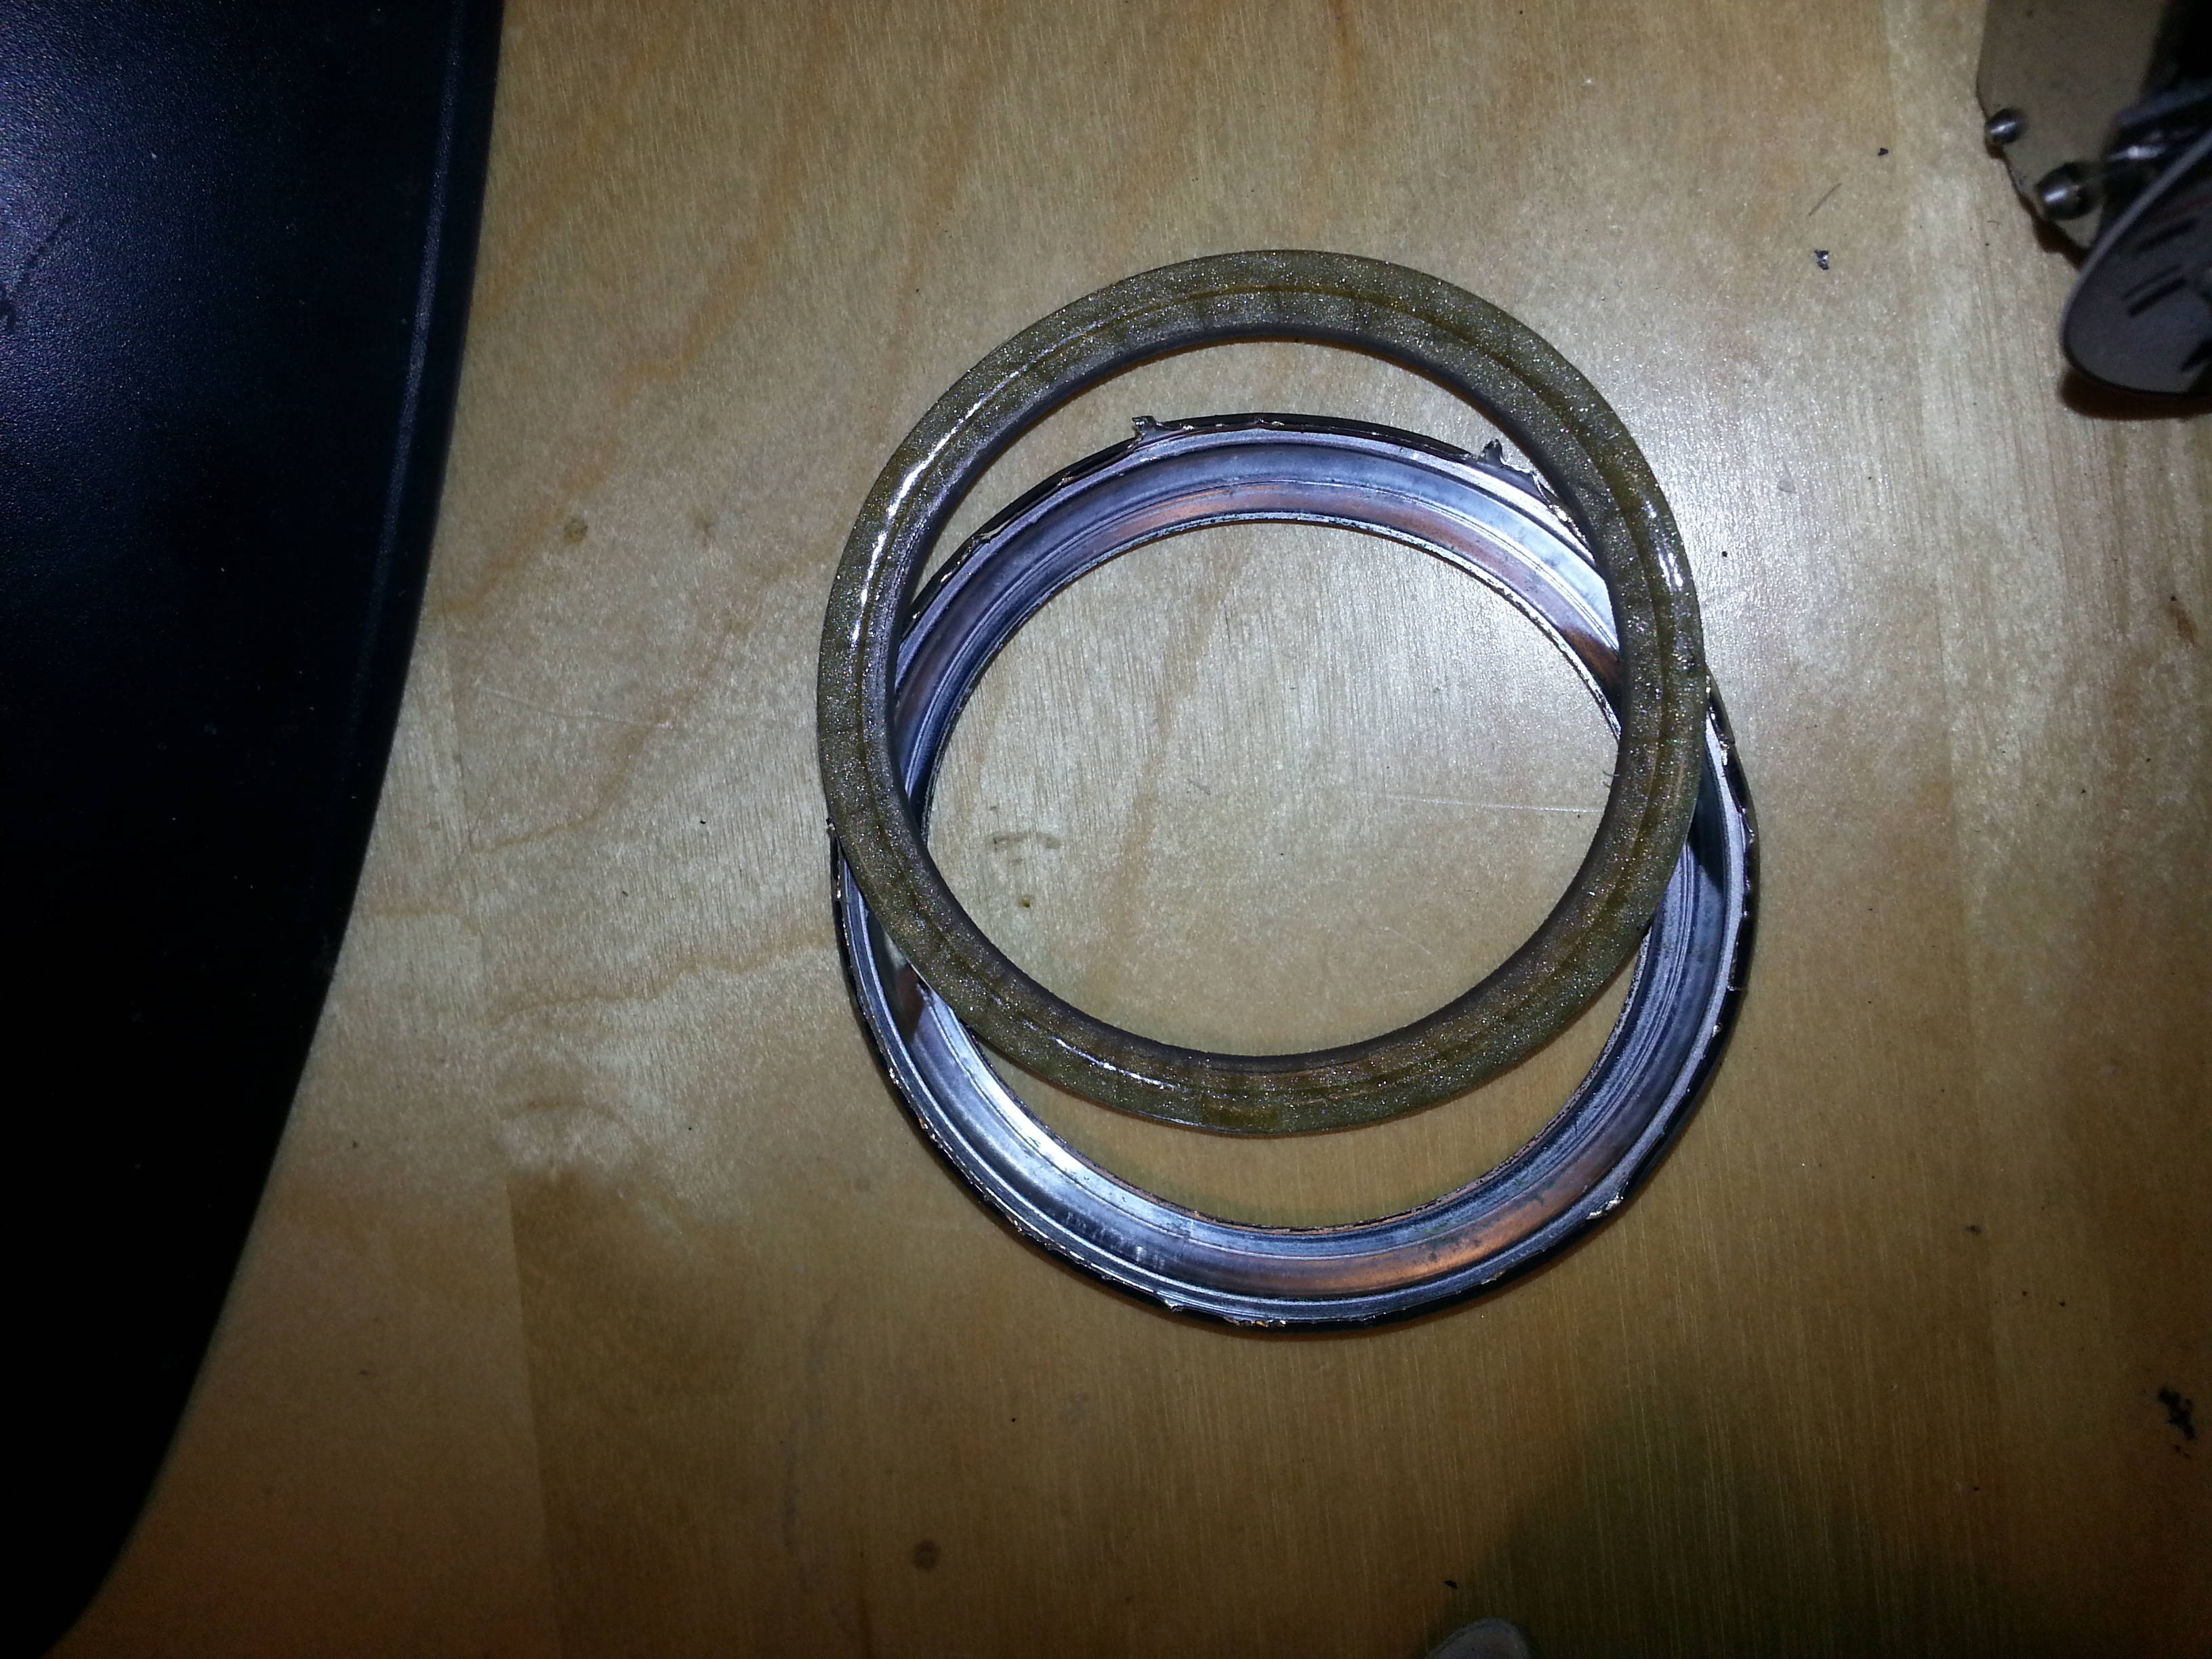
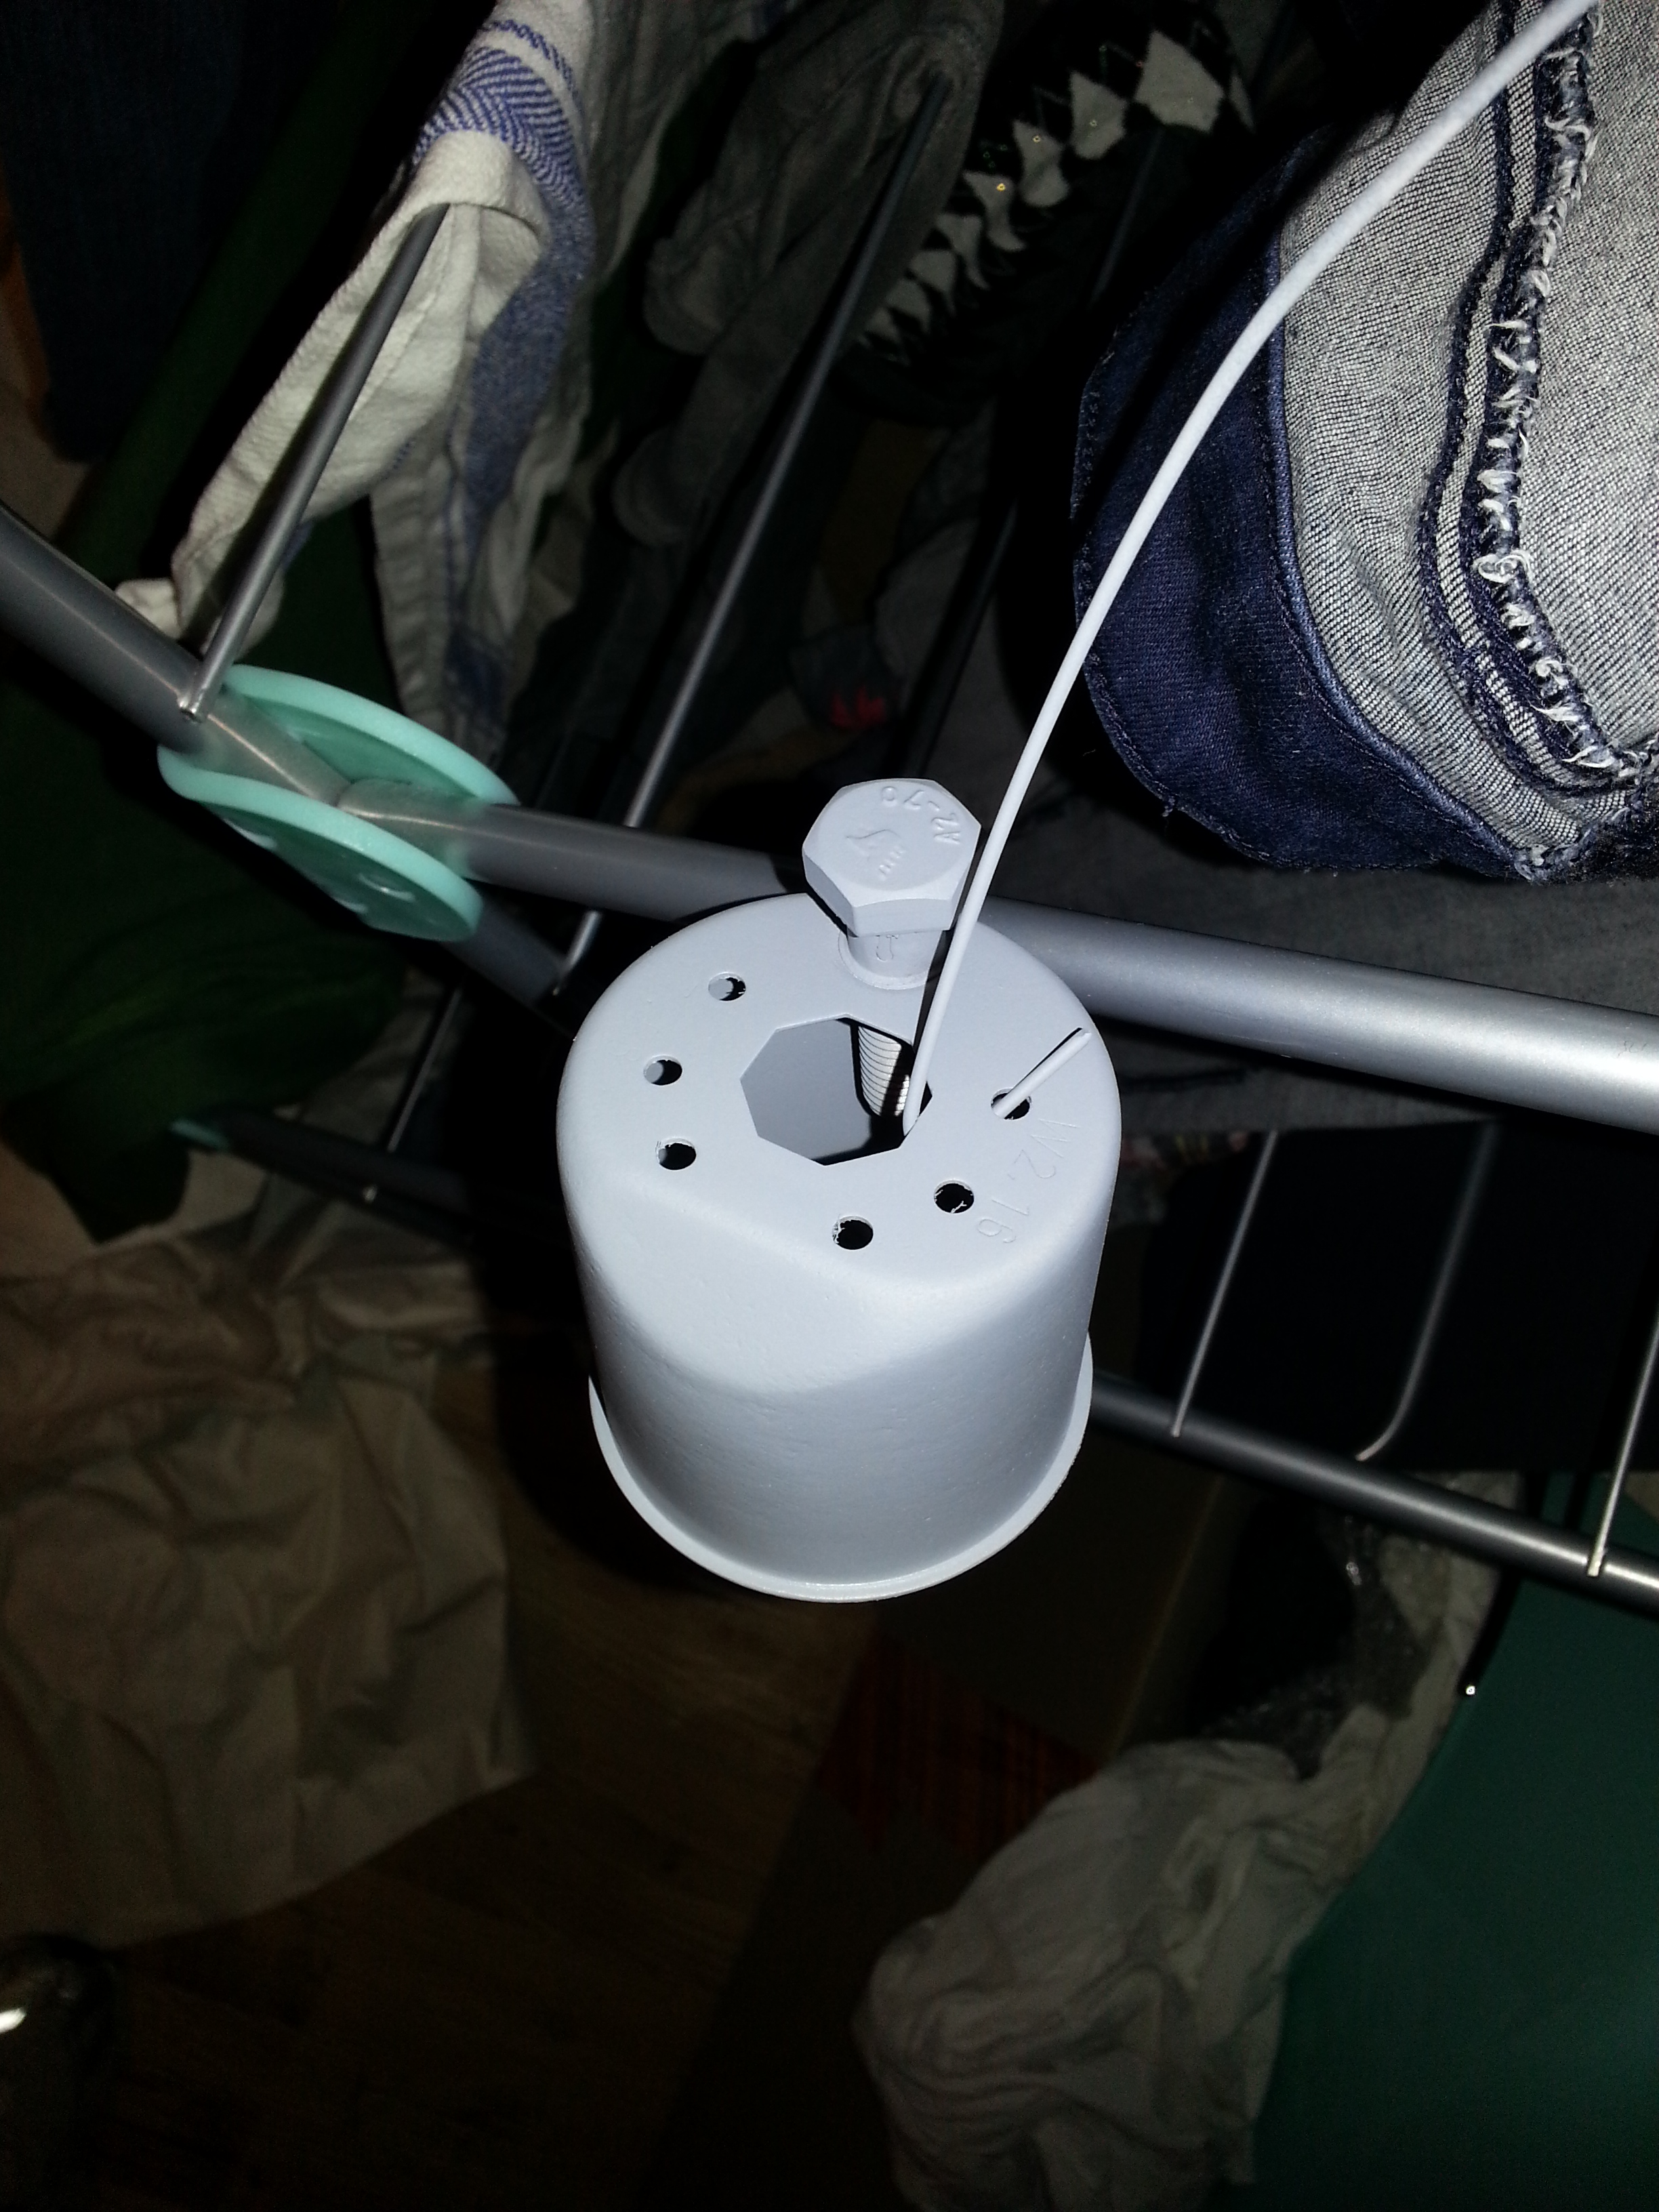
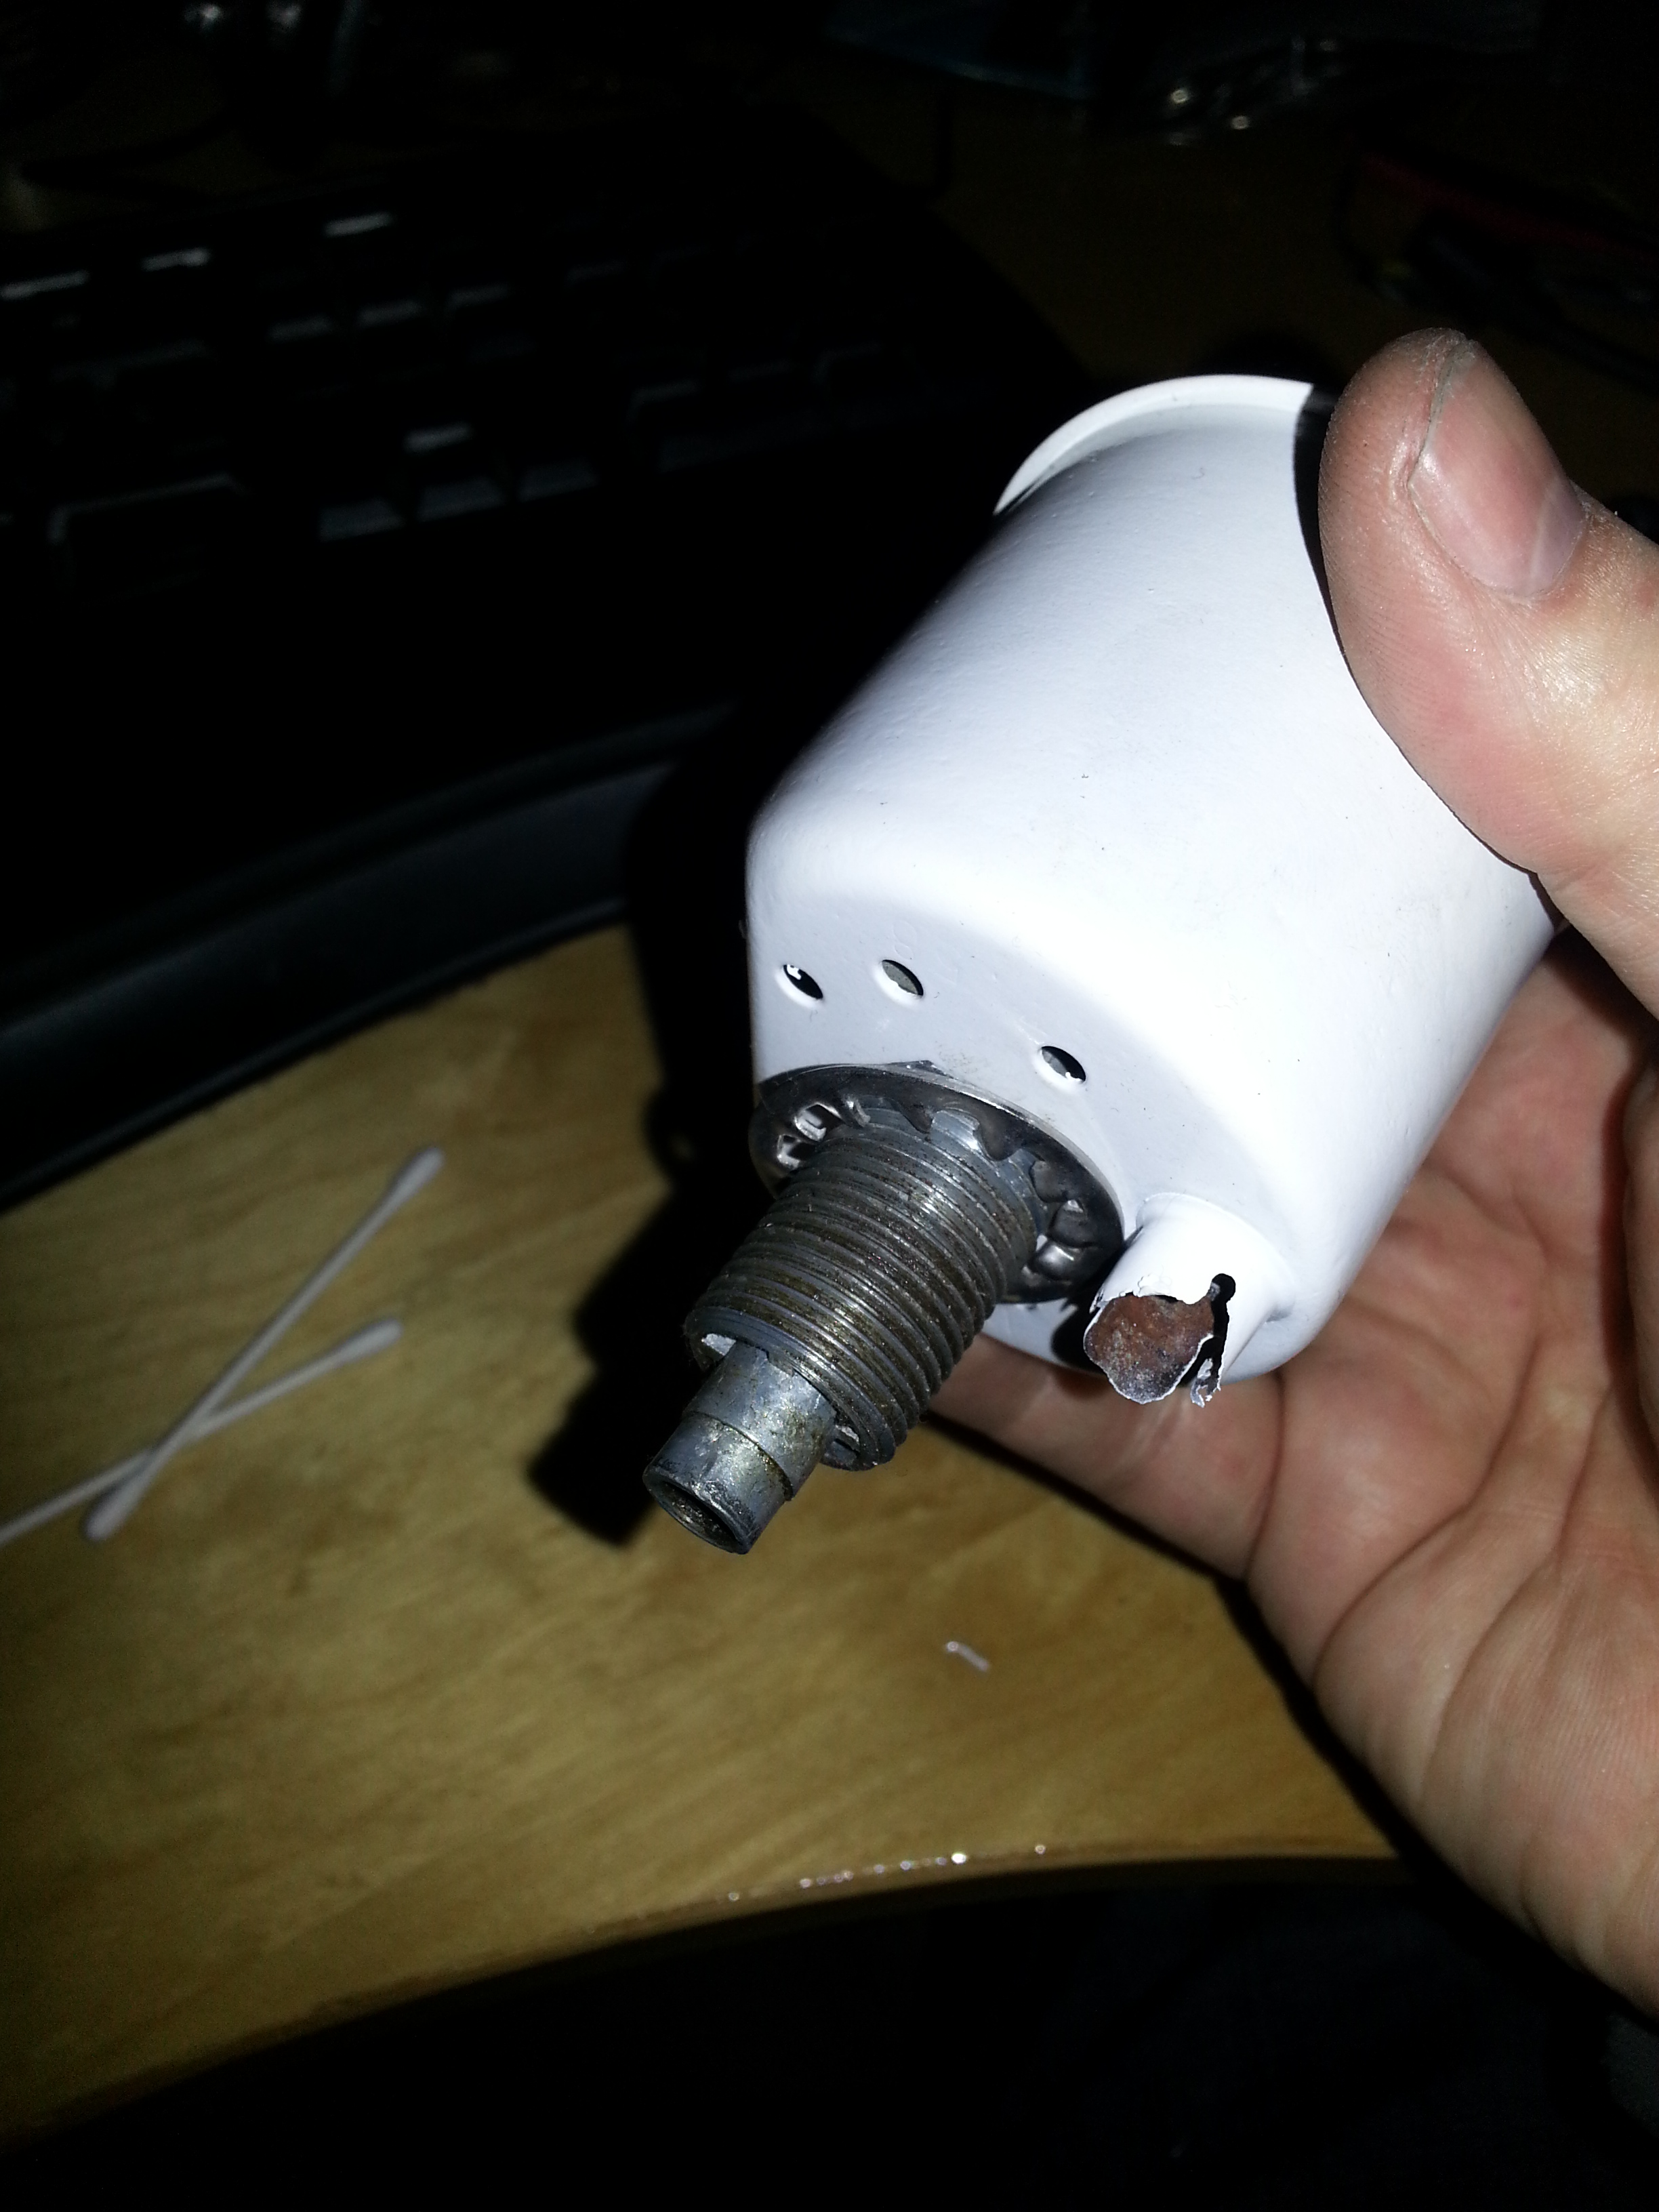
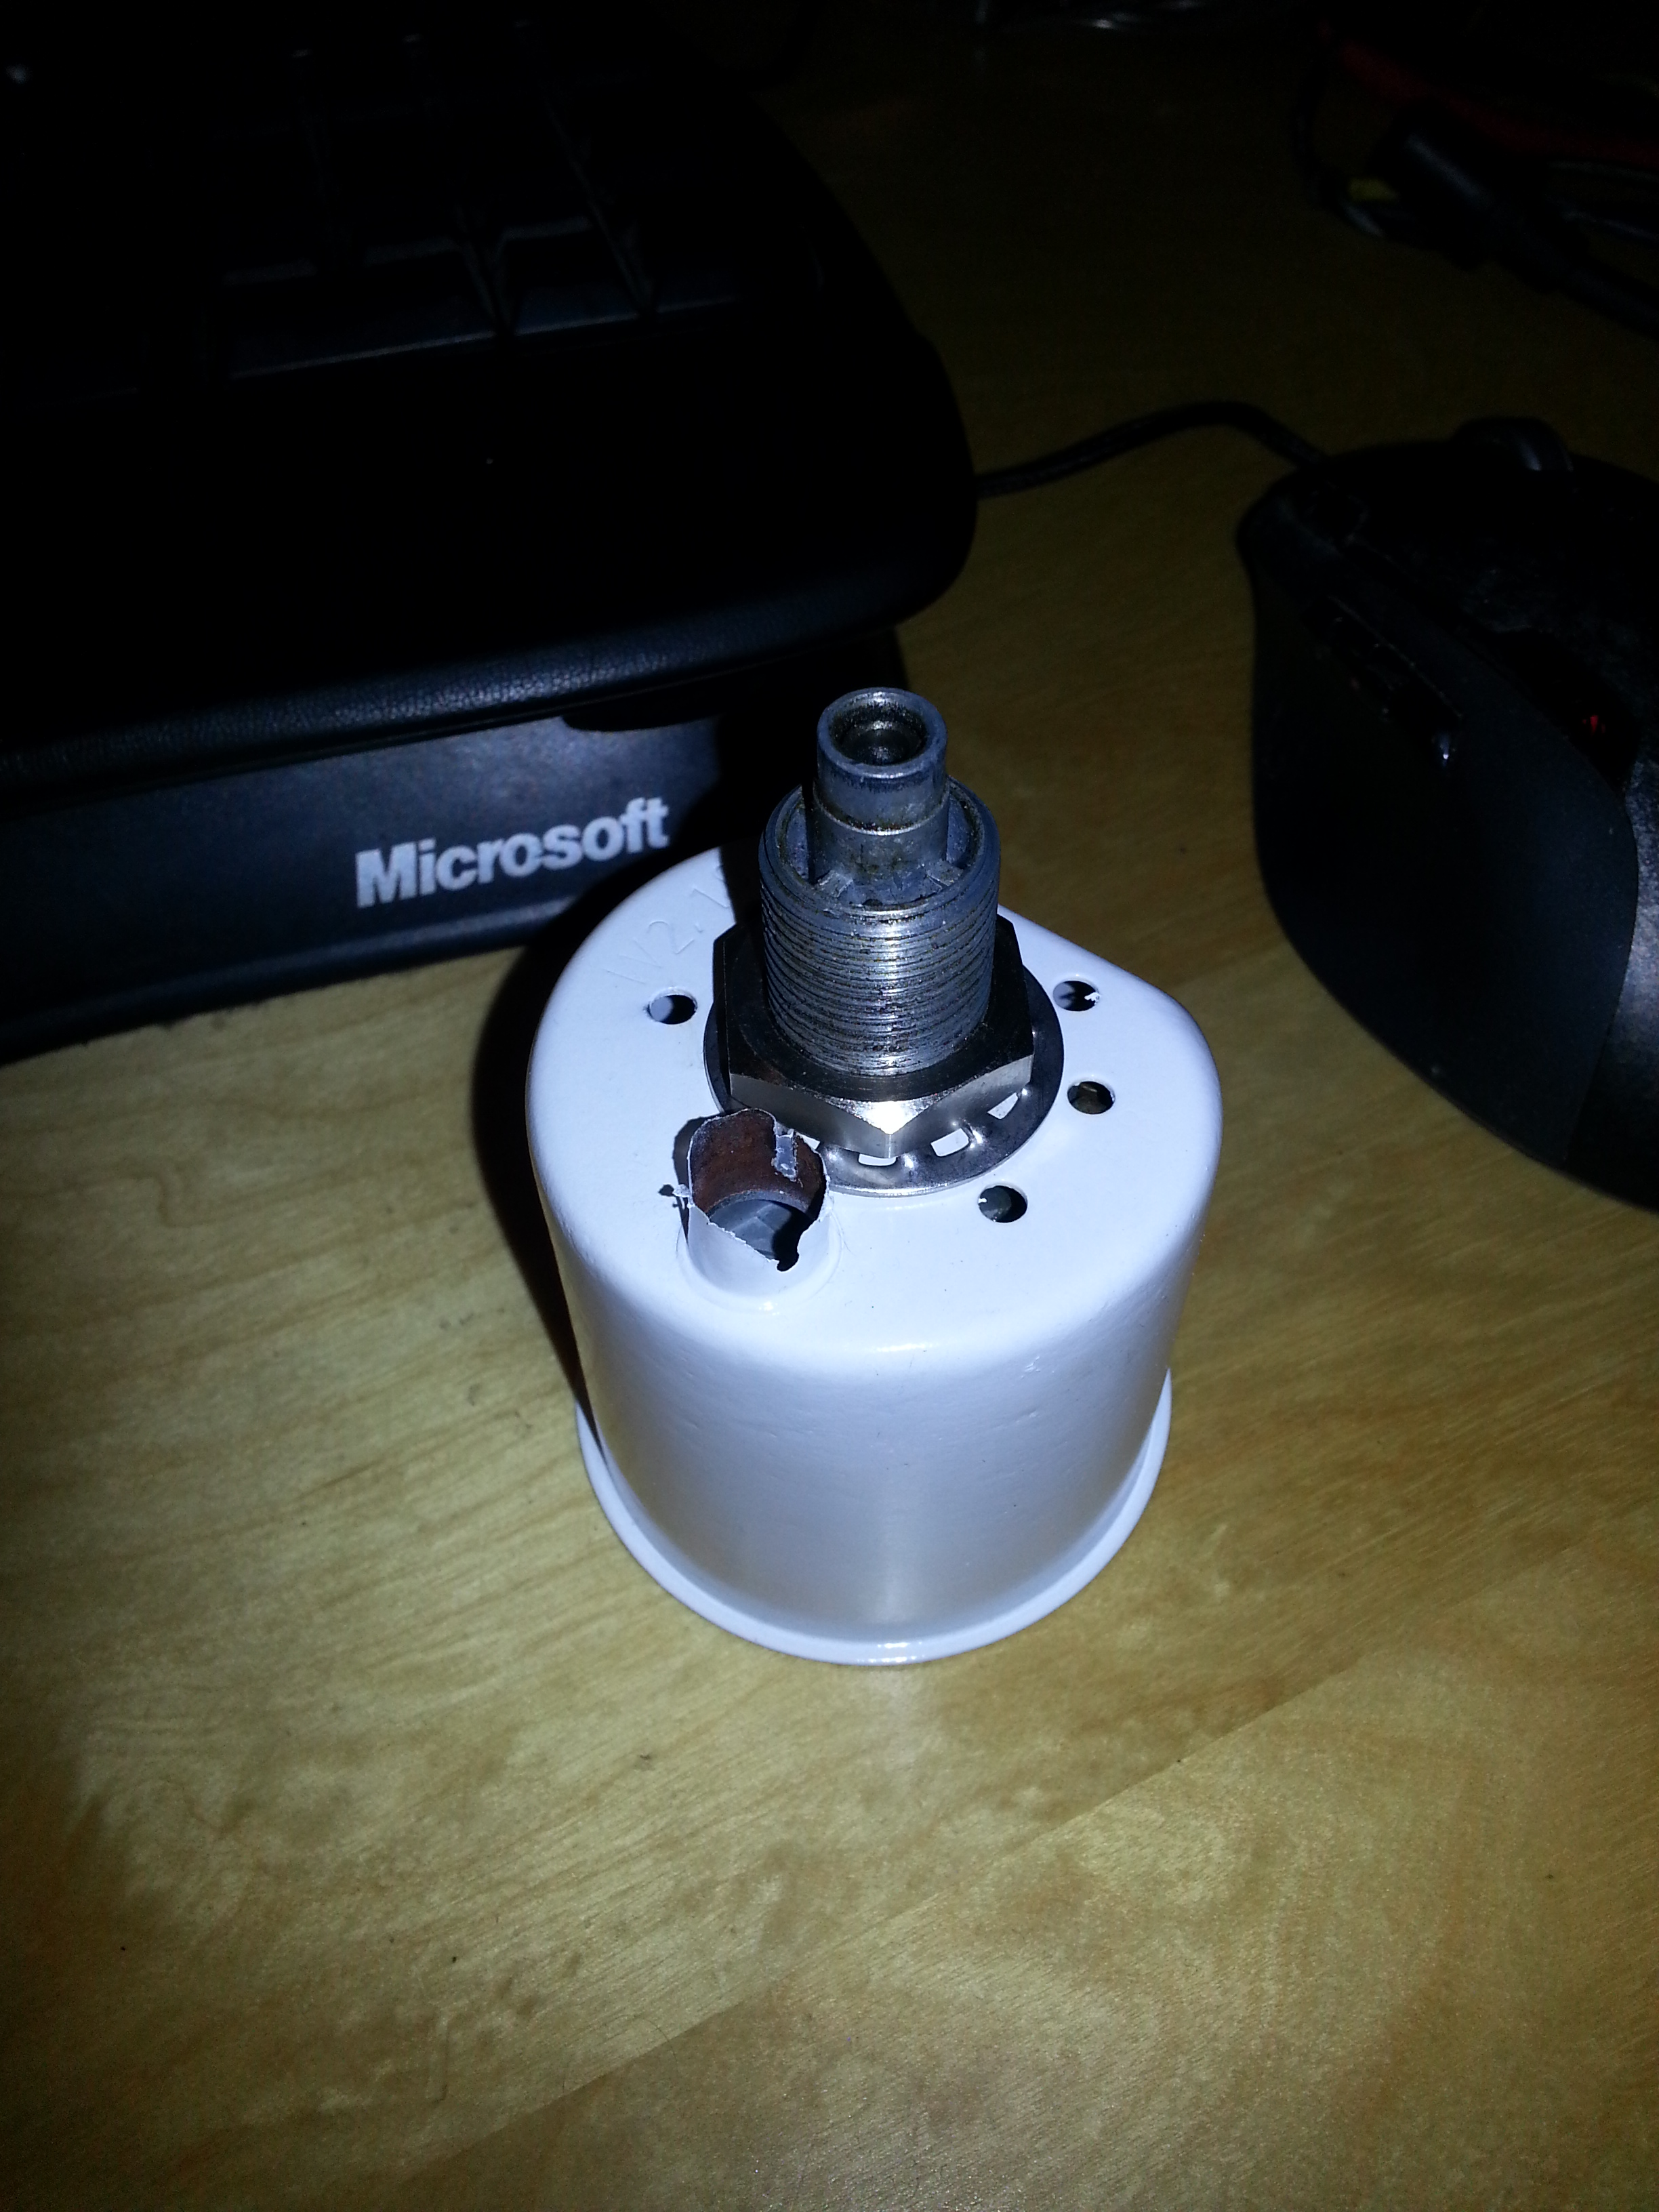
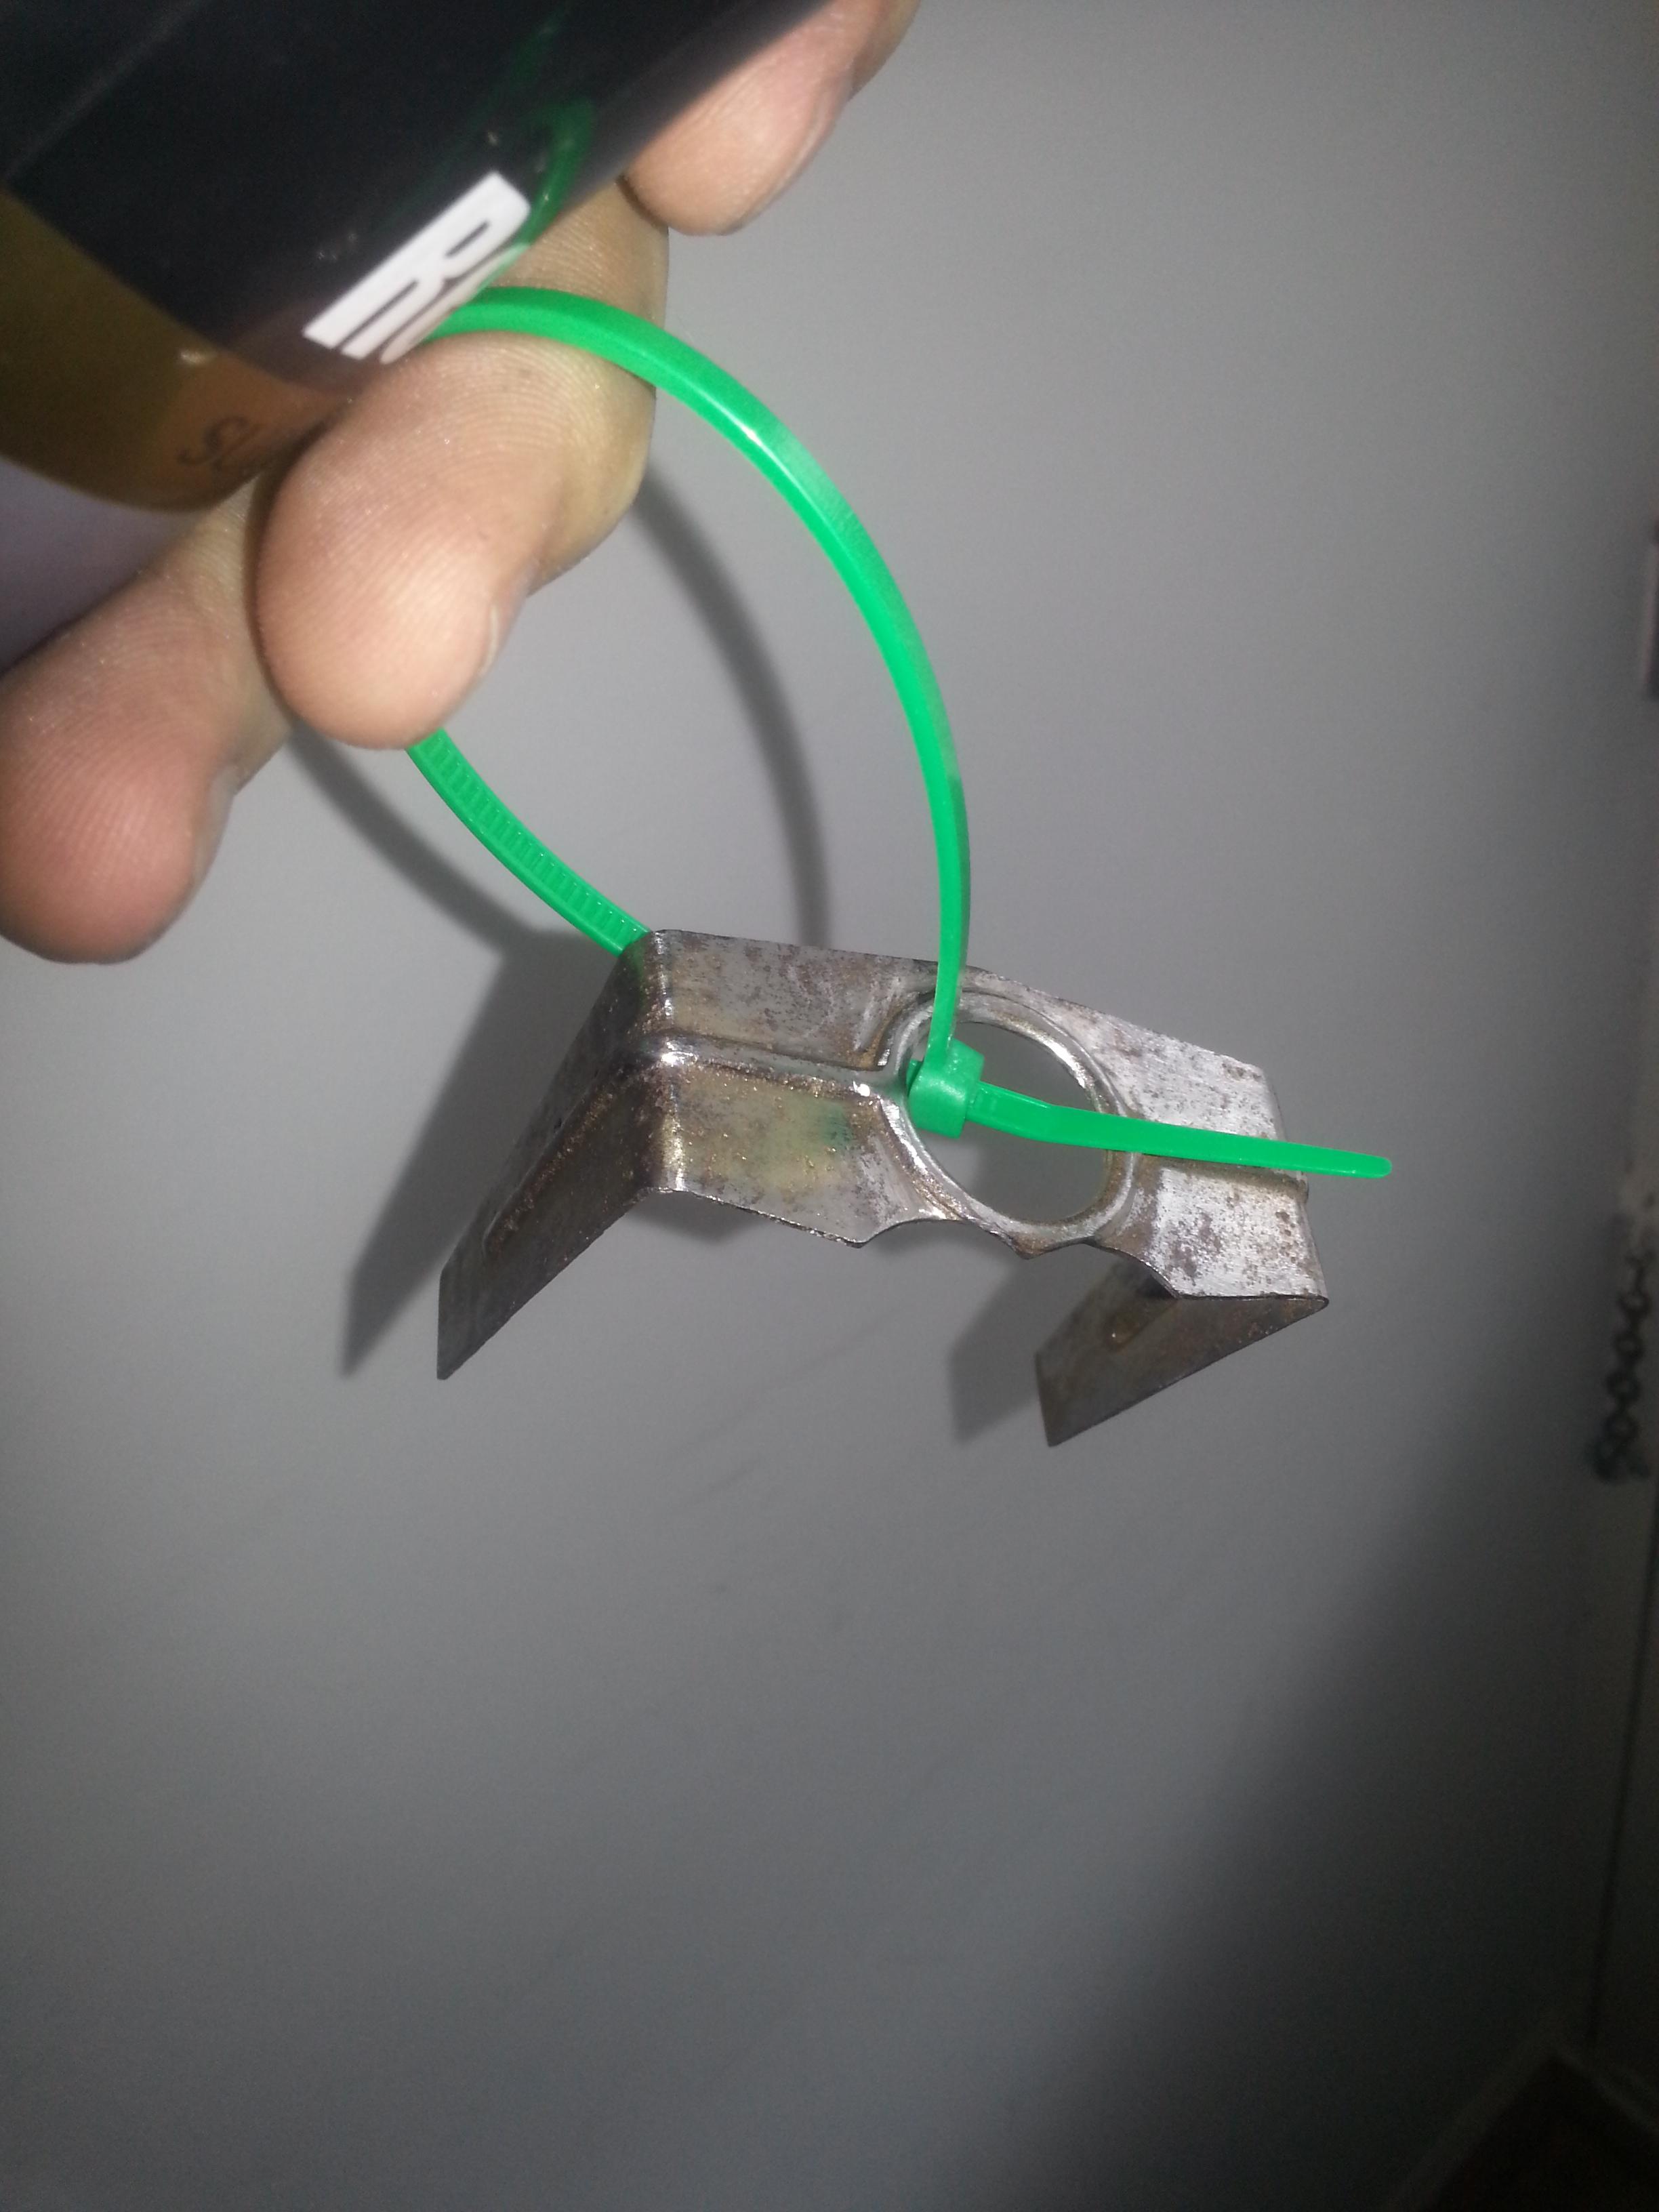
Inserted into the speedometer is a small light. In my case the light holder was quite corroded. To prevent complete disintegration over time the speedometer casing will need a coat of paint. Here’s a close-up of the connection elements (the bracket is upside down and one of the ring nuts should be under the bracket to connect the speedometer to the casing):
Opening up the speedometer is a job that will take a few minutes. The chrome ring sides are folded over the speedometer casing and pressed in place. The only way to remove it is to gently bend the sides back out until the ring comes loose. If it needs replacing and you have a replacement; don’t worry about it. If it is in good order, but the speedometer itself needs repair, do it very gently so you can fold it back in place when you’re done. You will need a small hammer to do so.
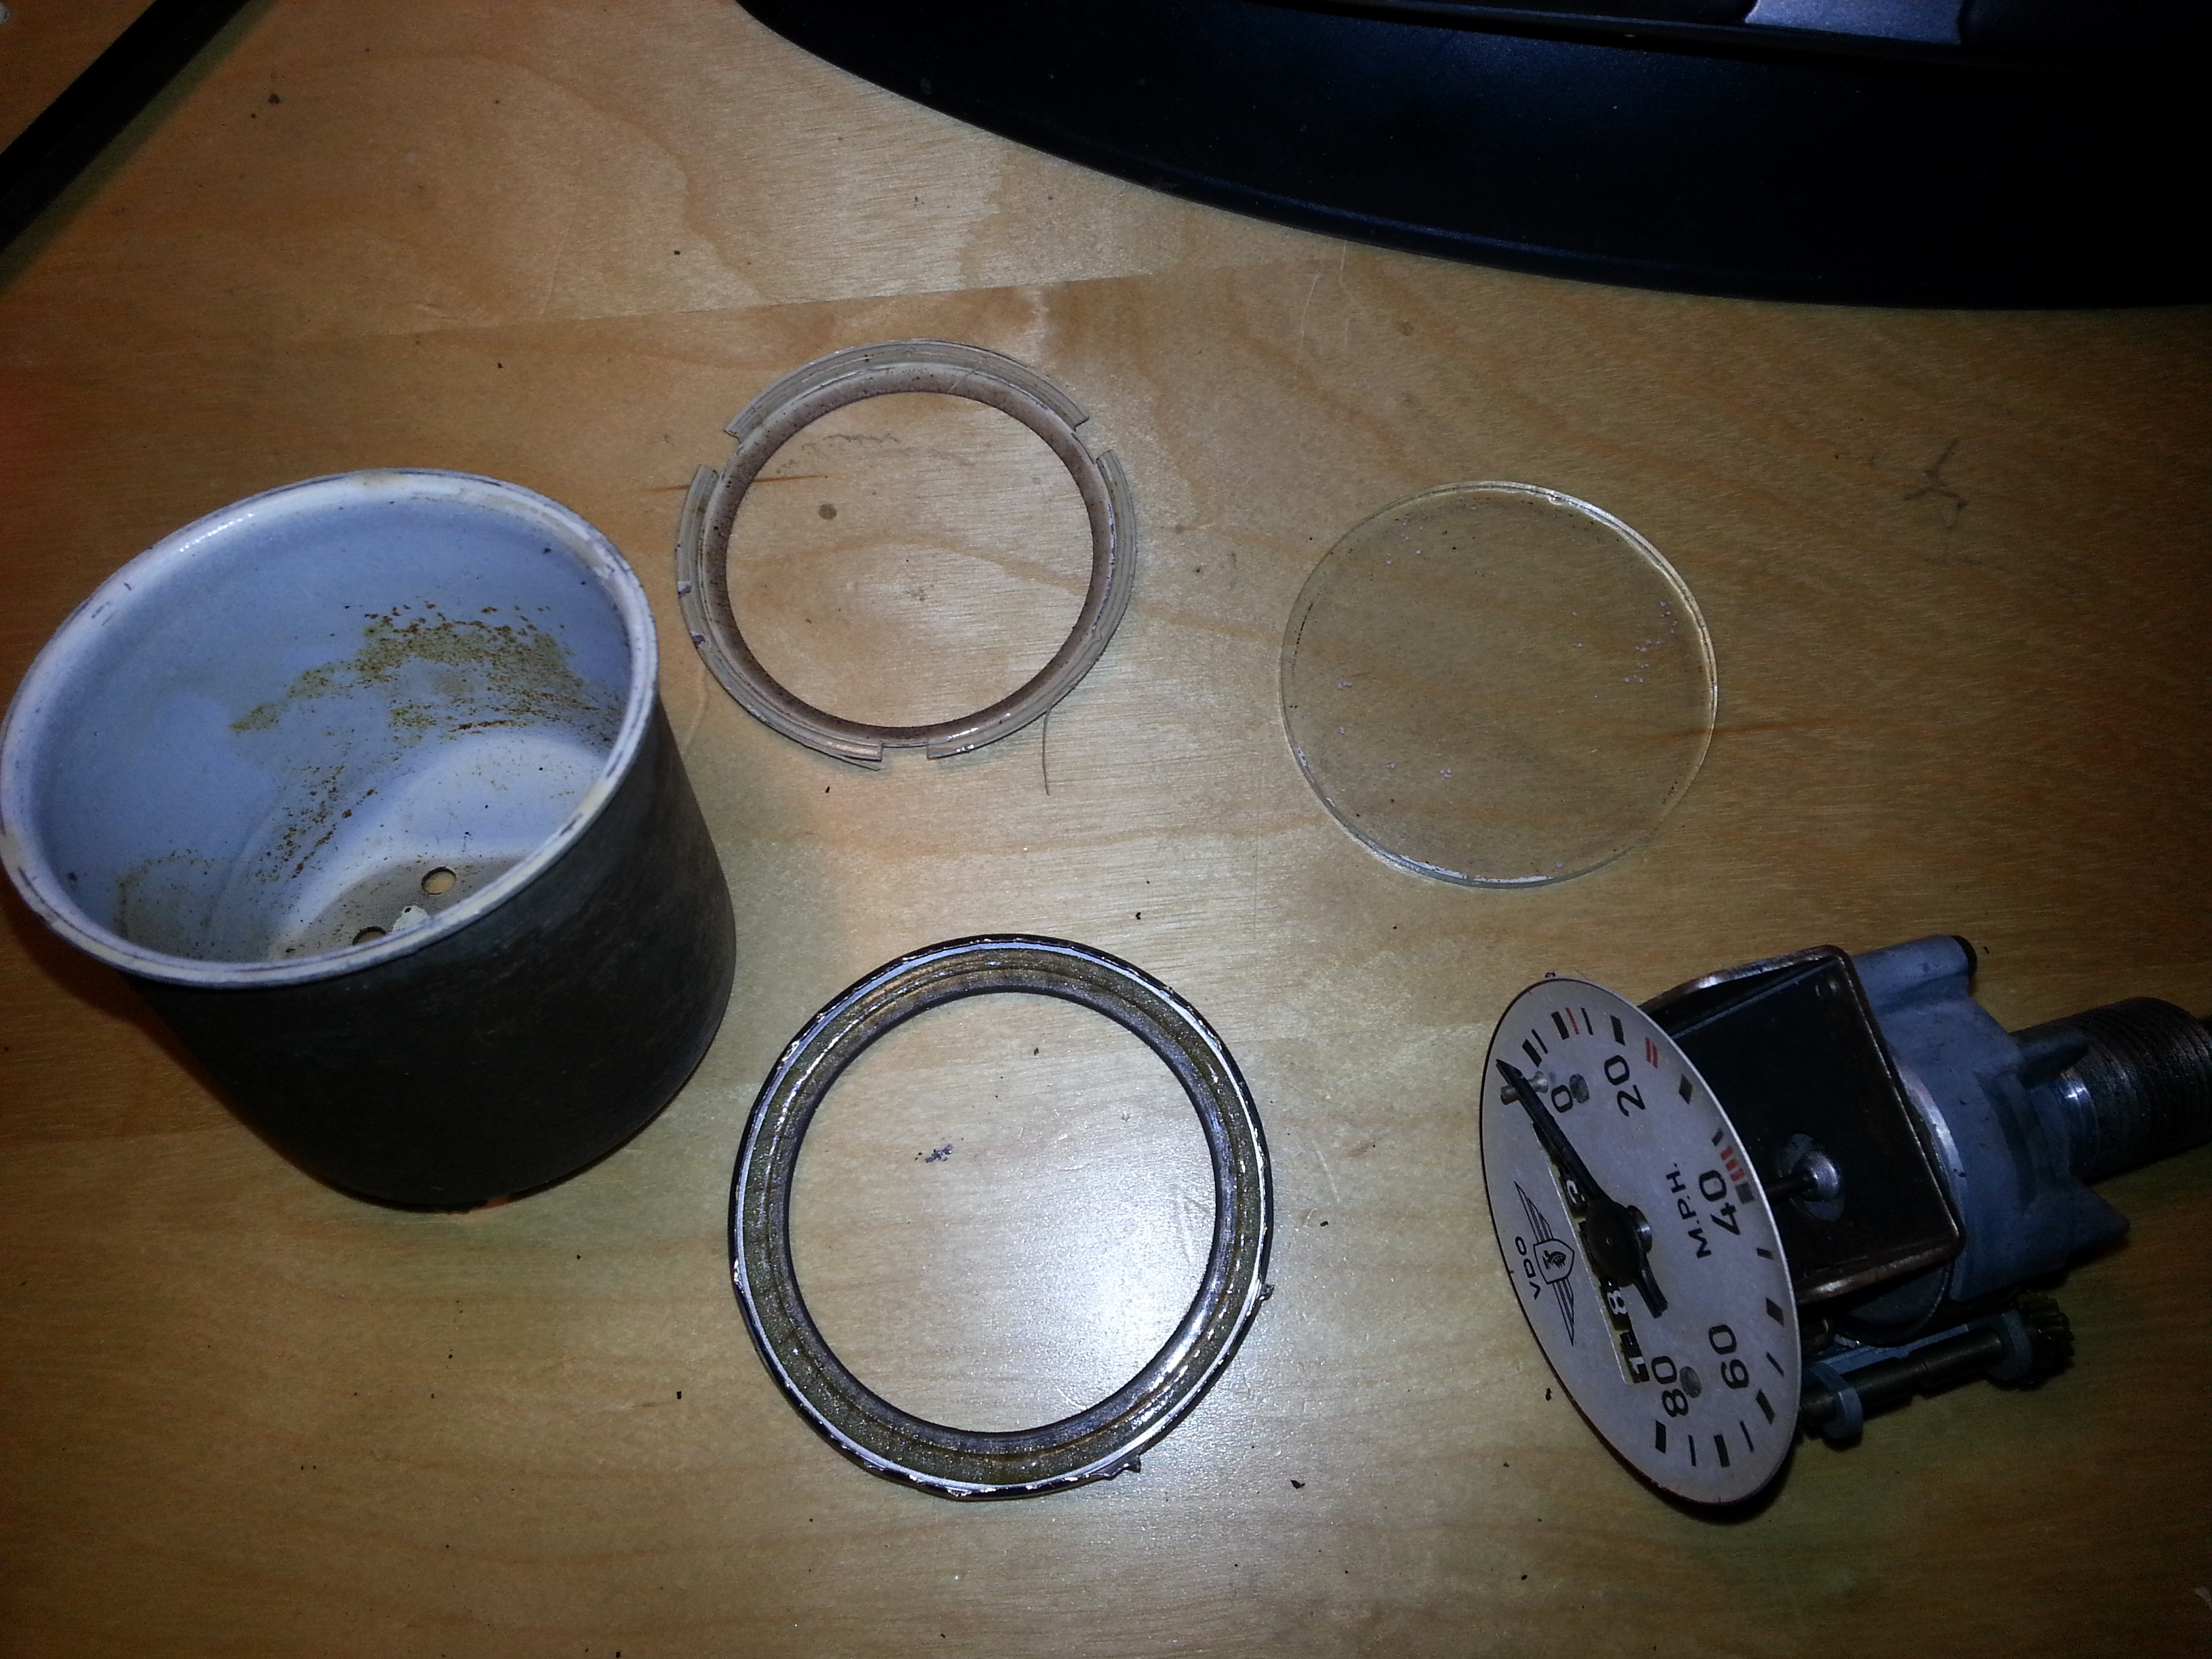
When you’re successful the parts look like this:
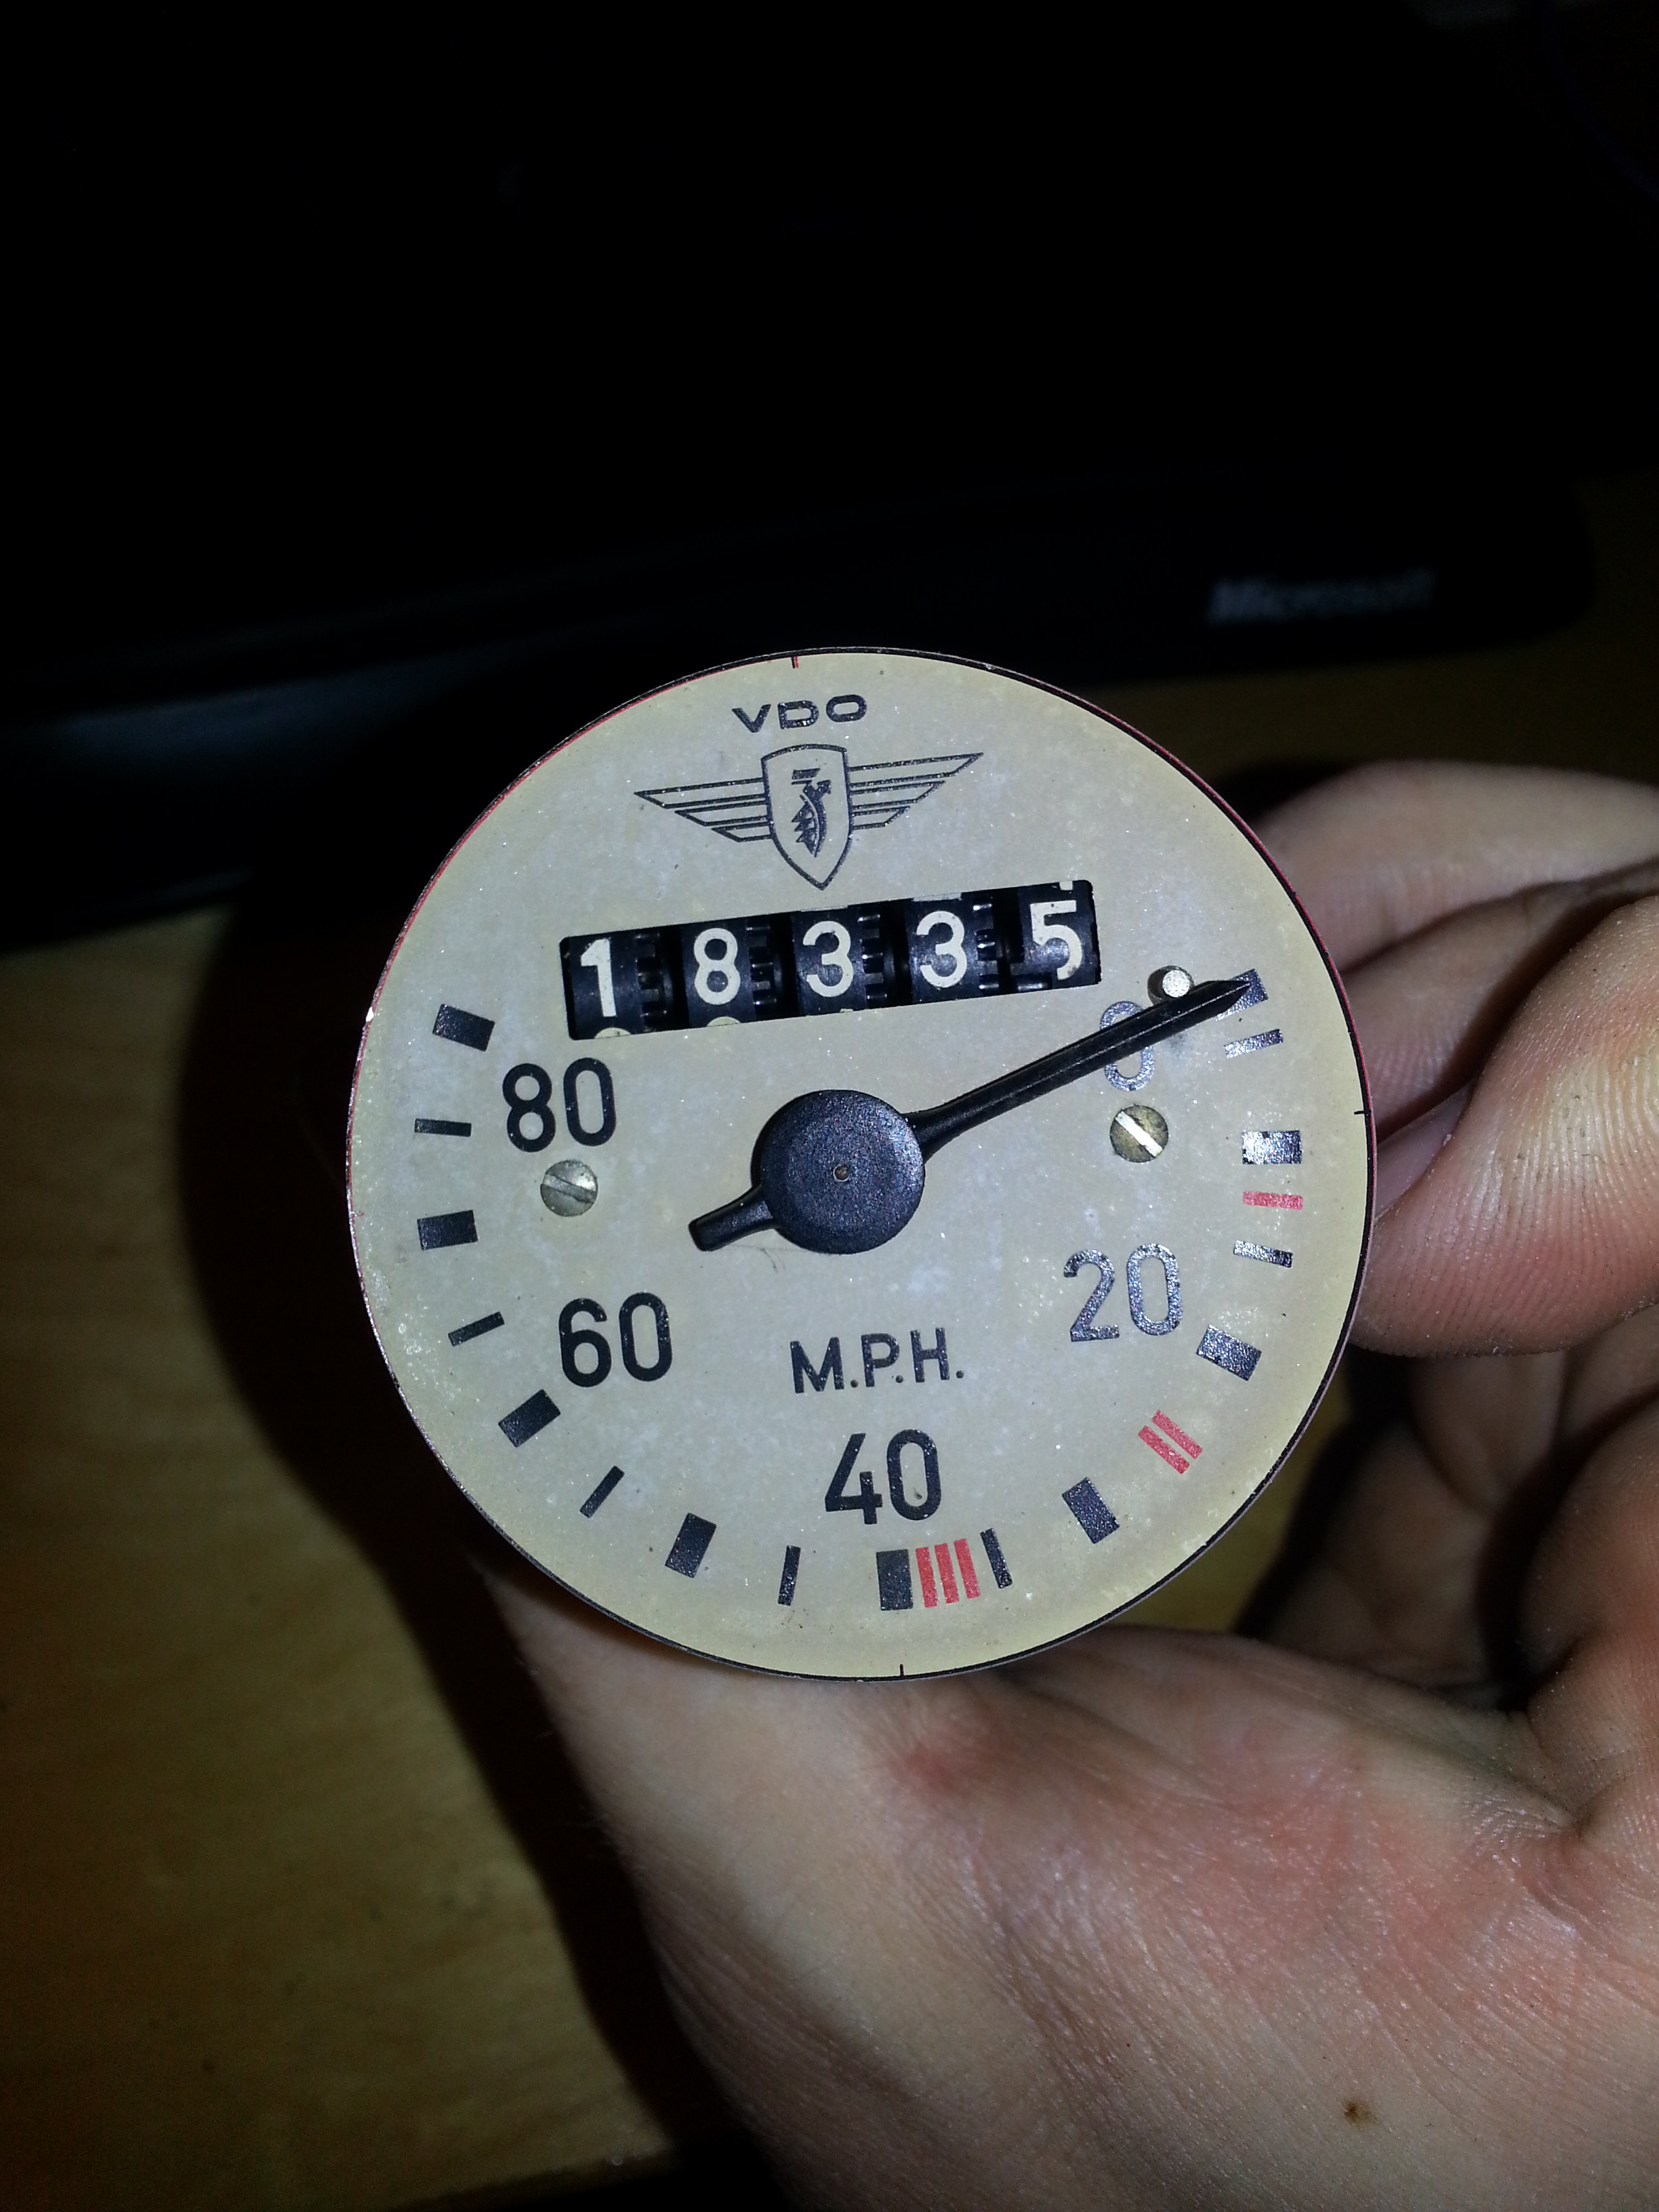
You can order a new speedometer face, but I like the patina as is. I will just replace the chrome ring and paint the housing and bracket as the speedometer itself works fine.
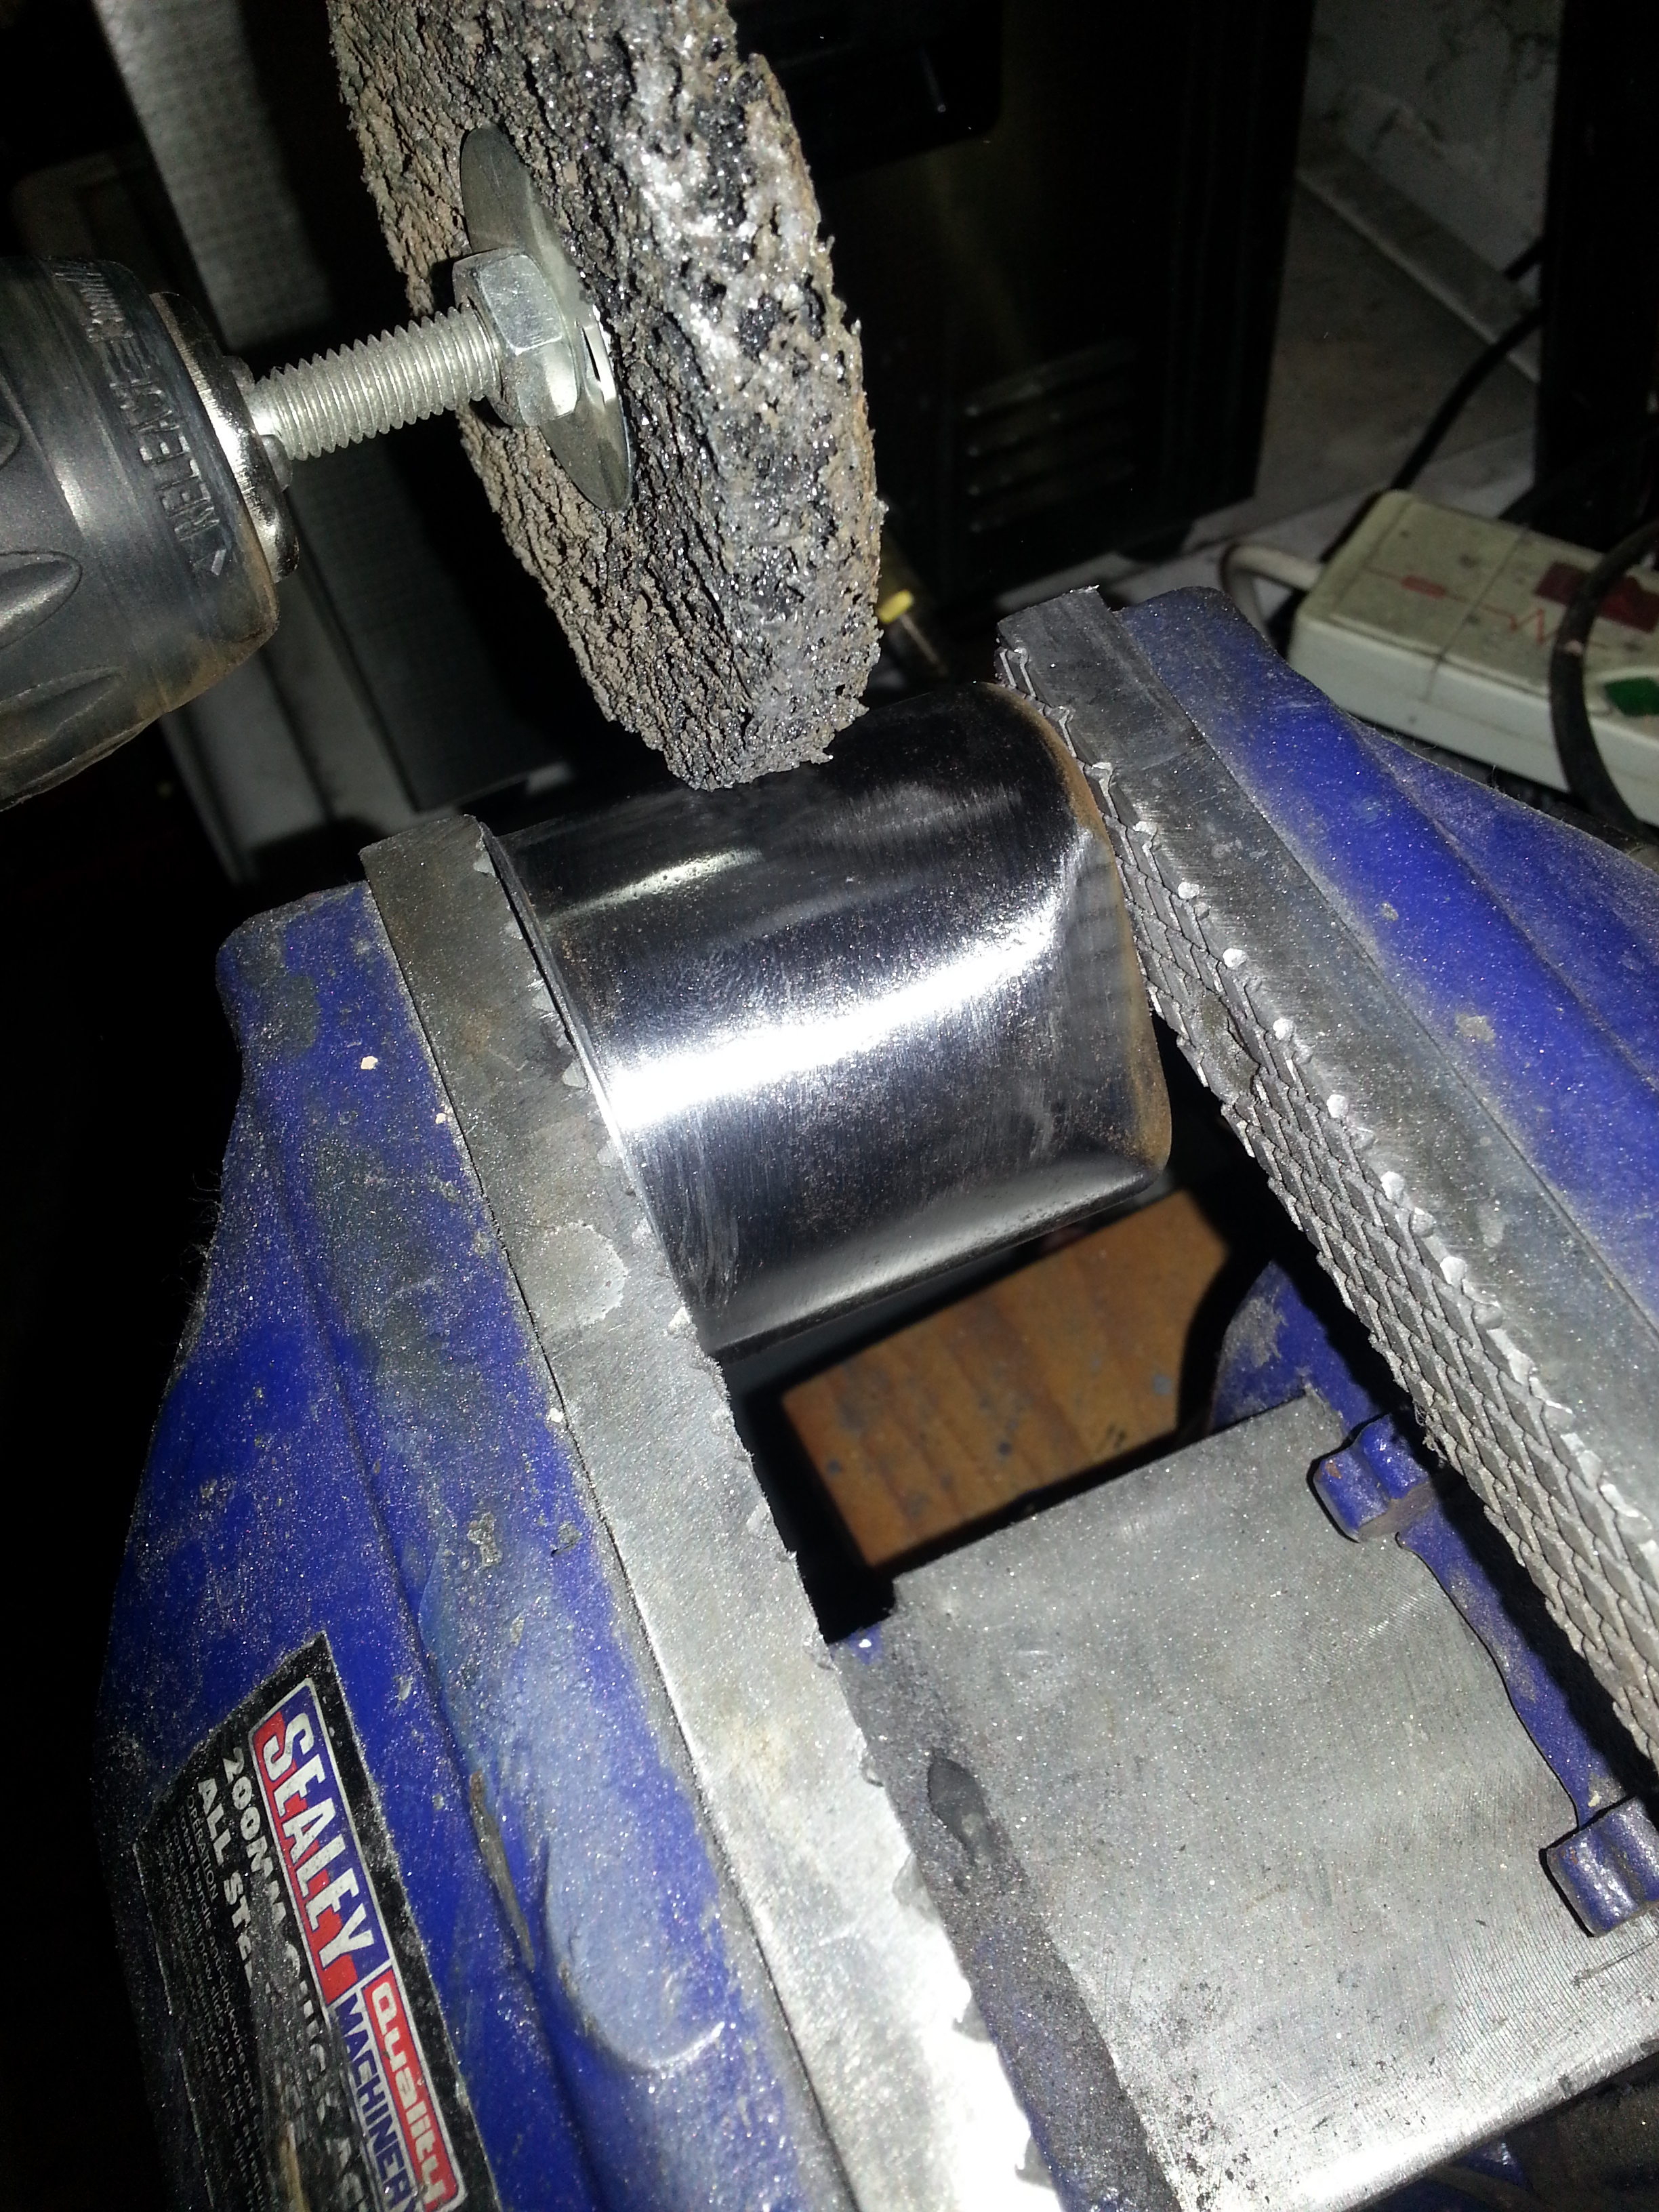
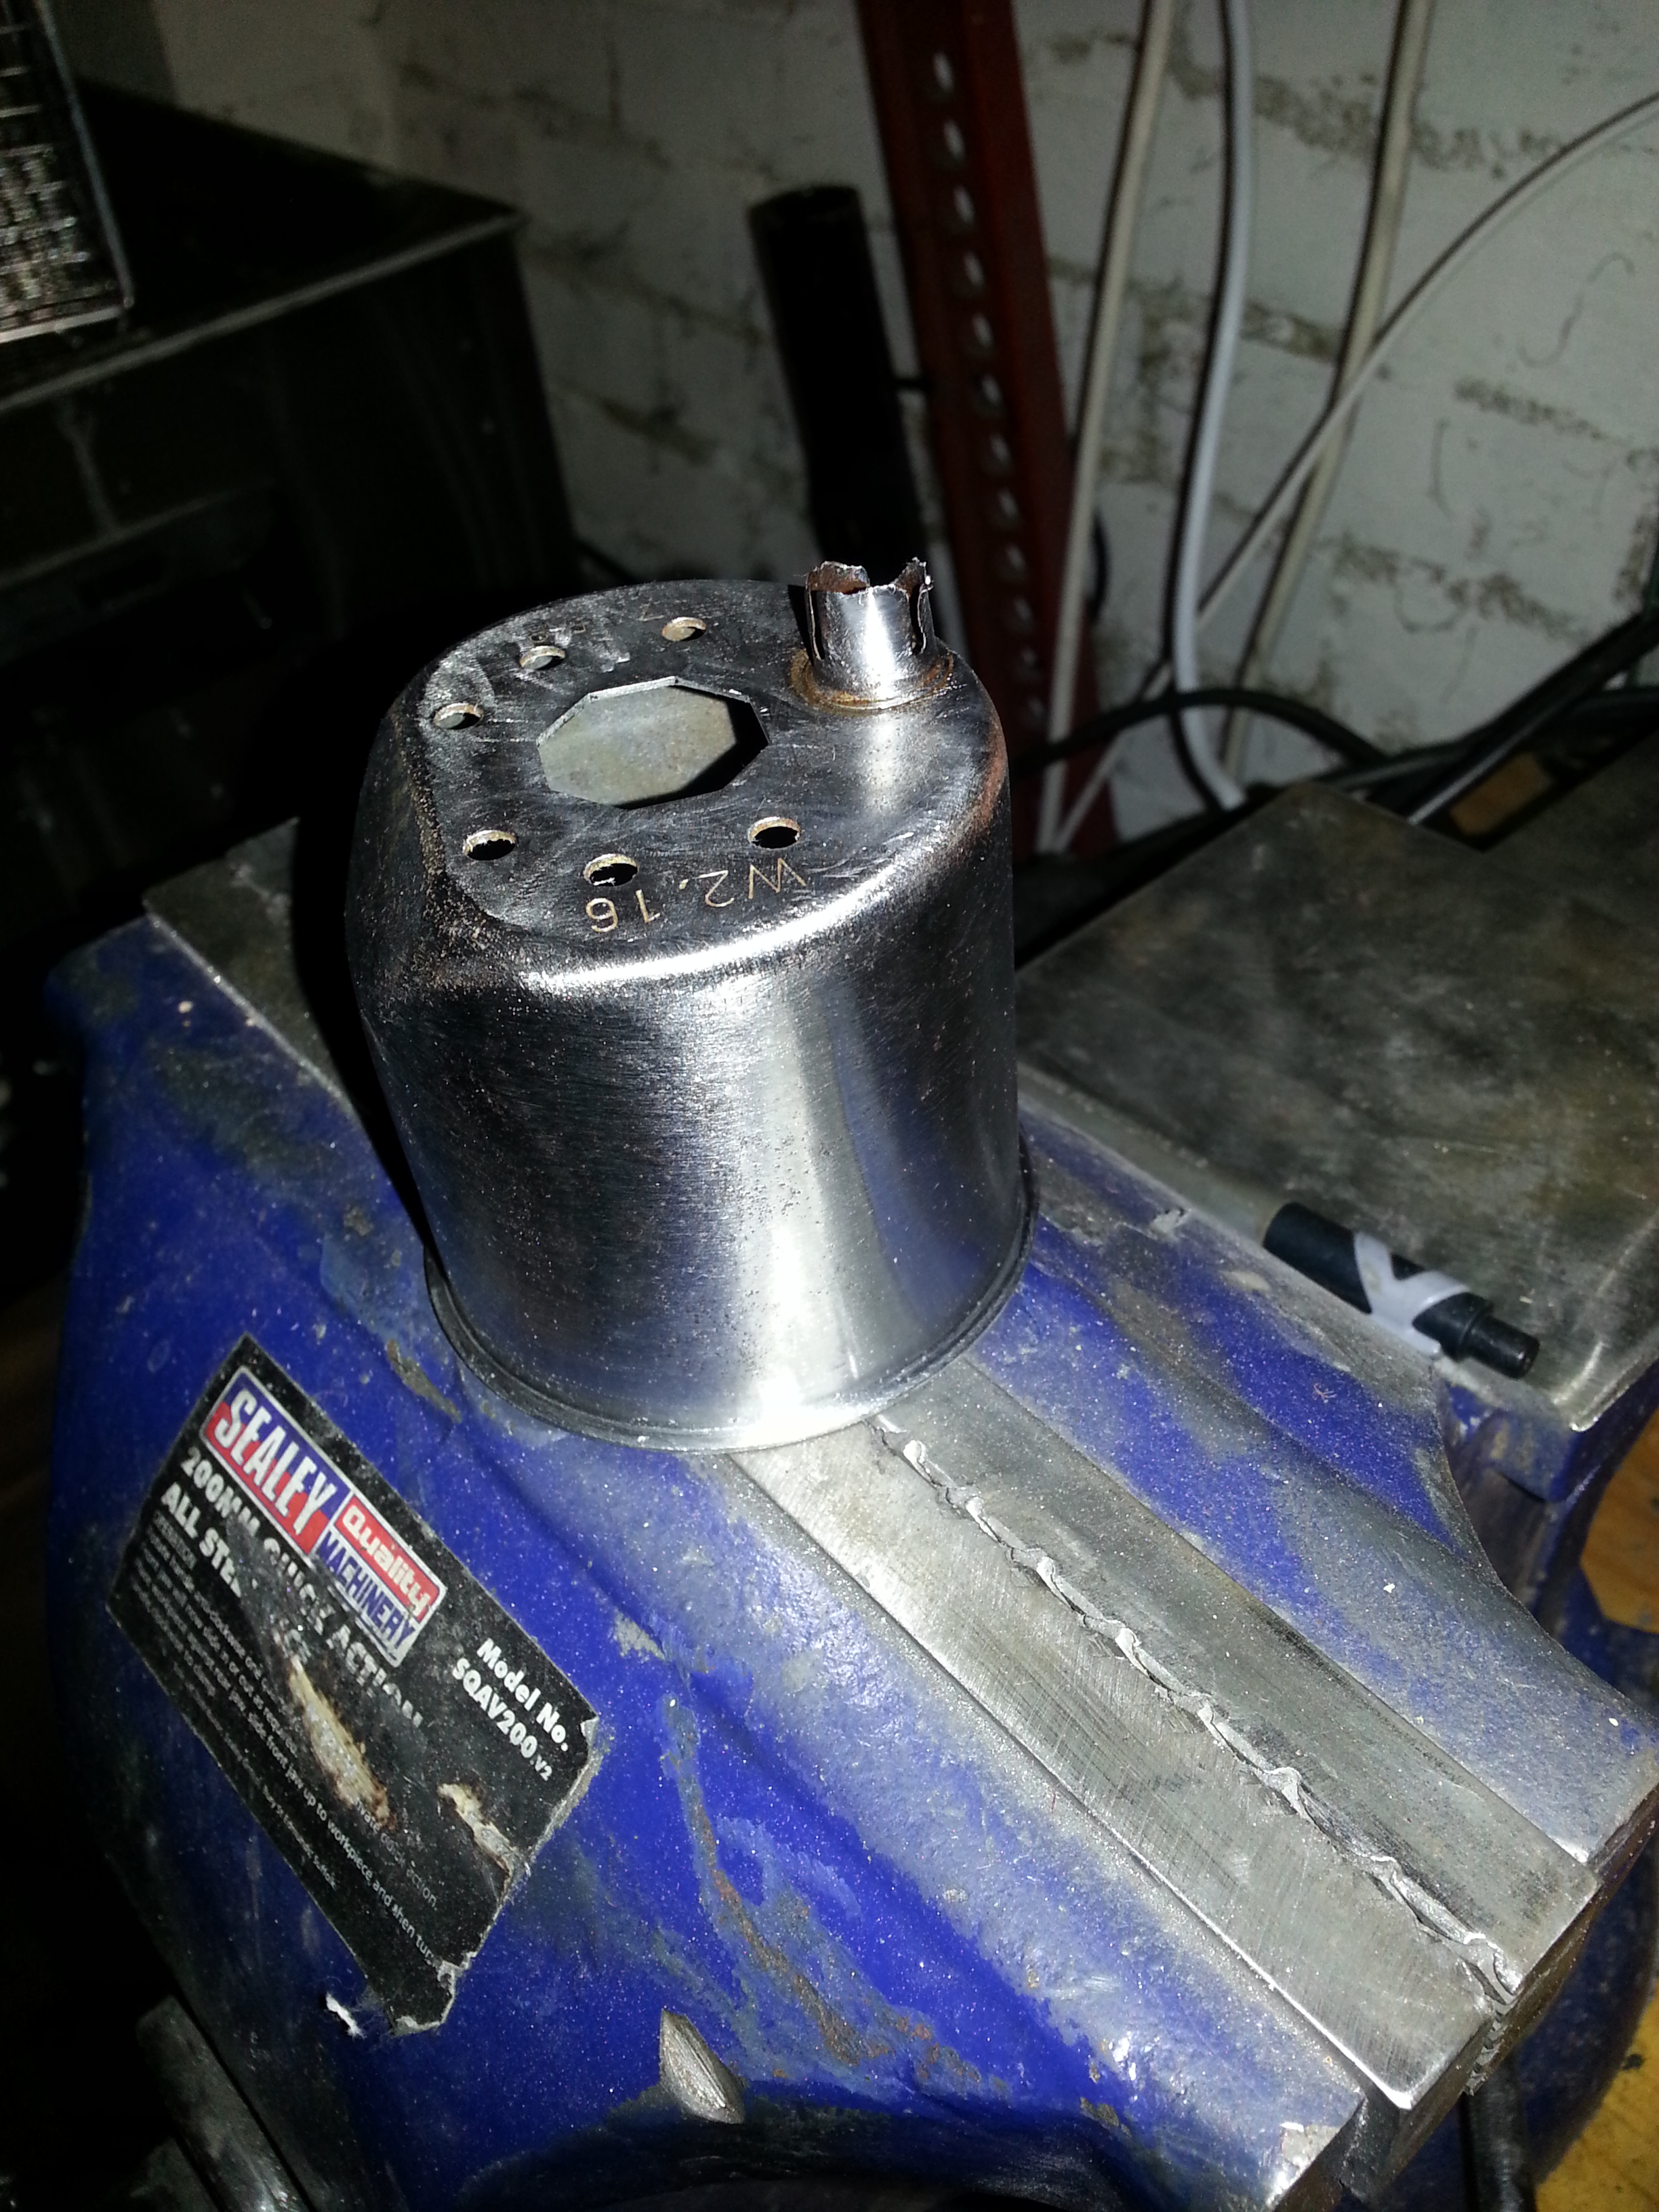
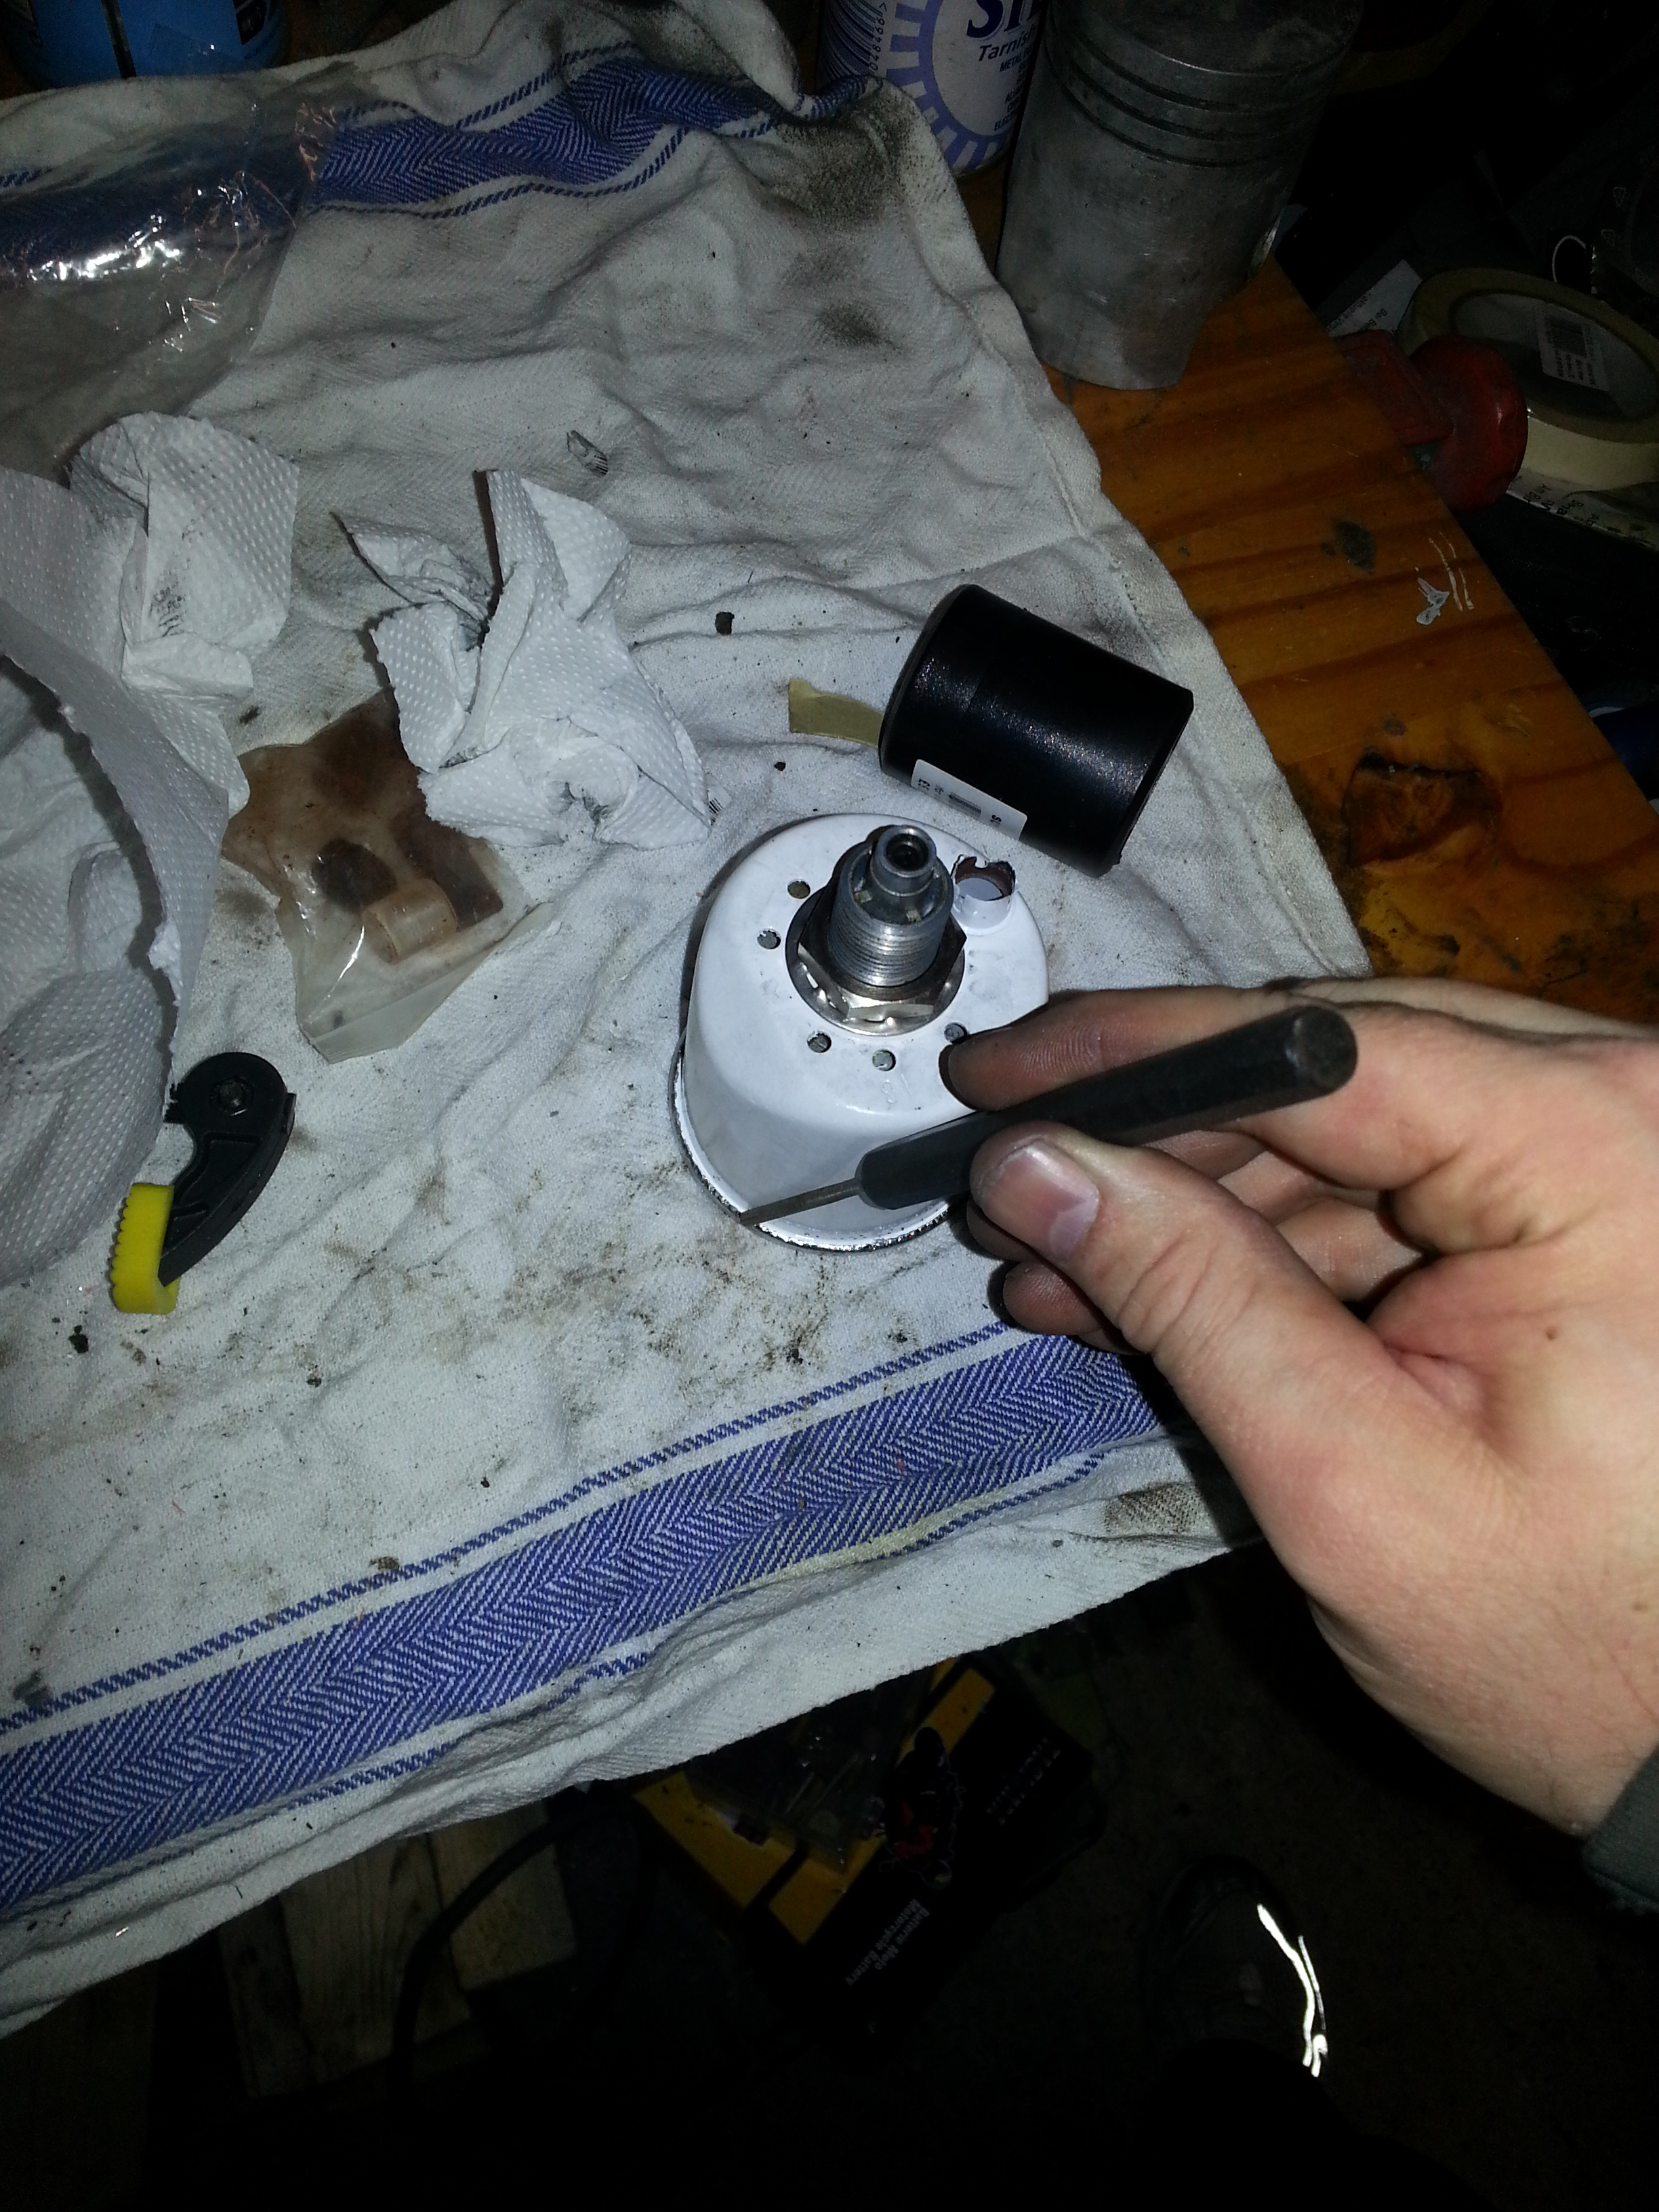
The housing is very rusted on the outside so I’m taking a carbide disc to it followed by a spray of base coat. As you can see, the lamp holder is gone for the first 3 millimeters and quite thin:
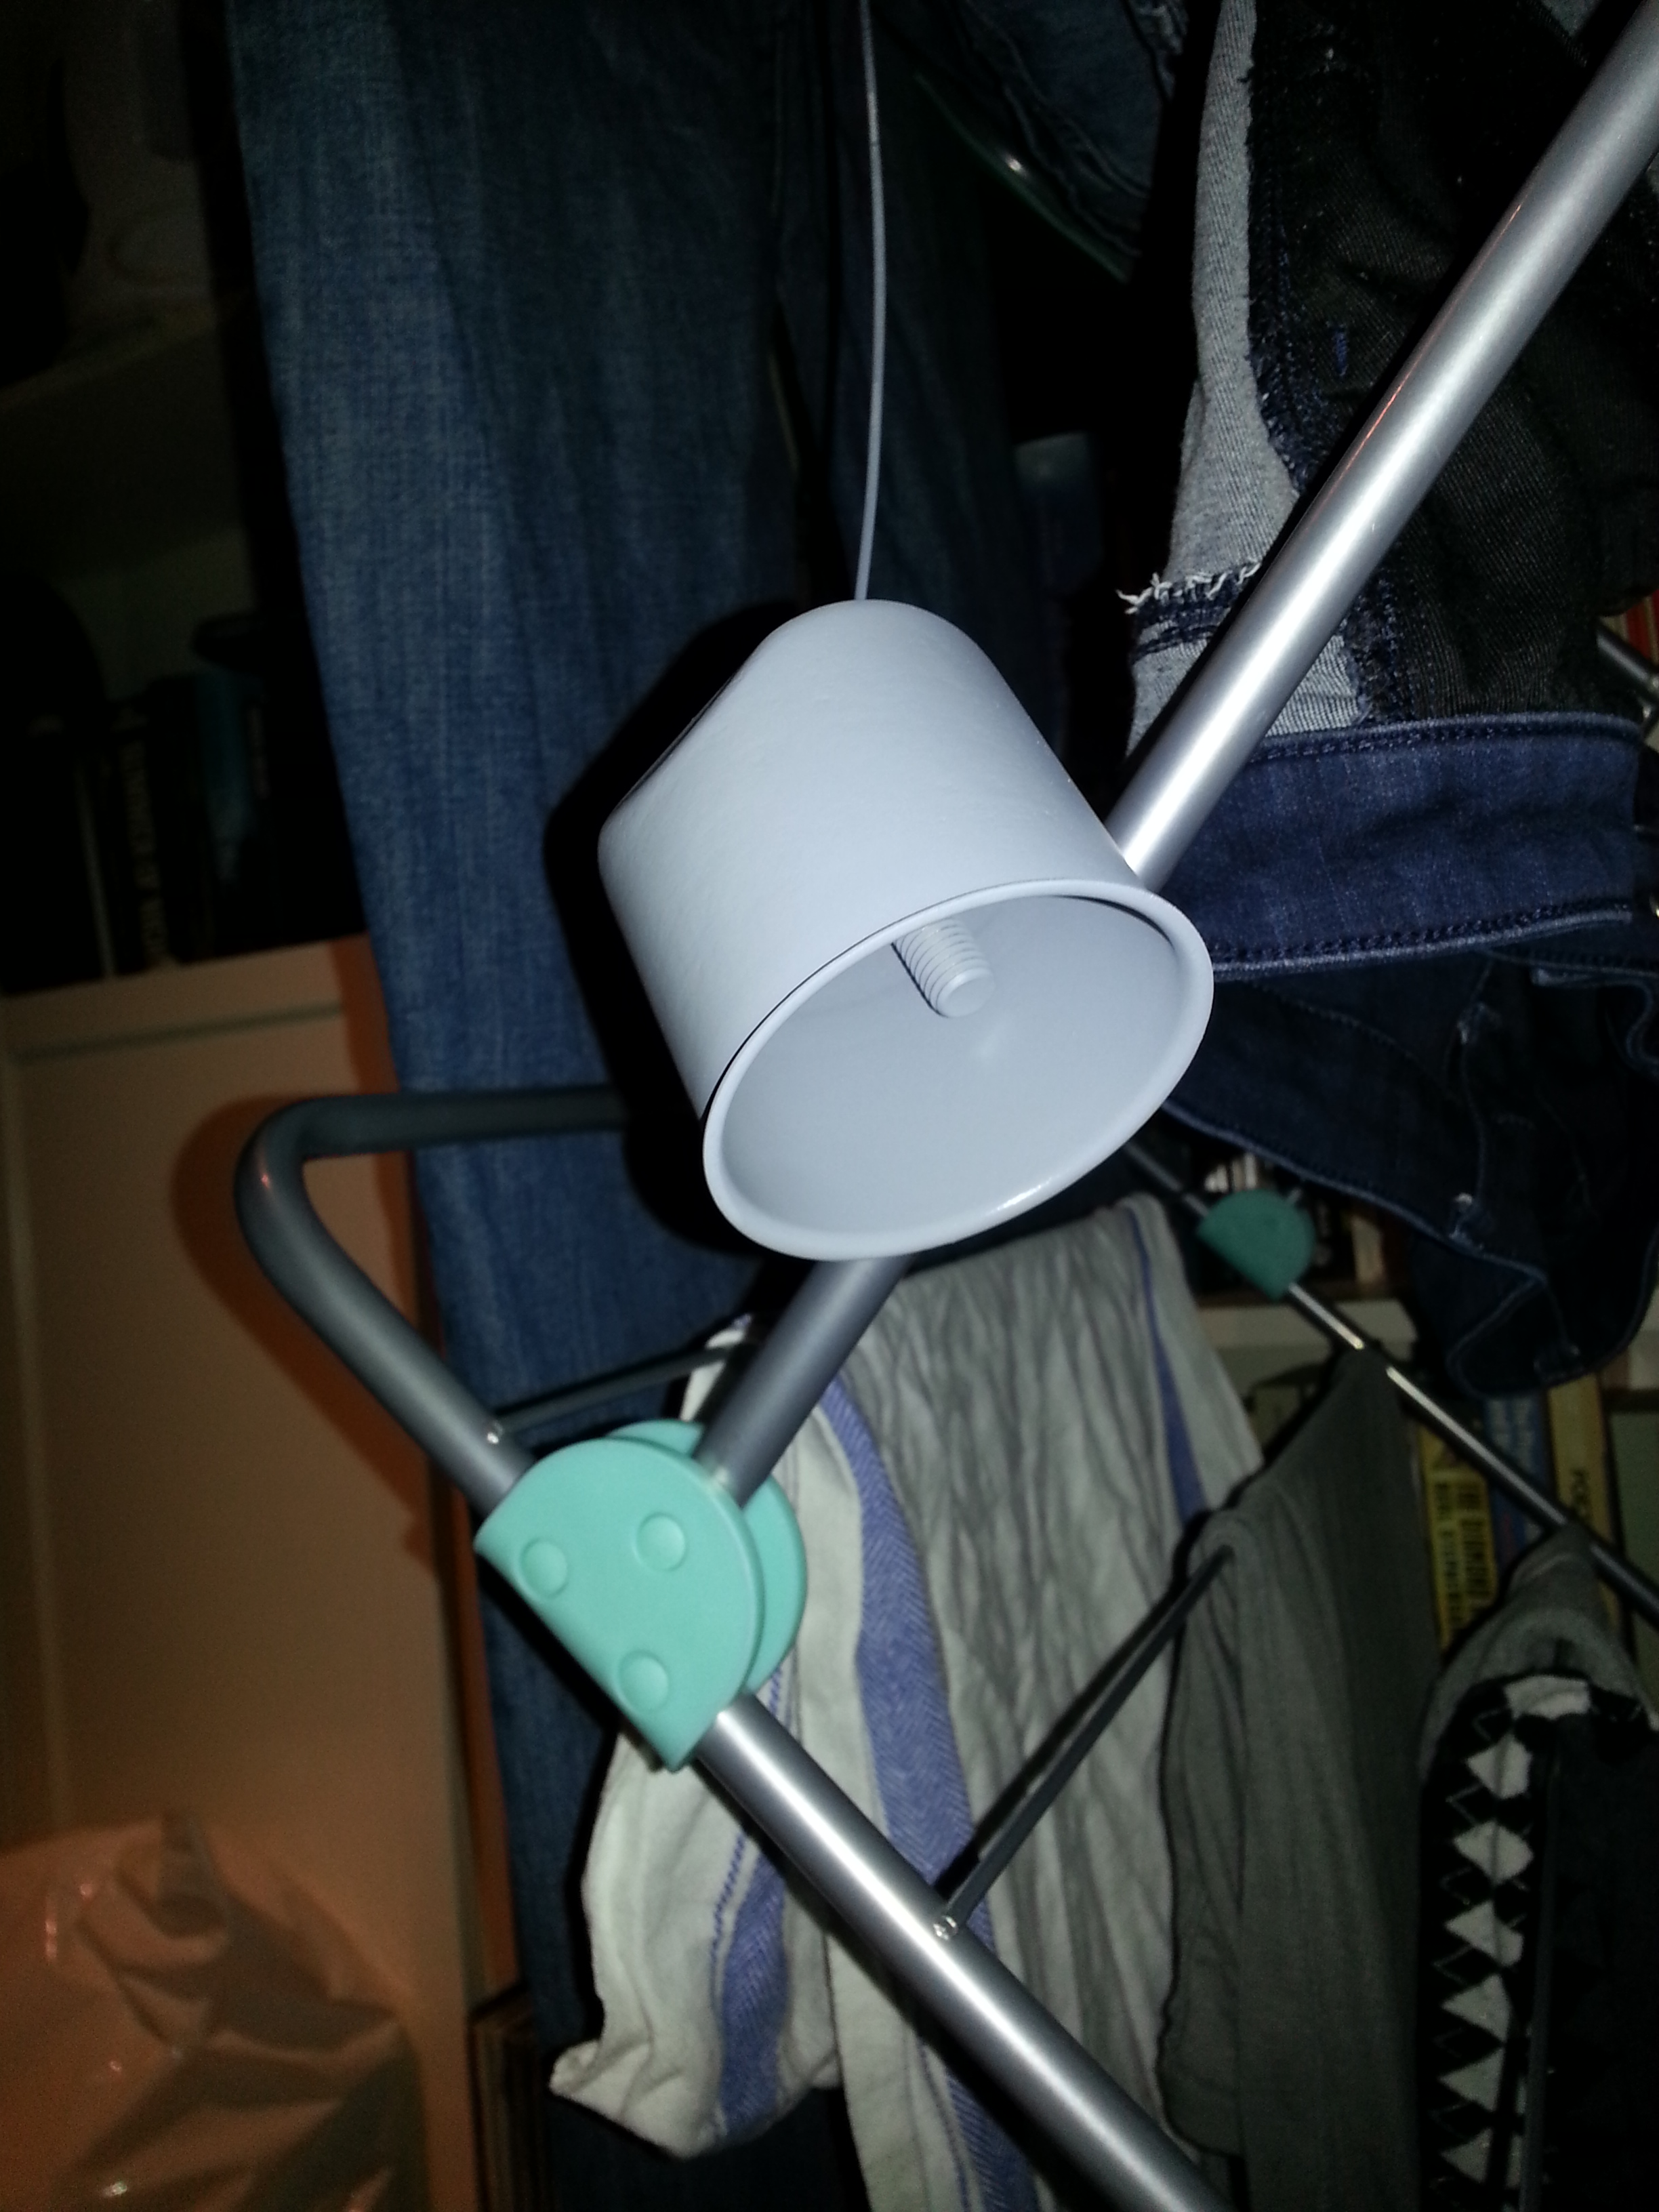
After spray painting we can put the mechanism back in:

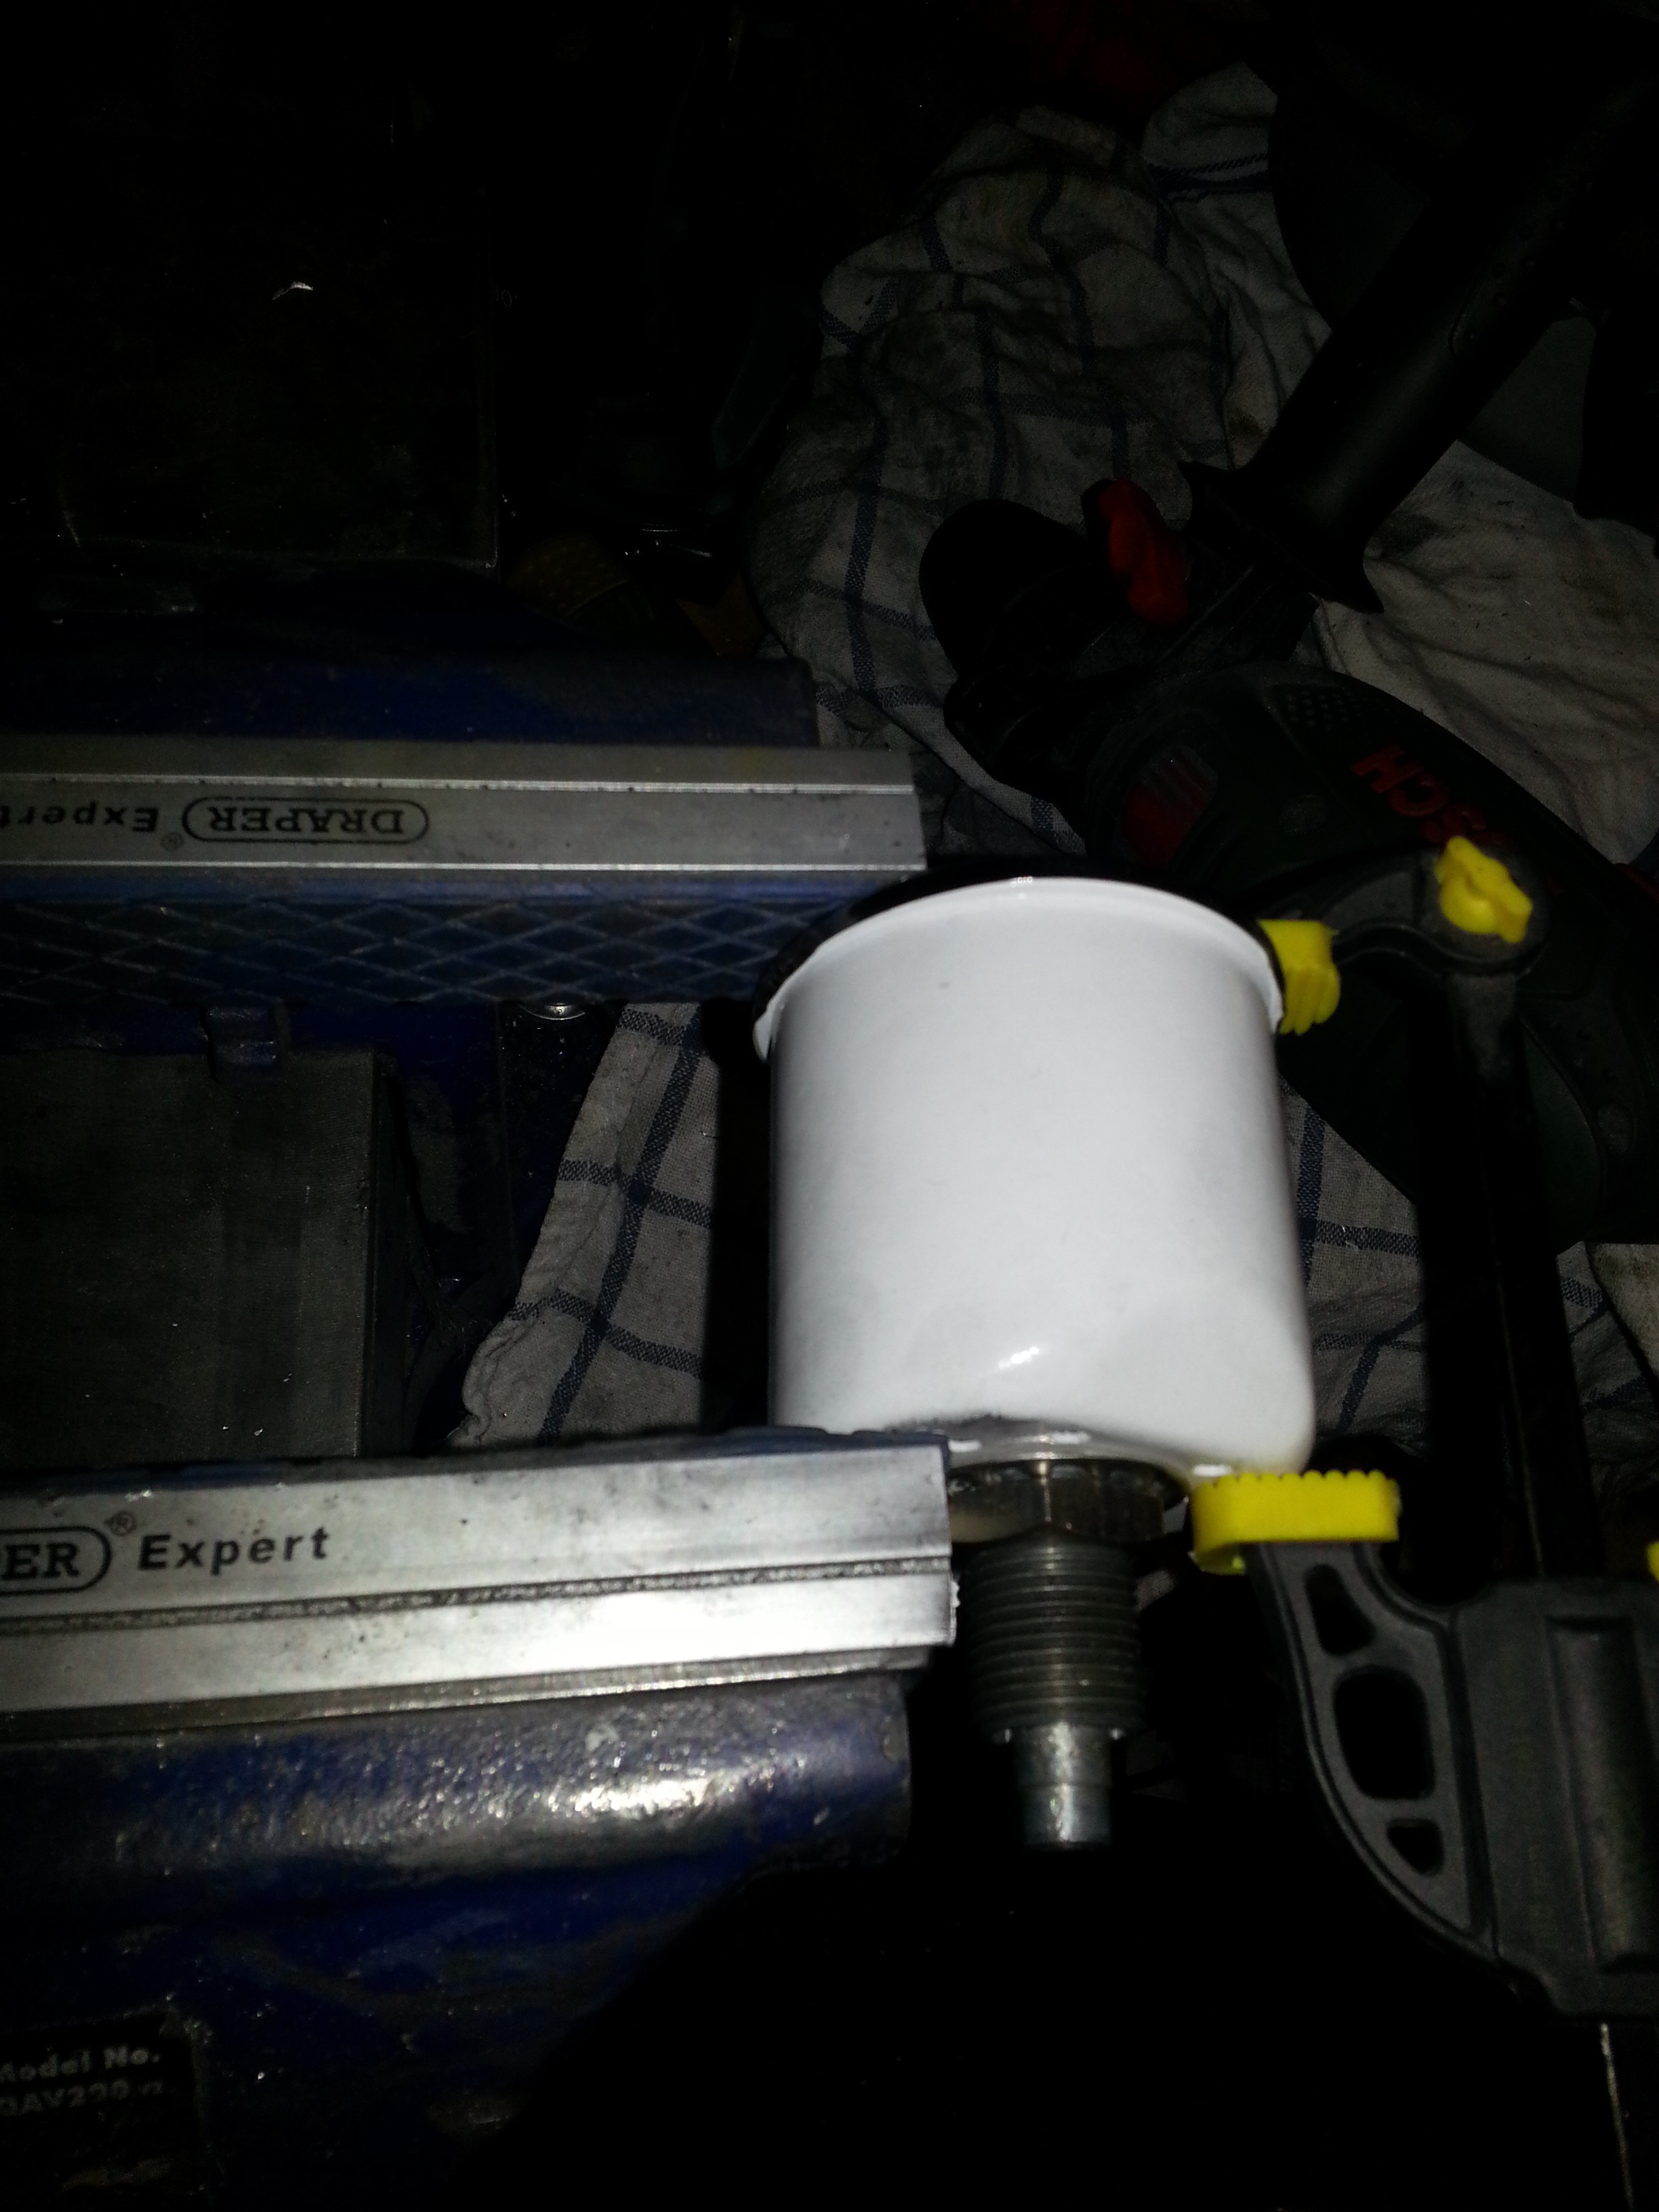
Once back in I clamped the new ring carefully between soft vise grips and used a punch to bend the ring ring over the speedo housing edge. Once fitted in a few points I used the punch on a horizontal surface to finalise. A very tedious process that needs to be done carefully in order not to crack the glass:
The end result is quite nice though and soon it will fit back in the dash:

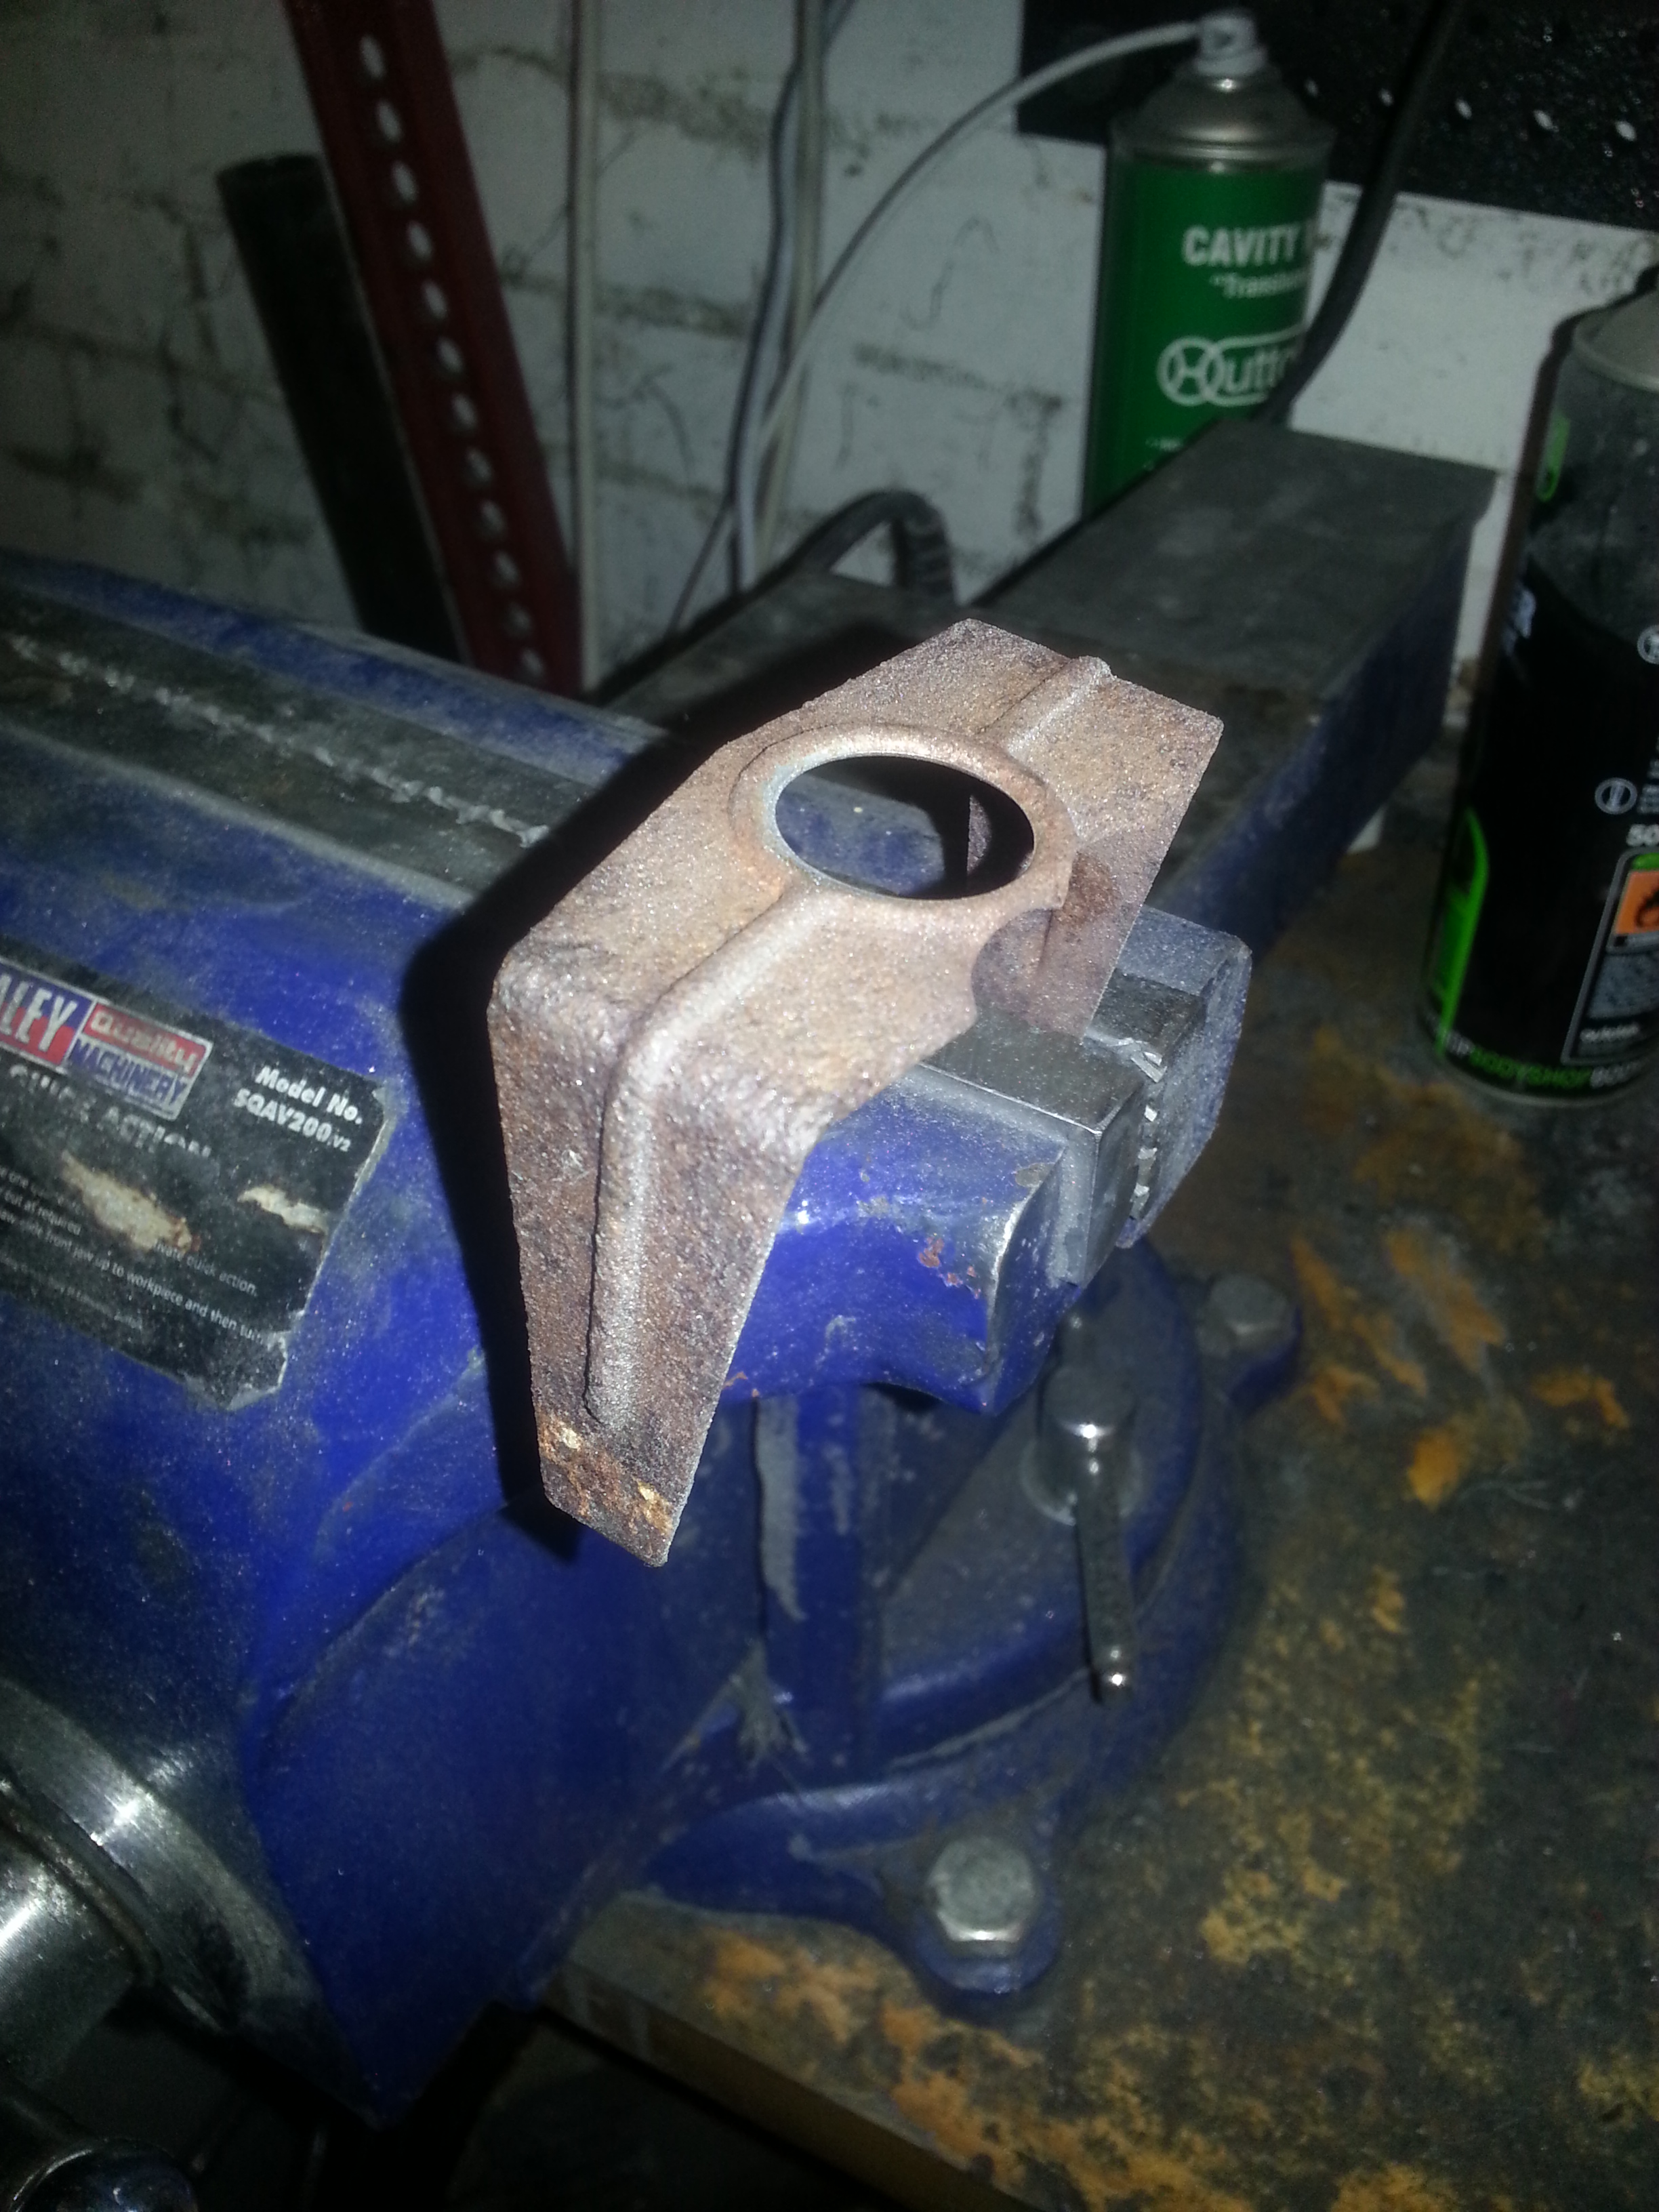
Next step is the speedo holder. Mine was quite pitted, so I used a sanding disc to remove the rust:
Next step is a rust converting spray to make sure it doesn’t return any time soon:

Finally, fit into the dash: