
The fuel tank is strapped down to the rear of the frame on top of some rubbers; not bolted down directly:

Over time the required rubbers for my tank have disappeared. they look like this:
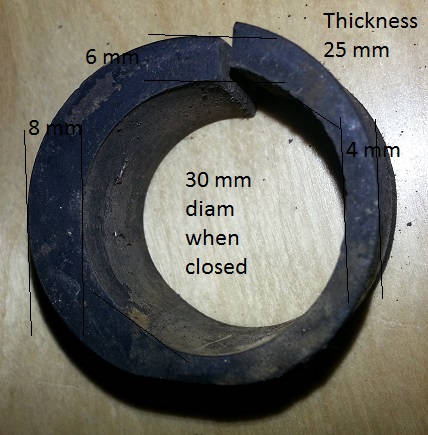
You will need four and can order them from claussstudios.com amongst others. They are not symmetrical so the tank can be positioned correctly.
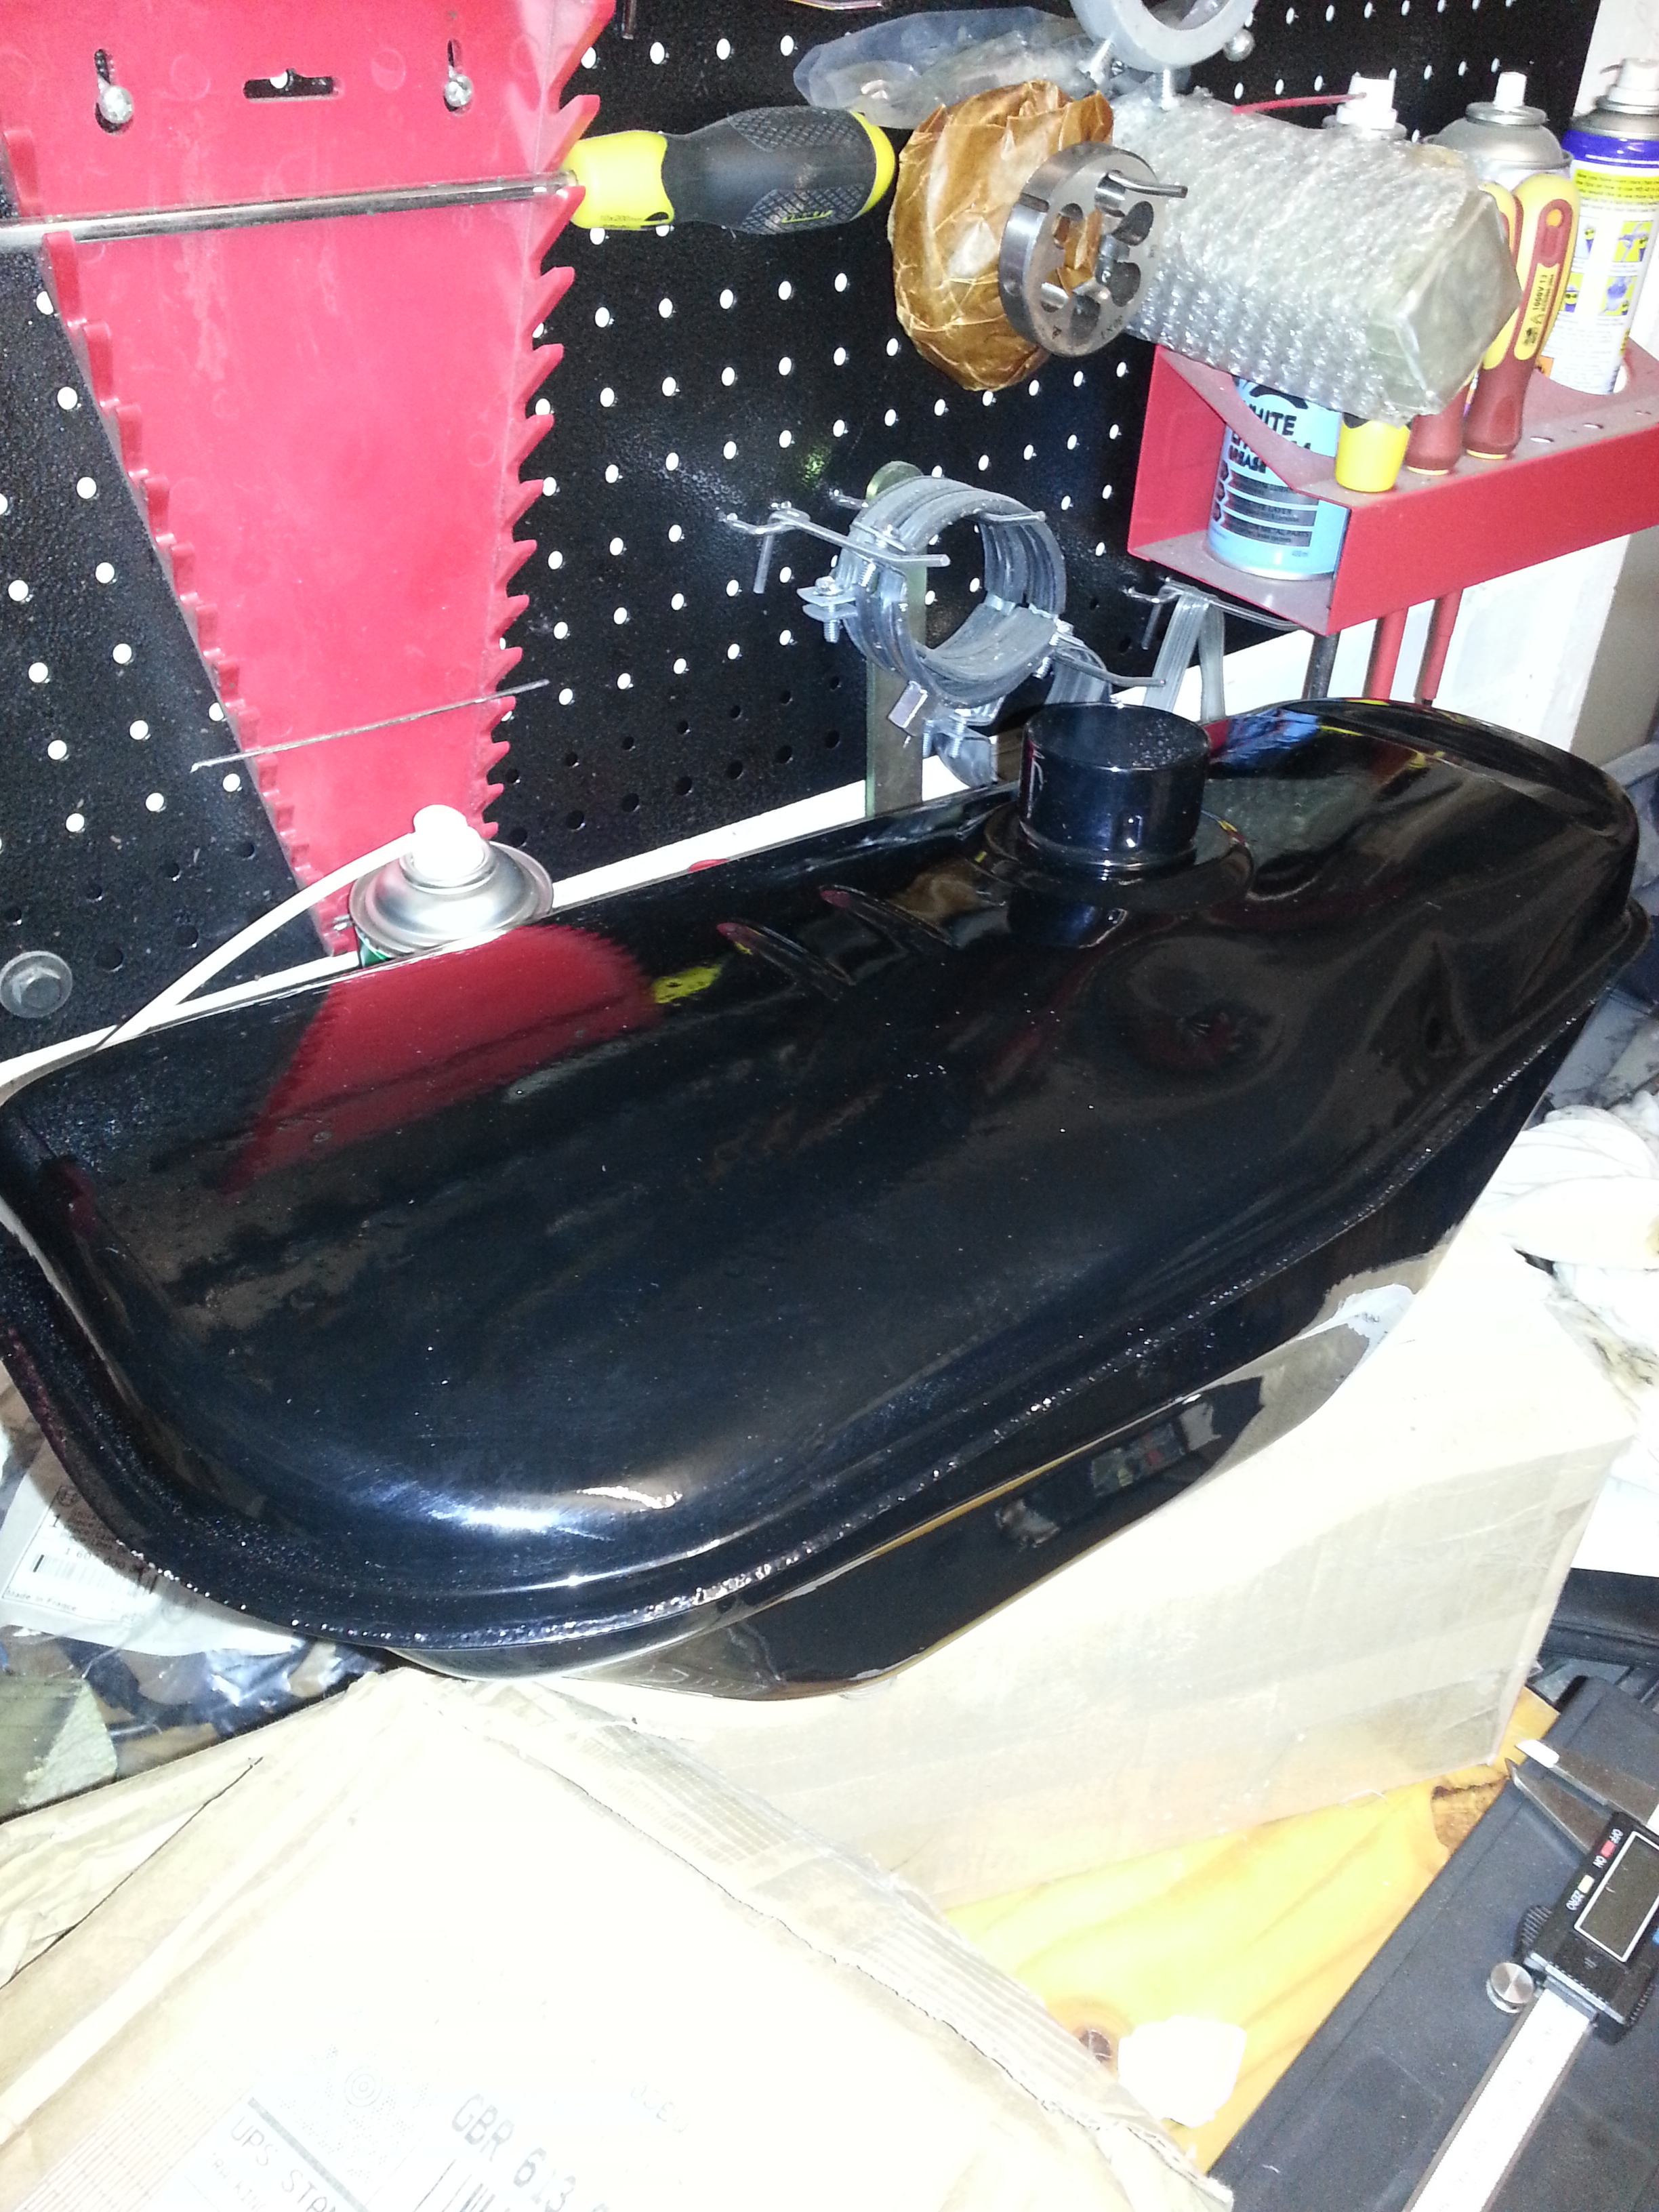
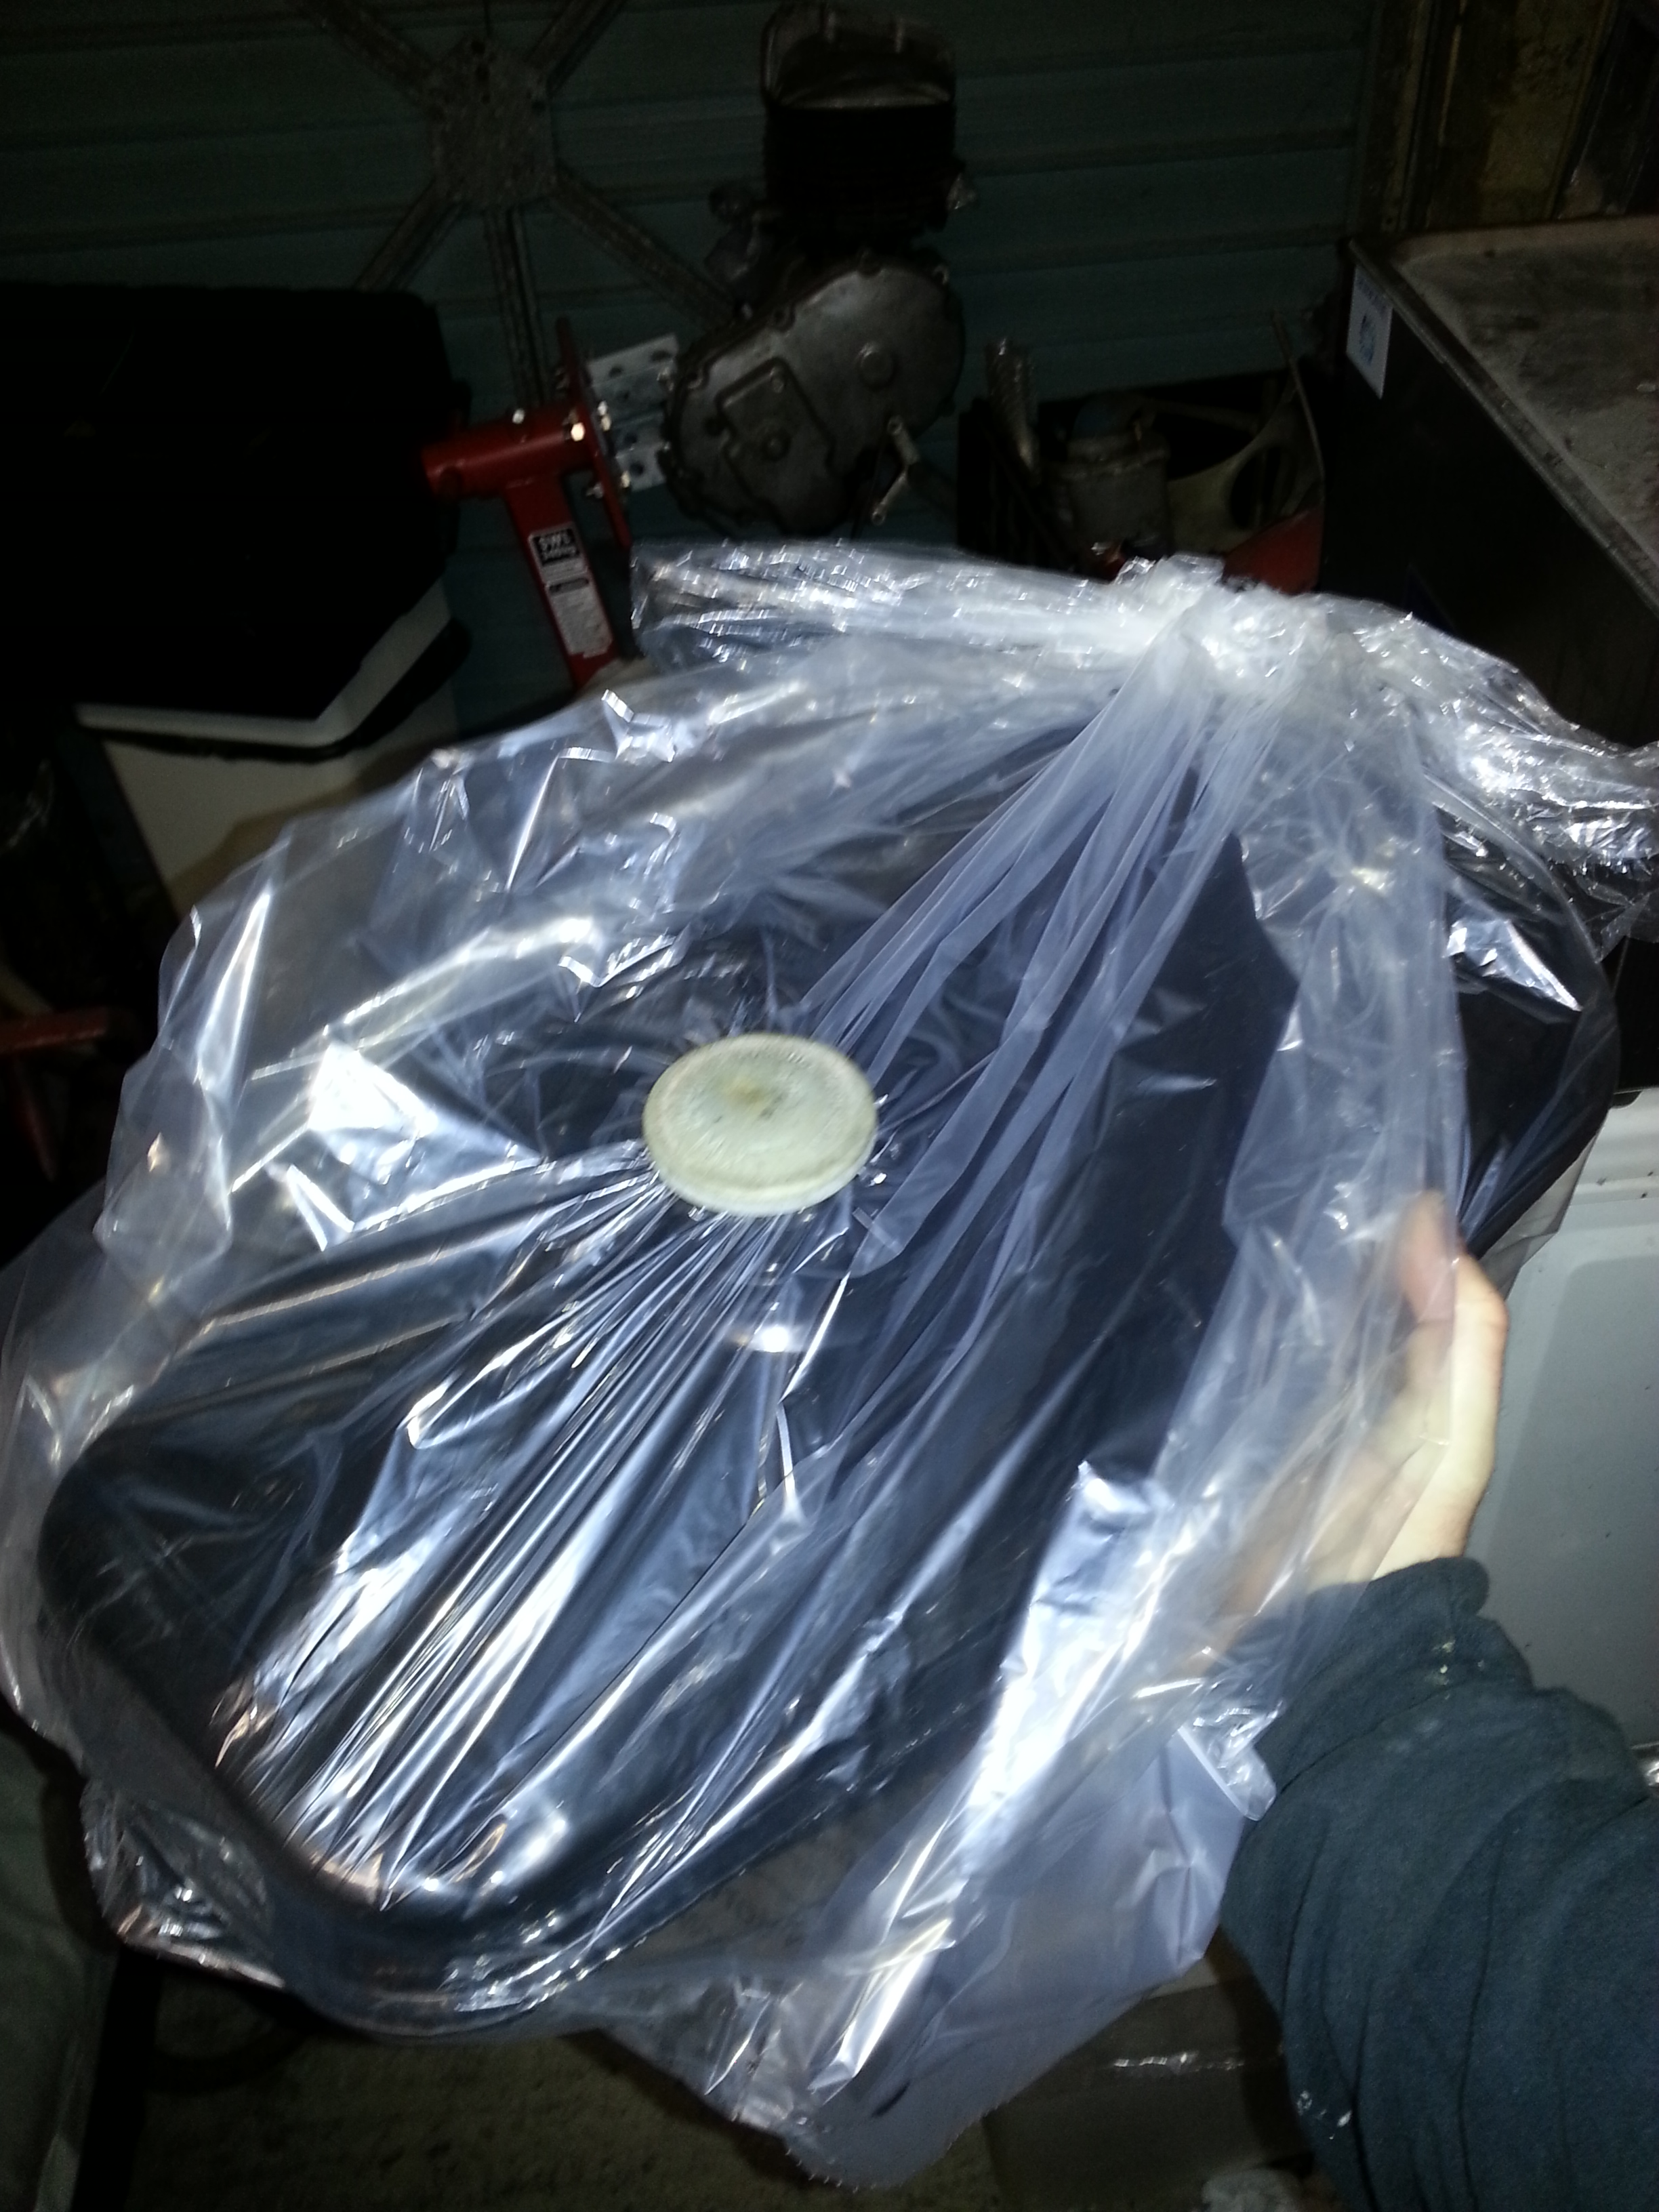
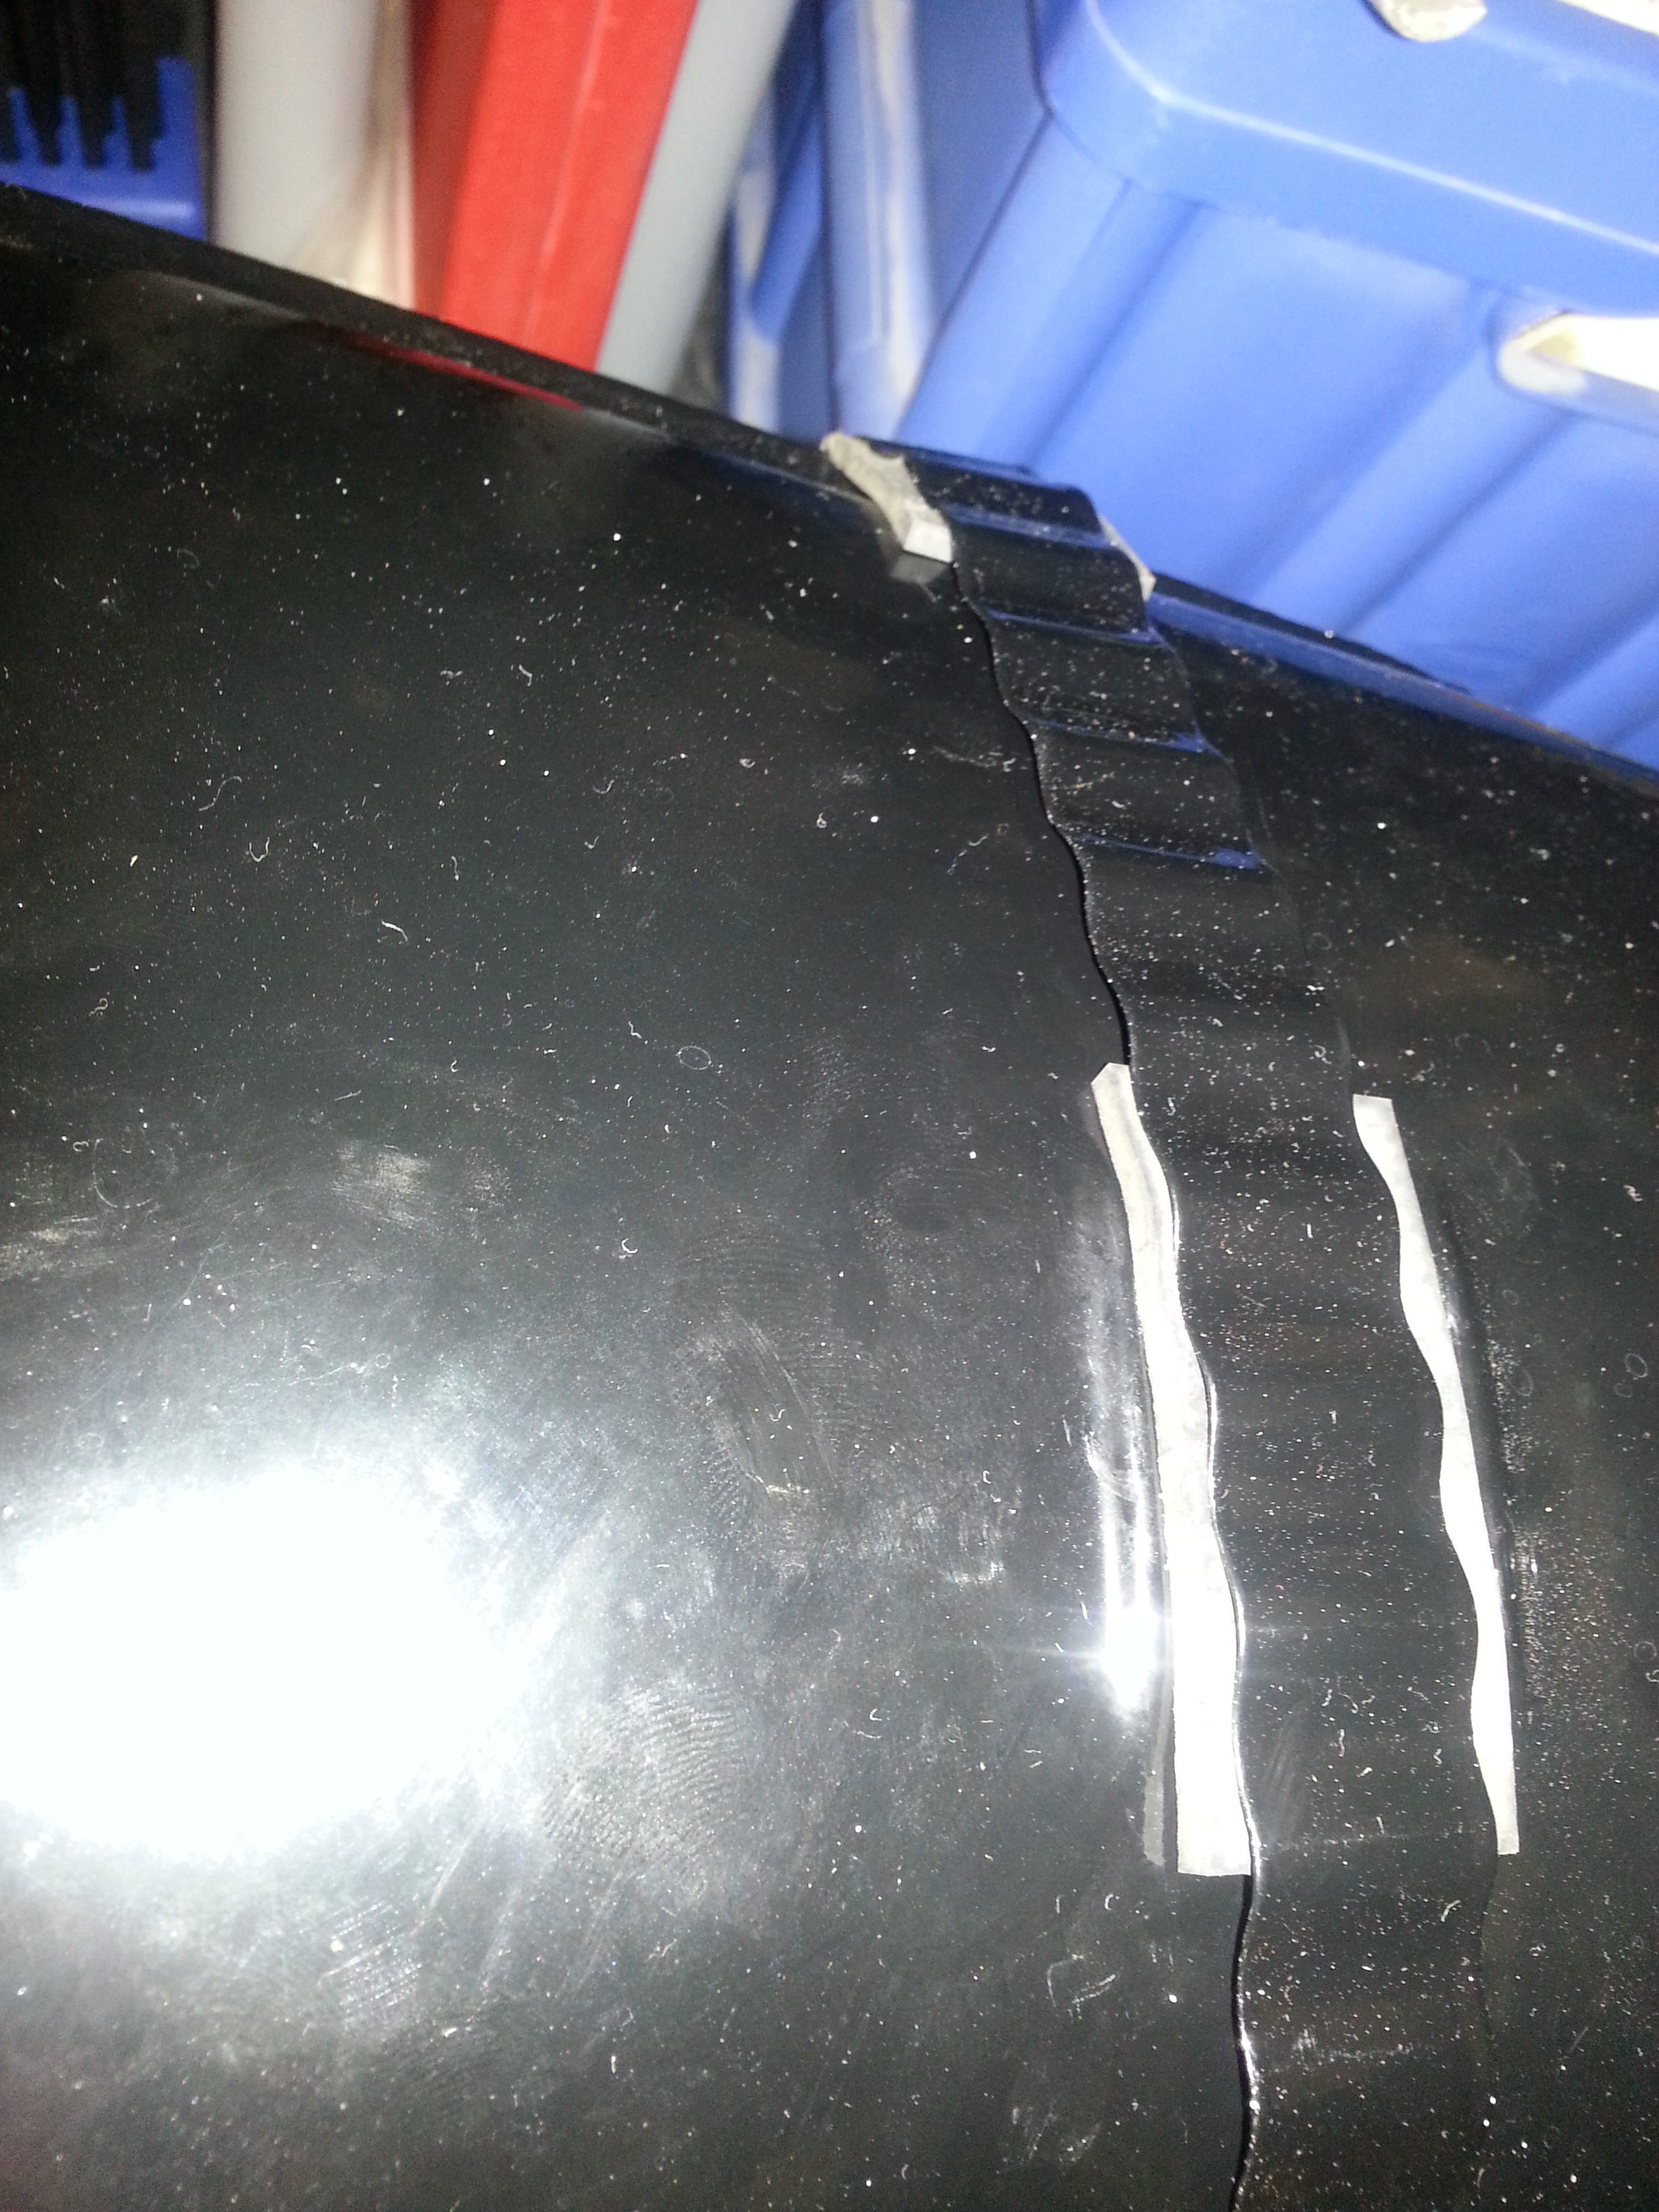
As the tank is not in sight, I had it powder coated and left a small dent in:
The shotblasting saw the inside quite clean, but I decided to coat the interior. Start with shaking around some old screws (ideally, wrap it in a duvet and stick it into a tumble dryer set to low temperature).
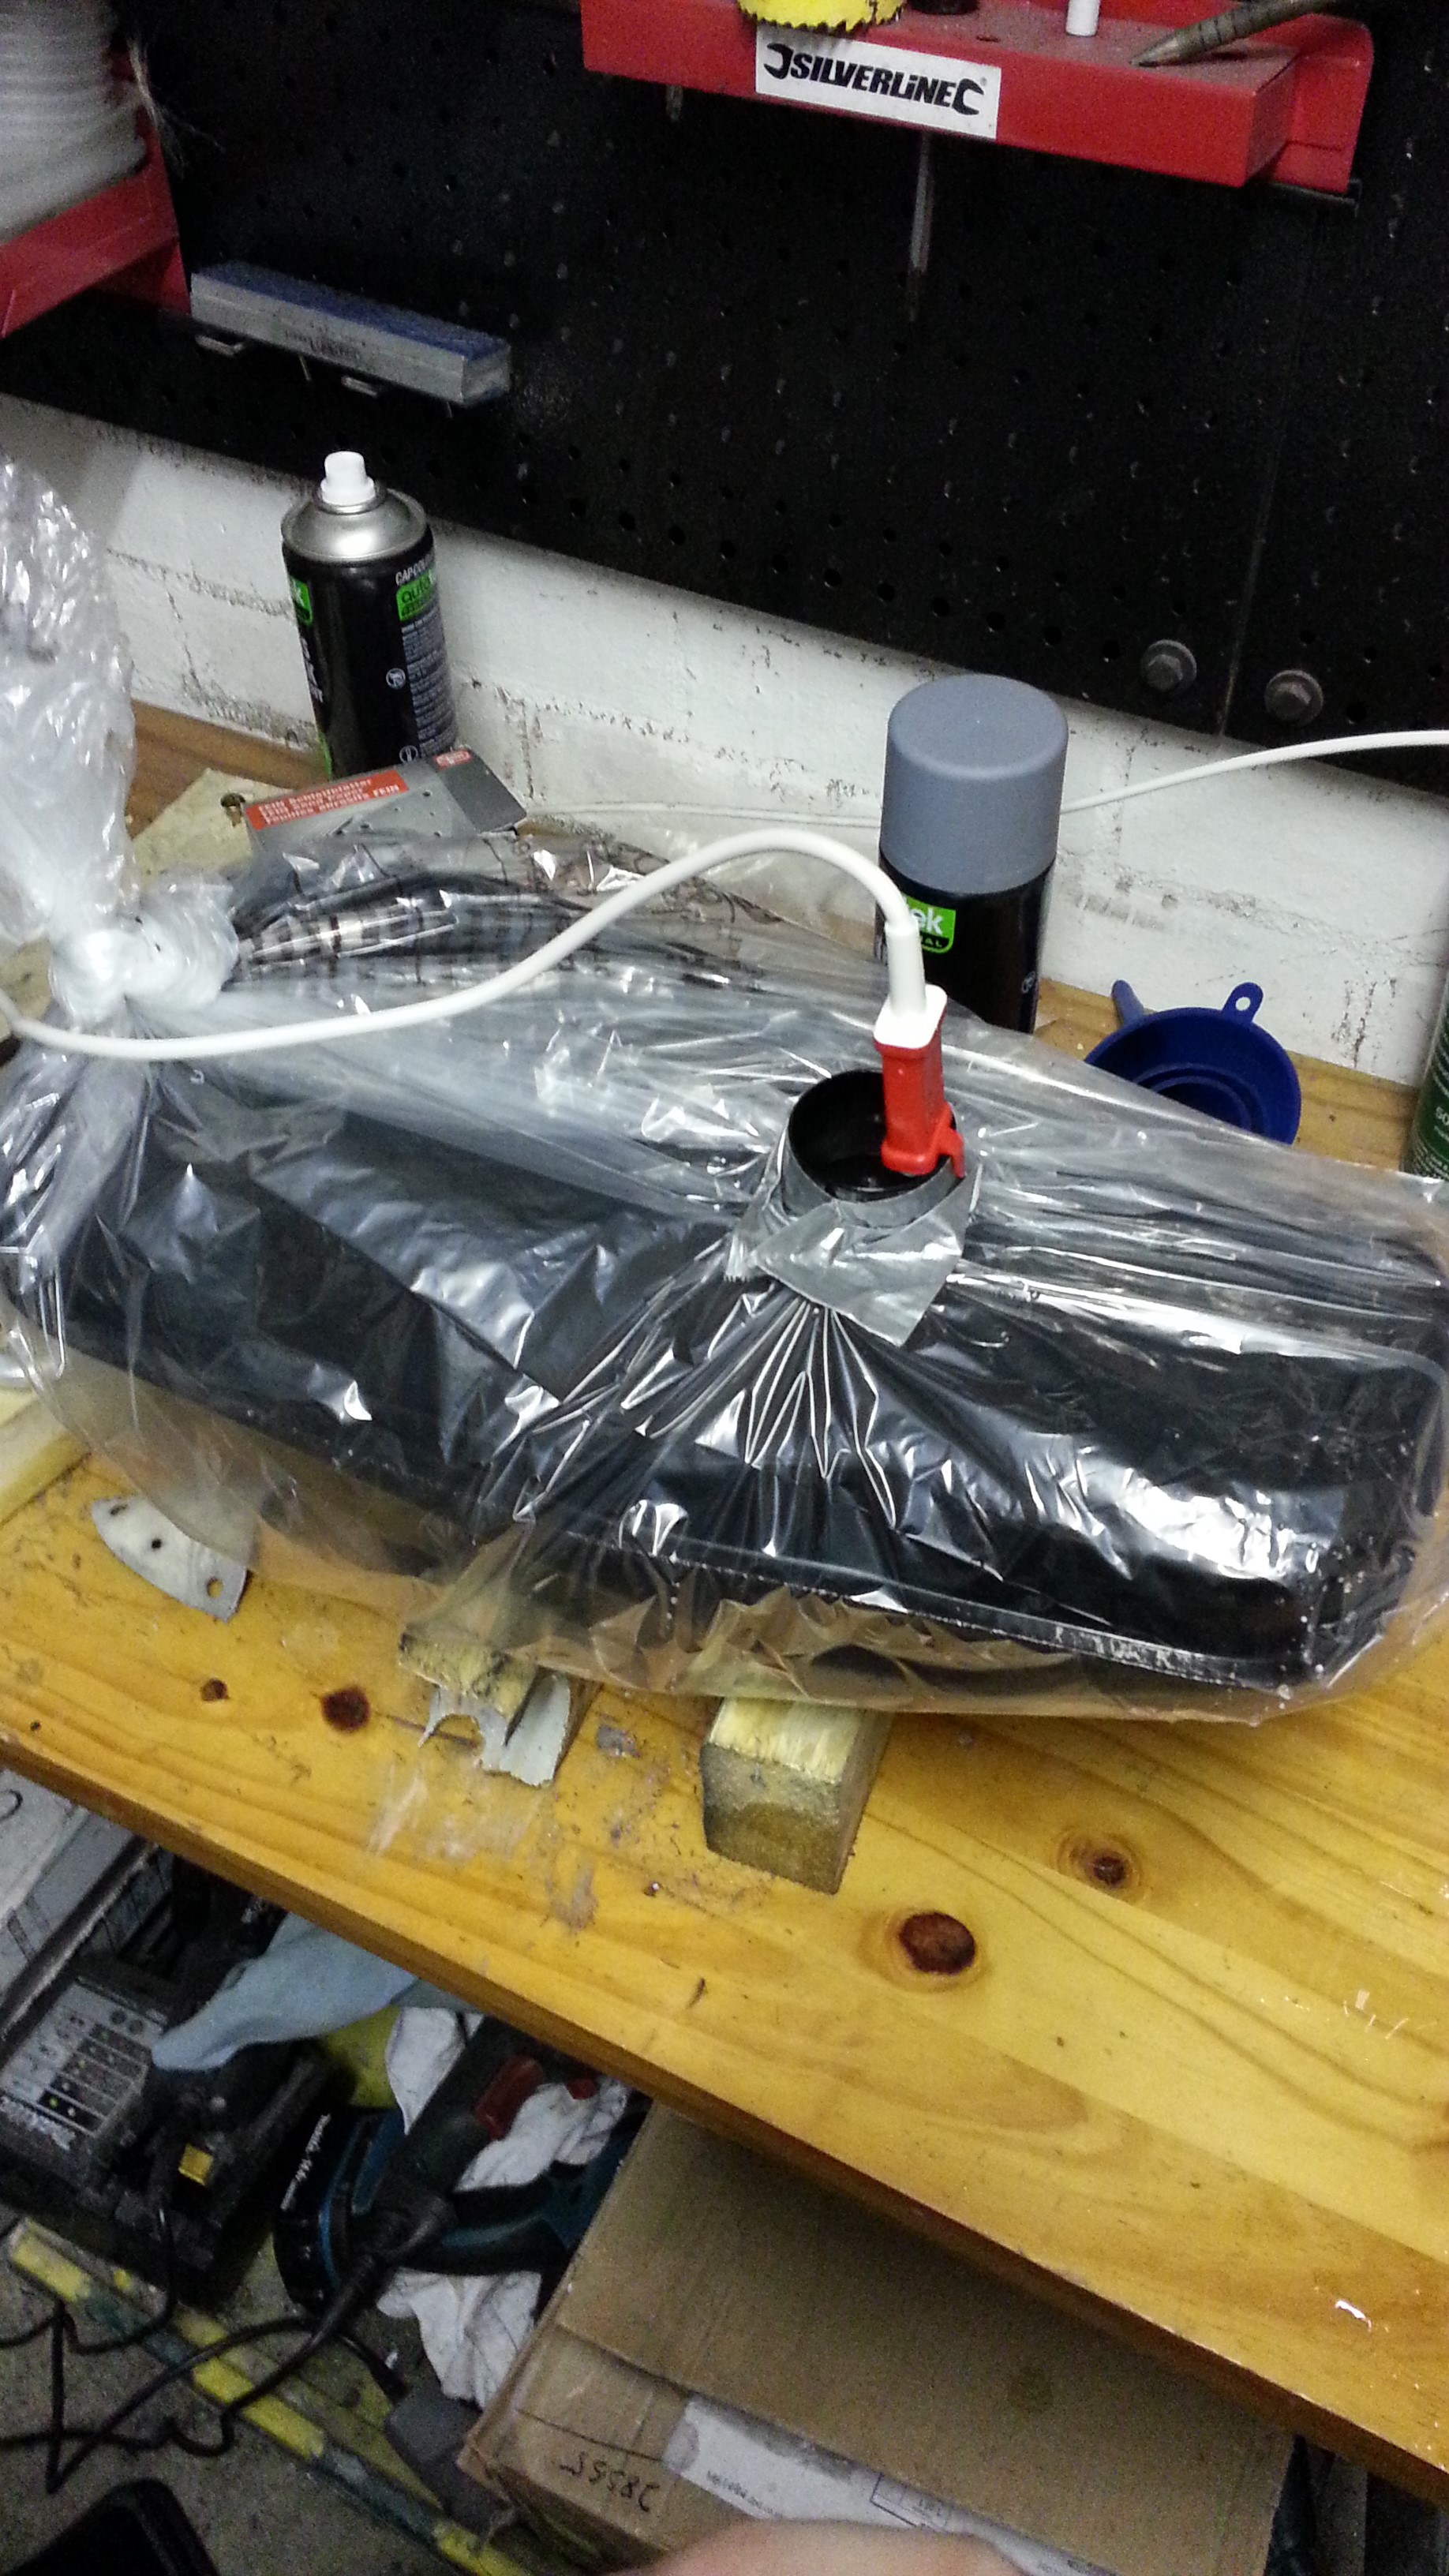
Next, protect the tank as this stuff is quite agressive and fit a radiator plug to seal the bottom; you can order these for a few pounds and are really useful:
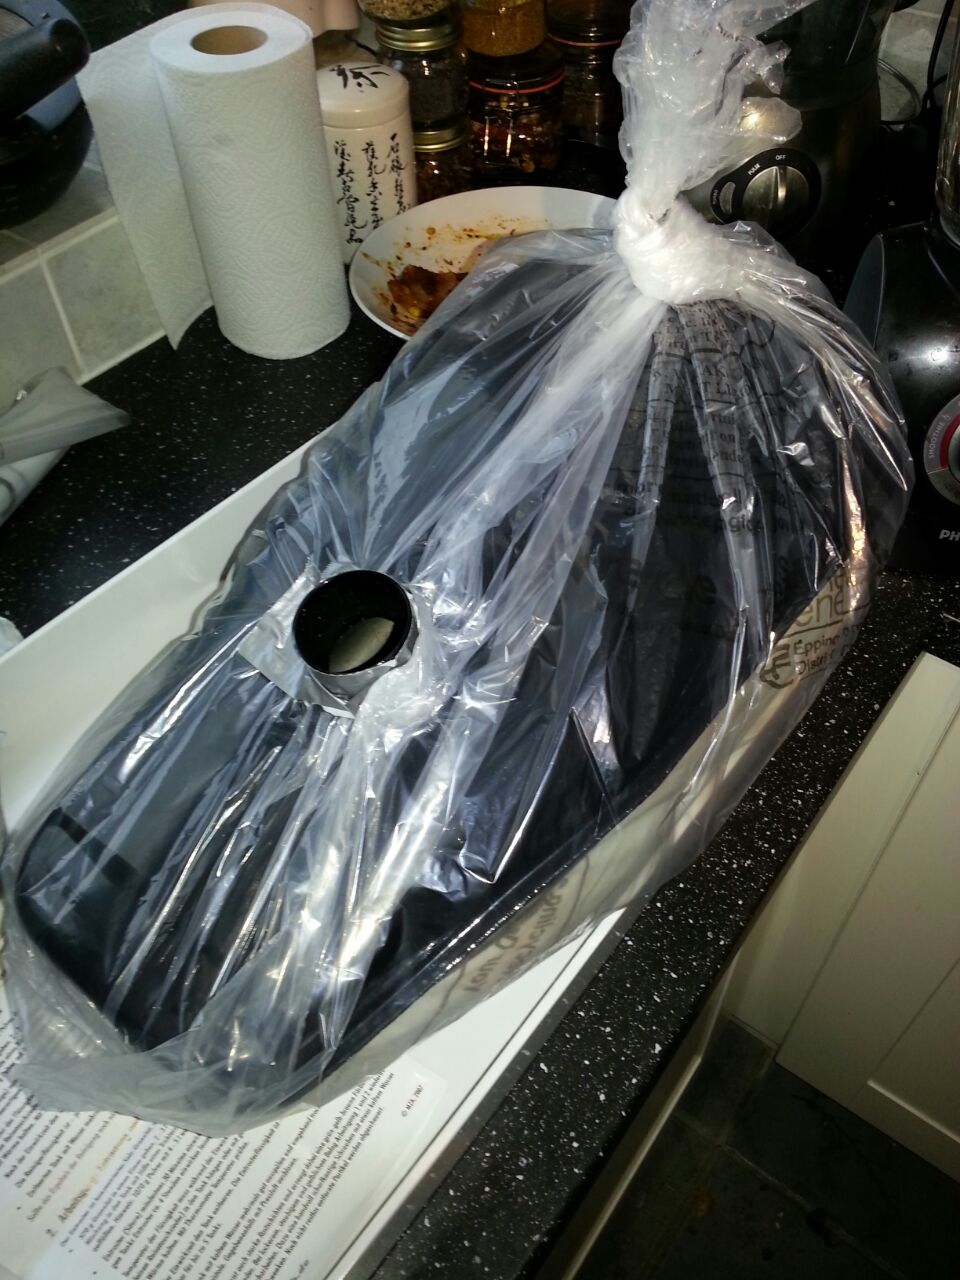
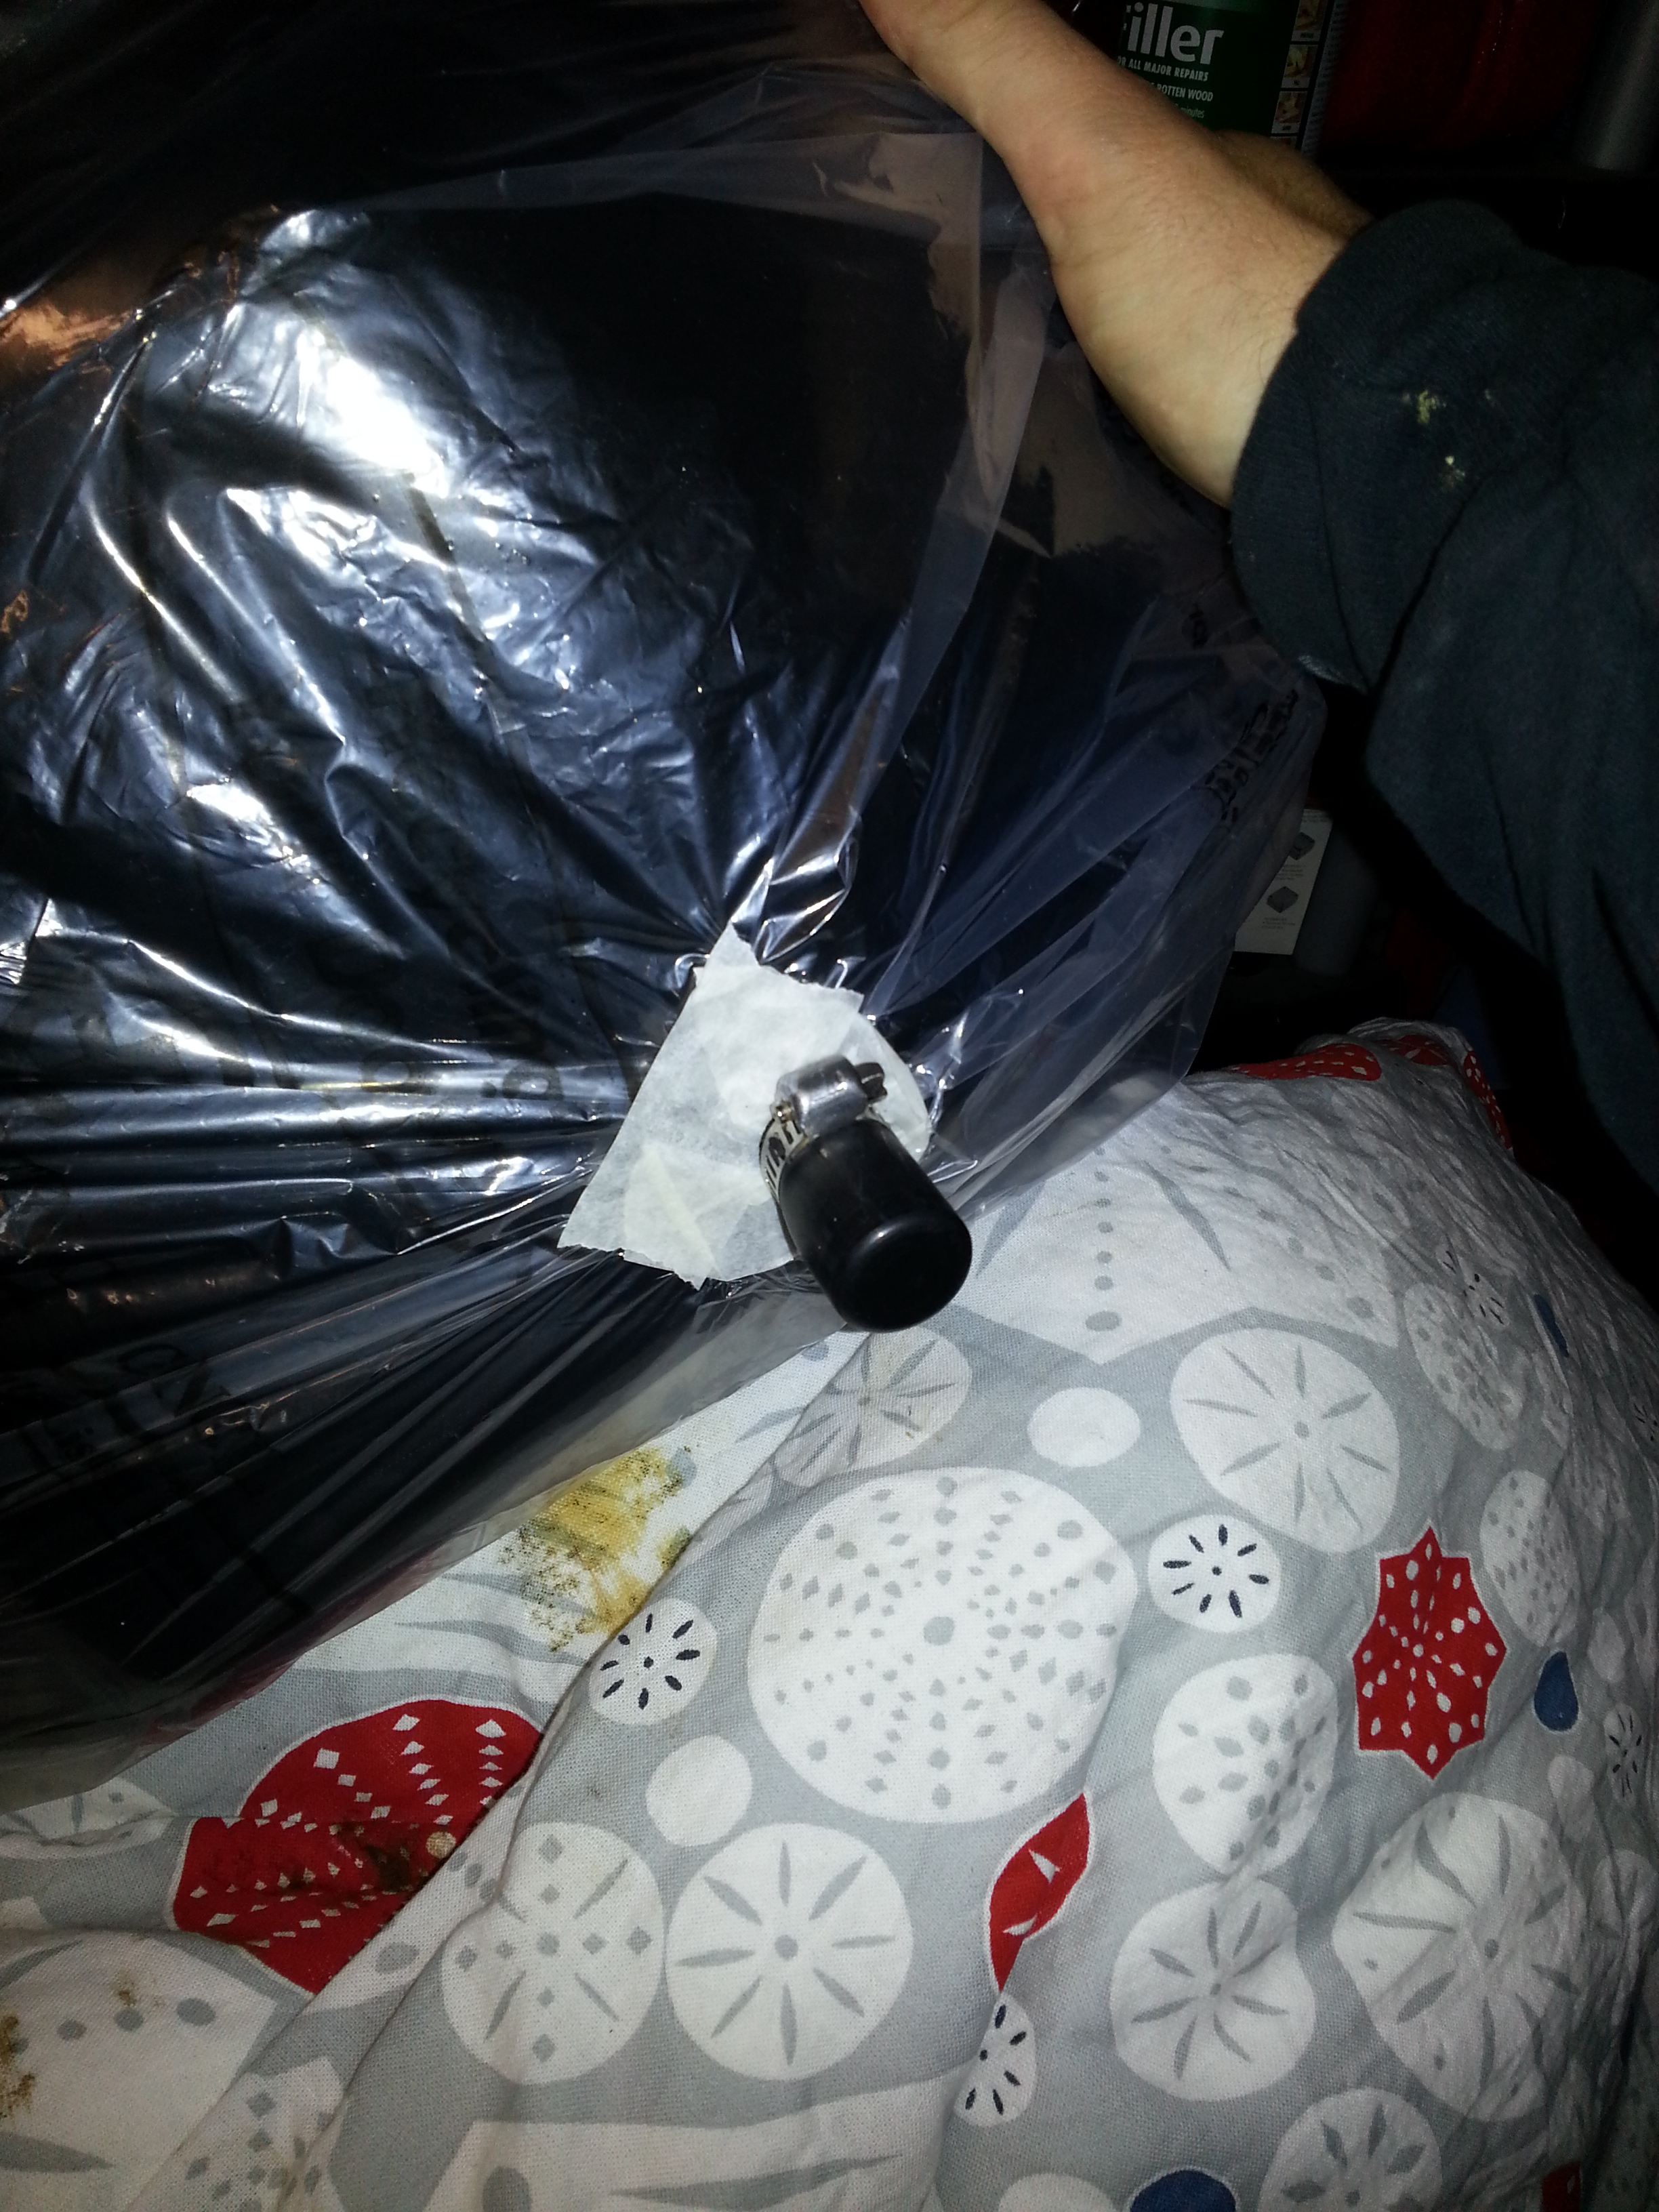
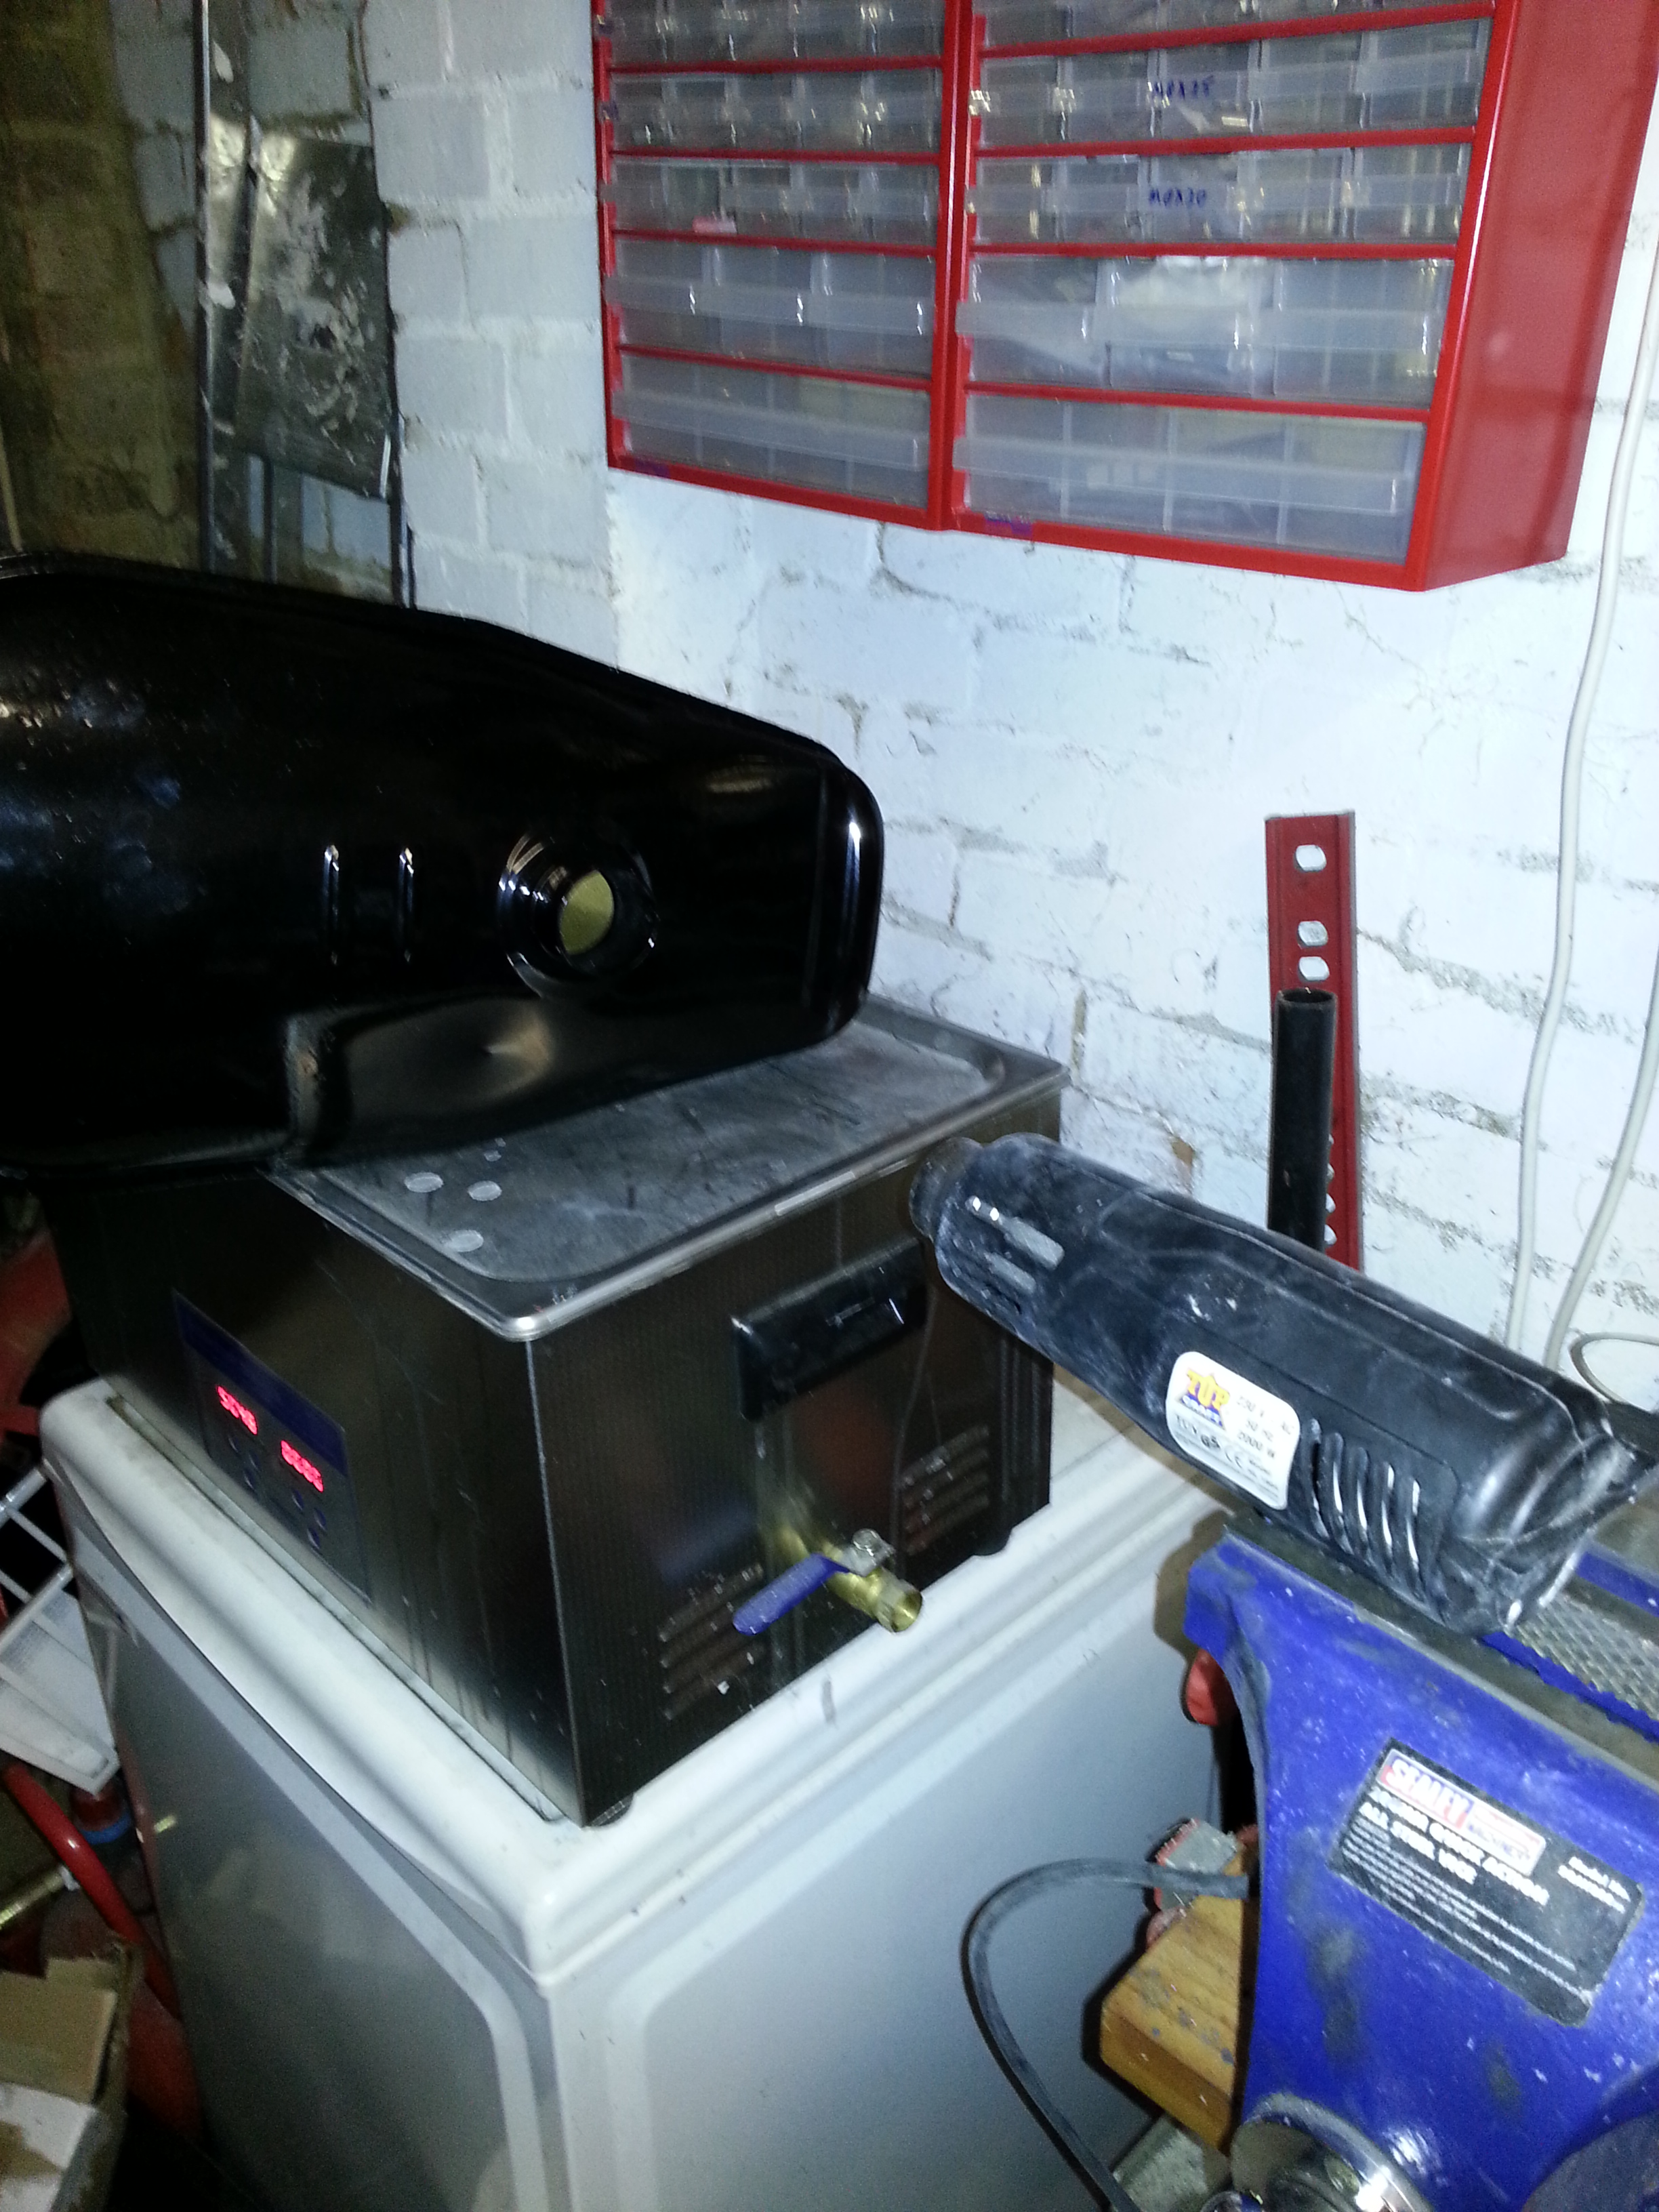
Next is the degrease and rust removal cycles. These are chemical processes, so plenty of ventilation required as well as a travel heater. Note: you will need to fill the tank fully, but liquid expands when heated so do not leave unattended and have plenty of rags or paper towels ready to remove excess liquid before it spills over the top:
It takes a good number of hours to go through both cycles of chemical preparation. Make sure the tank is dry between stages. A heat gun in my vise sped things up:
Once done you can mix the coating resin:
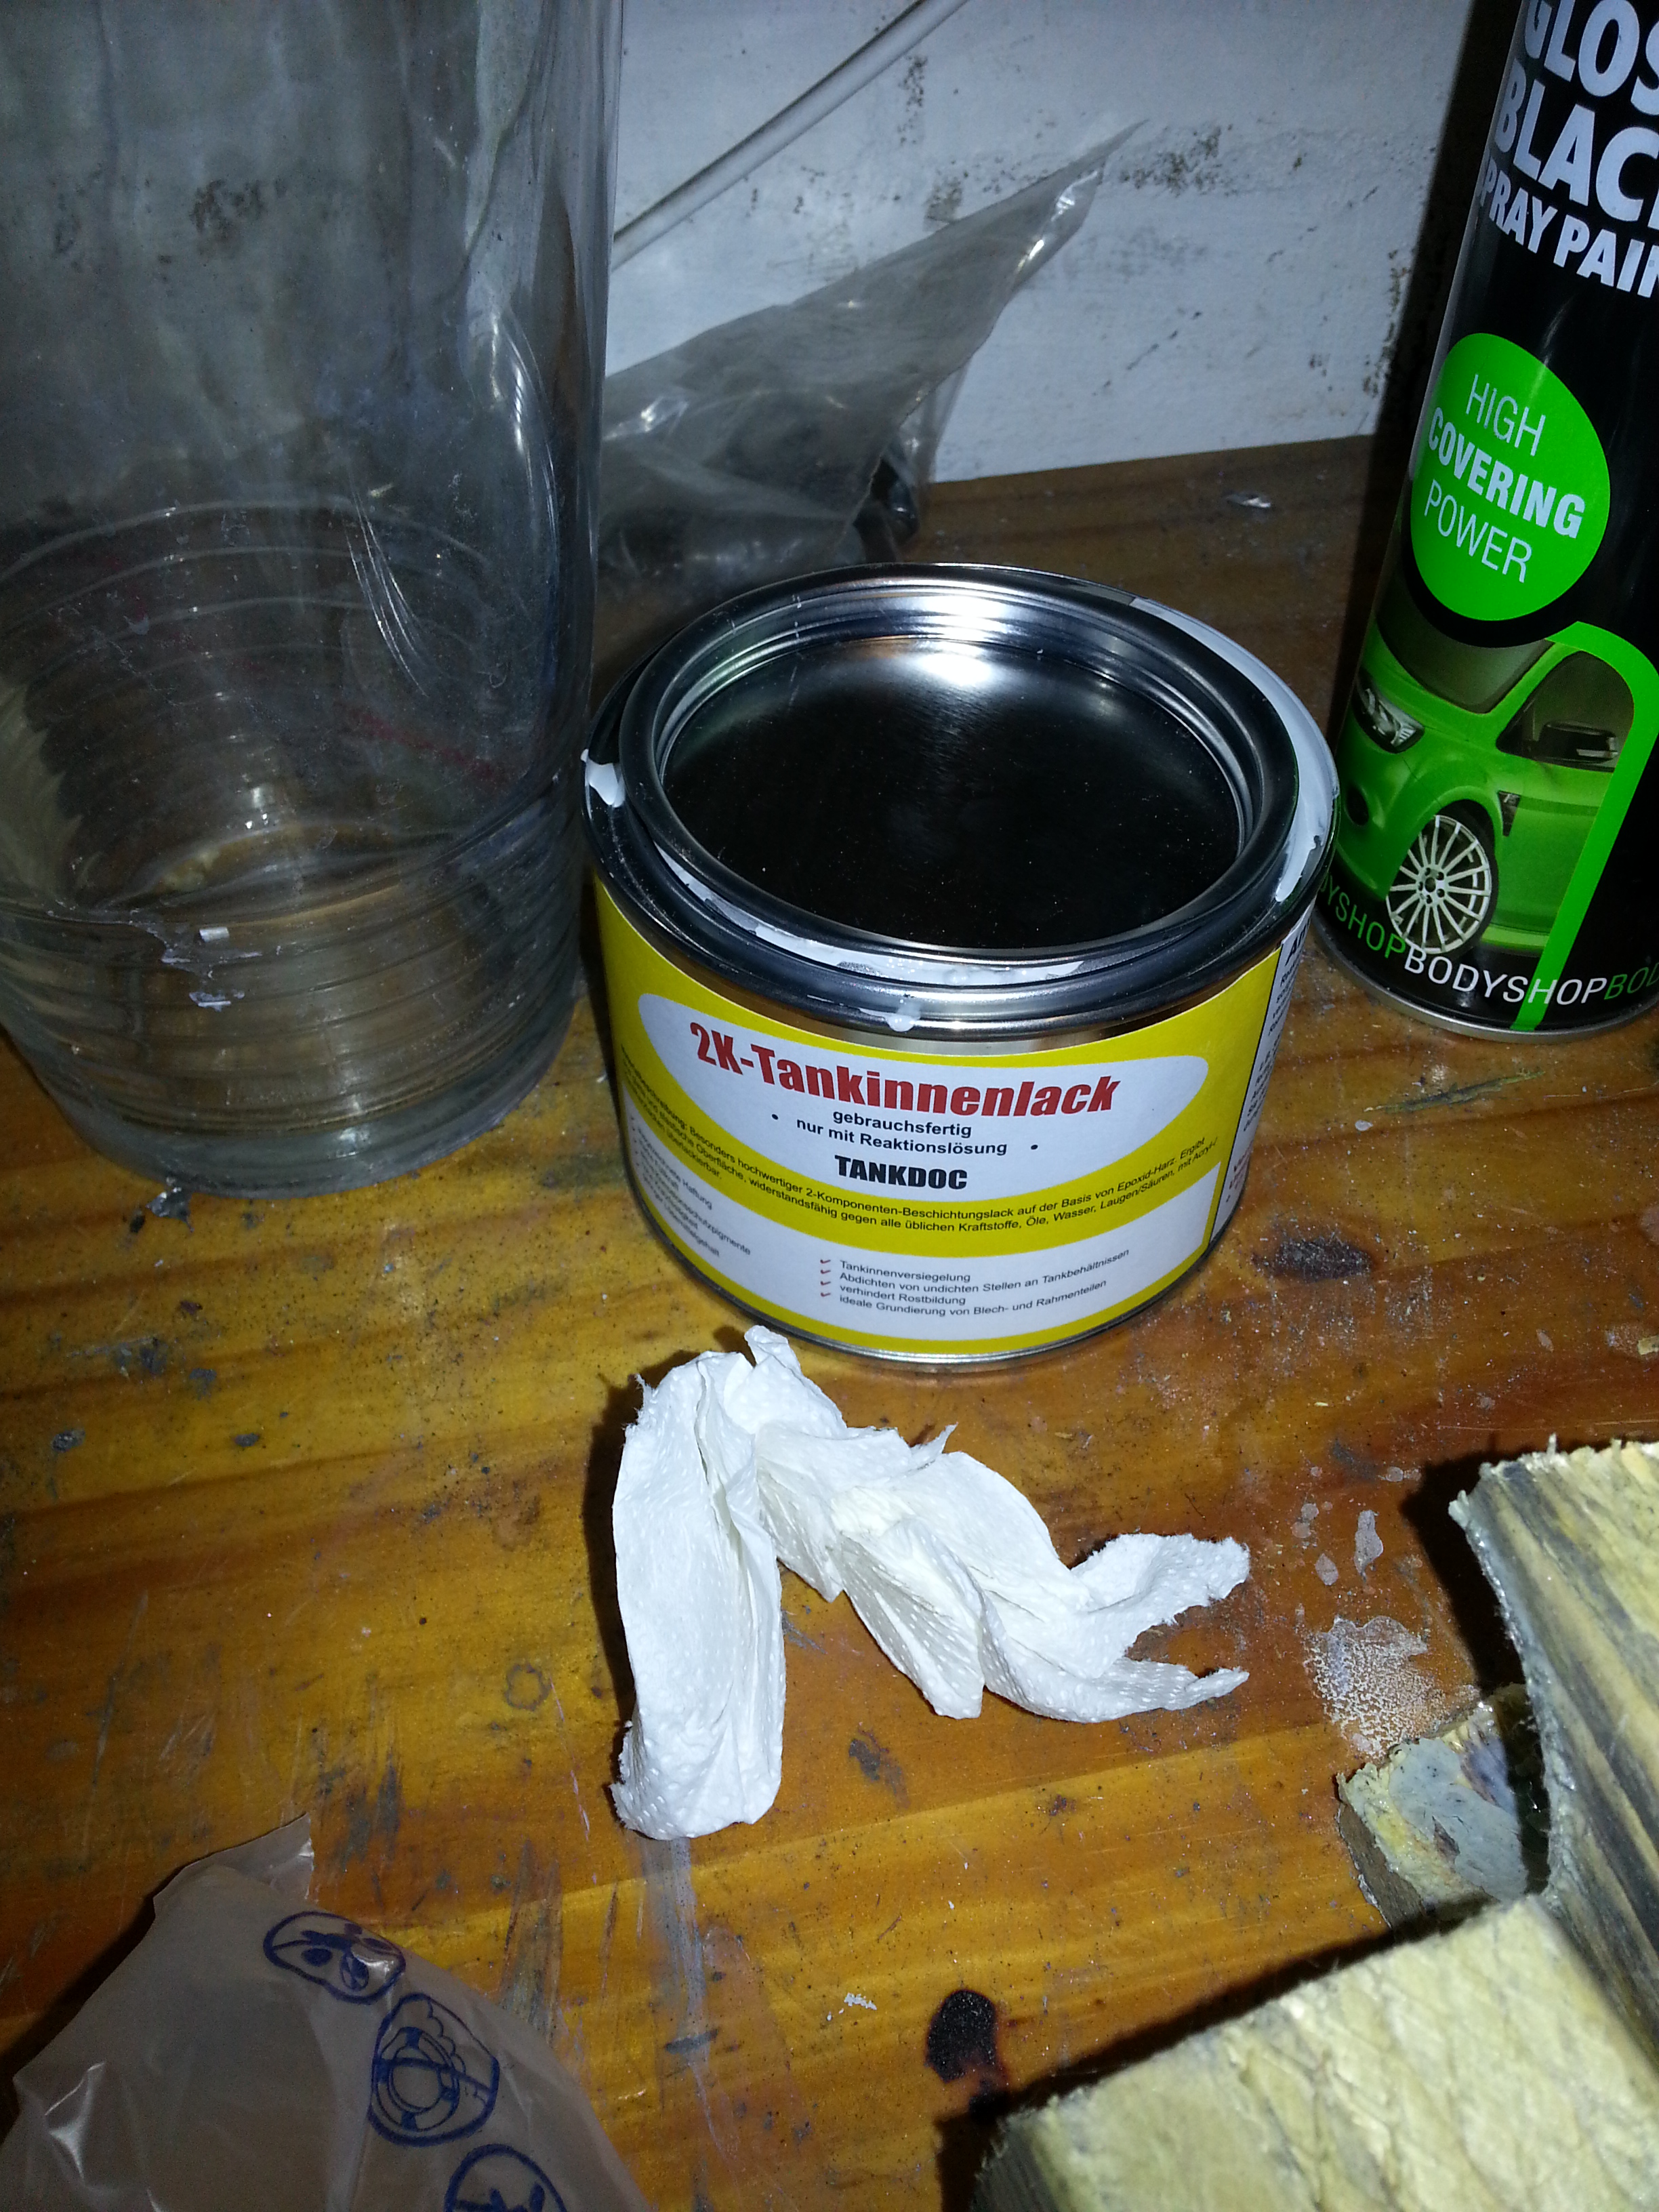
The coating resin is applied in two stages by swirling it in the tank, letting it dry a bit and applying a second coat. Be sure to seal the tank:
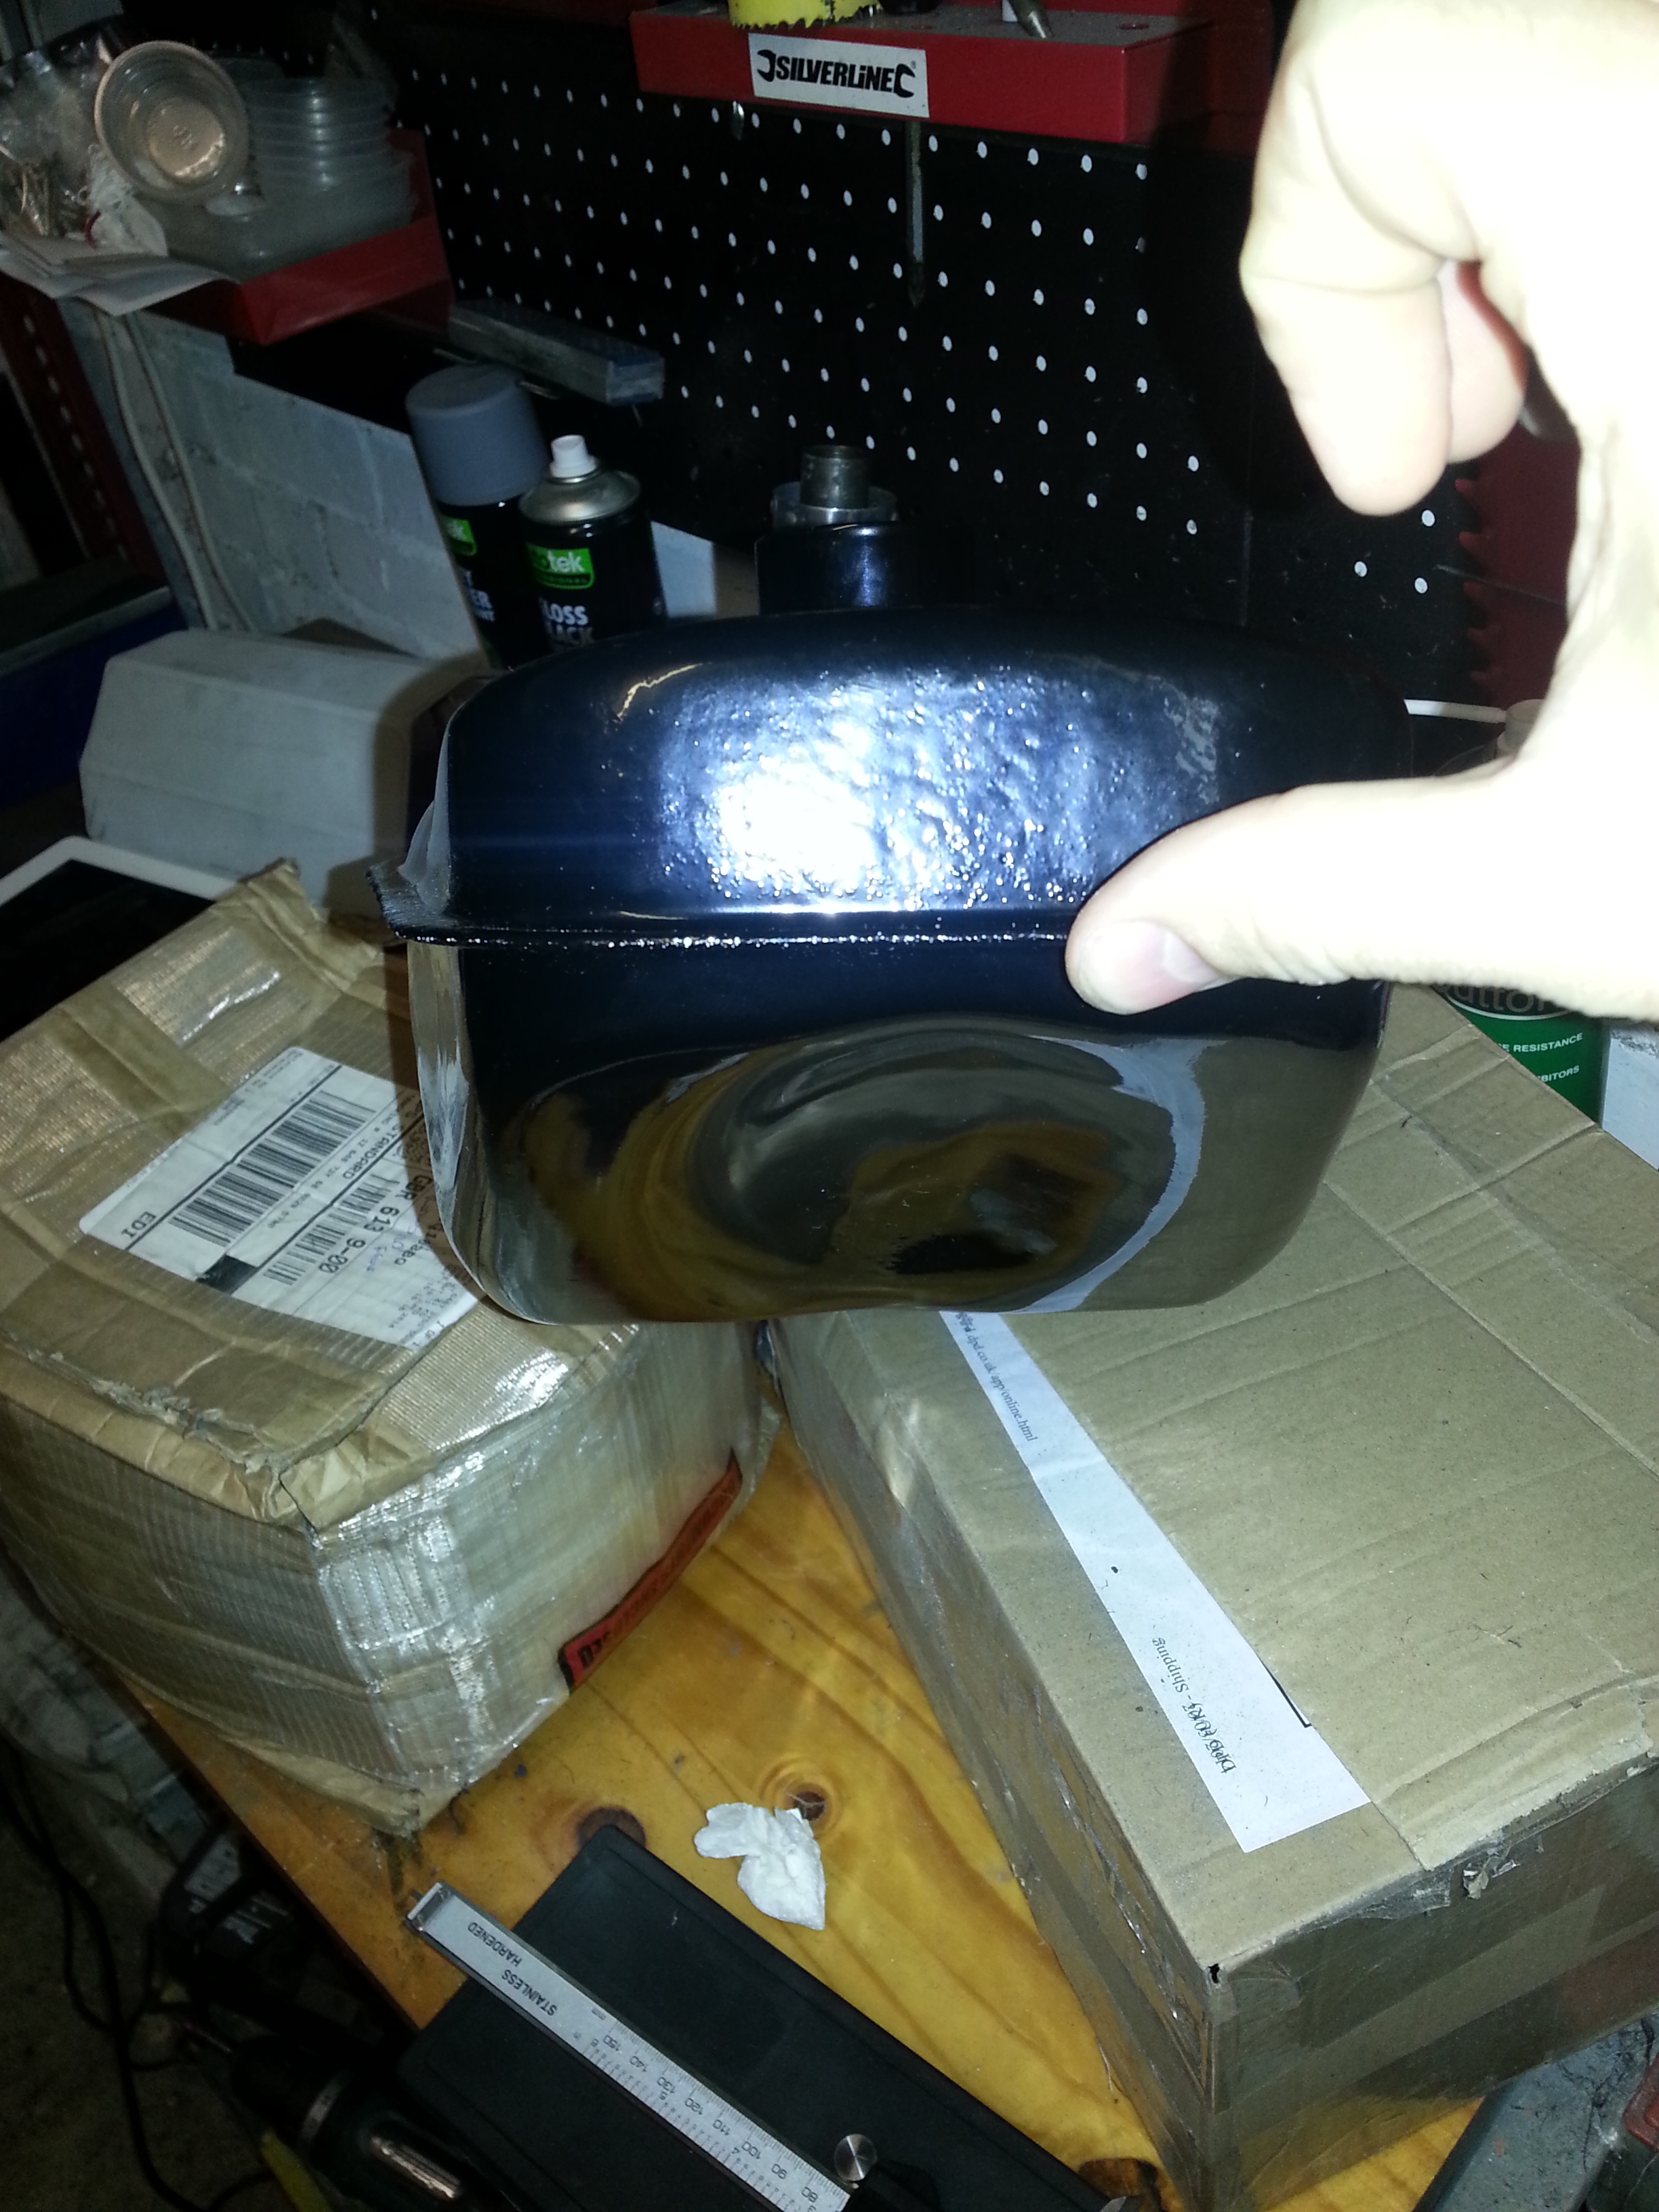
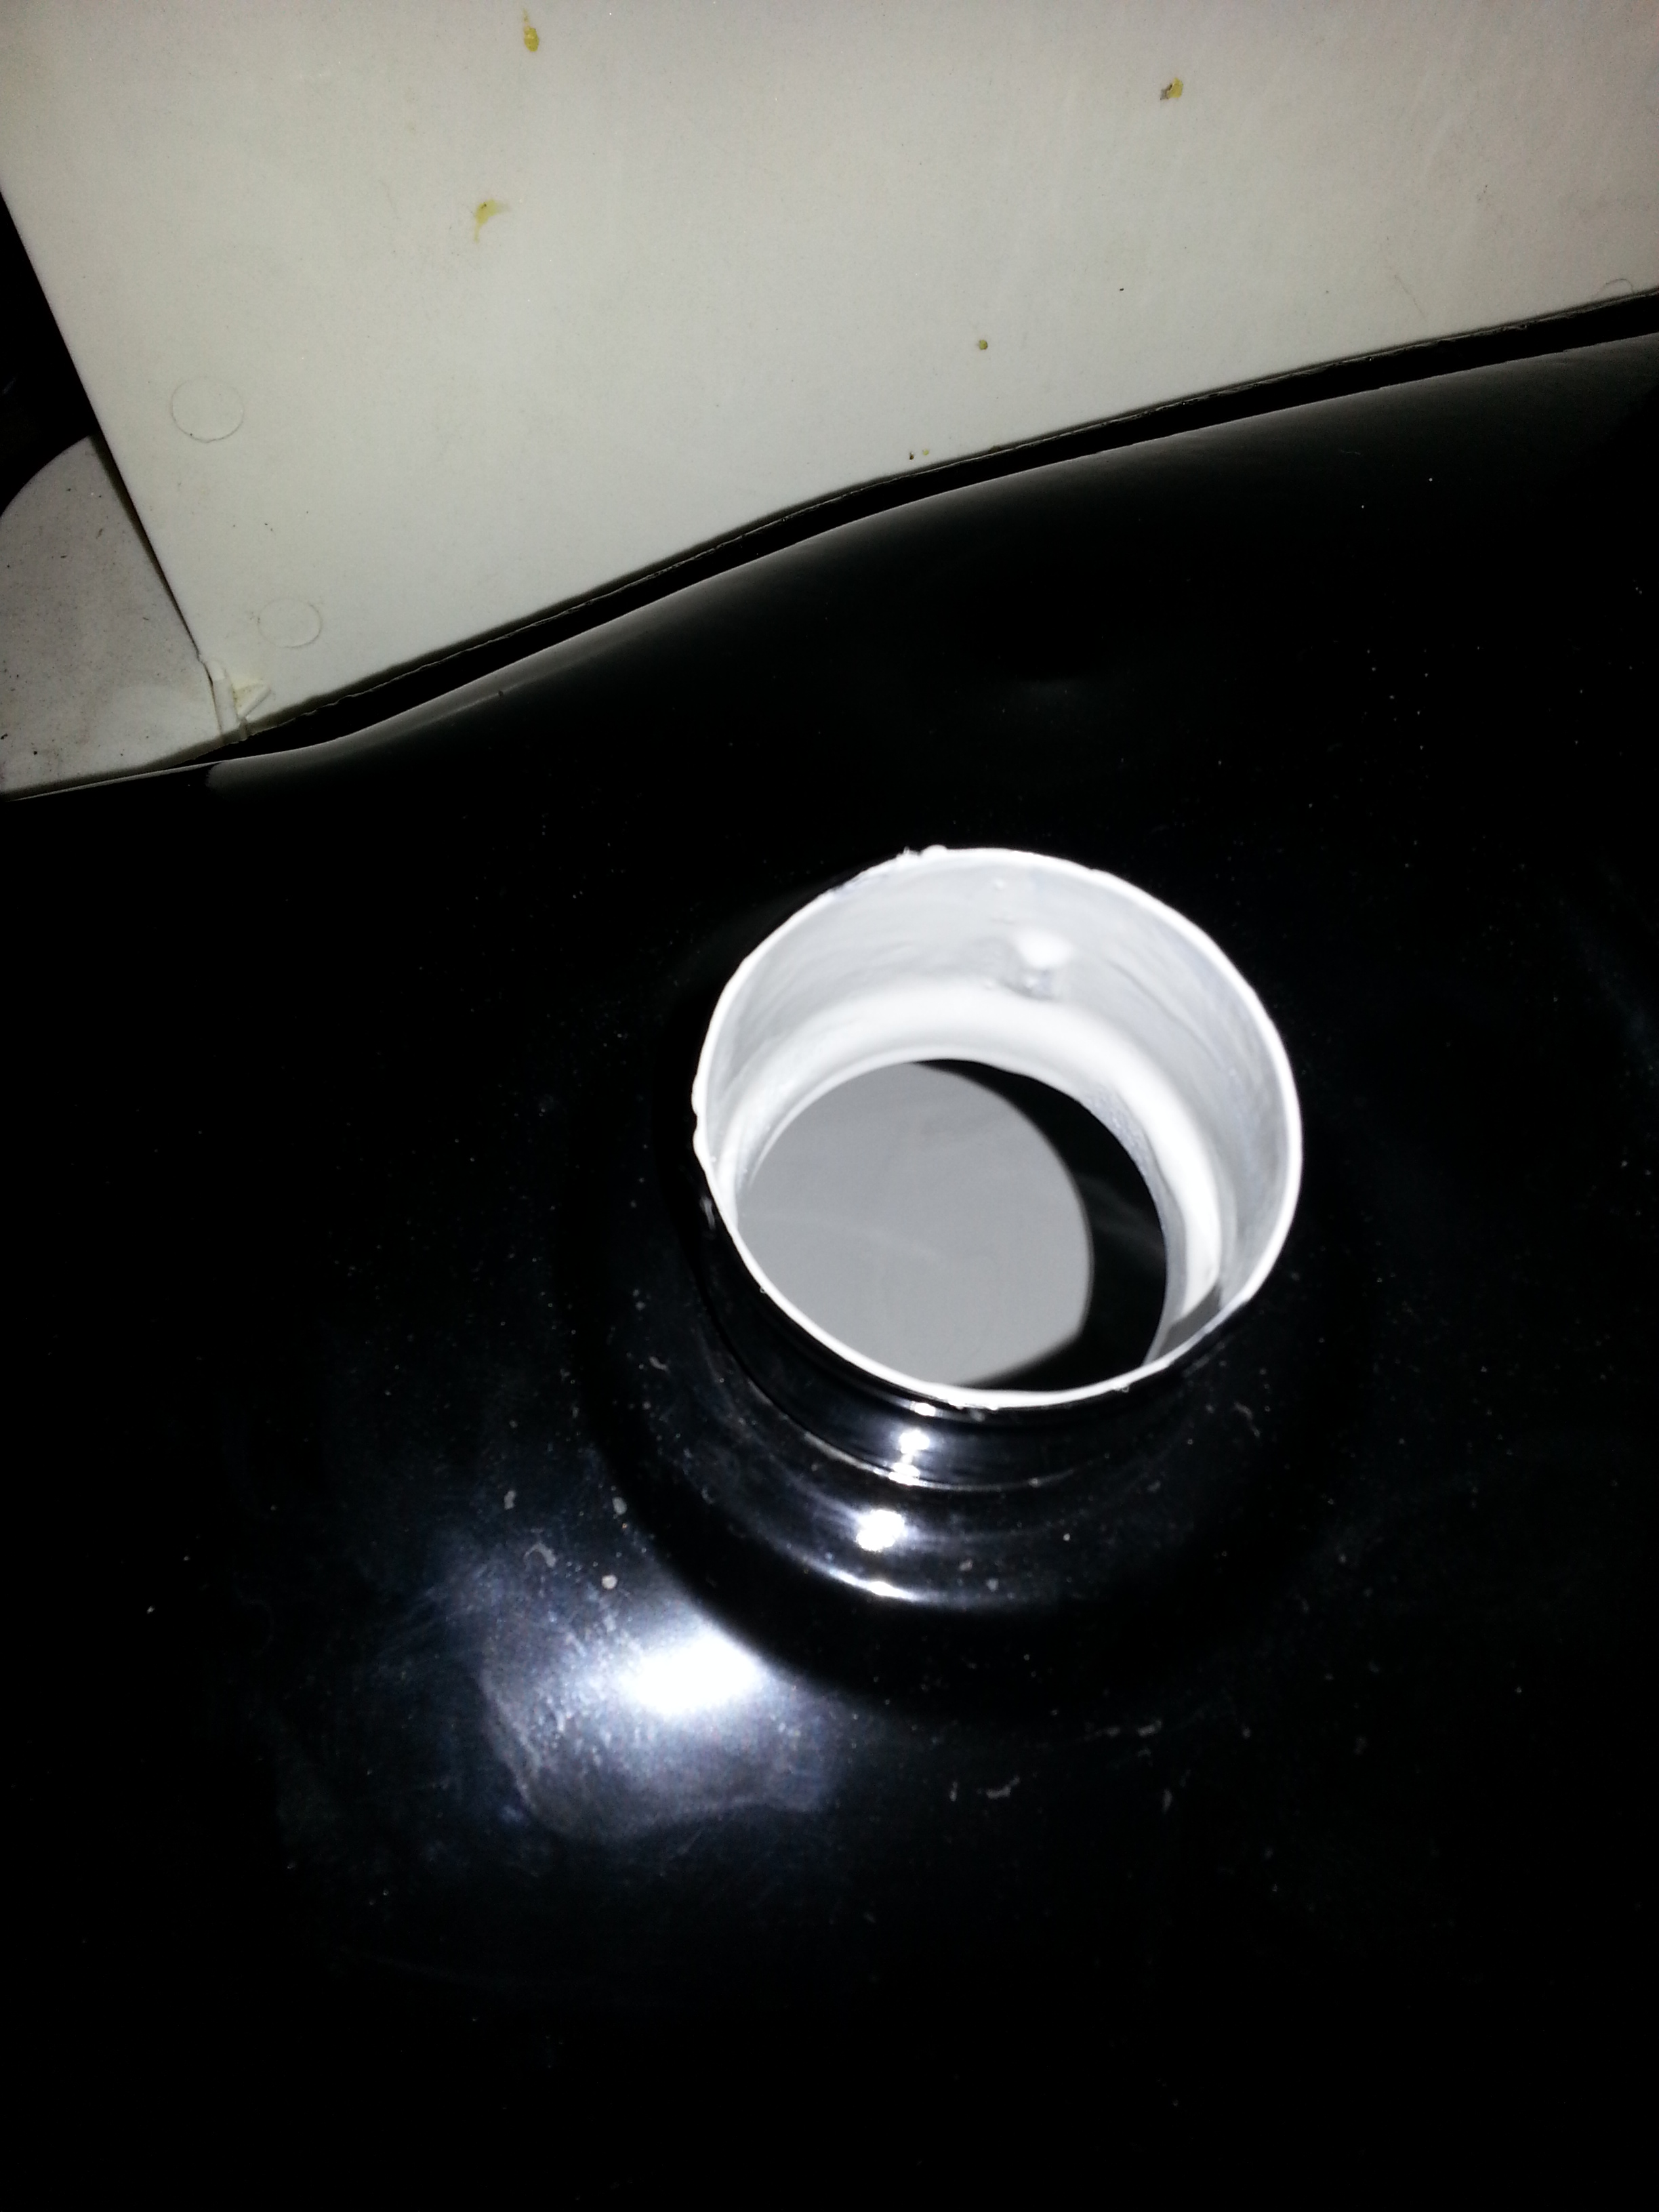
Once complete, the inside of your tank will look like this using this particular resin:
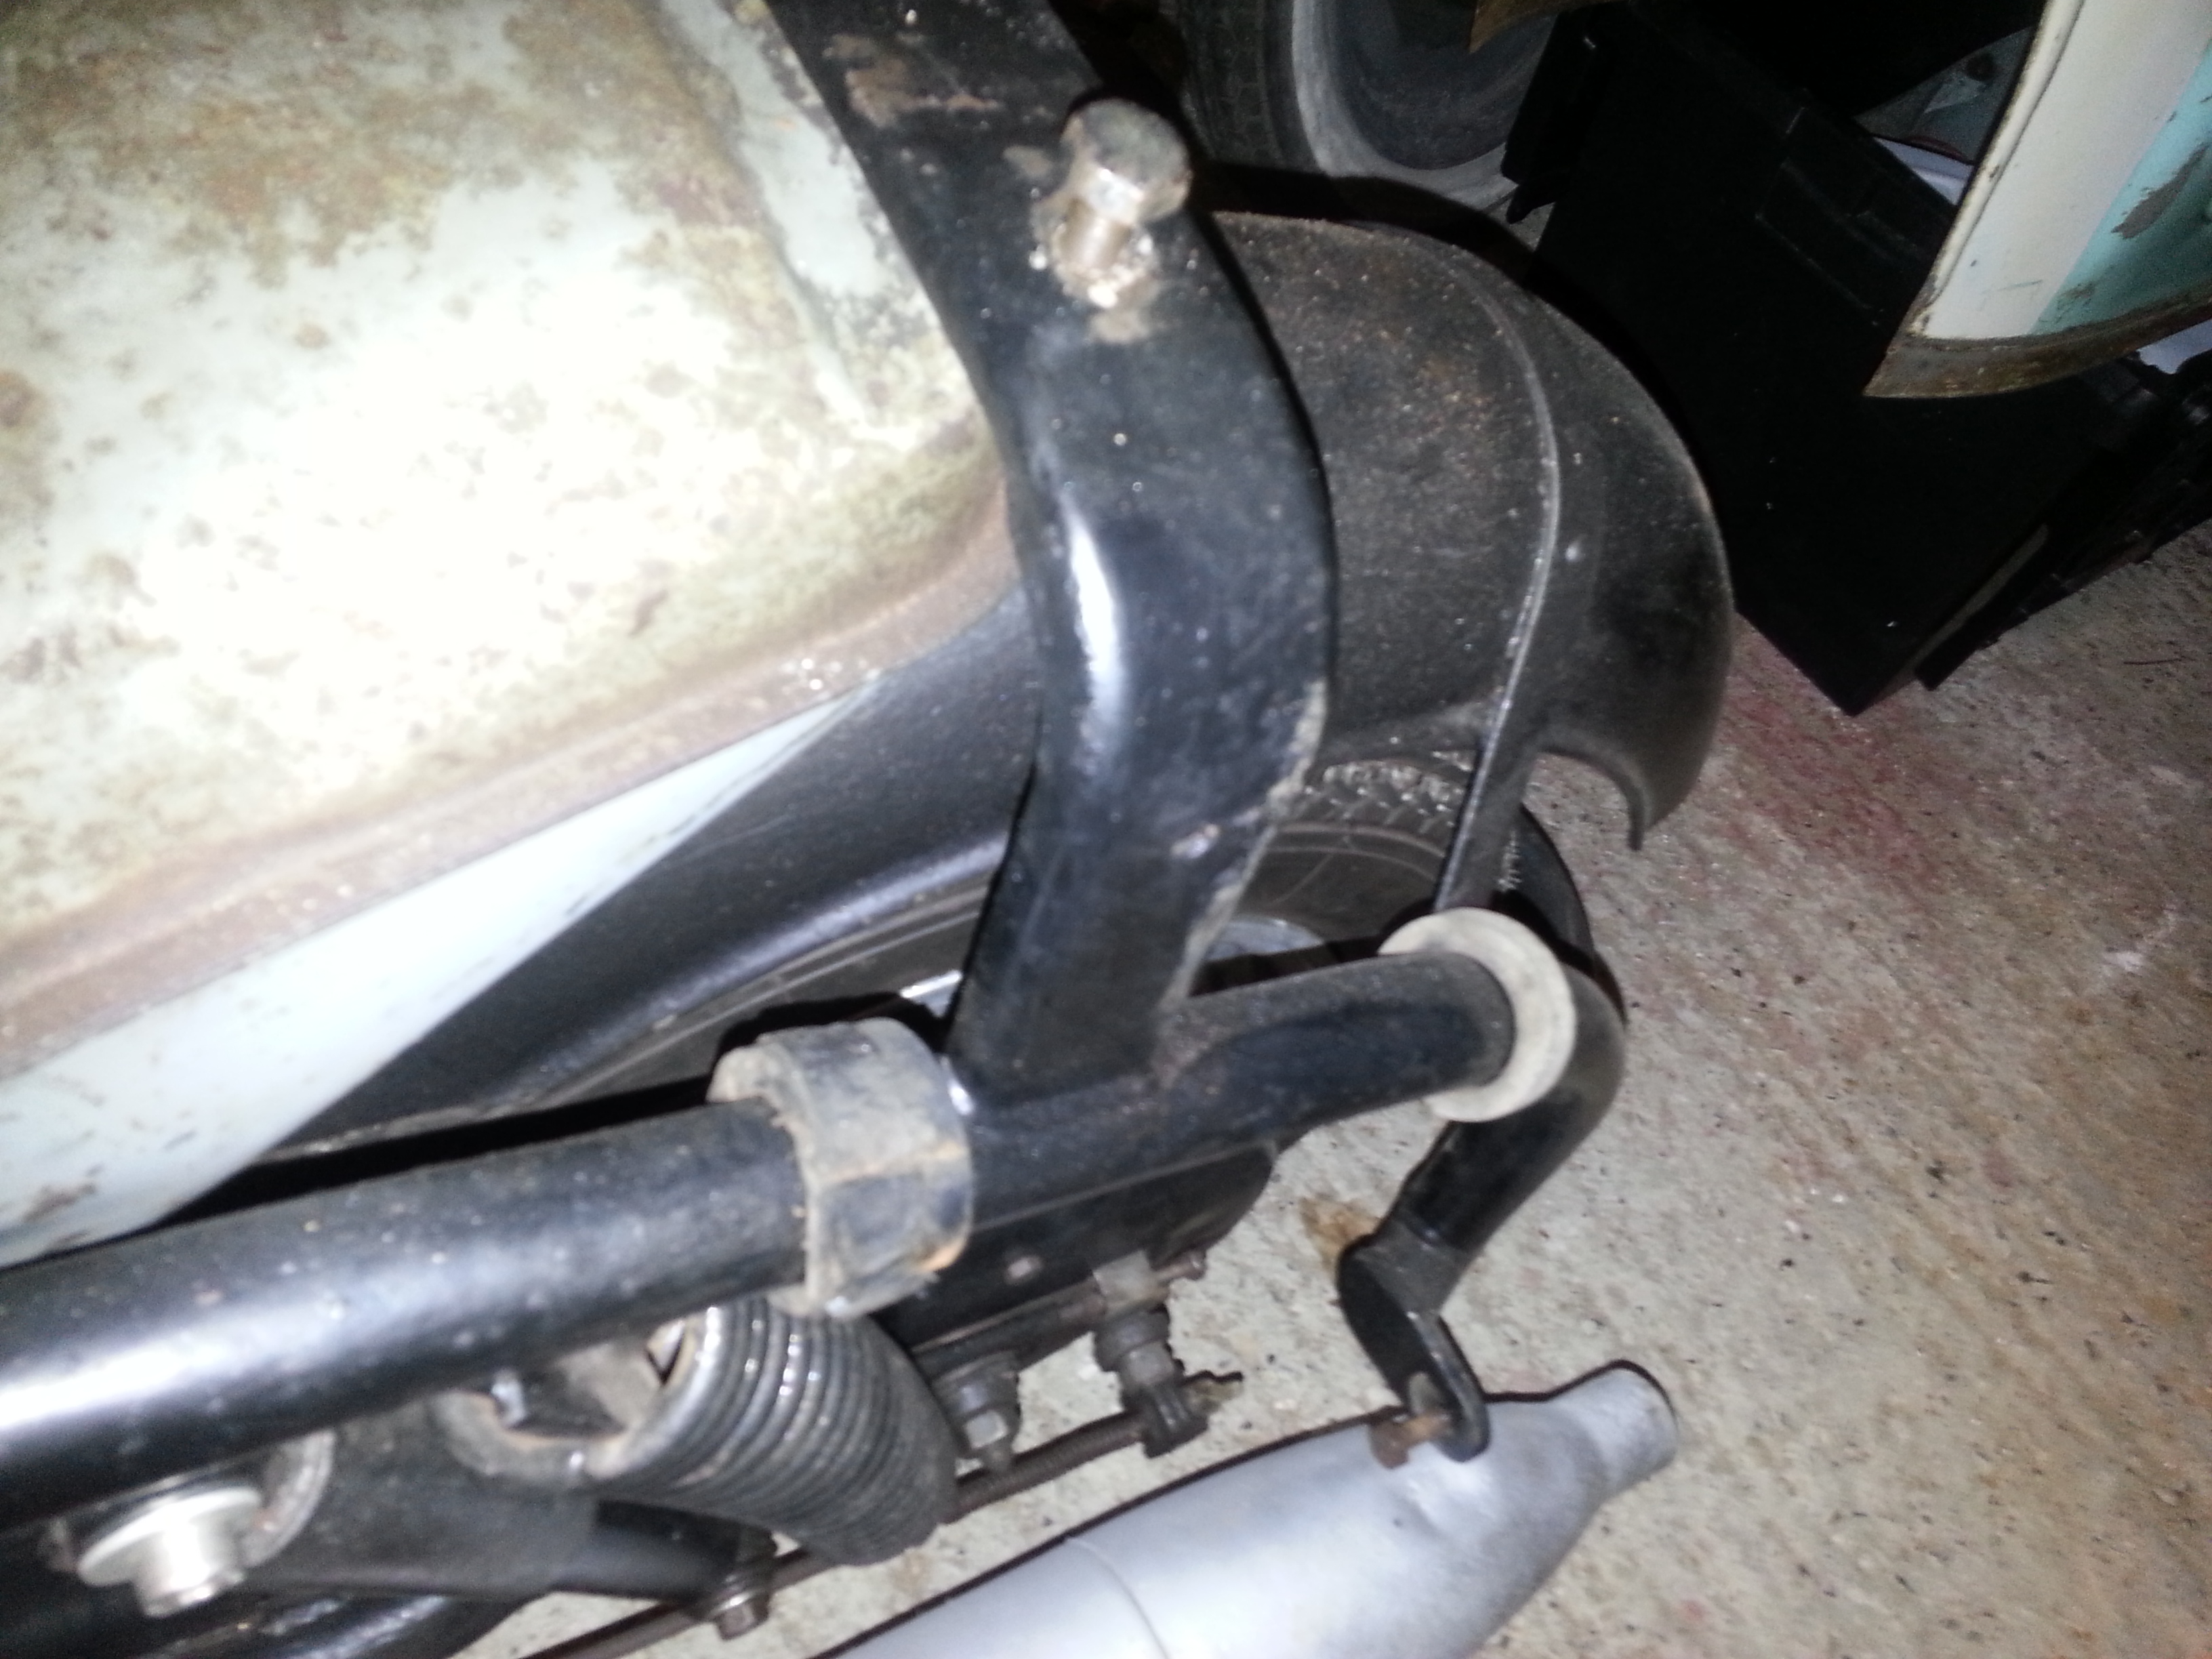
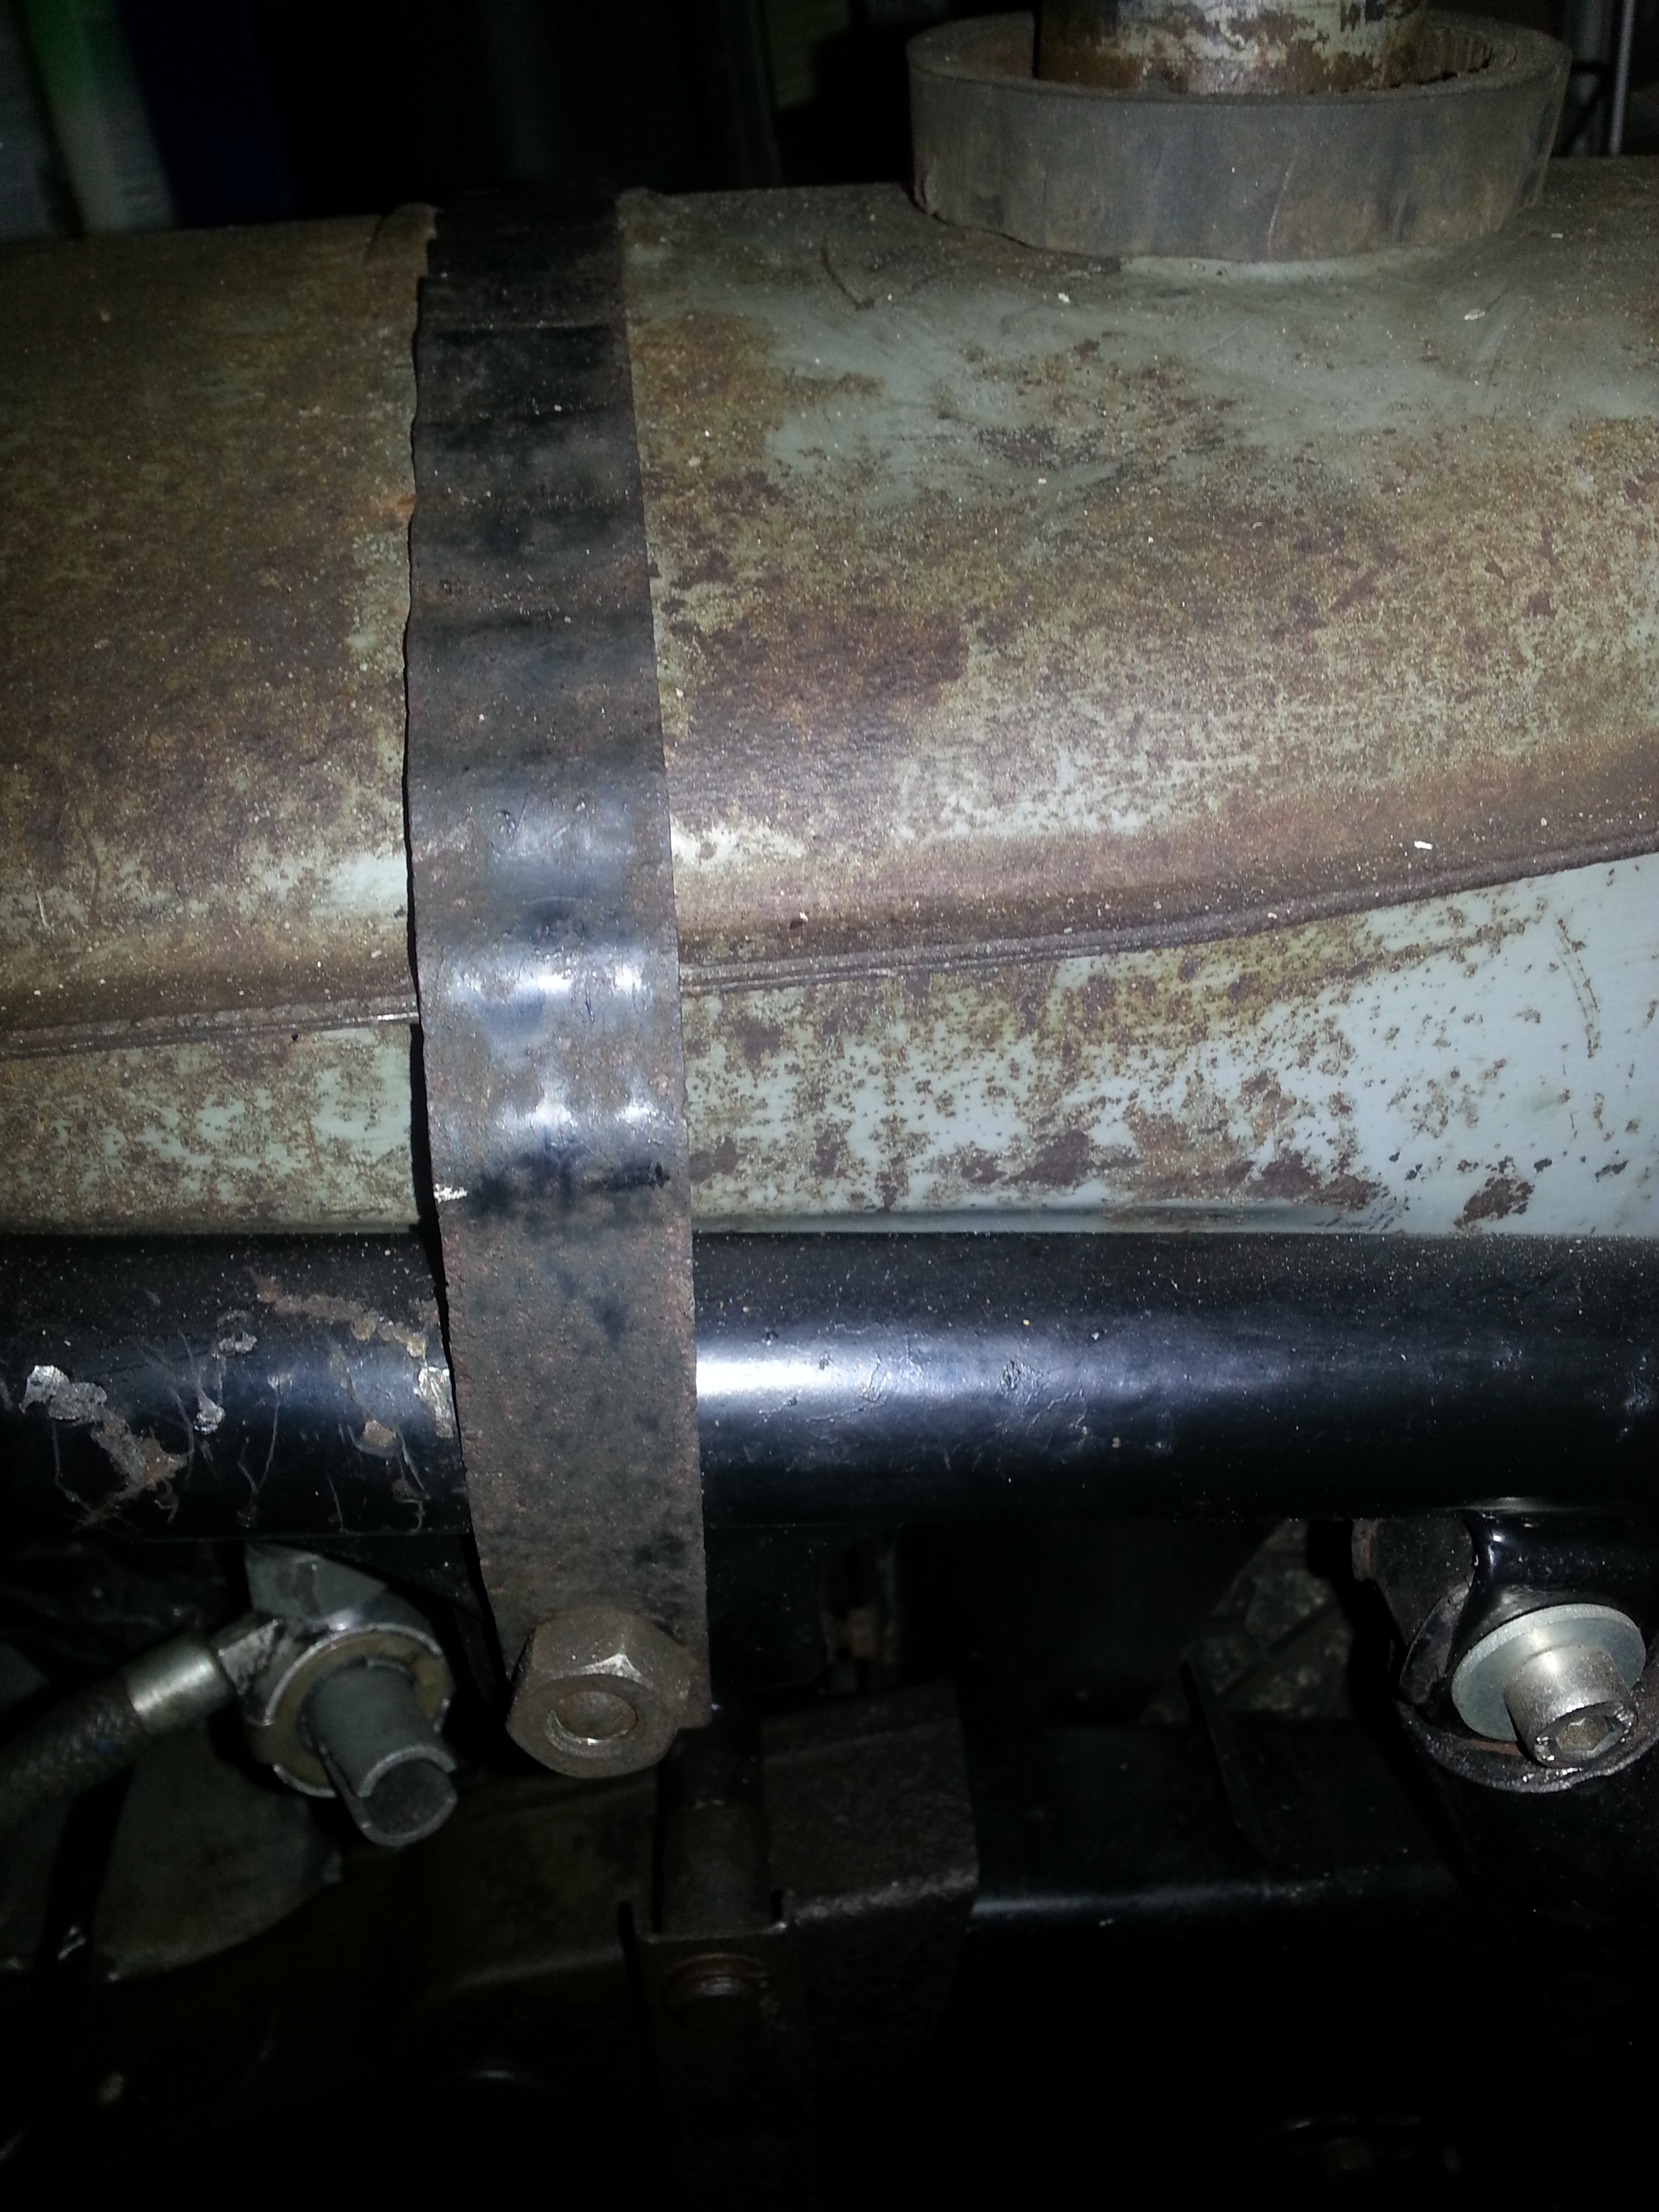
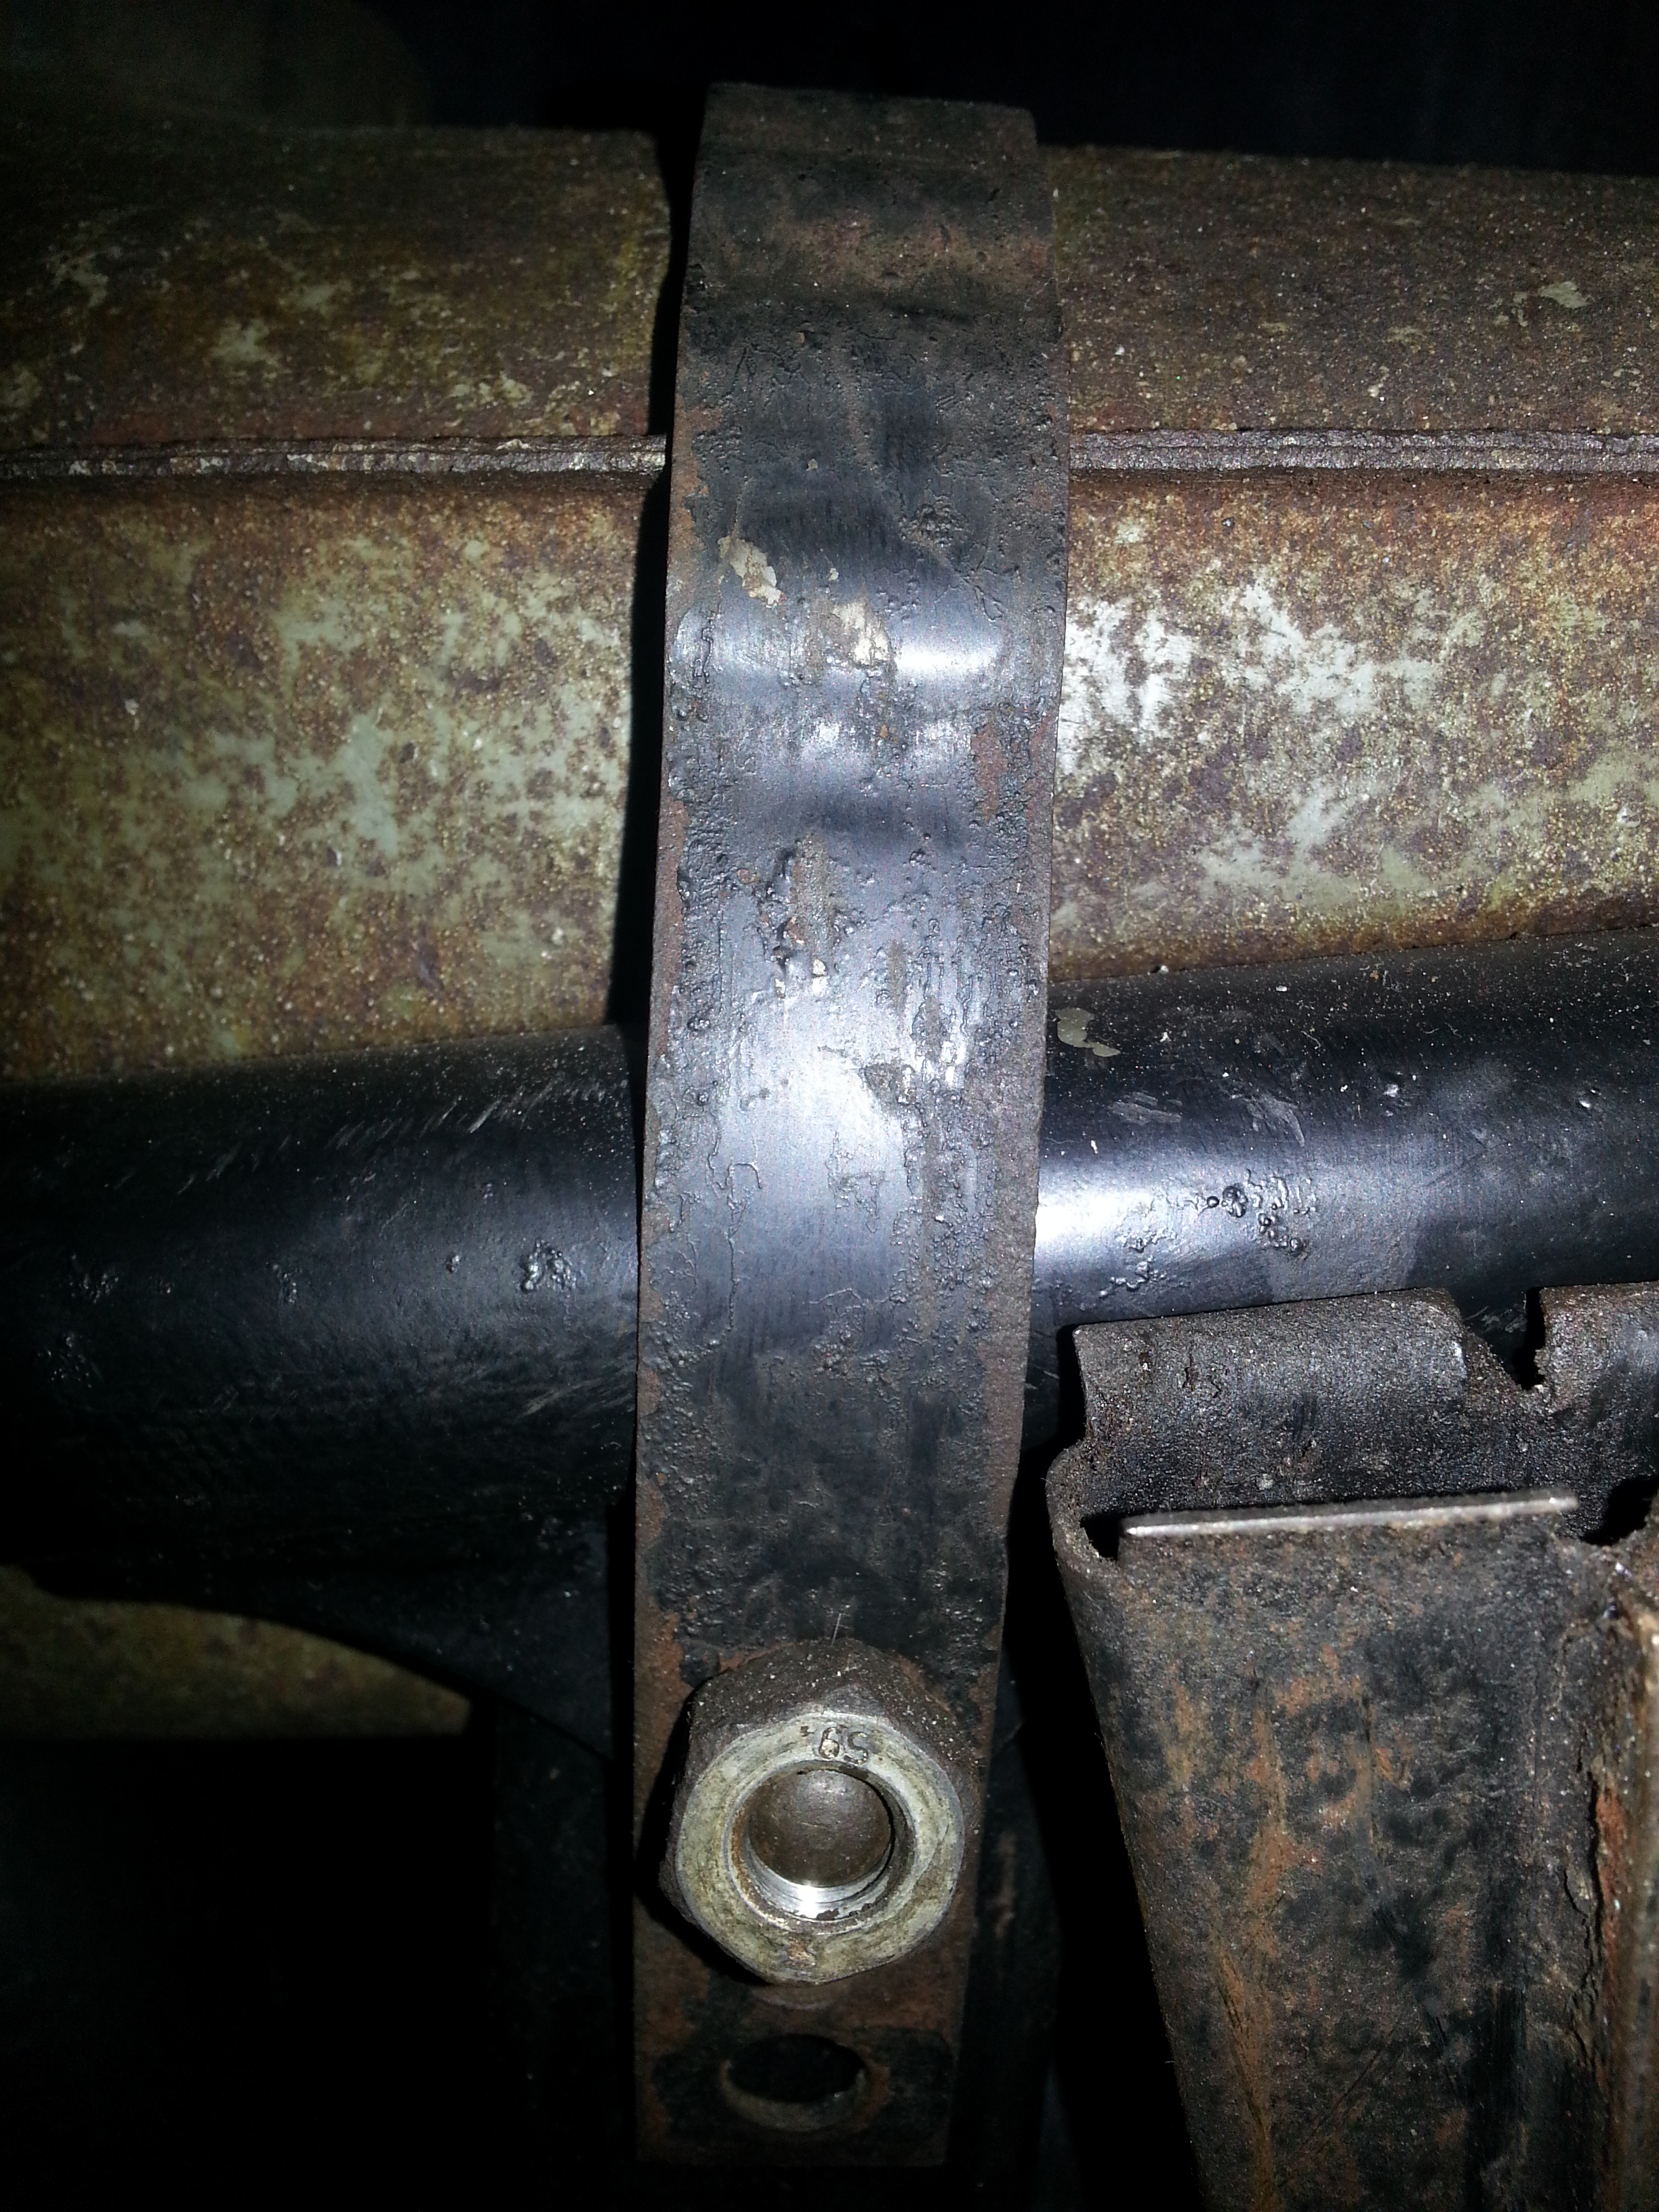
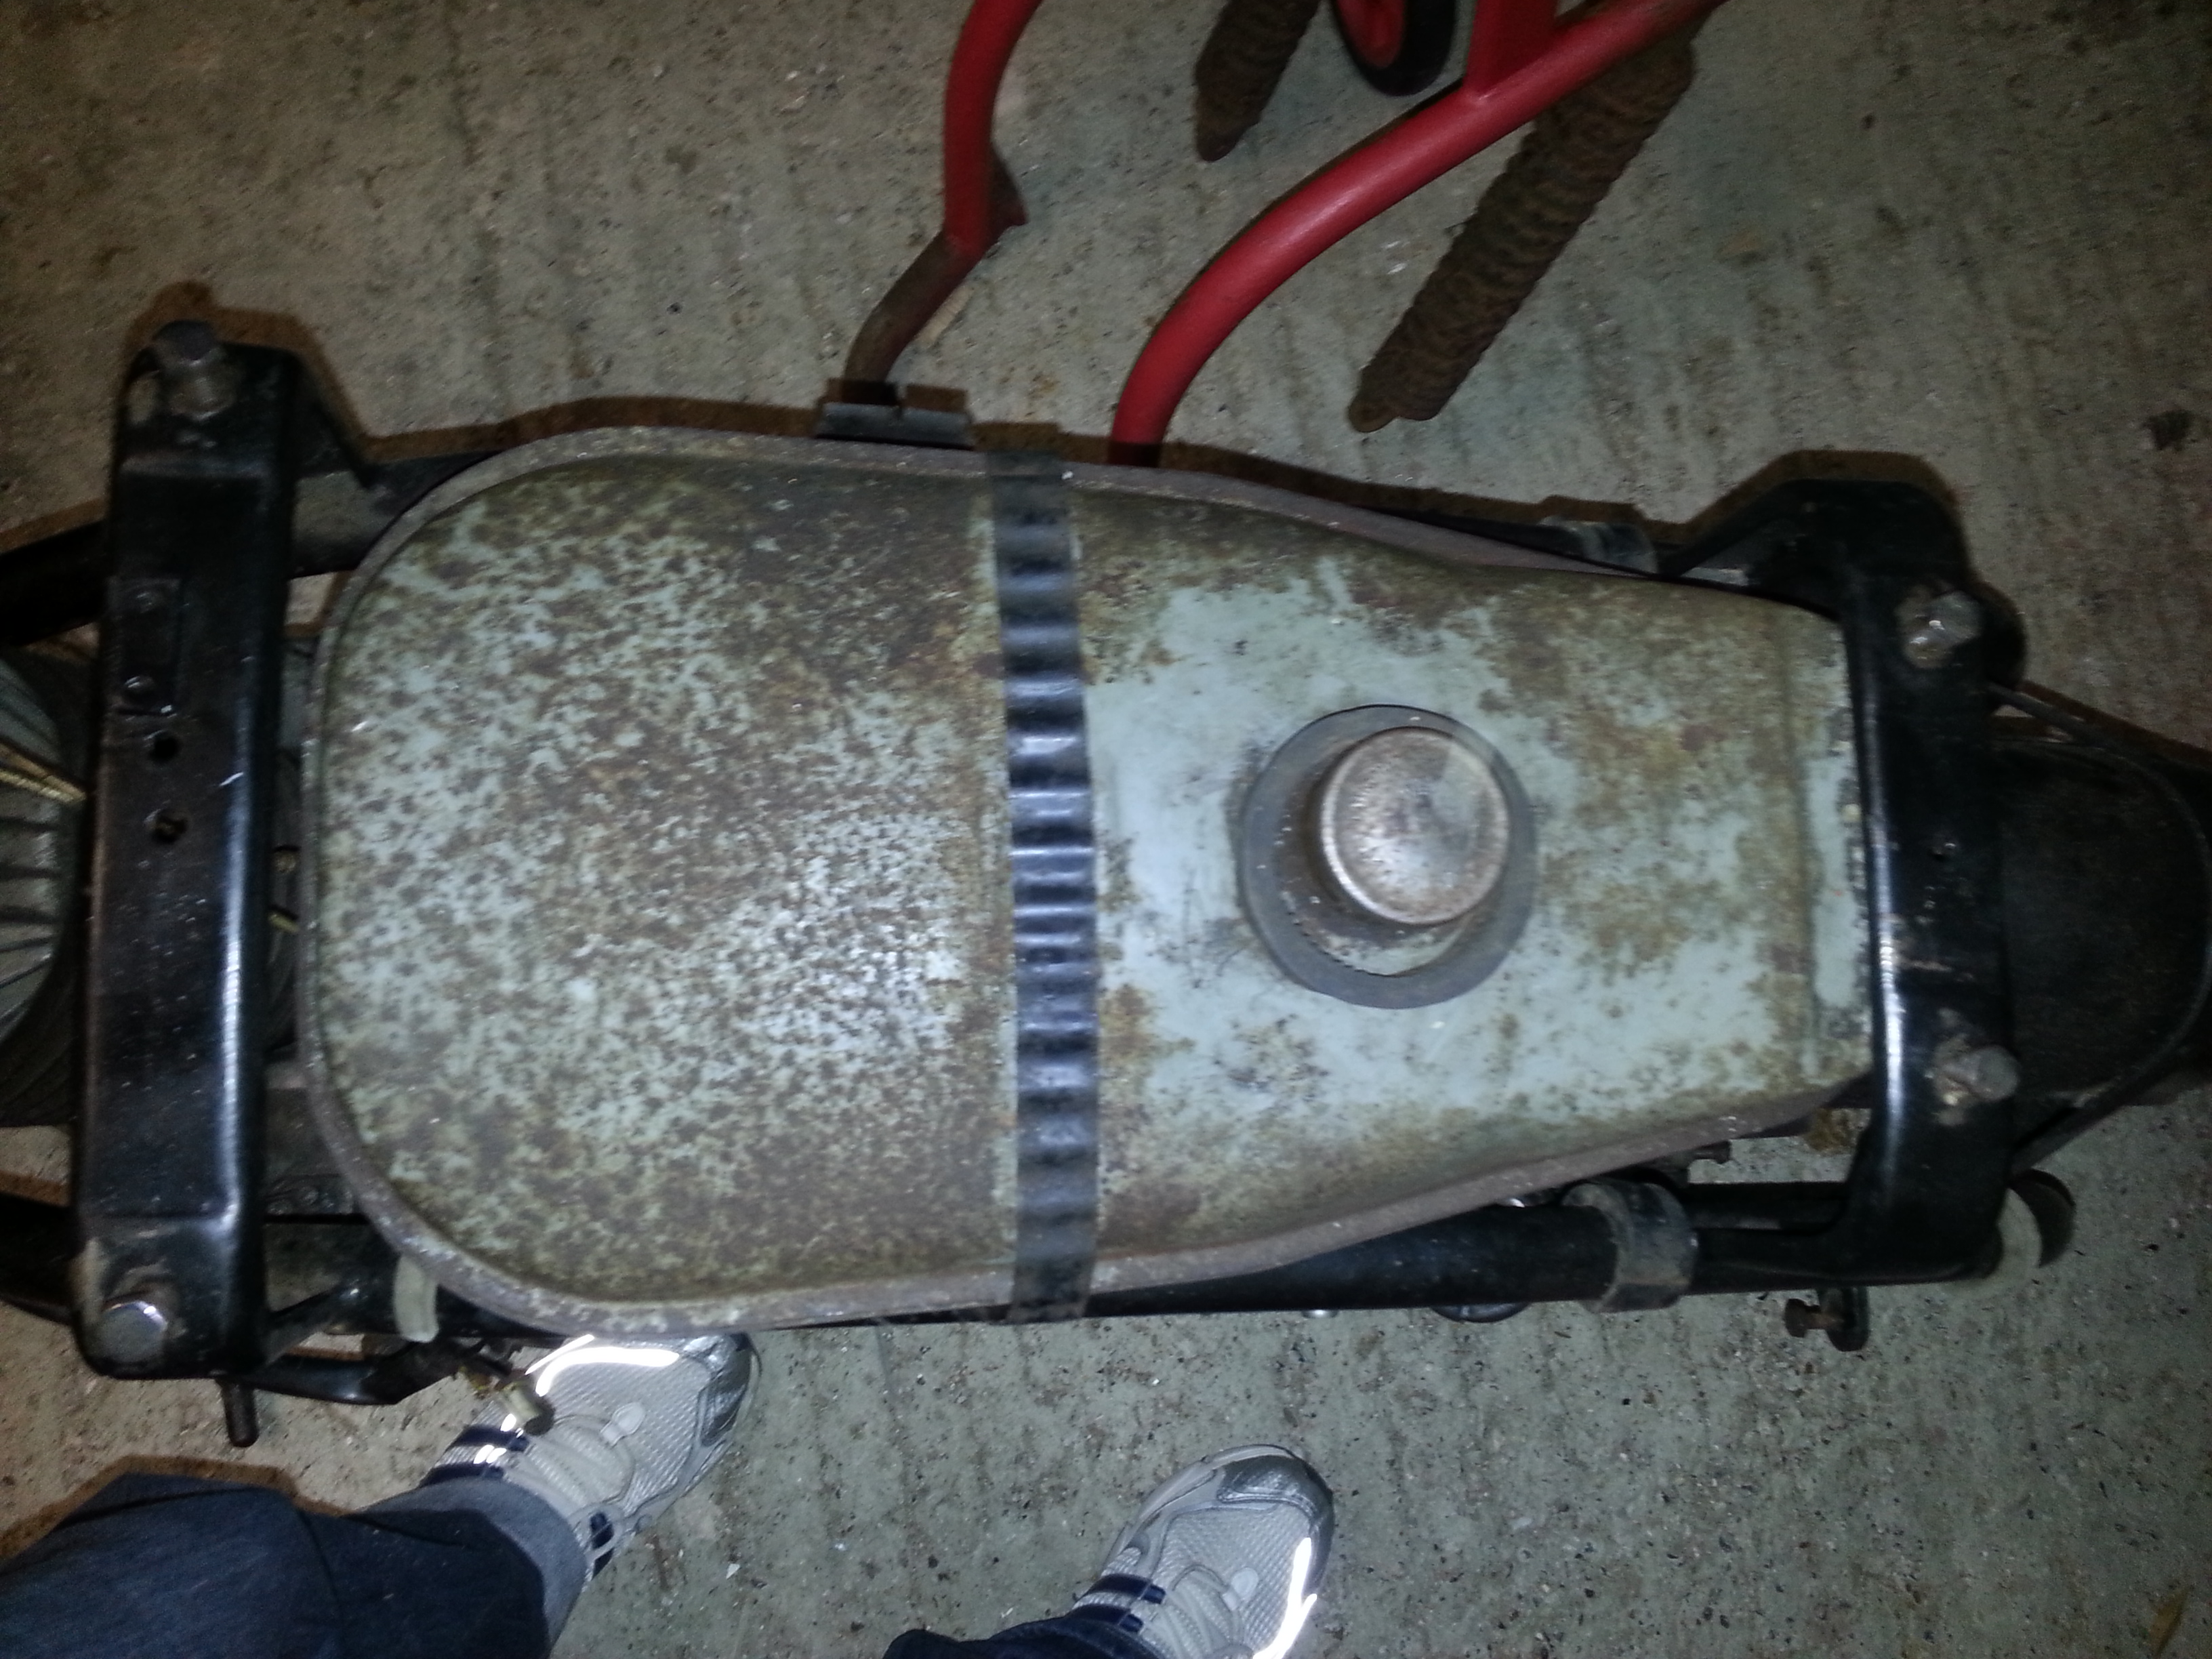
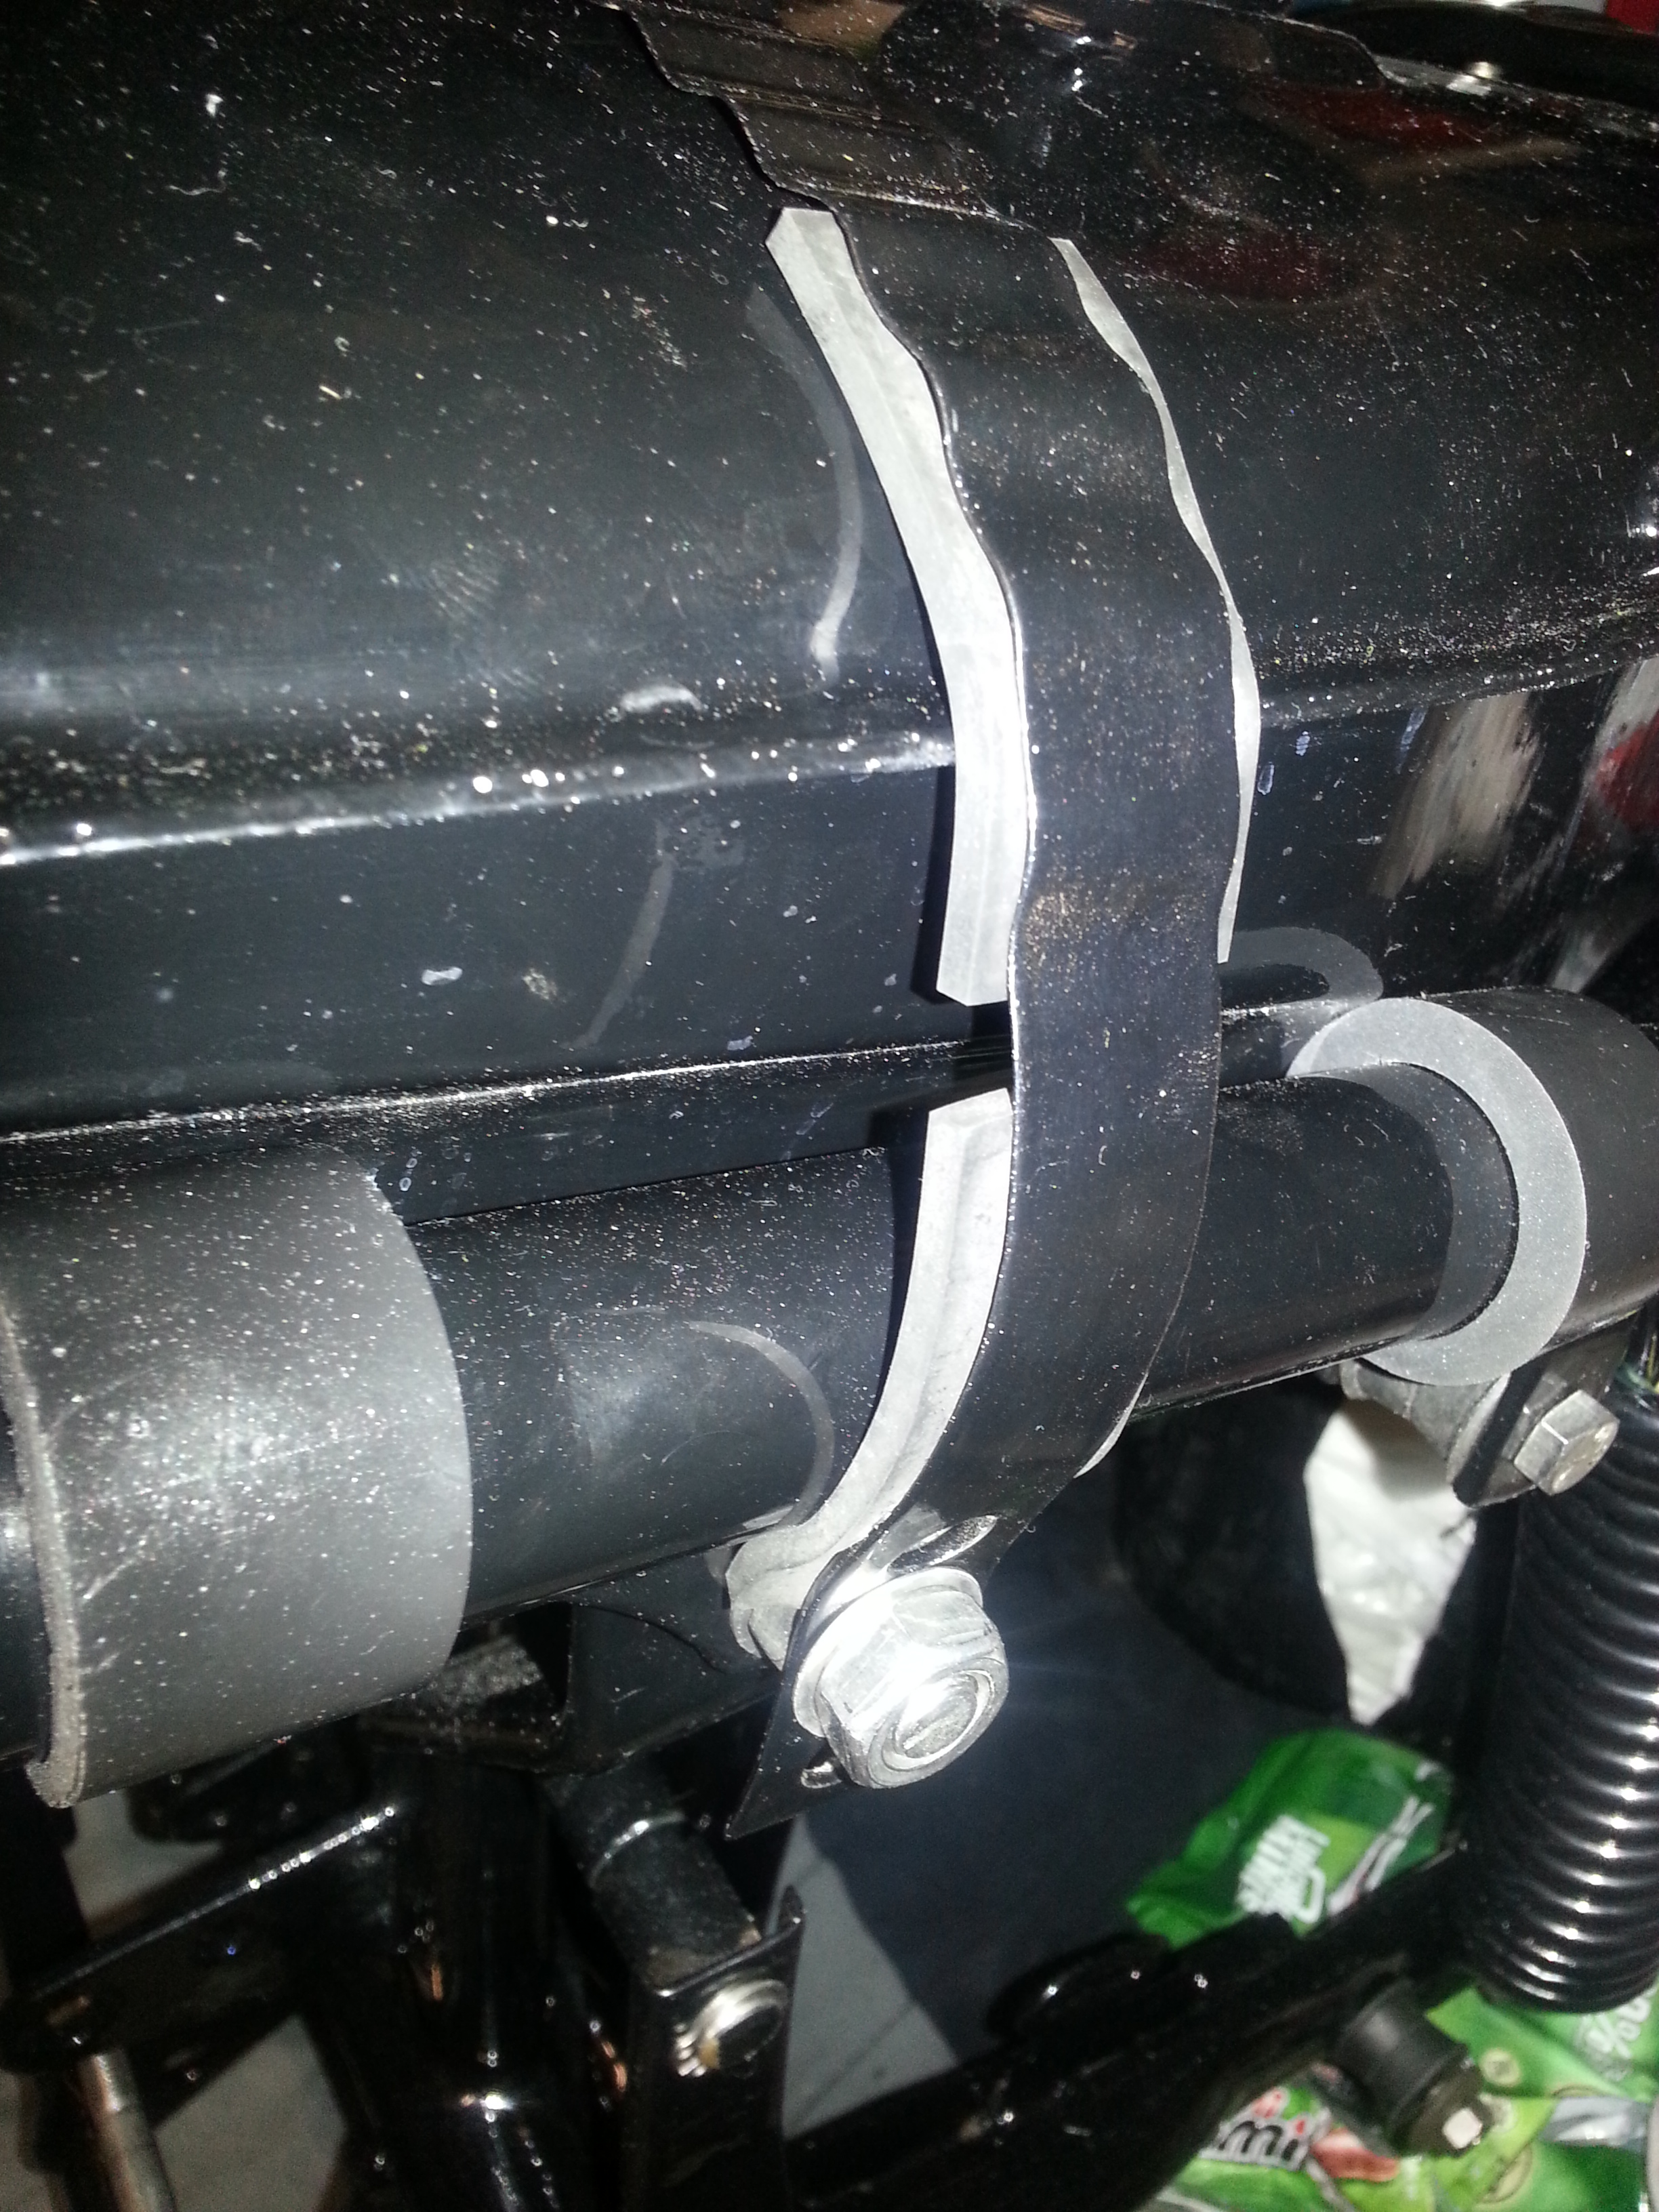
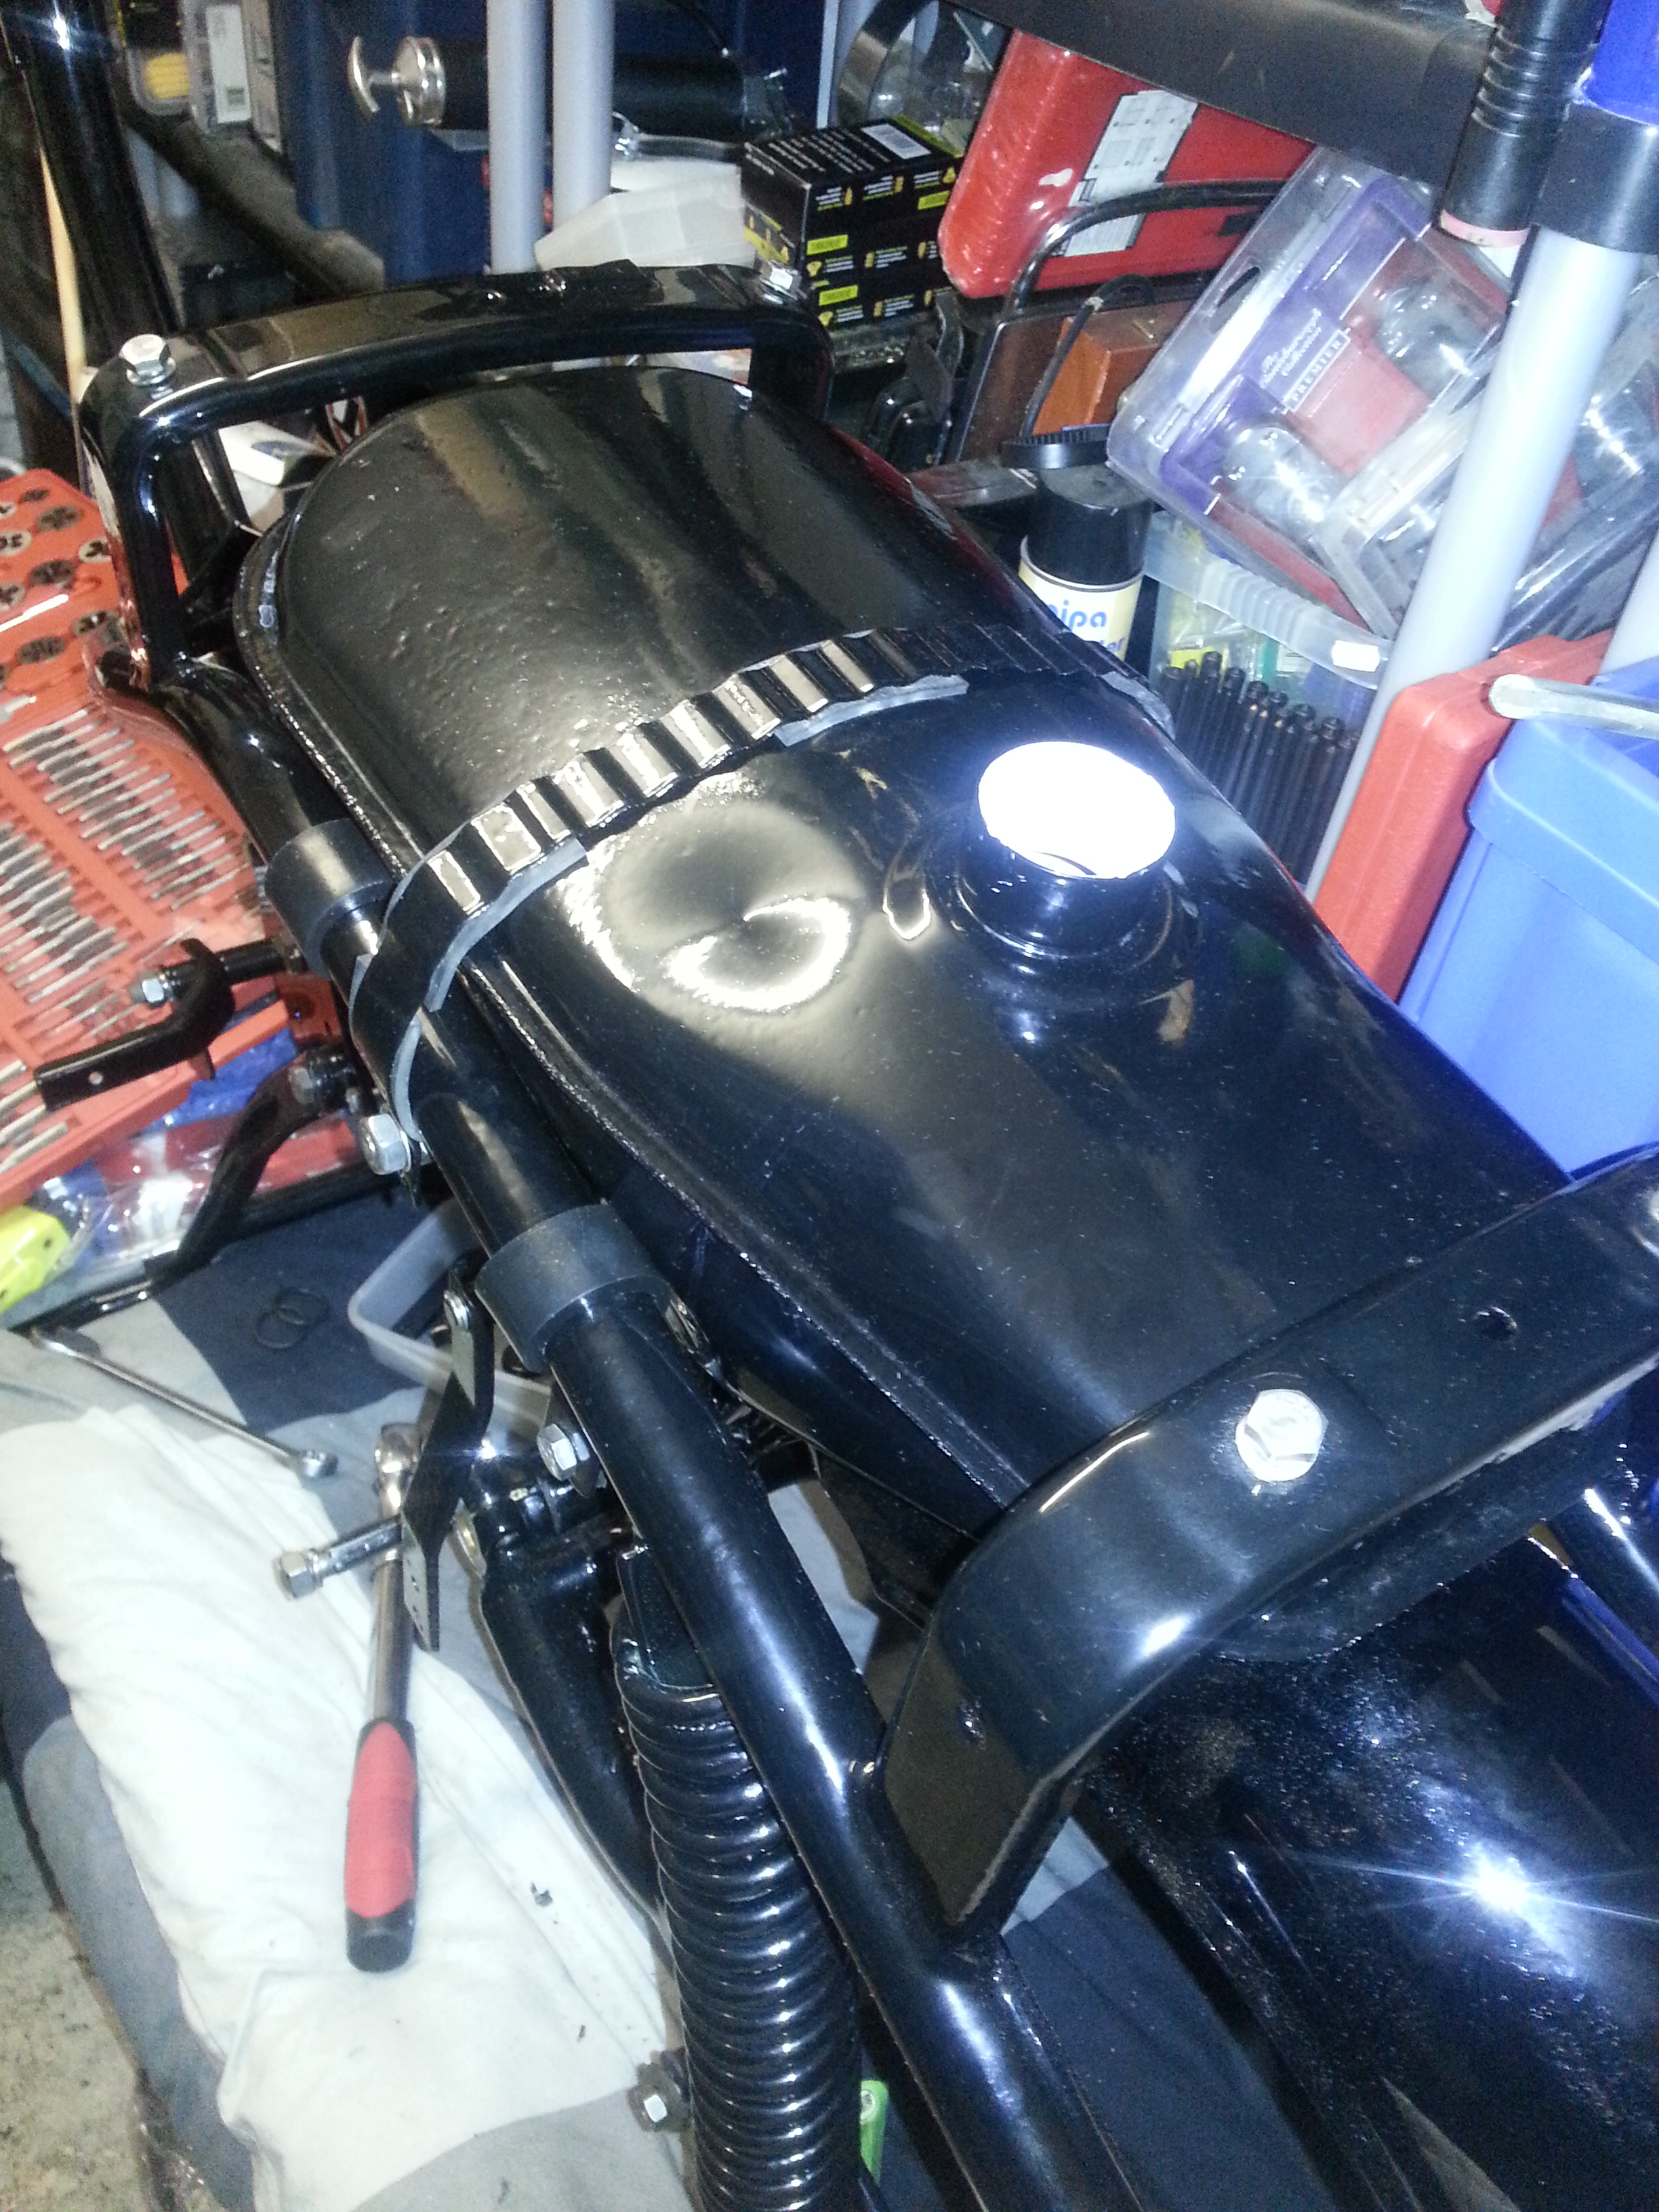
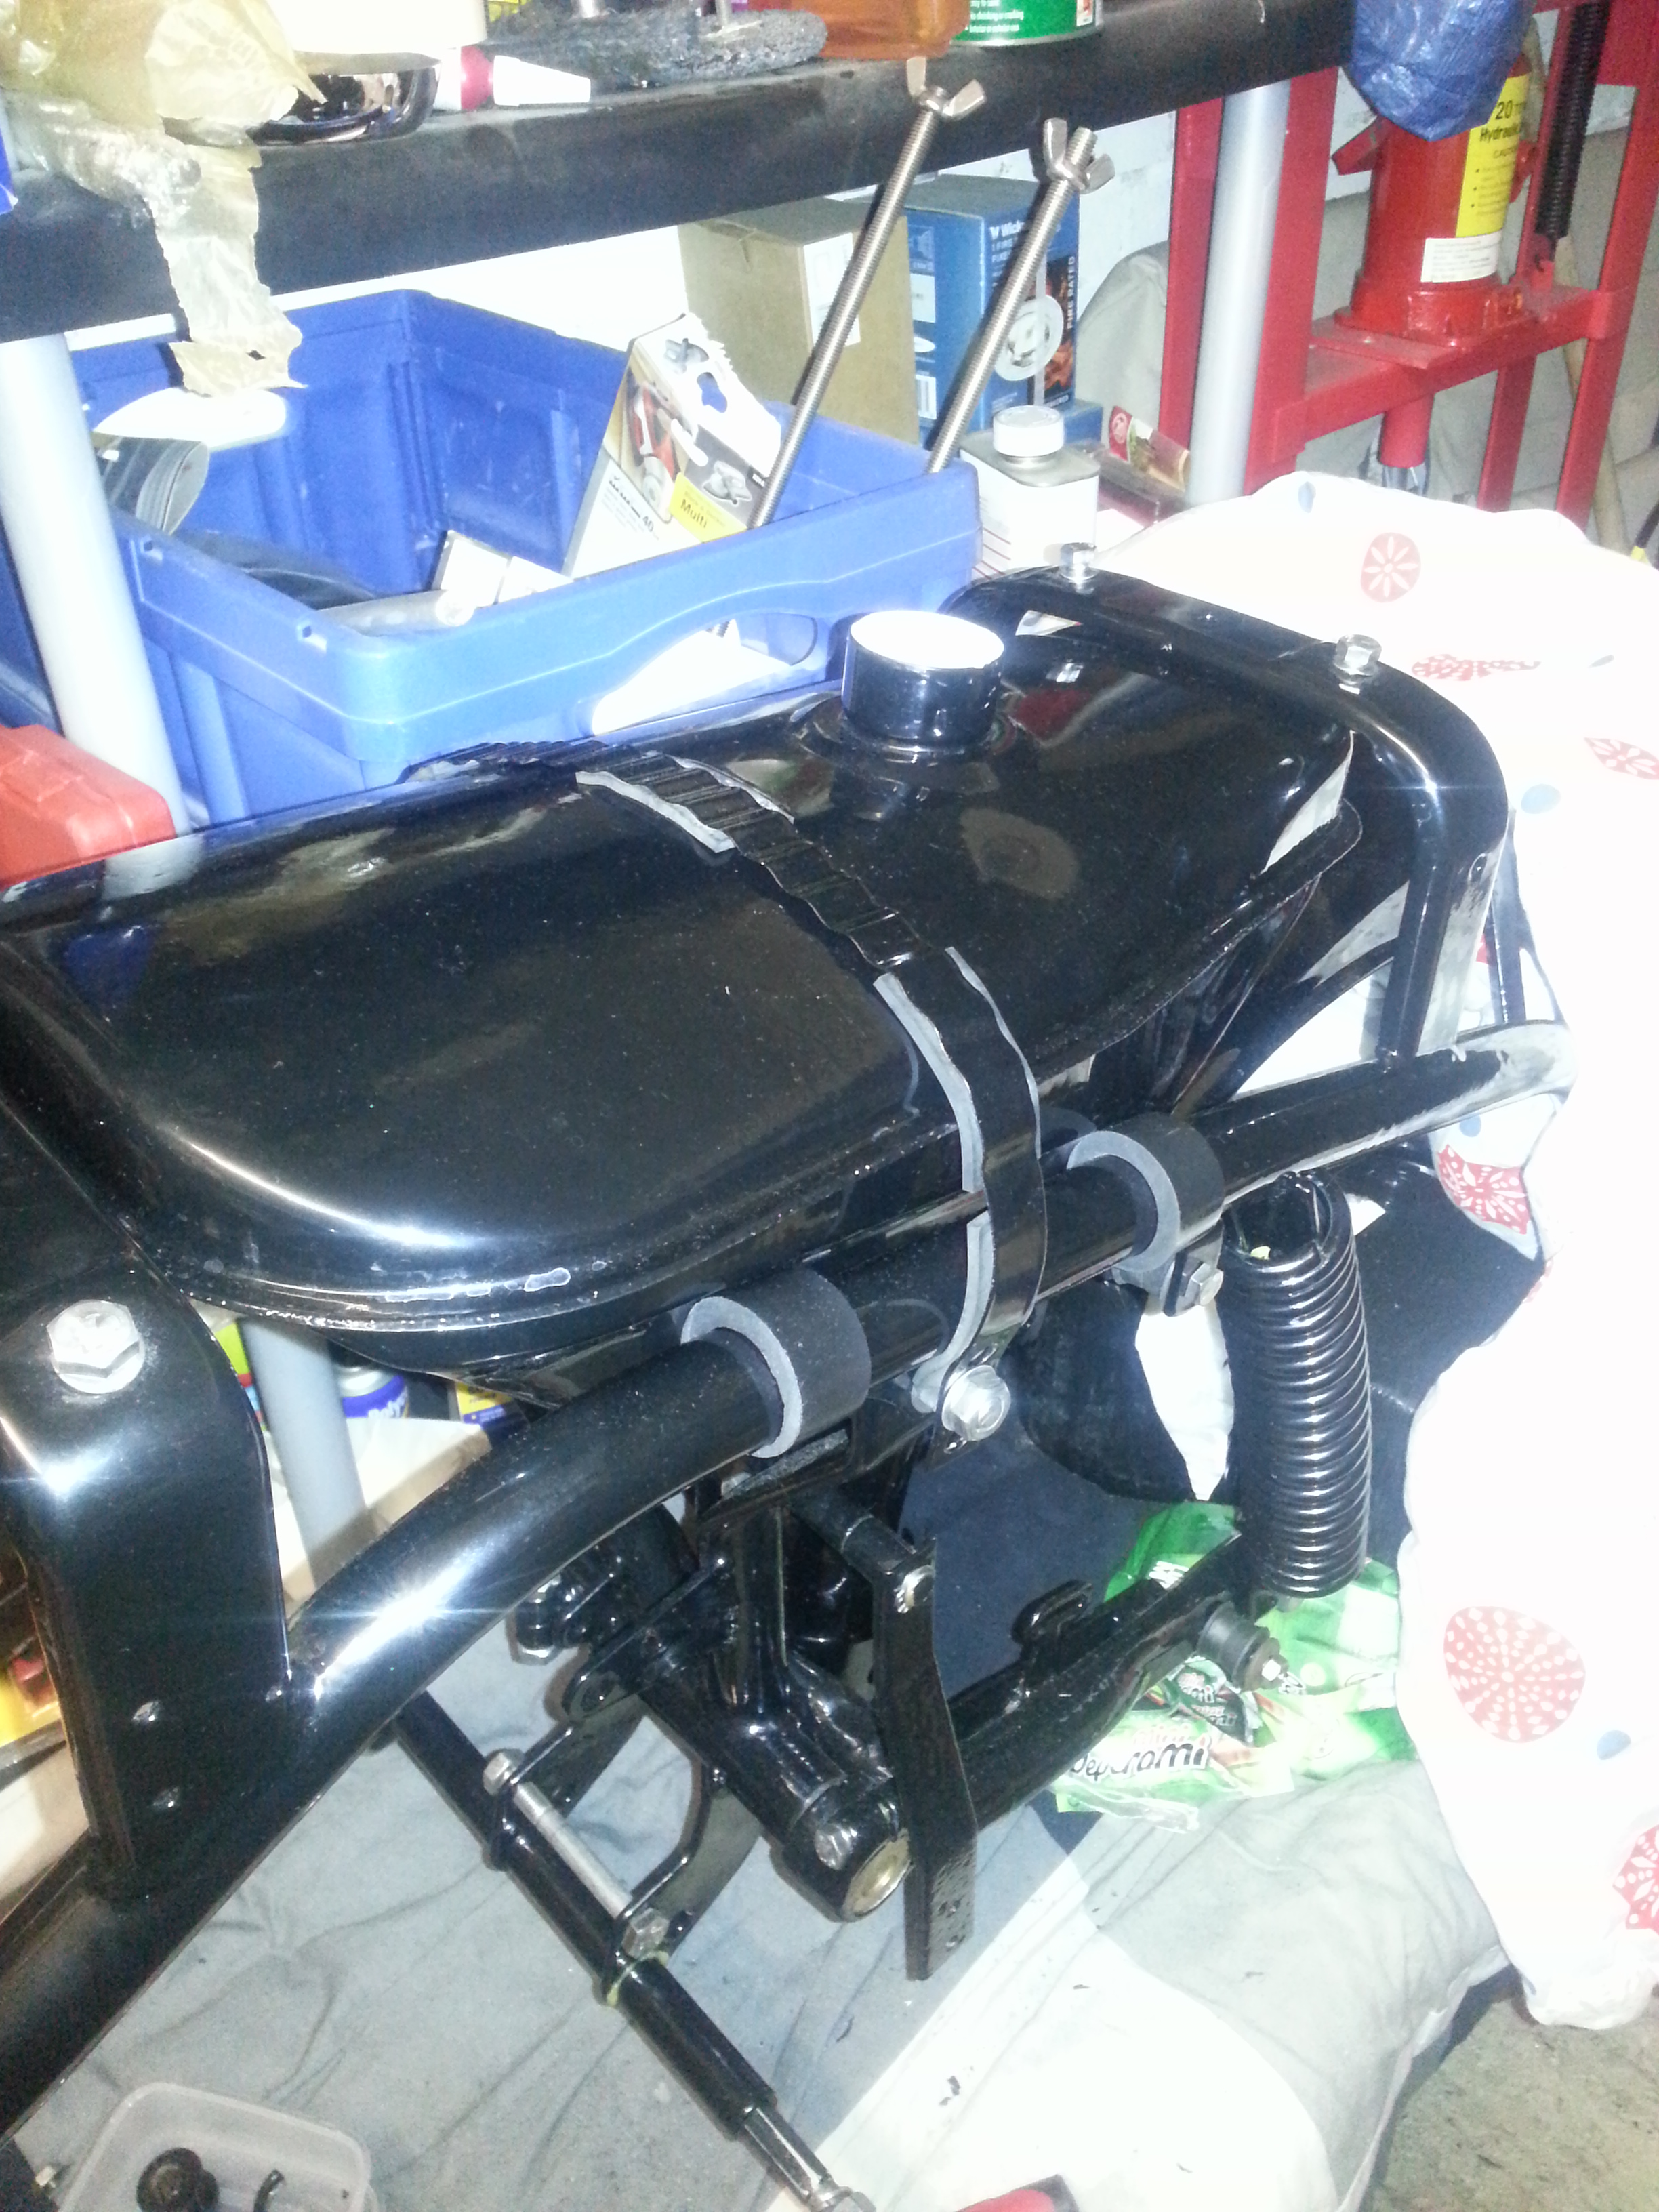
To mount the tank you need to place four rubbers under it and a strap over it:
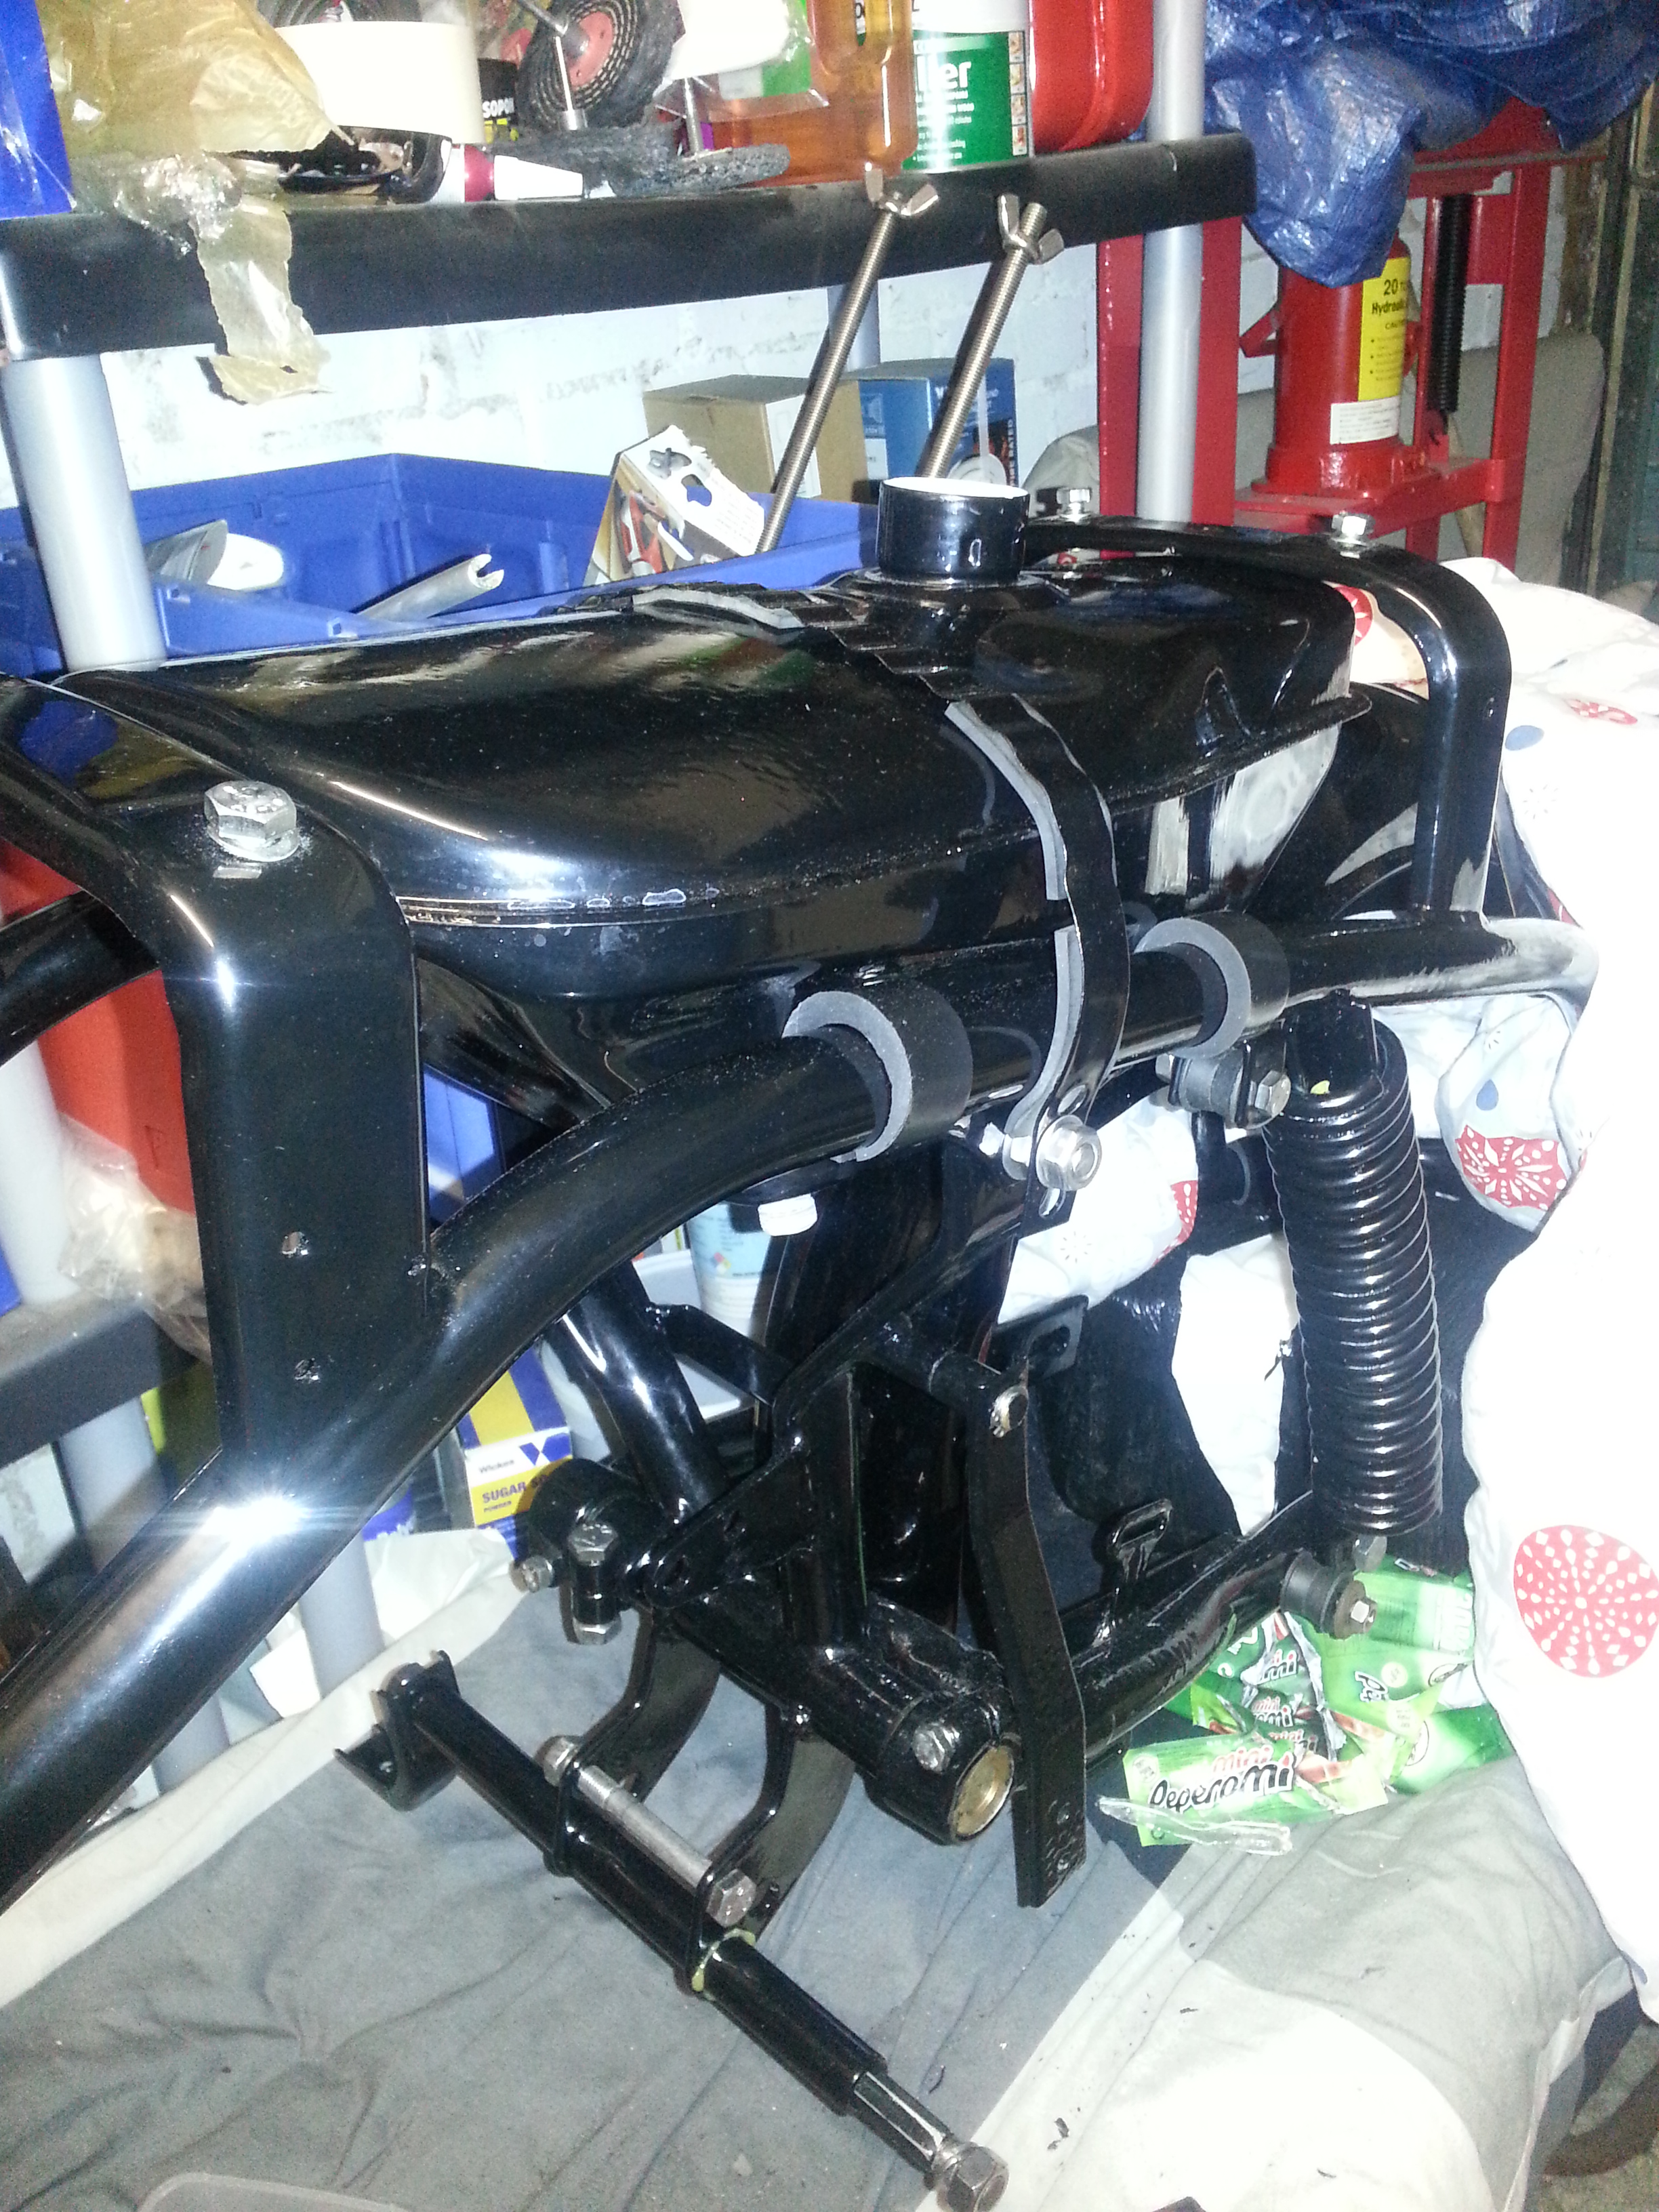
Rubber strips should be used under the strap to prevent damage. The strap itself I had powder coated. You can use holed metal strip as well, but without the harmonica shape of the original it will be less flexible. You can use the rubber strips to create a little flexibility.
Some pictures of the full installation; regretting not taking out the dent now, but you have to pick your battles…:

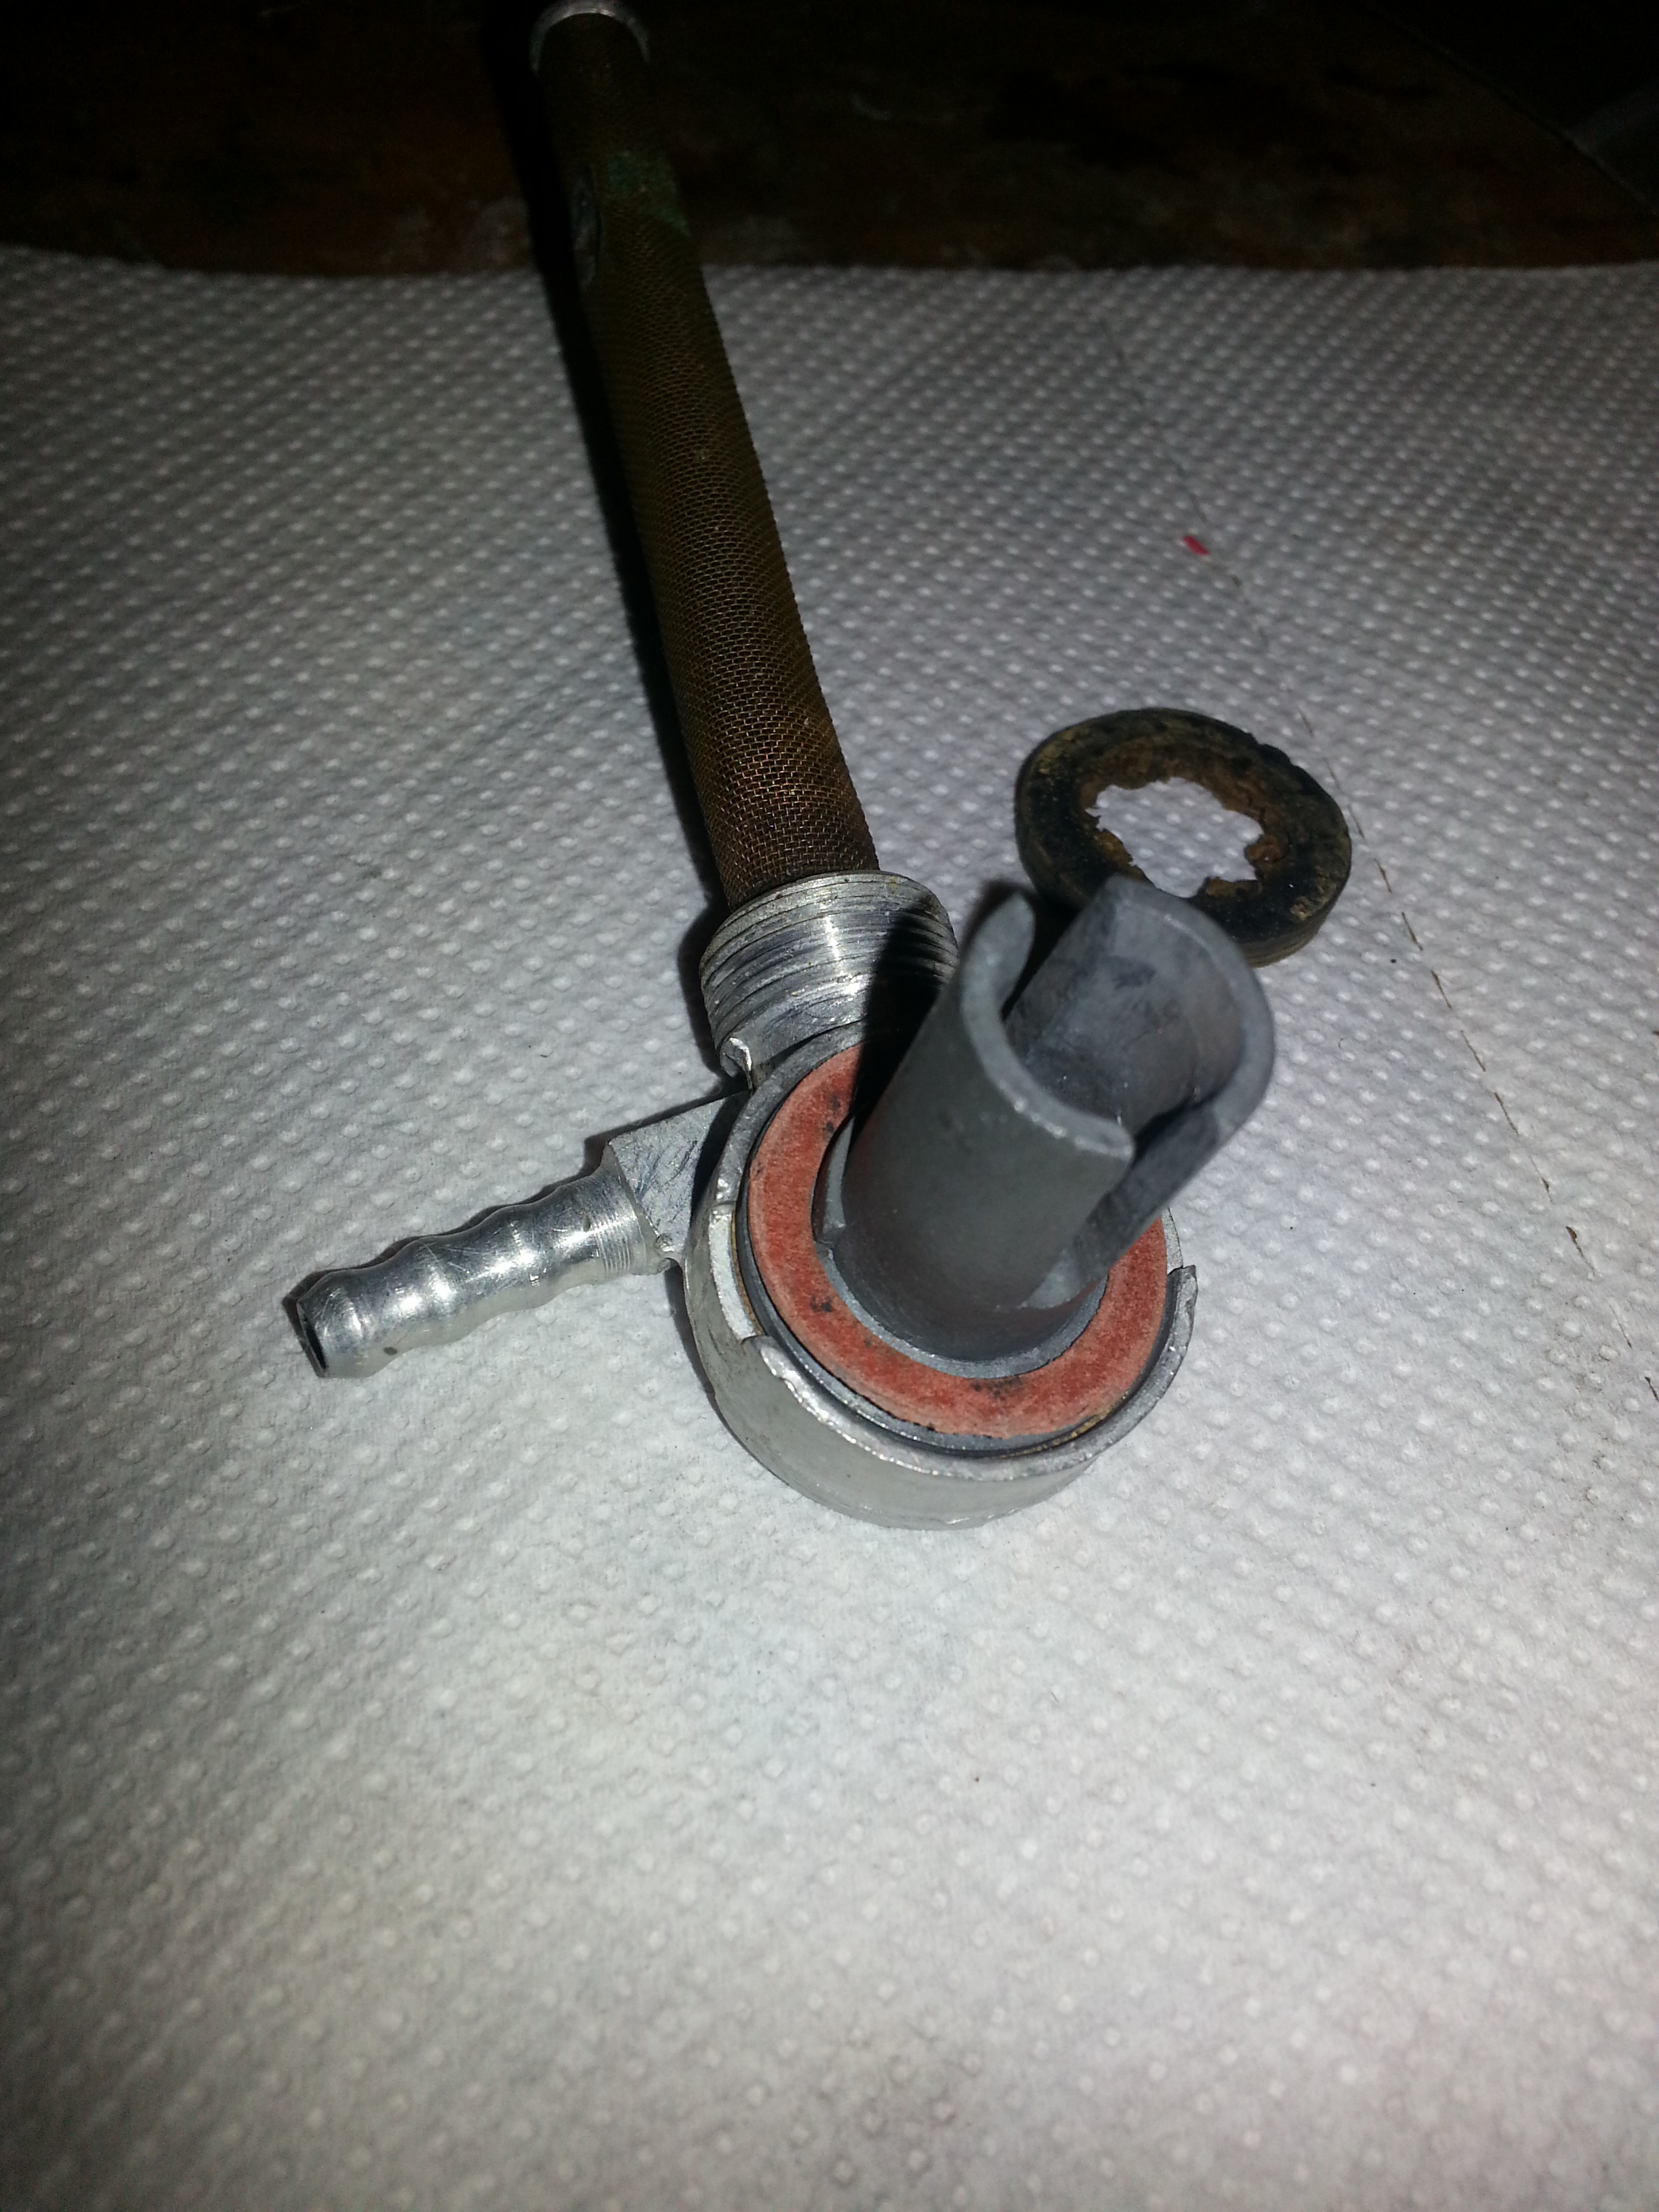
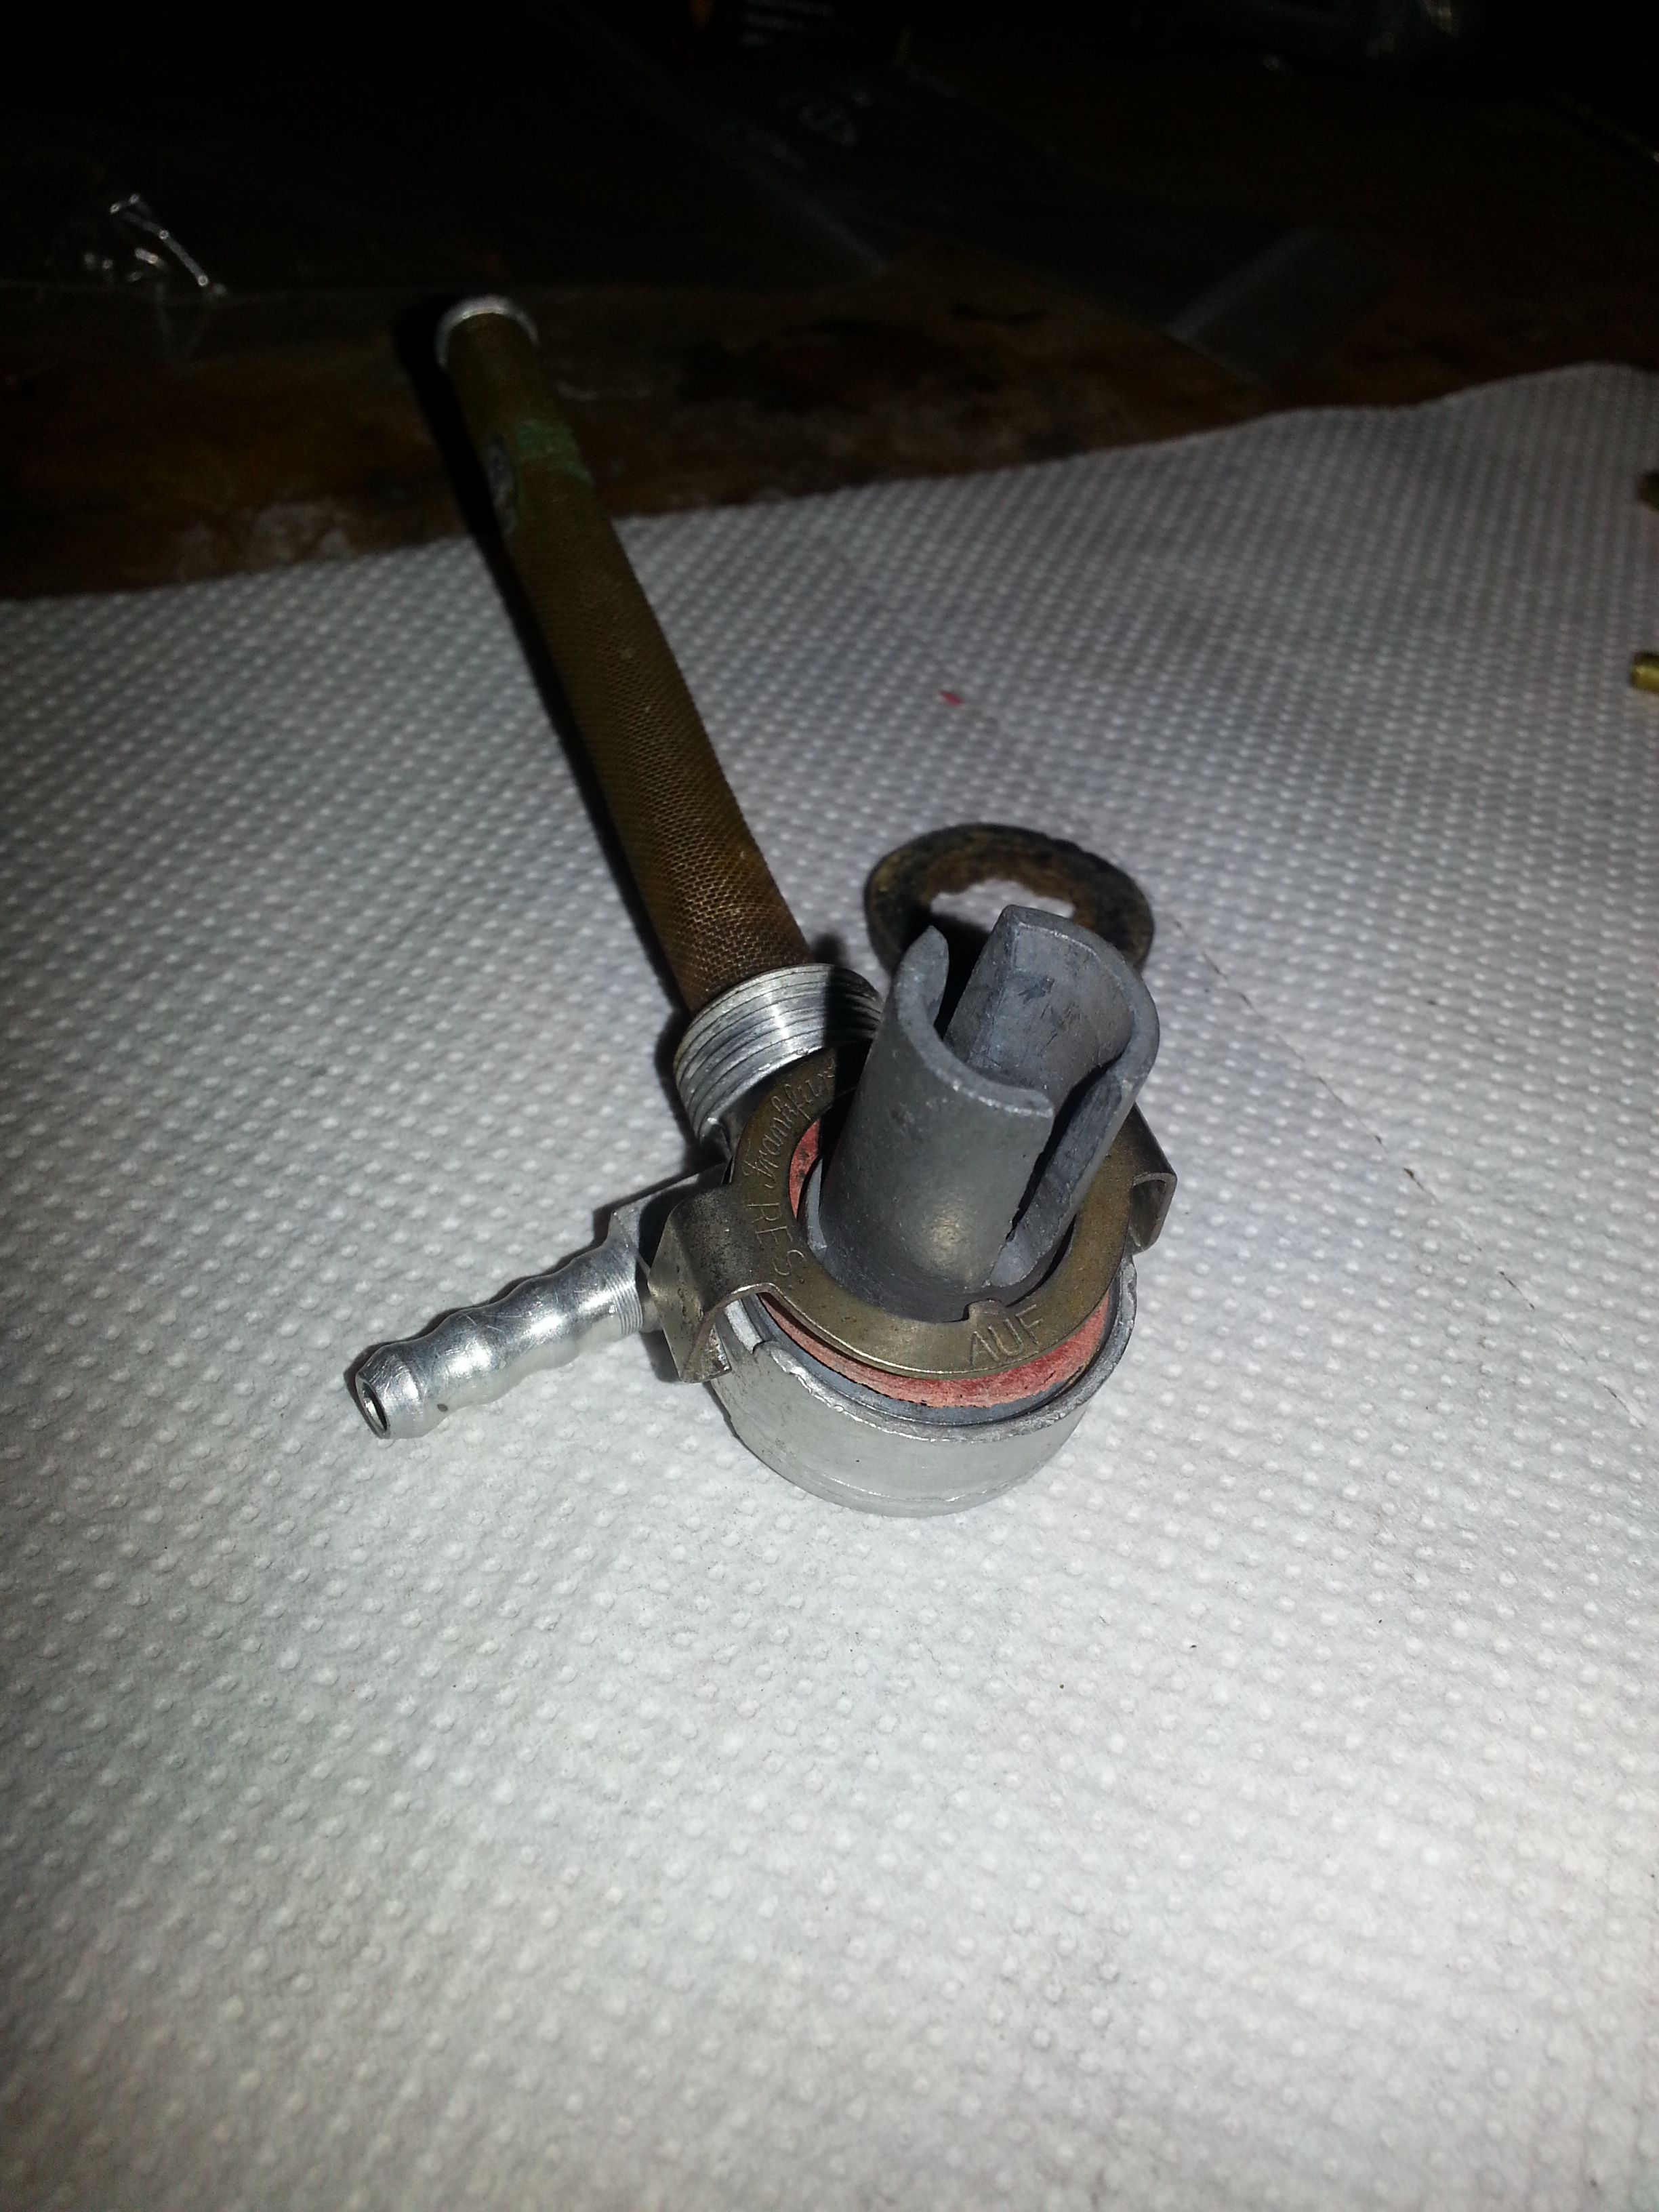
To finish up the fuel tap needs to be installed. The fuel tap is unique to some of the Bella models. It gets opened and closed using an extension rod which in turn can hold the ignition key.
The upside is some security of the fuel supply; the downside is you have to stop the scooter to turn on the reserve.
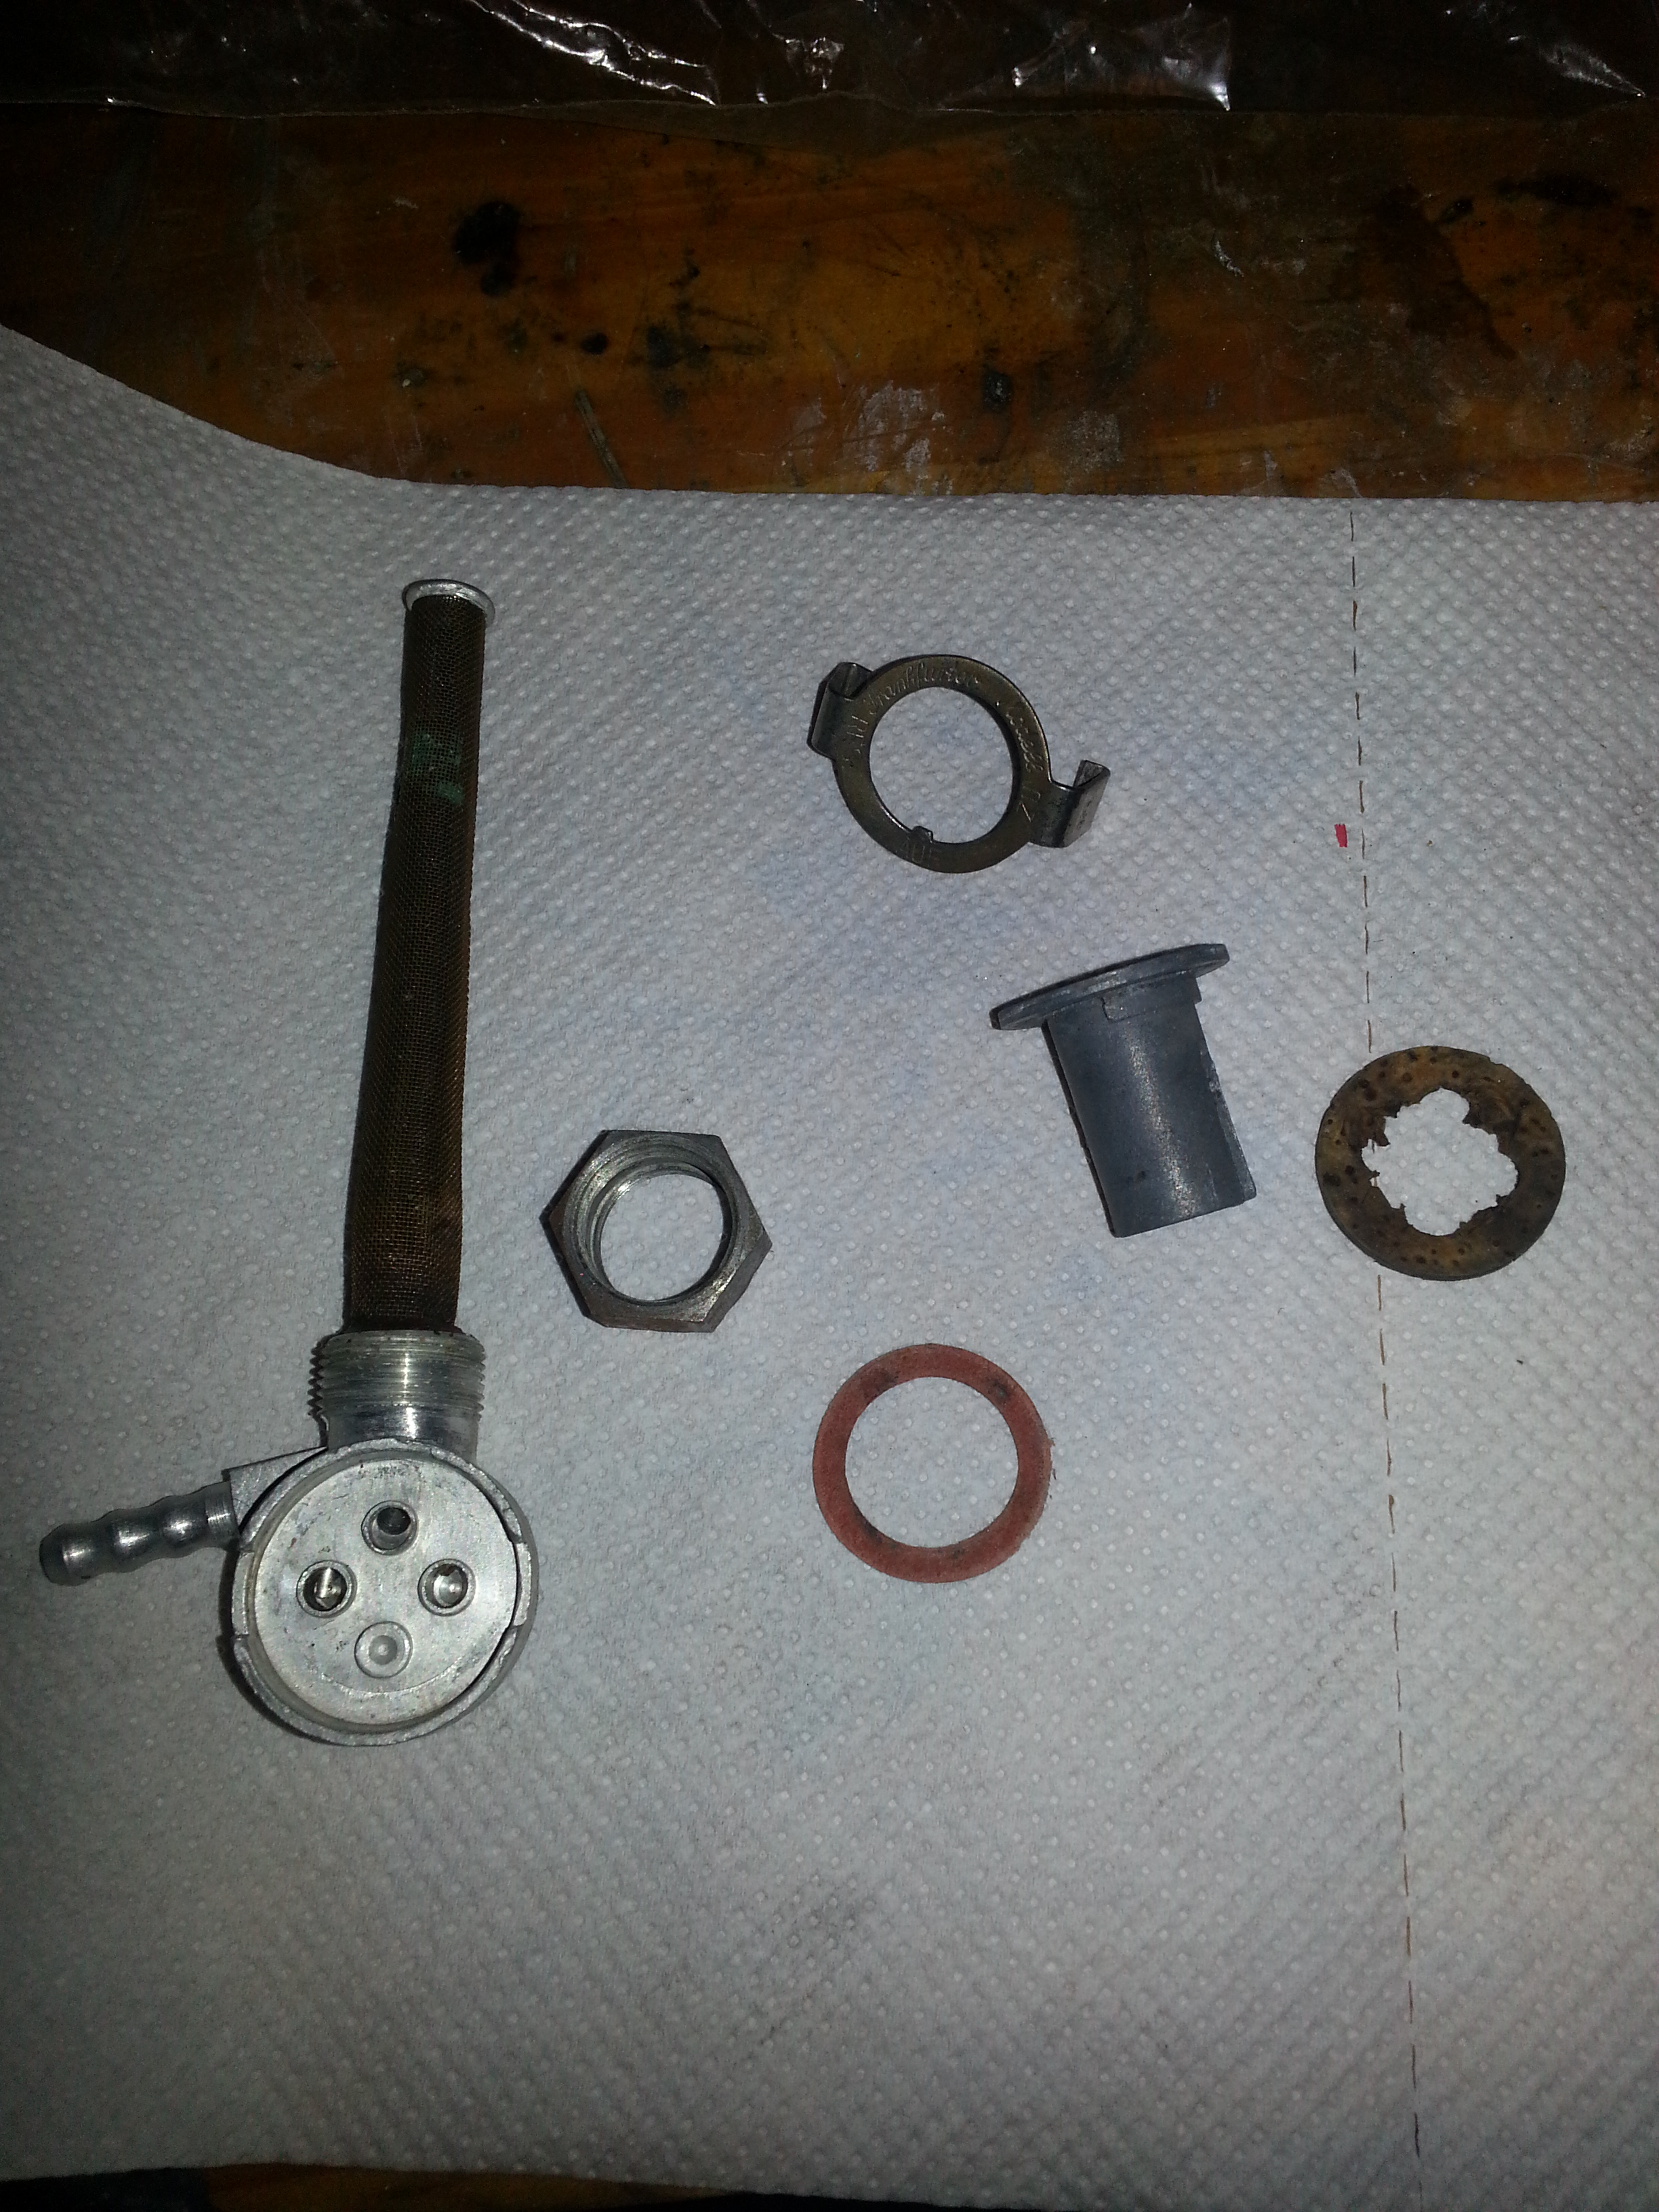
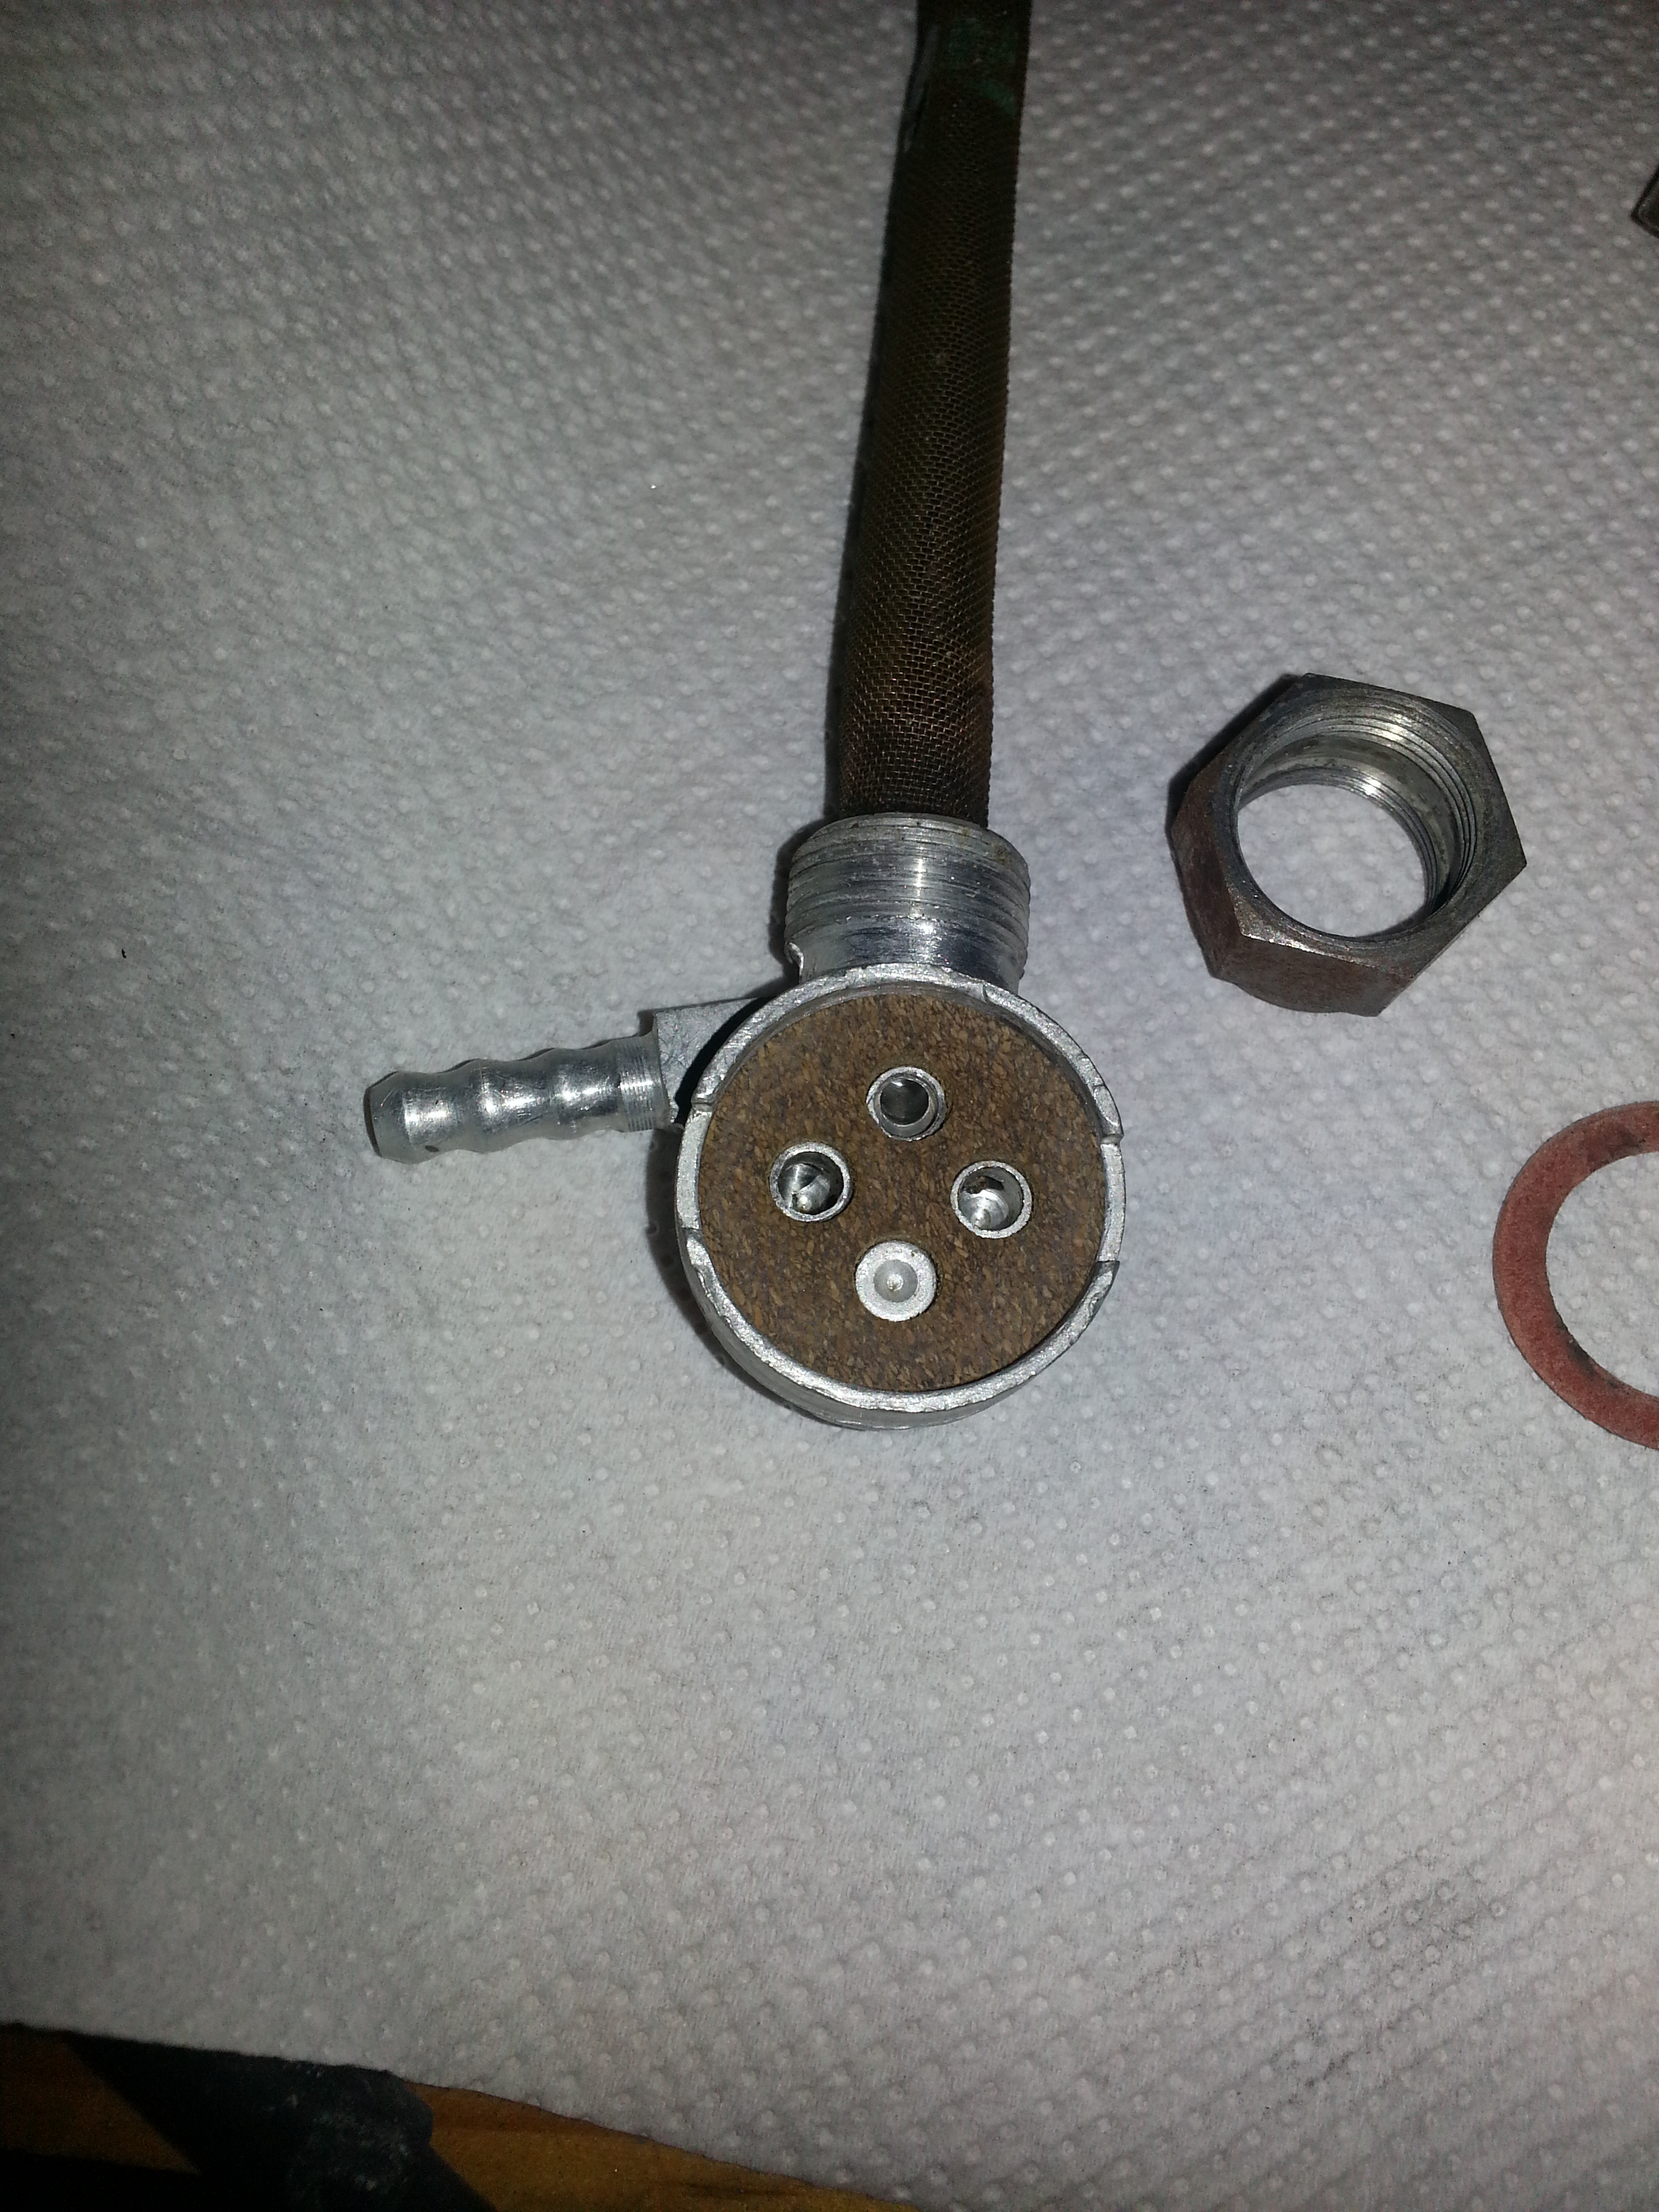
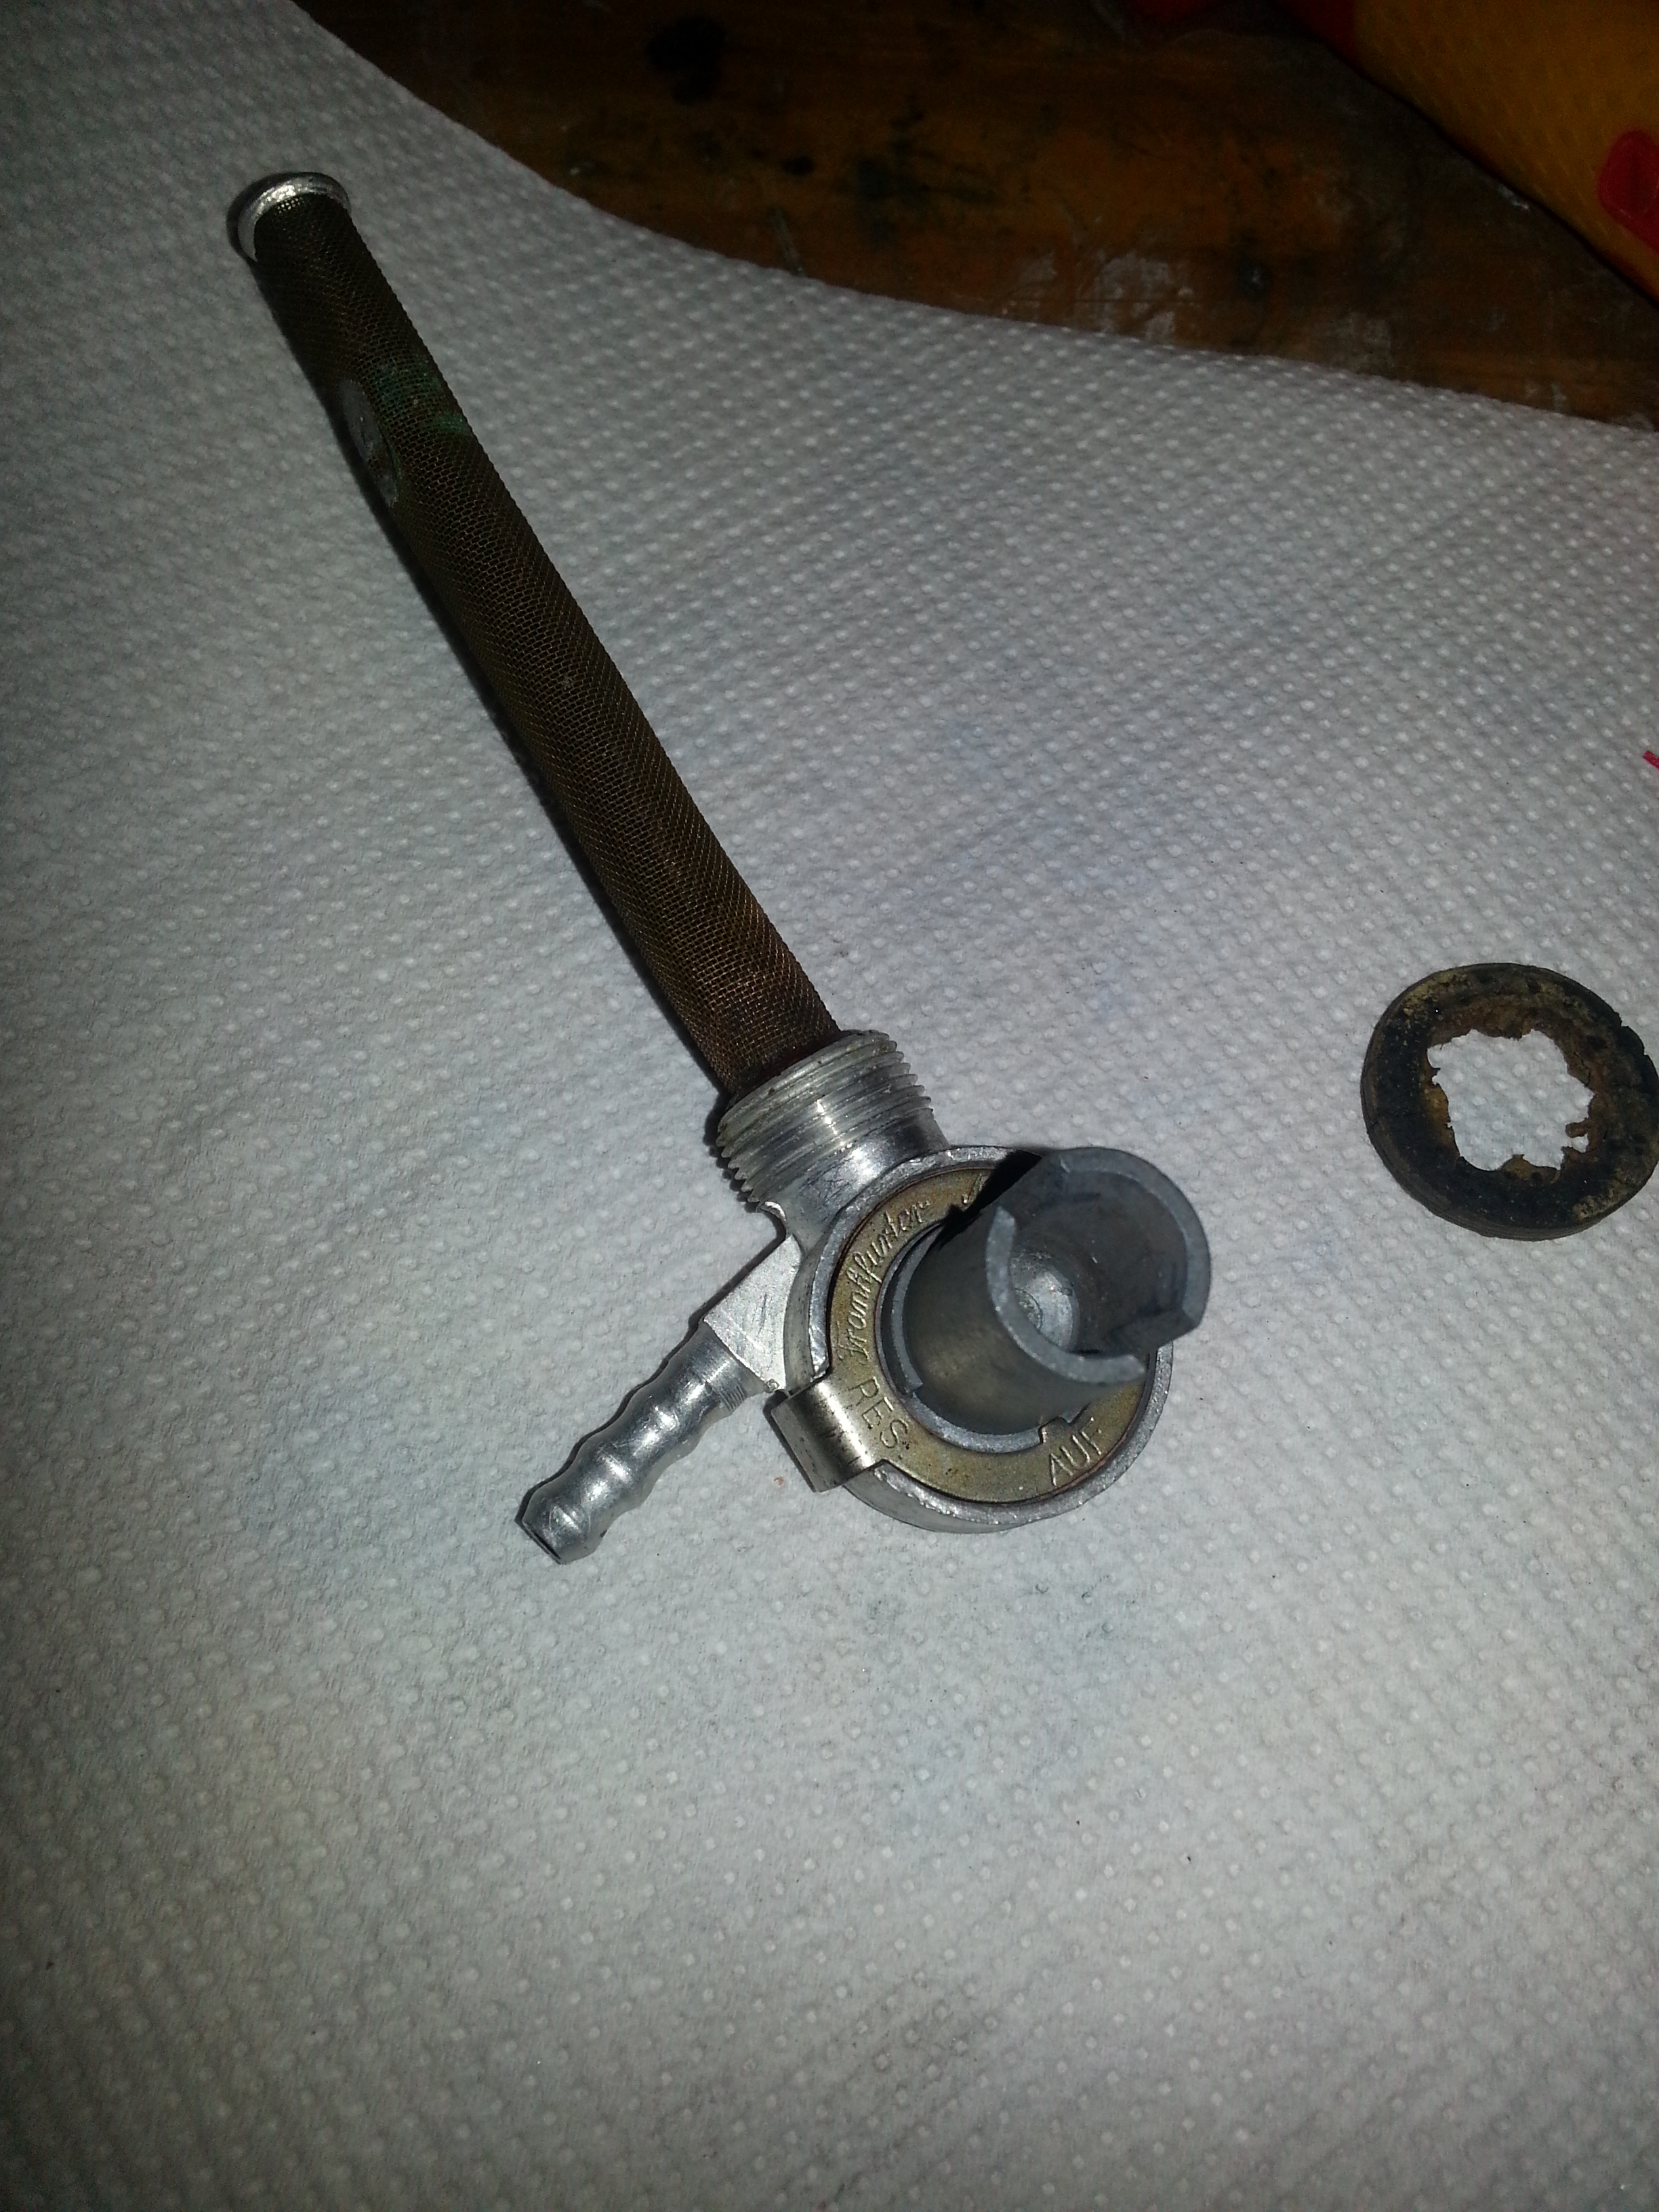
Helmut and Iris Bougé sell an overhaul kit to replace the cork ring, washer and fuel pipes if necessary. It was in my case:
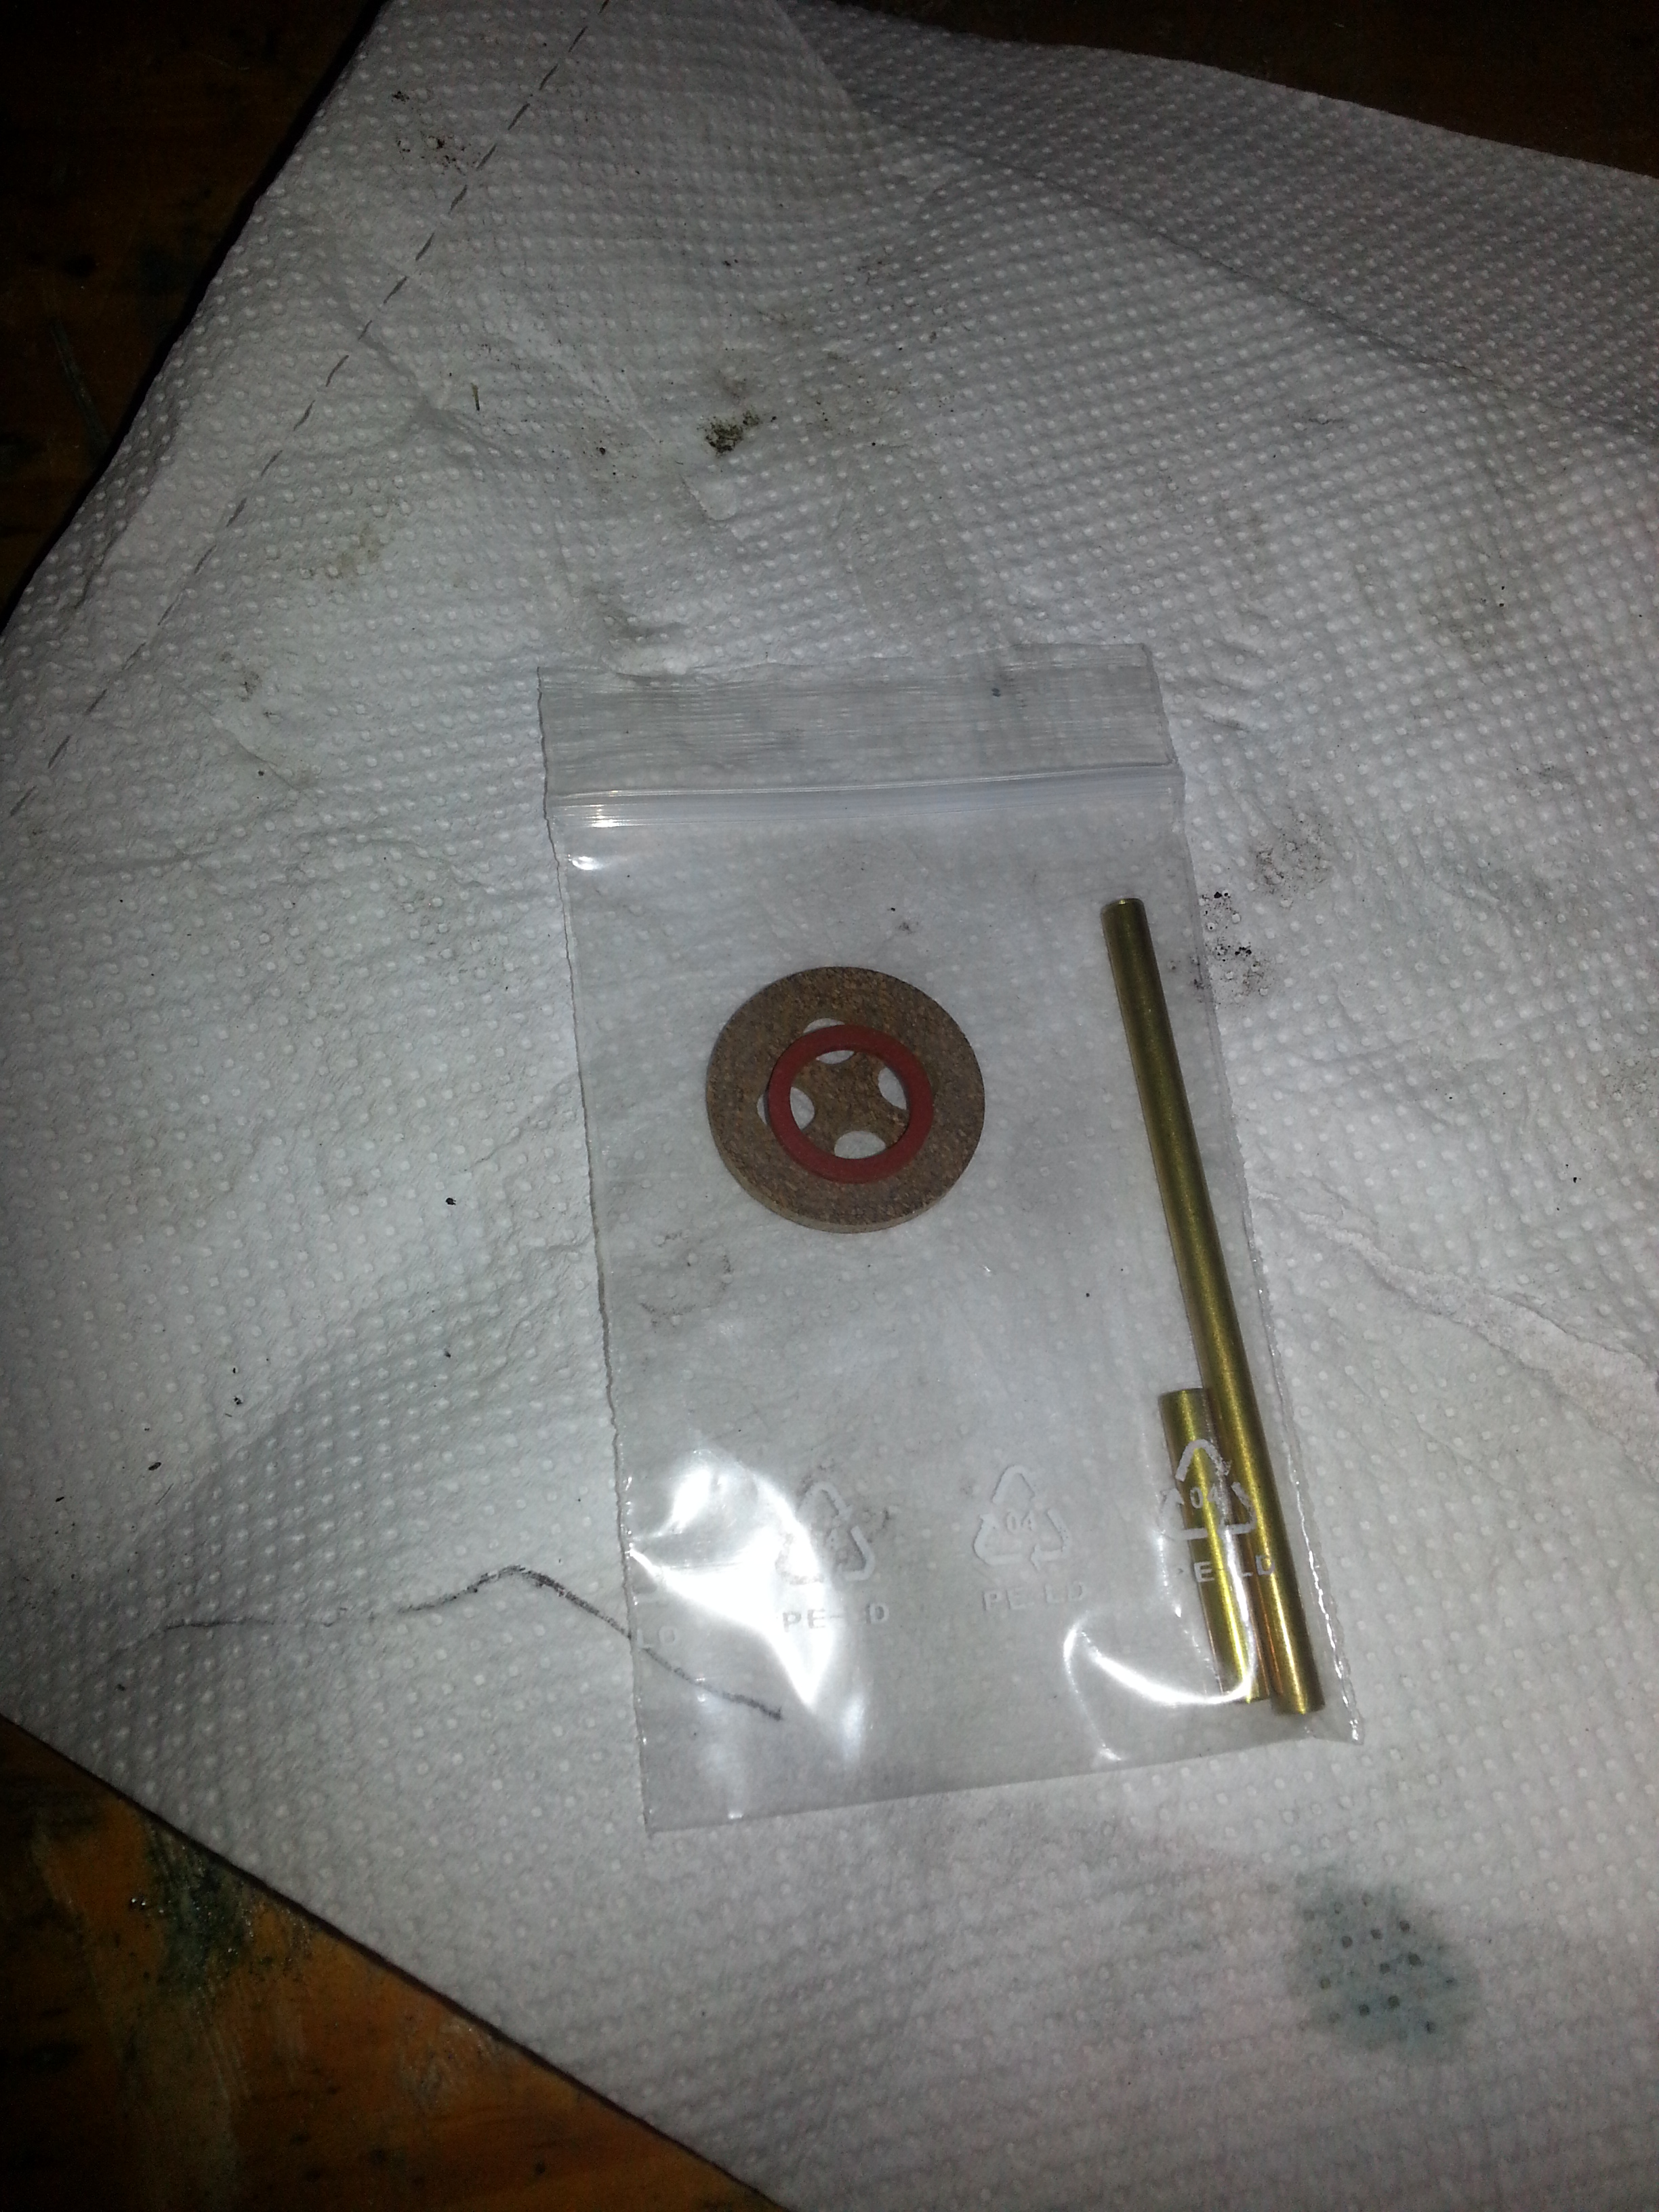
So let’s take the fuel tap apart carefully and re-assemble in reverse order using the kit:
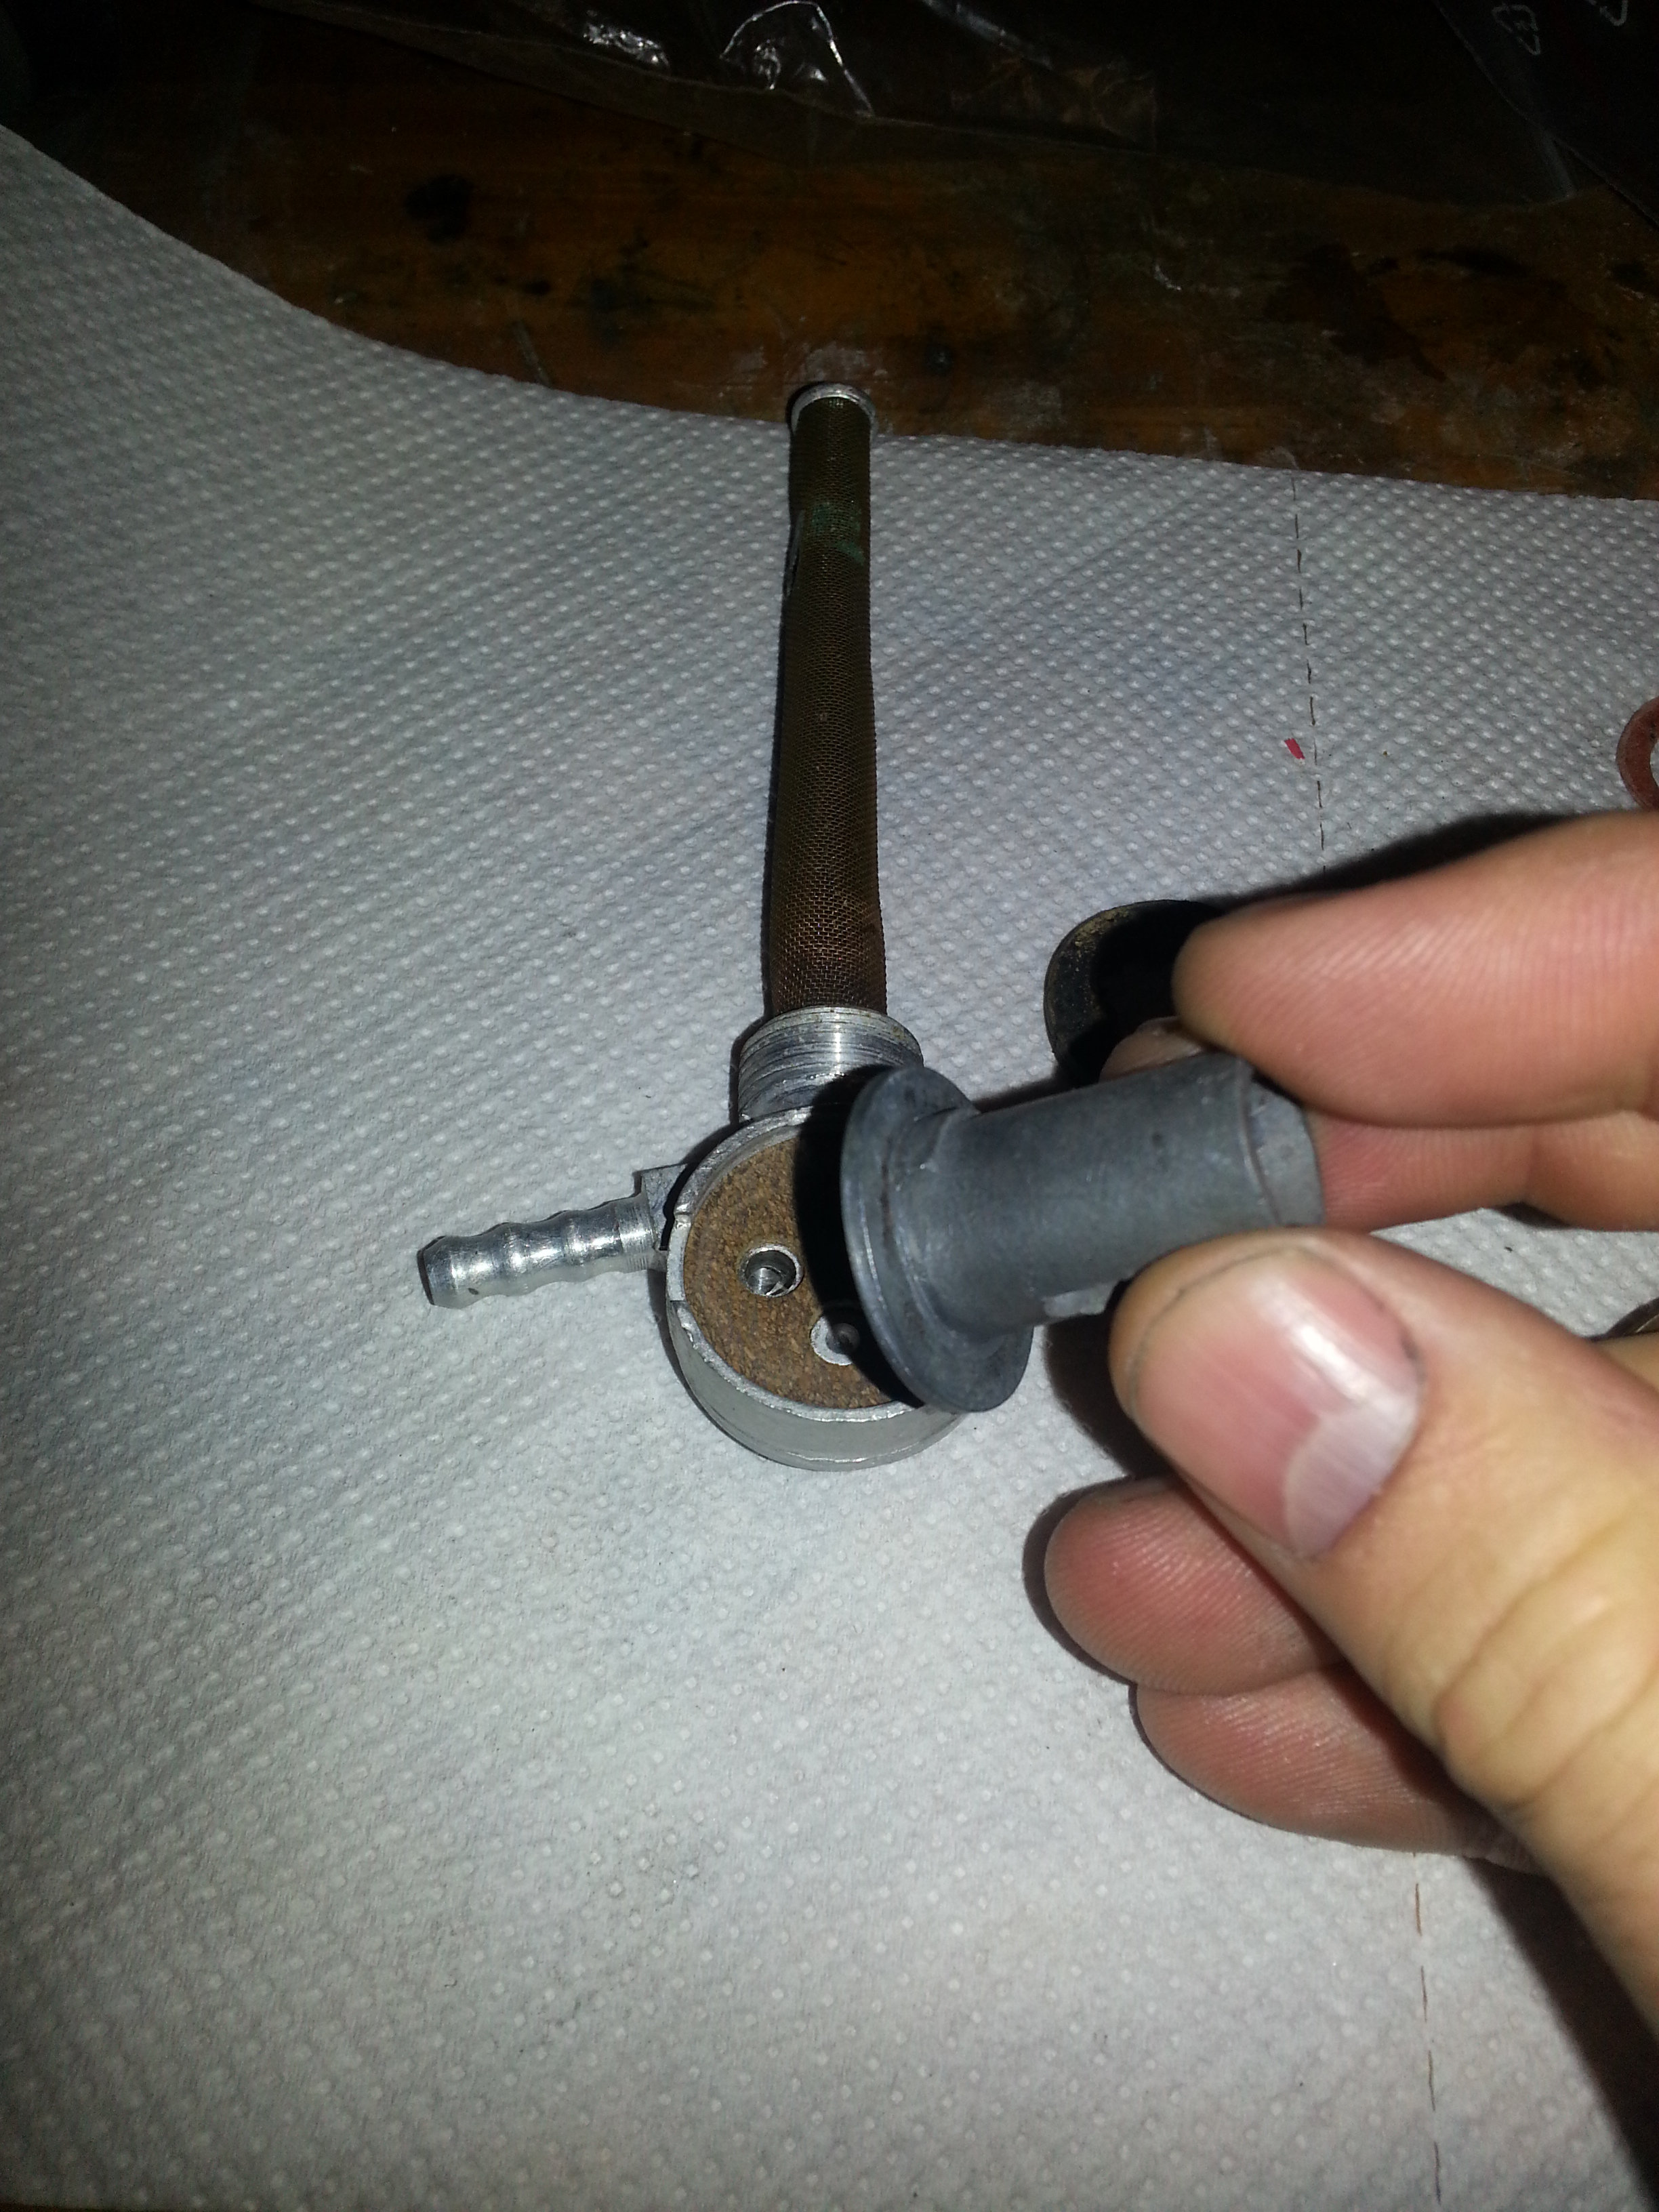
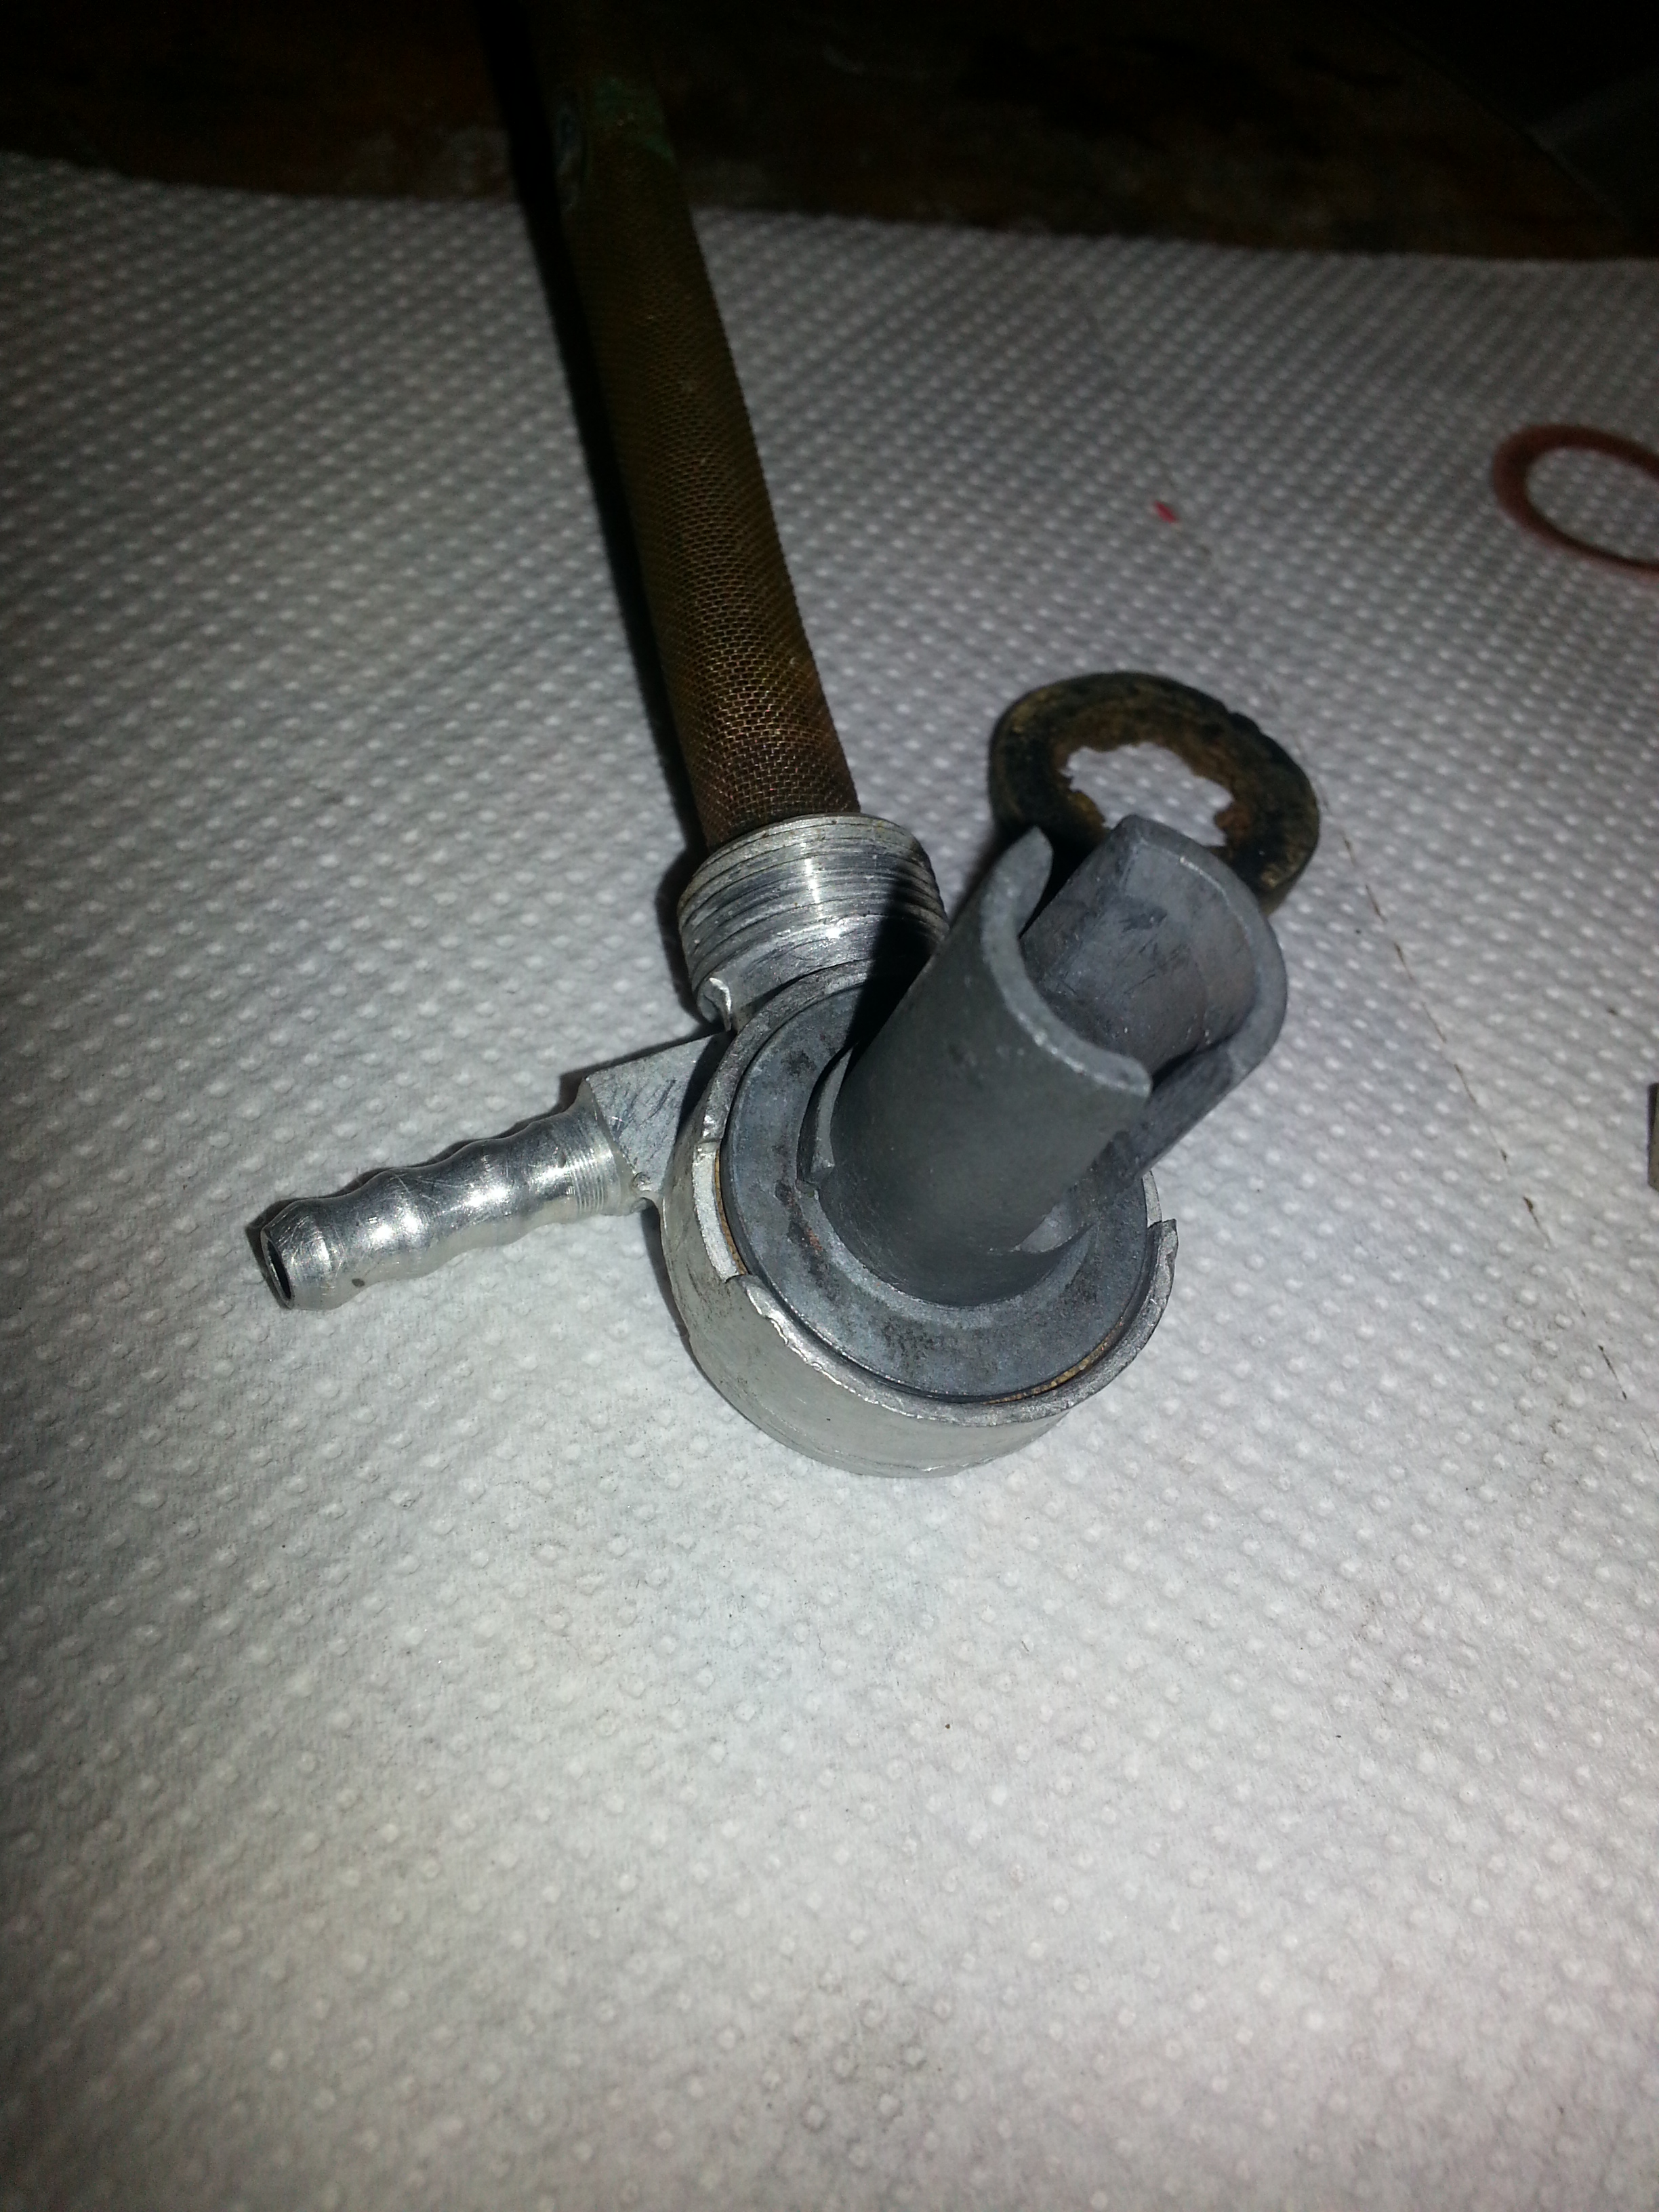
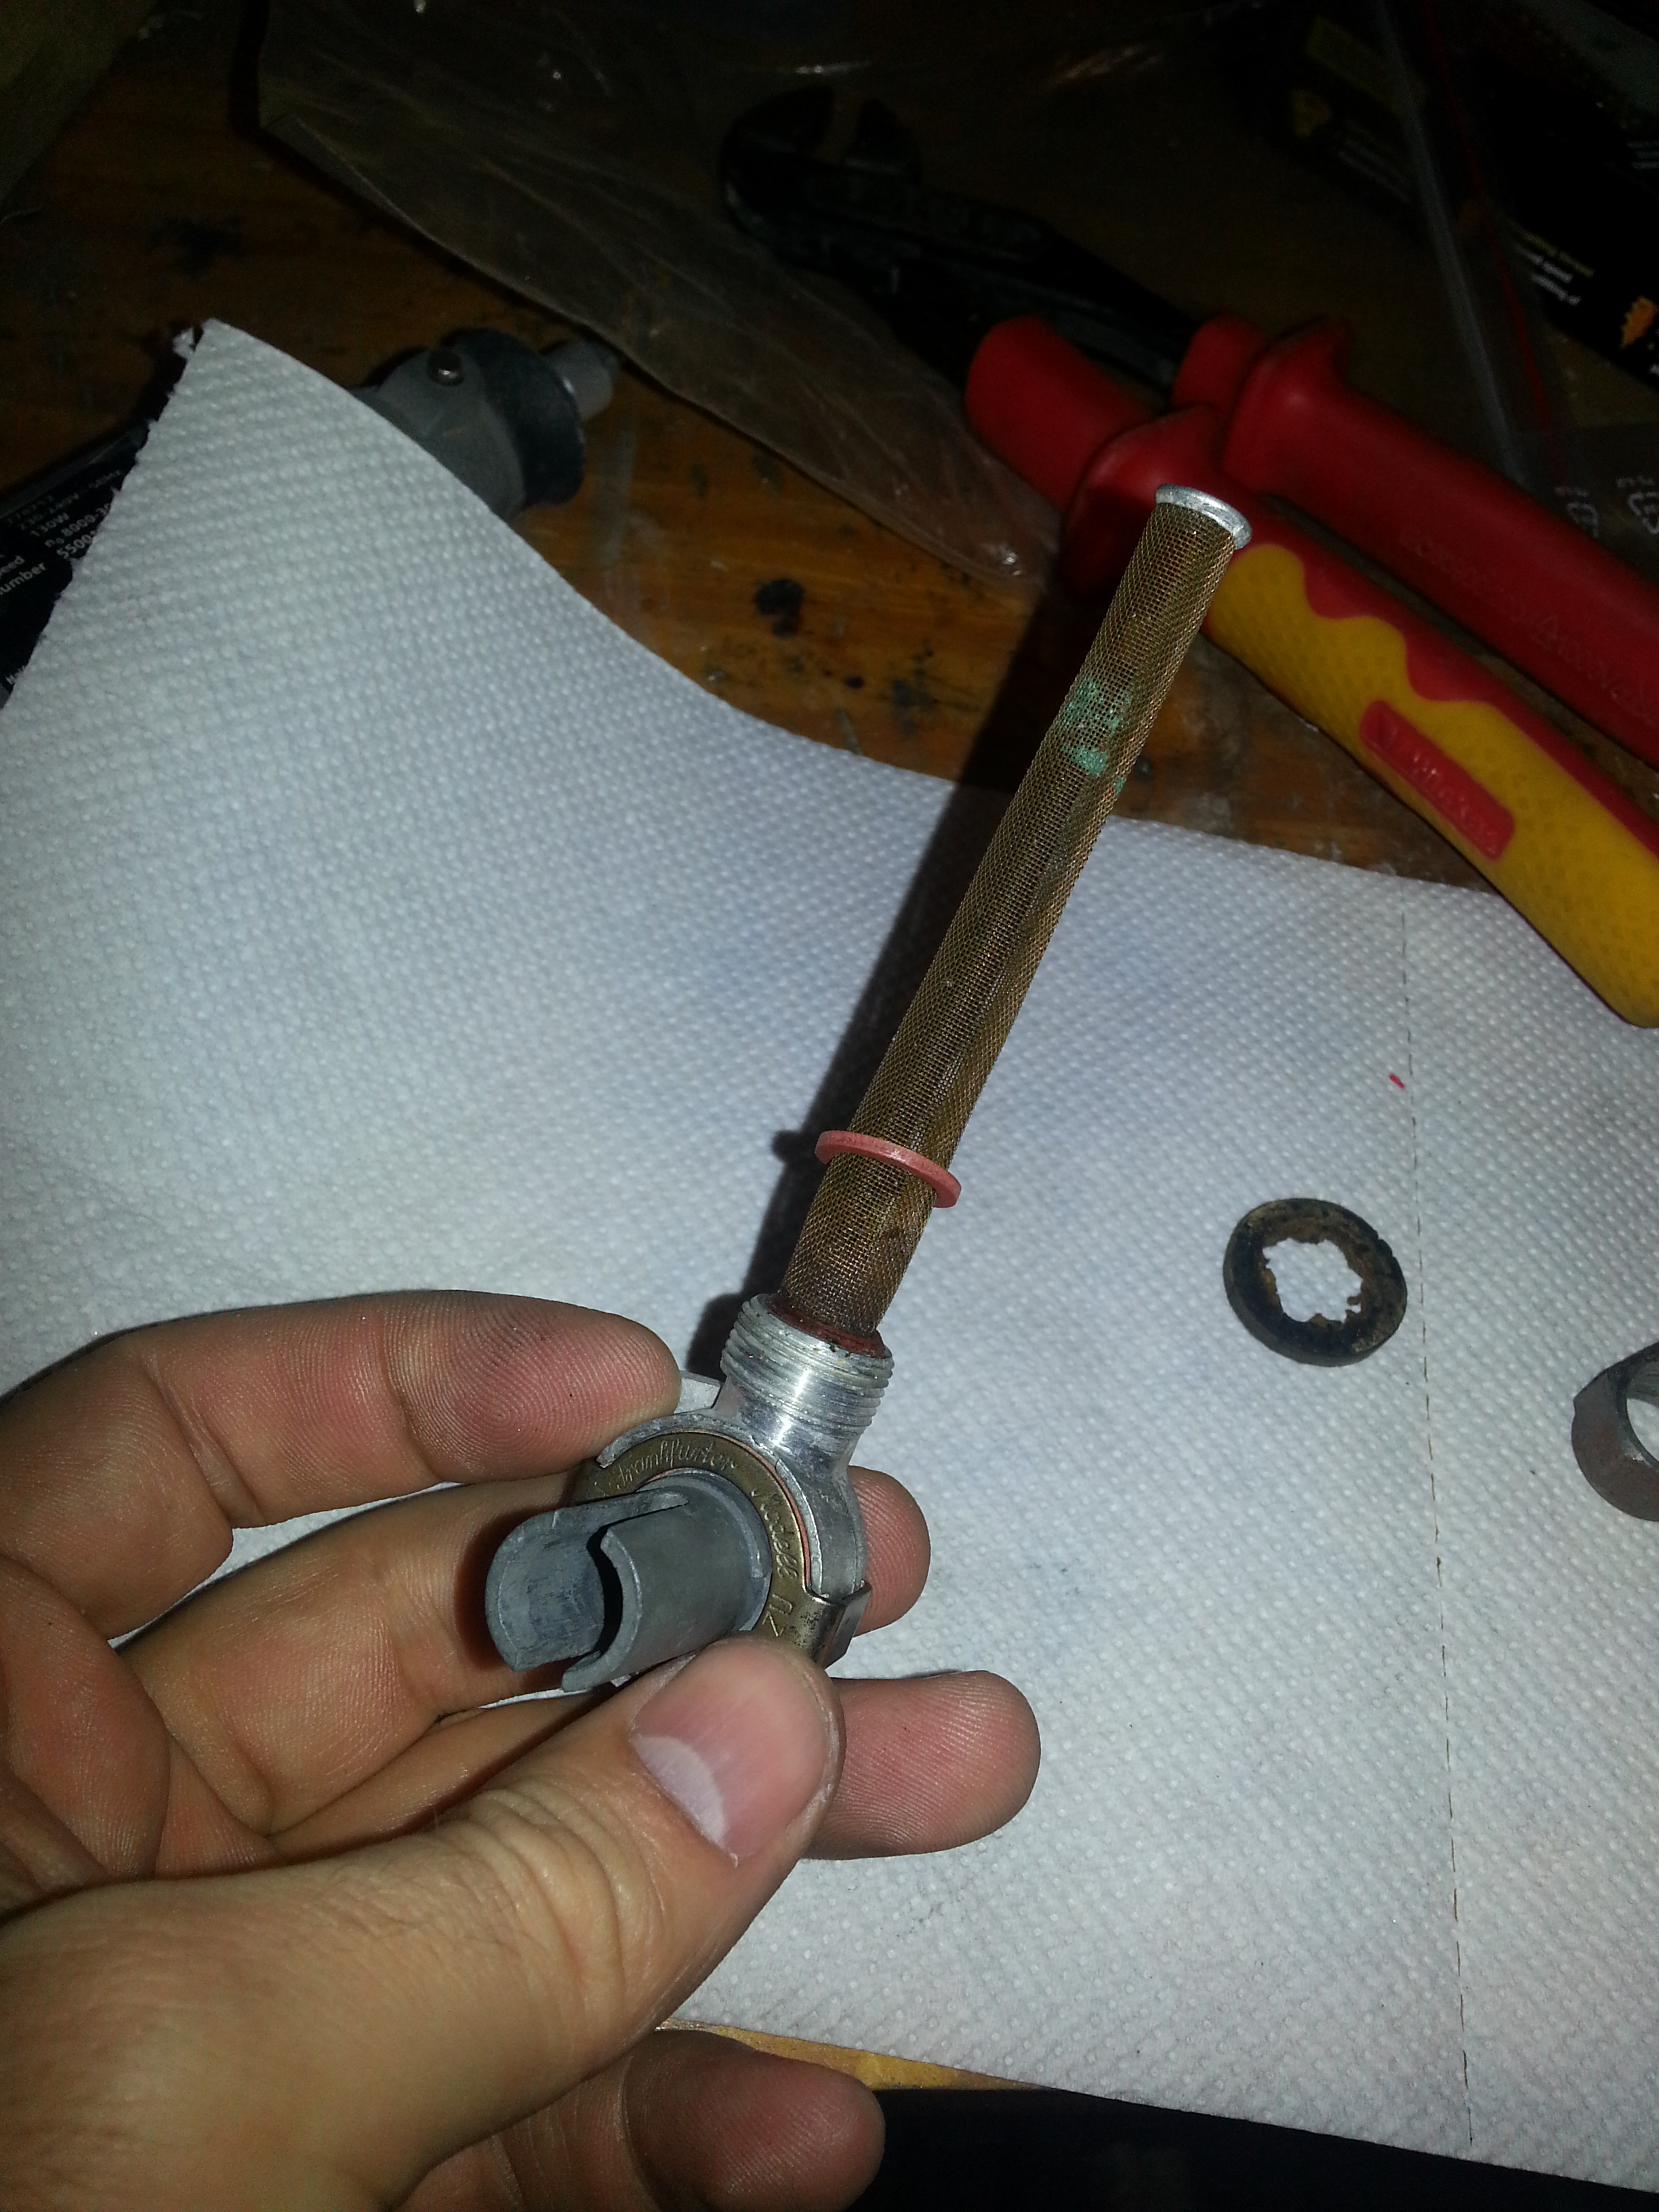
Time to install in the fuel tap and add the fuel hose. I ordered a new hose from Helmut and Iris Bougé as it comes in the right size:
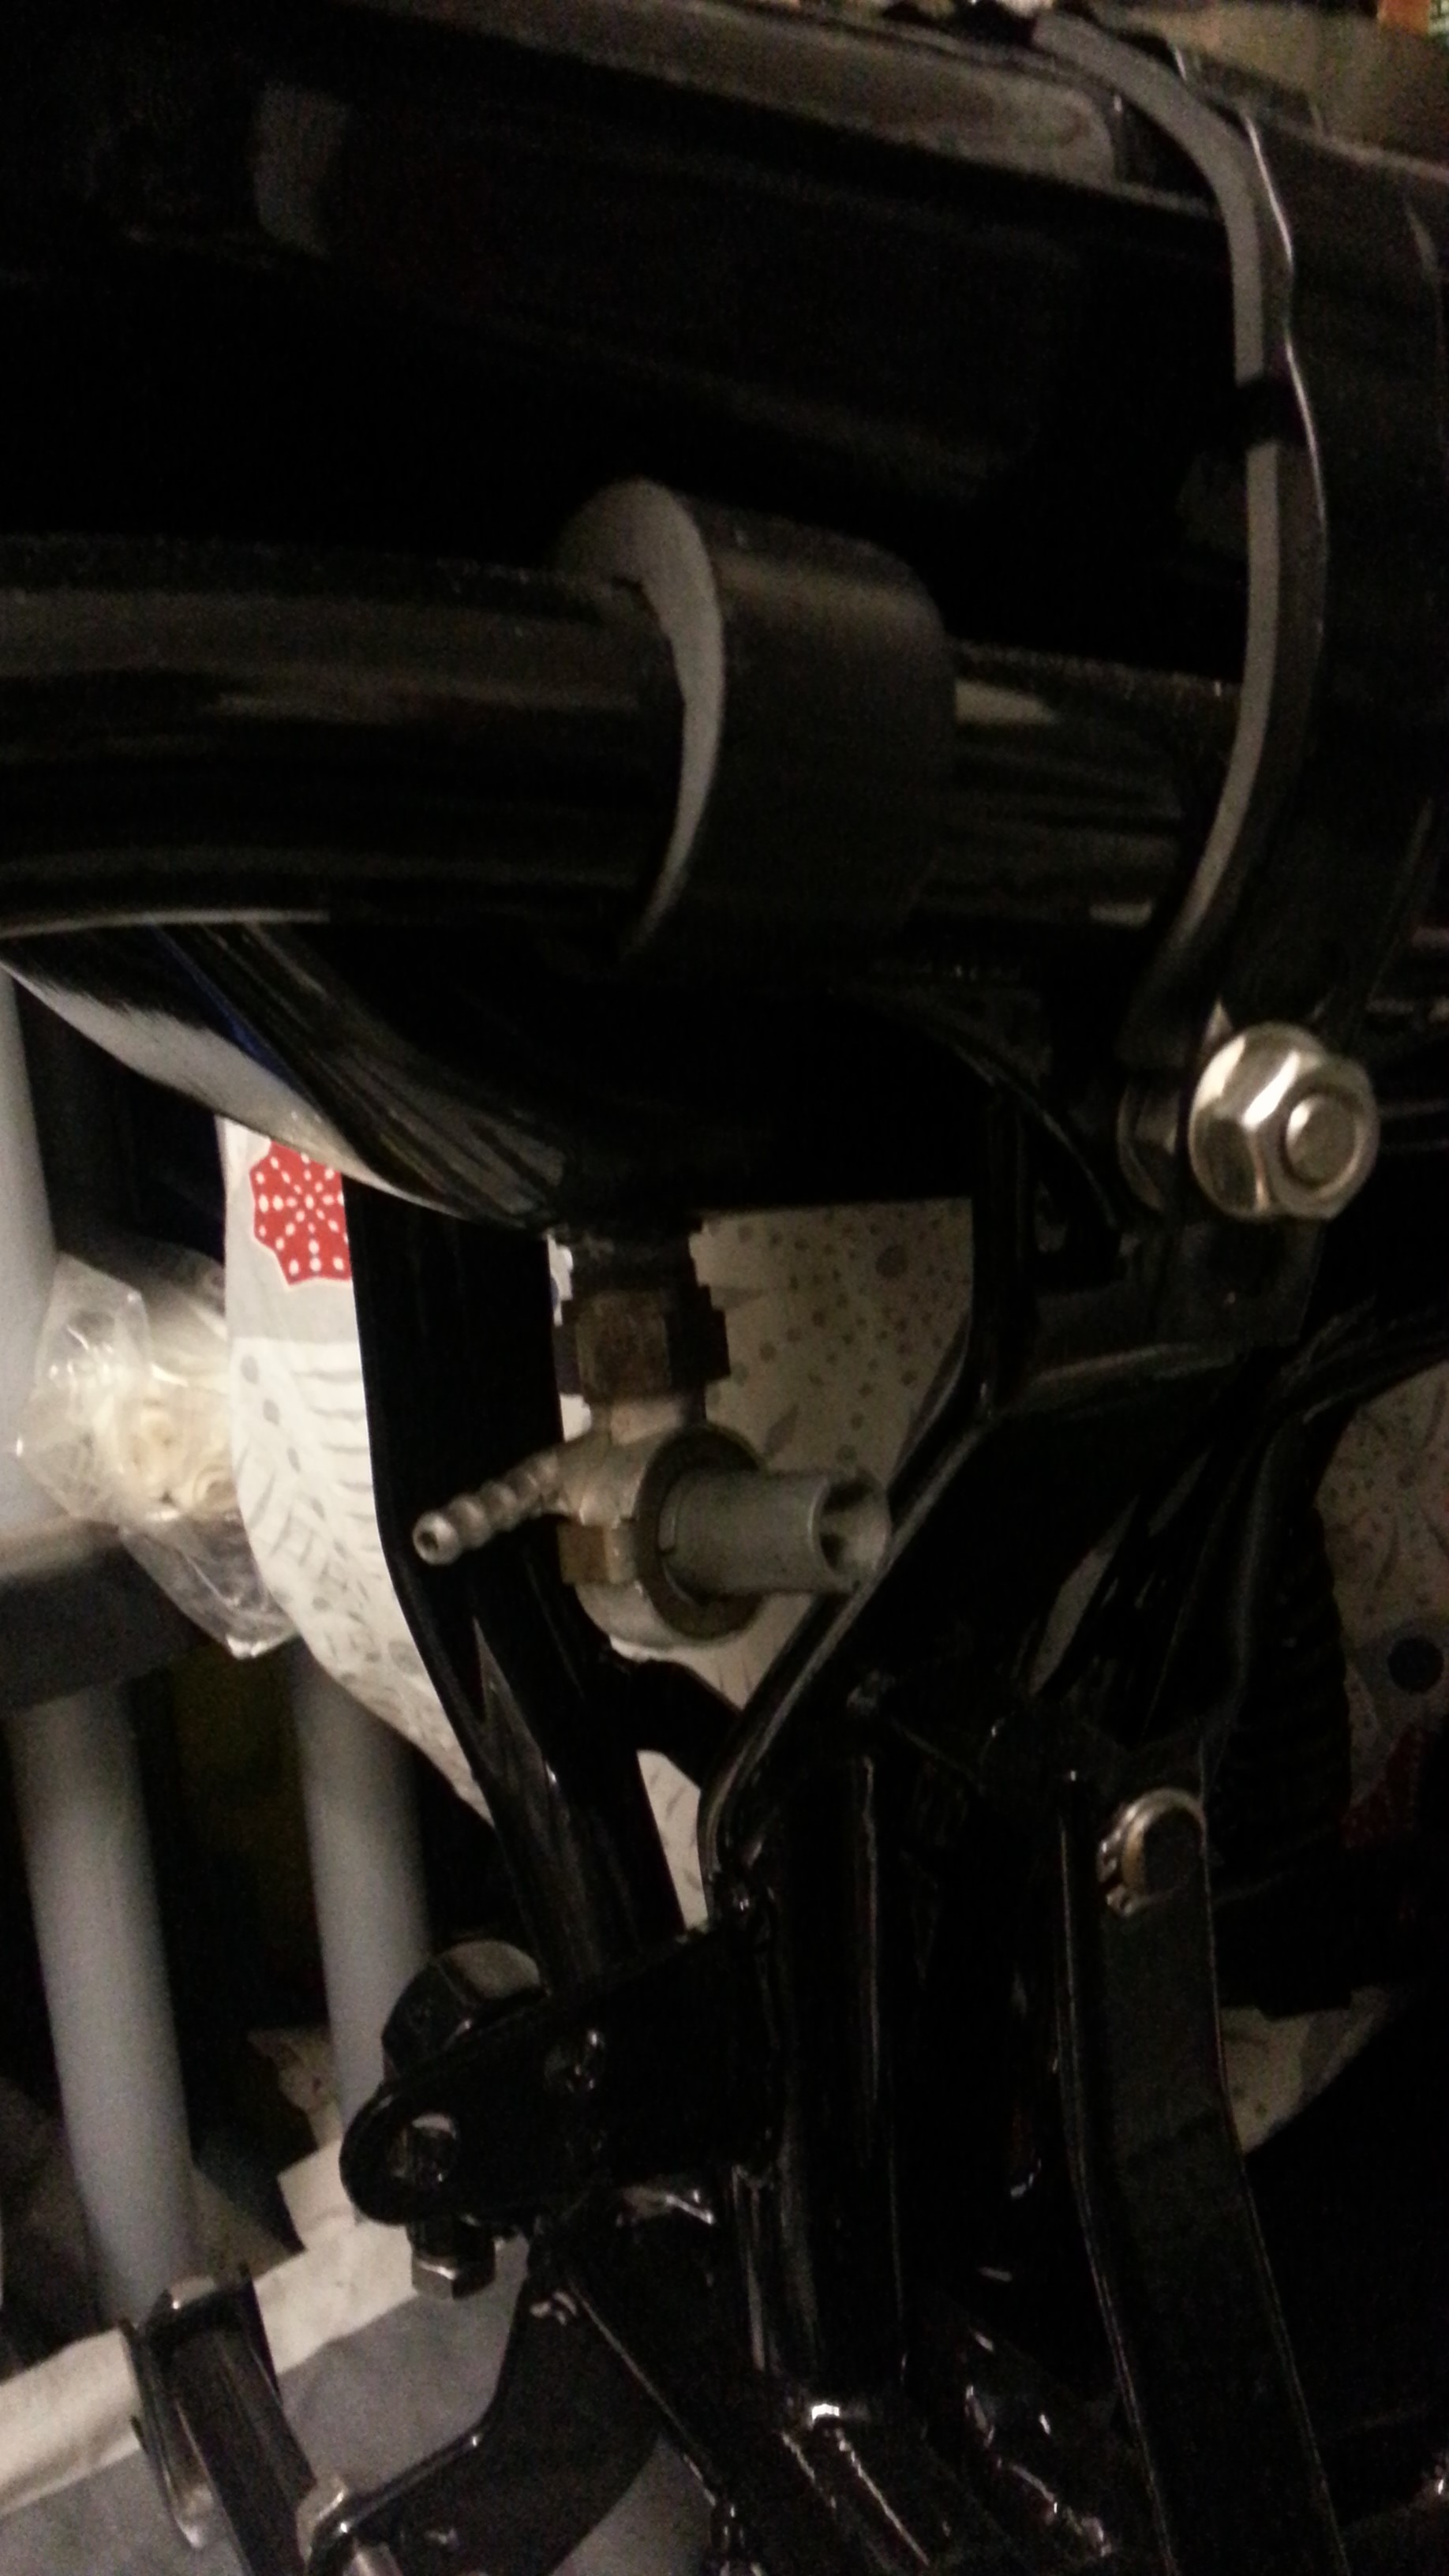
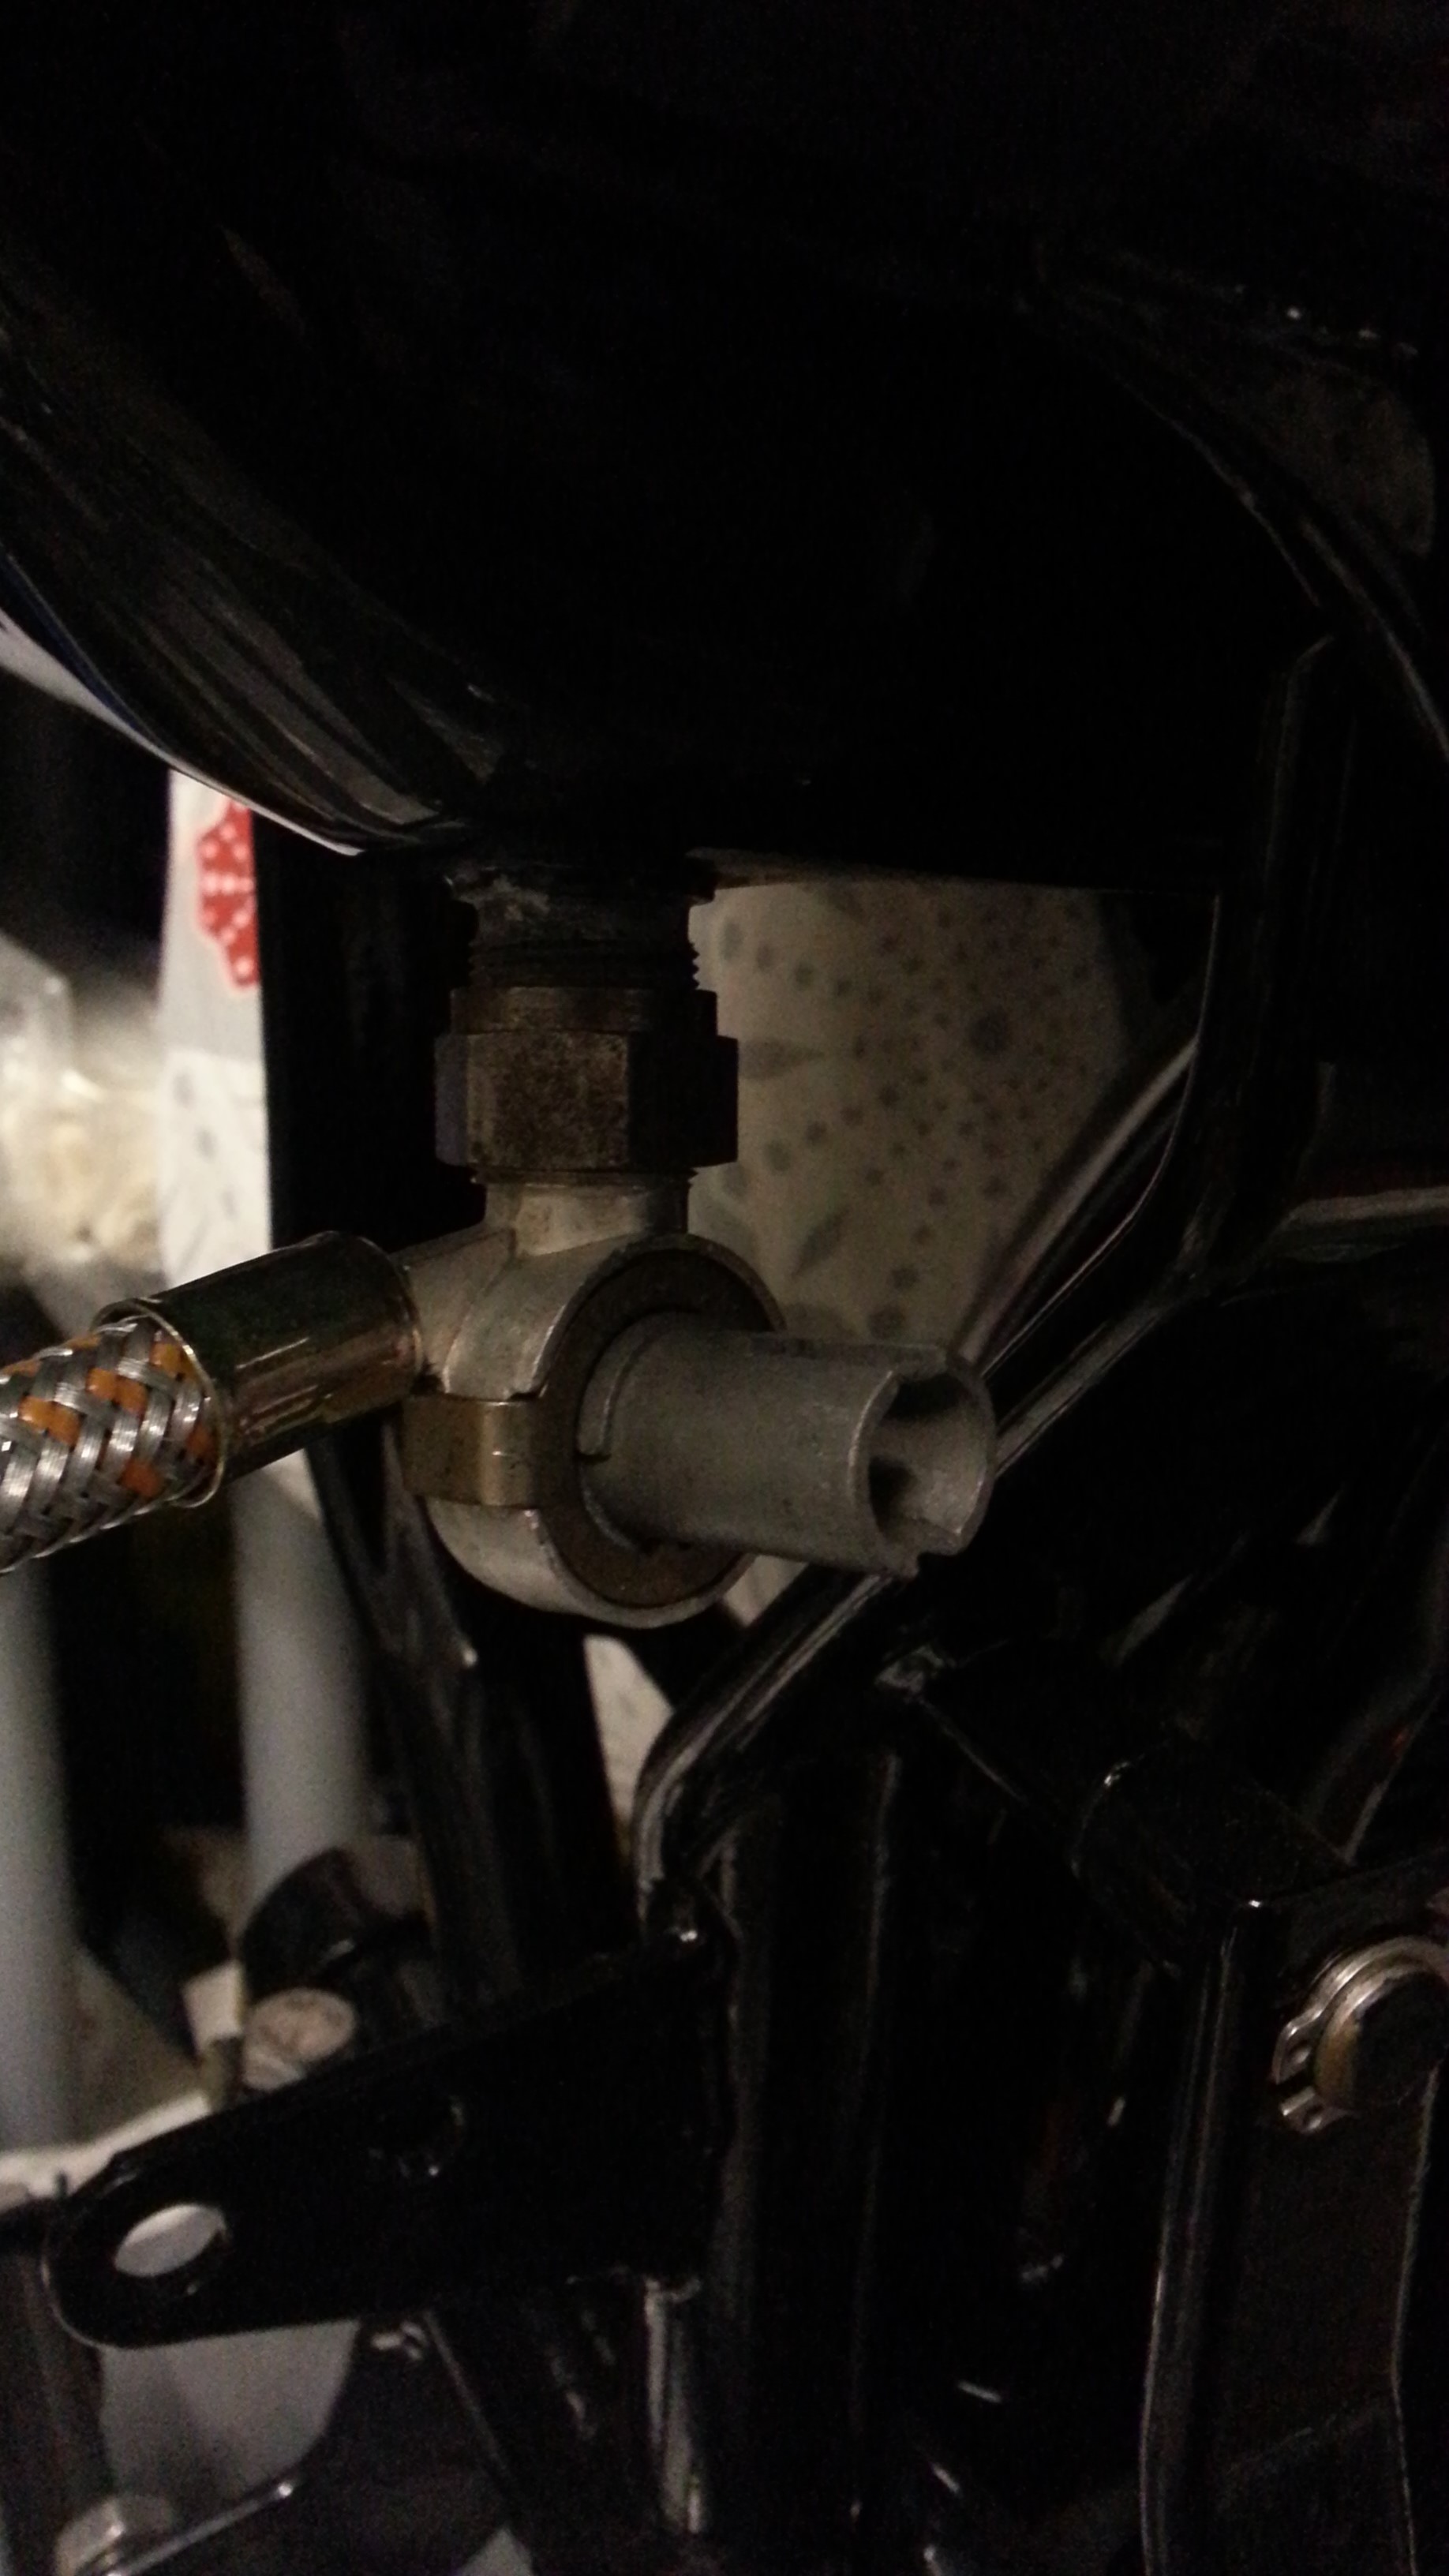
You will have to adjust the angle of the fuel tap once the rear body is on so you can align the tap with the extension rod.
Note: the rod and tap are fragile so always remove the rod before removing or installing the rear body.