
Various Bella models come with a single shock absorber mounted on the front fork; some have a more traditional fork. My R204 has a single shock at the front which makes for an interesting braking experience with the earle’s fork in that the fork goes up rather than down when breaking. Not the best solution from a road contact perspective but it looks nice and does the job.
With respect to the front shock there is good and bad news; the good news is that they are nigh indestructible and can be easily restored once opened up. Usually it’s just a matter of new oil and an oil seal. The bad news is that many get destroyed while trying to open them up. I utterly destroyed my first one by doing it wrong, so hopefully you can learn from my mistake.
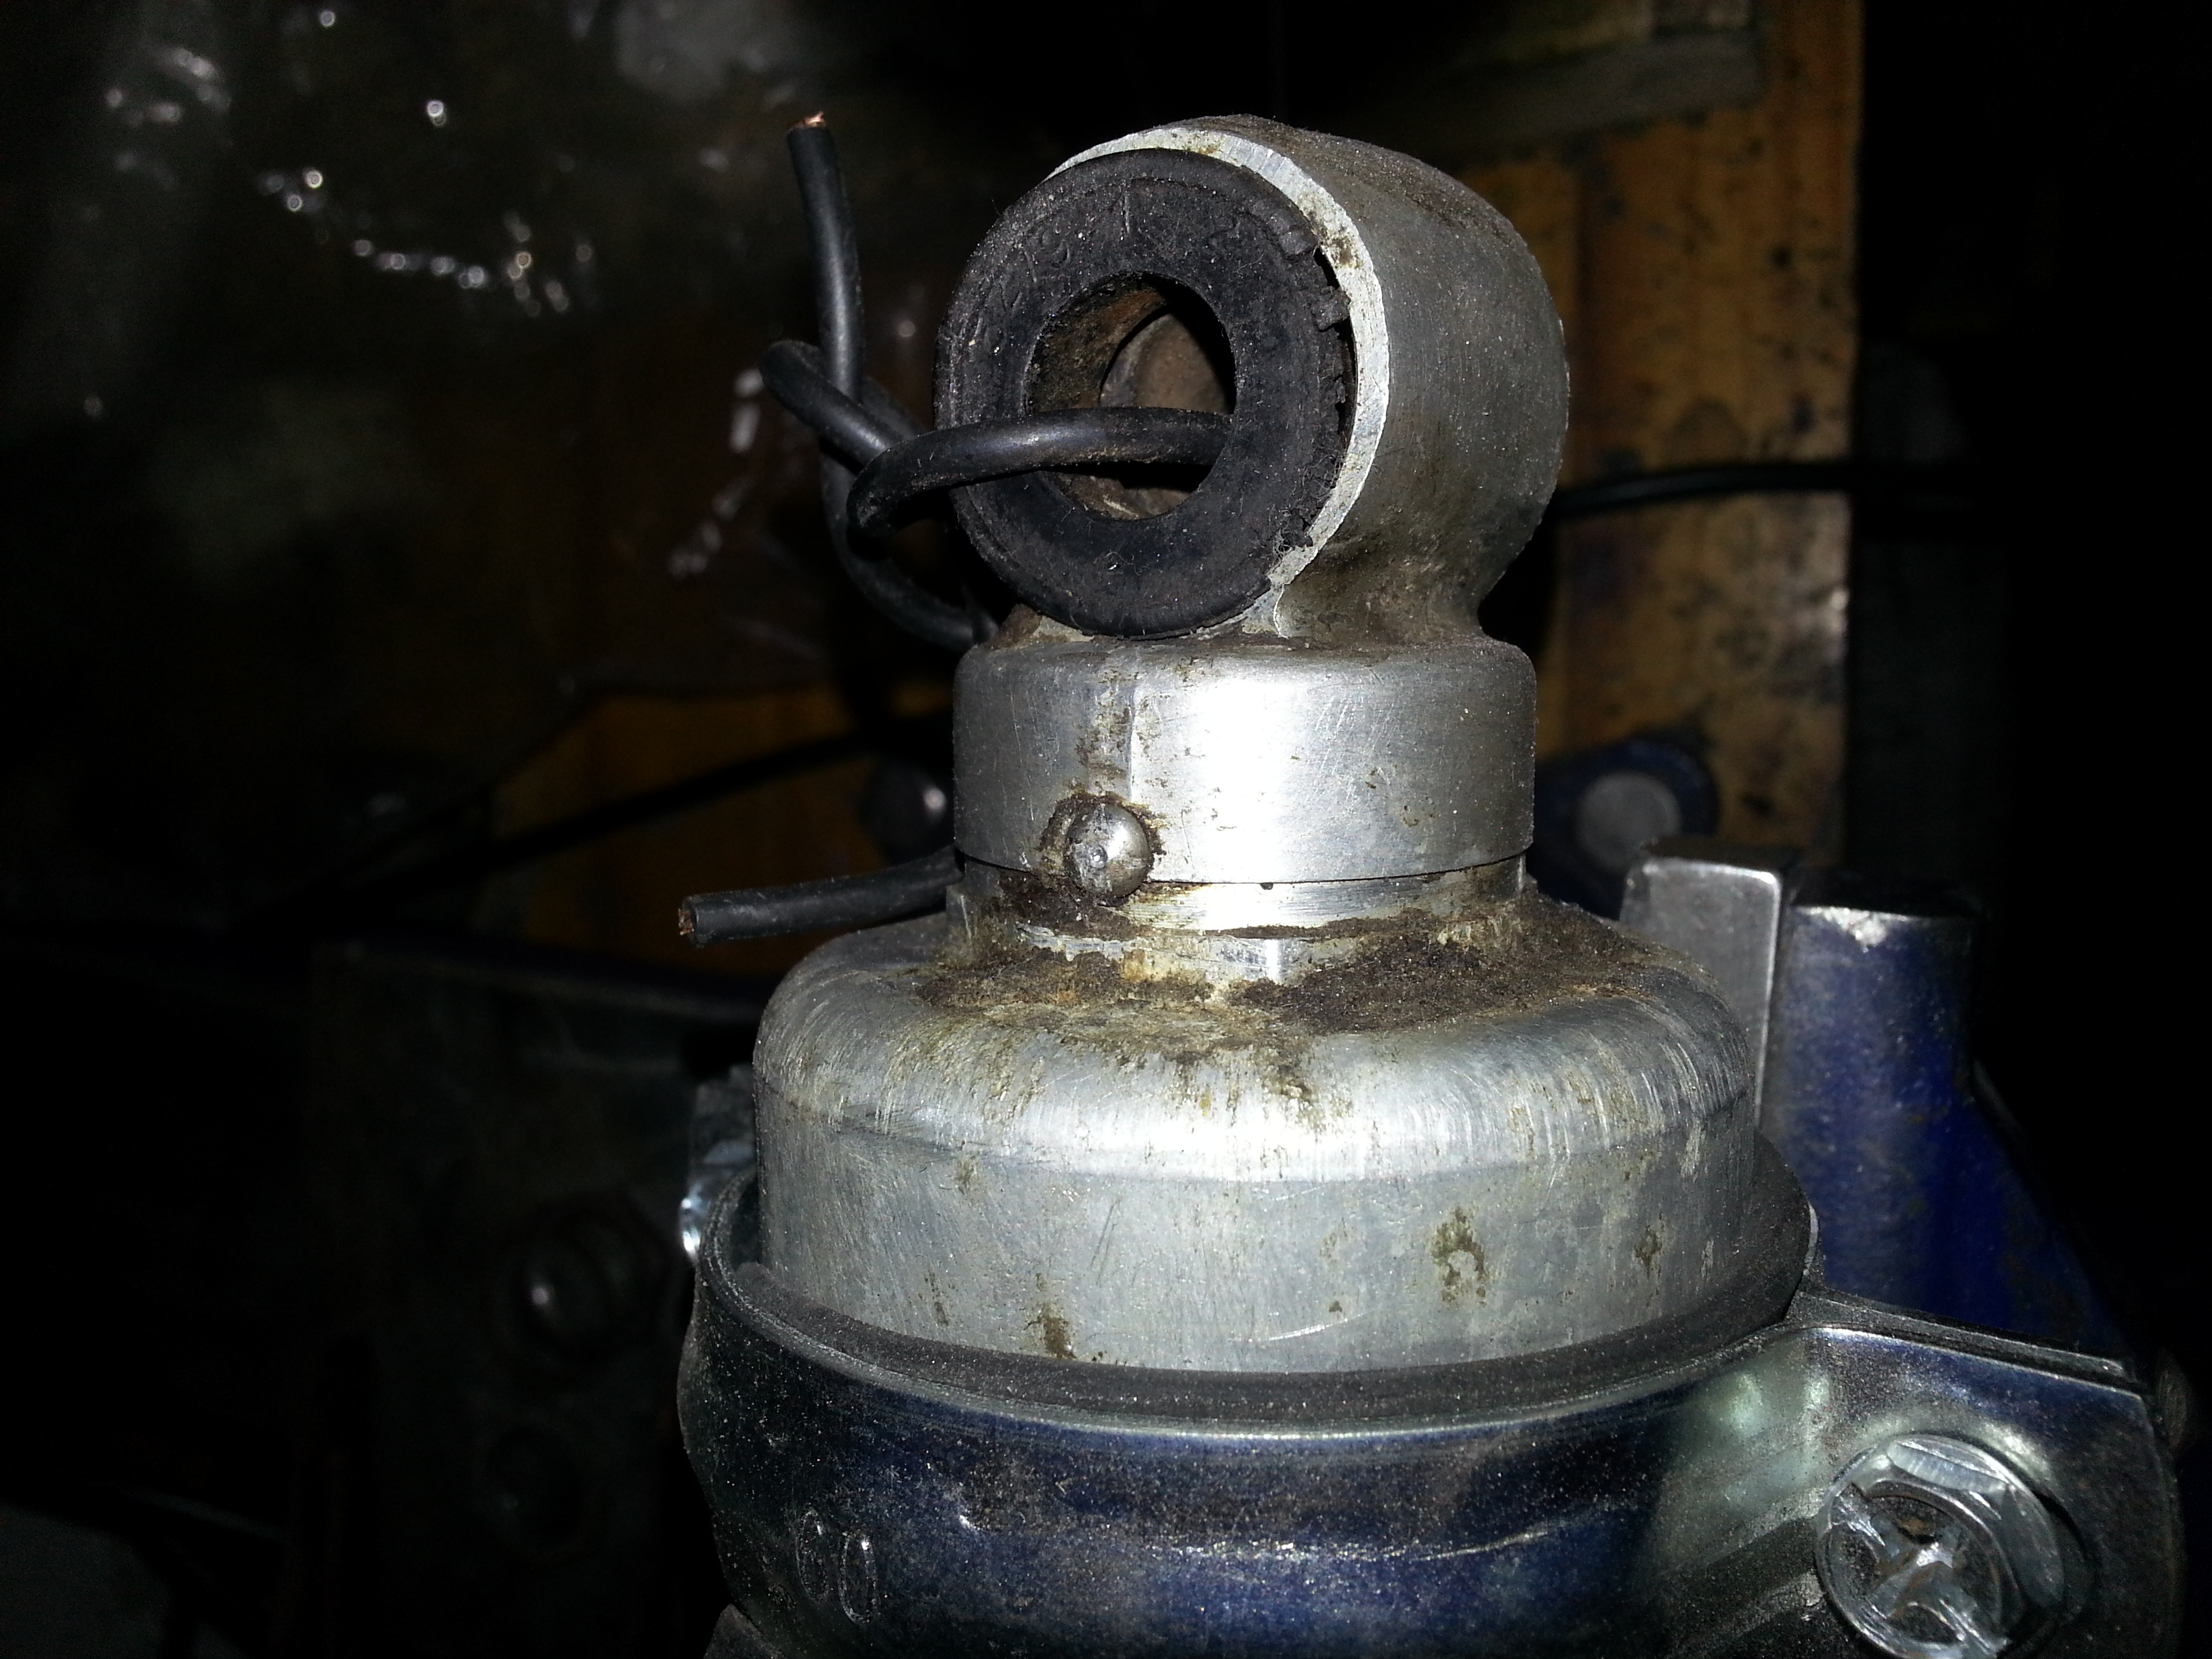
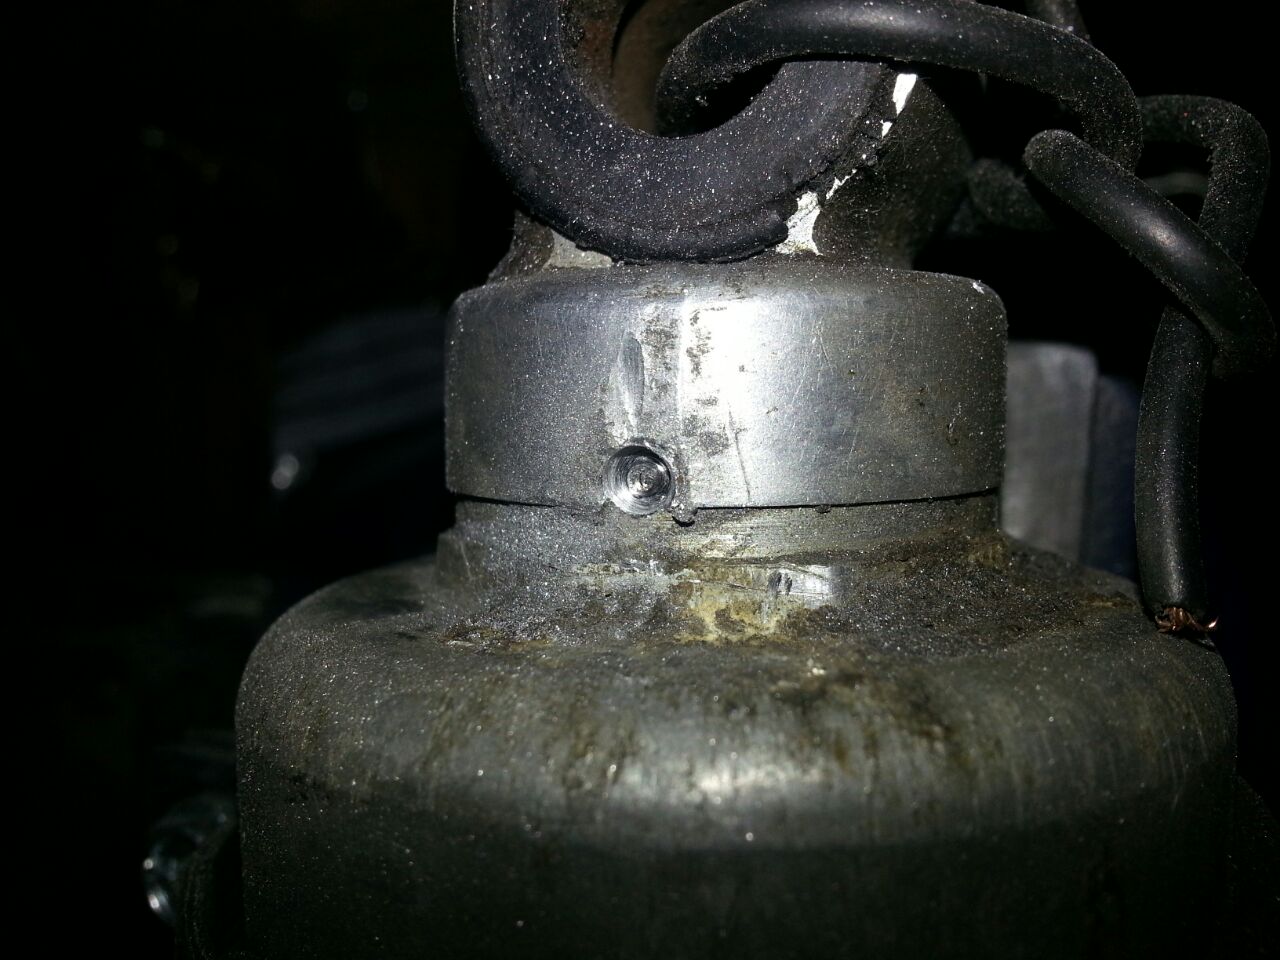
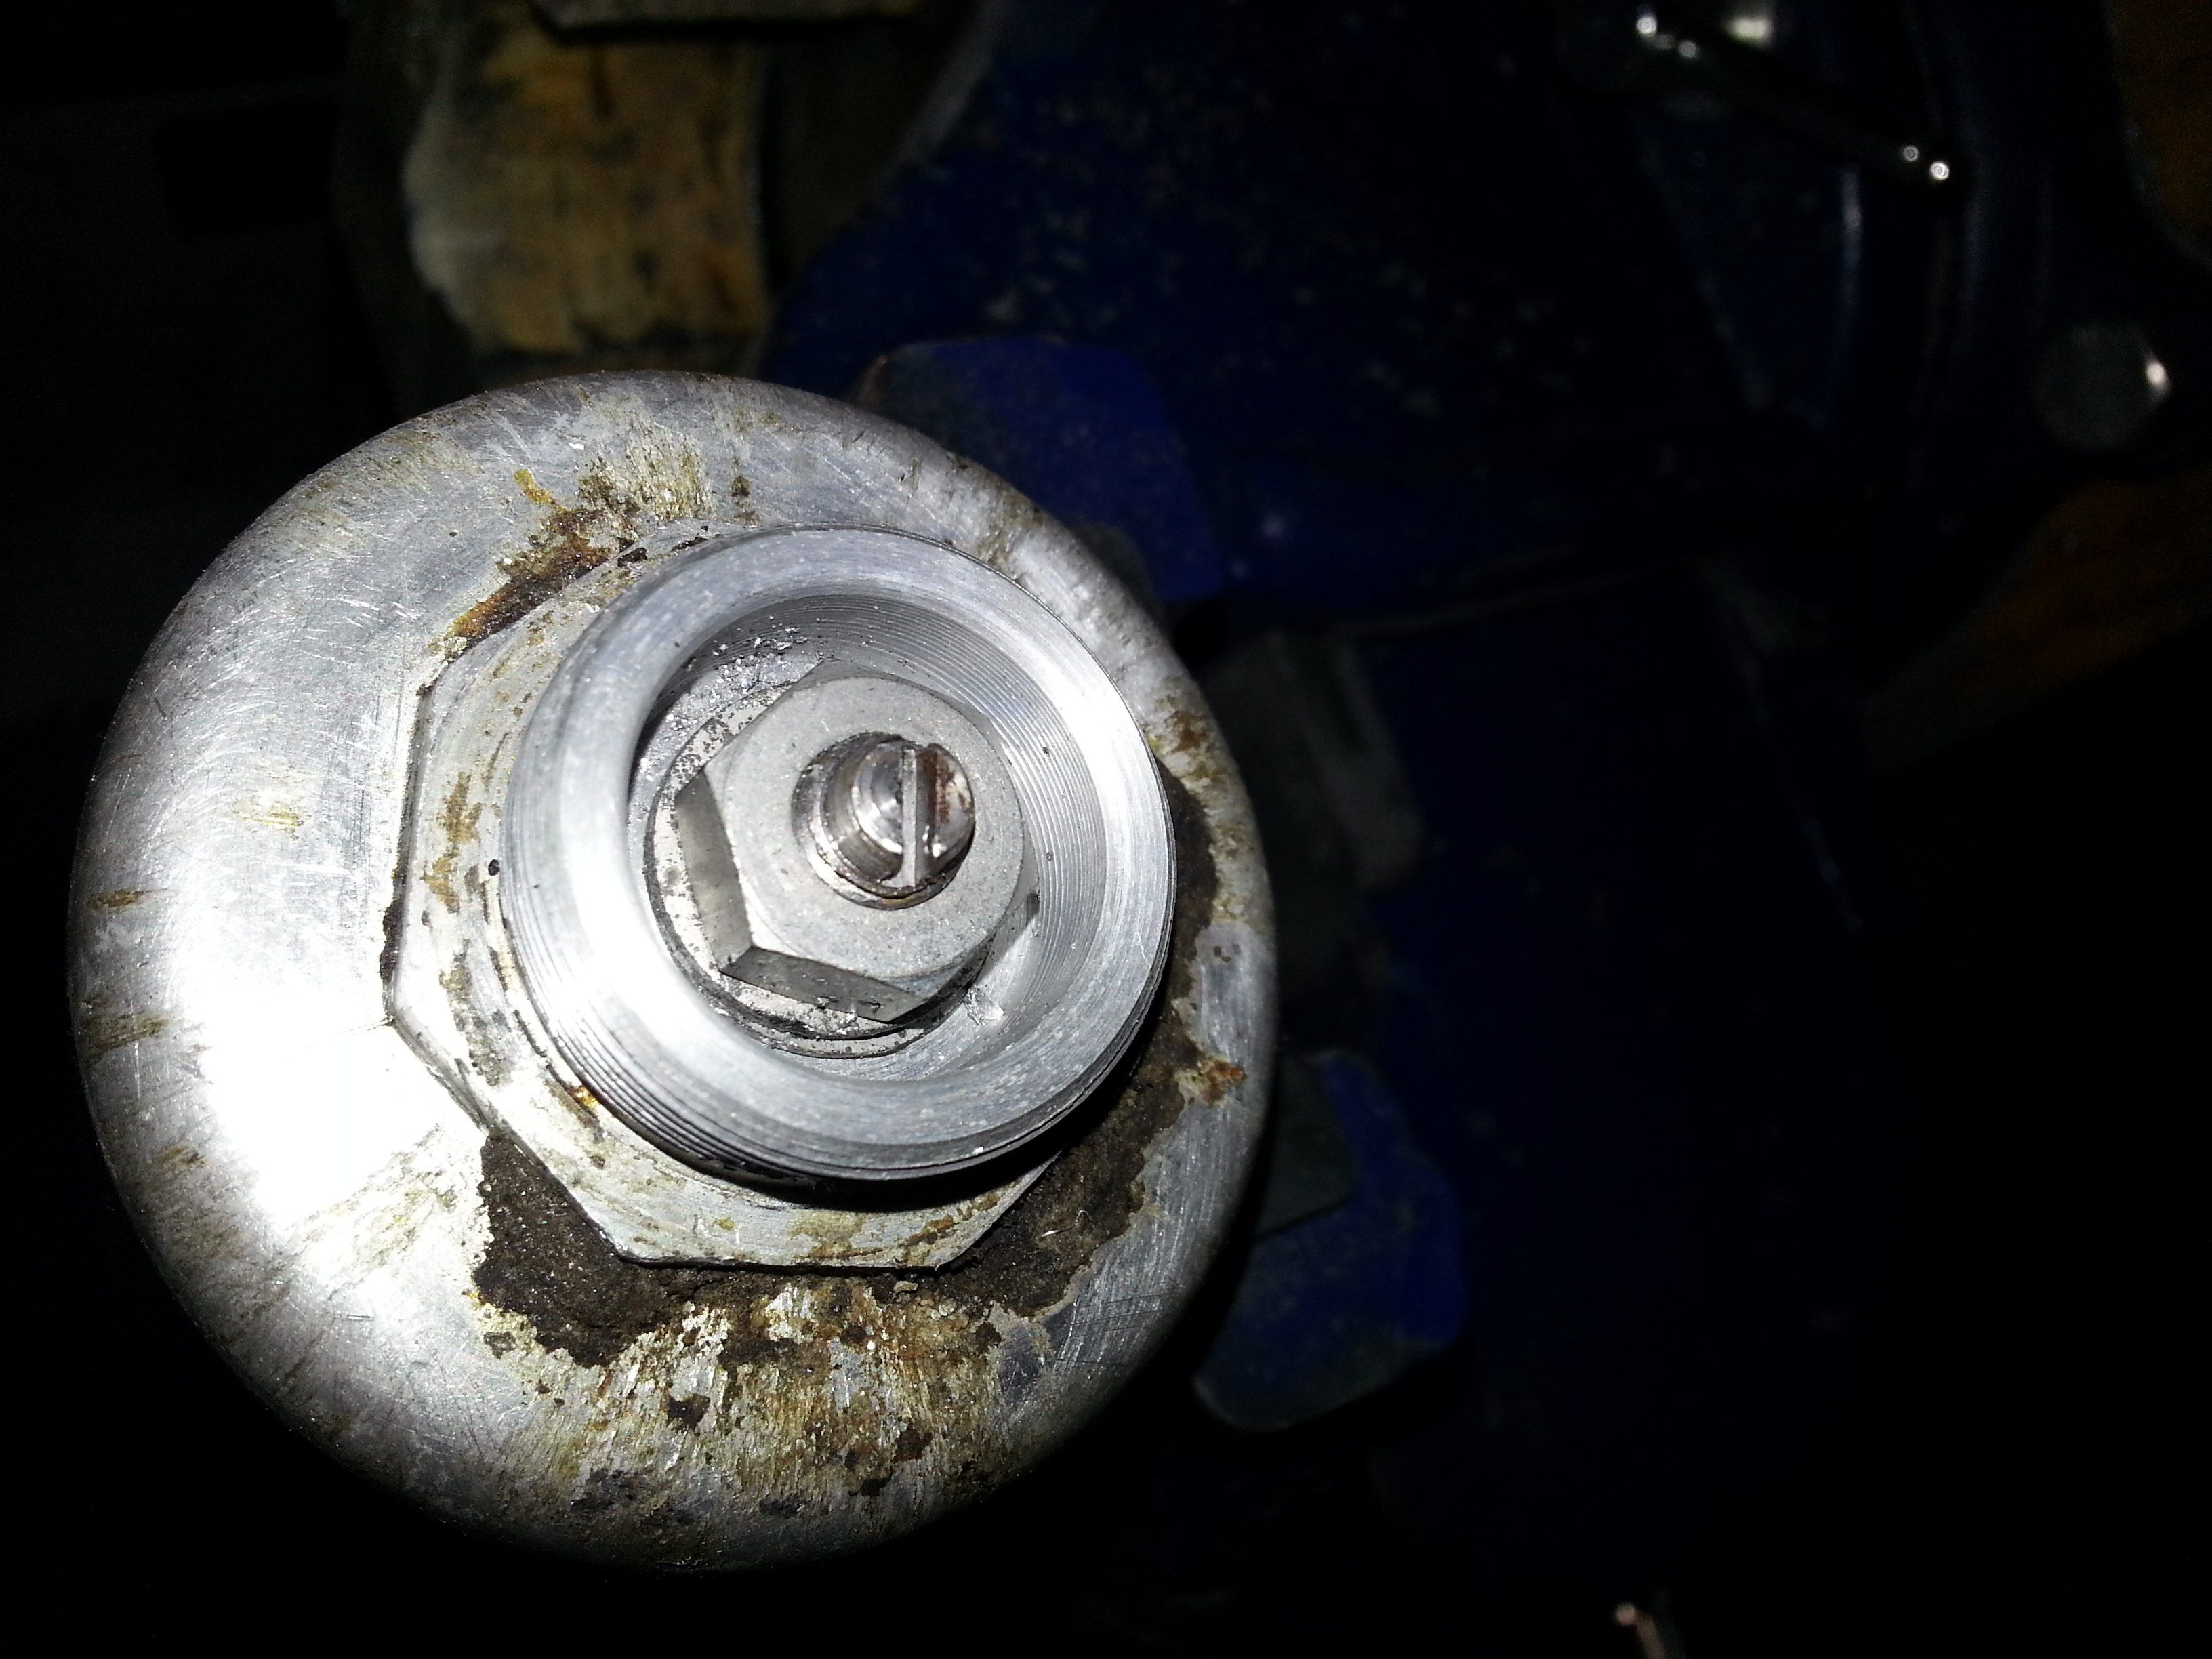
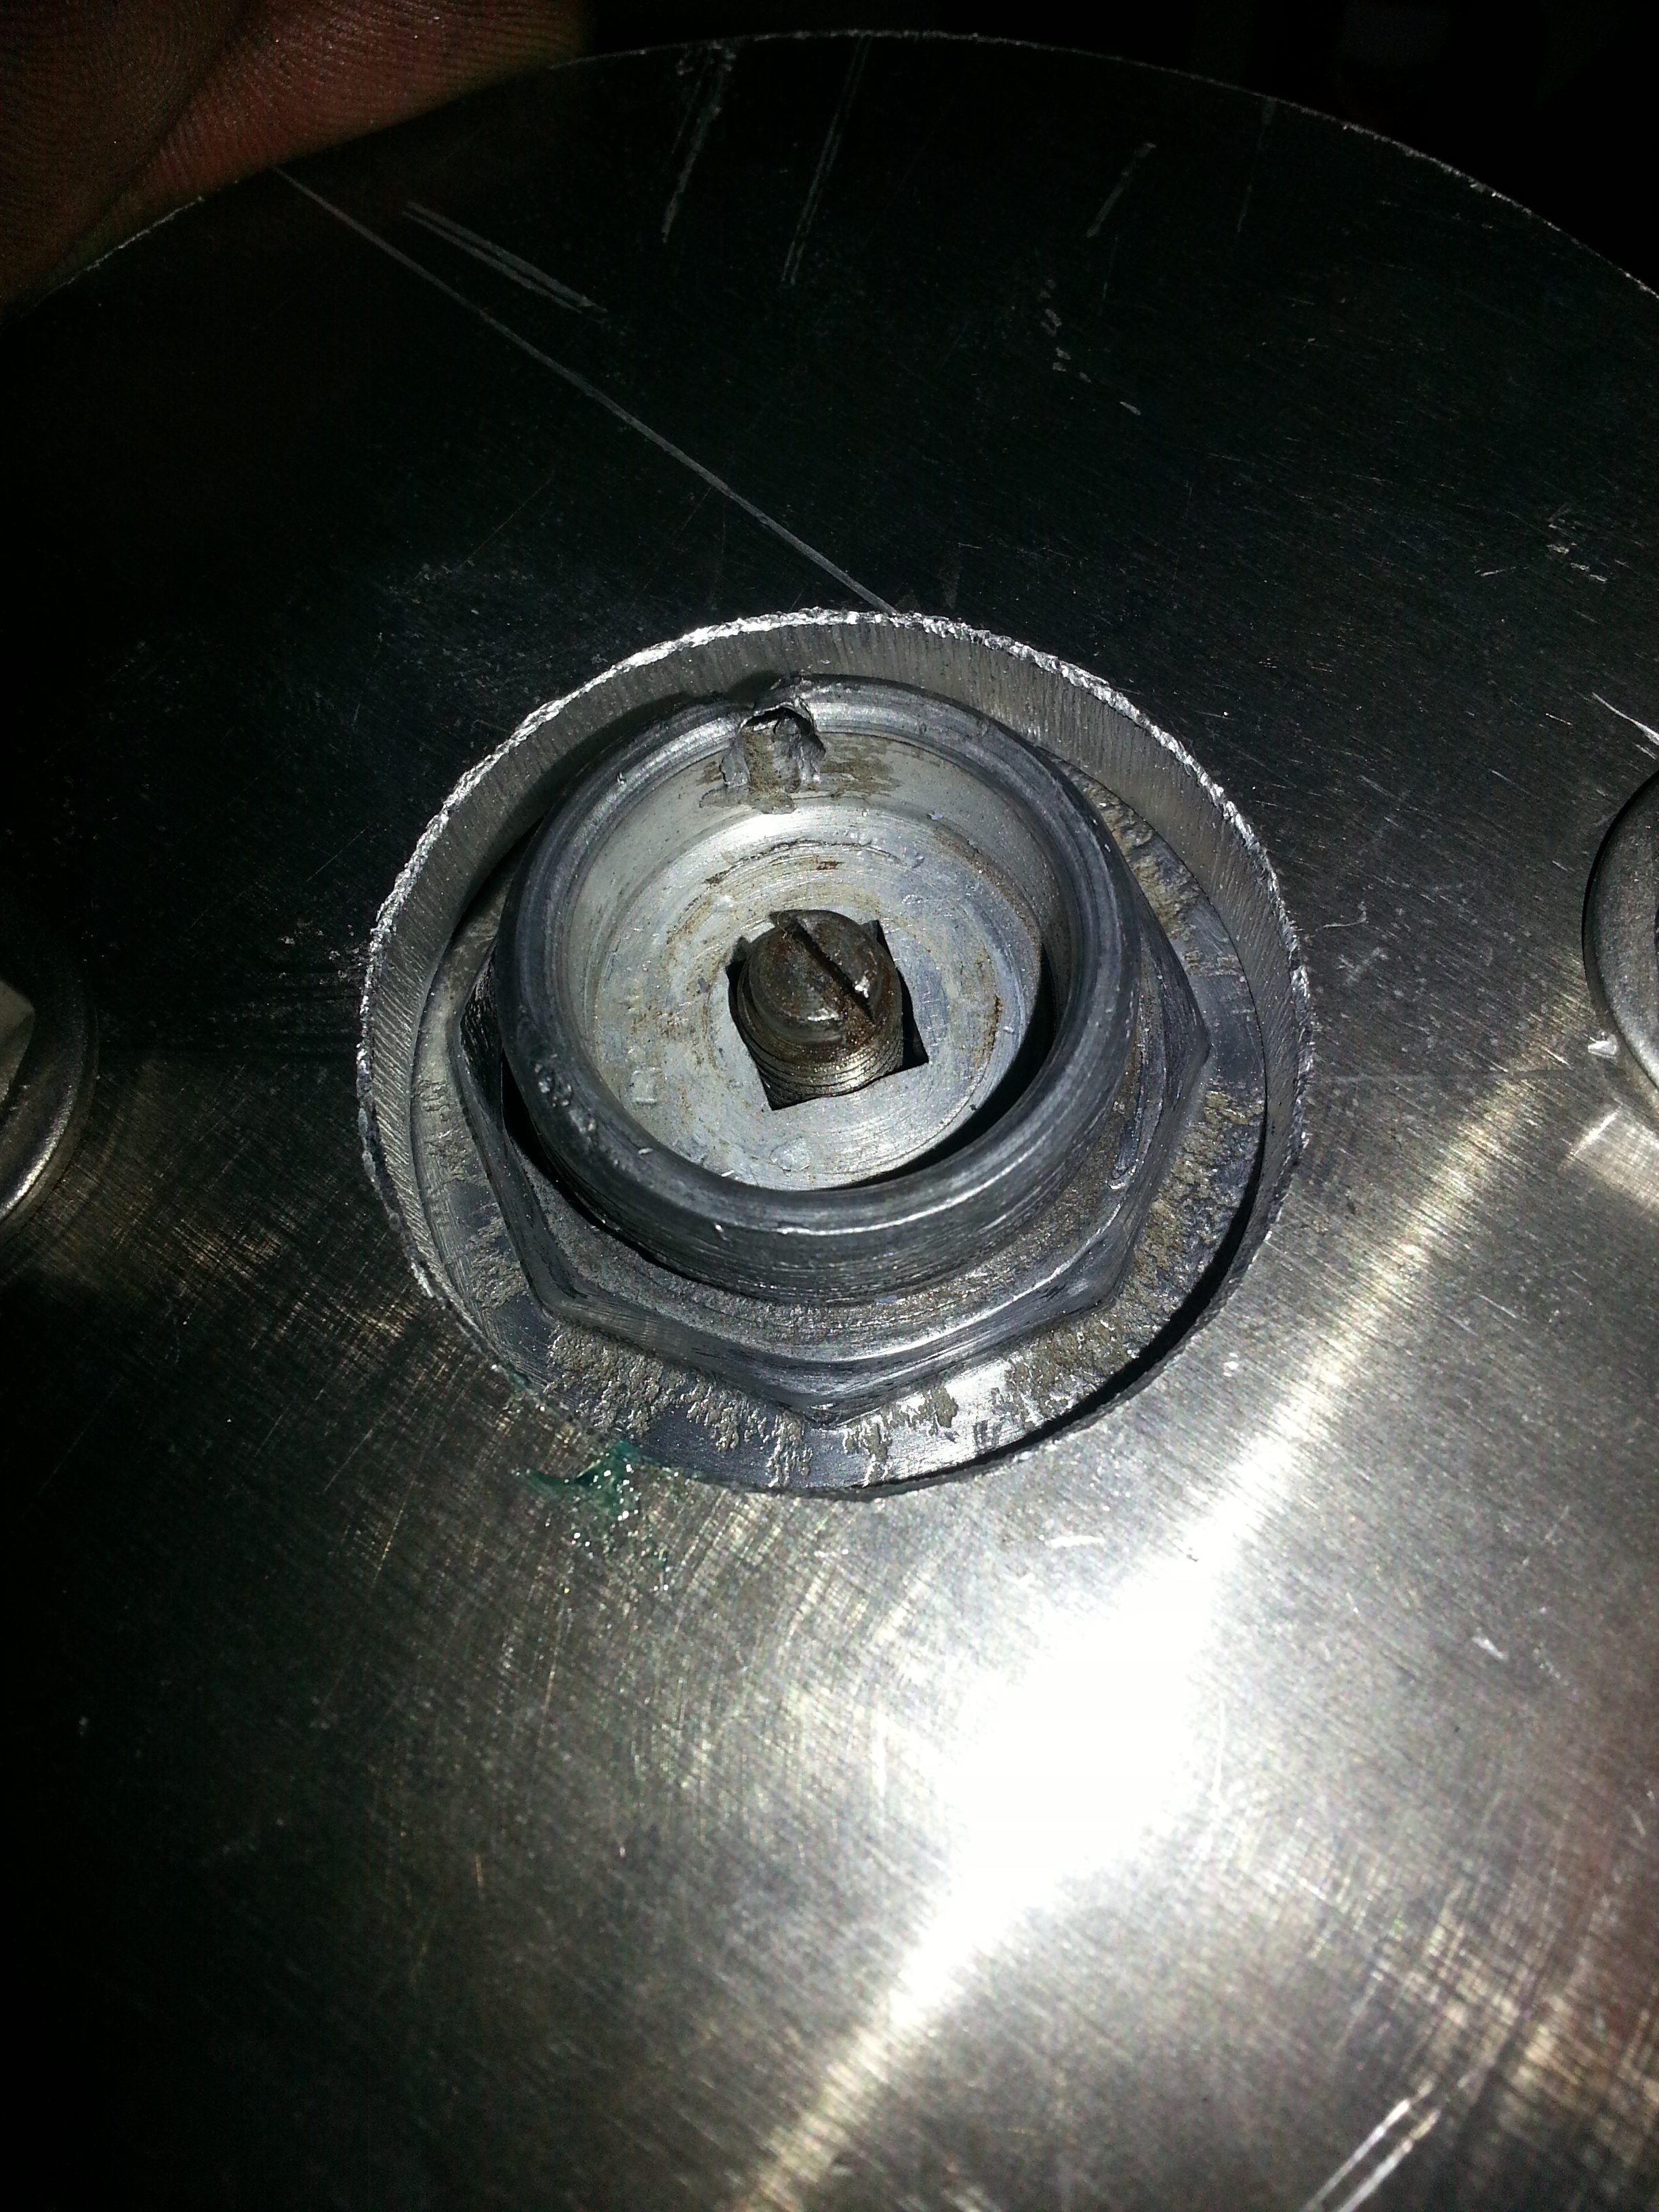
When you take a look at the top of the shock you will notice a small hole where a pin is fitted. This pin fits into a hole that is drilled through the head which sits on a very fine thread and through the shock body. That way the head cannot twist off over time.
The problem is to remove the pin without damaging the threads when trying to take the head off. The problem is that metal shards very easily block the fine thread which then strips.
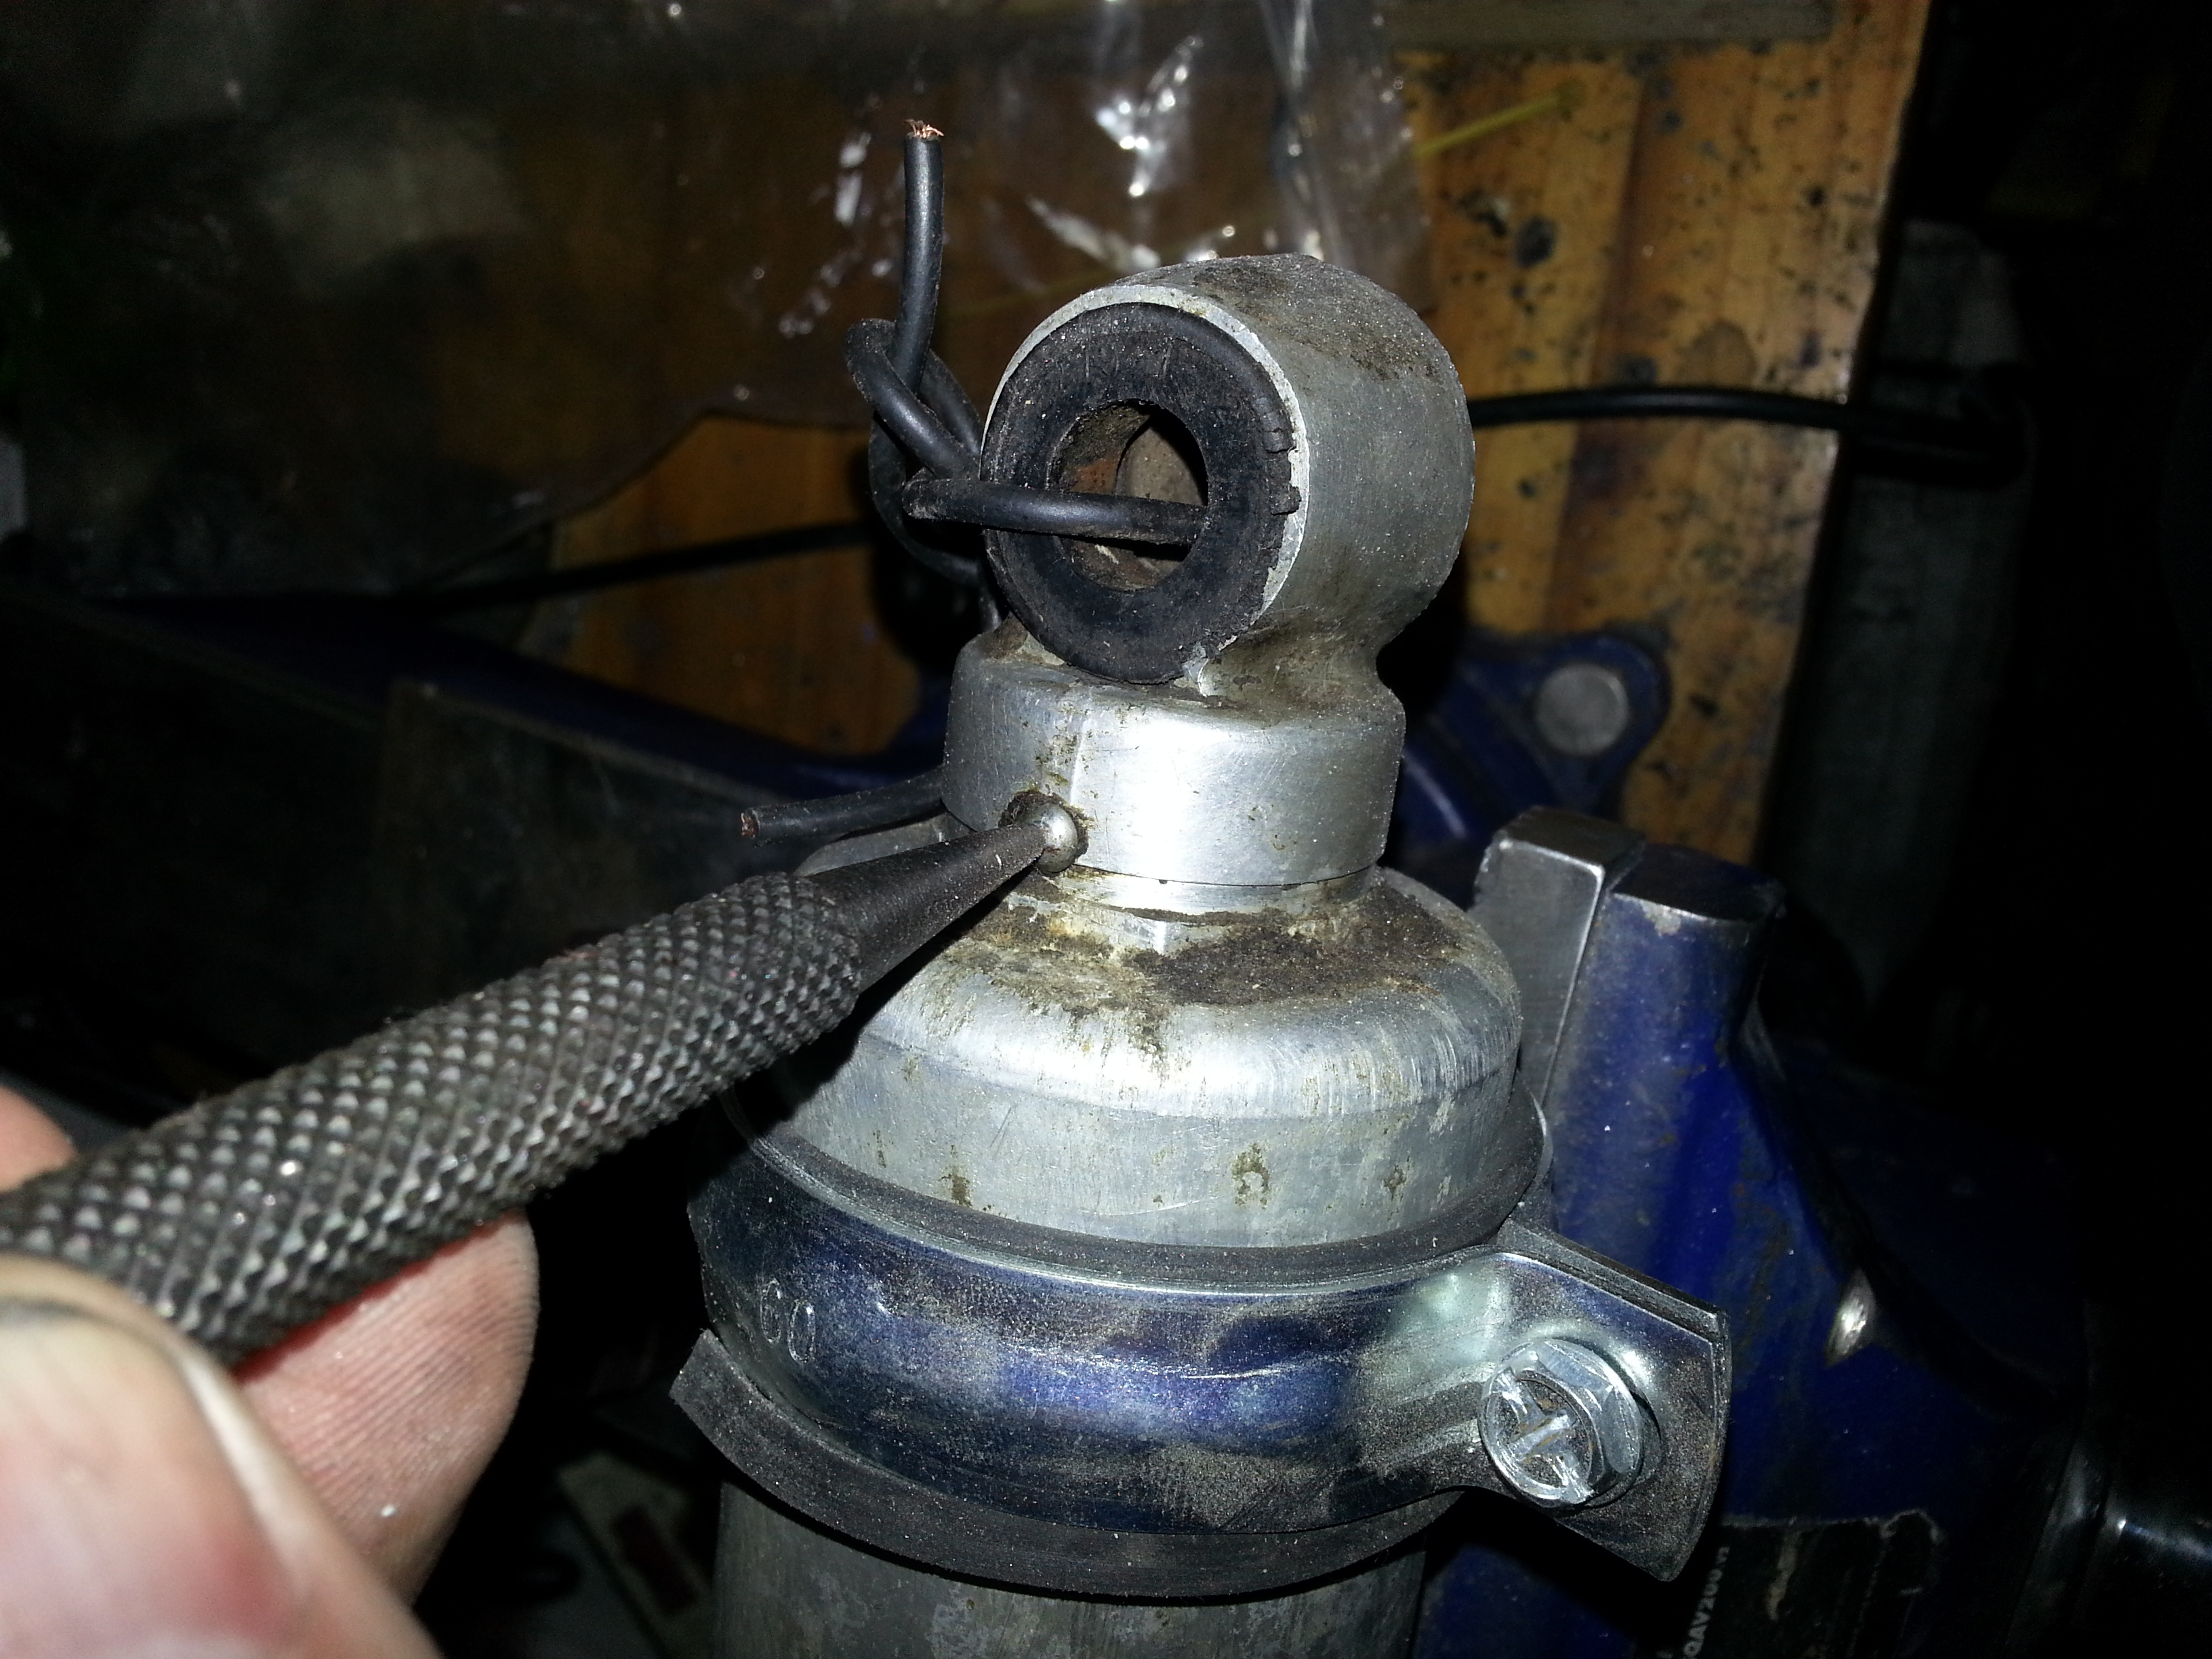
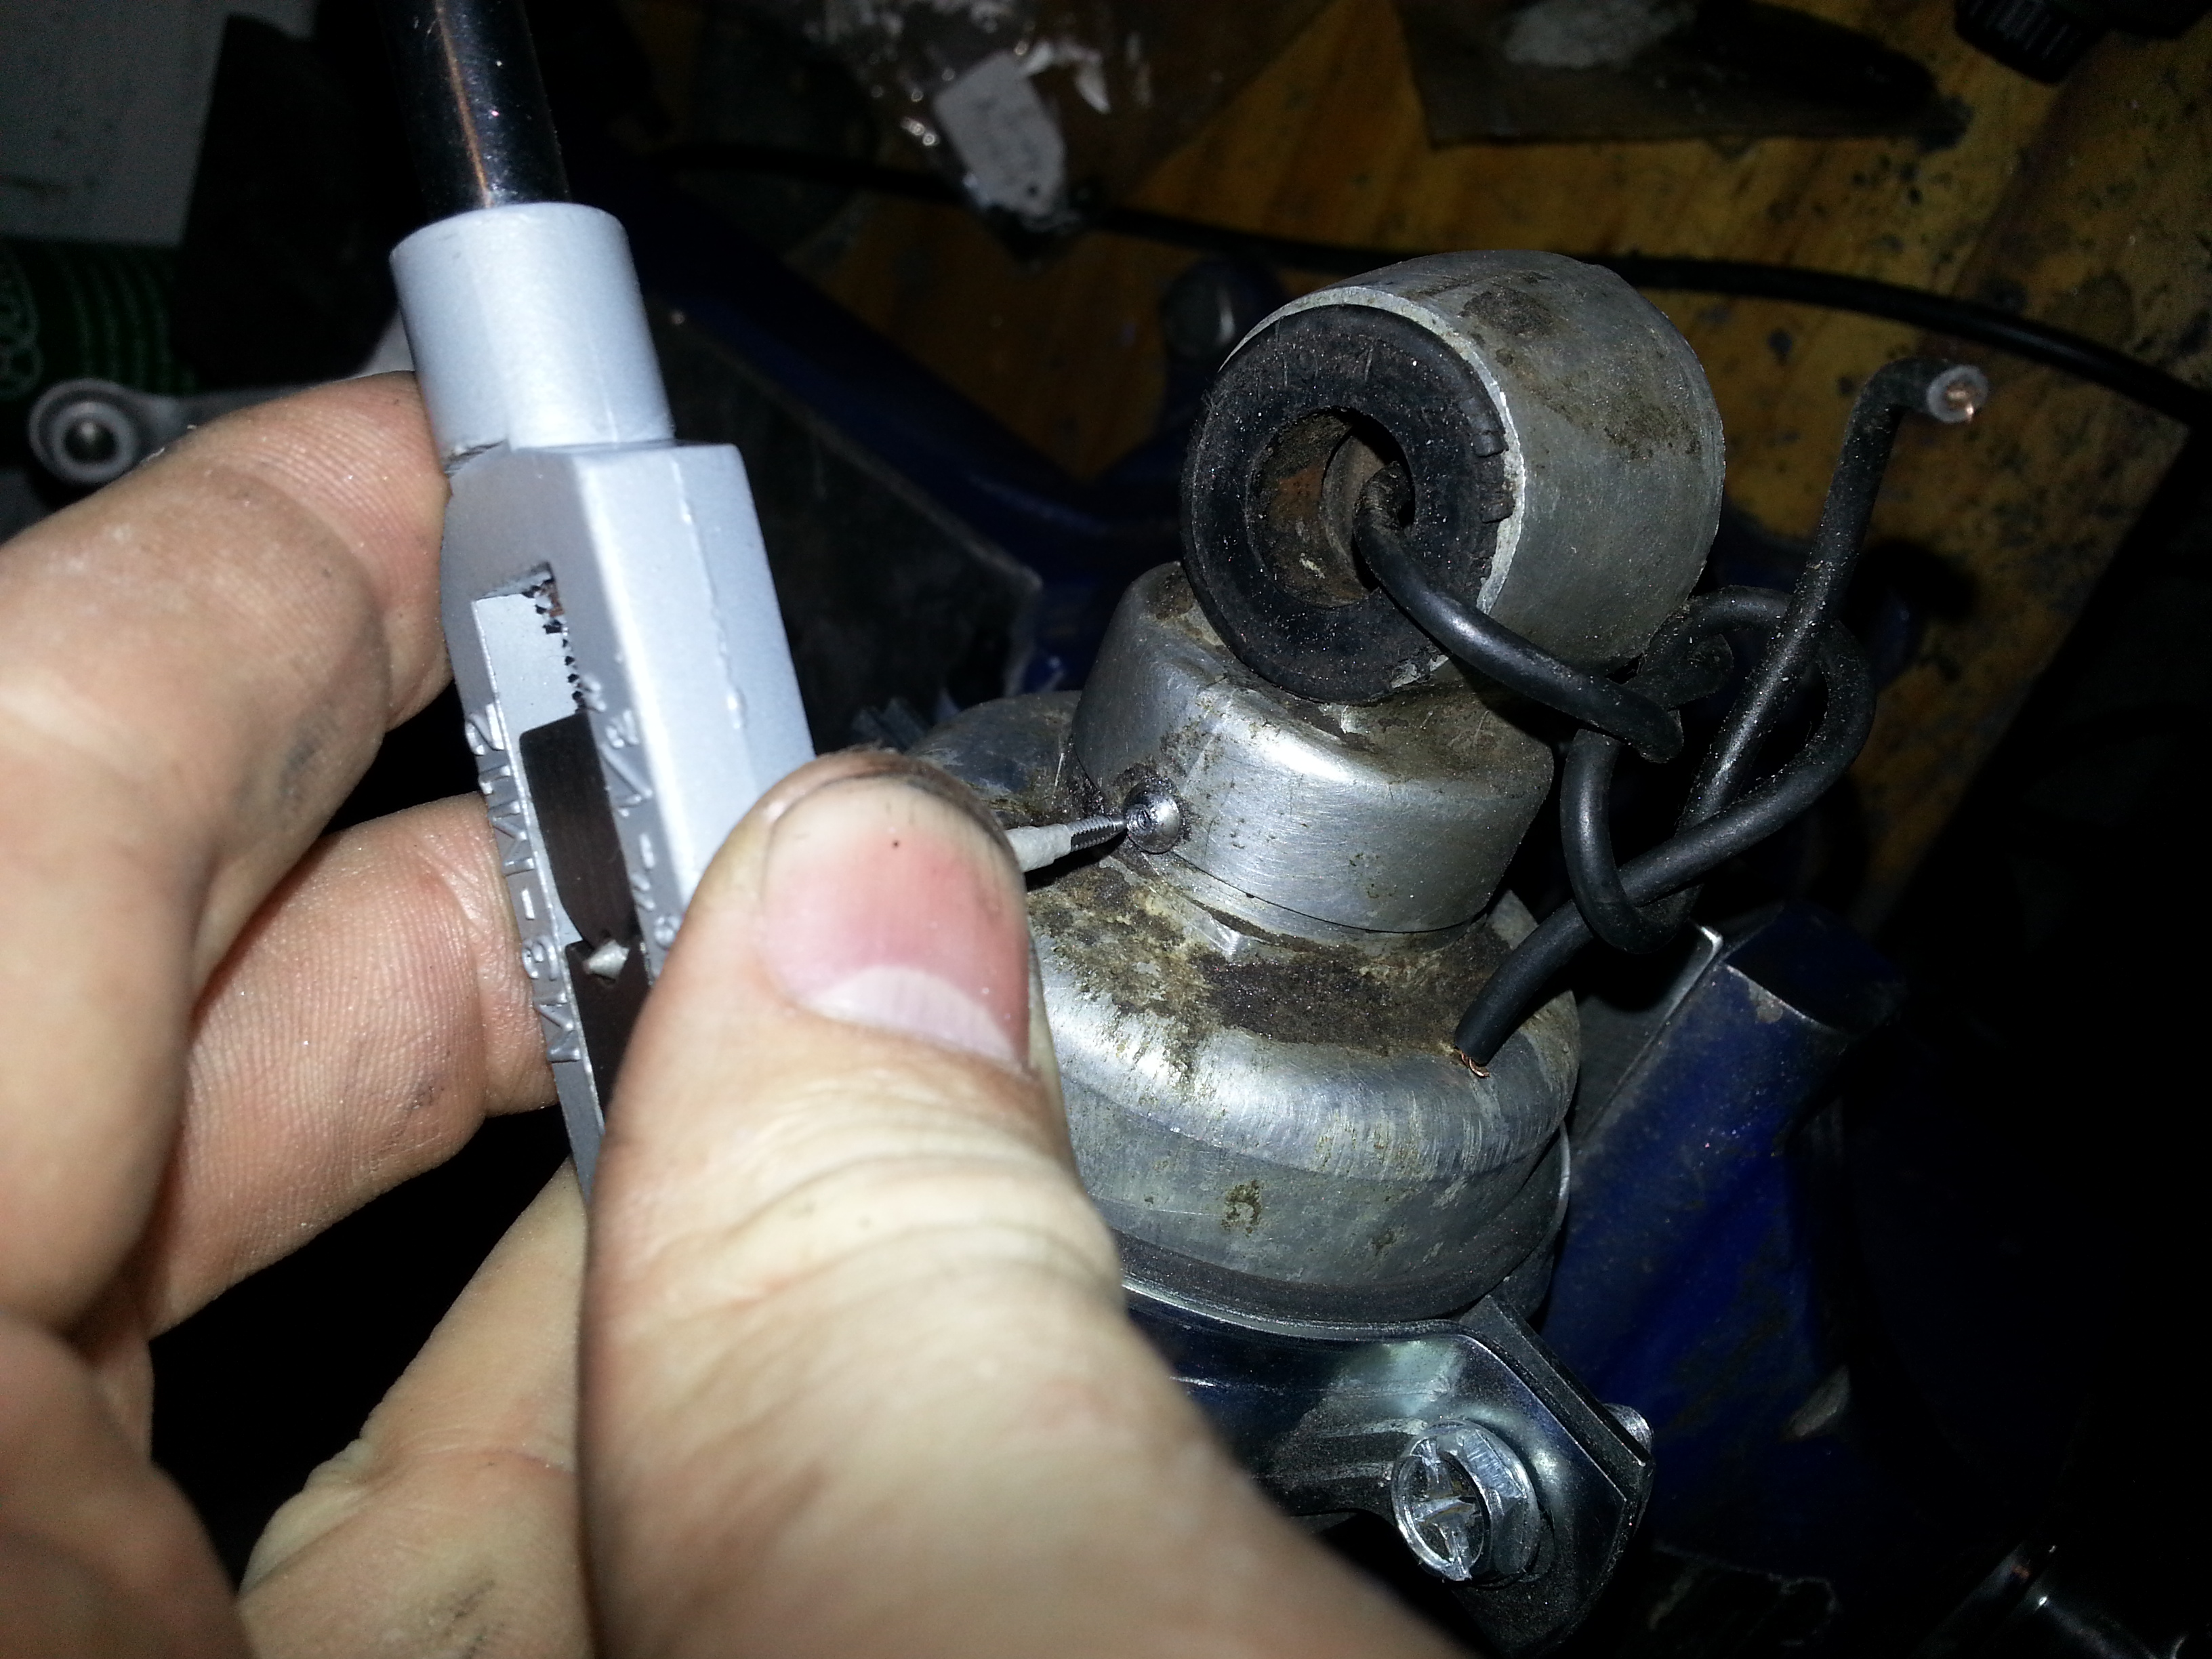
The best way to do it is very carefully grind off the head of the pin. This will allow you to see where exactly the middle is. As the pin is hammered in place the head is not a good indication of the middle of the dowel pin which is made of aluminium and deforms easily.
Once done, you can use a center punch to prepare for a small hole to be drilled. I use increasingly larger drills and with some luck the pin comes out. I also vacuum very carefully in the drilled hole.
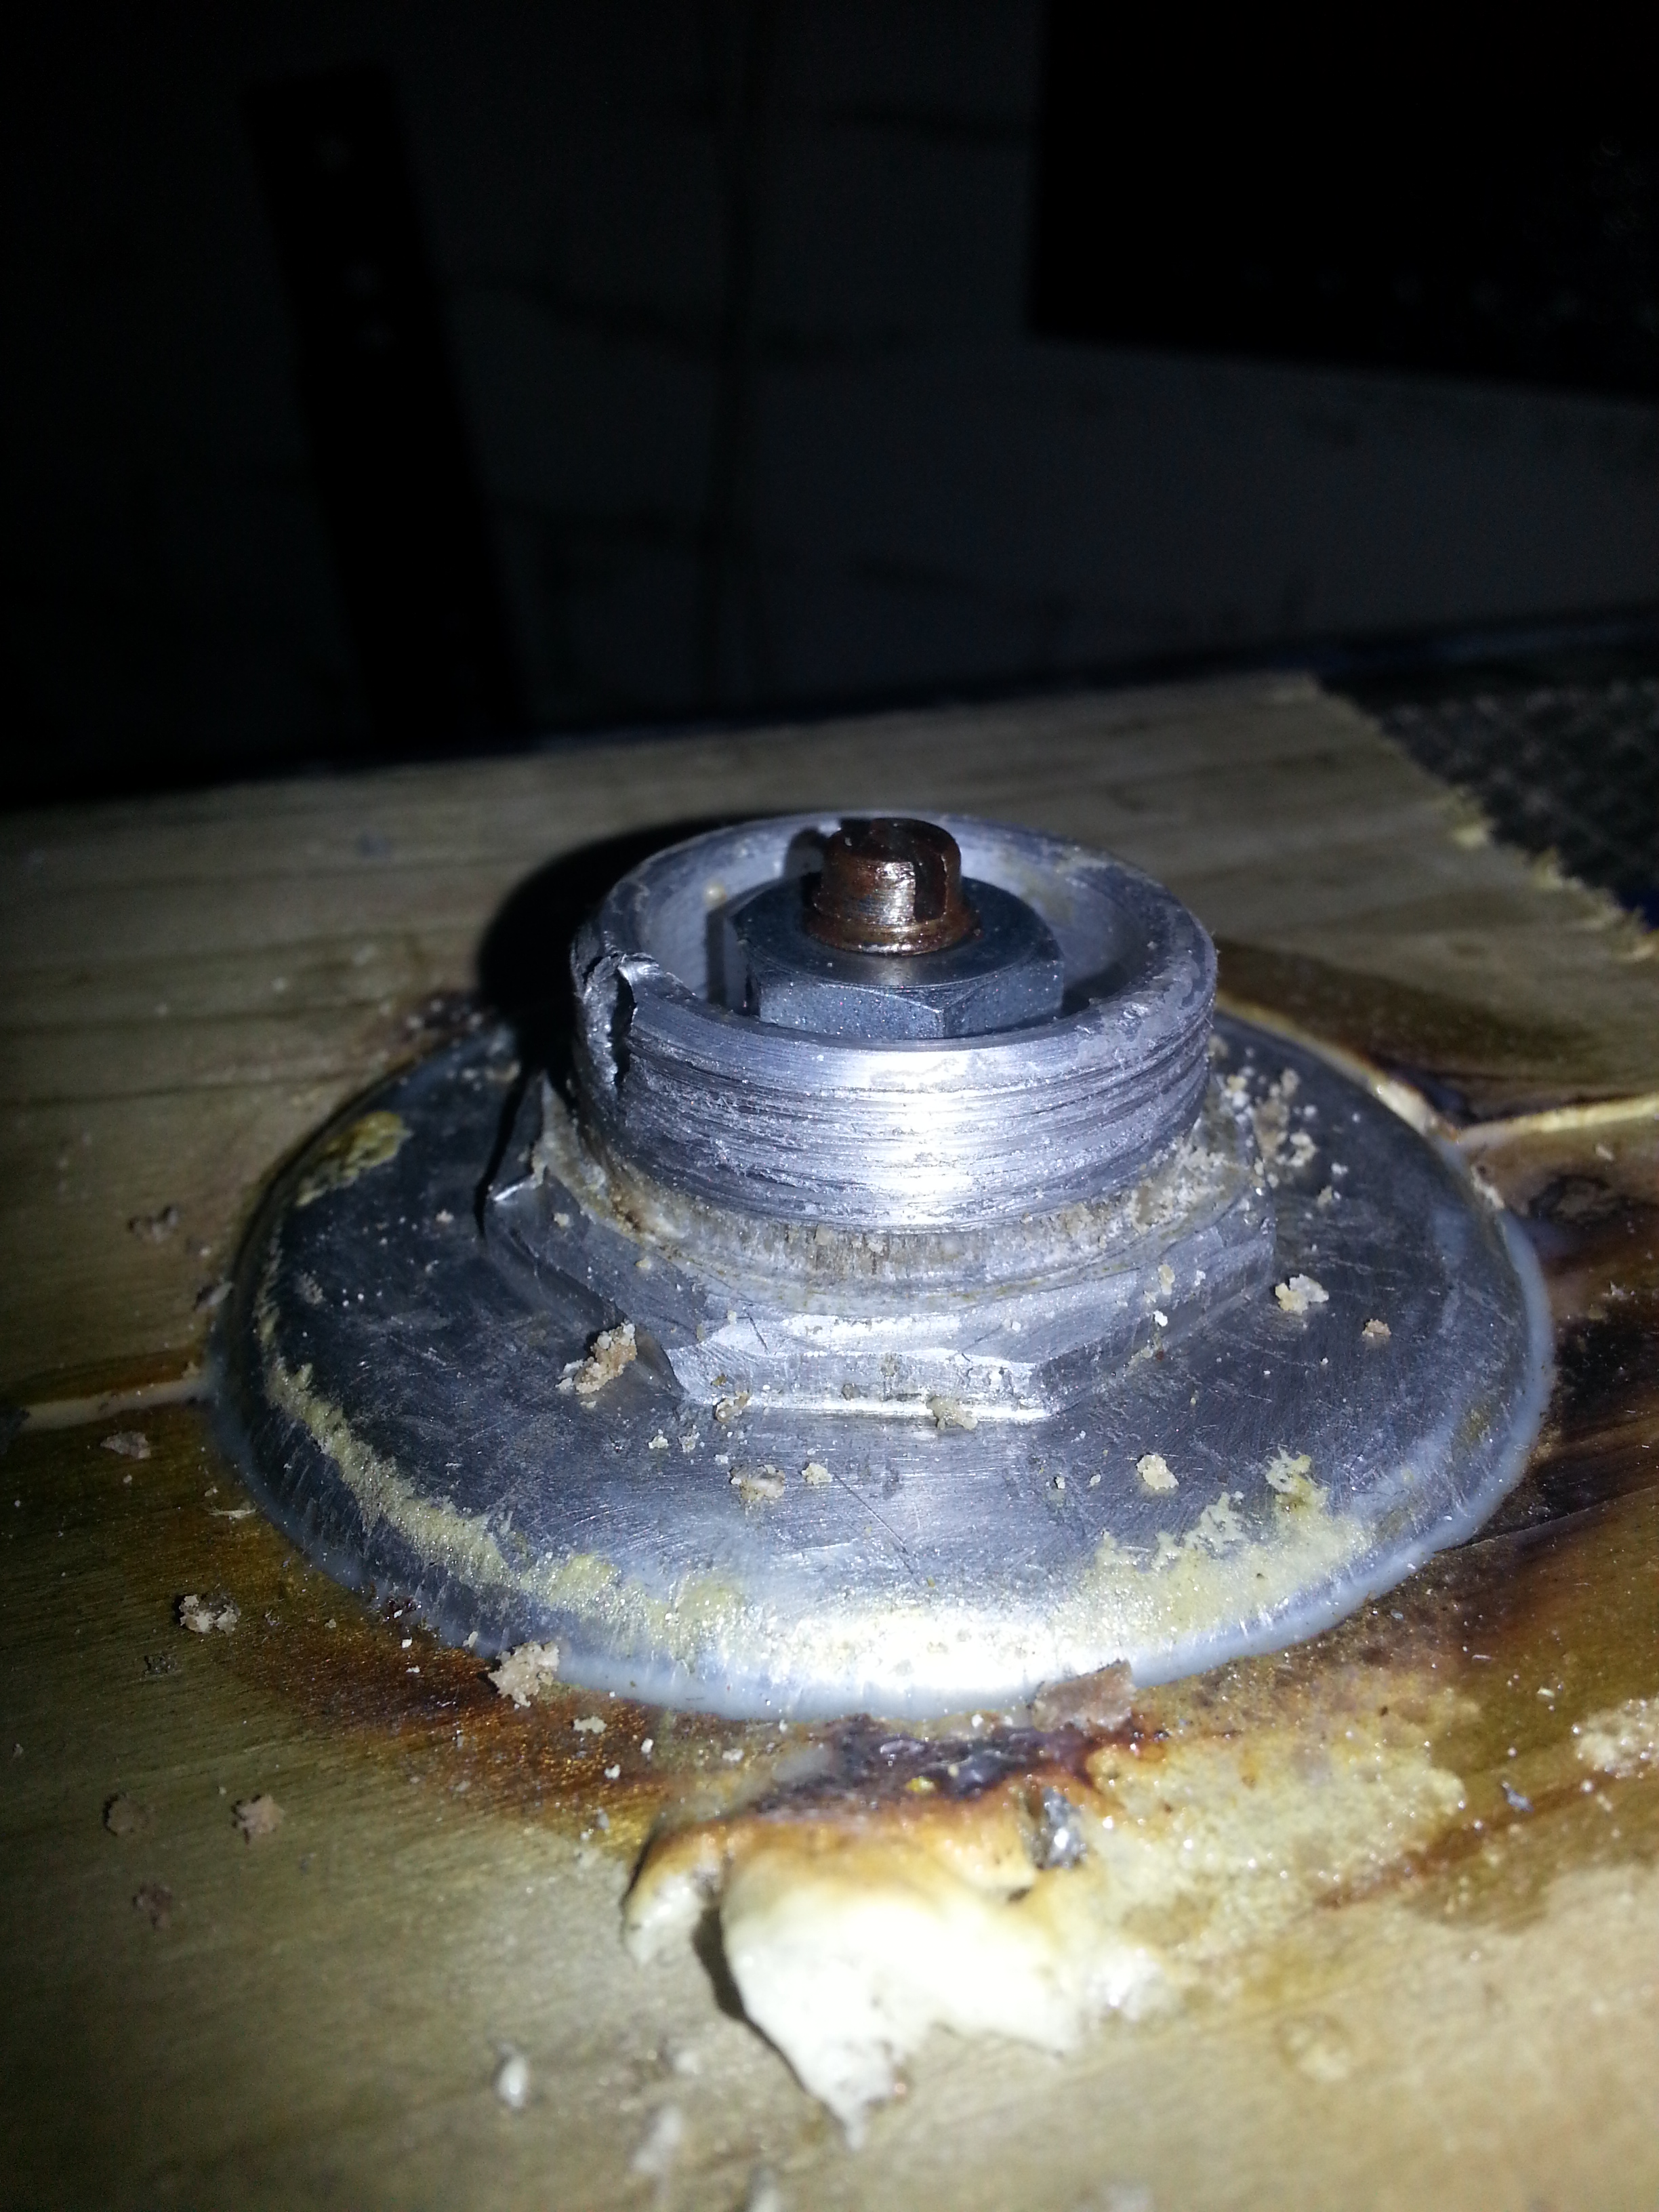
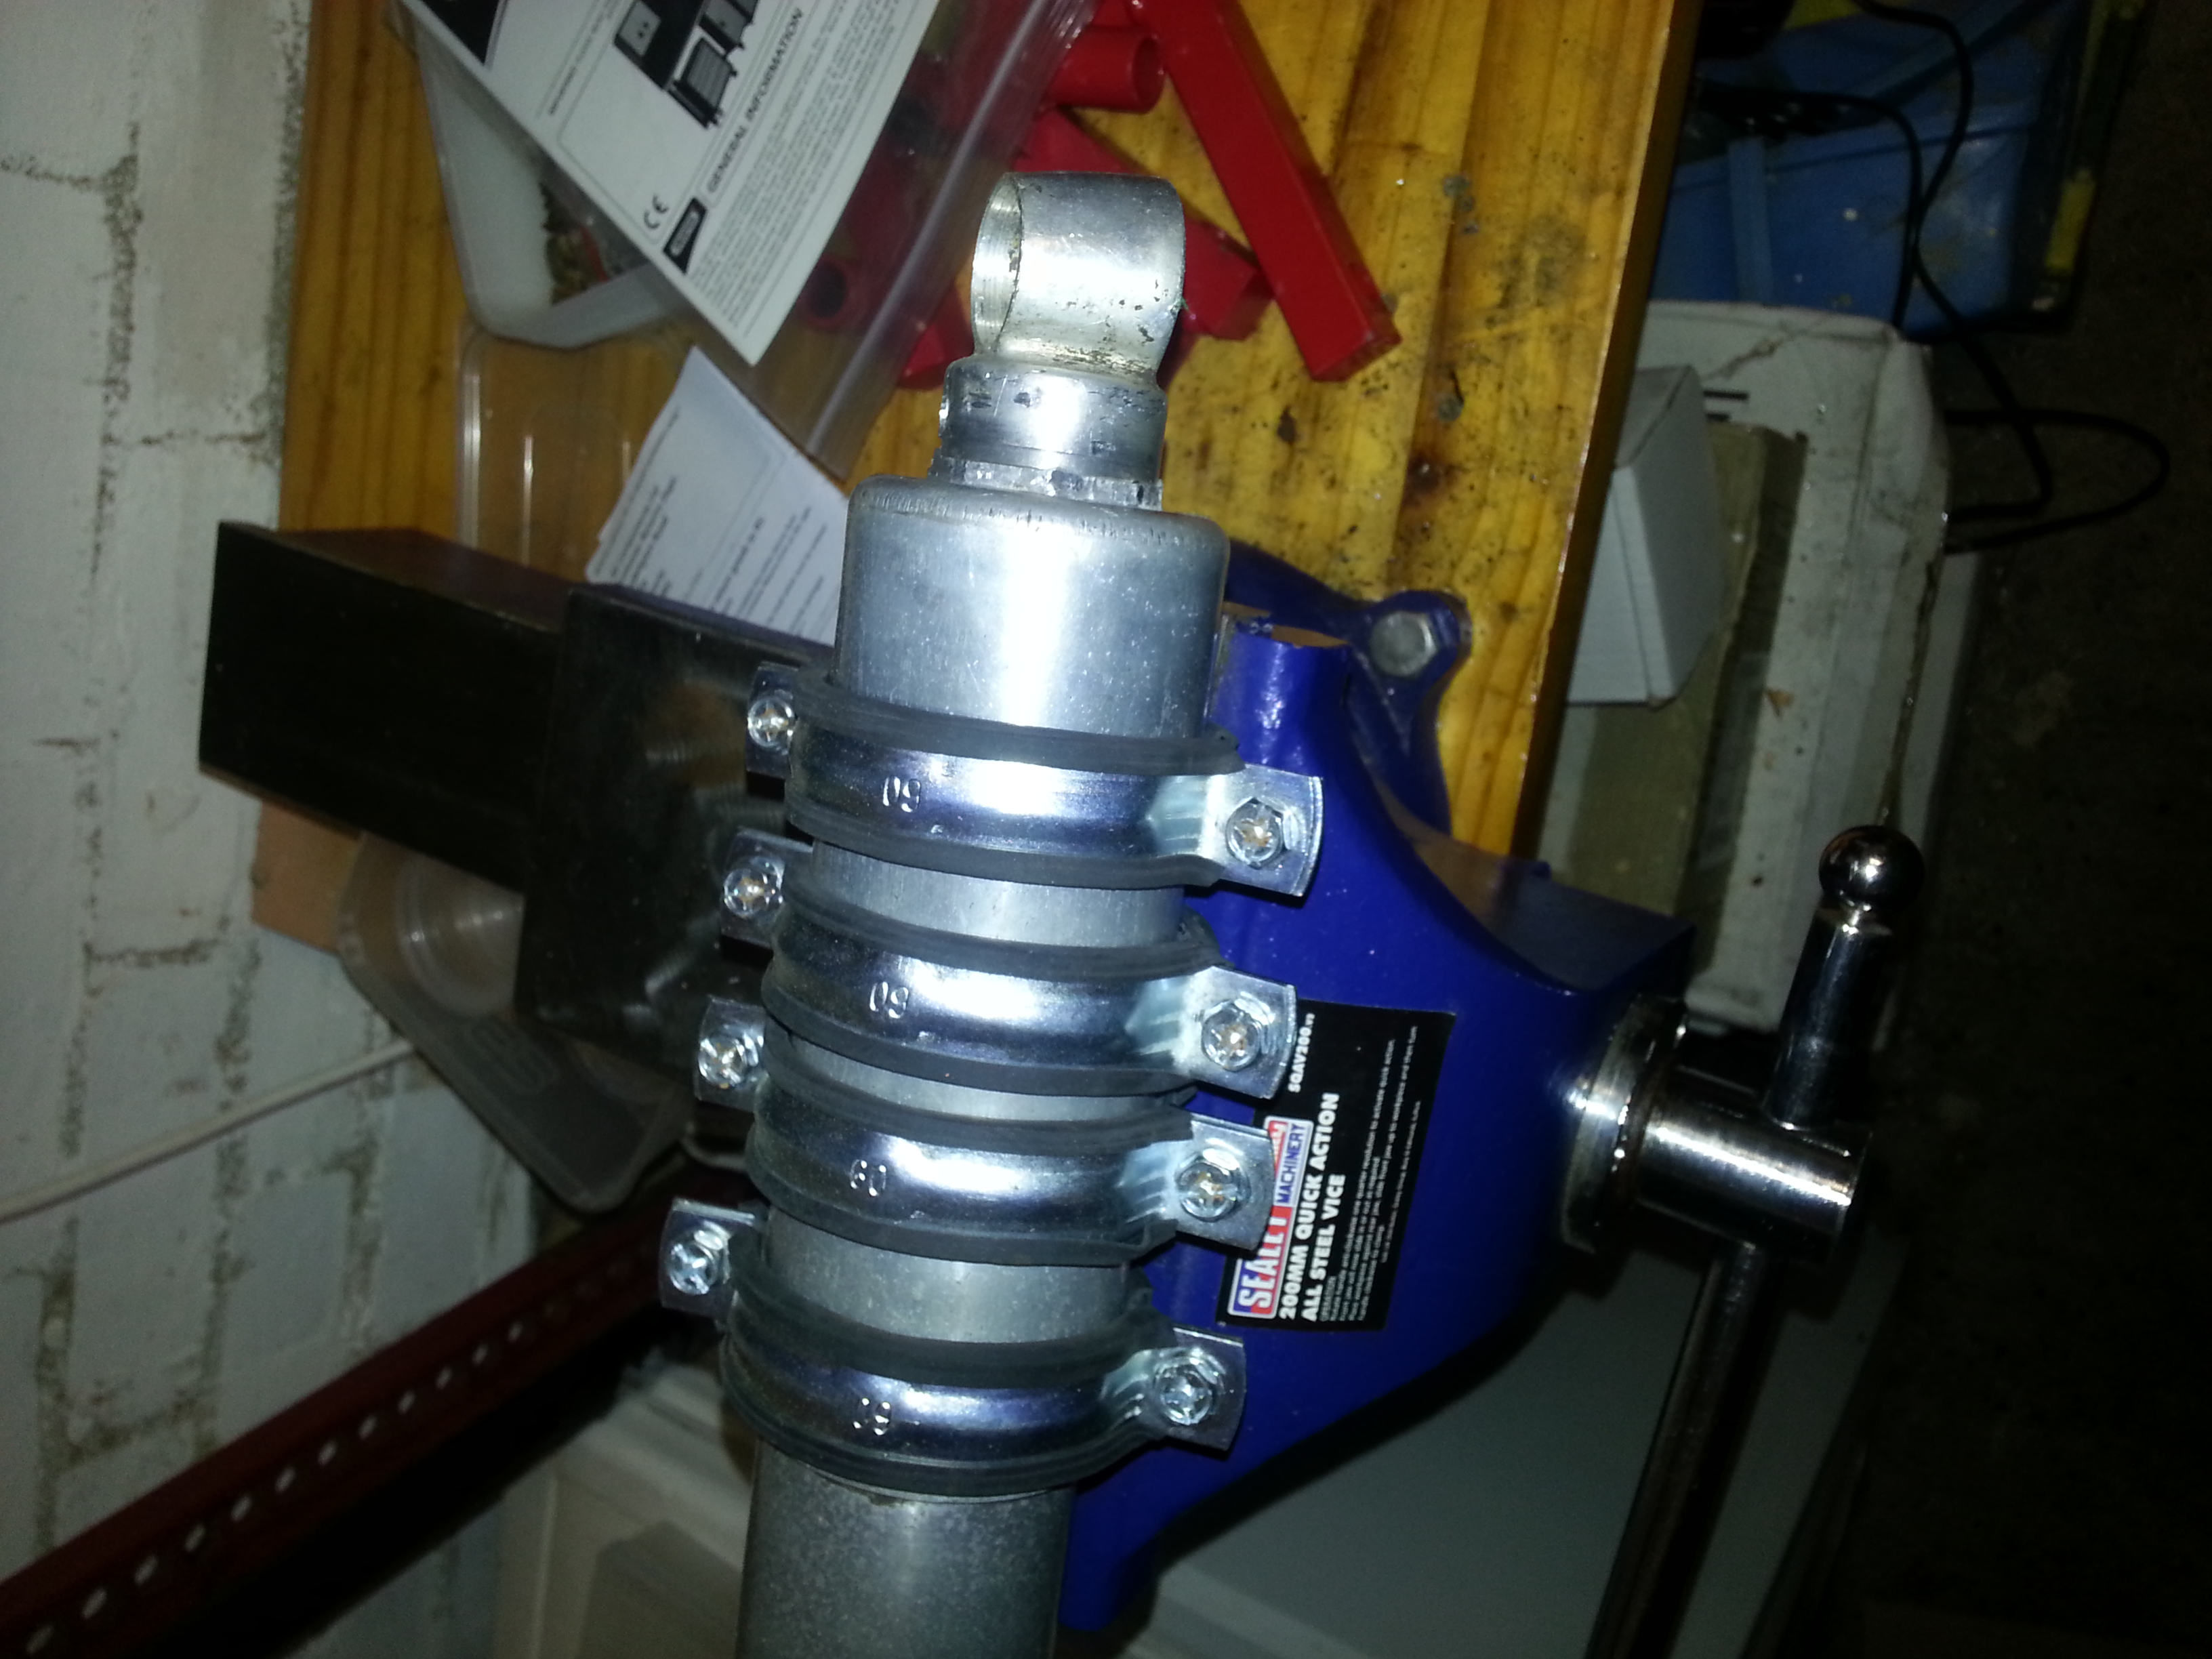
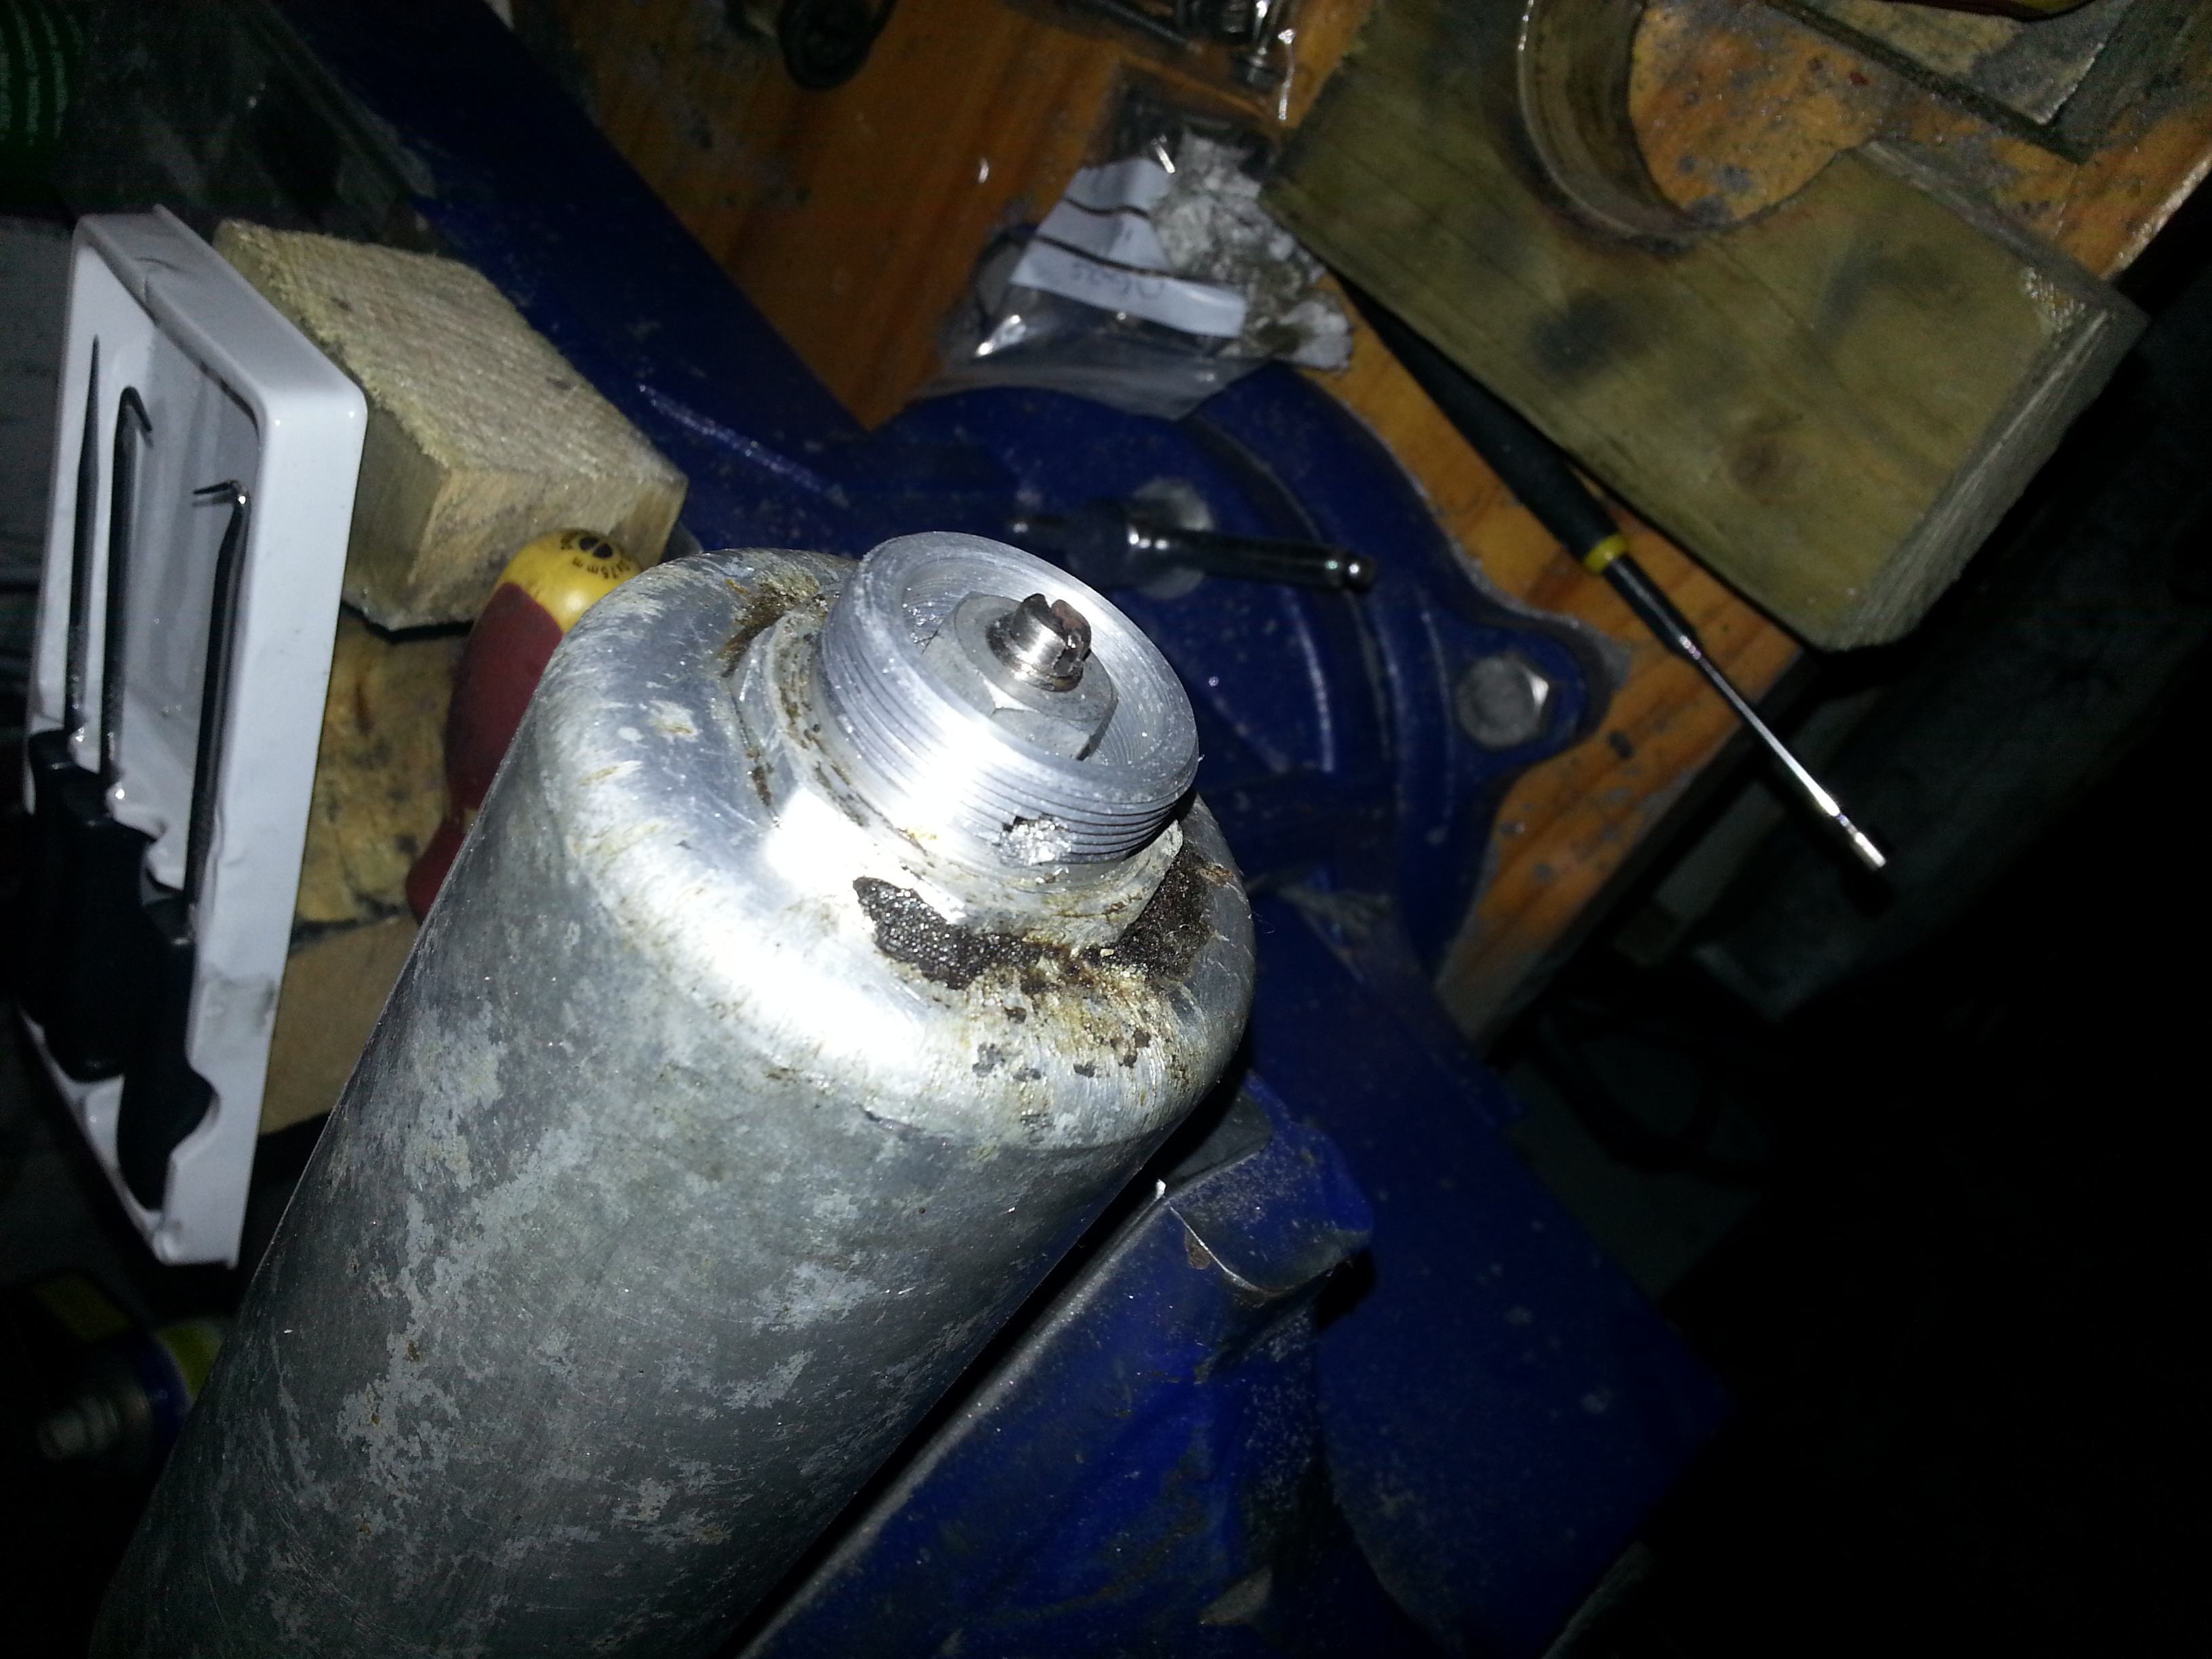
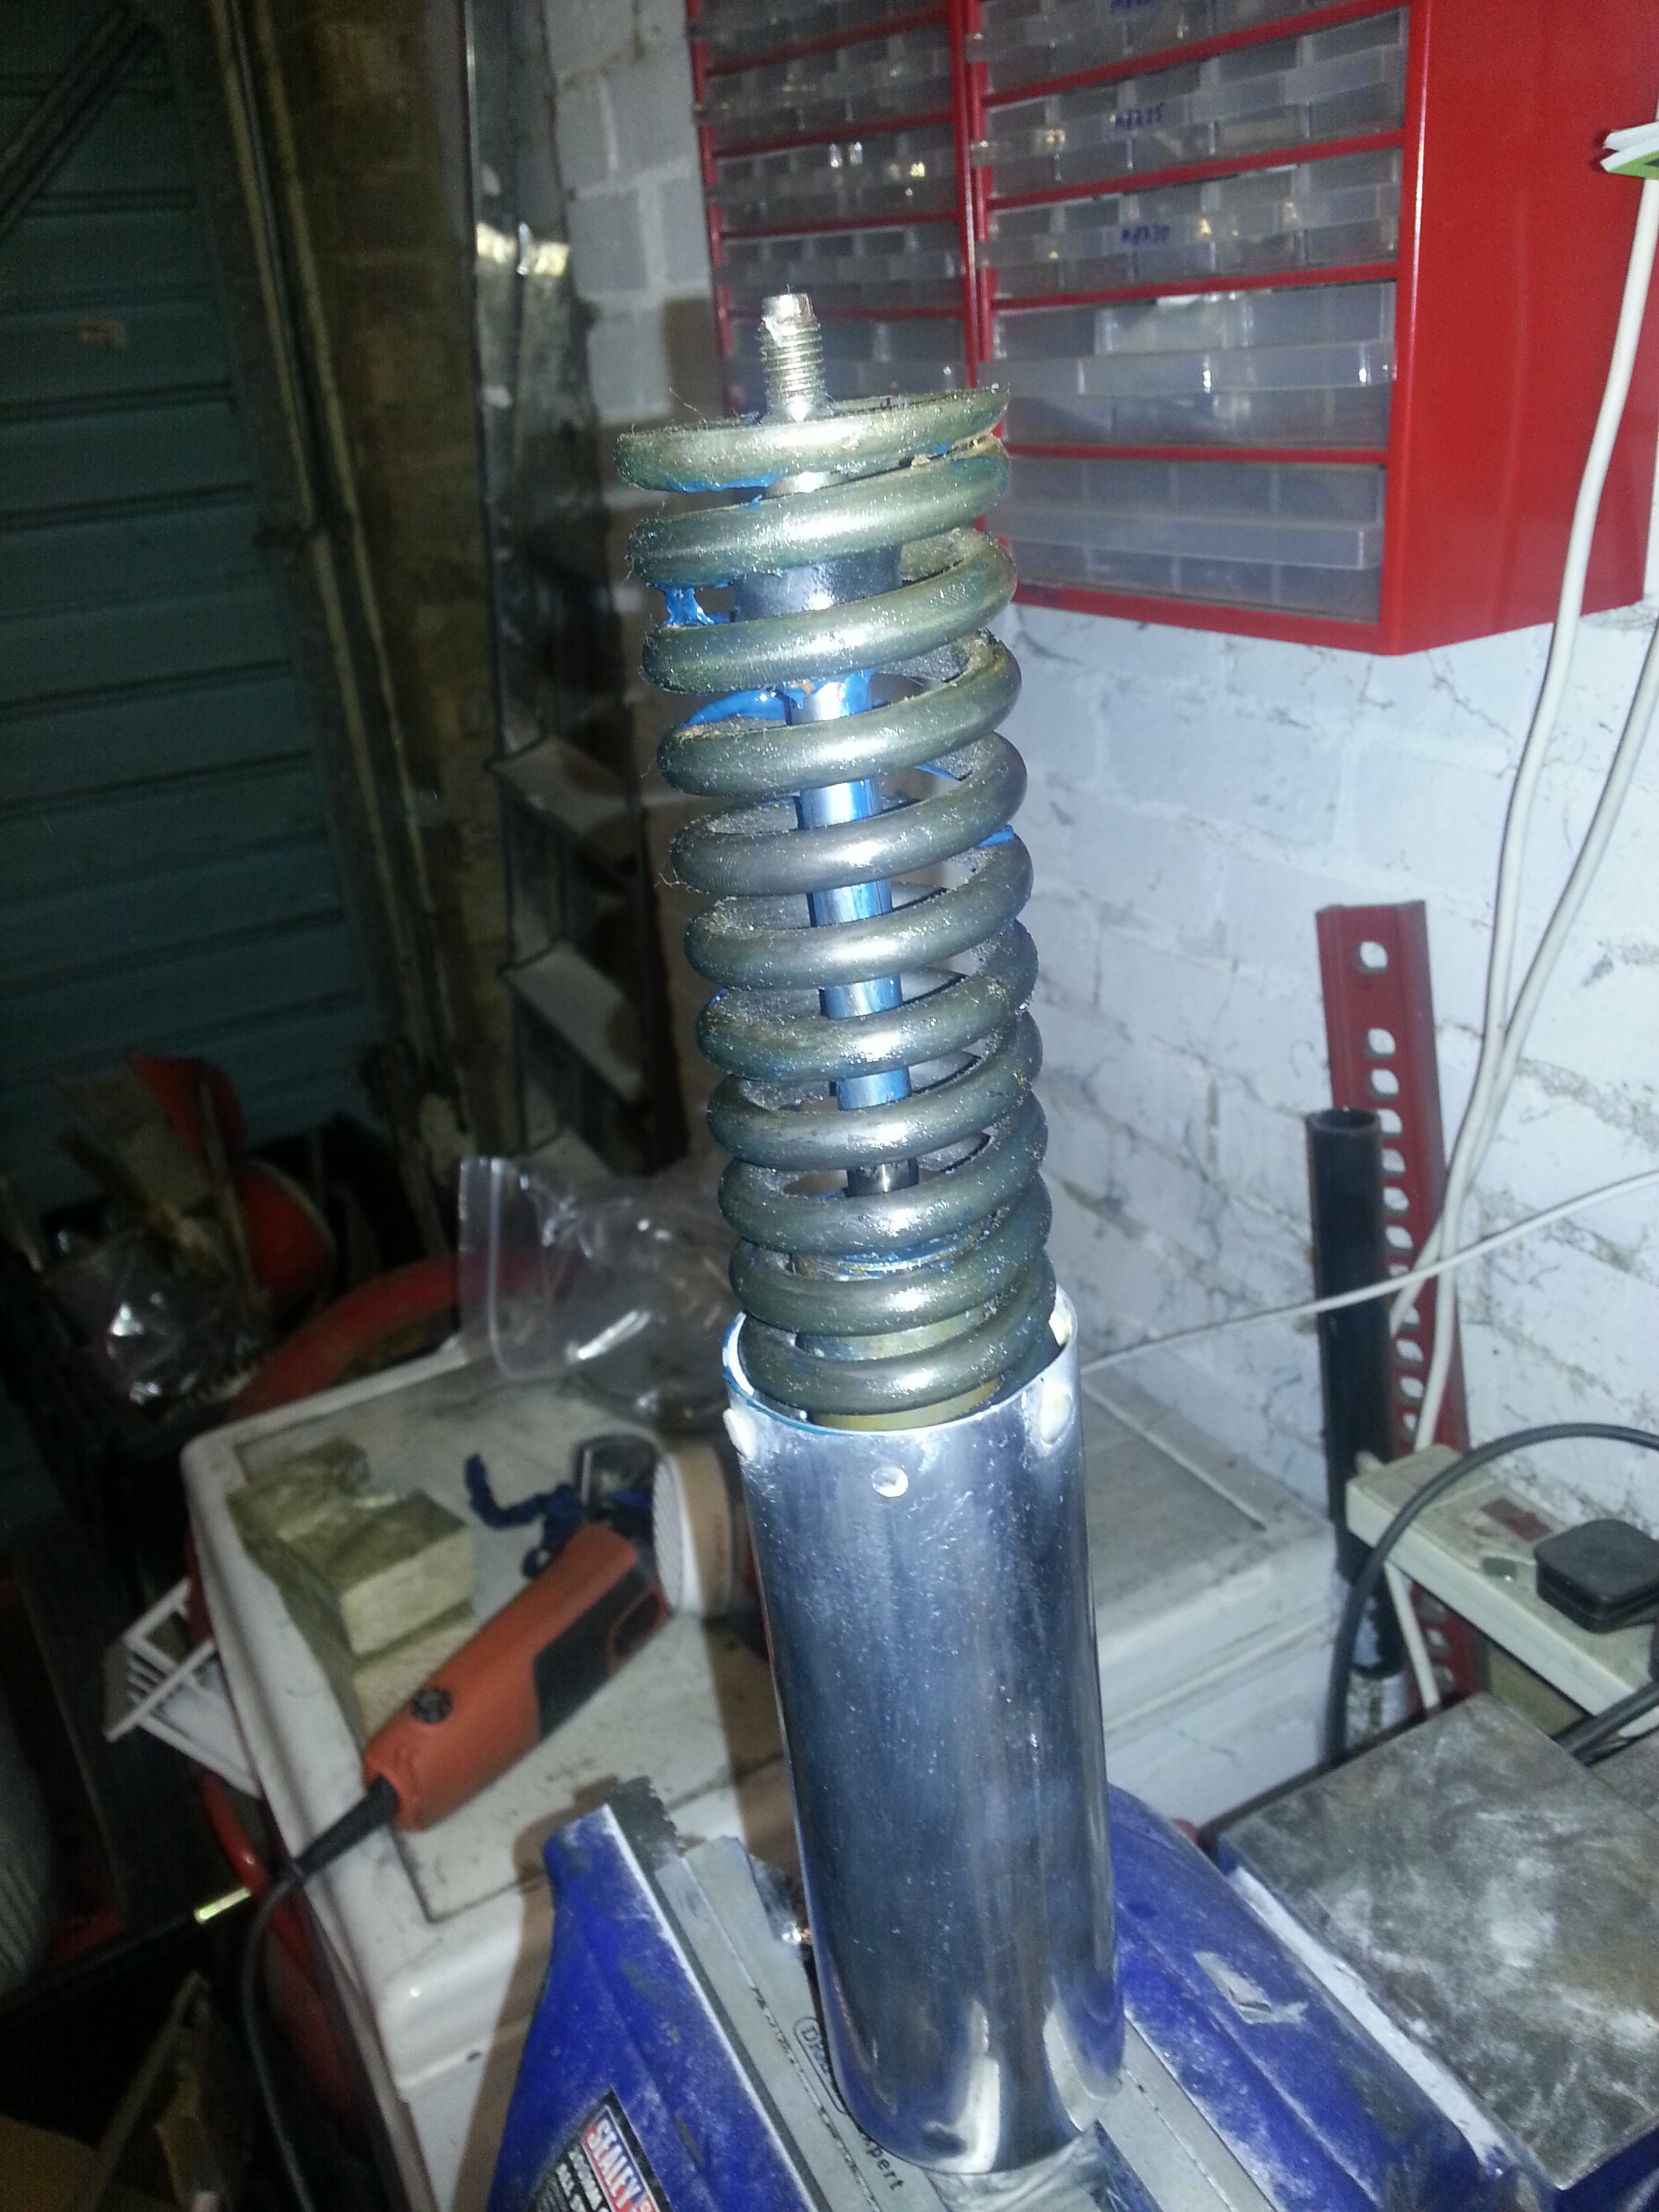
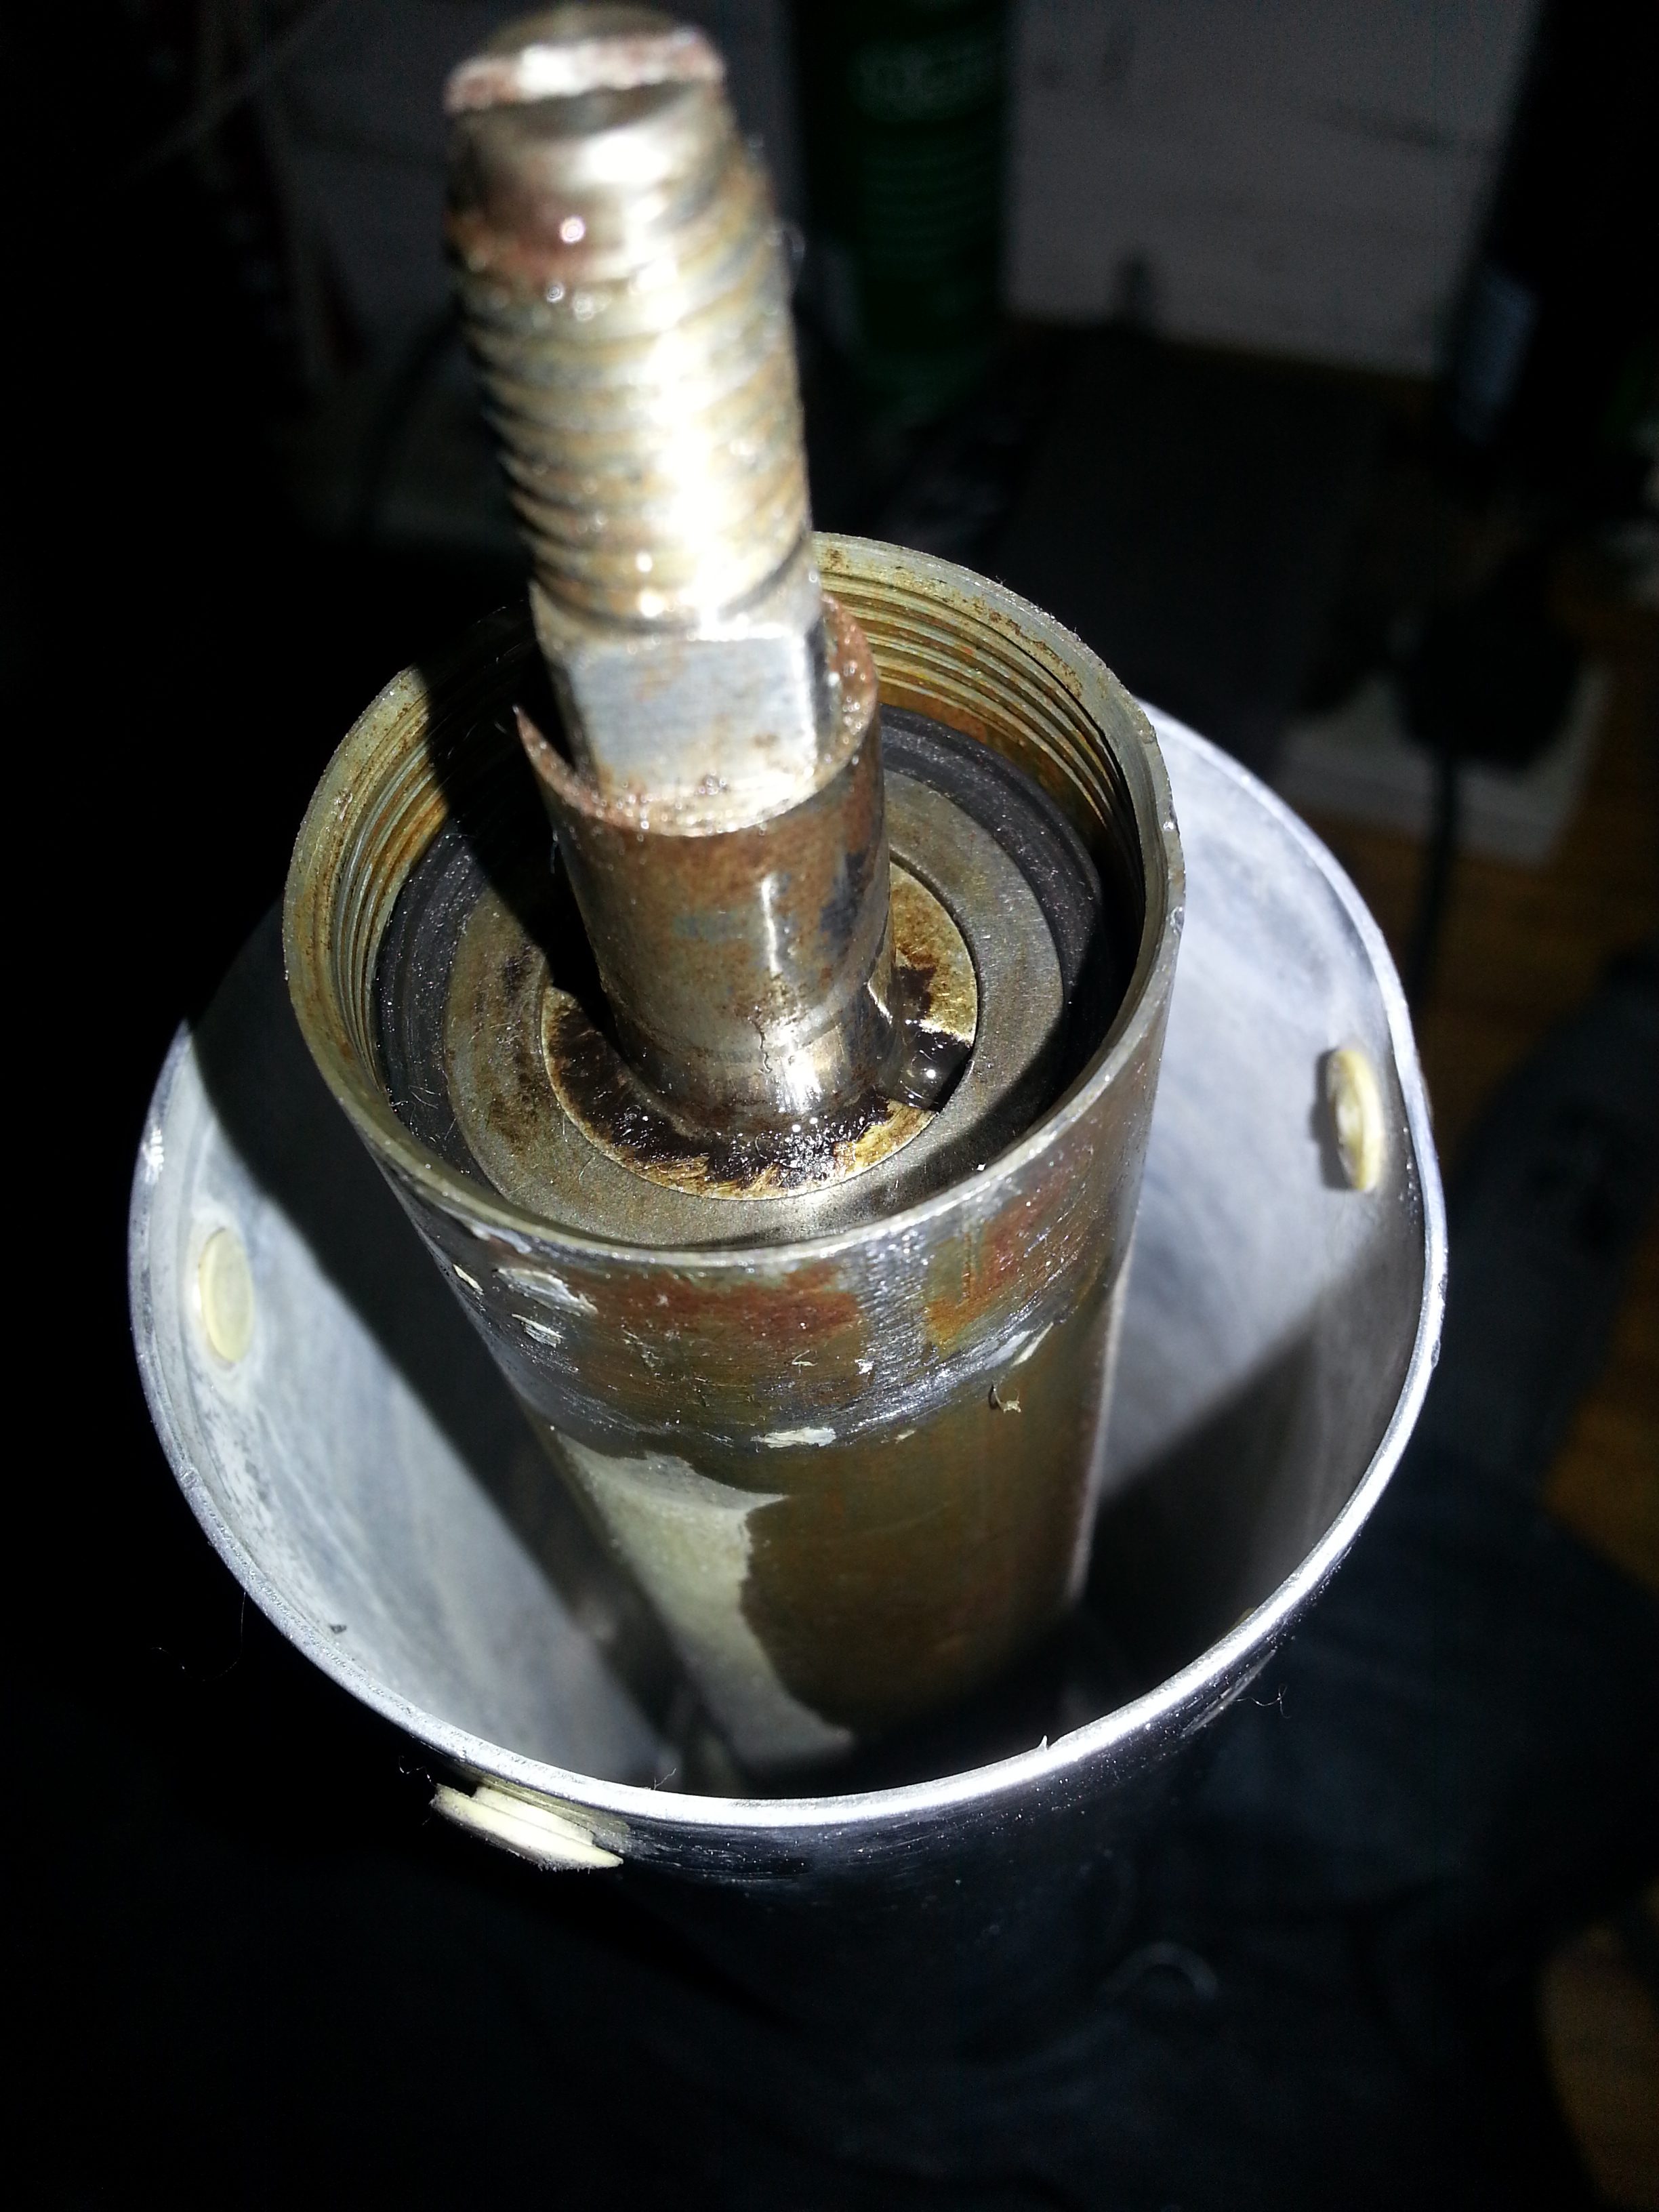
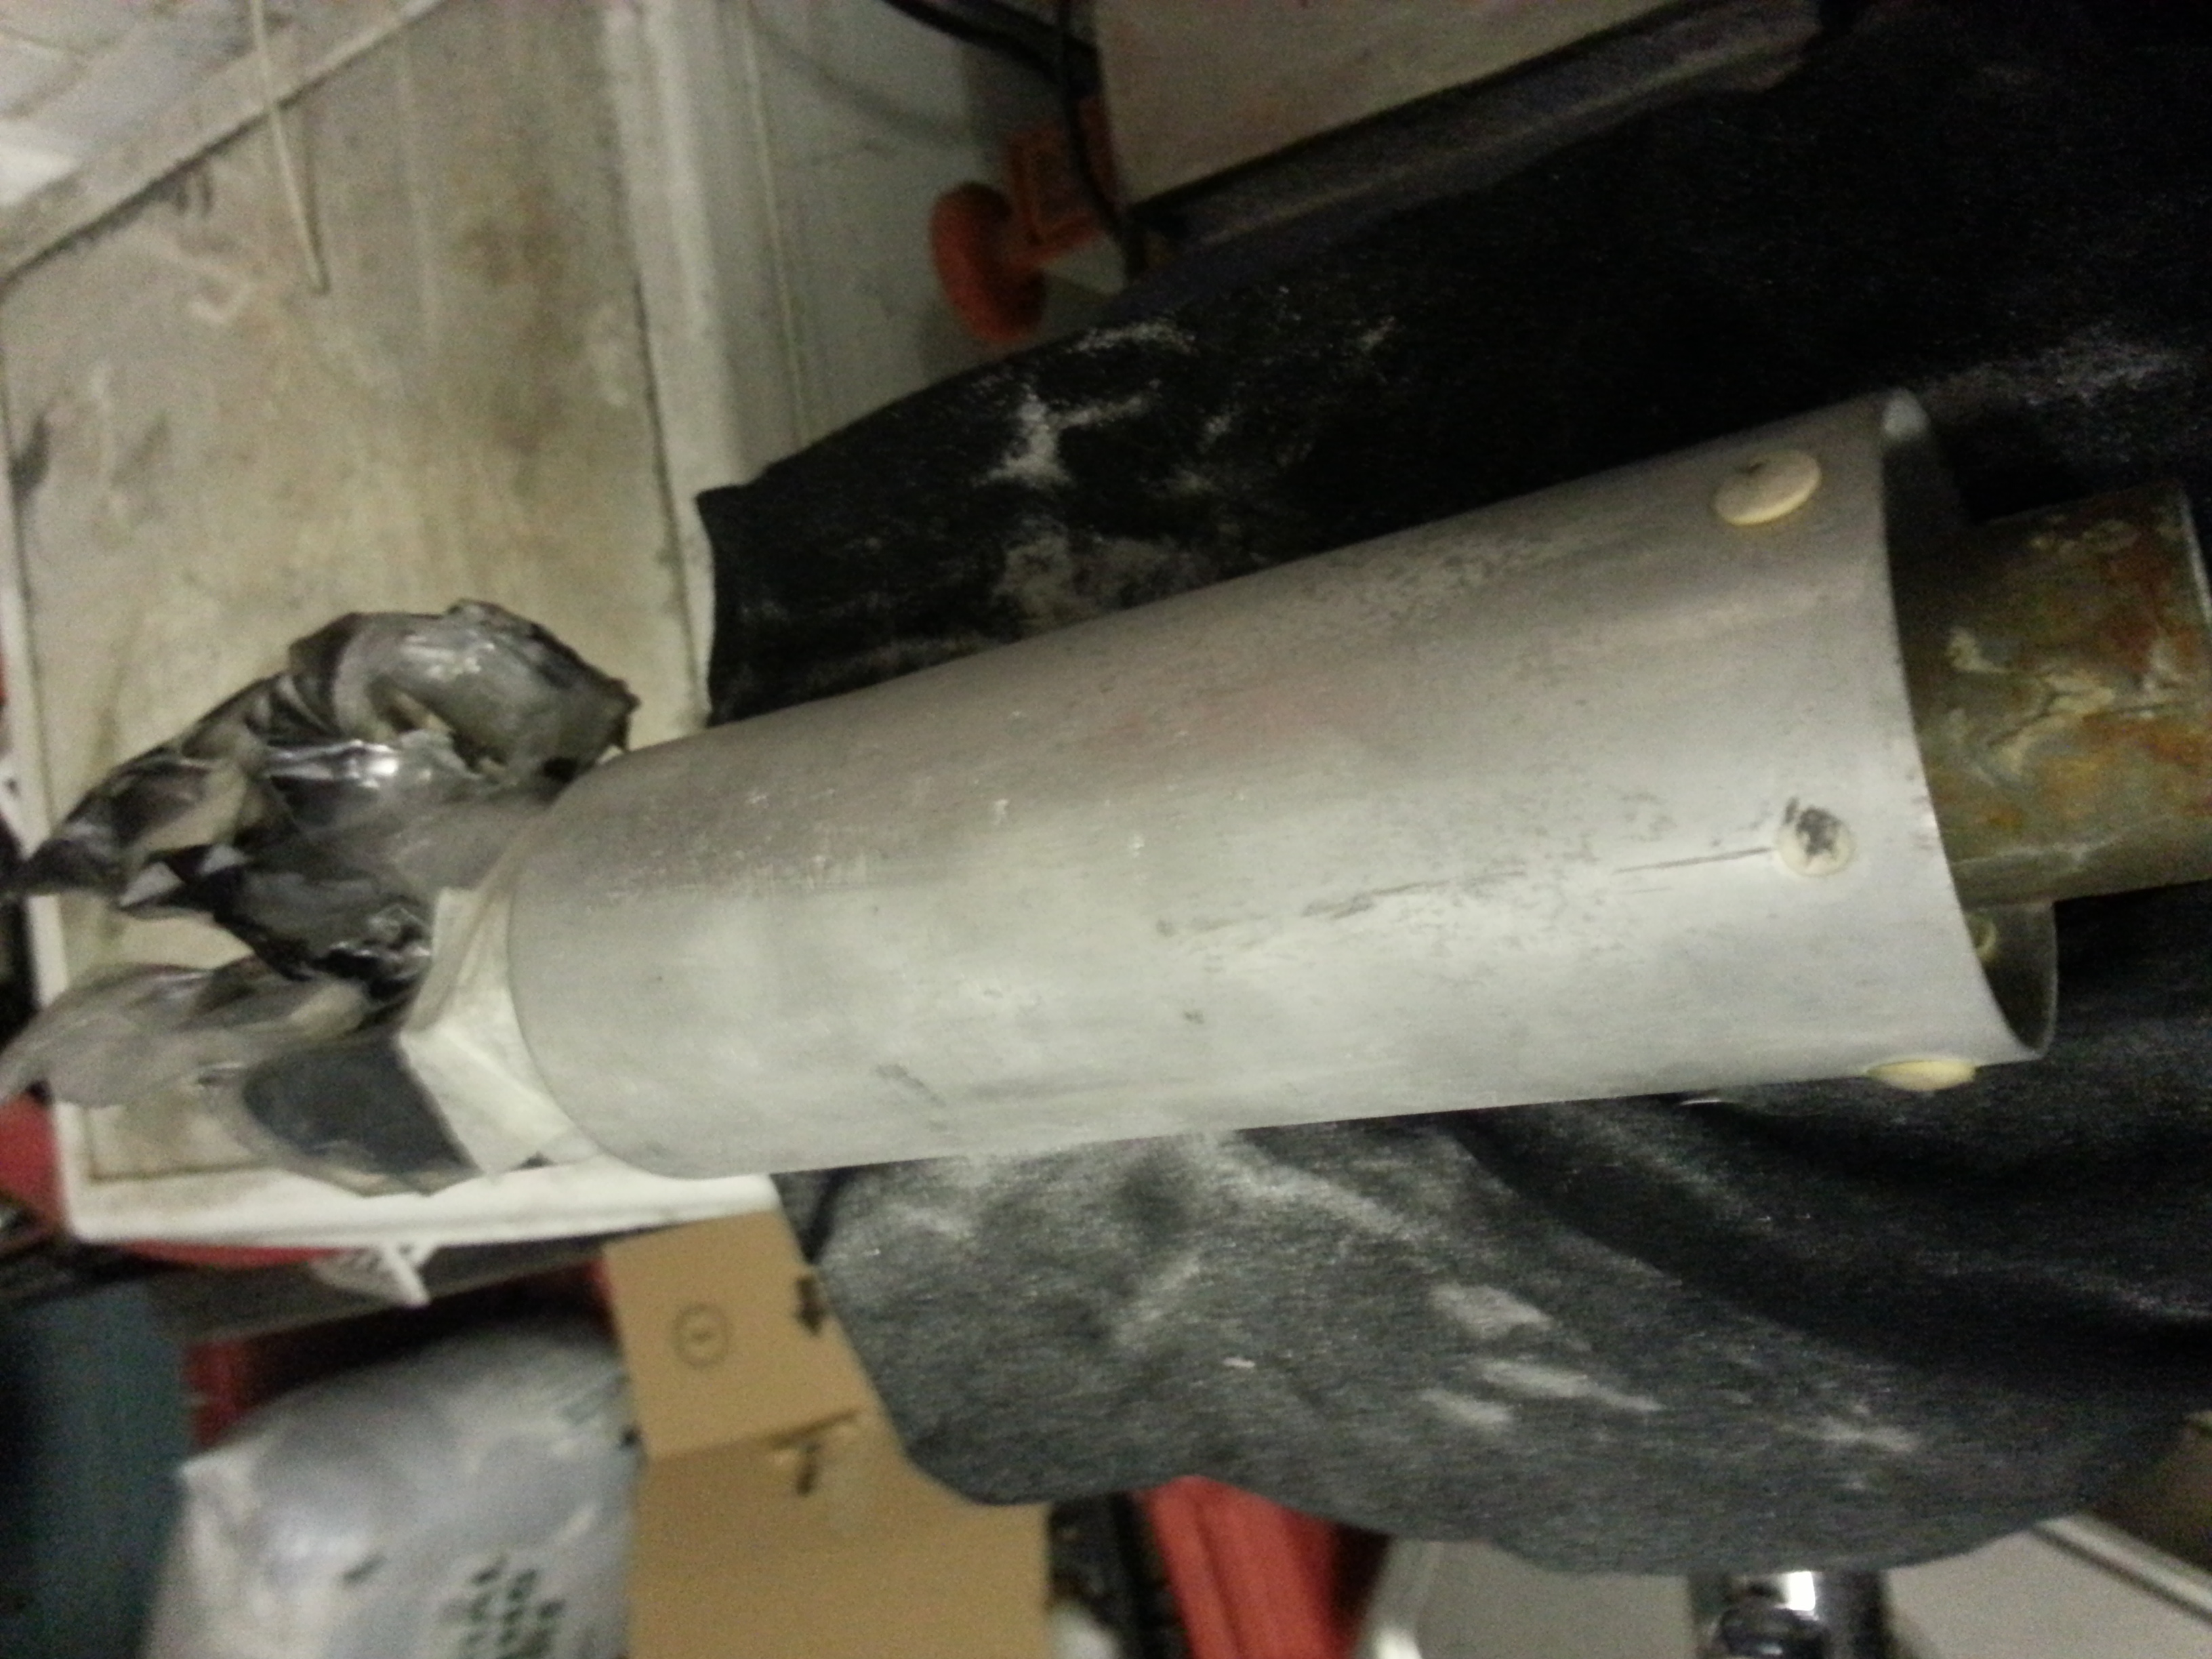
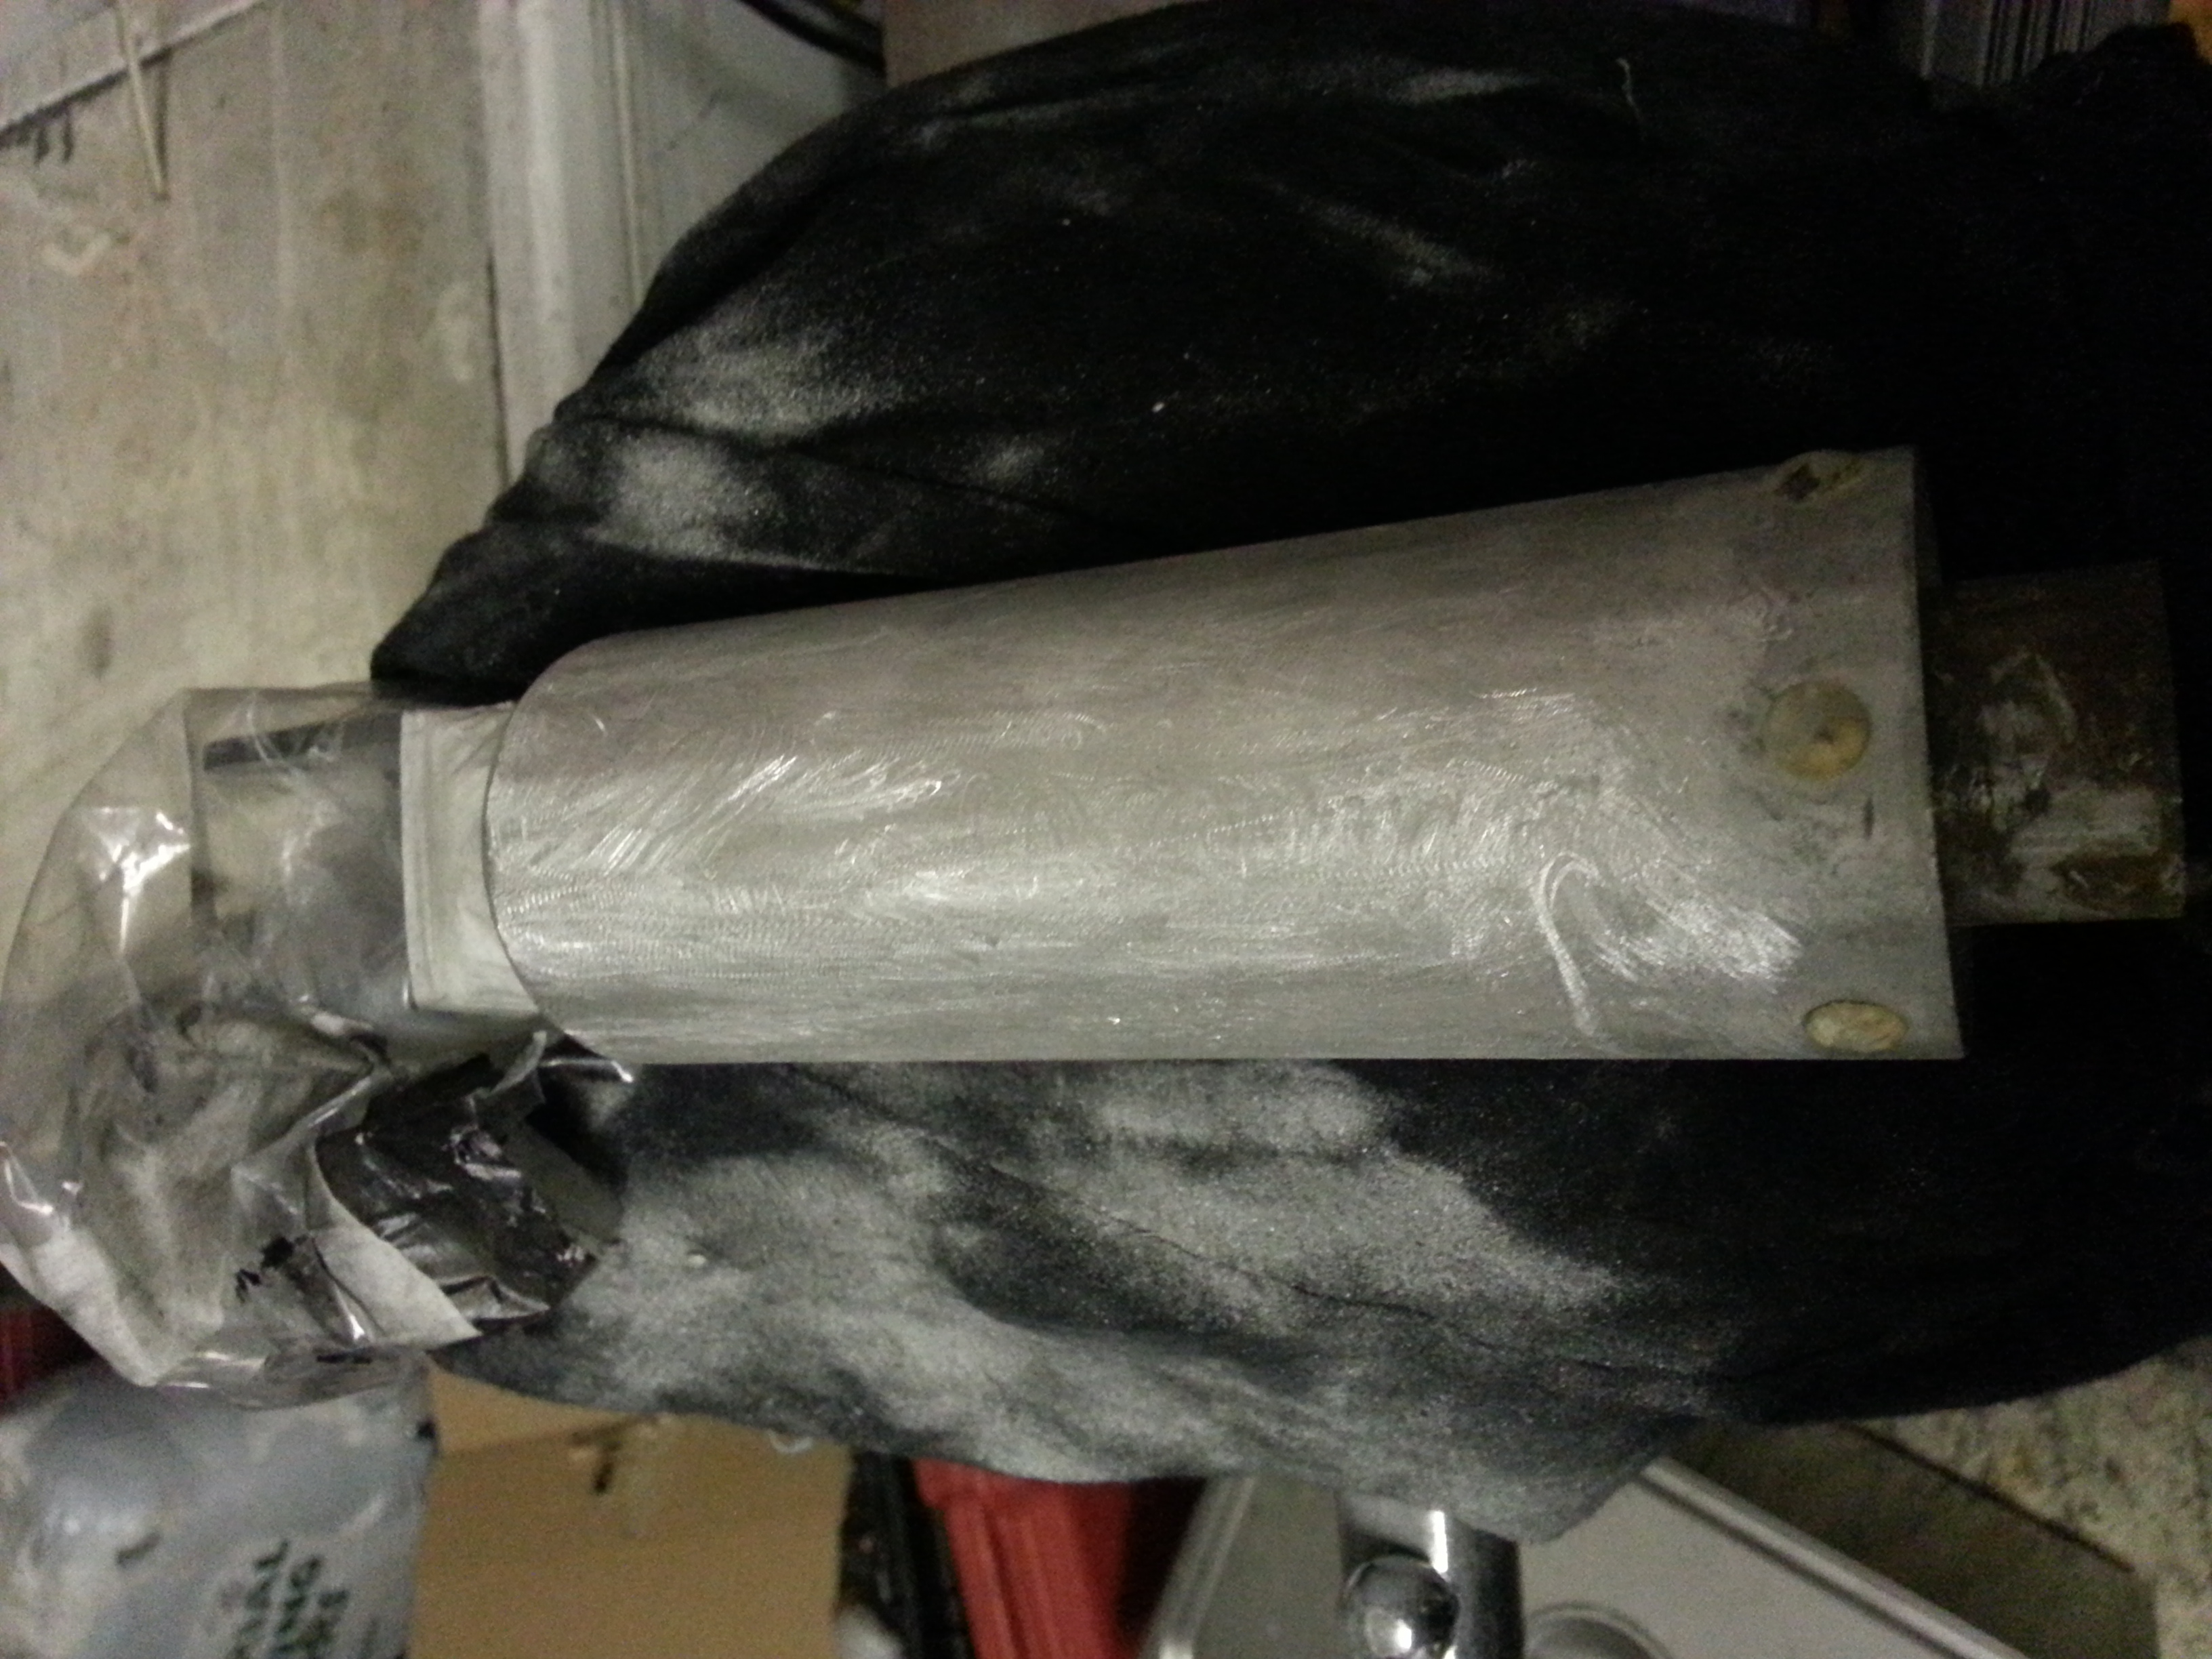
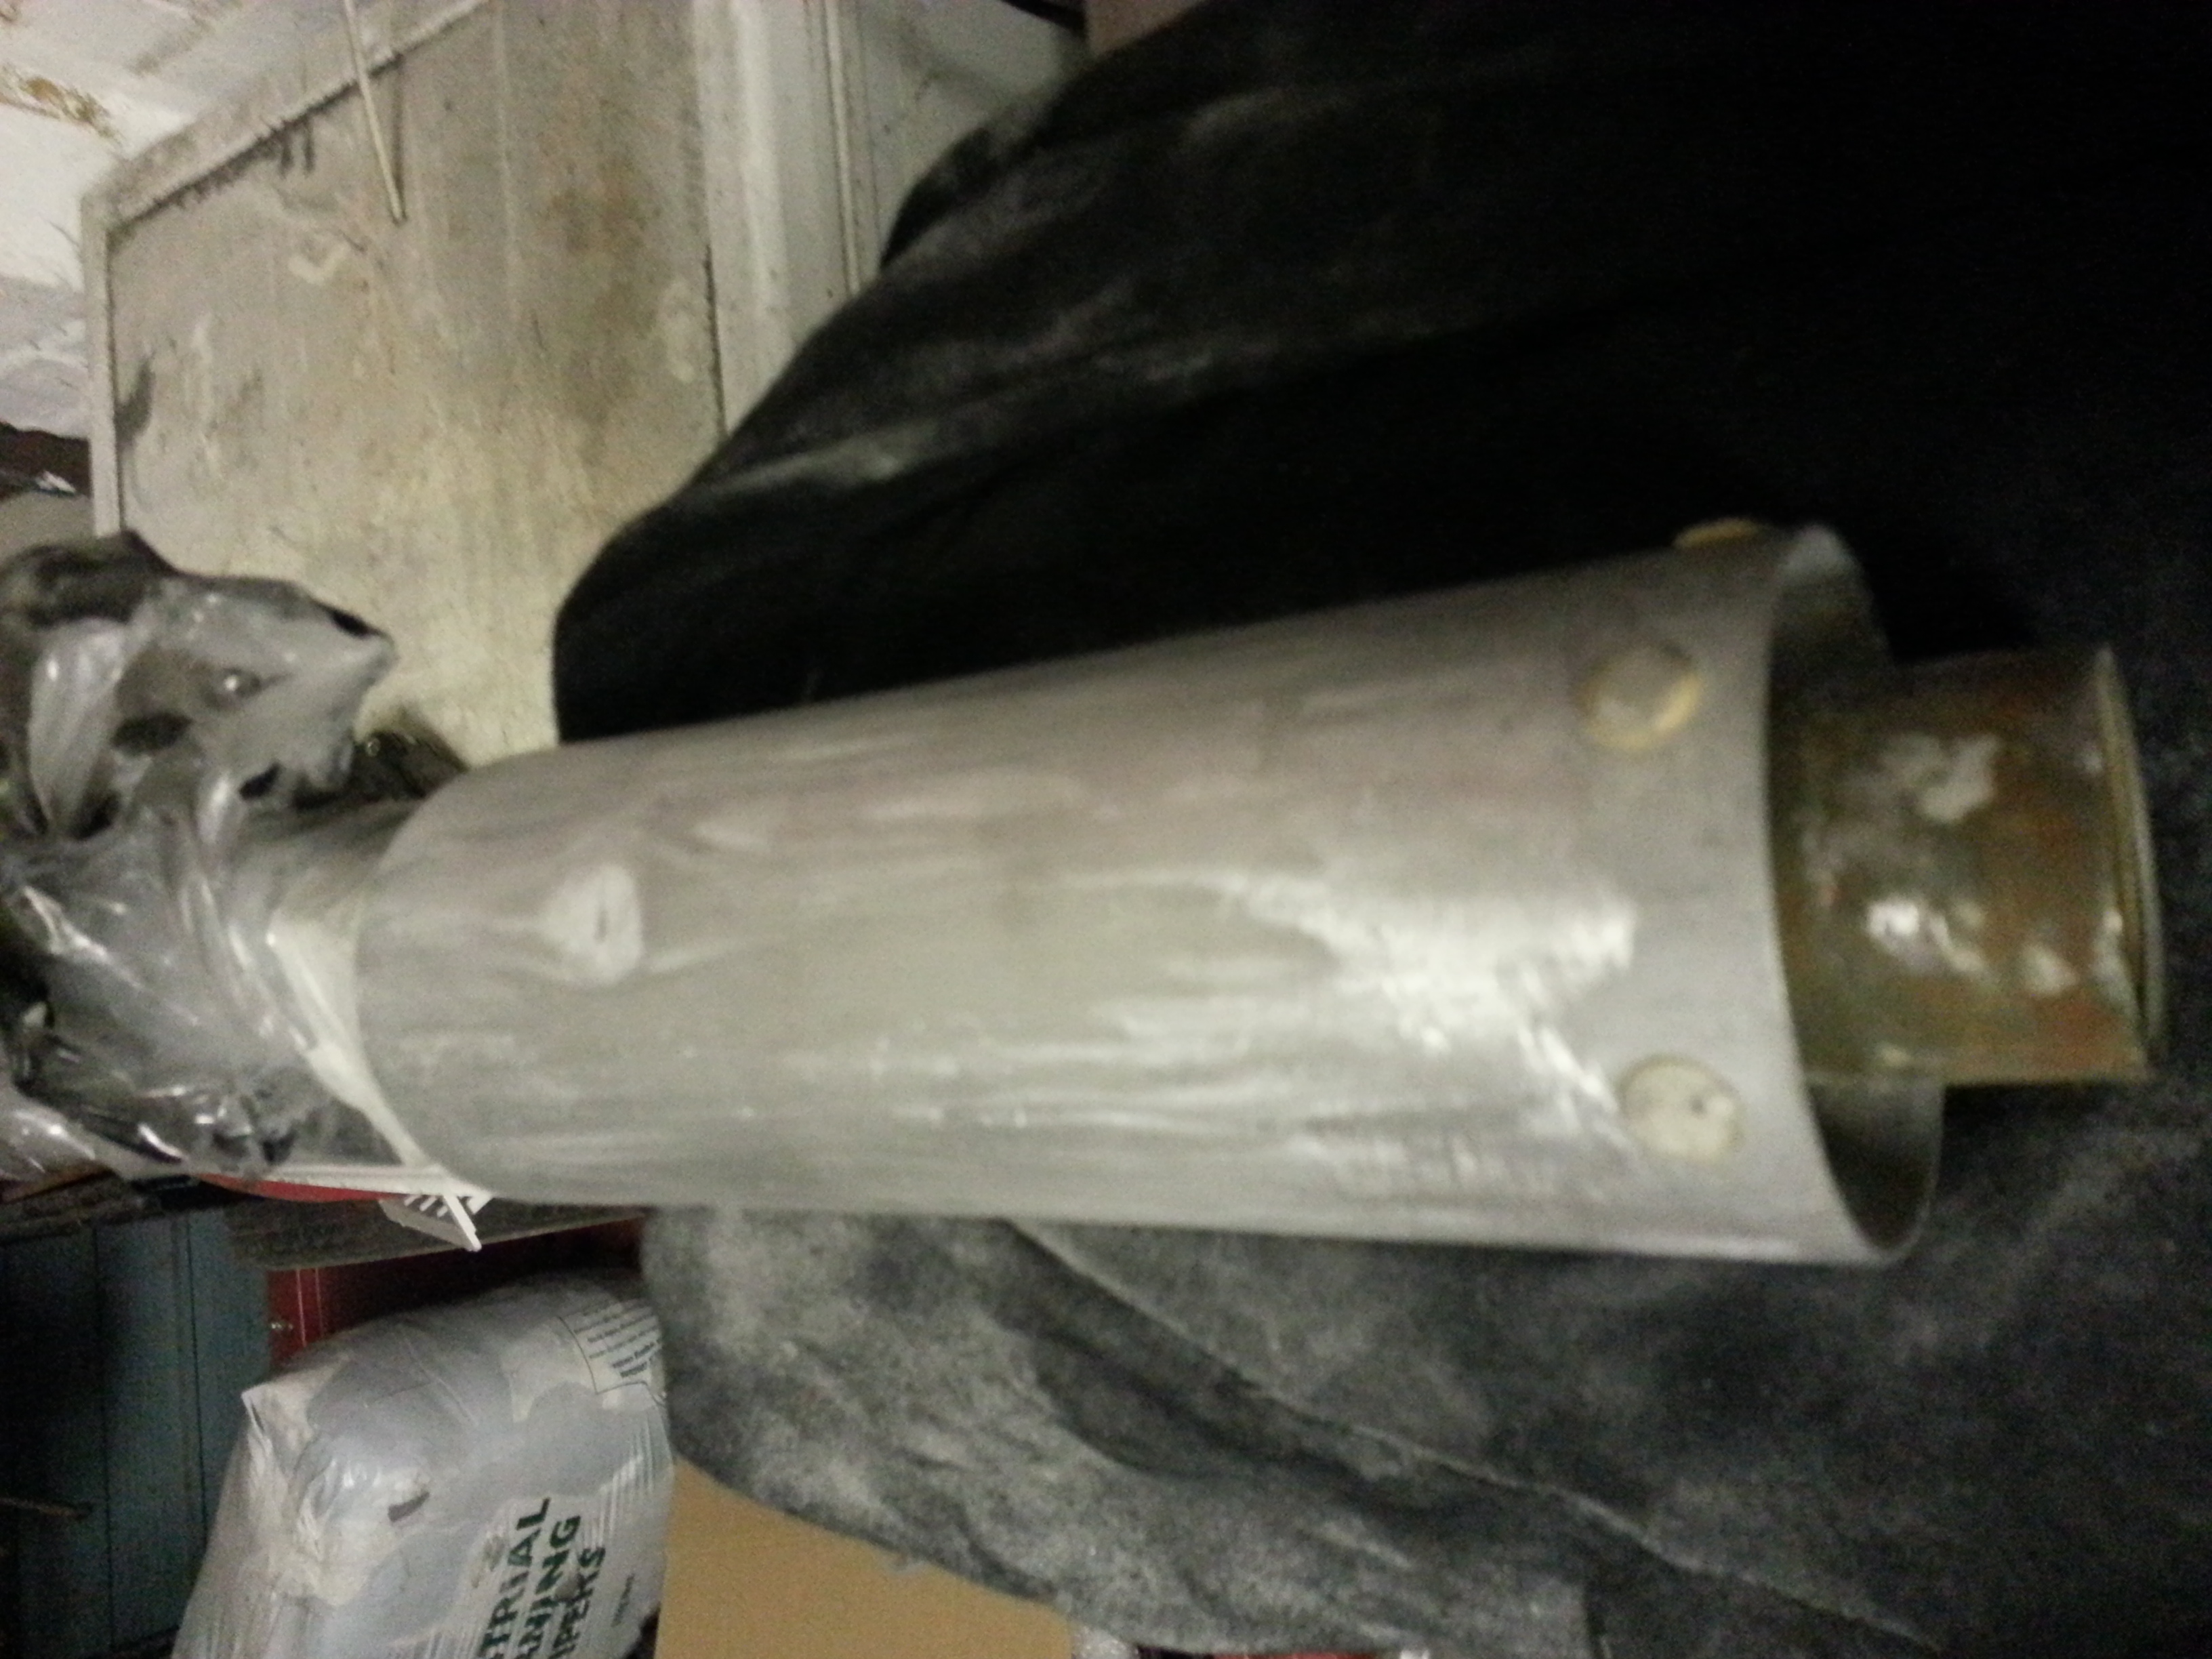
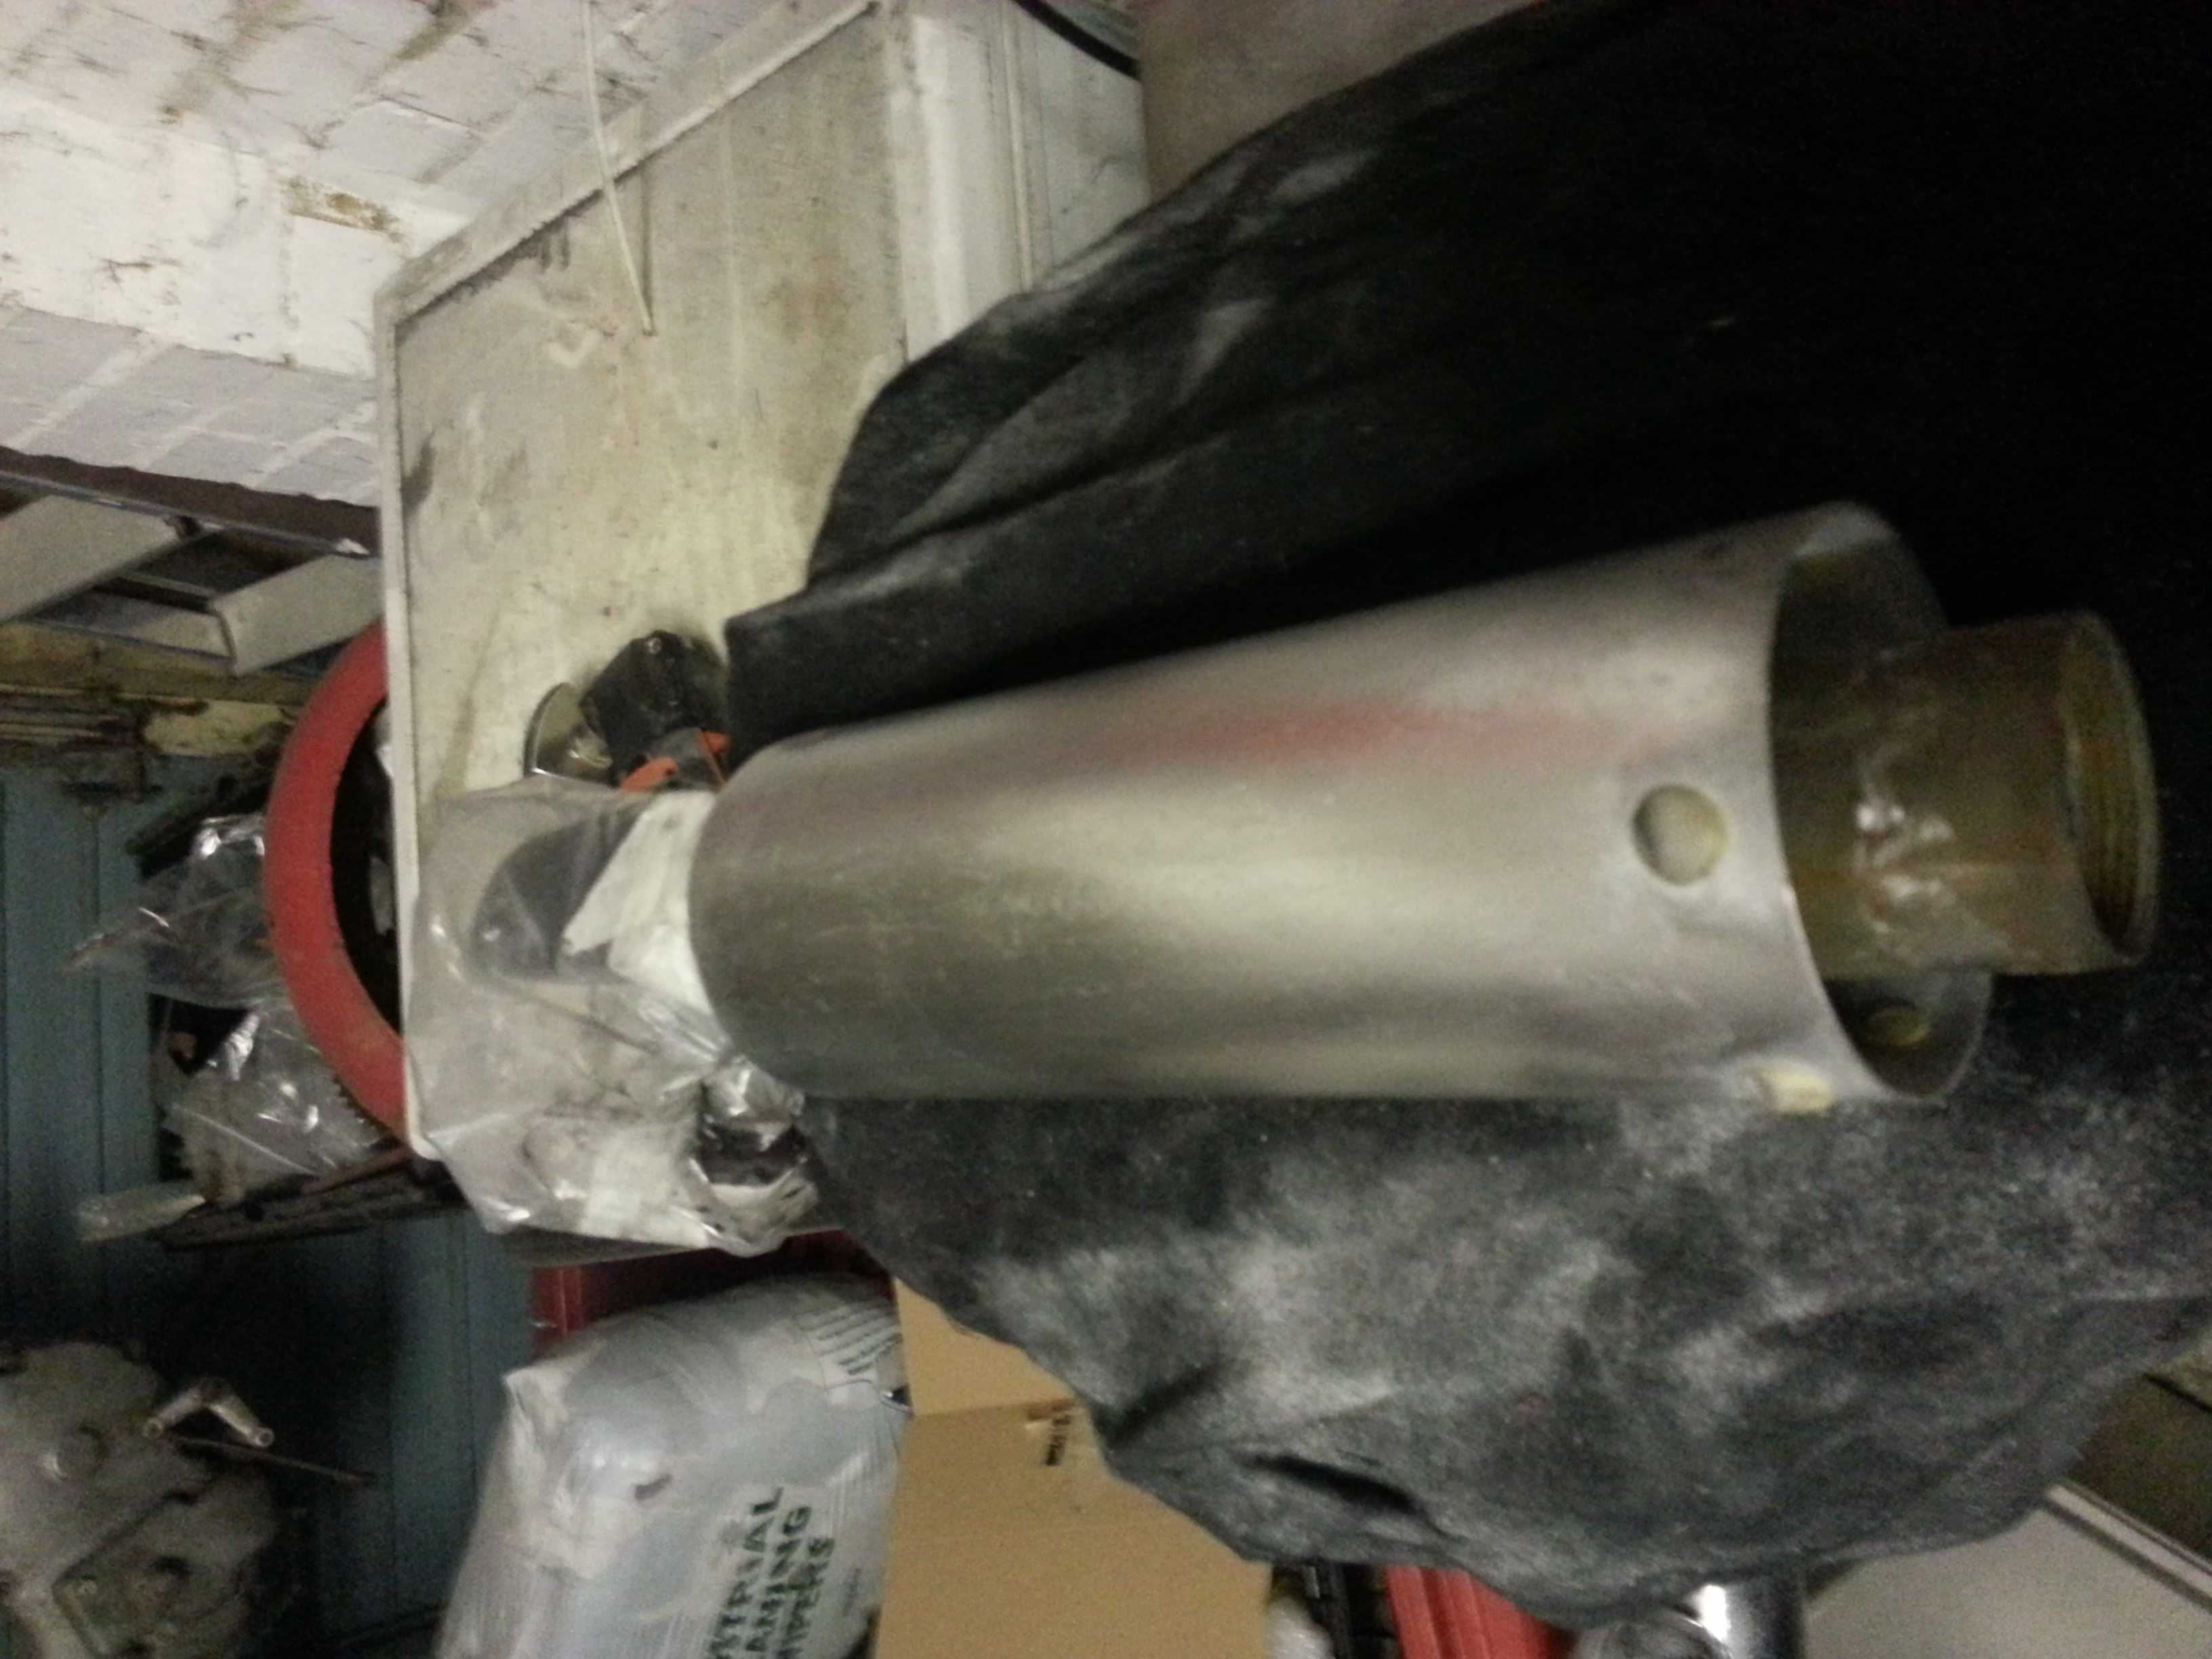
The next part is to screw the head off very carefully using some back and forth motion and not to force it at any time. Here are some photo’s of how NOT to do it; this is before I knew there was a very fine thread. I thought it was simply corroded and stuck…
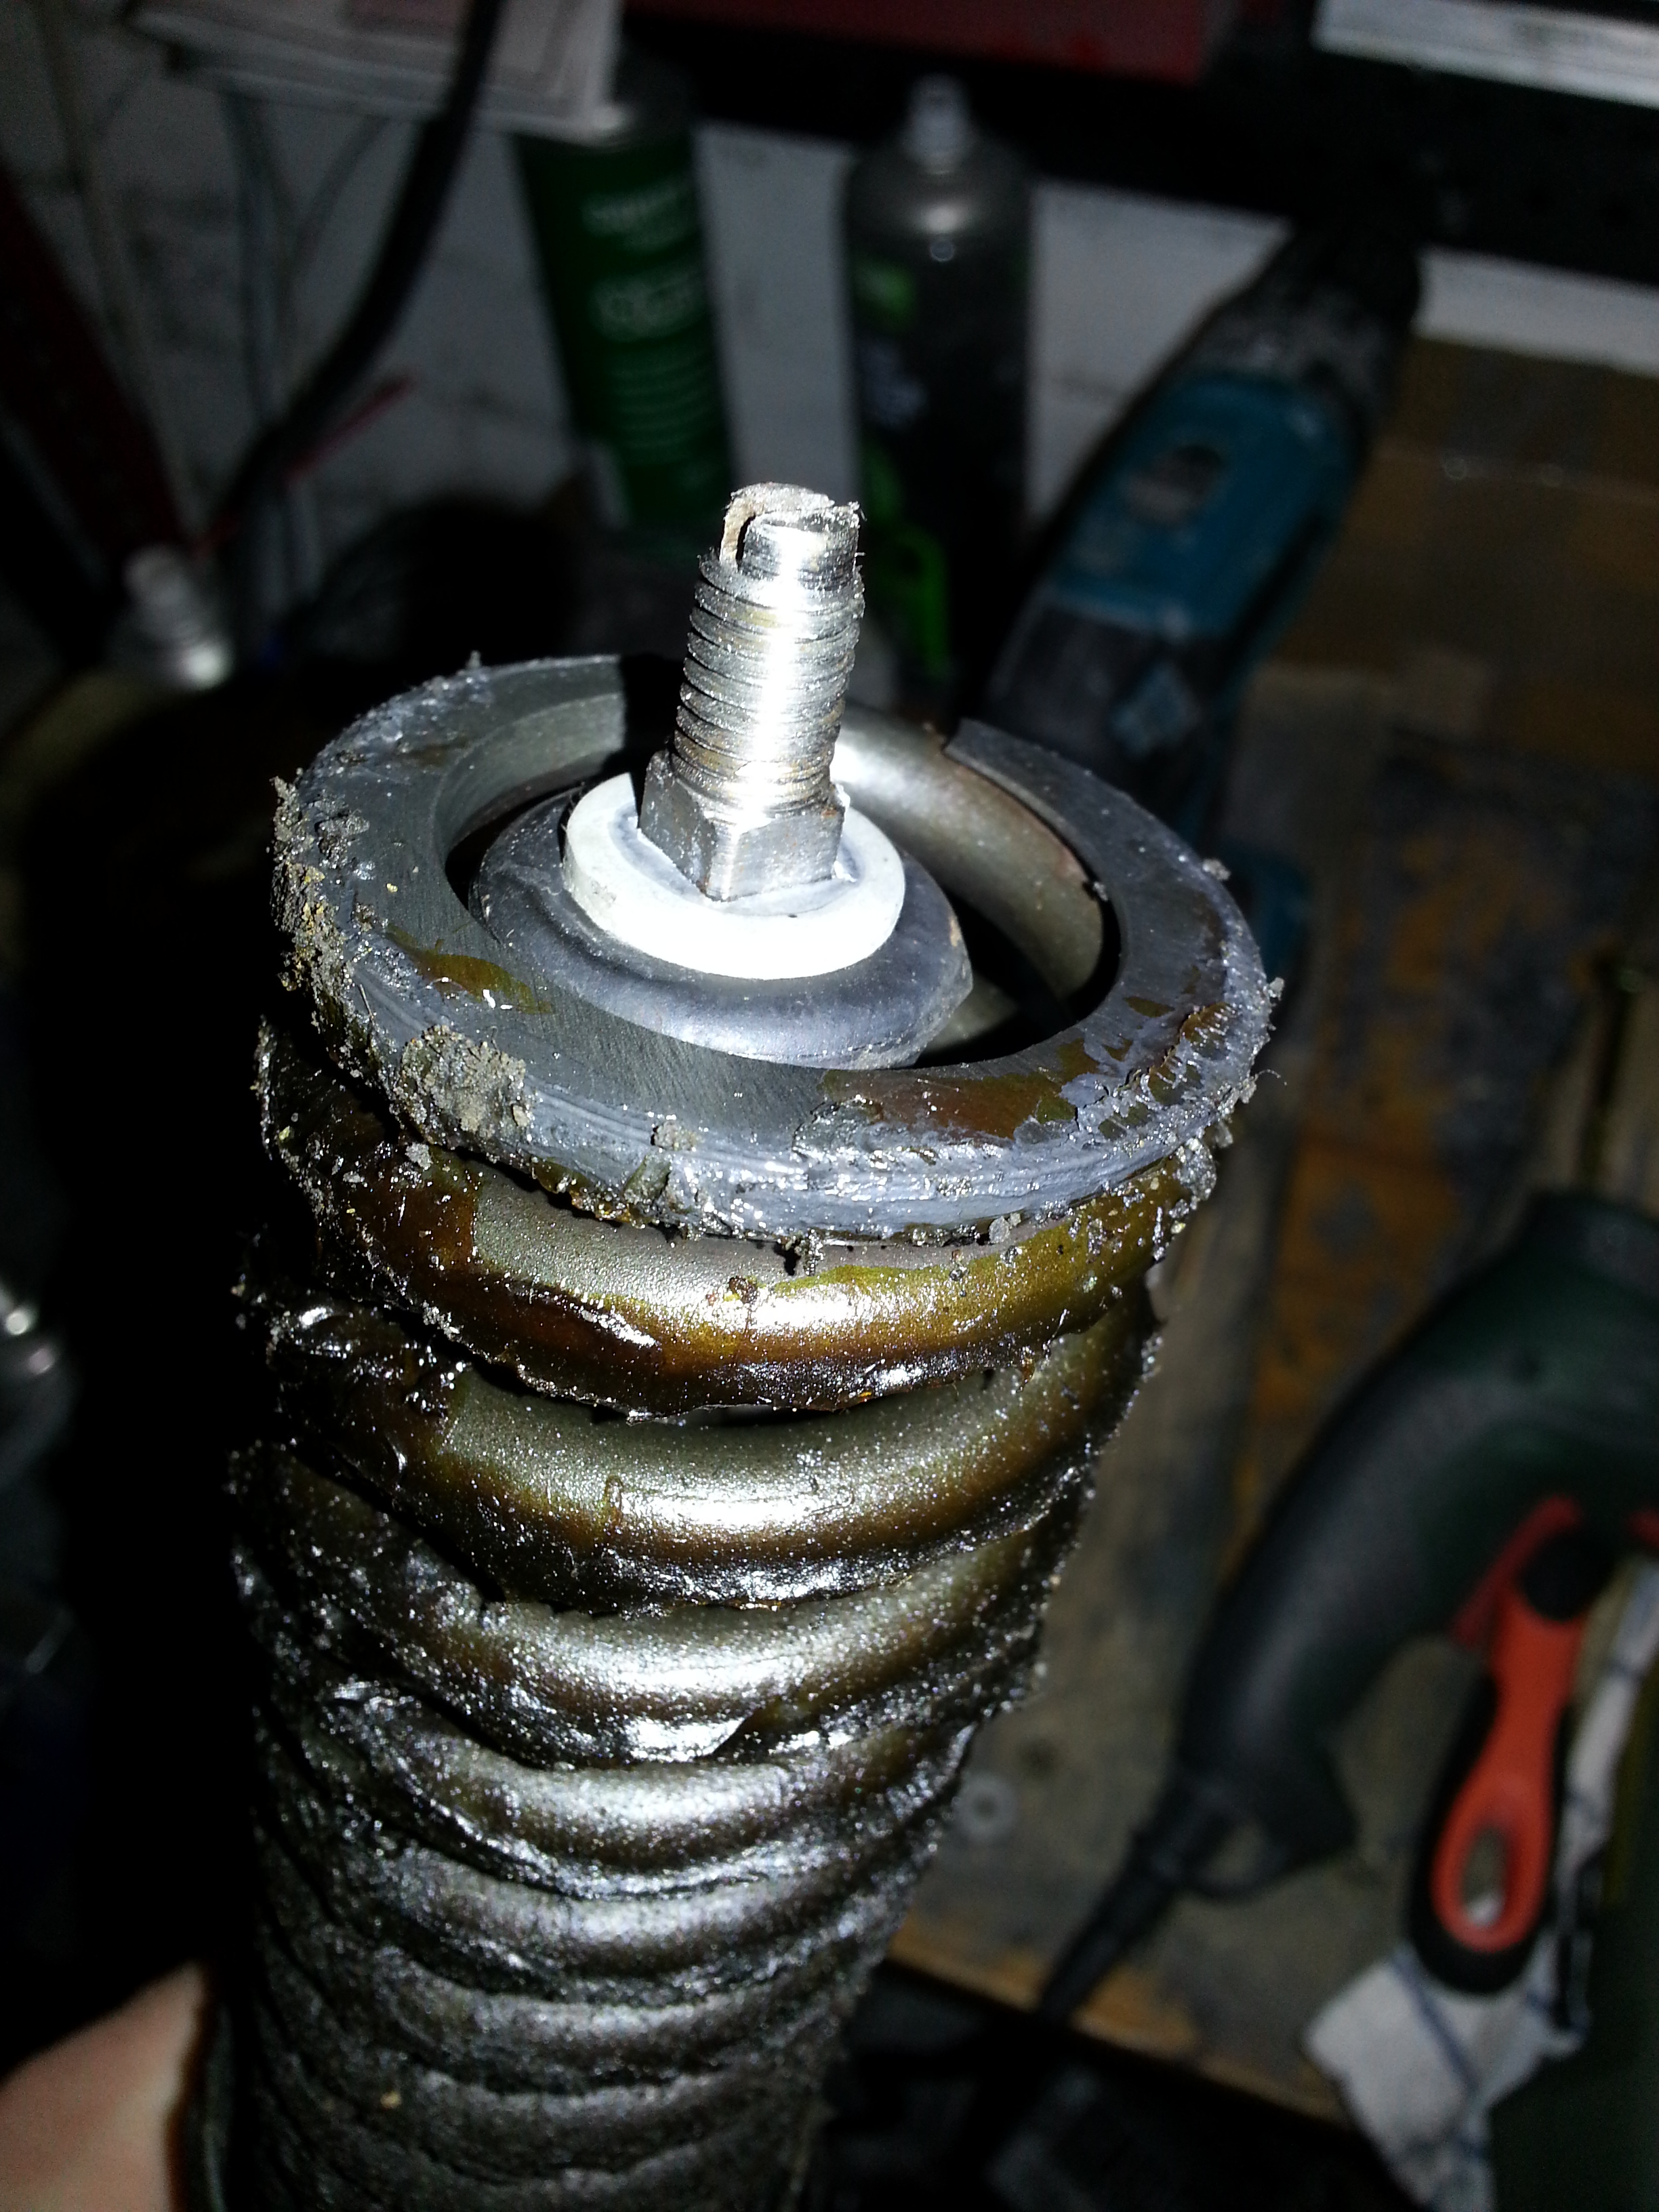
As you can see, using poly urethane foam, a vice and a metal bar can be used to exert quite a bit of force. The result was a stripped head that could not be used:
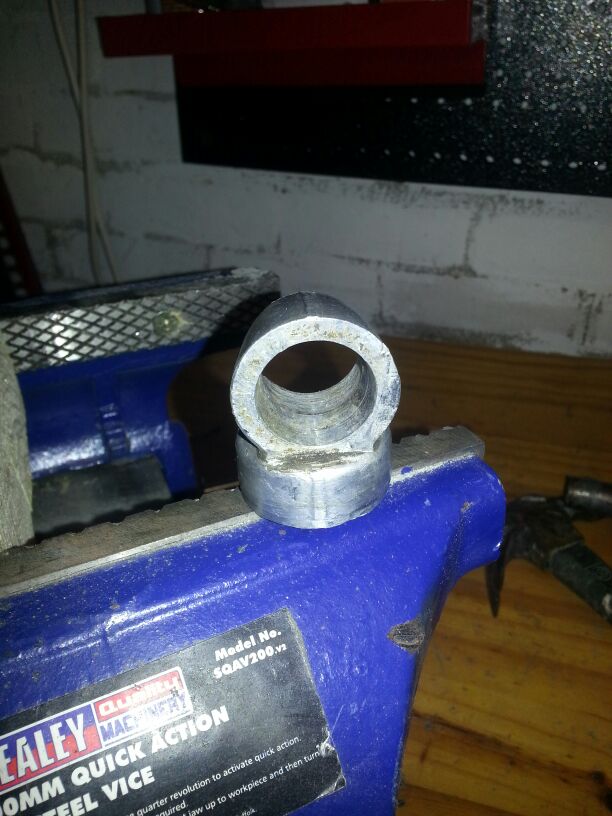
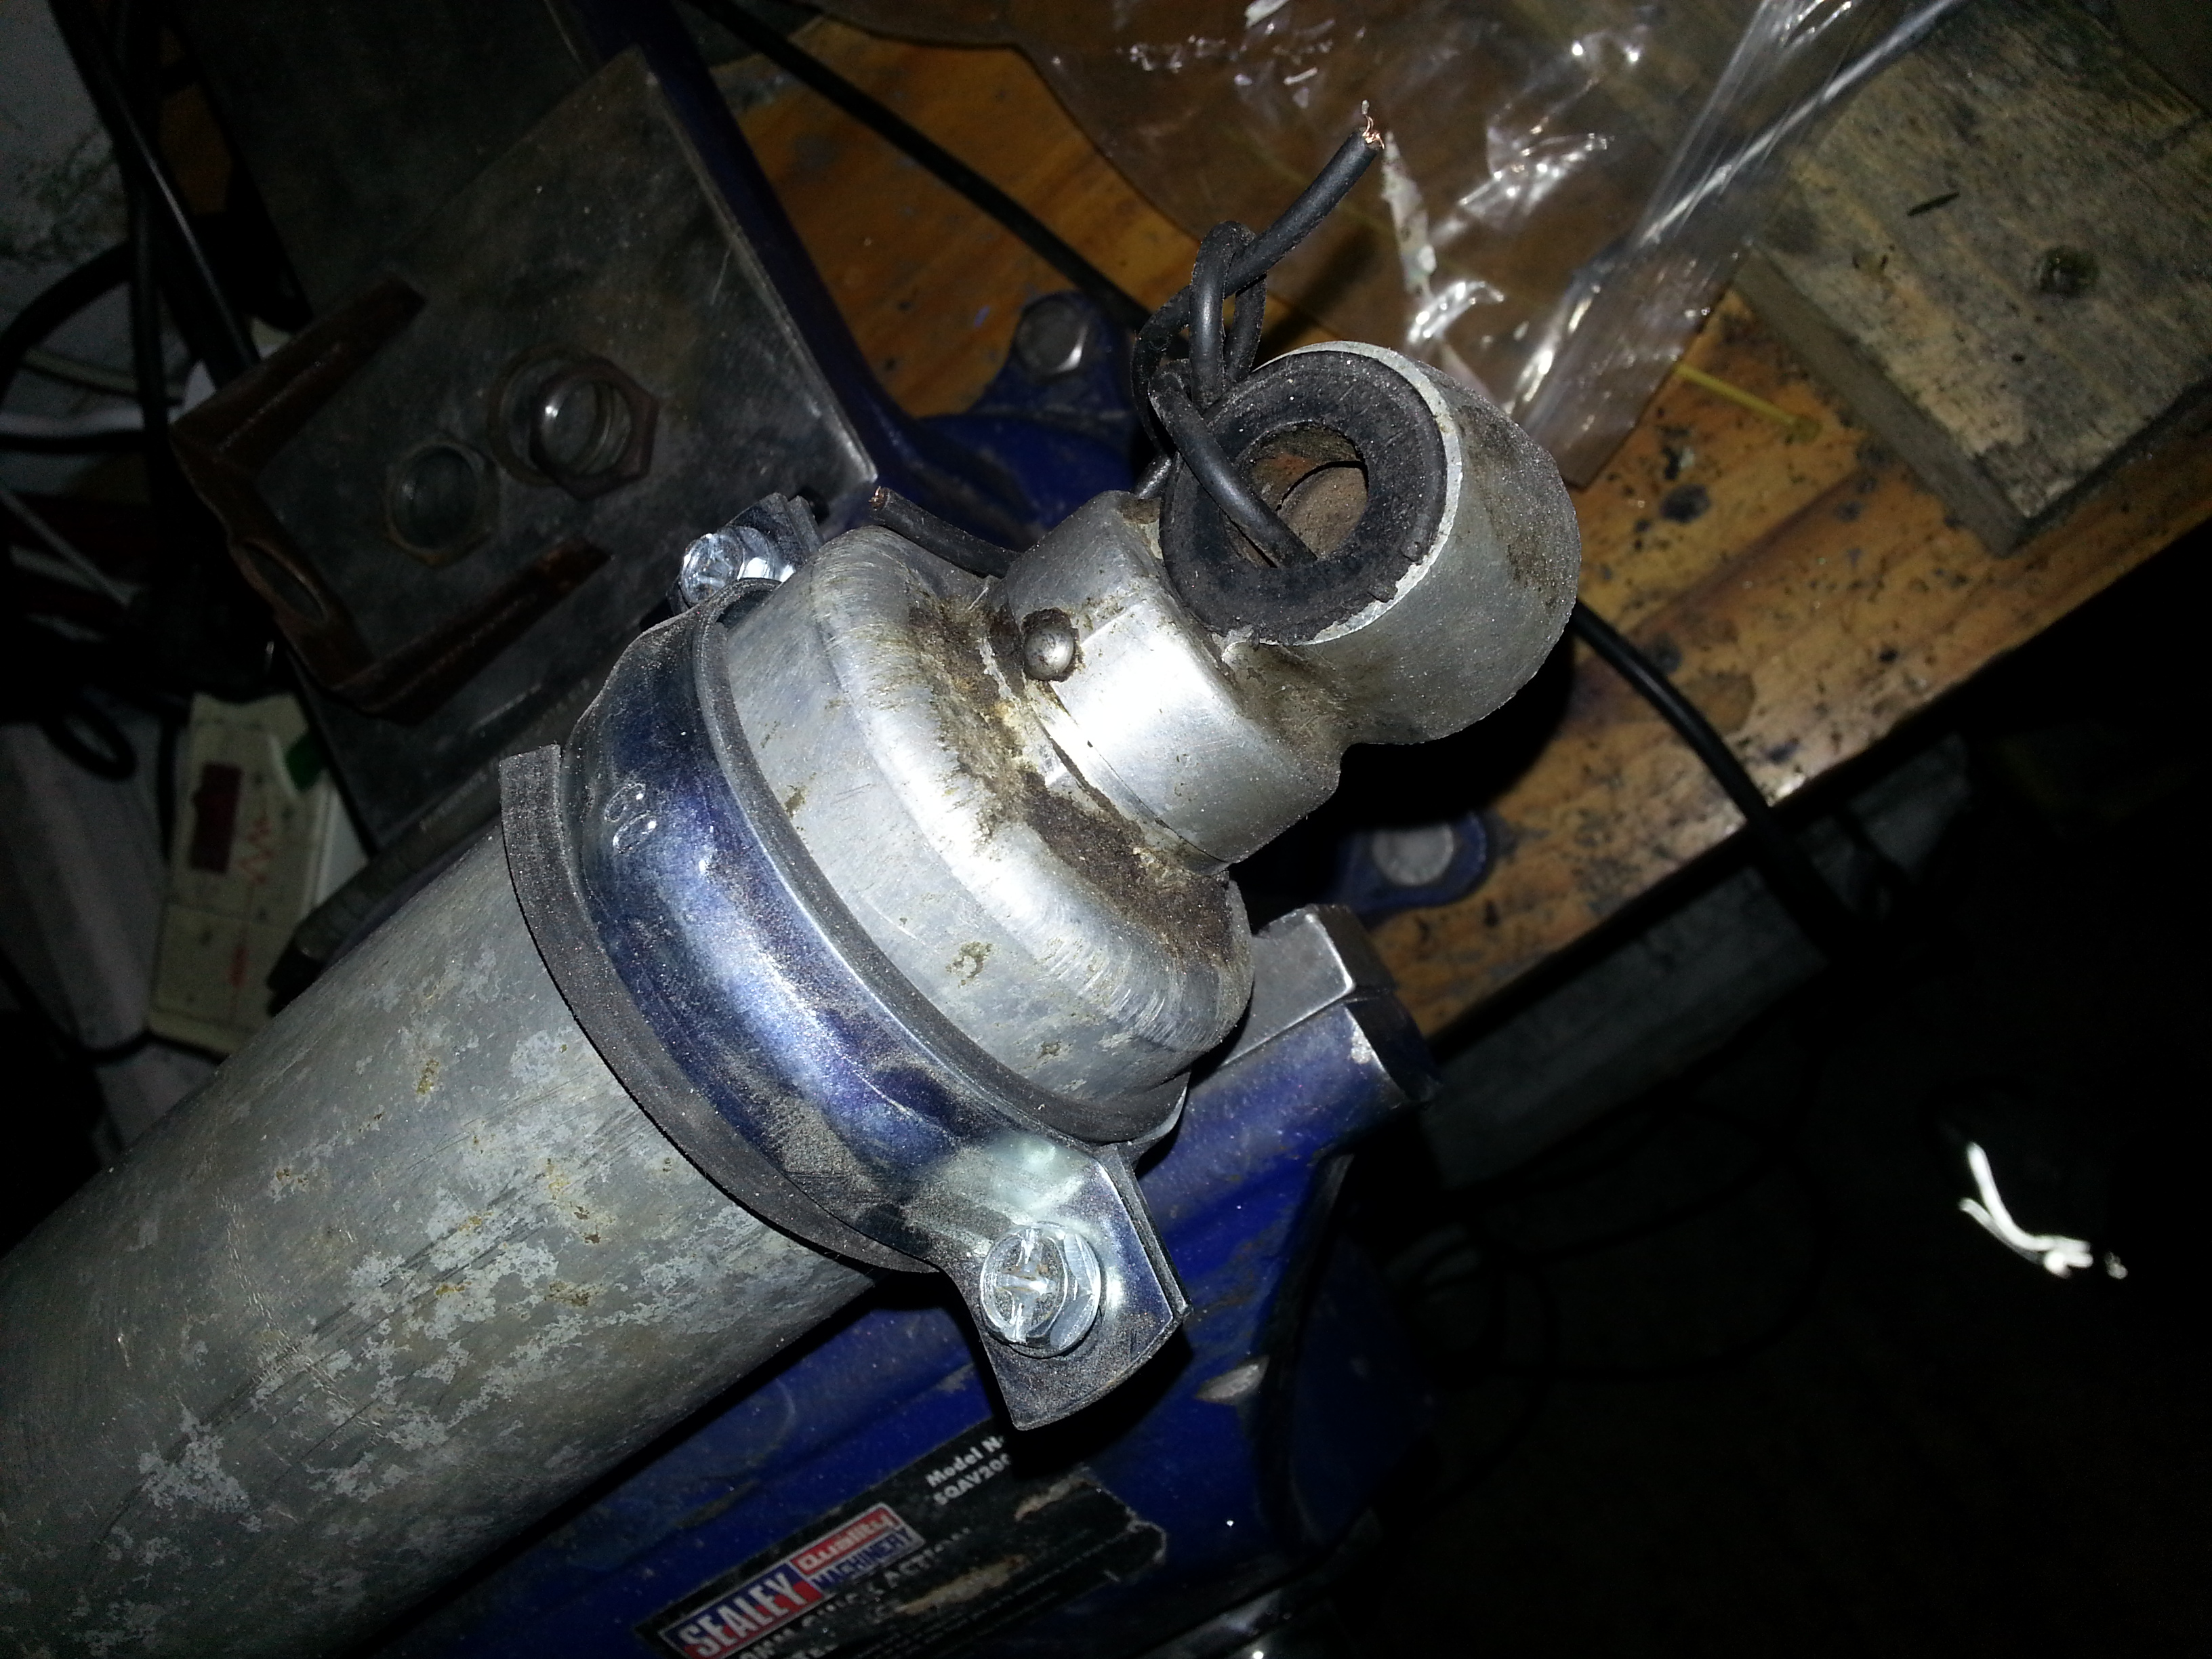
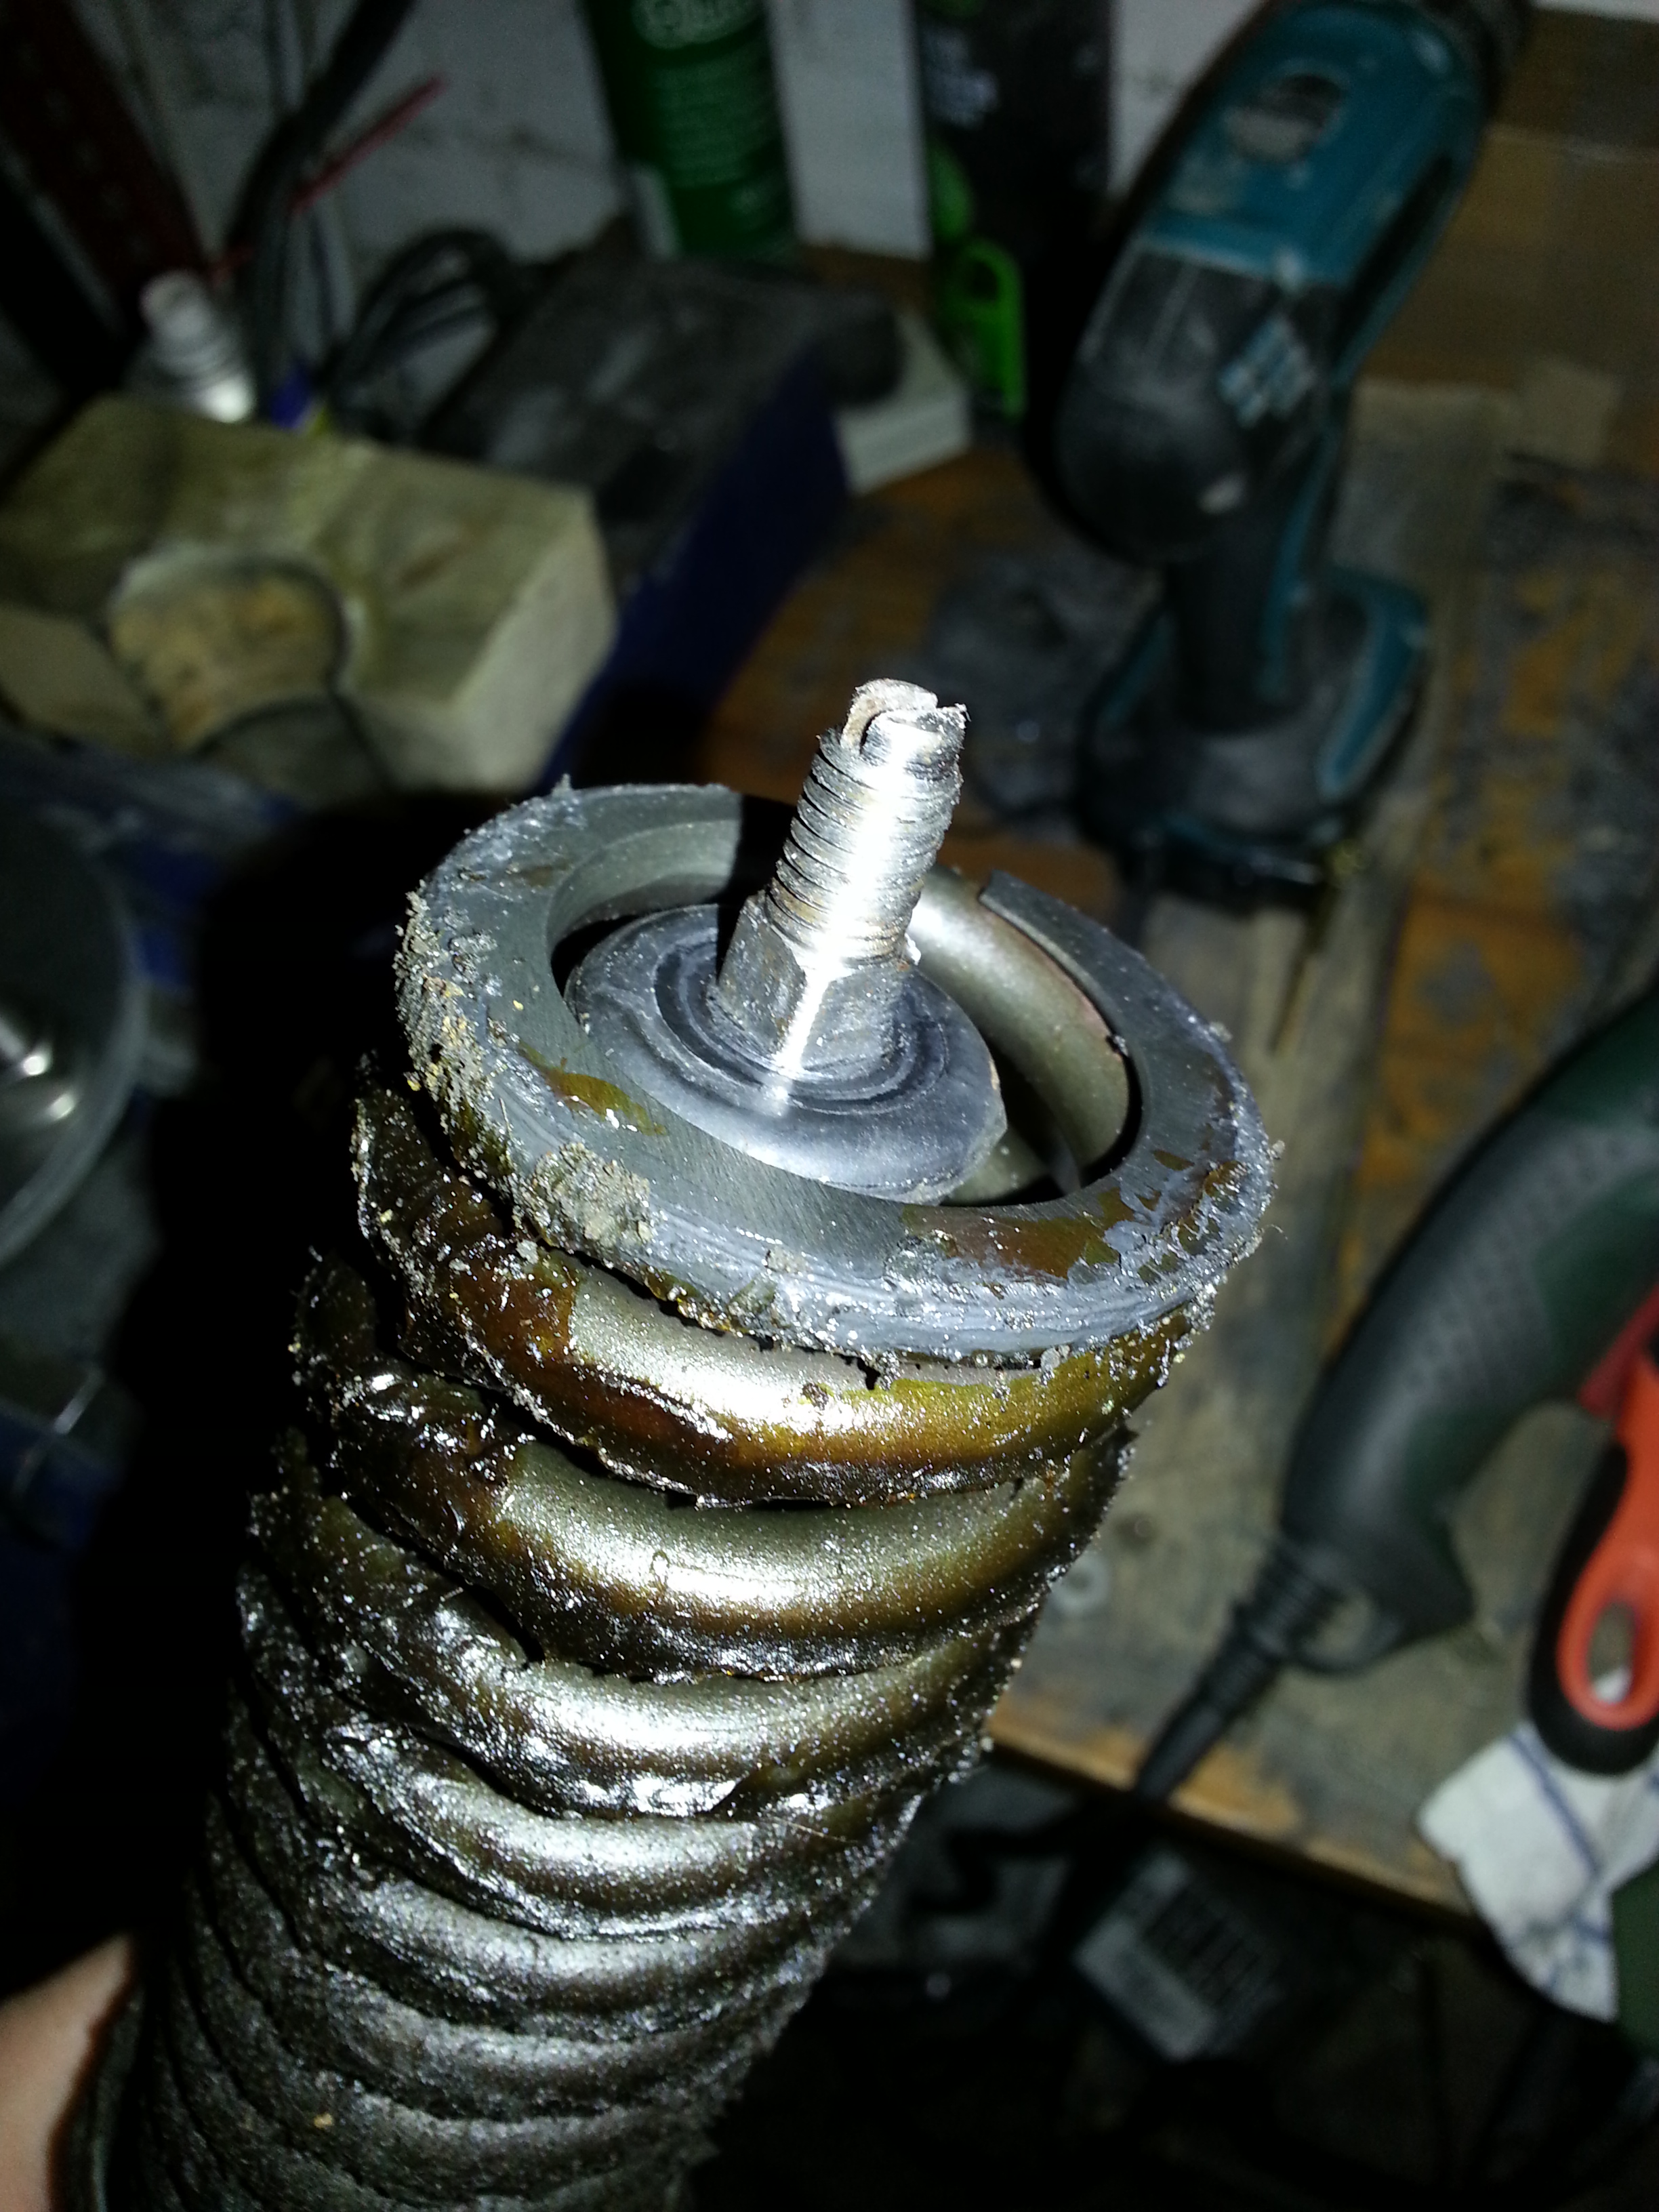
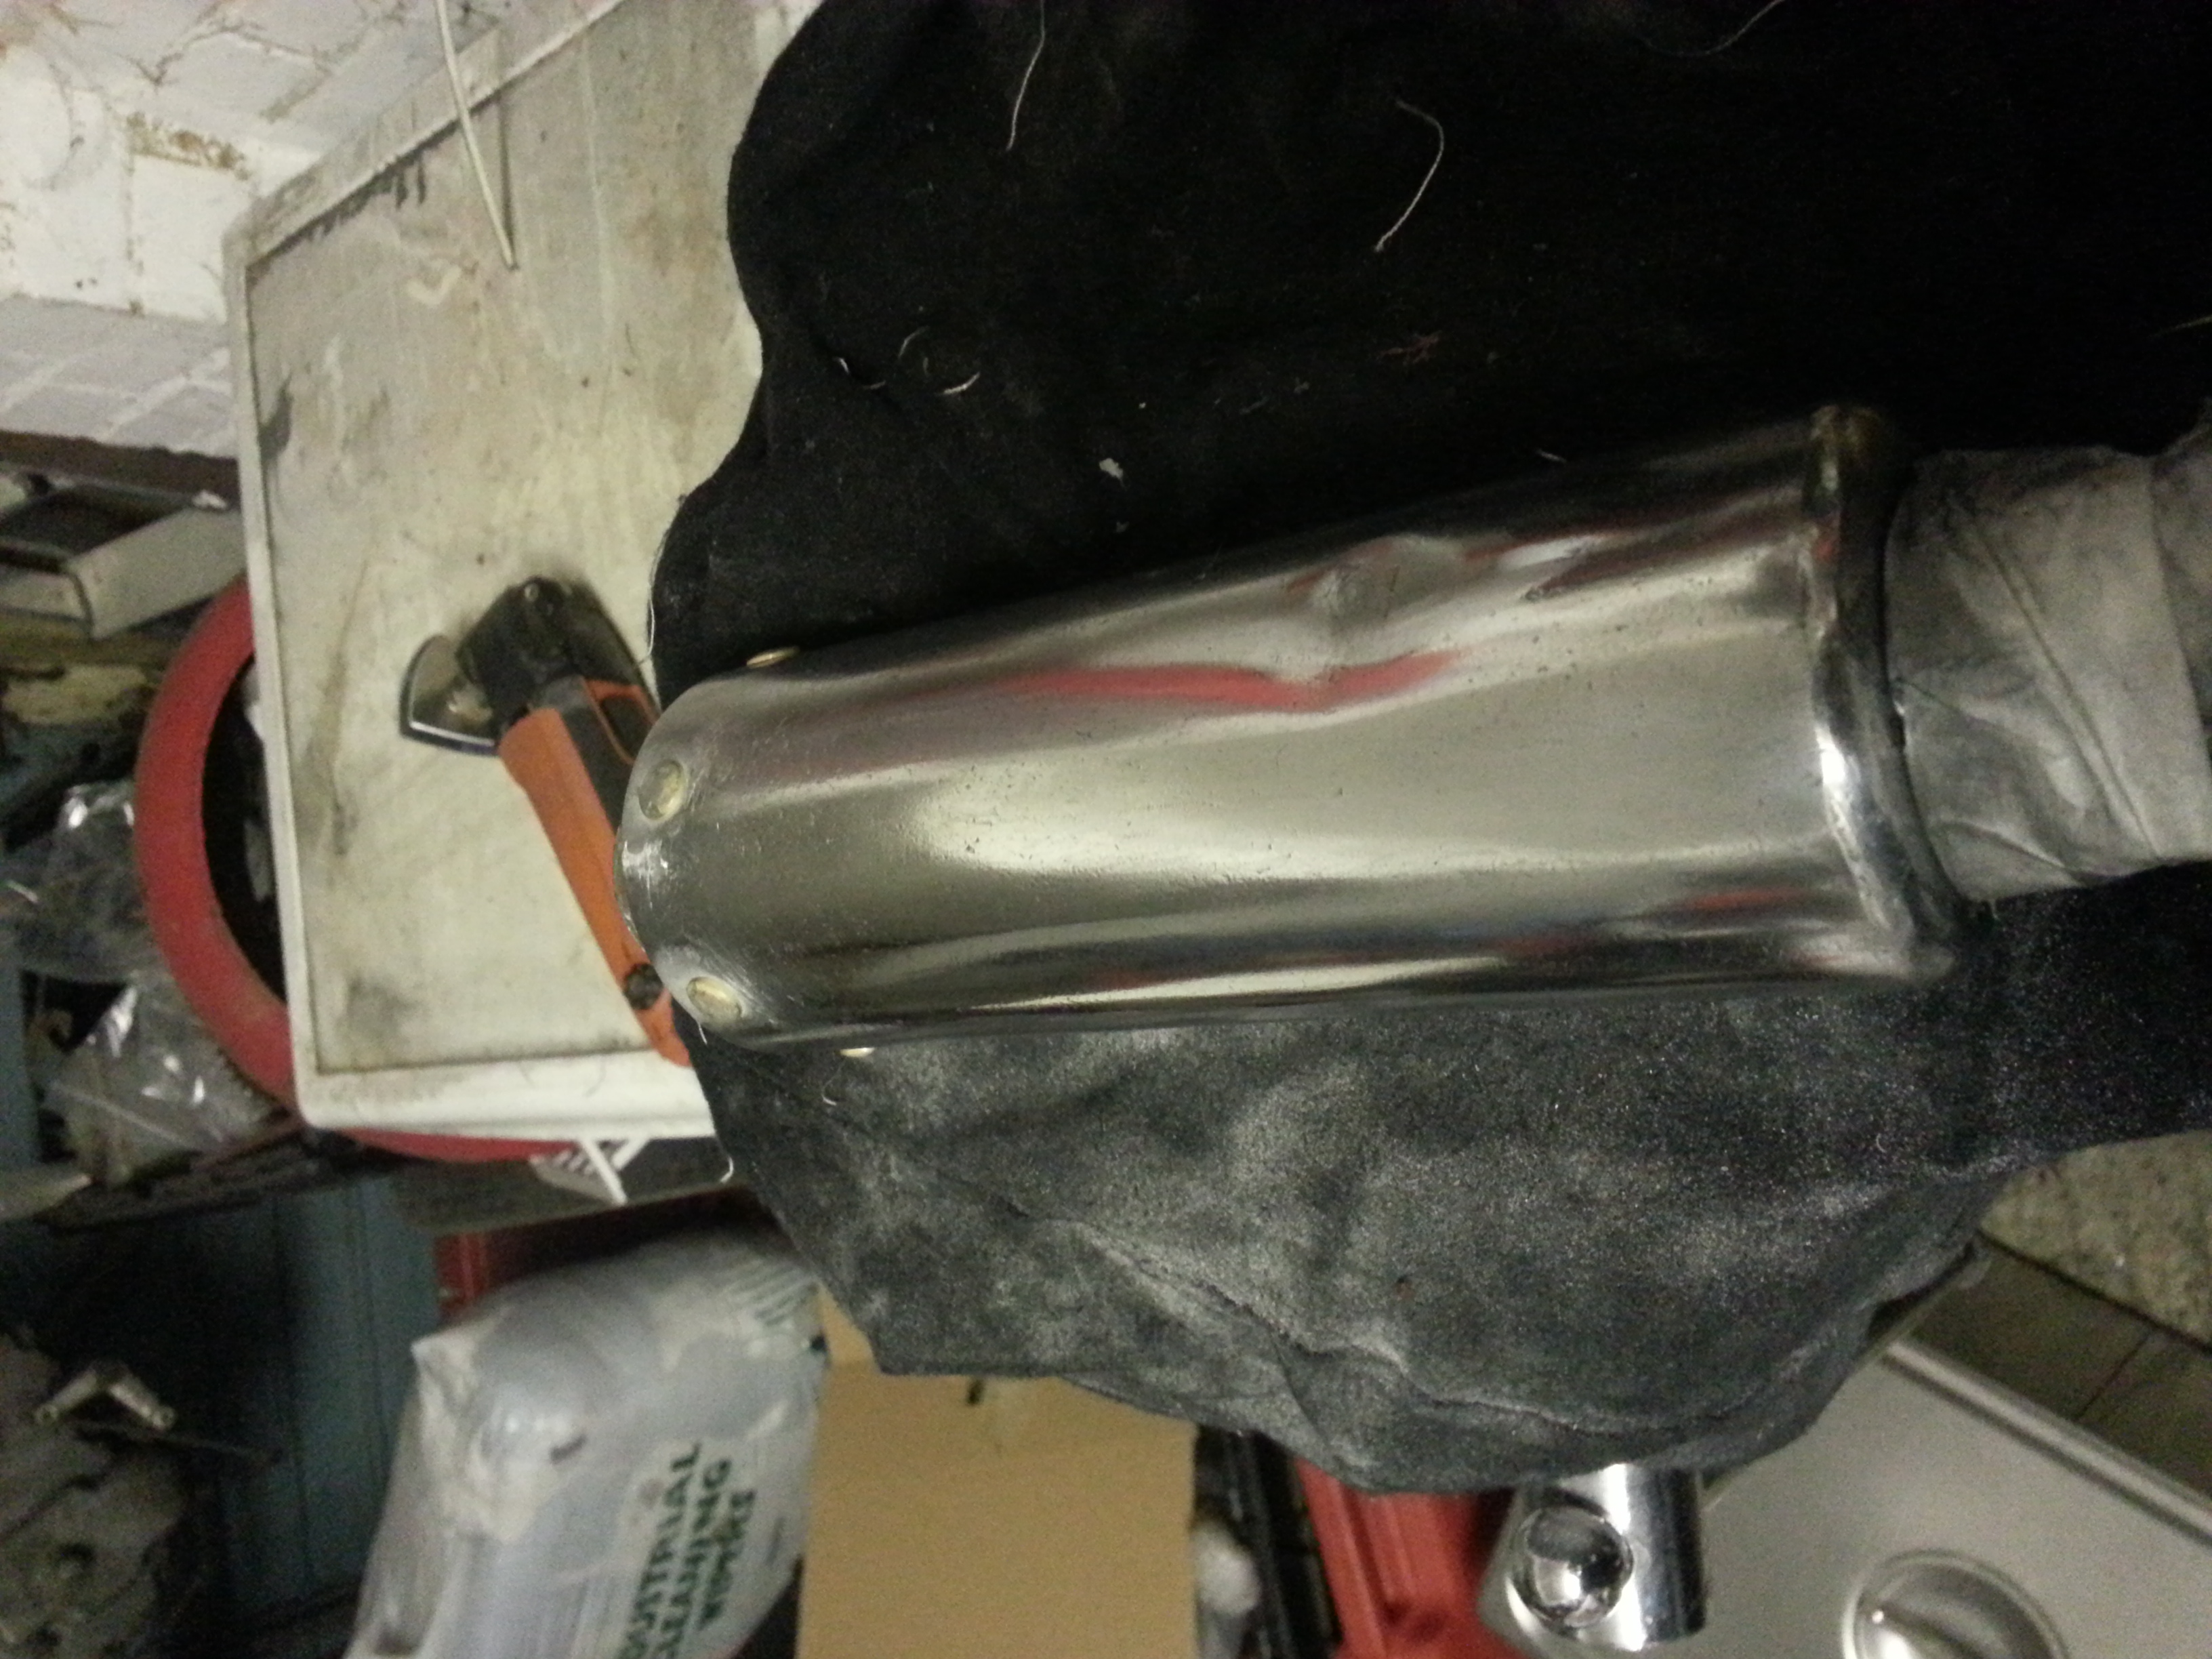
I thought I could be clever and weld on some cold-weld sticks and then re-thread the head:
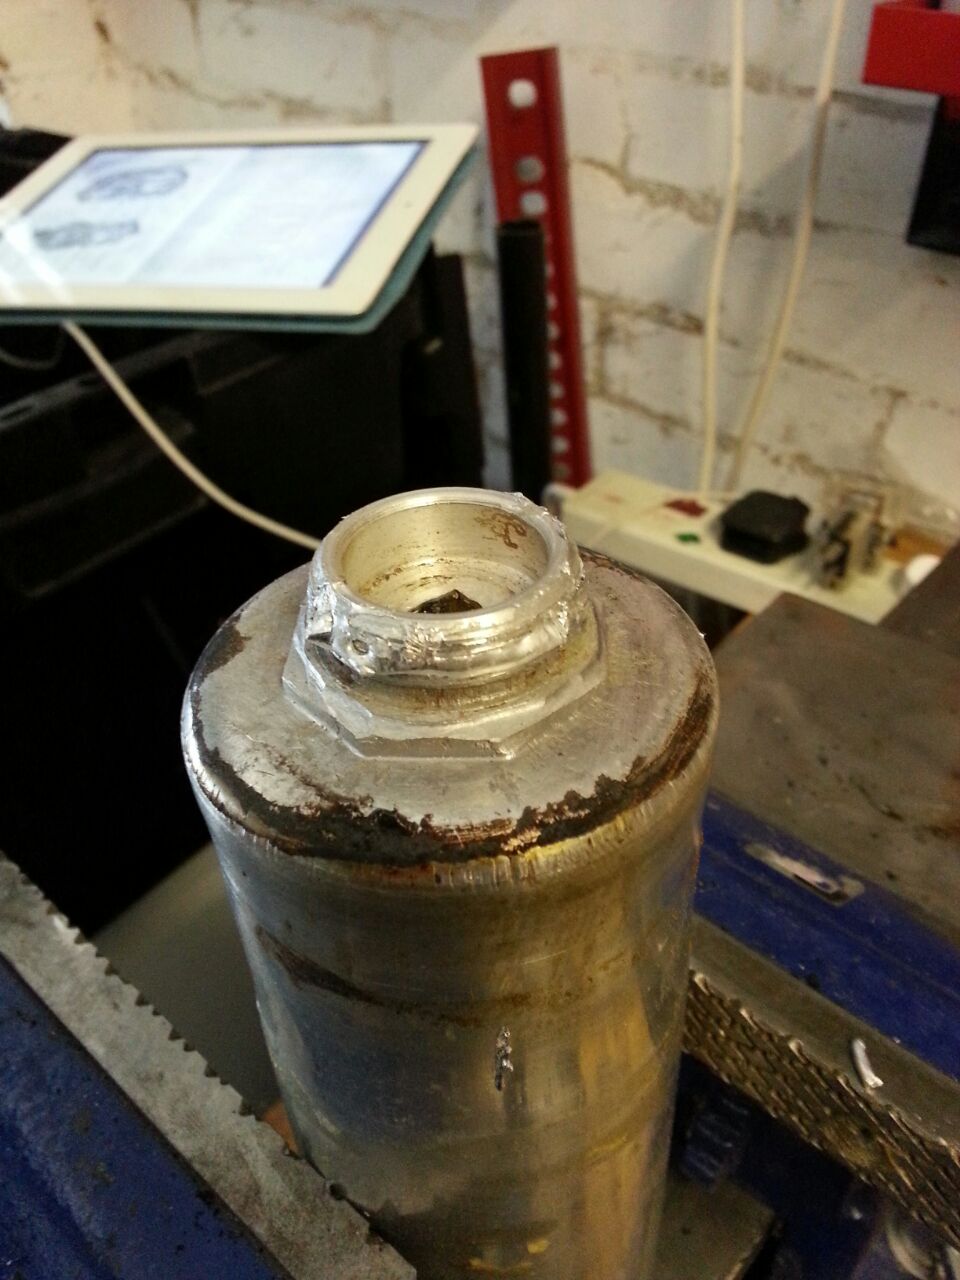
That didn’t work for me sadly; it would require proper welding and I don’t know how to do this unfortunately. There are various bonding components that could be used too like this:
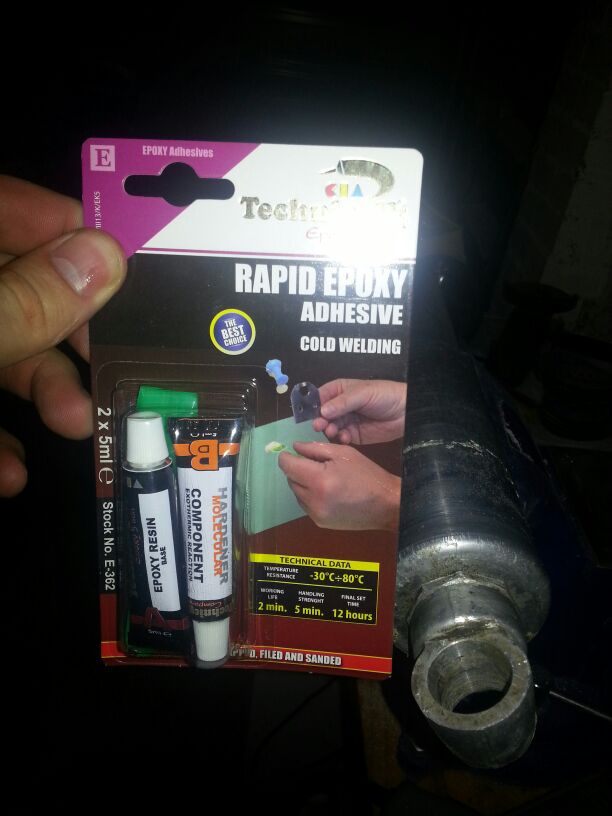
but I personally don’t want to risk that coming part while doing 55 mph on the road…
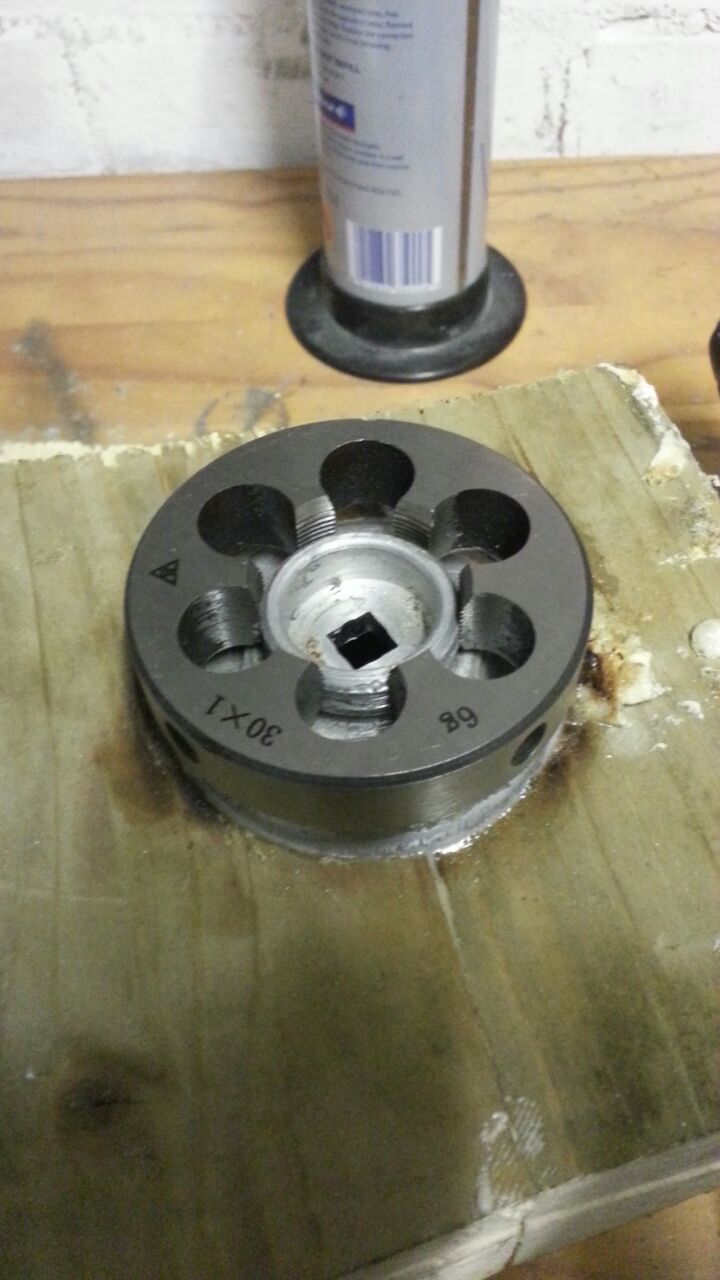
Instead, do either of the following; buy some piping clamps of the appropriate size to hold the shock in the vice or drill a hole that is only marginally larger than the shock in a piece of wood. Then remove a slice so you can clamp it in a vice:
Either method works like a charm. Next, grind off the head off the dowel pin, use the center punch and drill a small hole:
I next used increasingly larger drills up to 2.5 mm. I then wanted to use a thread tapper to pull the cylinder that remained of the dowel pin out:
Sadly the tapper broke off in such a way that I couldn’t get to it. So I ordered some very small core drills off e-bay to drill around the pin…
With care and patience I could then remove the pin and drill the remainder of the pin out. With the pin removed then very gently twist the head off. If all goes will the result is as follows:
Happy days; that’s a big part done. Next we need to take the shock apart by loosening the top screw:
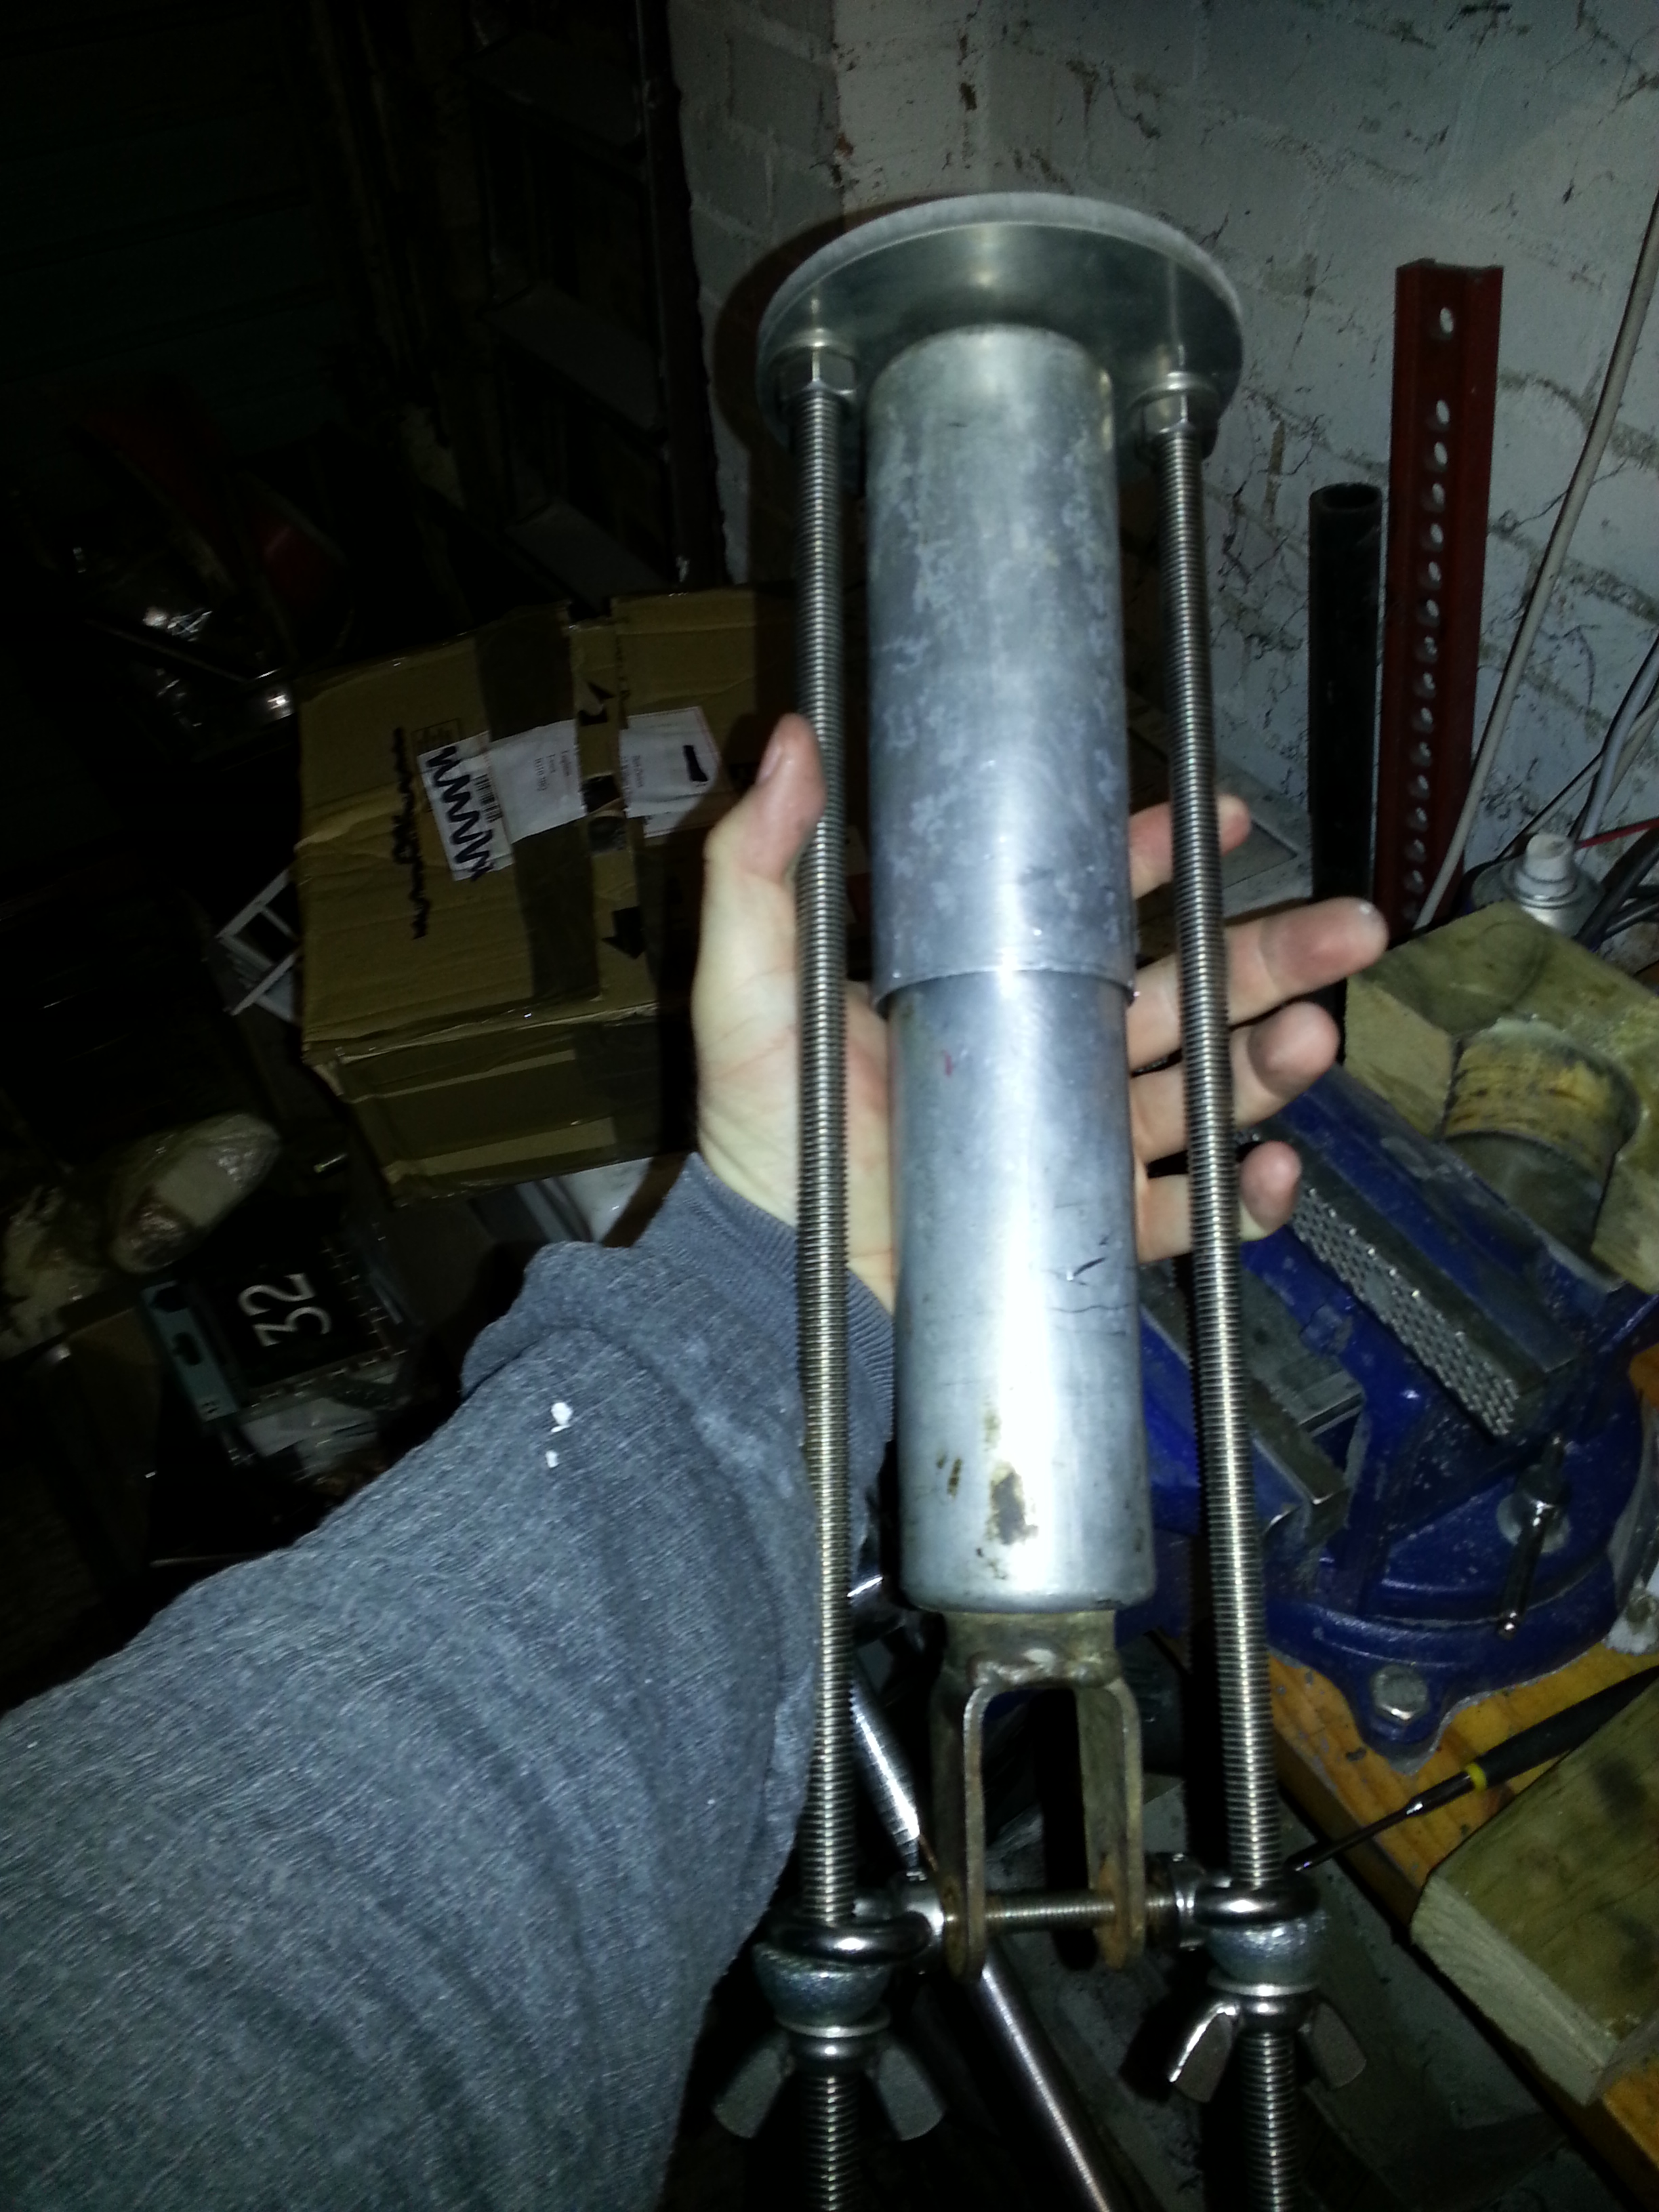
Of course the spring is under tension, so it’s best to pre-load the spring to not damage thread when taking the nut off or risk it shooting off like a champagne cork at the last twist.
I made a bespoke tool by having a disc of aluminum lasercut to size and buying some stainless threaded rod and a few nuts. Total cost maybe 25 pounds:

With the shock in the pre-loader you can take the nut off under which there are two spring washers. Do not forget to put these back or the top of the shock may come off.
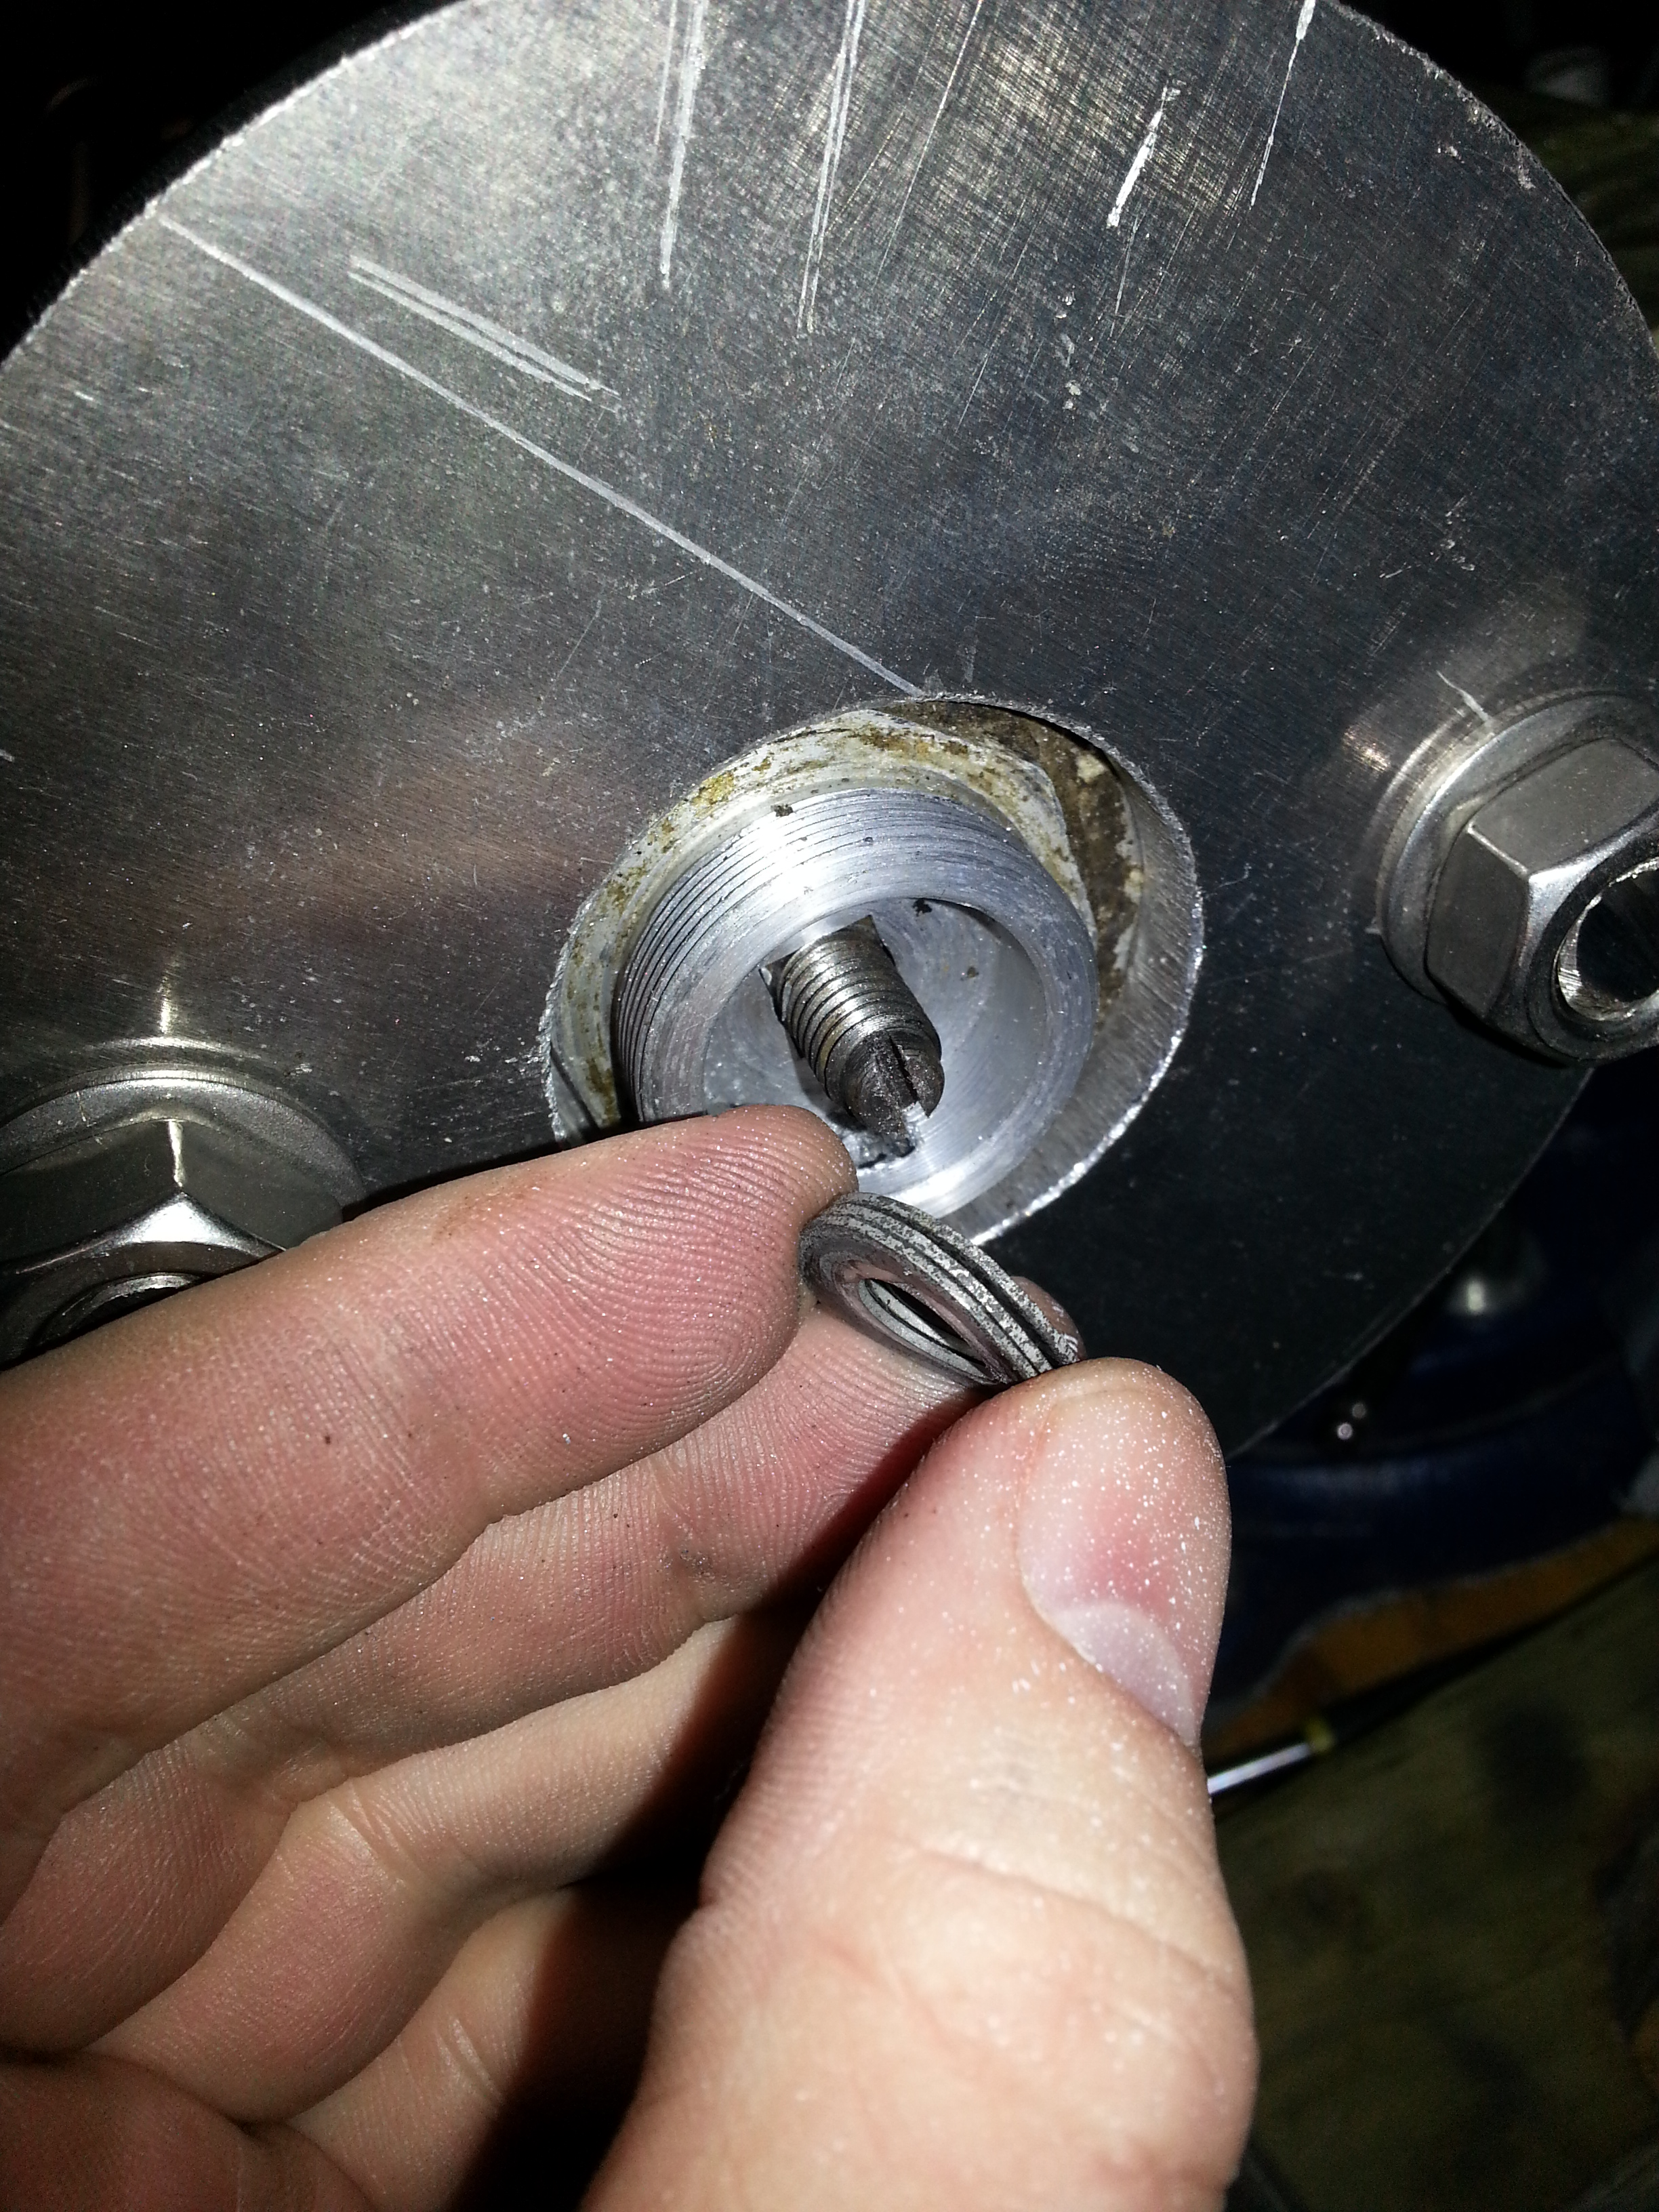
With the top off, the shock looks like this where we can take out the big spring and the square holed washer. Be careful to put this one back below the top cover as the top cover will be squeezed between the square holed washer and the nut on top. Putting the washer on top will push the soft aluminium over the hole and damage it otherwise:
A bit of a challenge is then opening the shock absorber unit itself. It’s by the make ‘BOGE’ and while the factory still exists they don’t do replacement parts sadly.
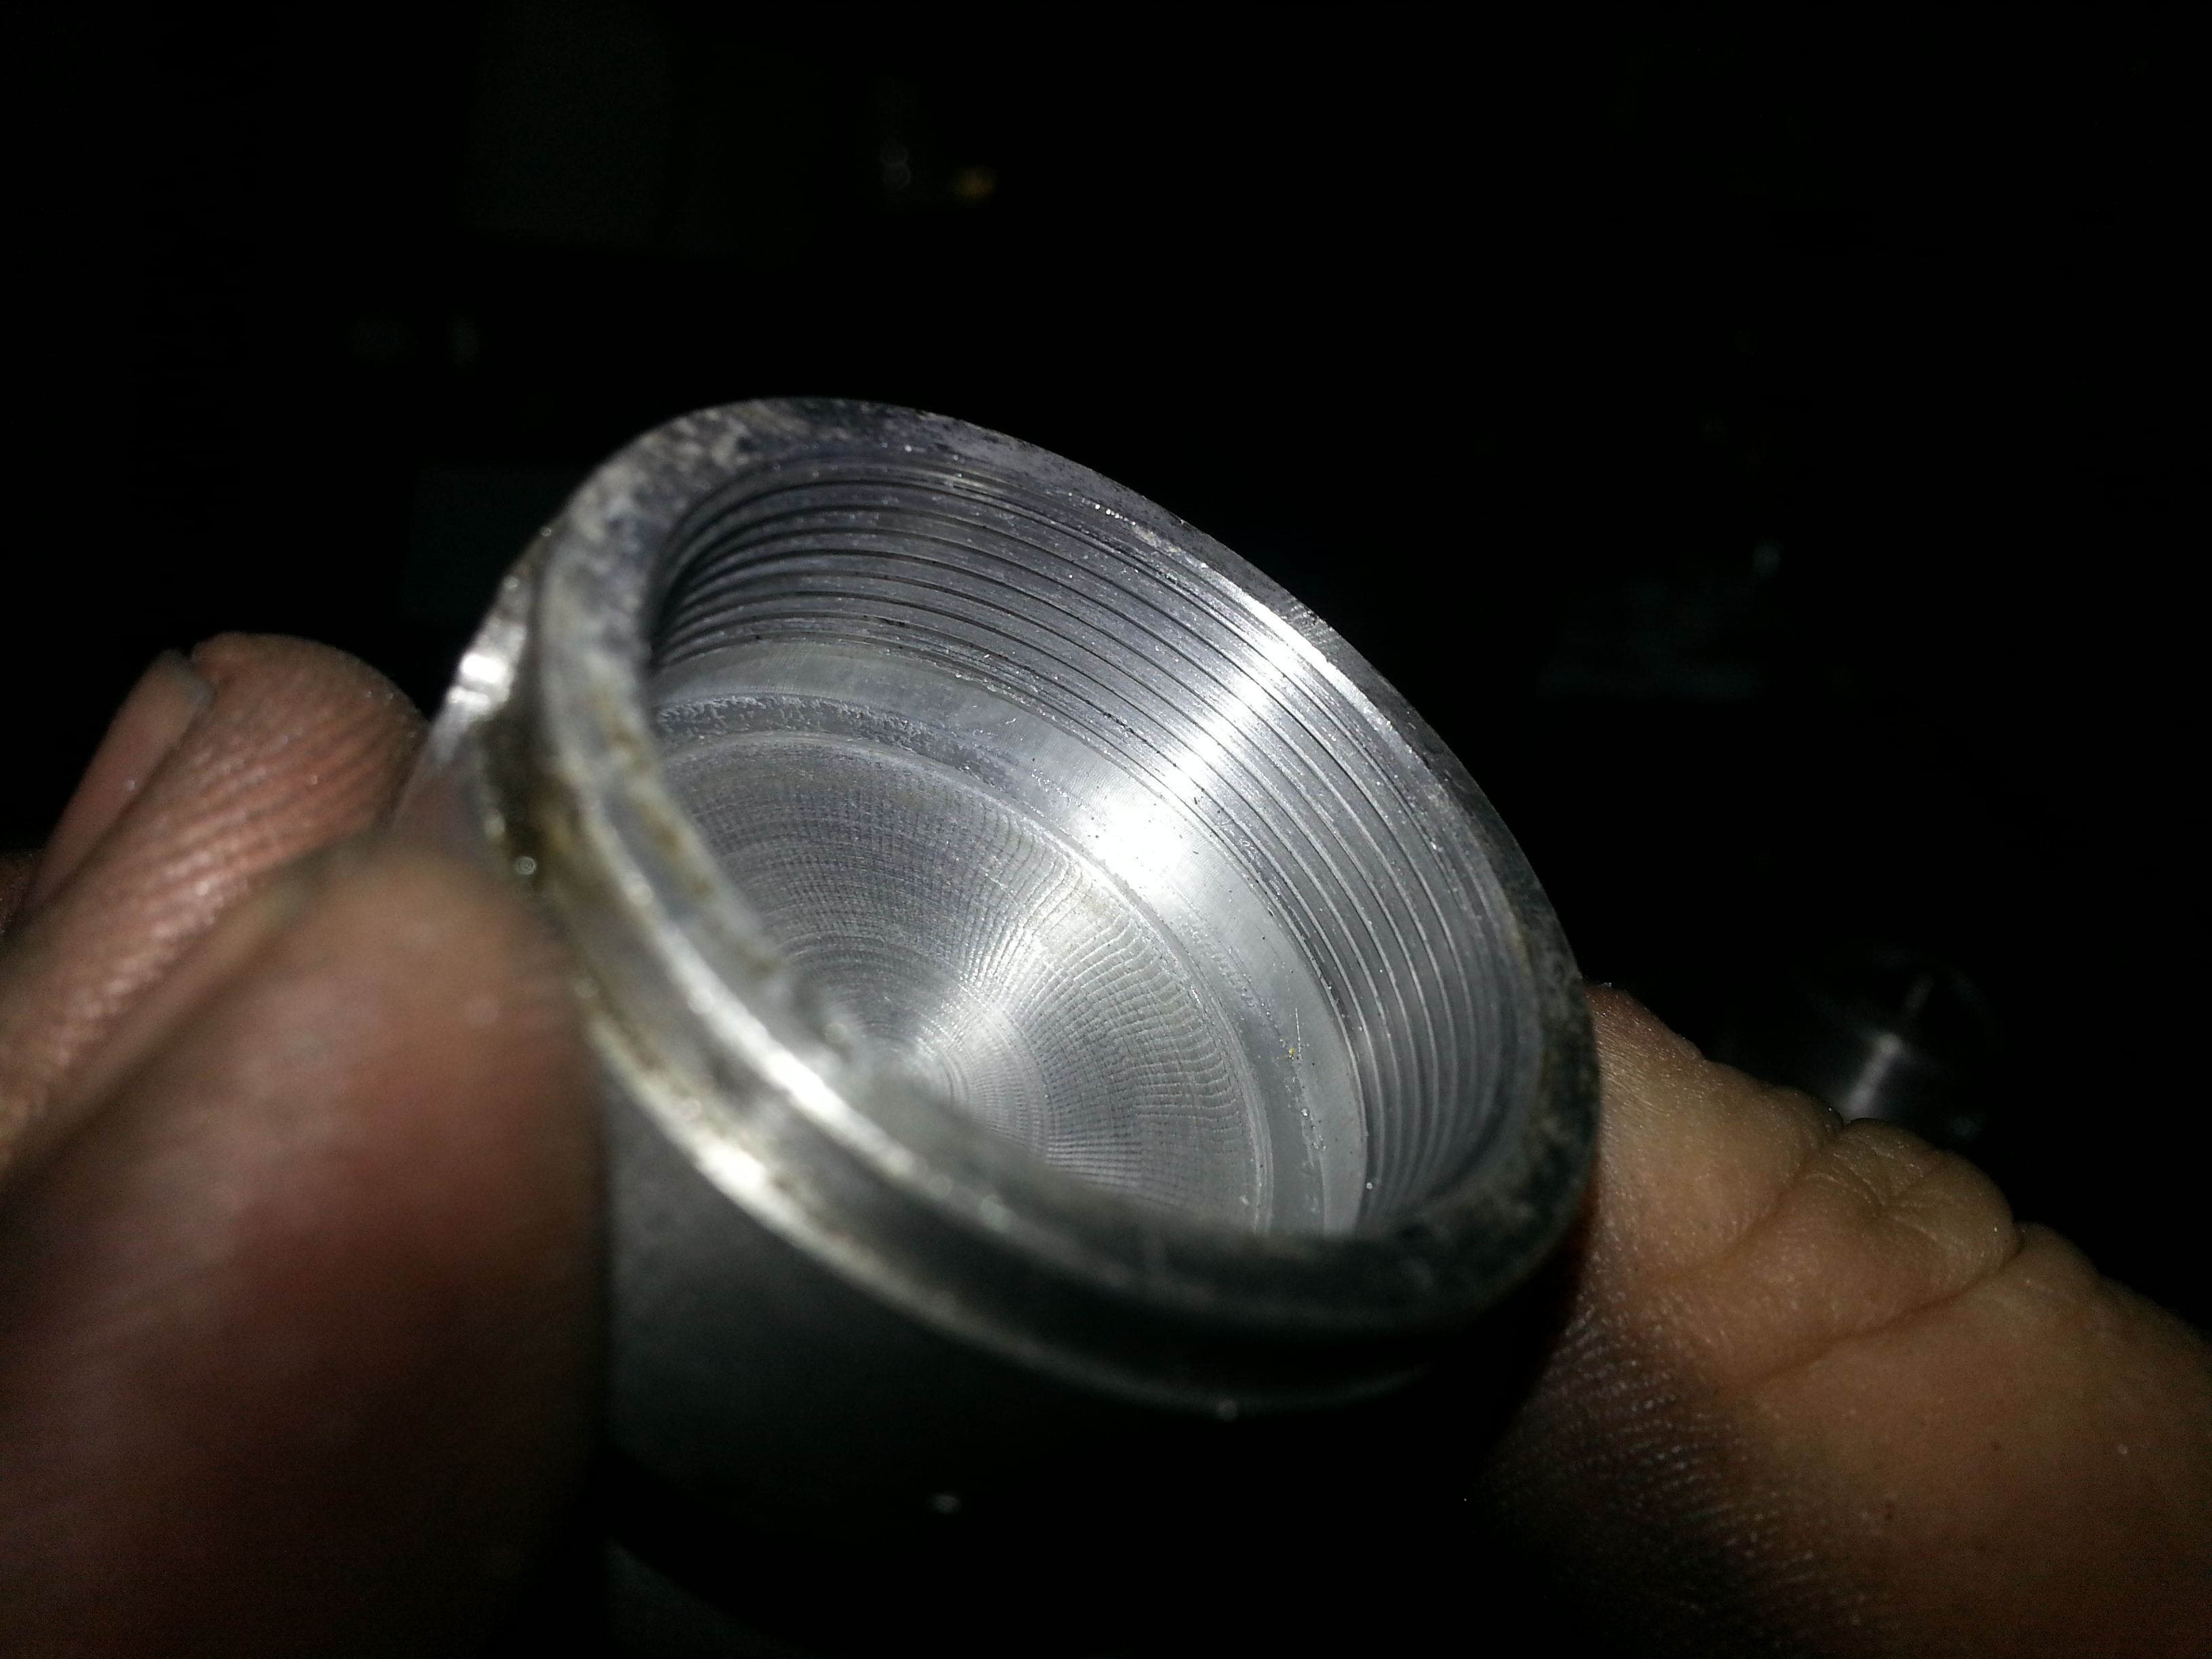
But no matter, we can do this ourselves as long as we have the right tools. The top of the absorber looks like this:
All we need is a pin wrench like this one: https://www.toolbank.com/0/p/FLE24075
to take it off. You may need to provide counter torque with an adjustable wrench at the top, but only do this with the plug still in the shock in order not to deform the absorber cylinder.
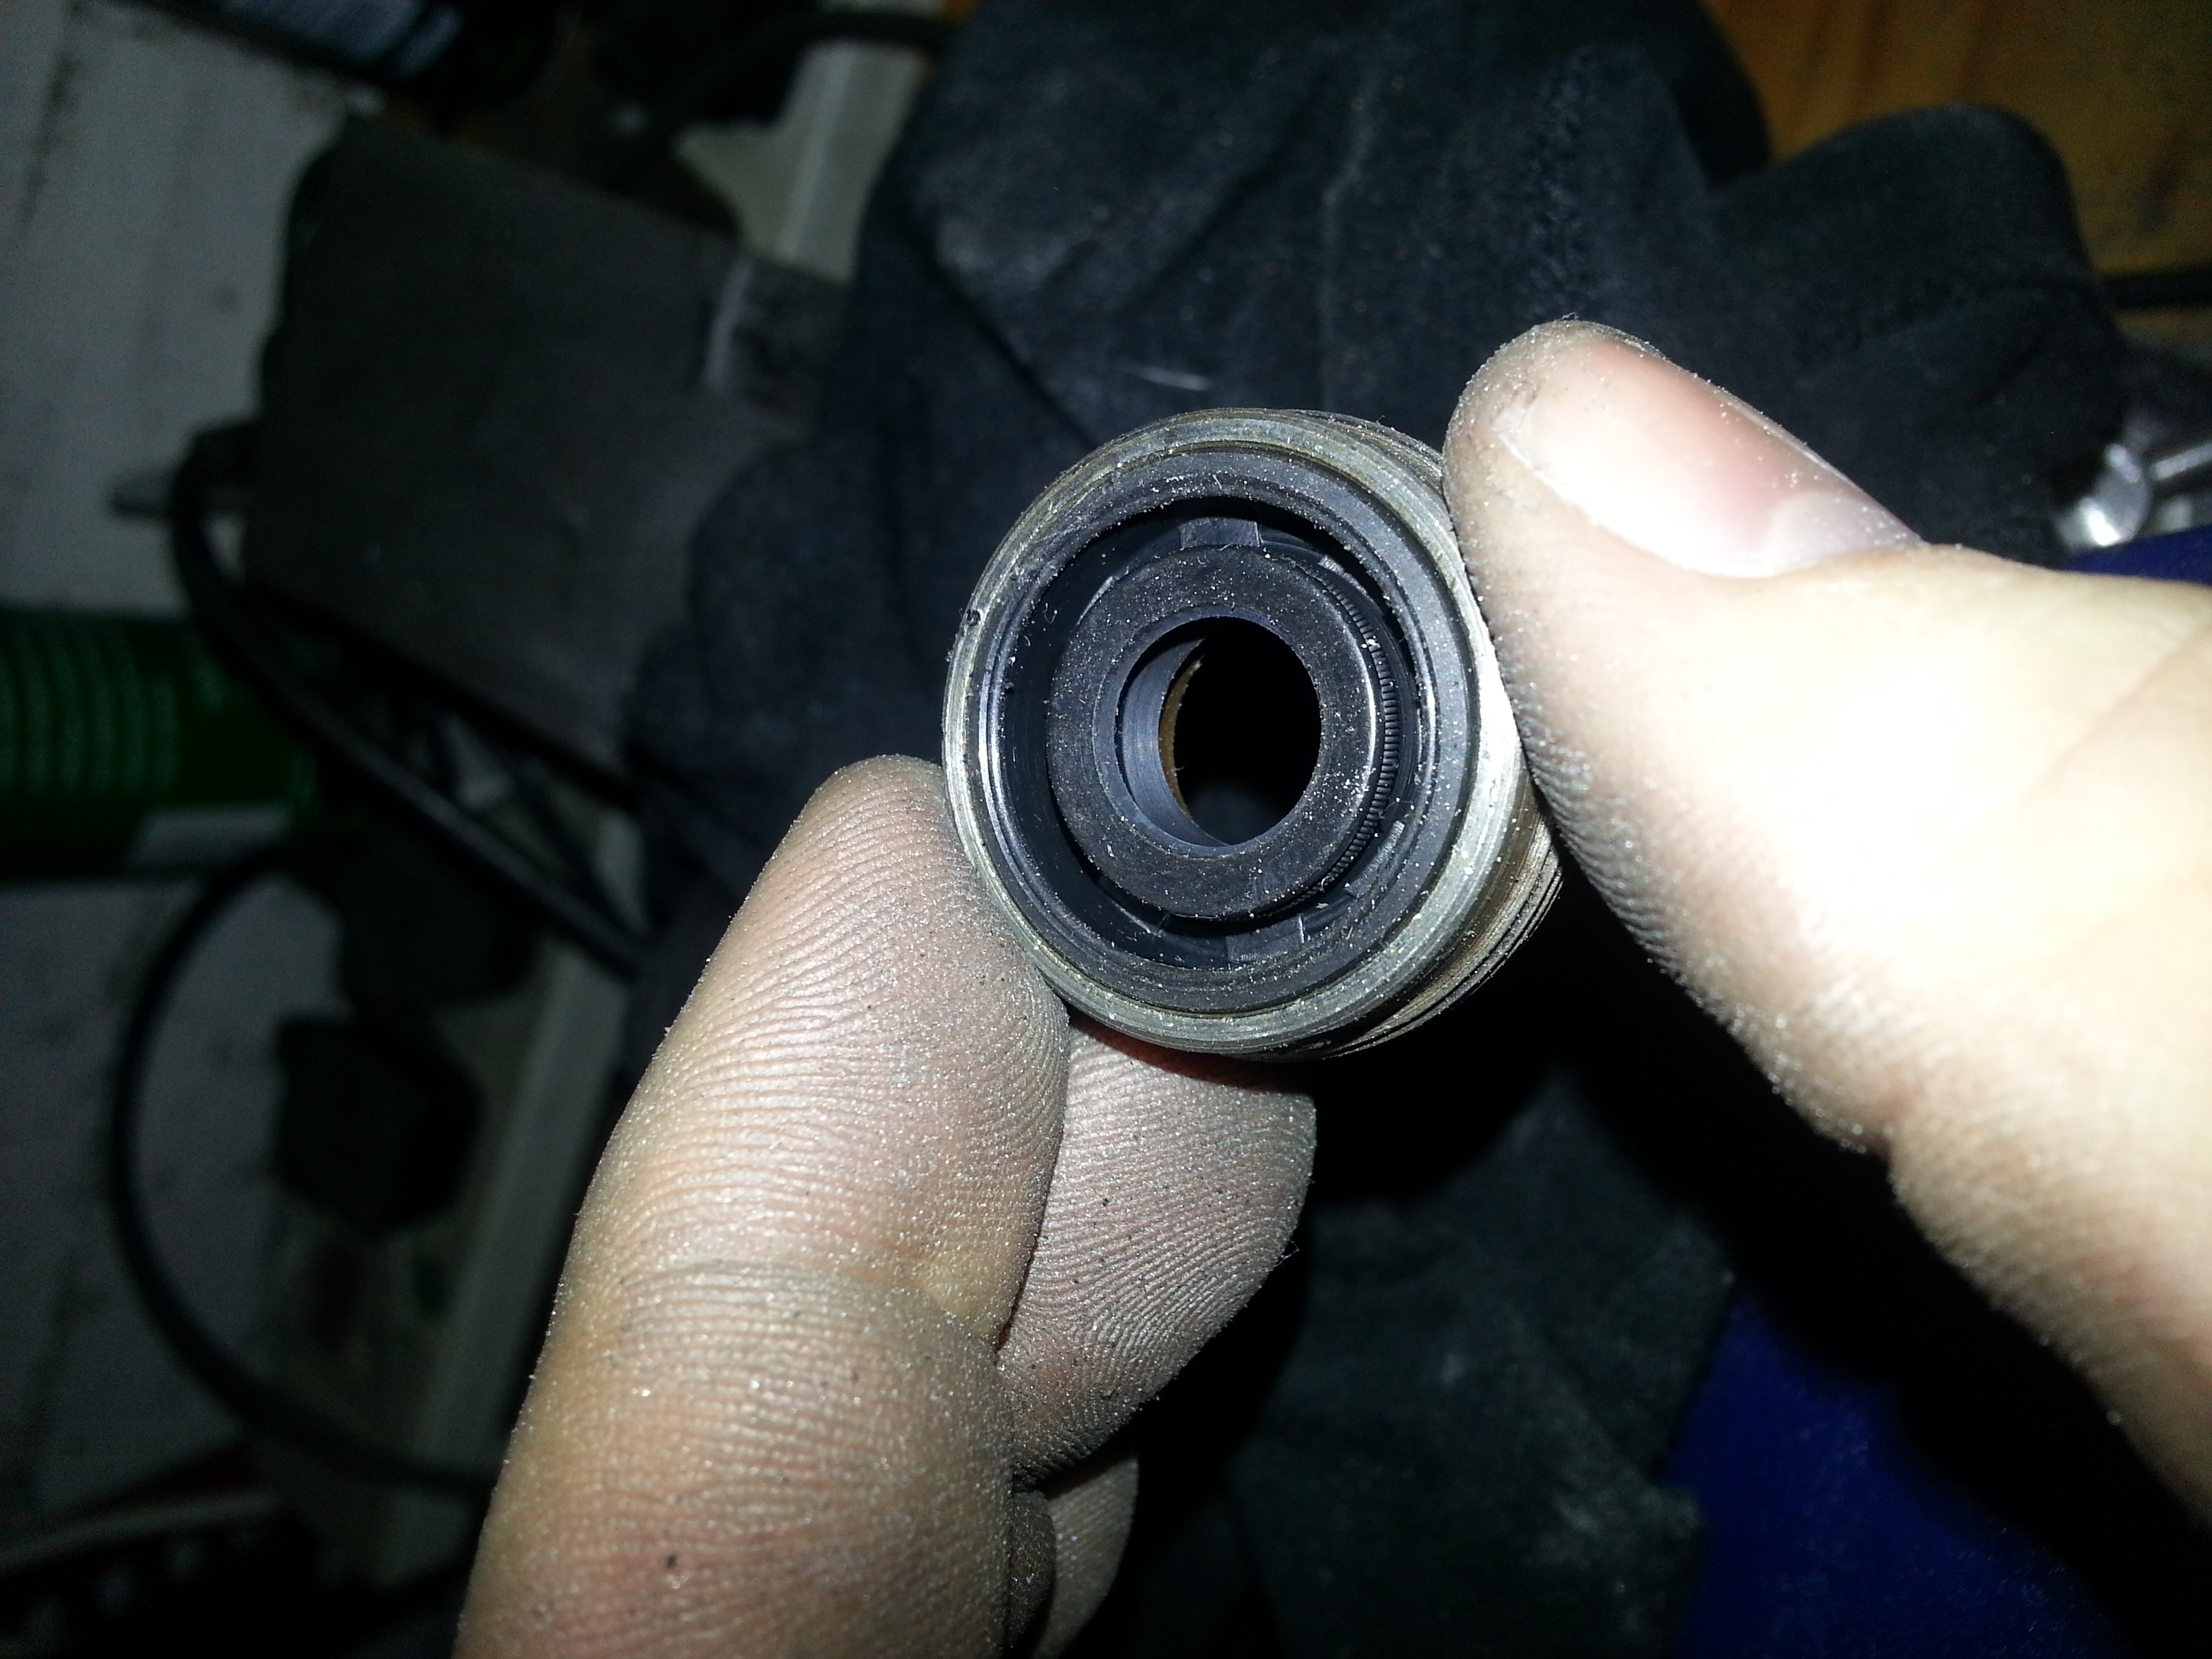
With the plug removed we can look into the absorber unit to note how the parts are installed:
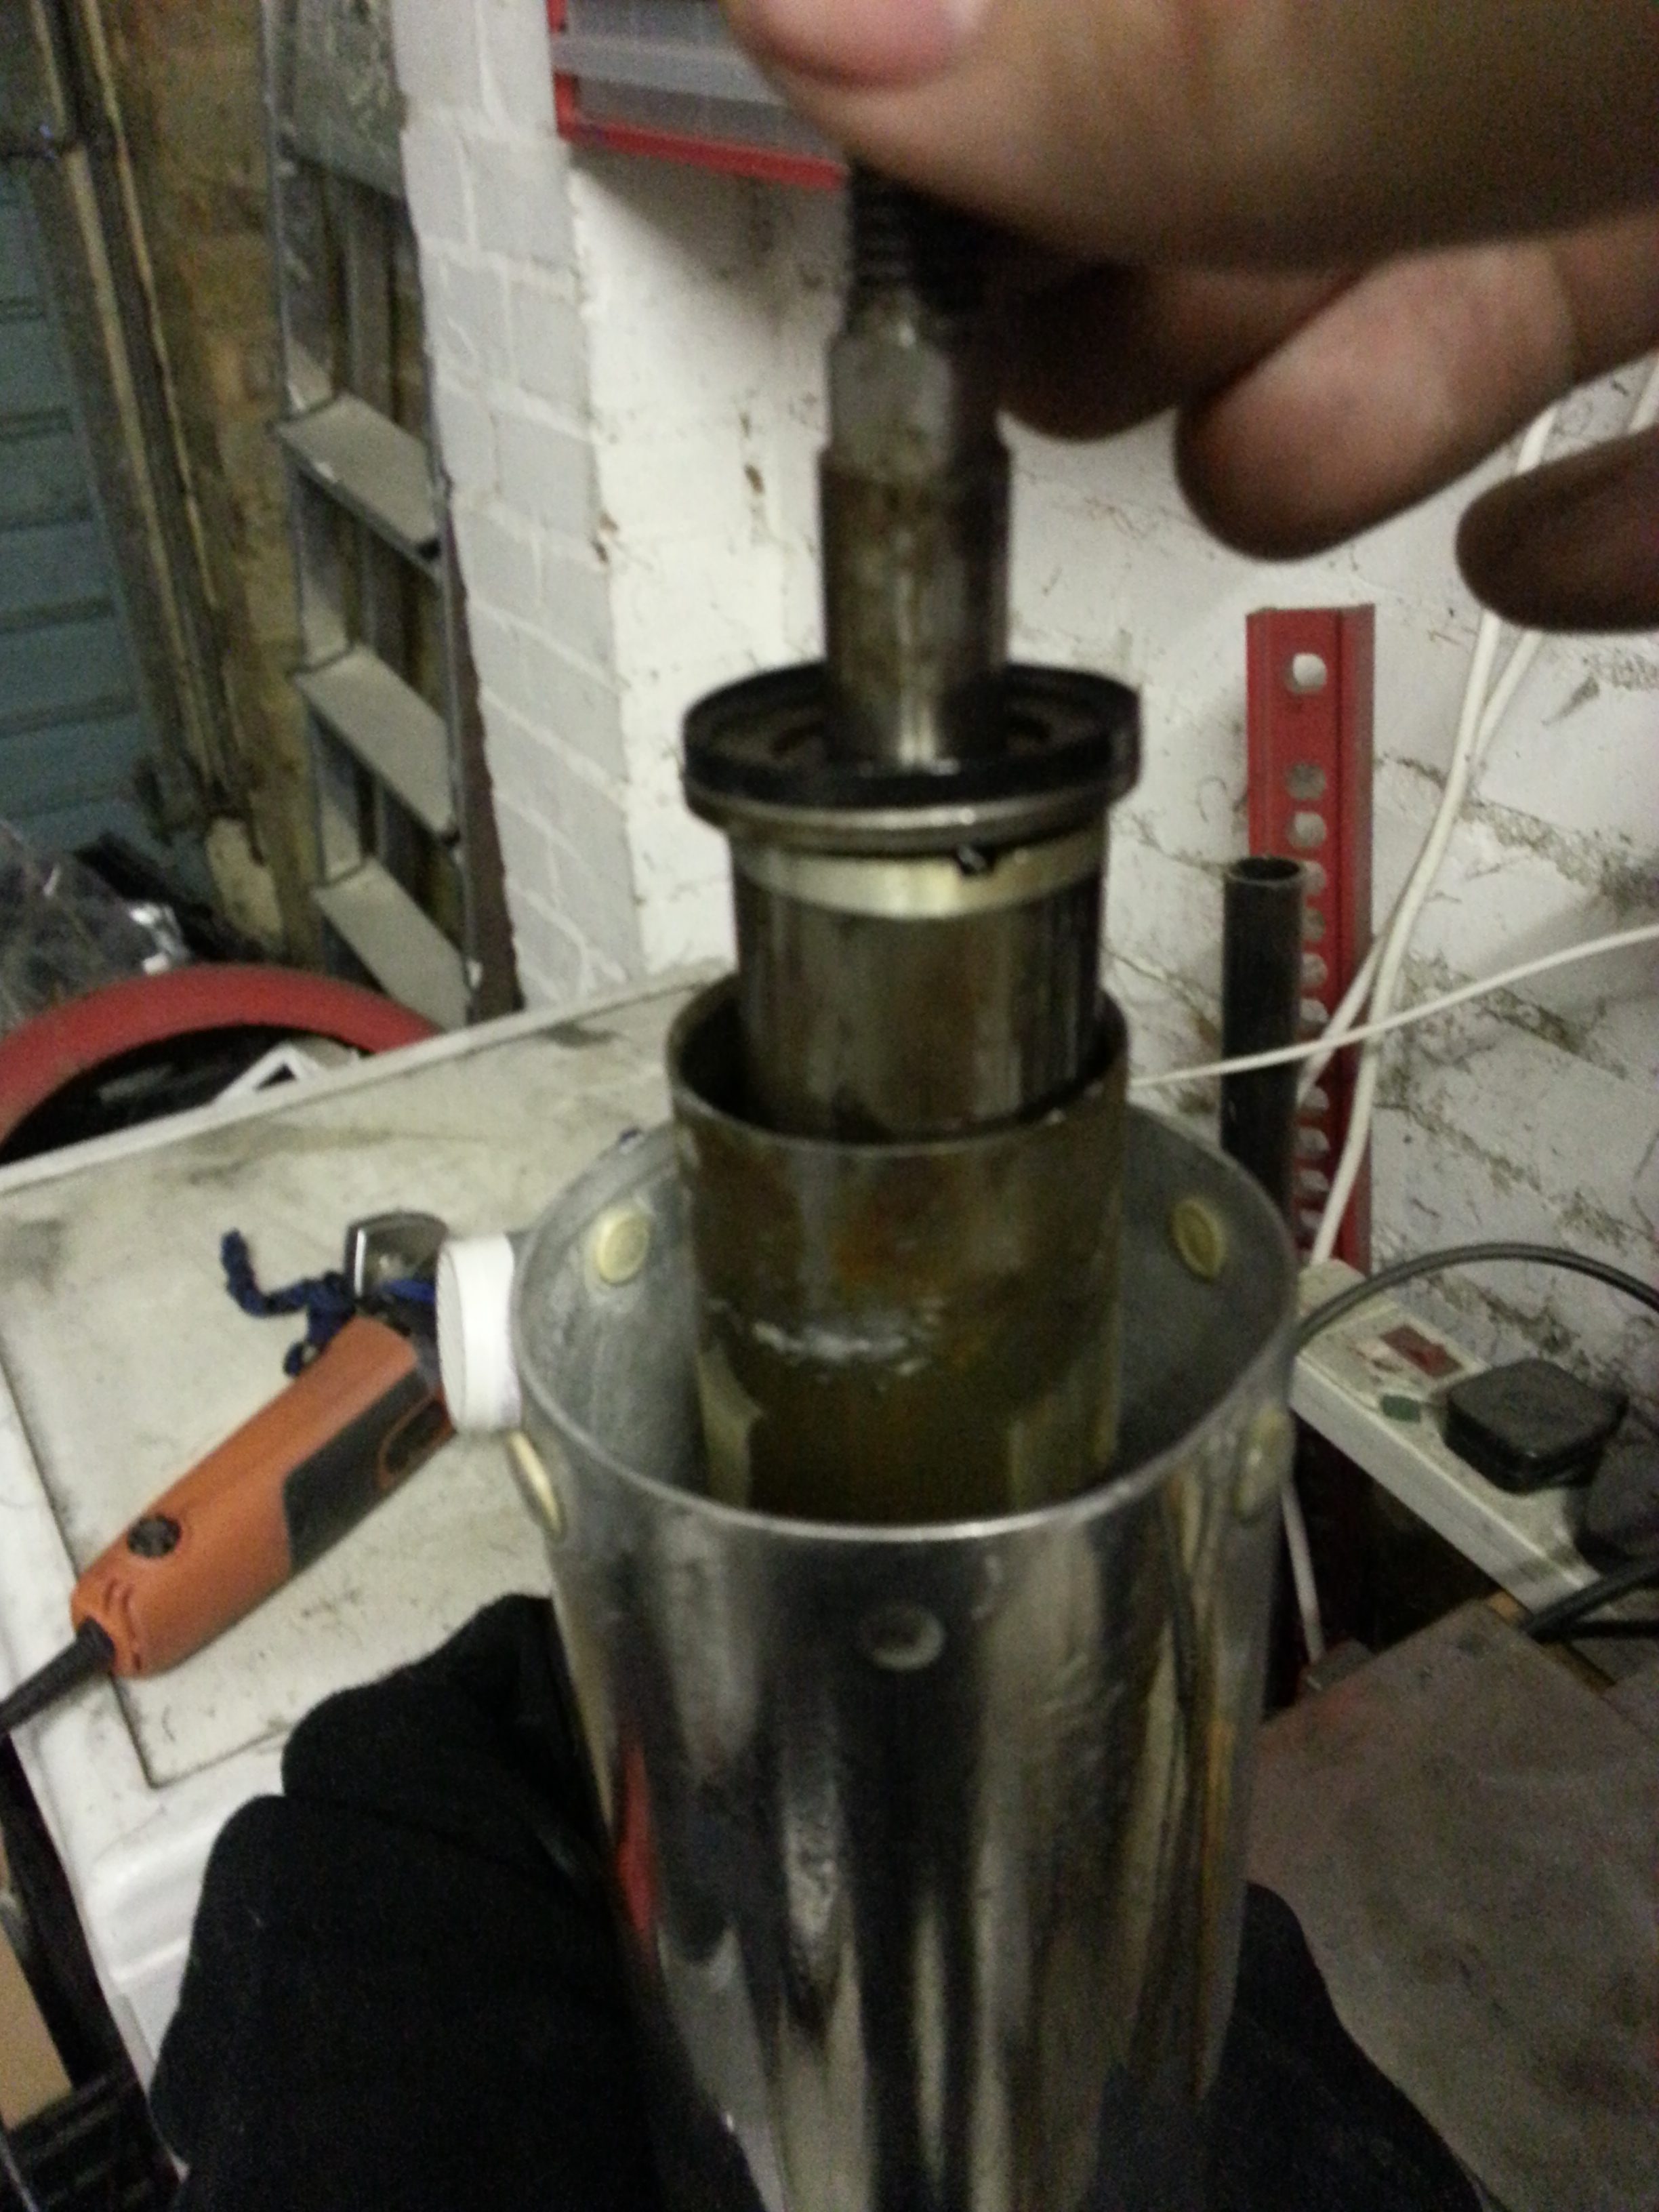
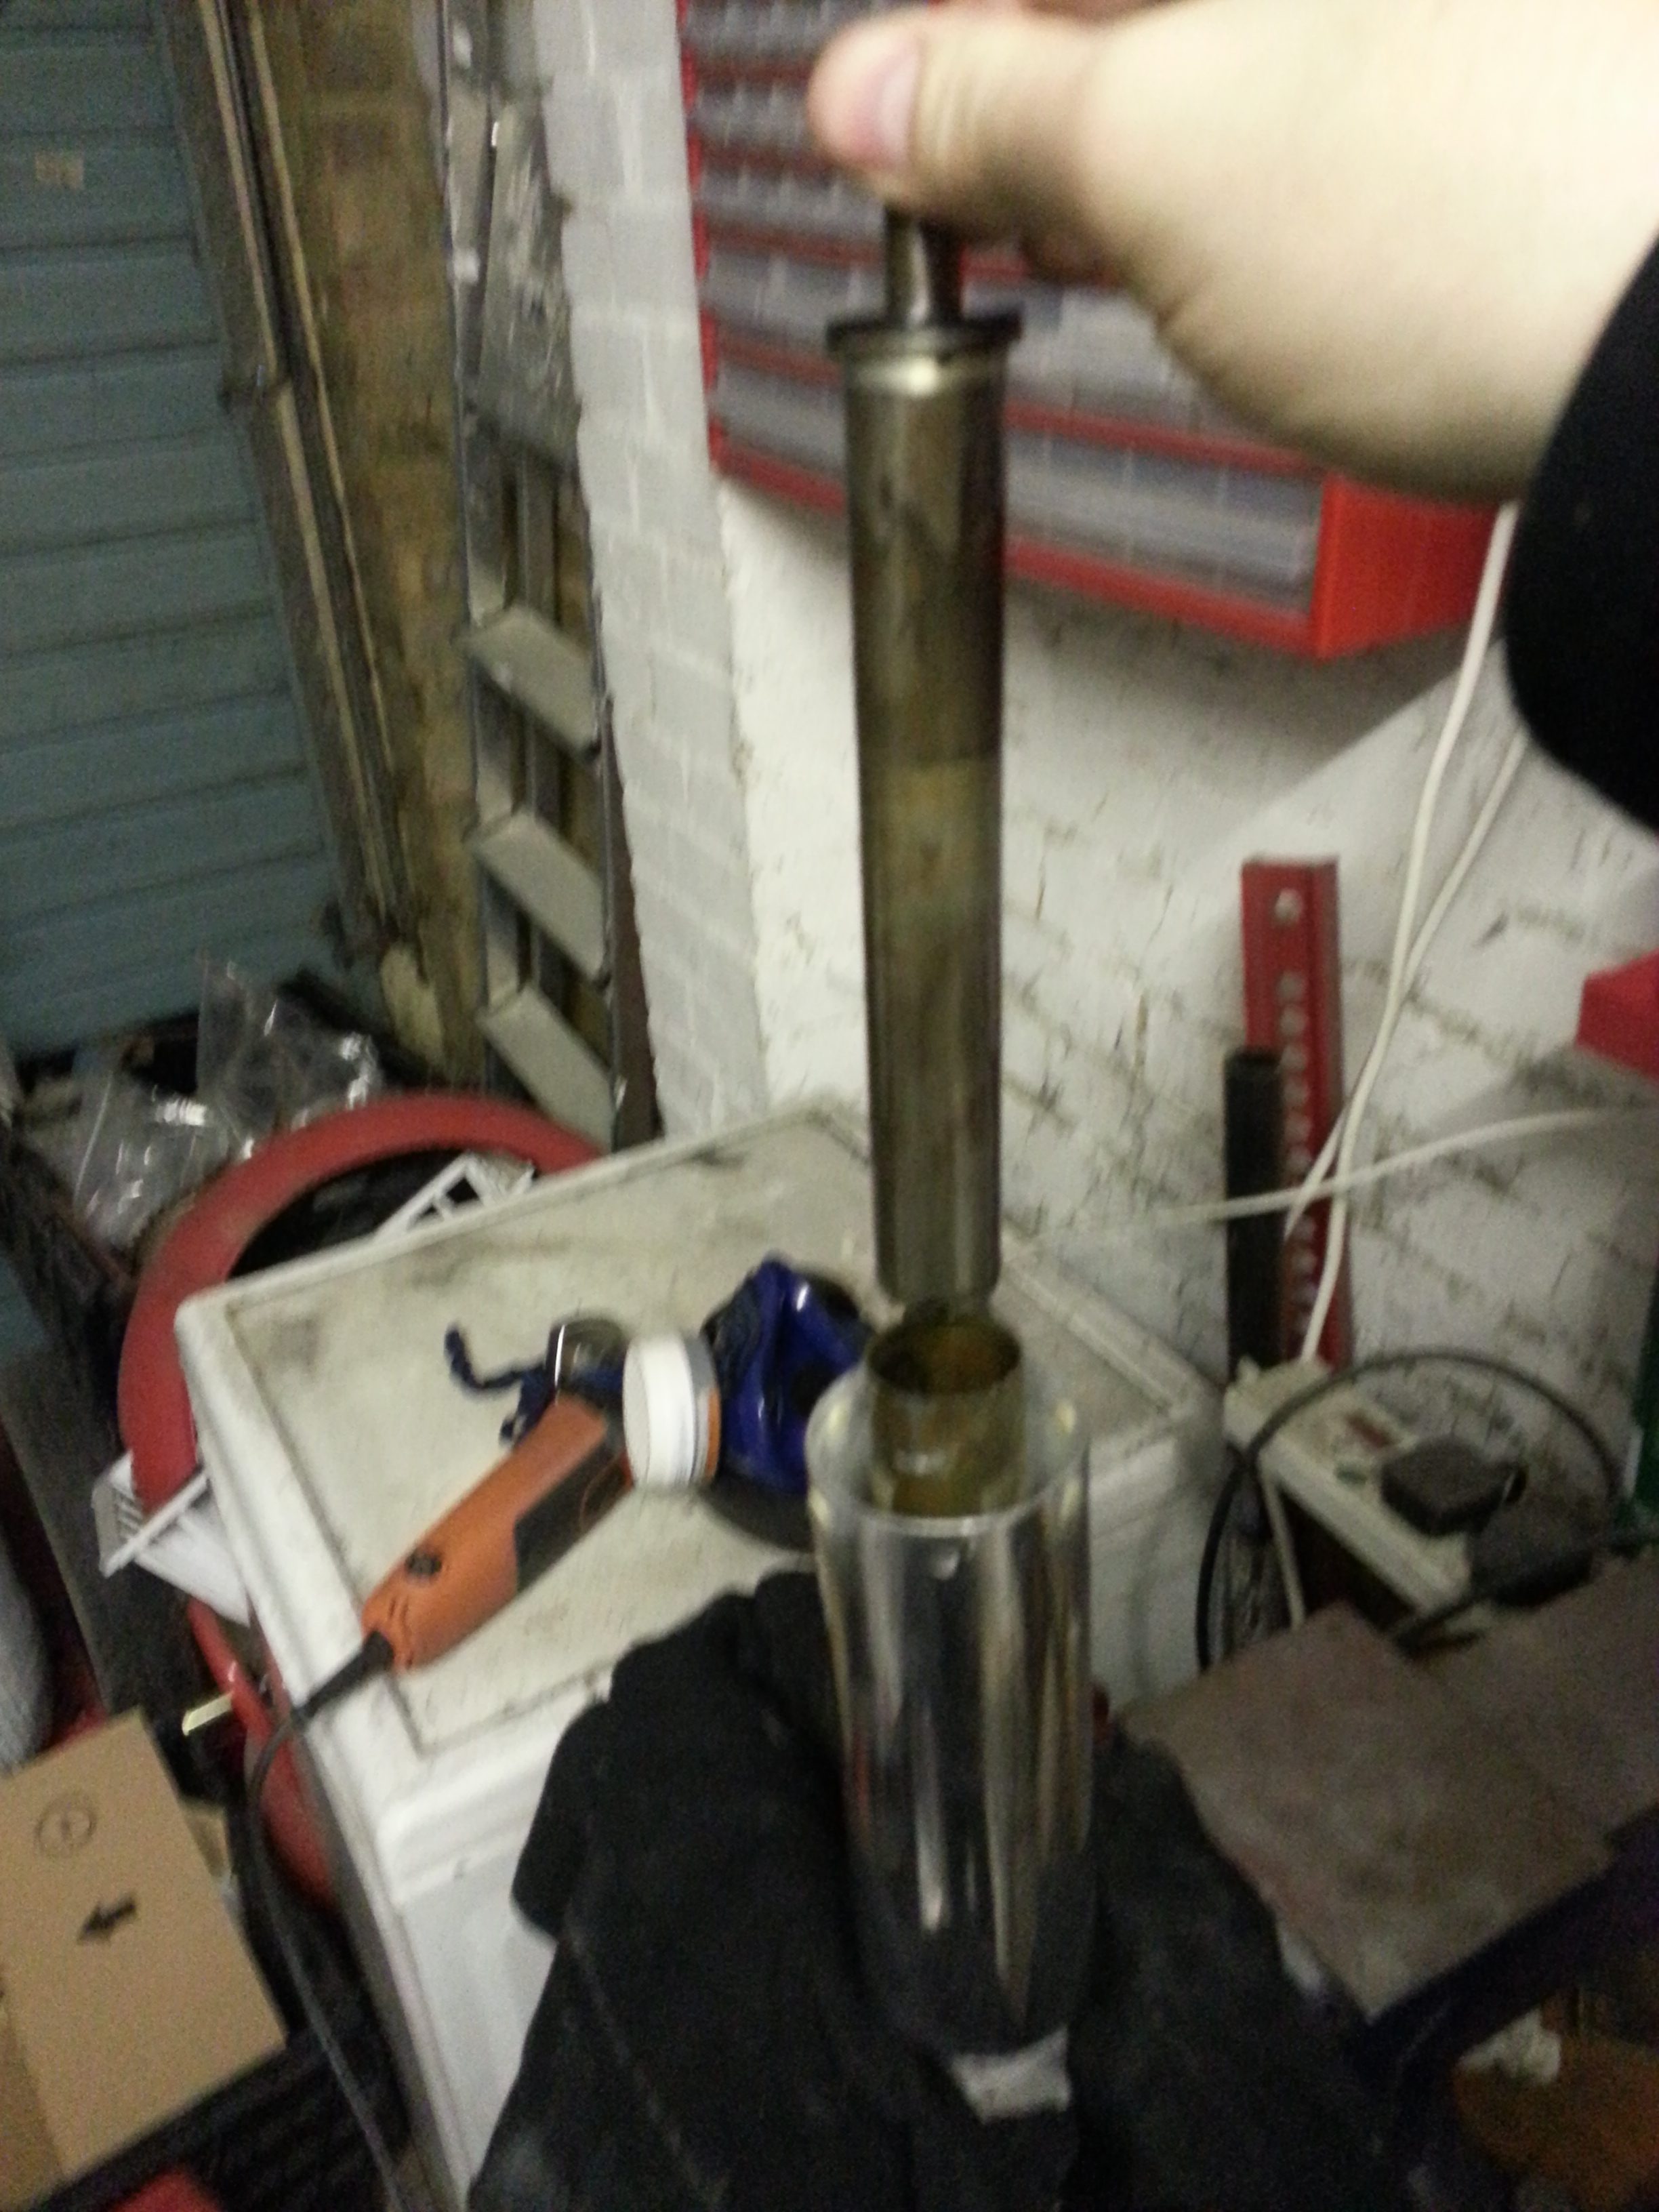
The rubber especially is a tricky part as I’ve not been able to find a replacement anywhere; it’s sort of a T-shaped rubber of 24mm width. Next is a part of judgement. The shock unit coming out of the cylinder looks as follows with all the parts on it to give you a view:
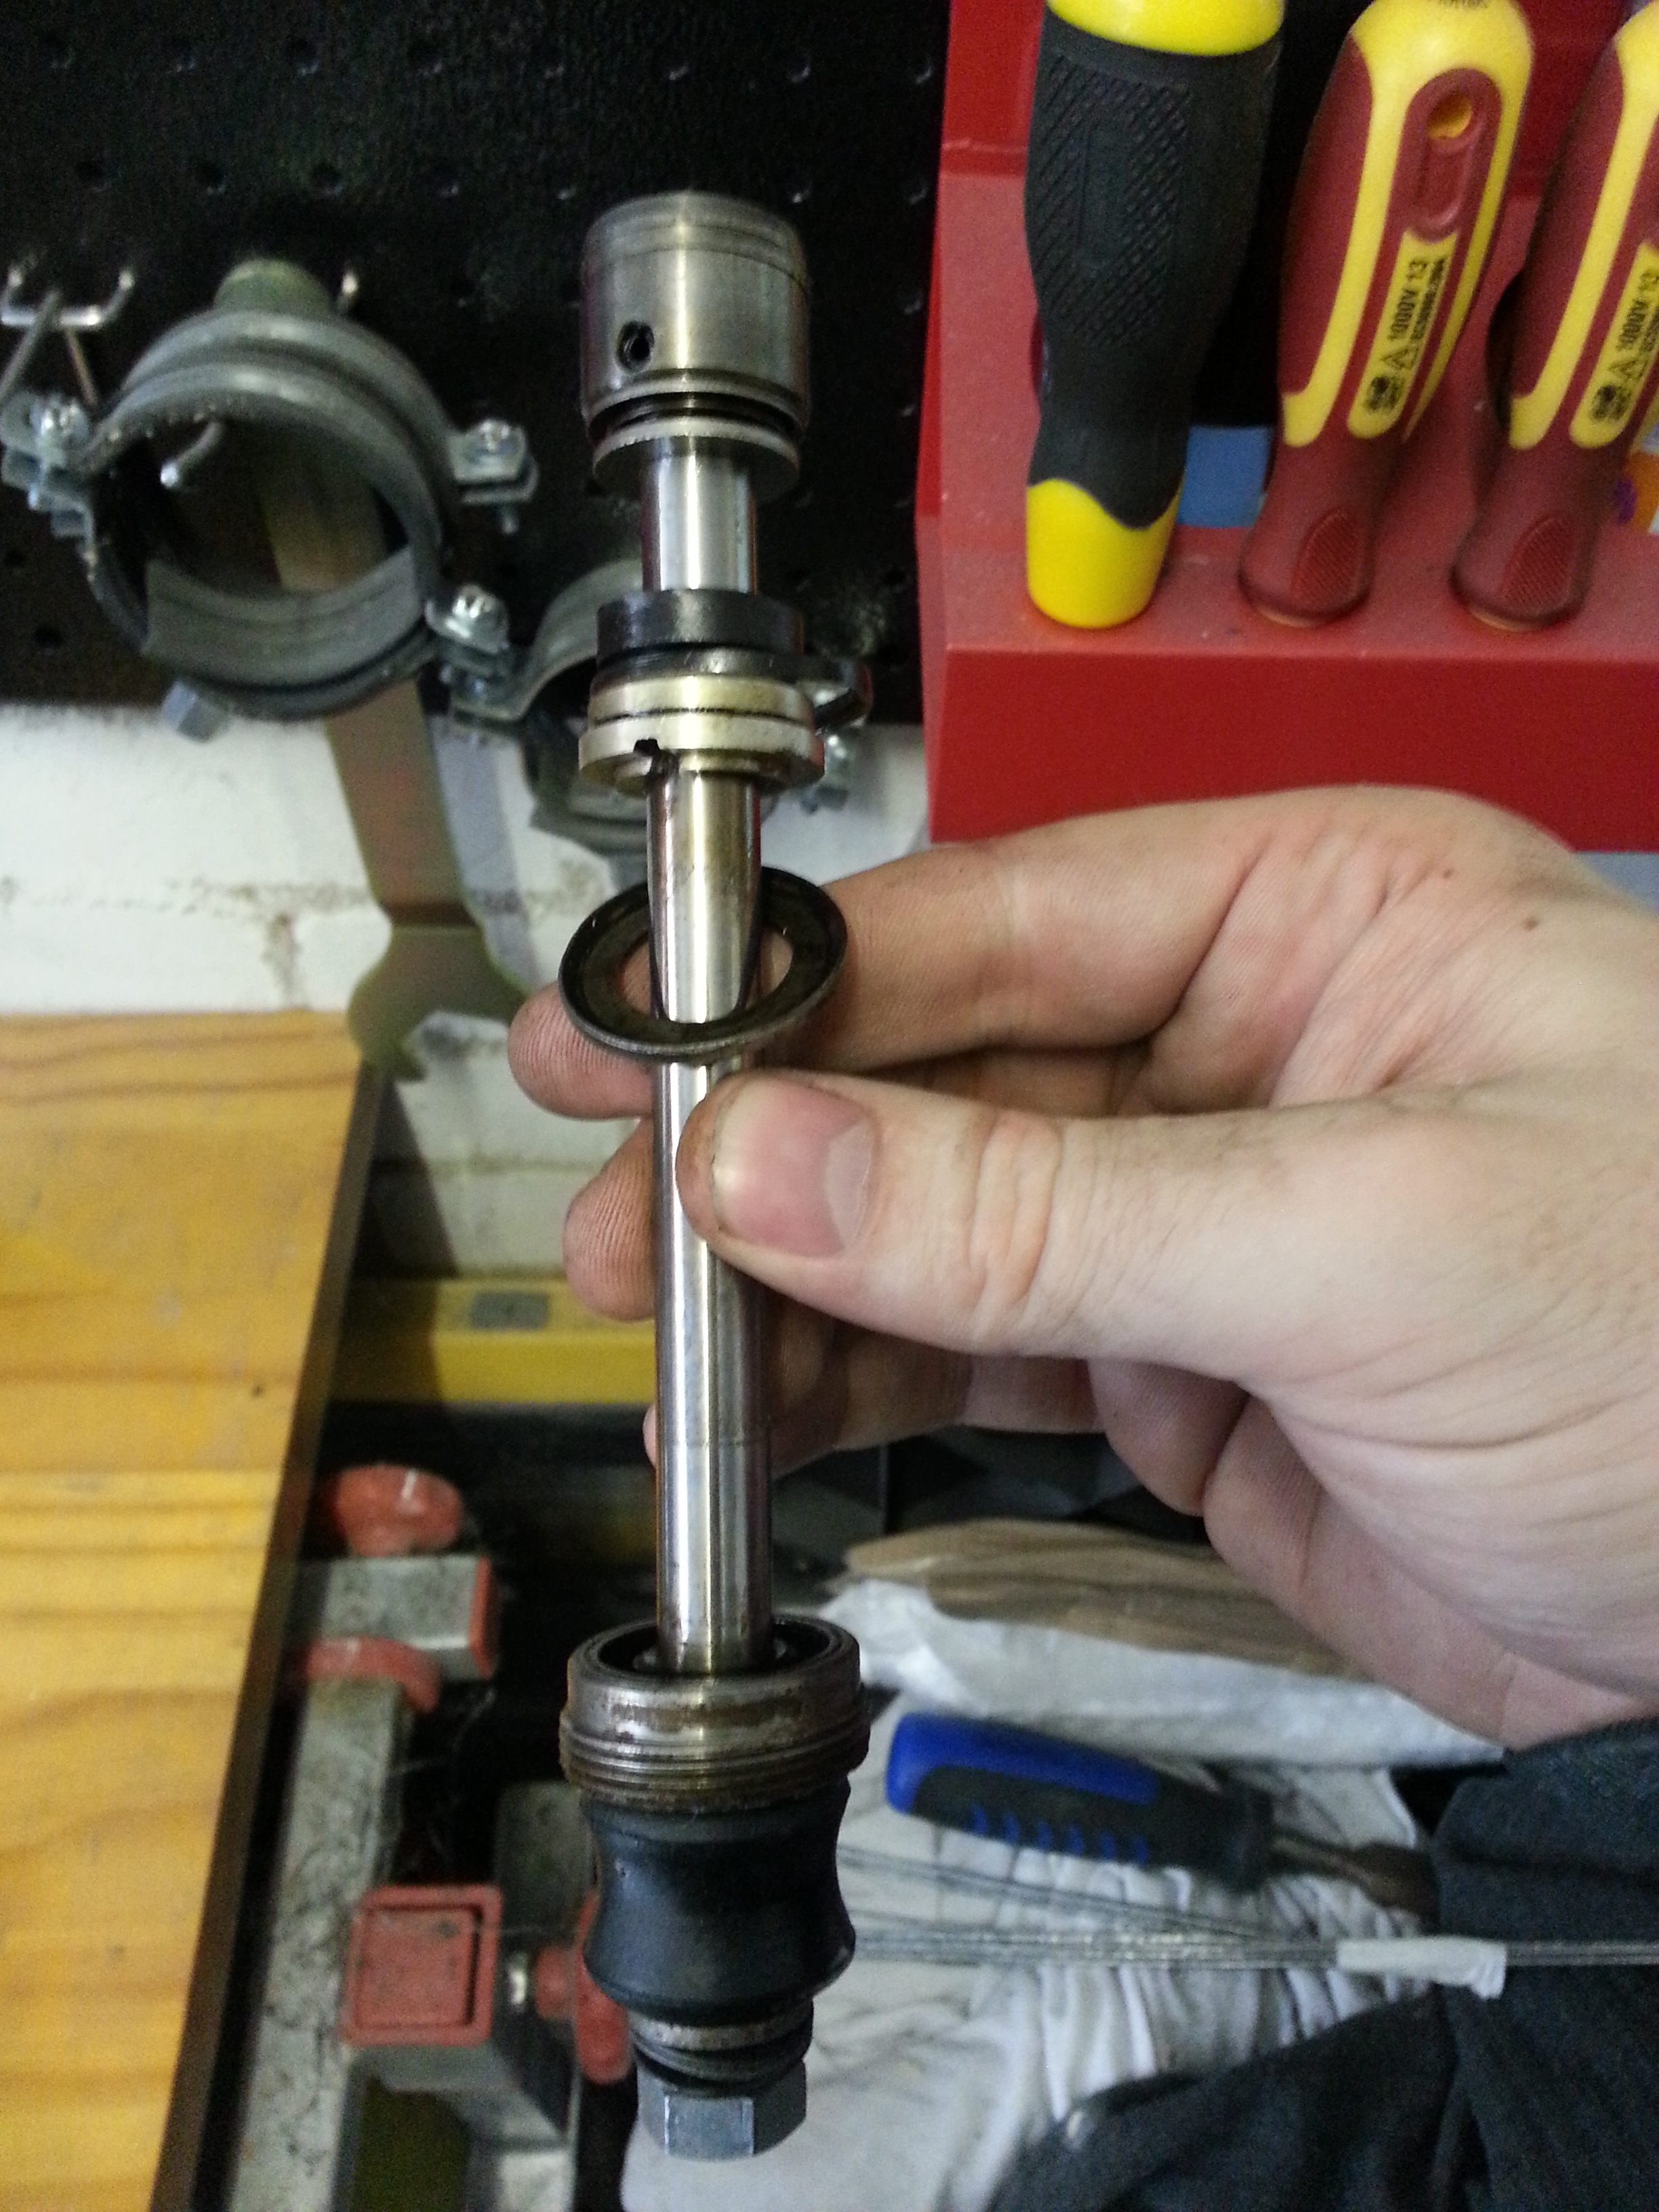
The very top bit comes apart into about five or six parts but is very tricky to re-assemble. It’s possible but take patience… If the oil in the shock was still fluid and reasonable, you could decide to just make sure the pressure chamber works (by blowing on it). Without a free pressure chamber the shock won’t work so if you think it’s clogged; just bite the bullet and take it apart for cleaning. You can of course also use ultrasonic parts cleaning for this purpose and afterward rinse thoroughly the dislodge any debris lodged inside.
You will notice that the plunger element is very solidly built without easily perishing parts. The main element of maintenance is an oil change with much use, or oil leaking out of the shock (usually due to a faulty seal). So let’s replace the oil seal which is inside the plug of the shock:
It’s a very nasty seal to get out as it has a metal housing, so I used the tried and tested method of cutting away the drubber, screwing the plug upside down in the shock and using a screwdriver to pivot it out.
You will find that the seal measures 11 mm inner diameter and 24 outer. This is a non-standard size and you won’t be able to find it anywhere, so save yourself some time and order it from bella-ersatzteile where Helmut and Iris Bougé have had a special production run done for these.
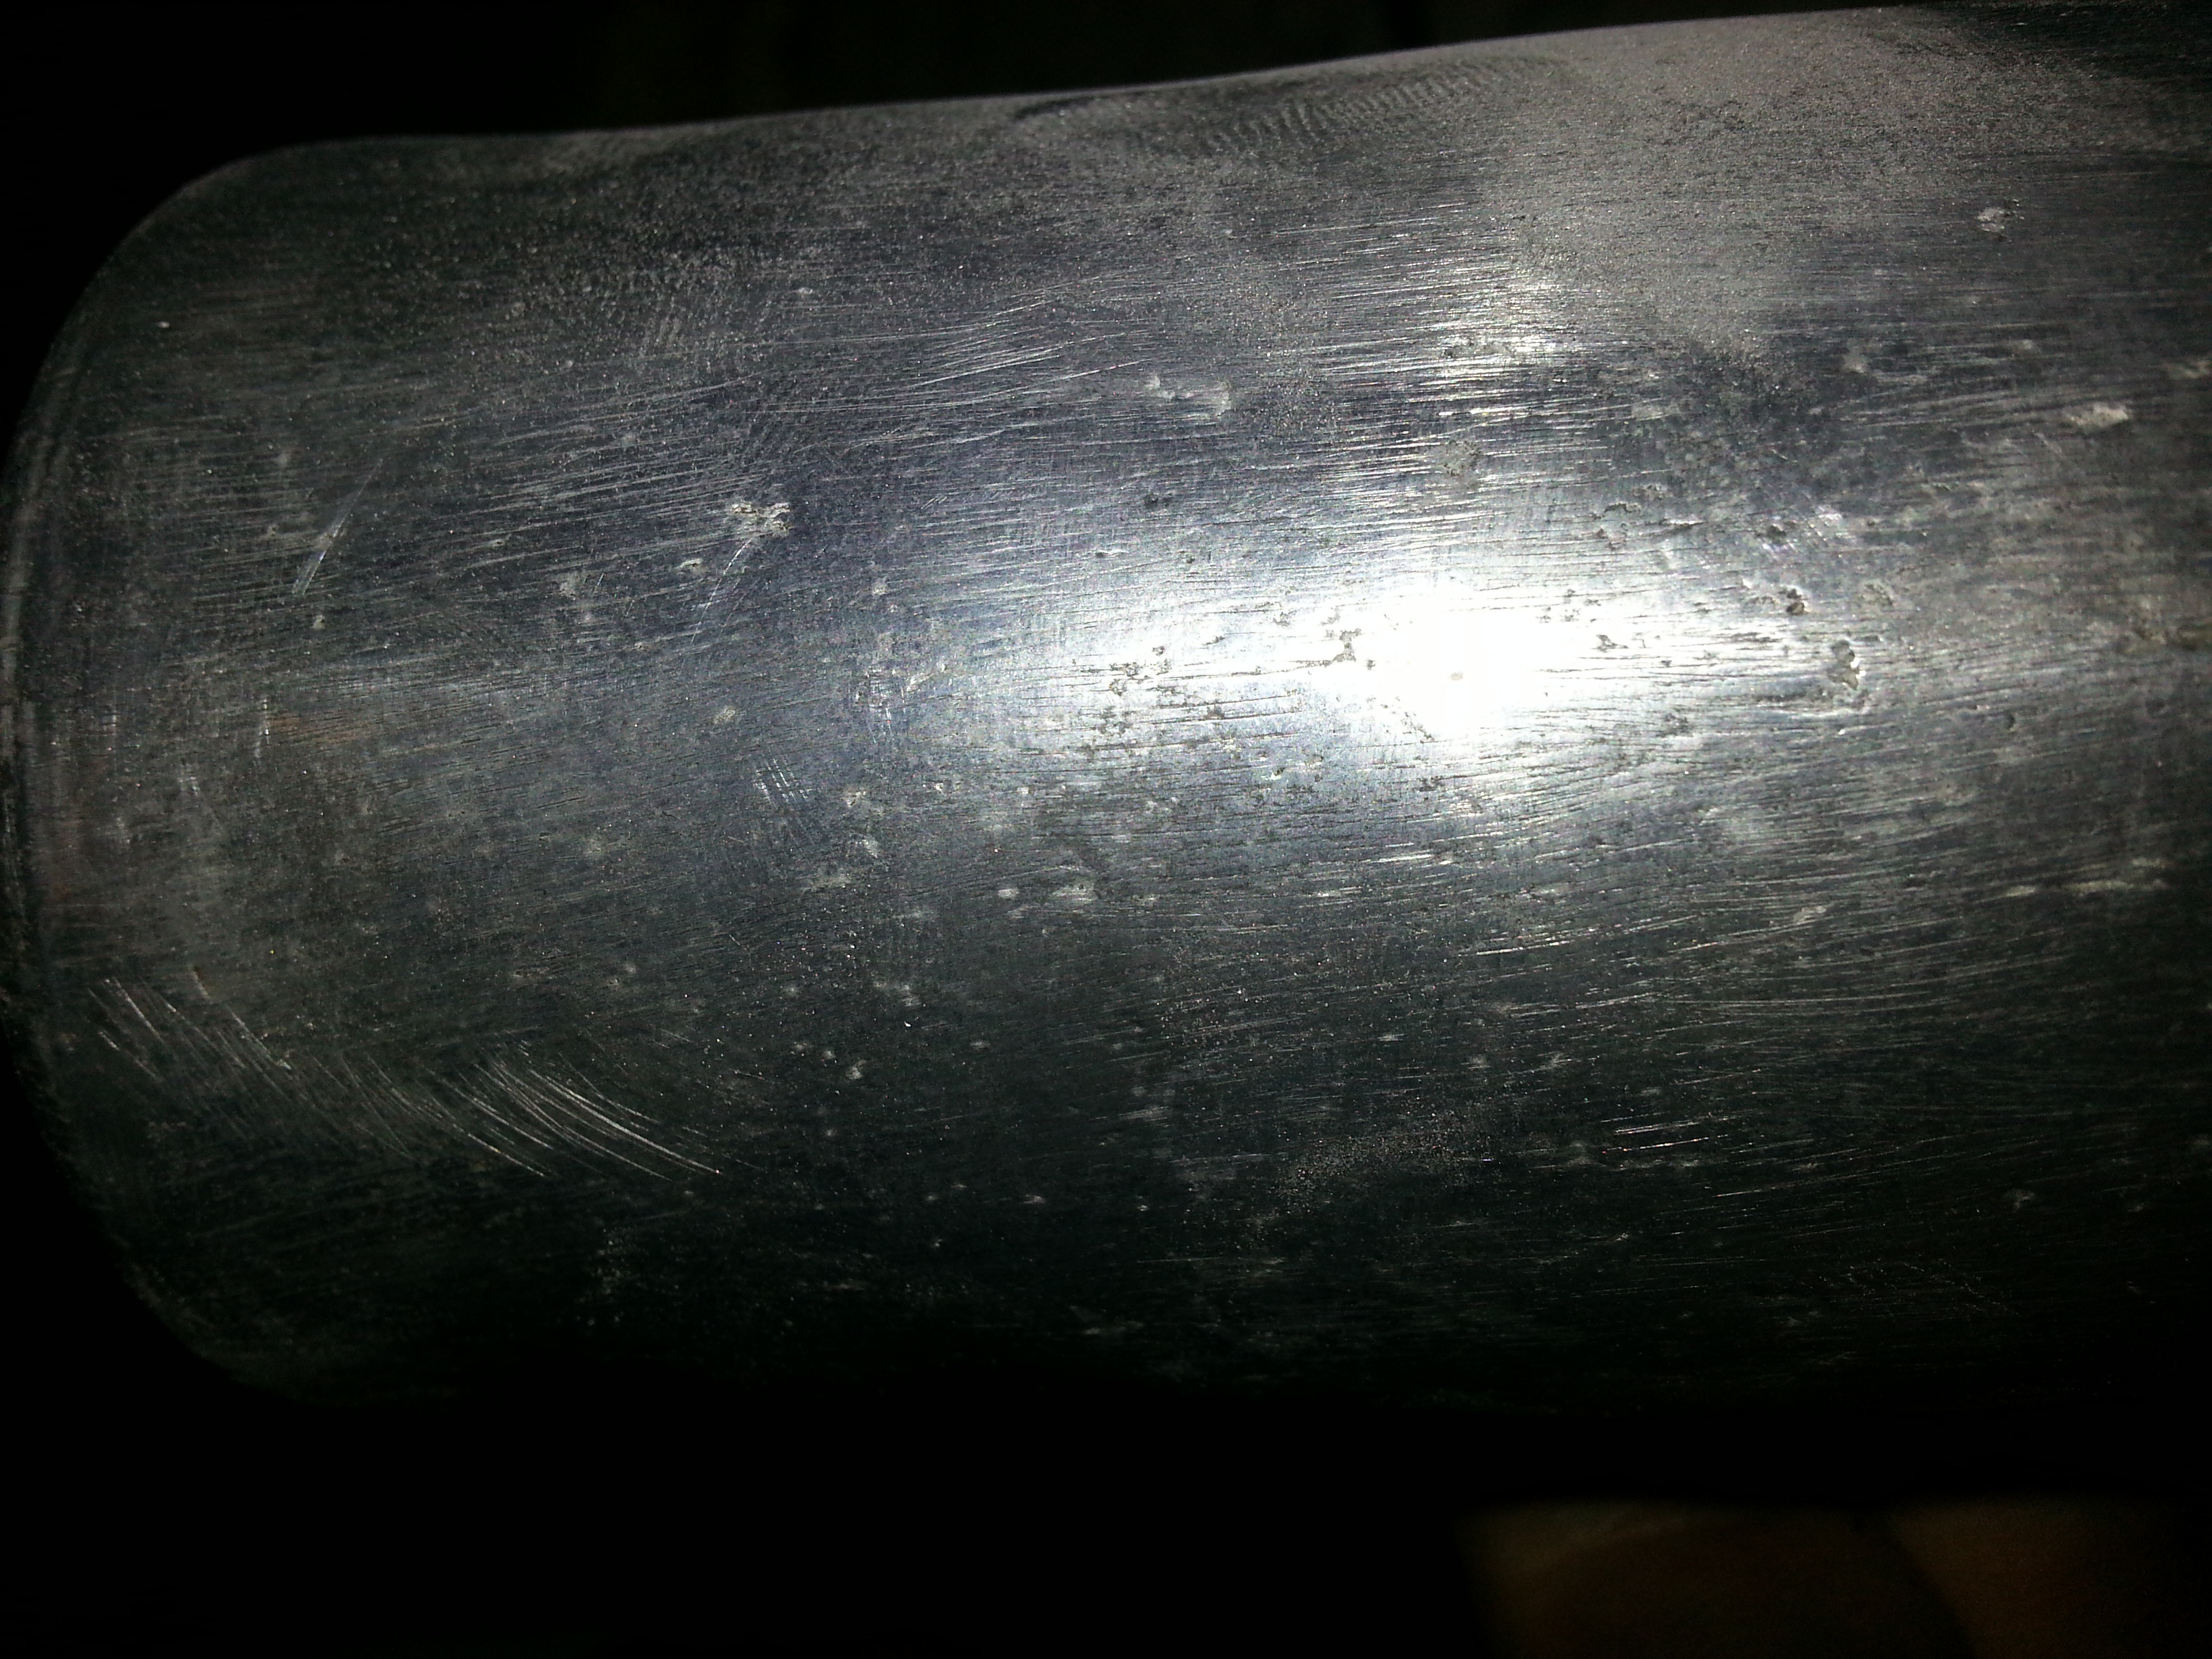
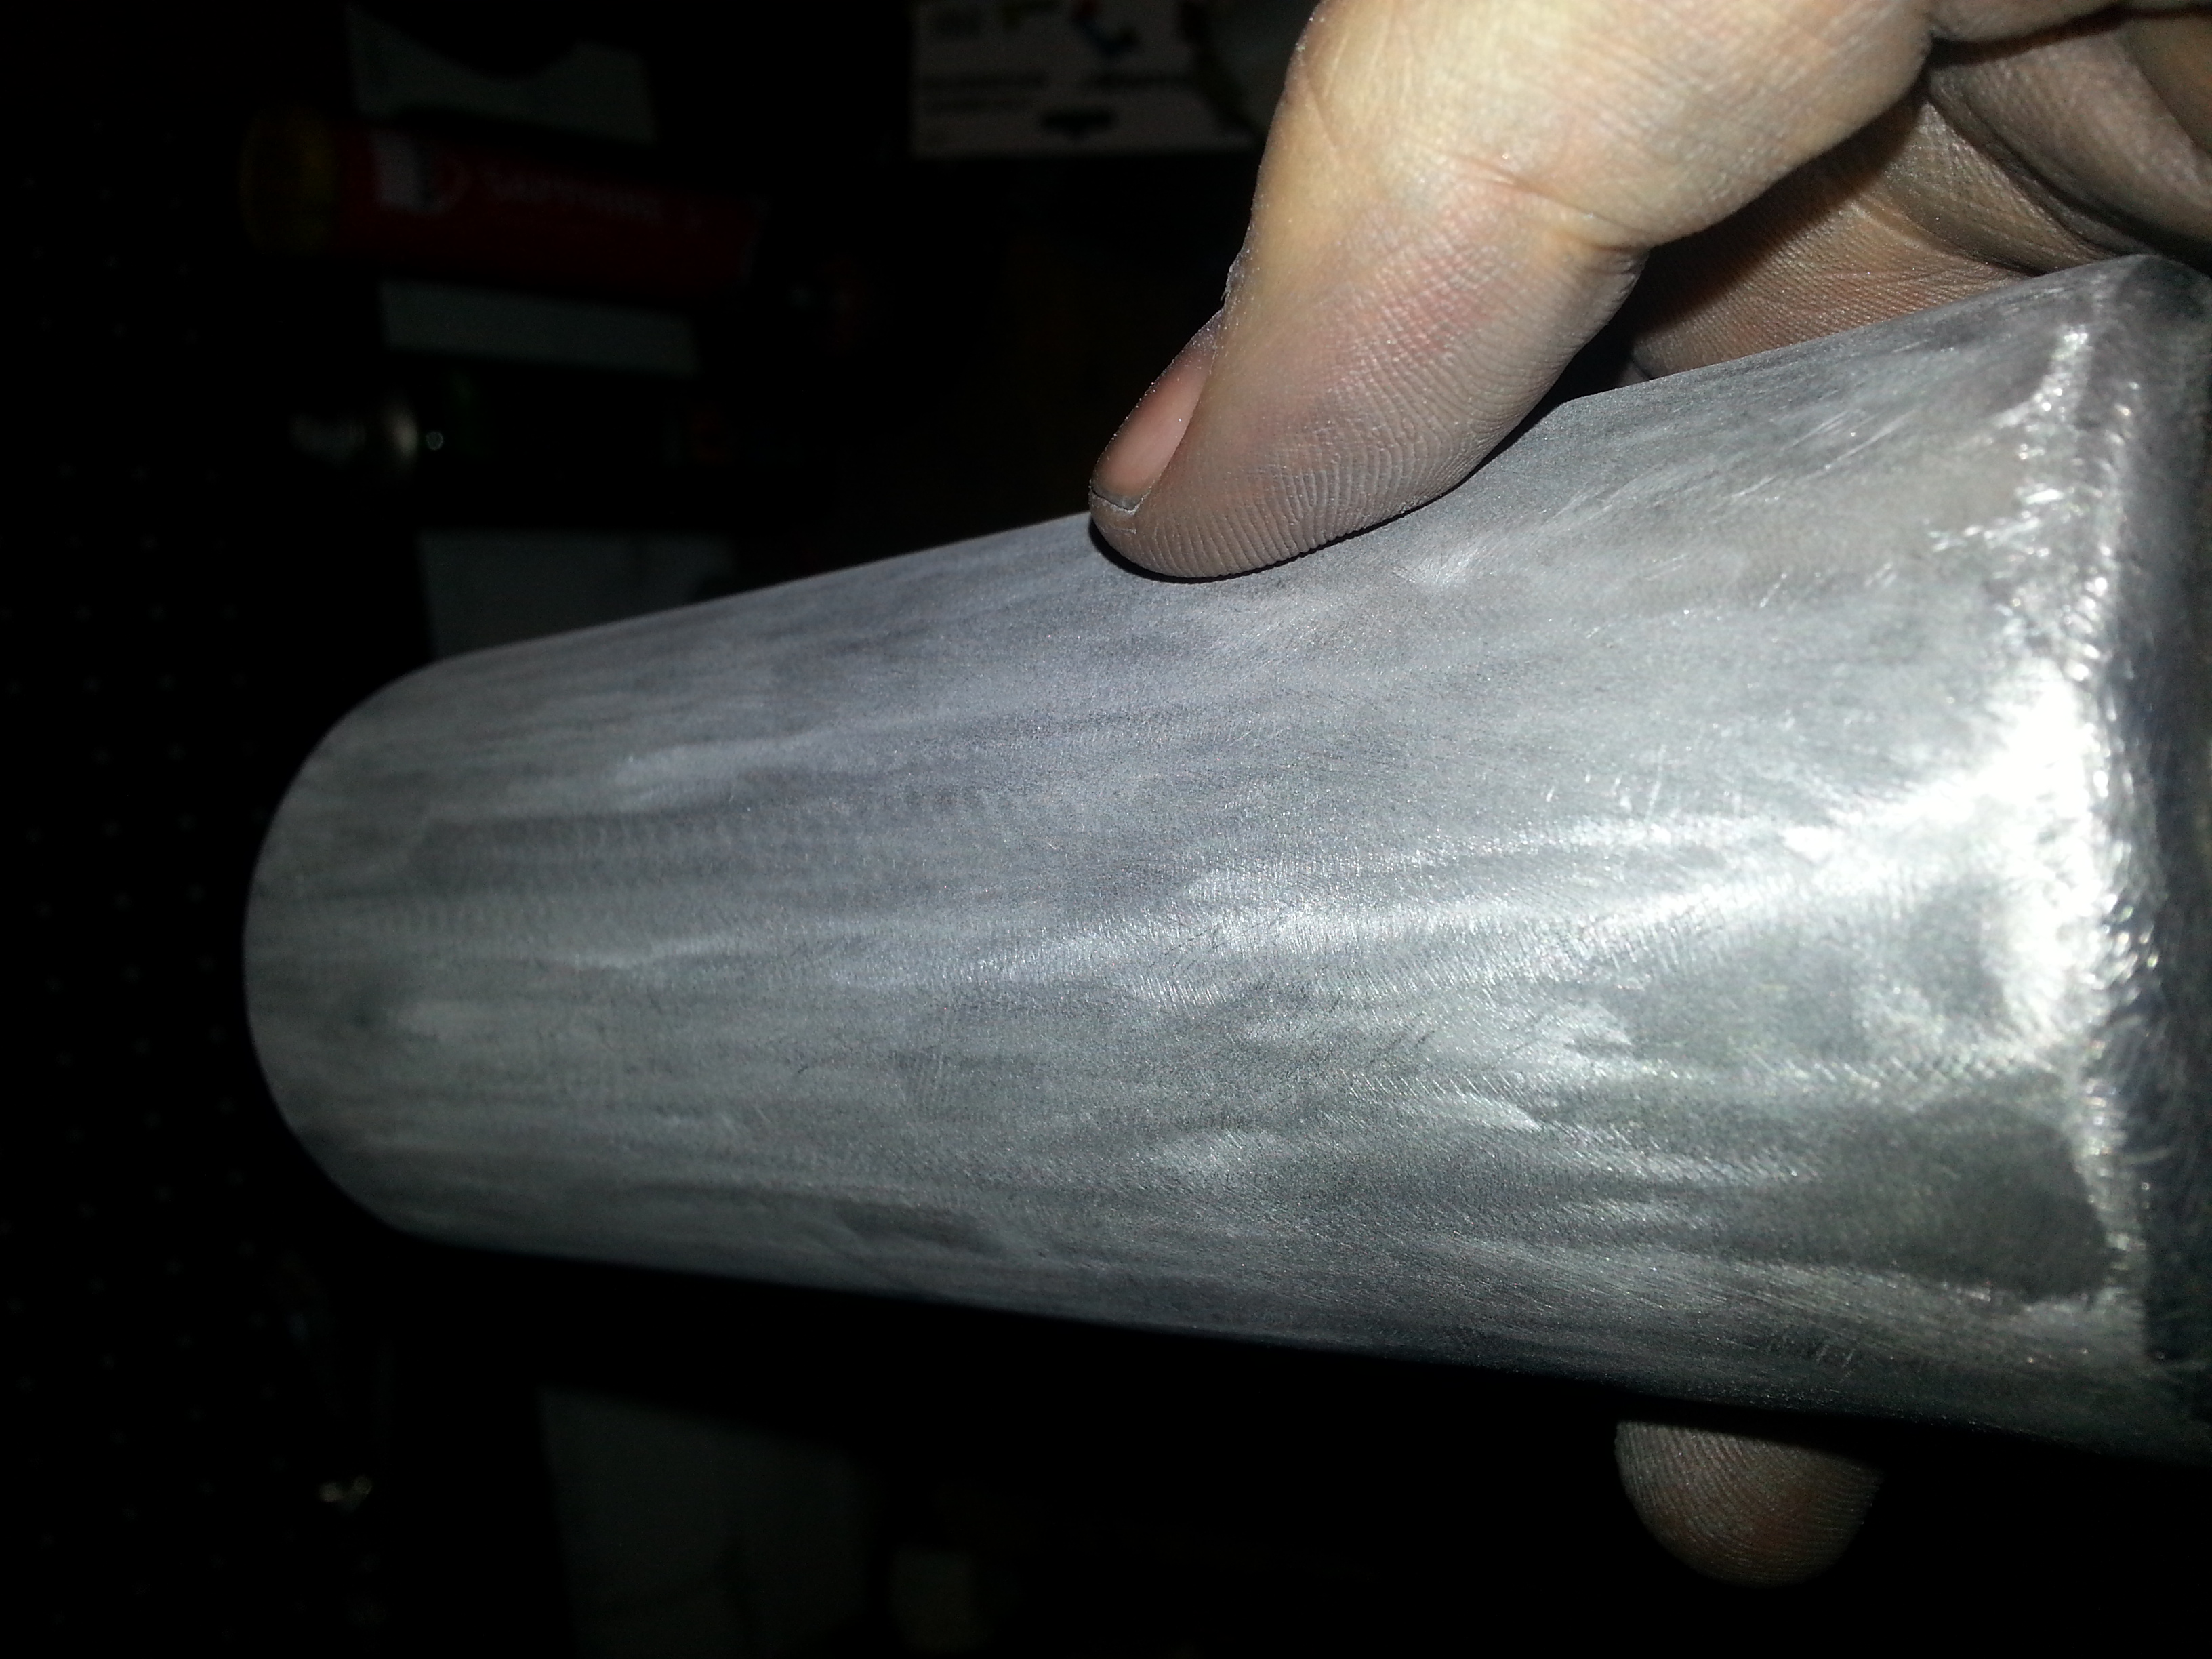
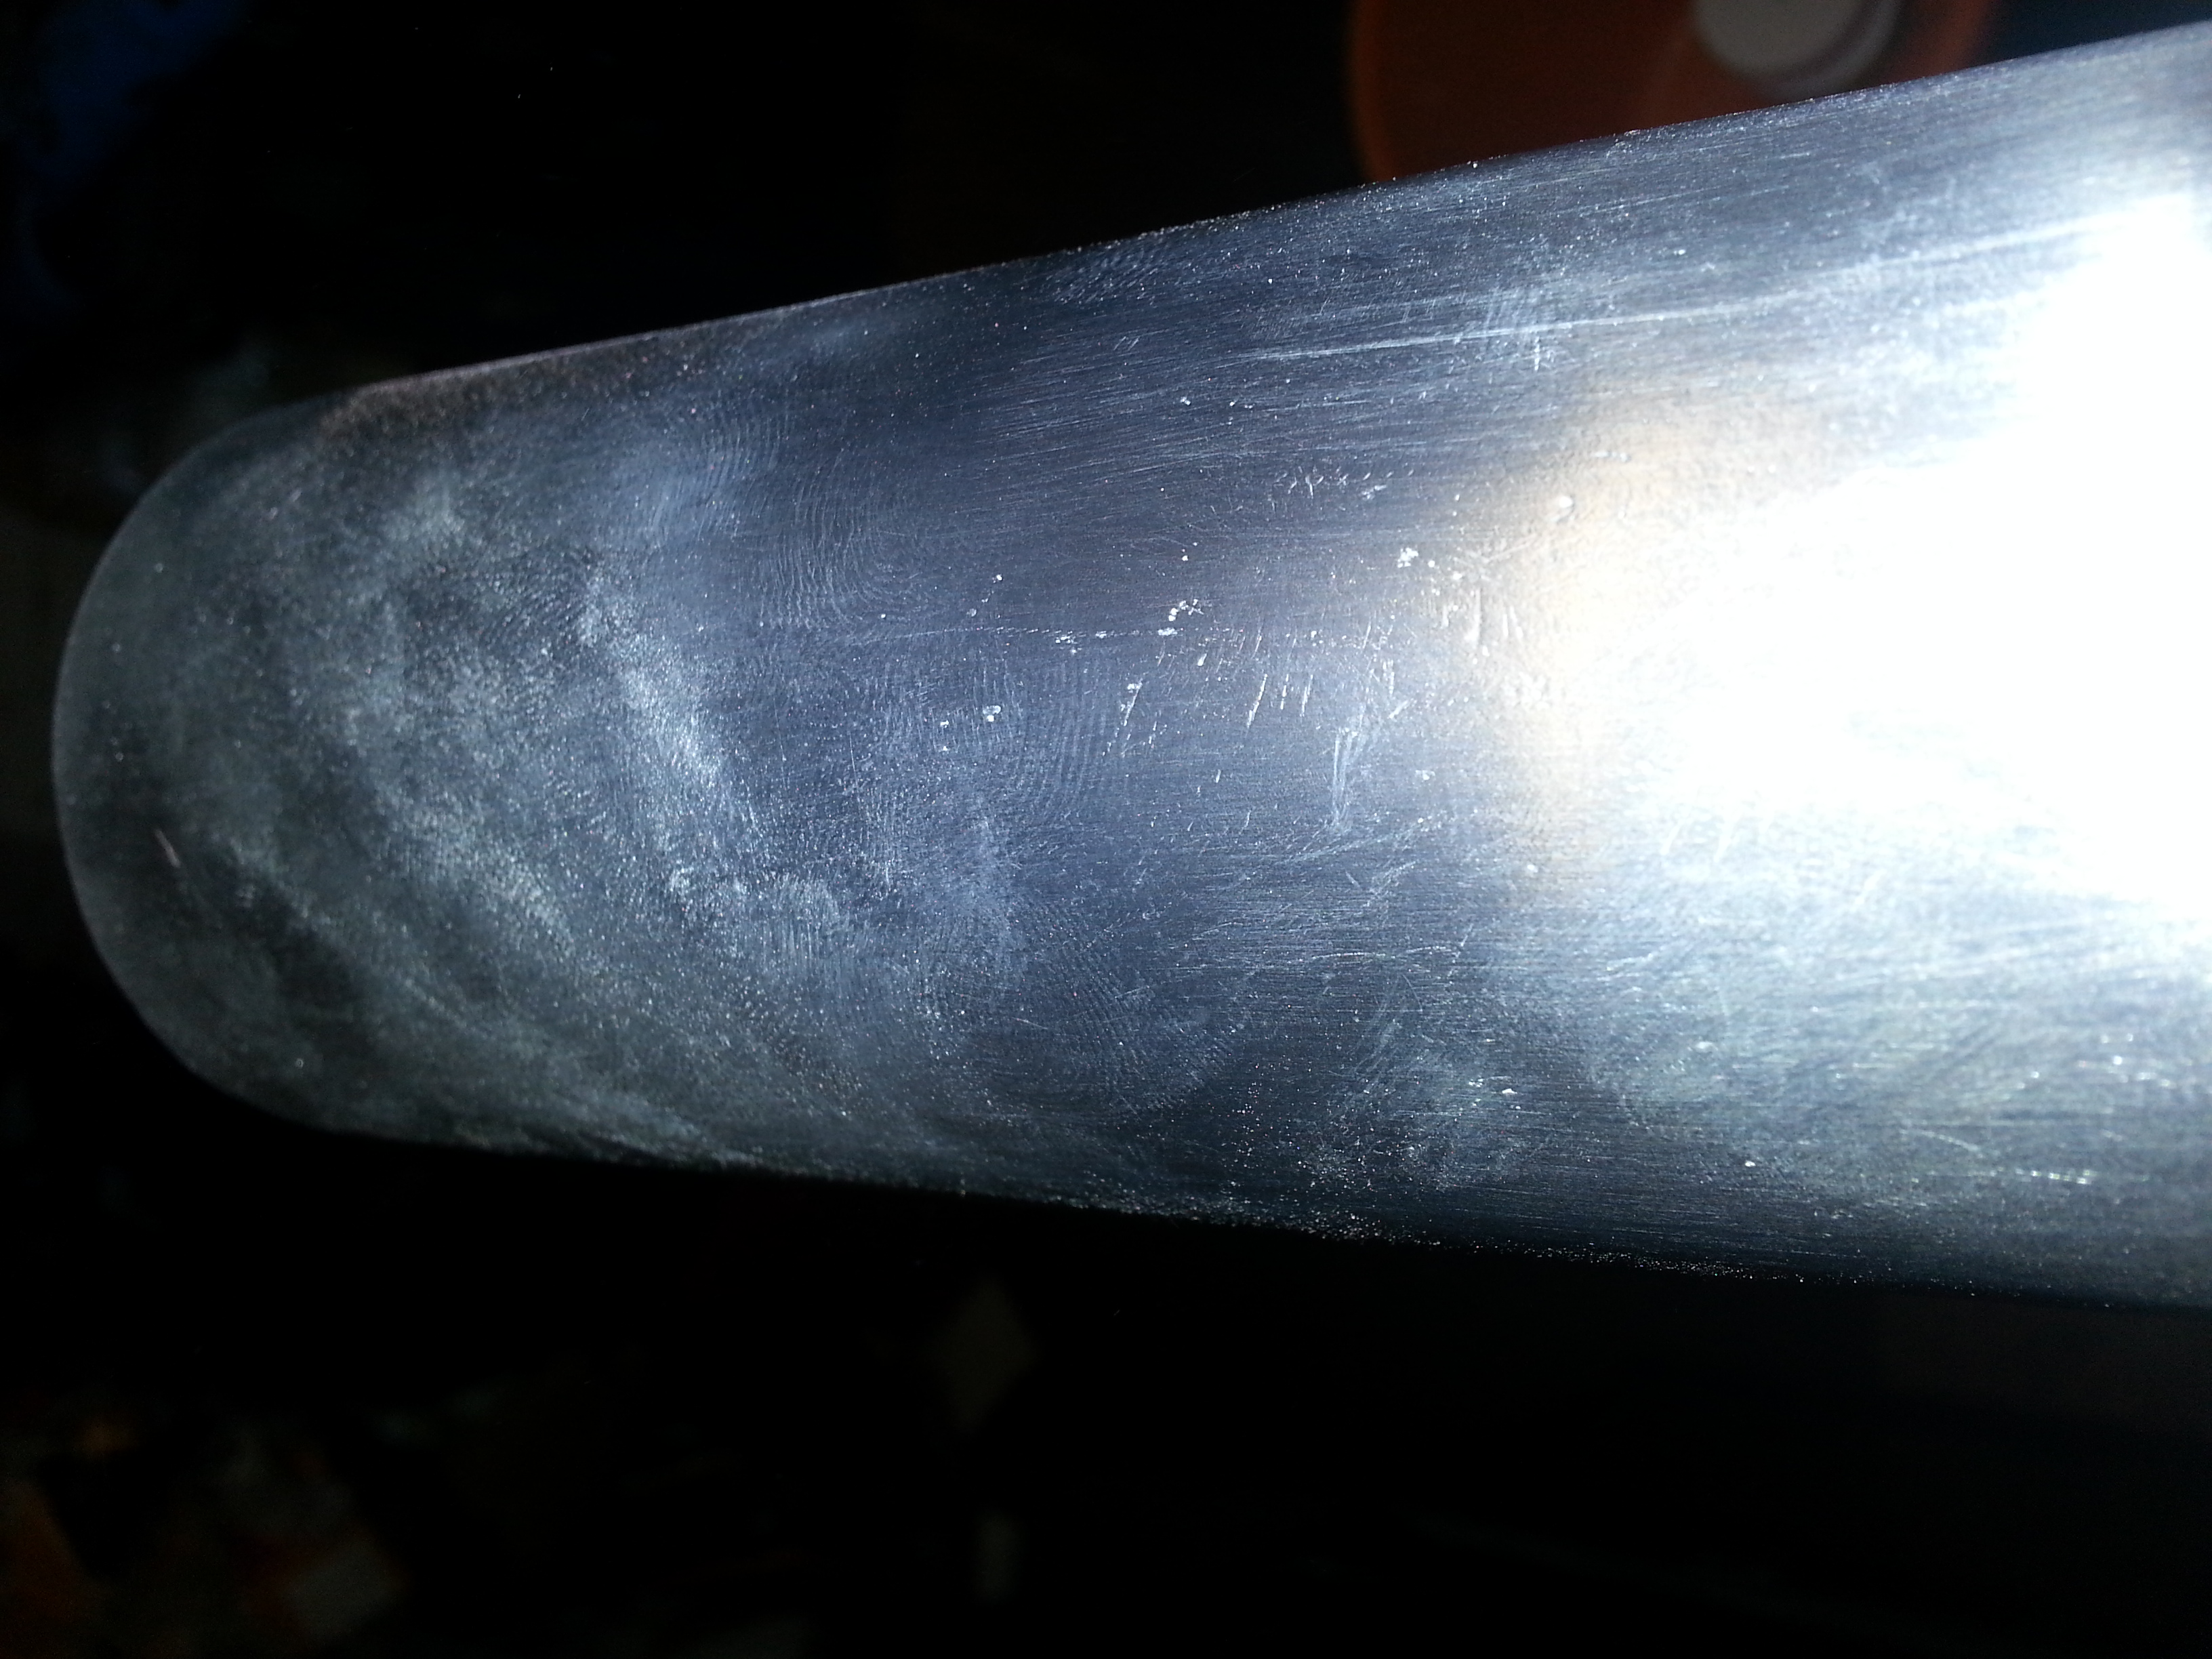
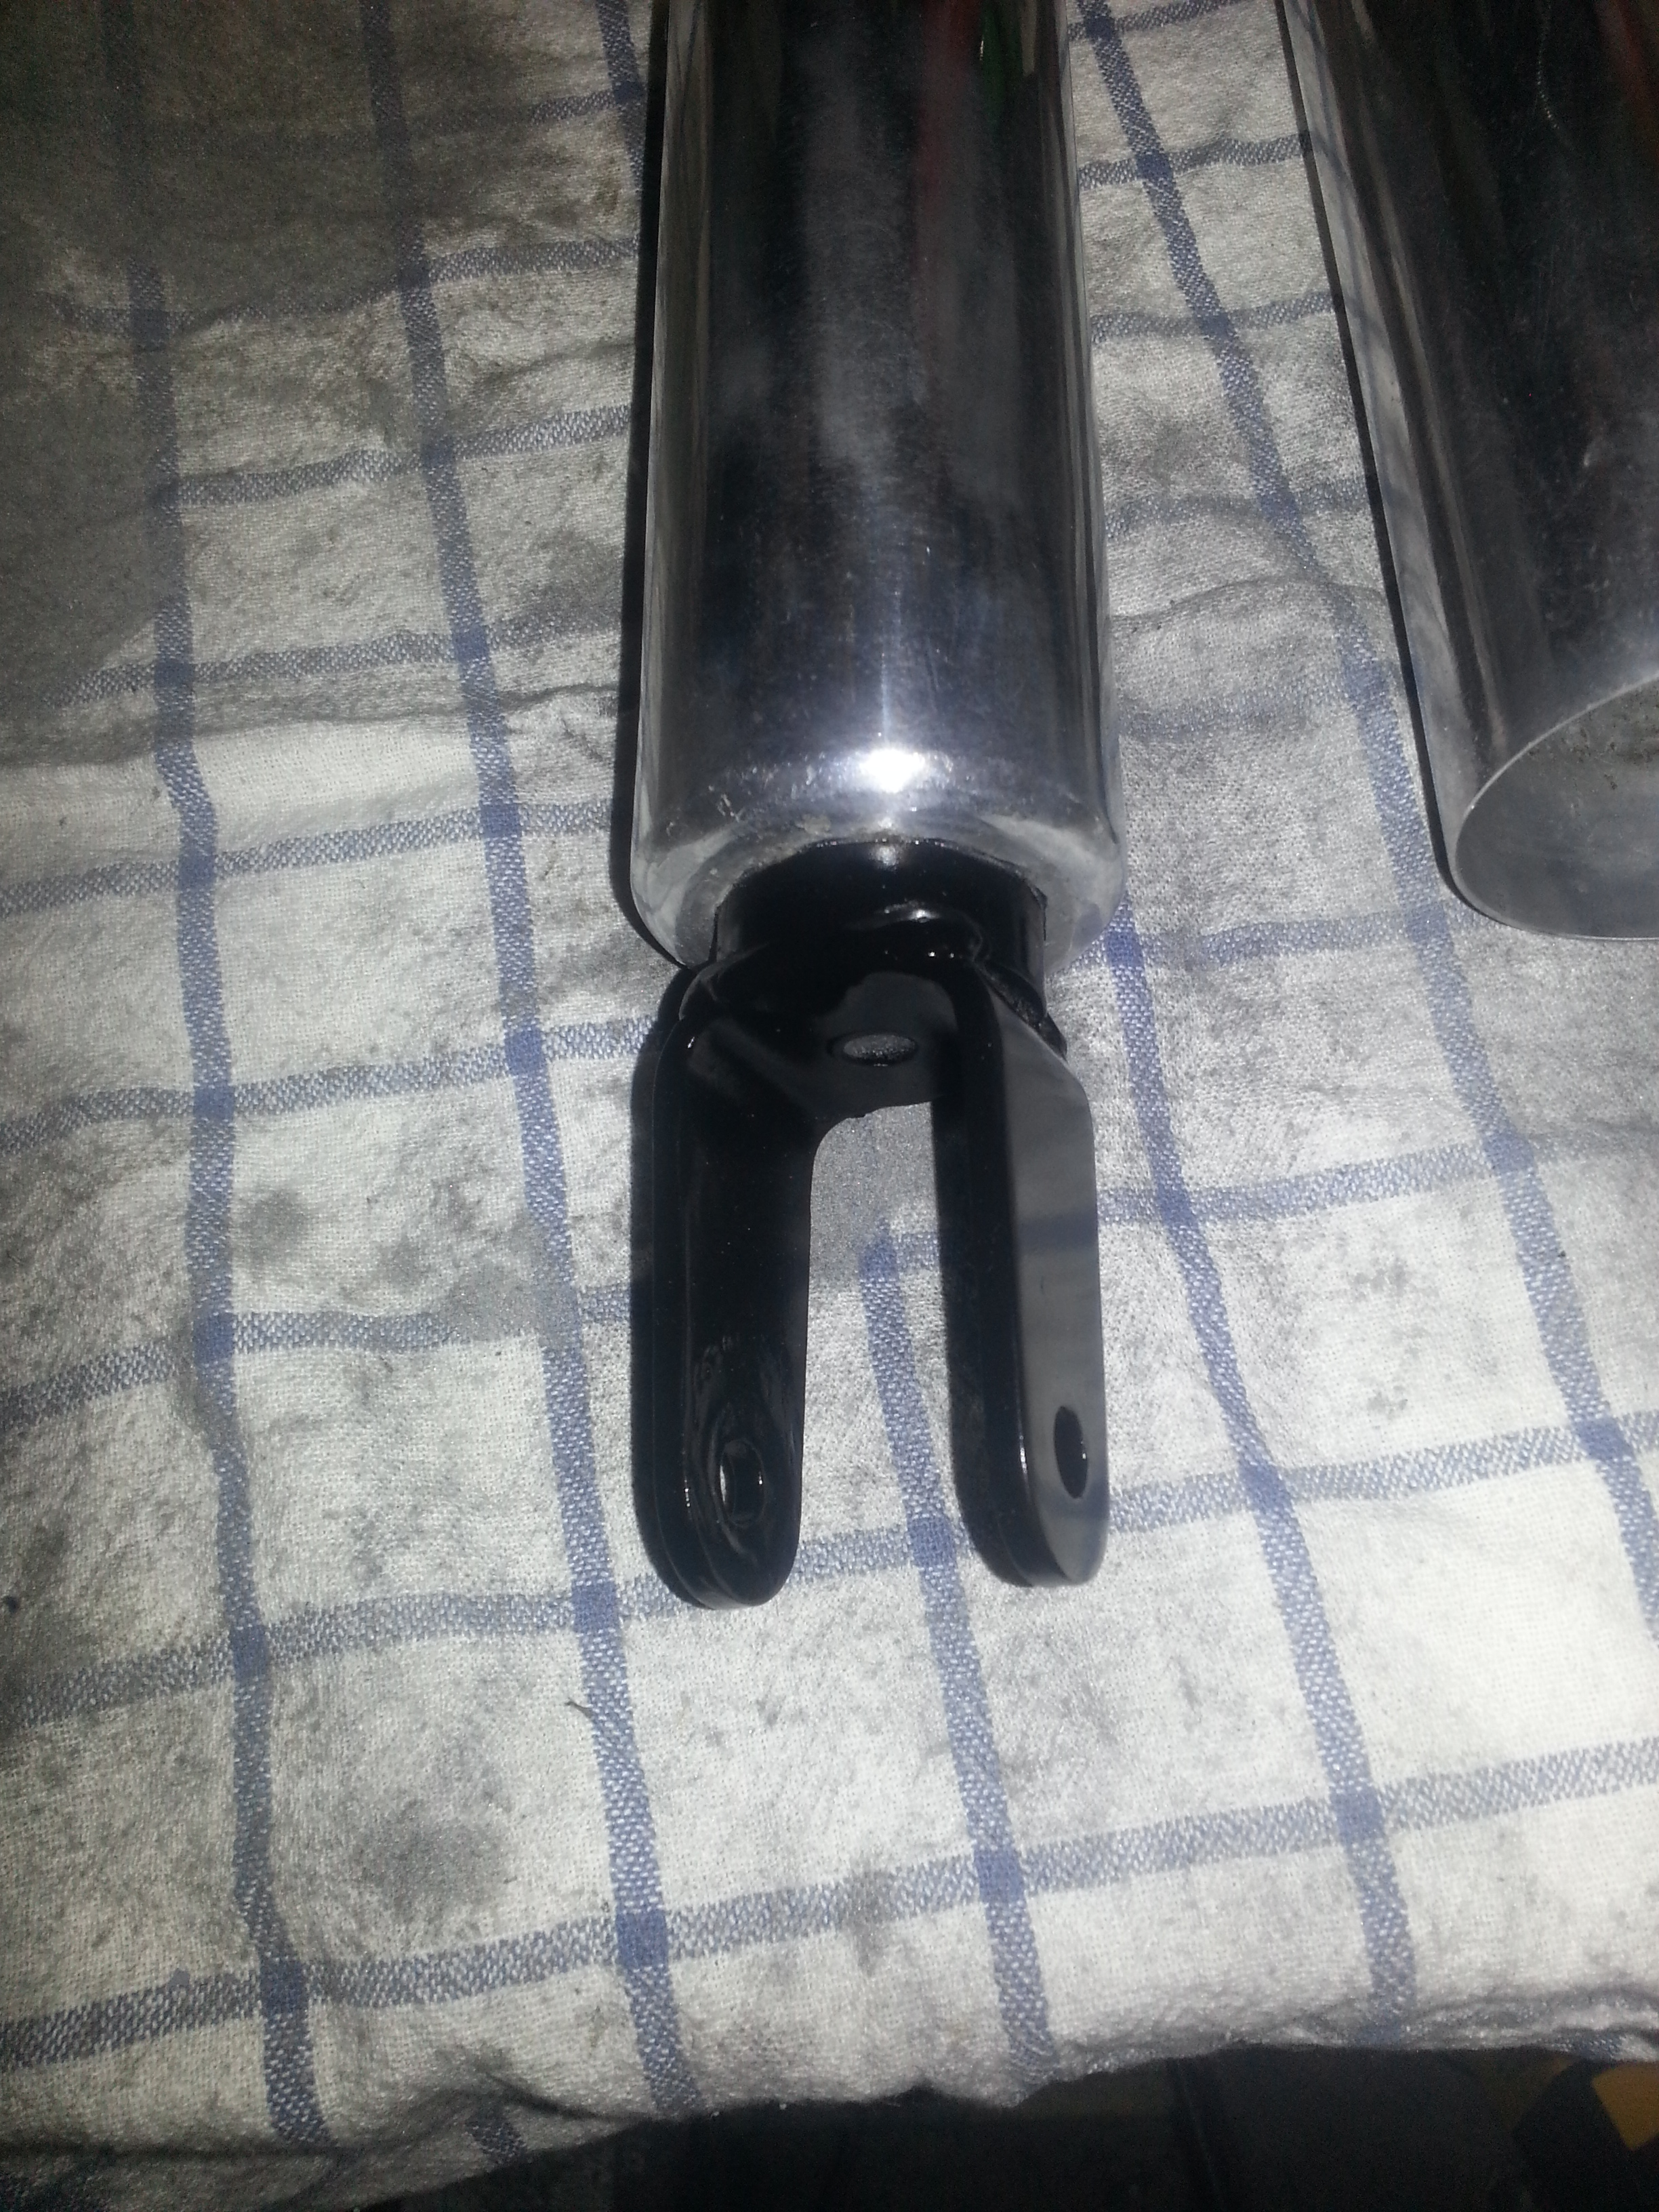
Next it’s time for the tedious job of polishing the brightwork and giving the bottom bracket a coat of paint:

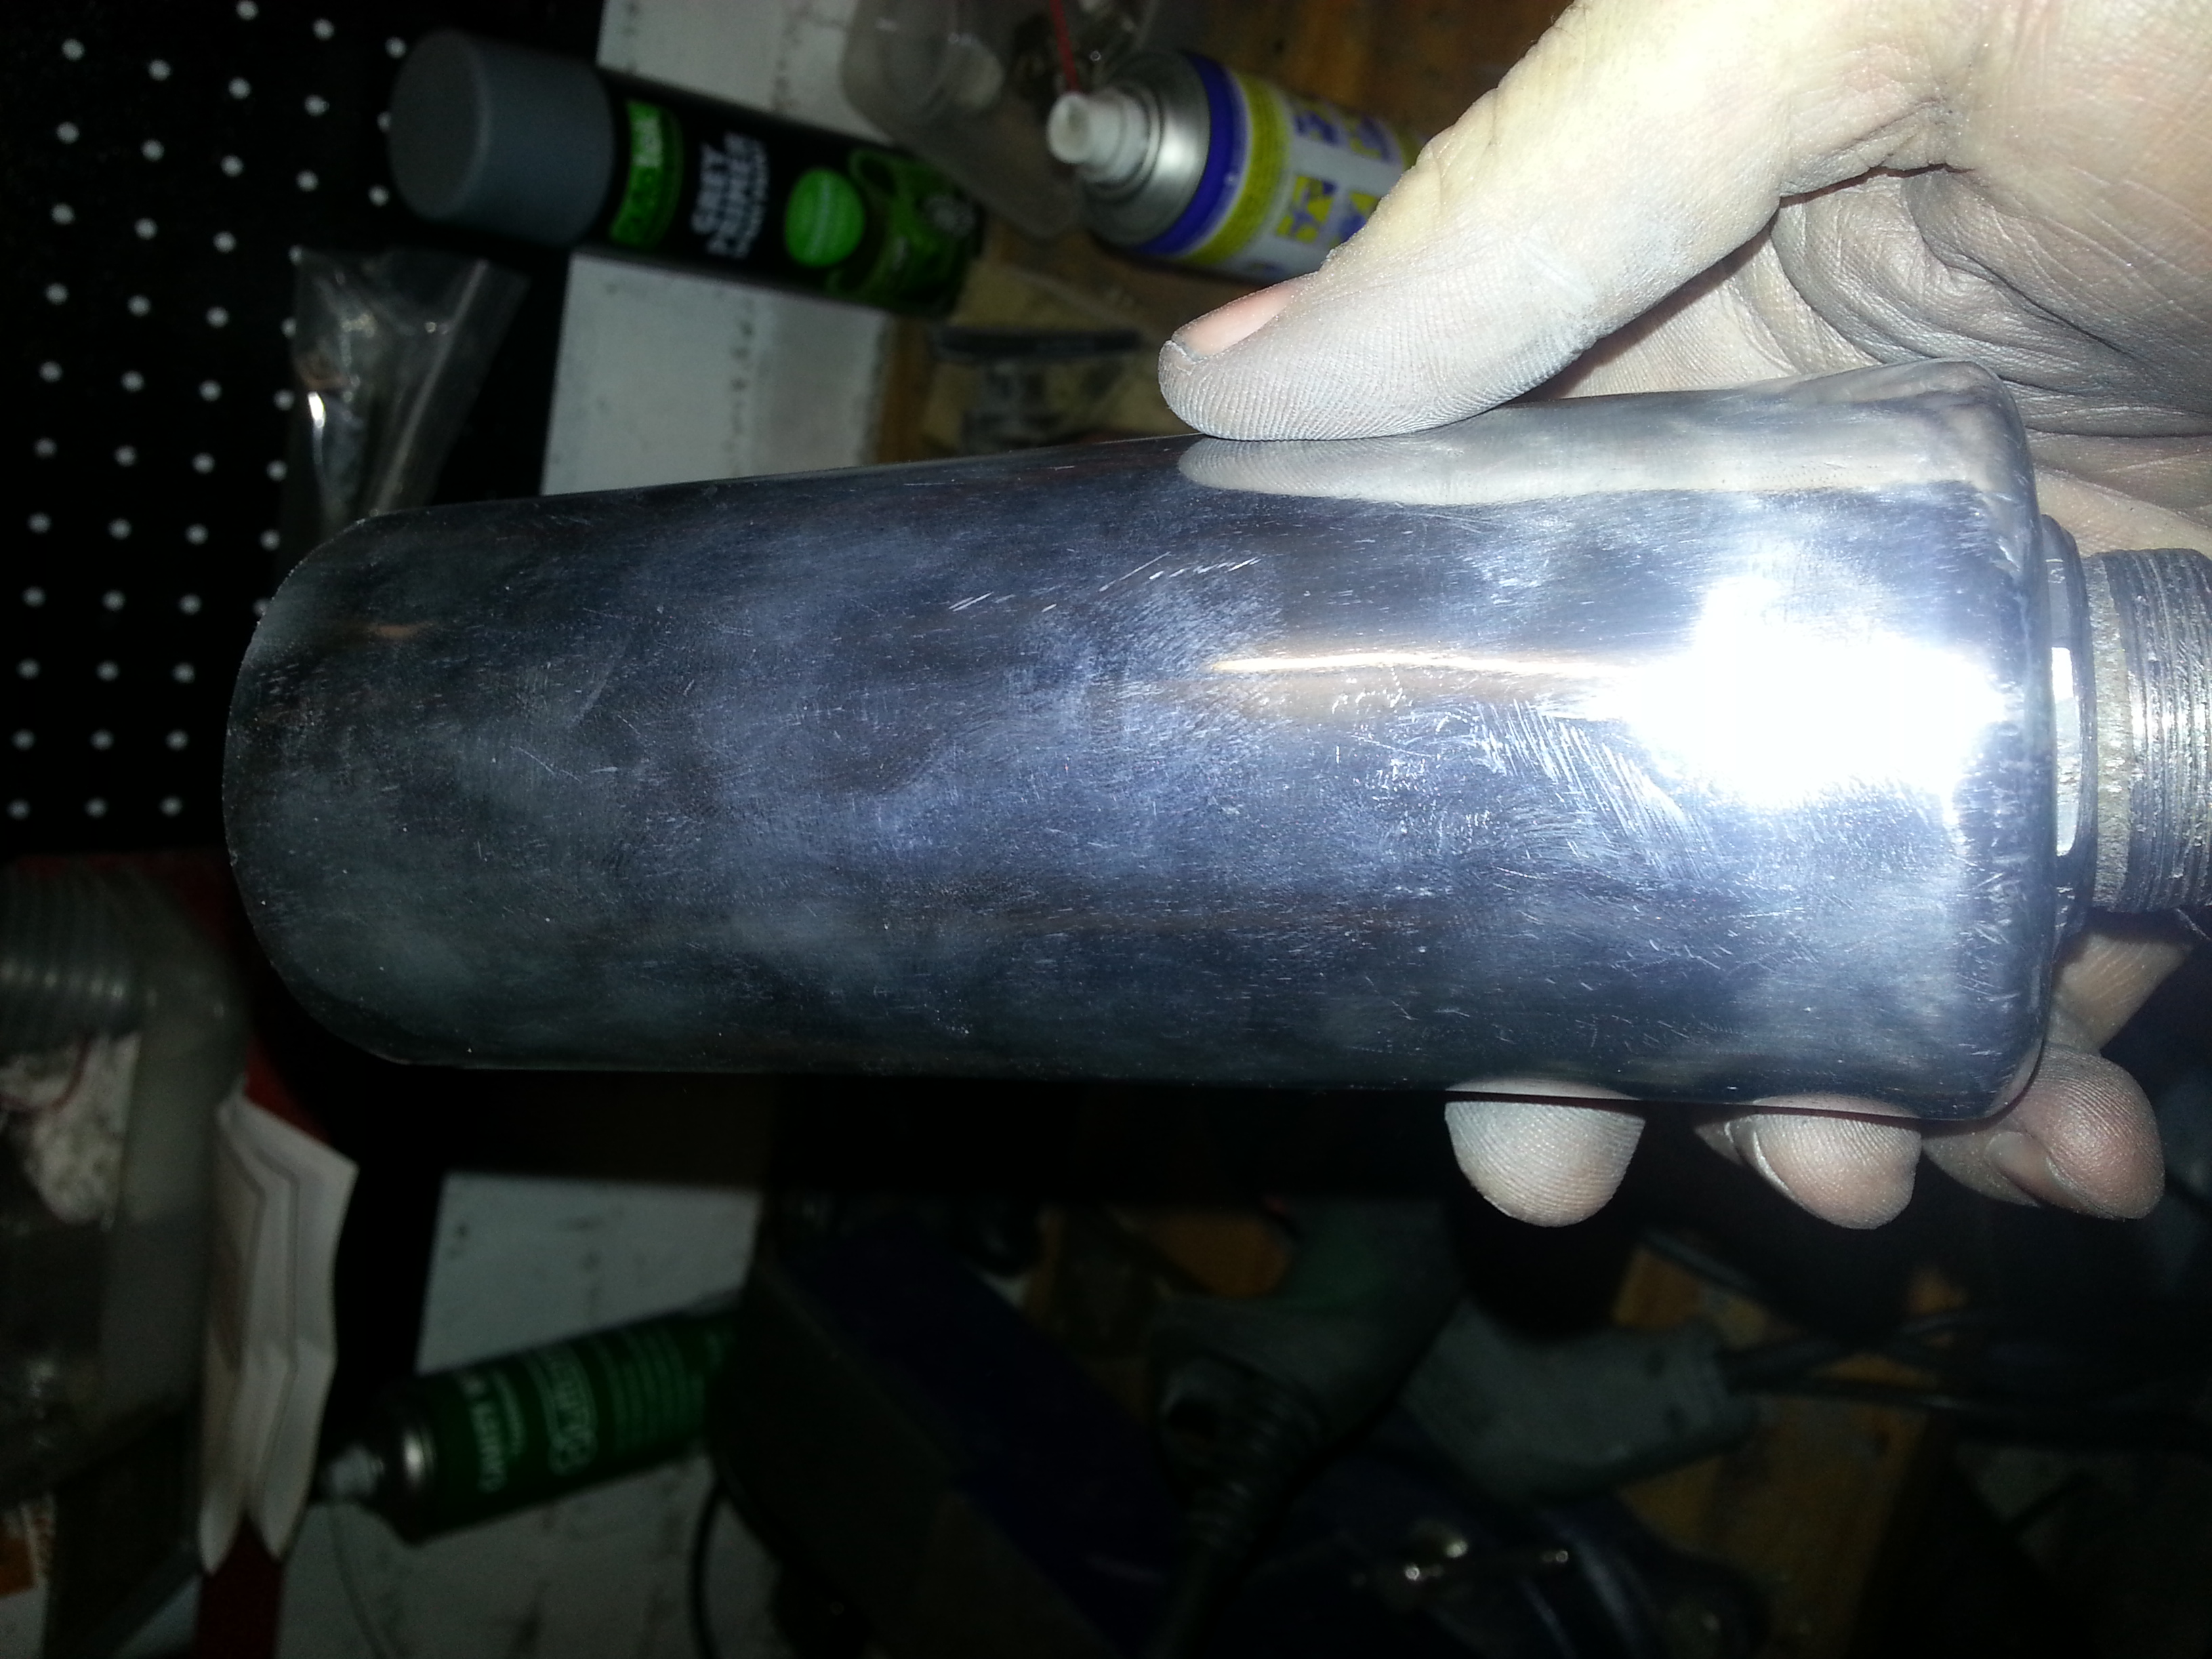
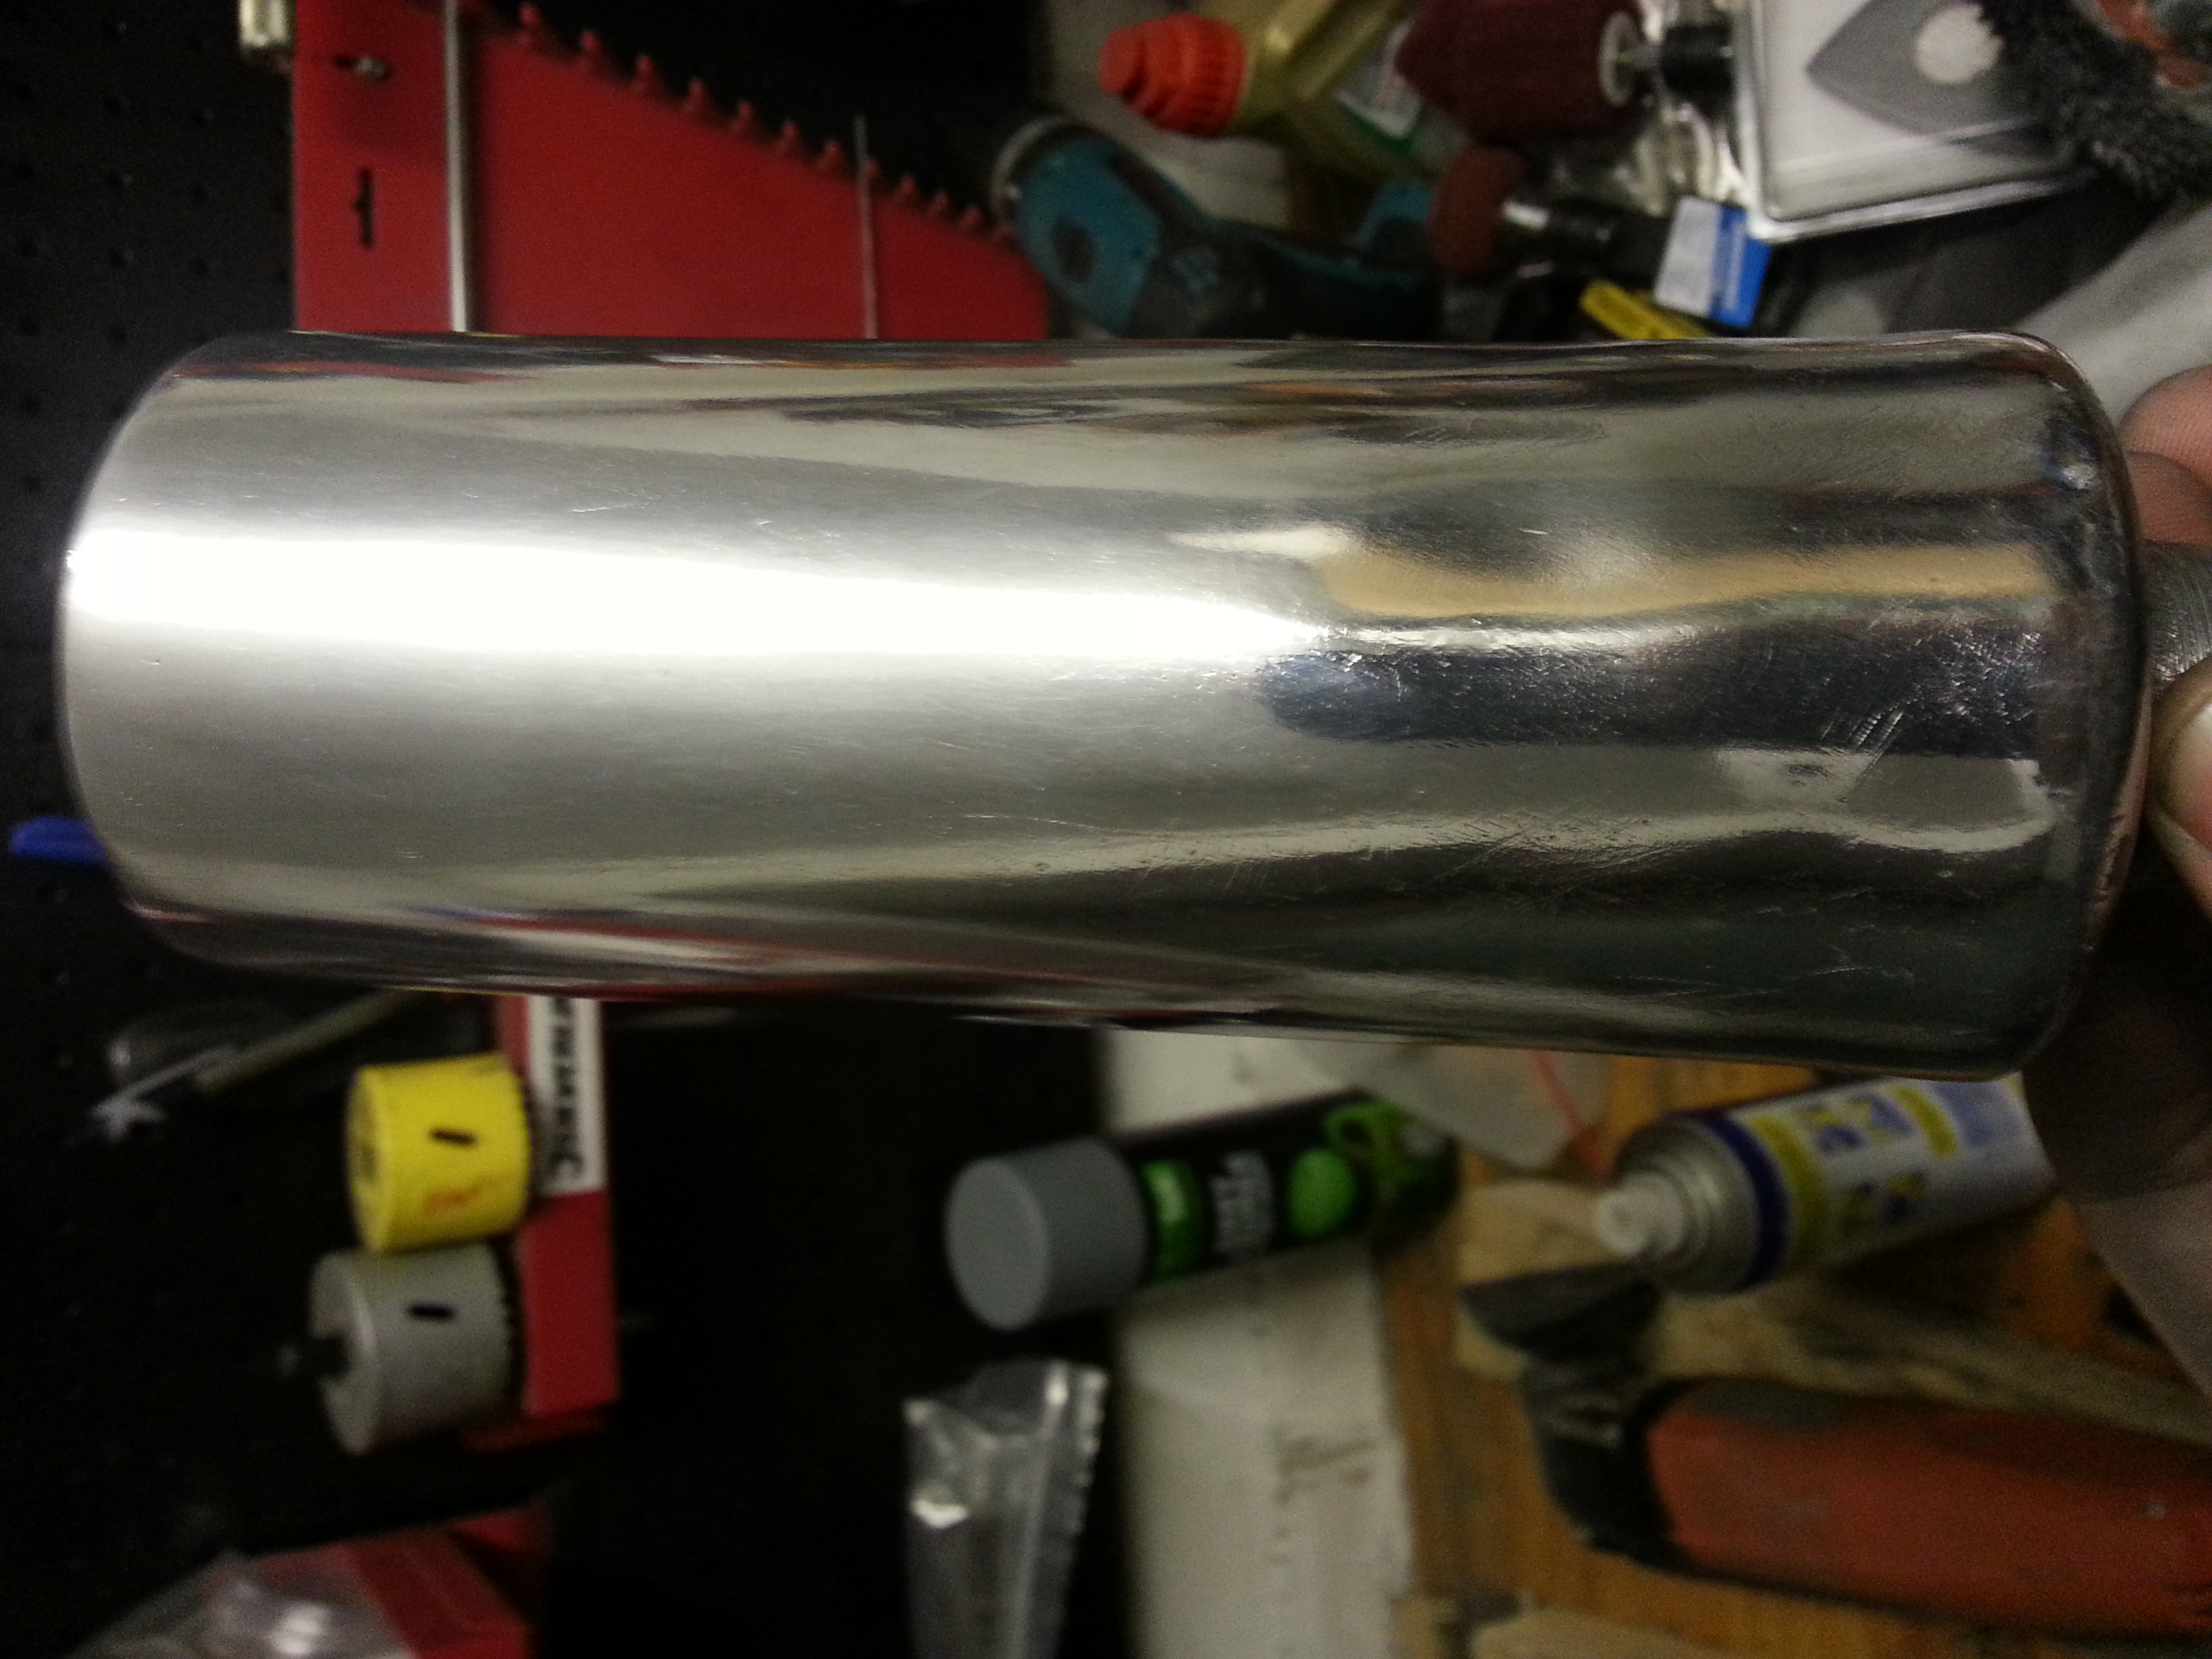
And the lick of paint:
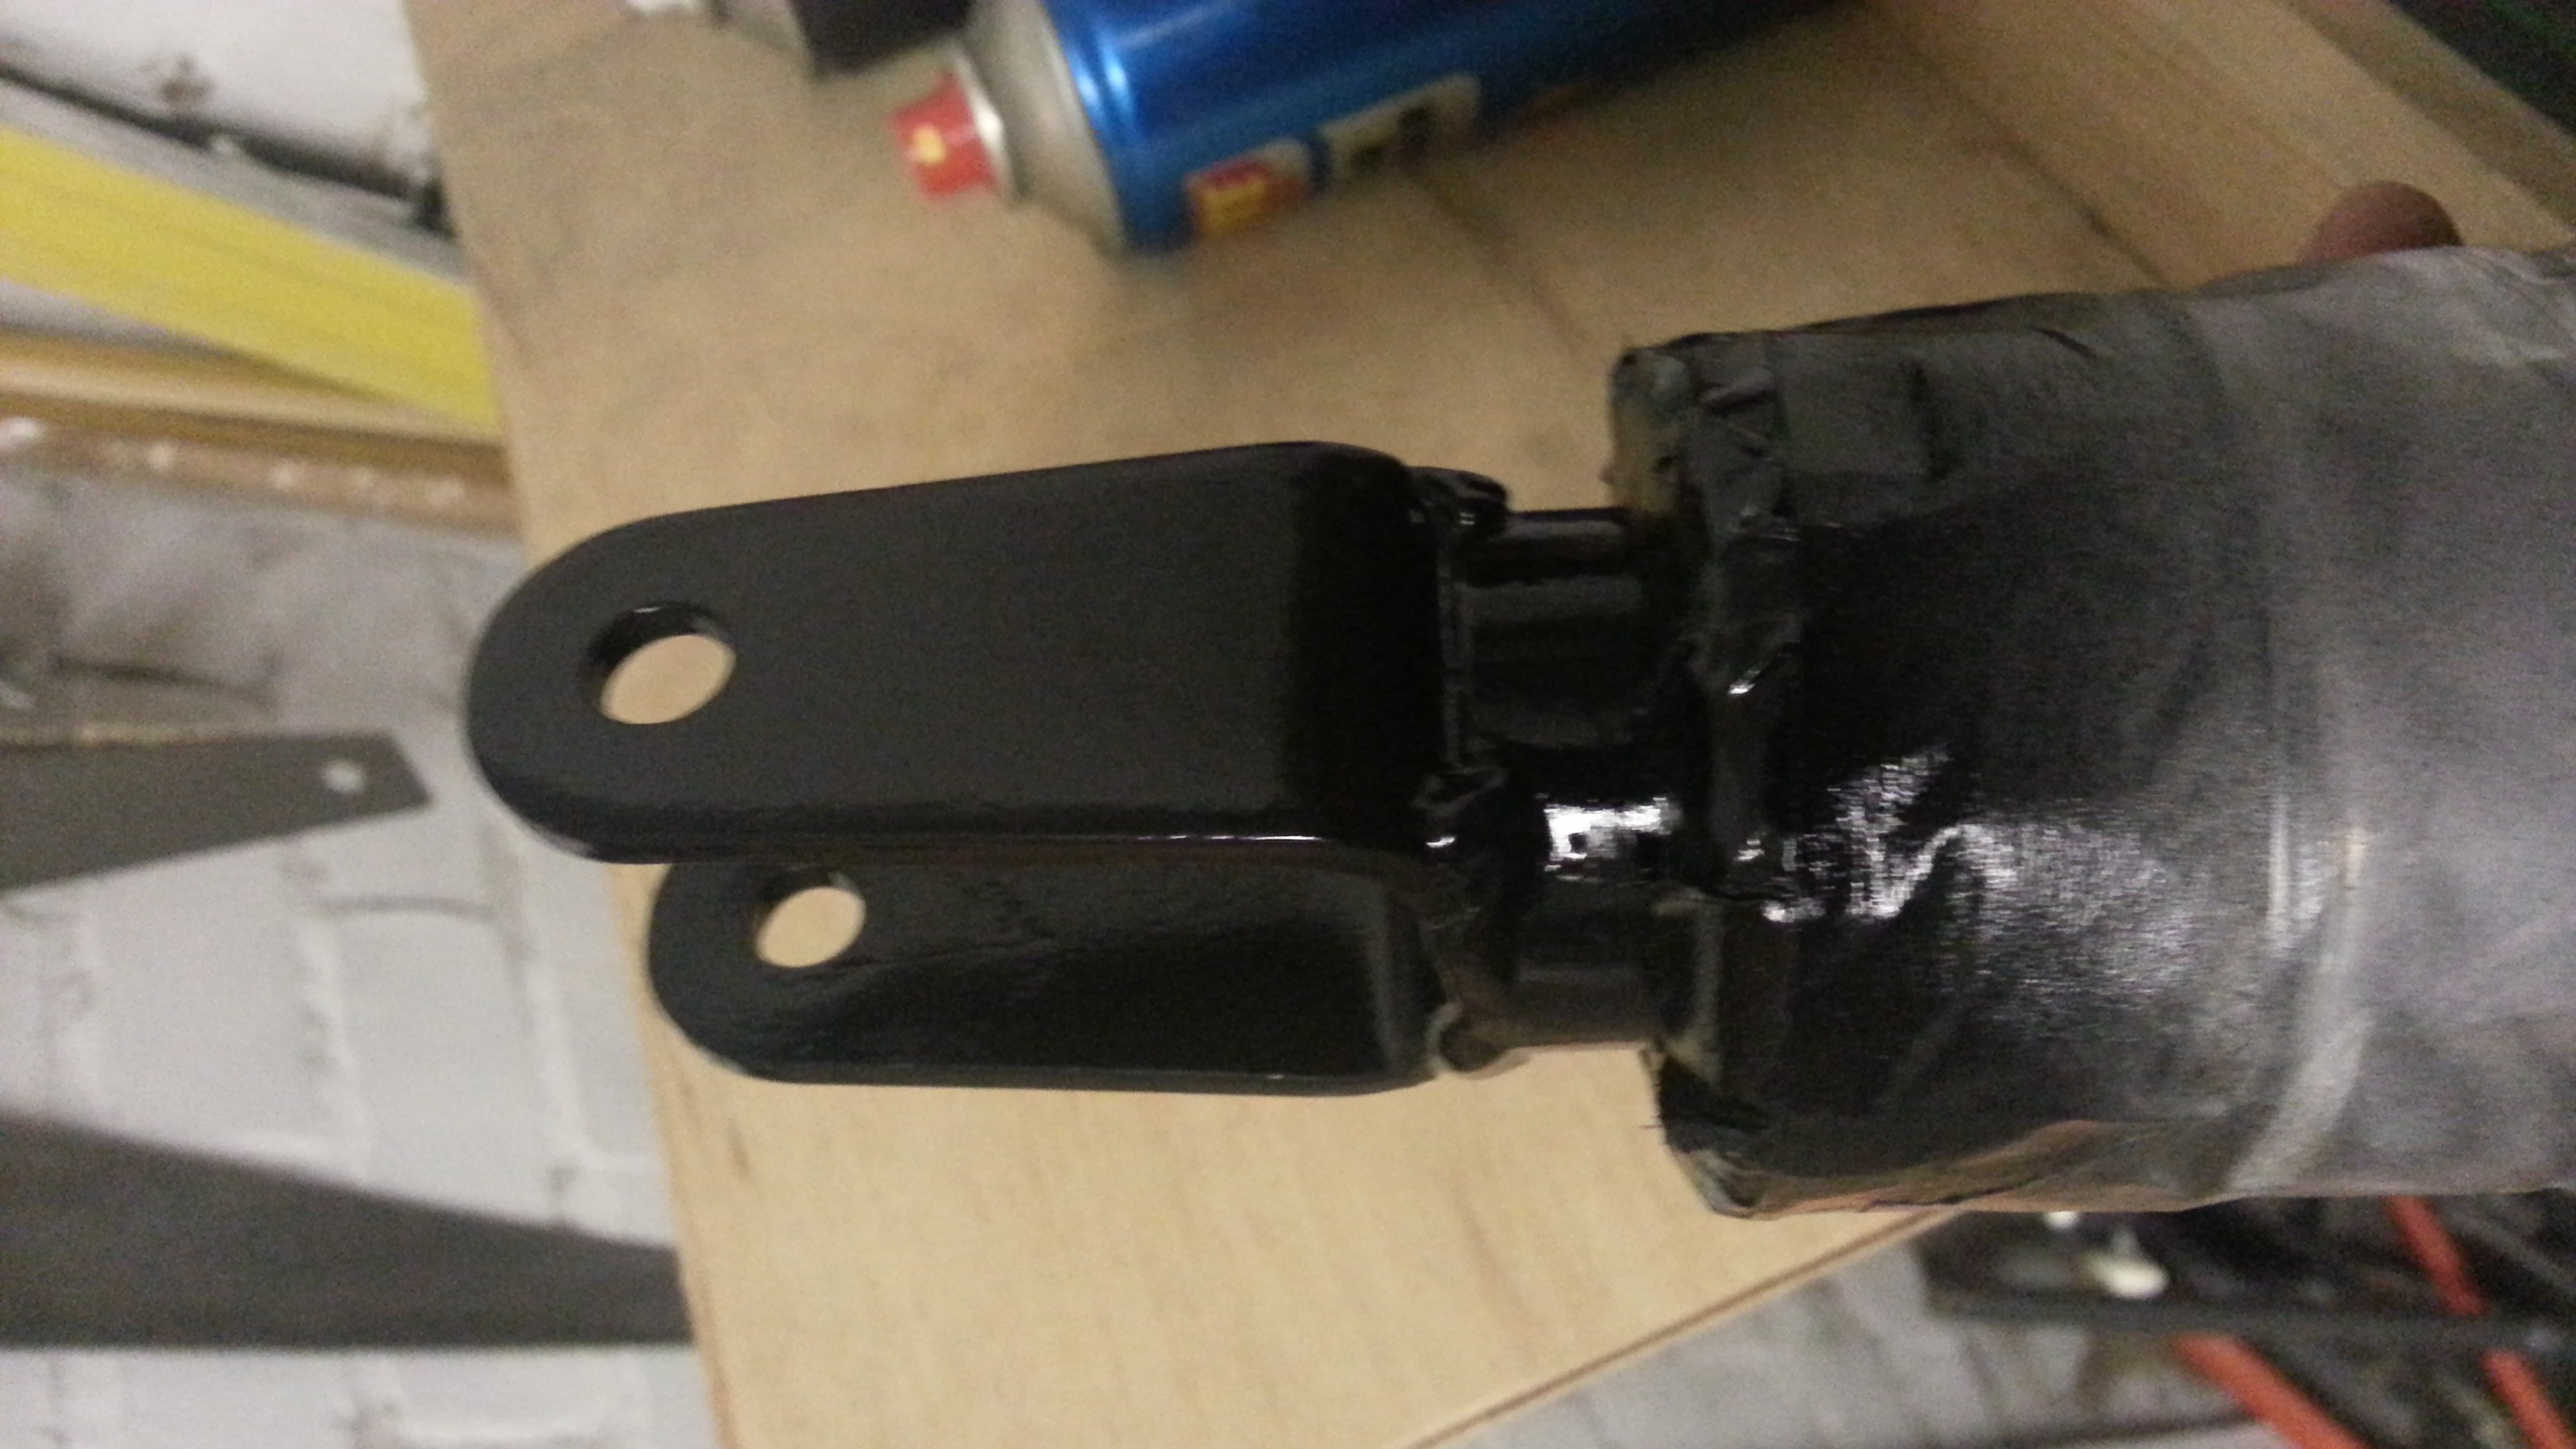
Almost done. We can now fill up the the shock with oil, screw the plug with the new seal back on and assemble in reverse order.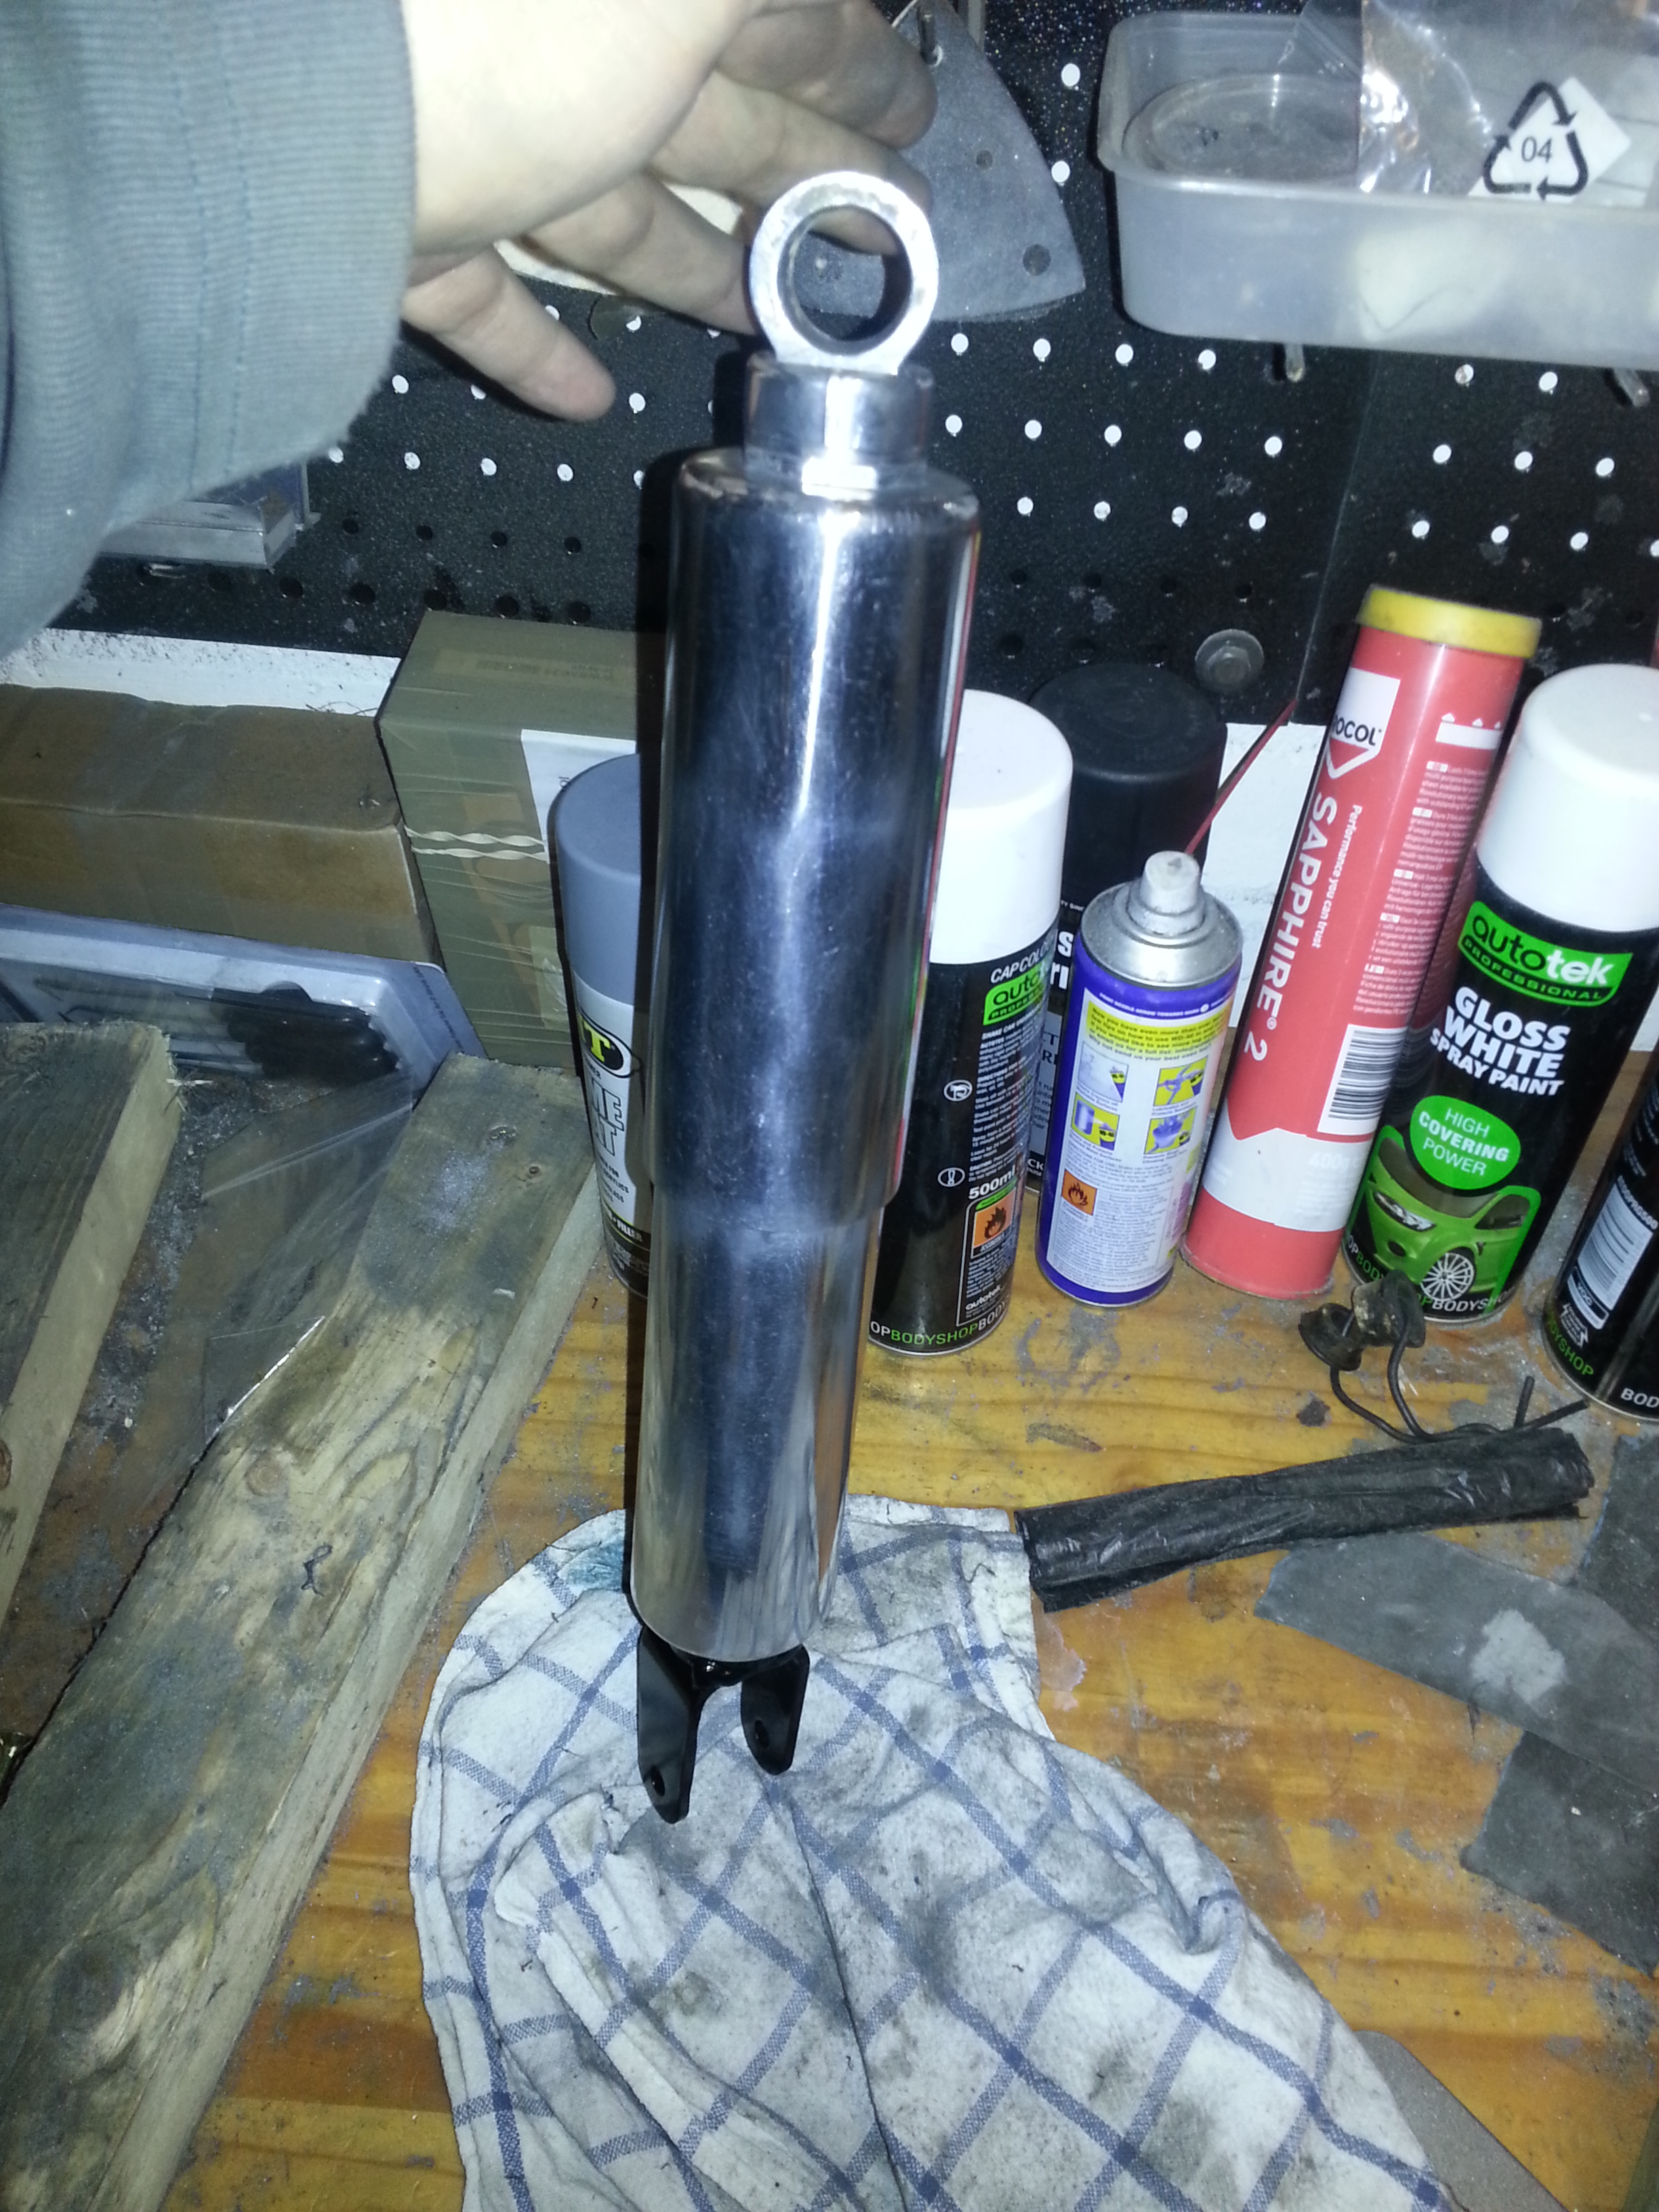
The final touch is new bushings at the top which I ordered from www.claussstudios.com in the US. They were a bit stiffer than the original but worked fine.