
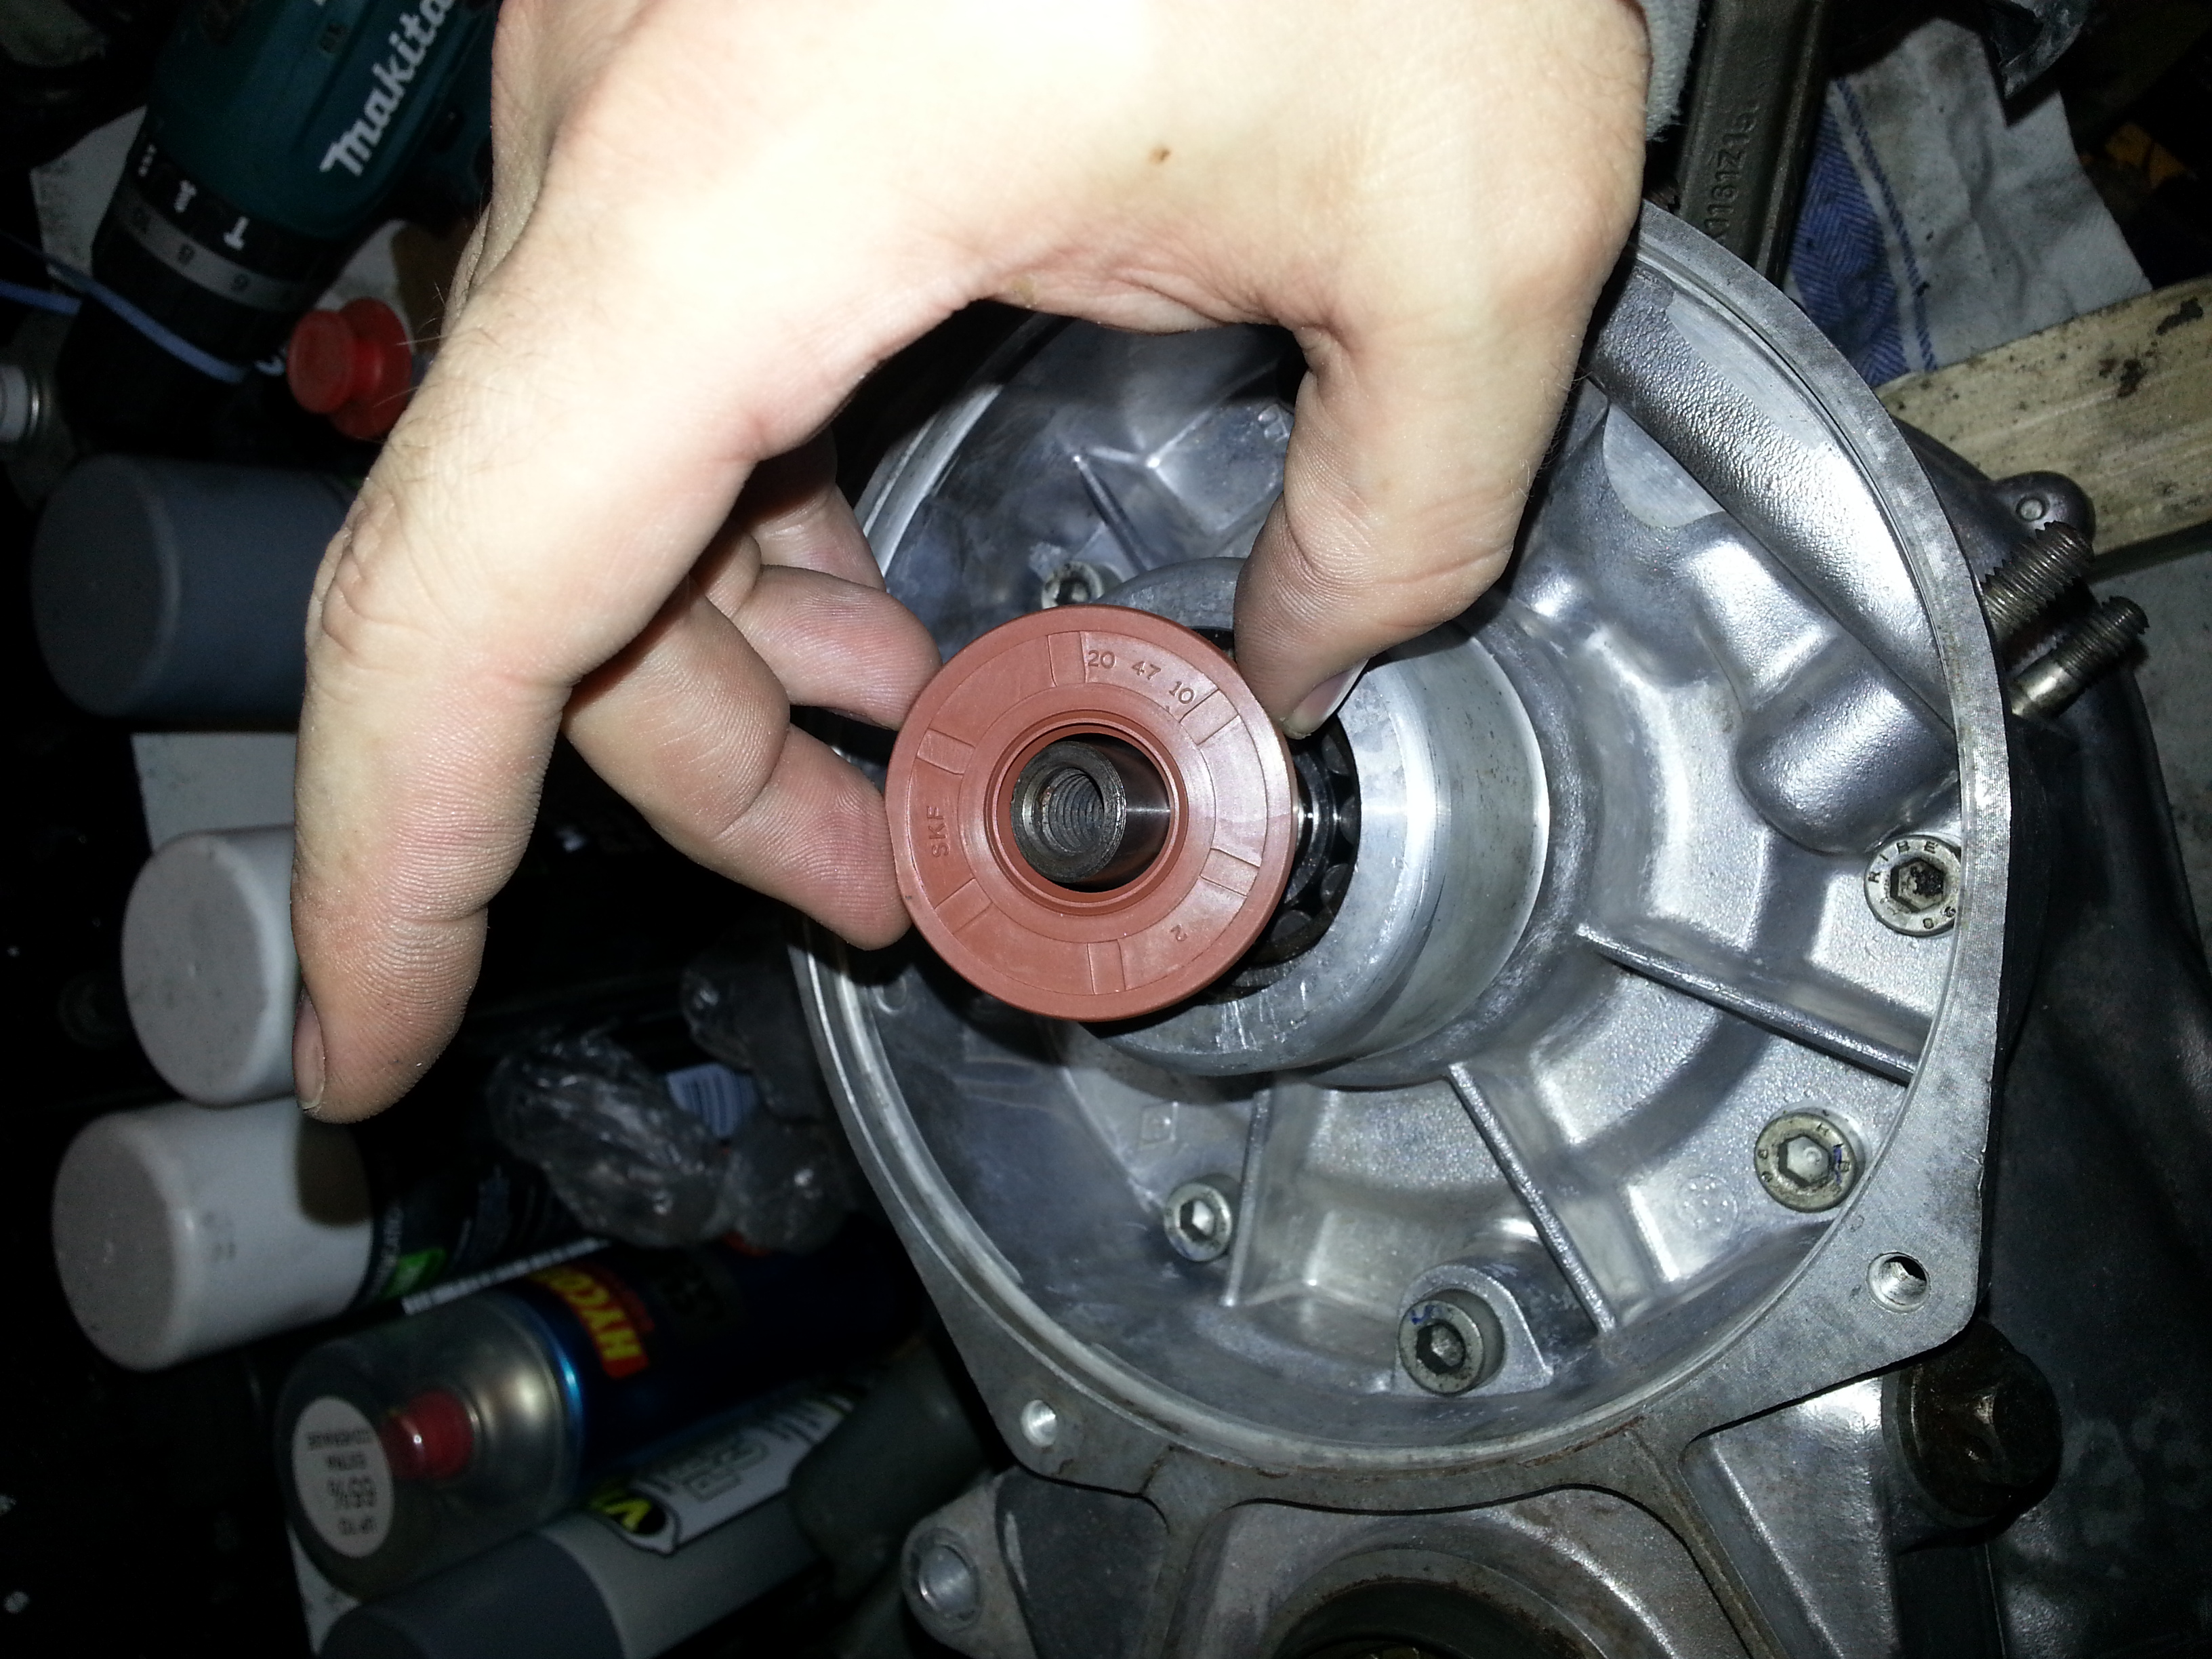
We start by putting the oil seals in on the ignition side of the engine:

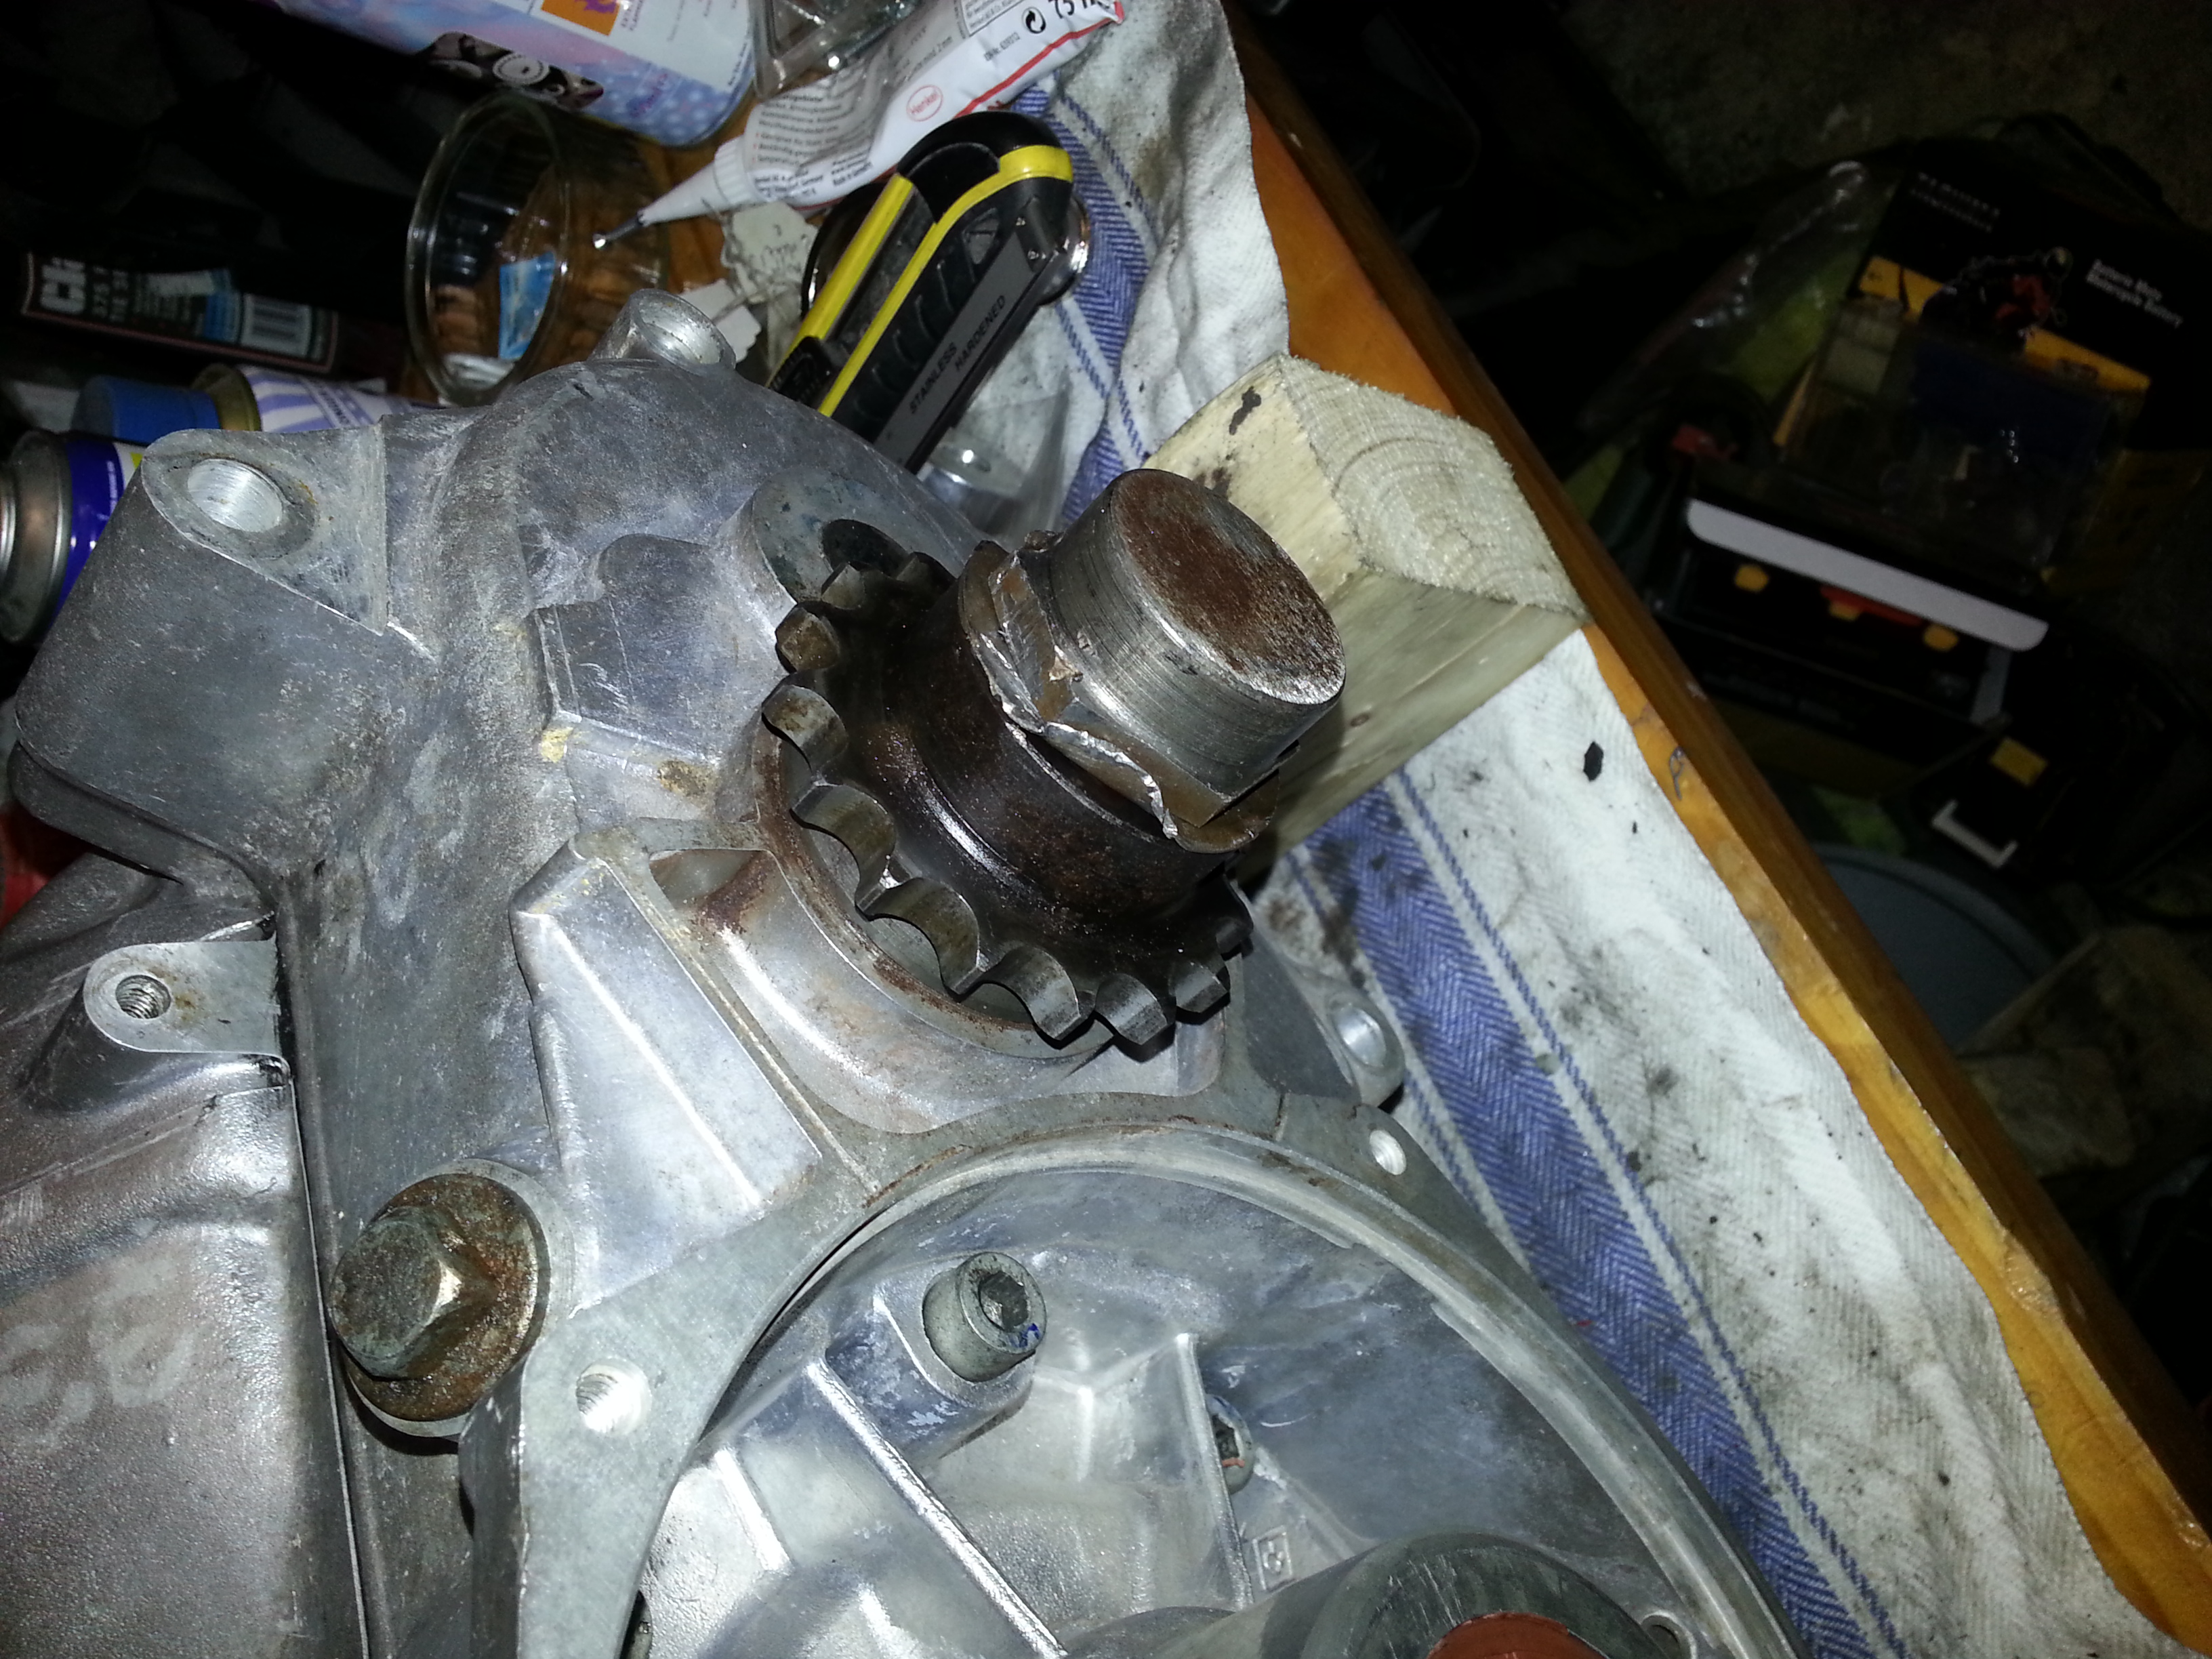
Then we put the drive sprocket on. I used an o-ring to seal it, but a flat washer is better. Put it on nice and tight and then use the washer to lock the sprocket in place:
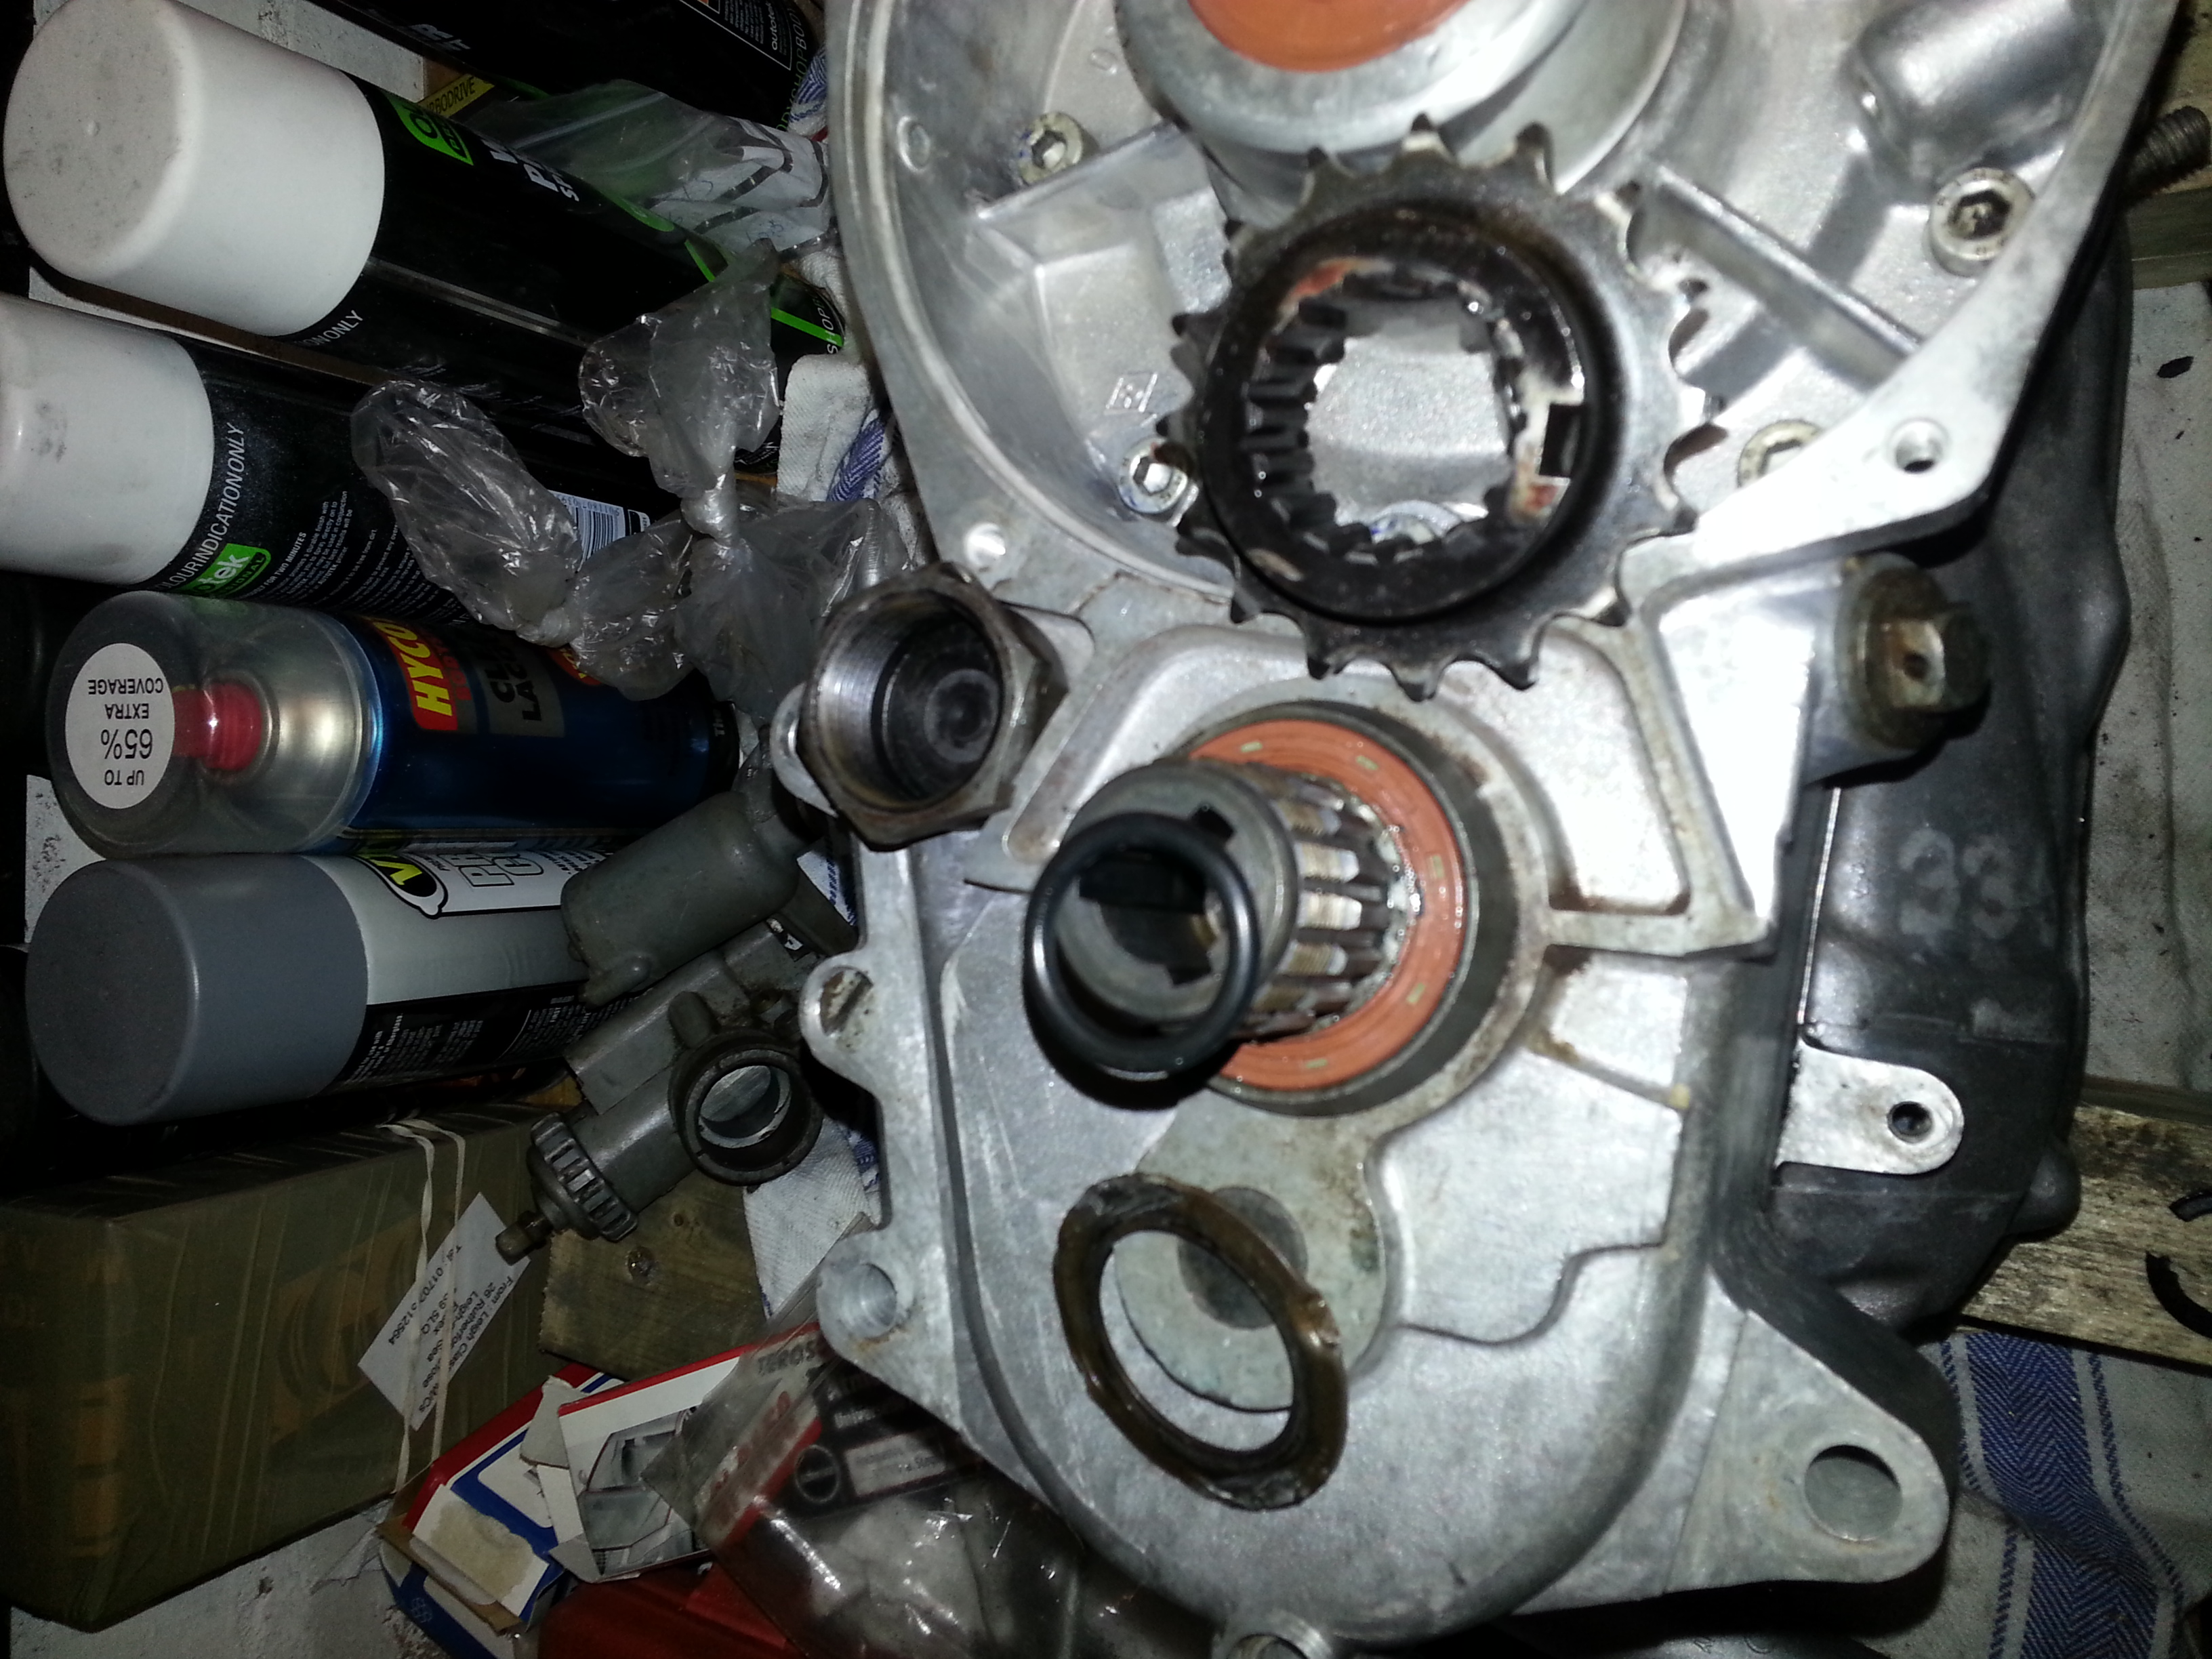
Next we put the armature on; a heavy beast and don’t forget the Woodruff key:
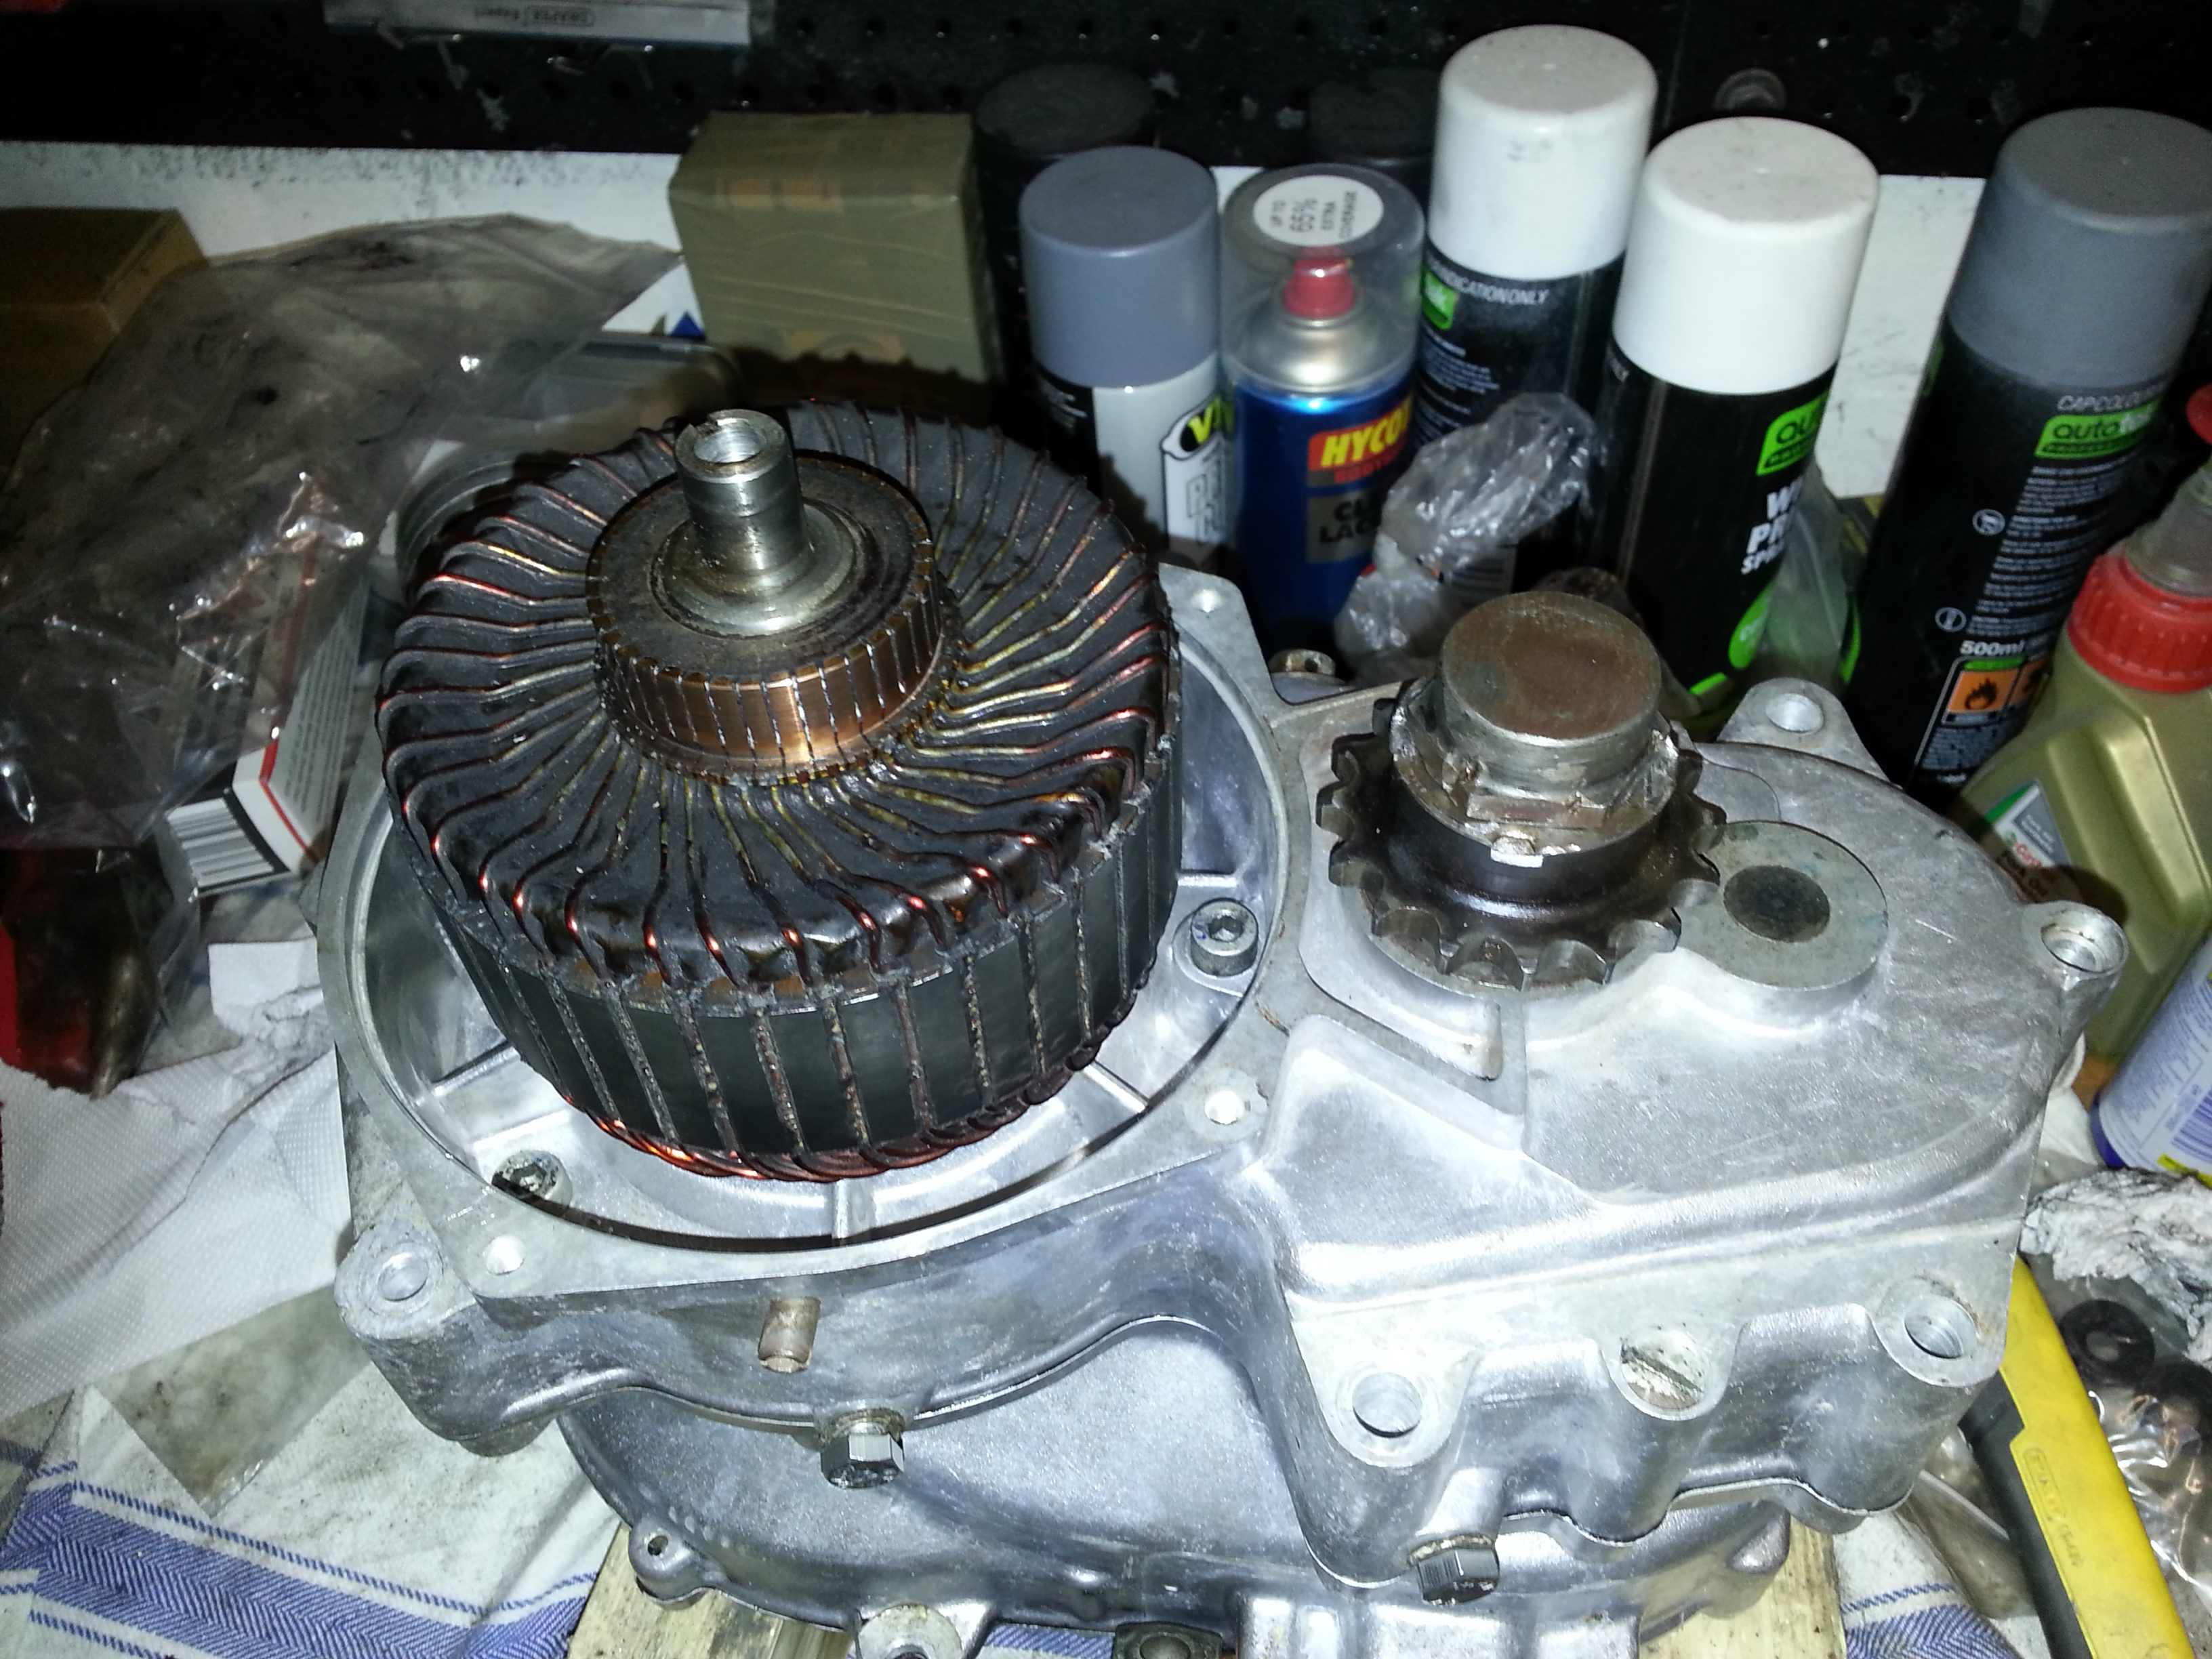
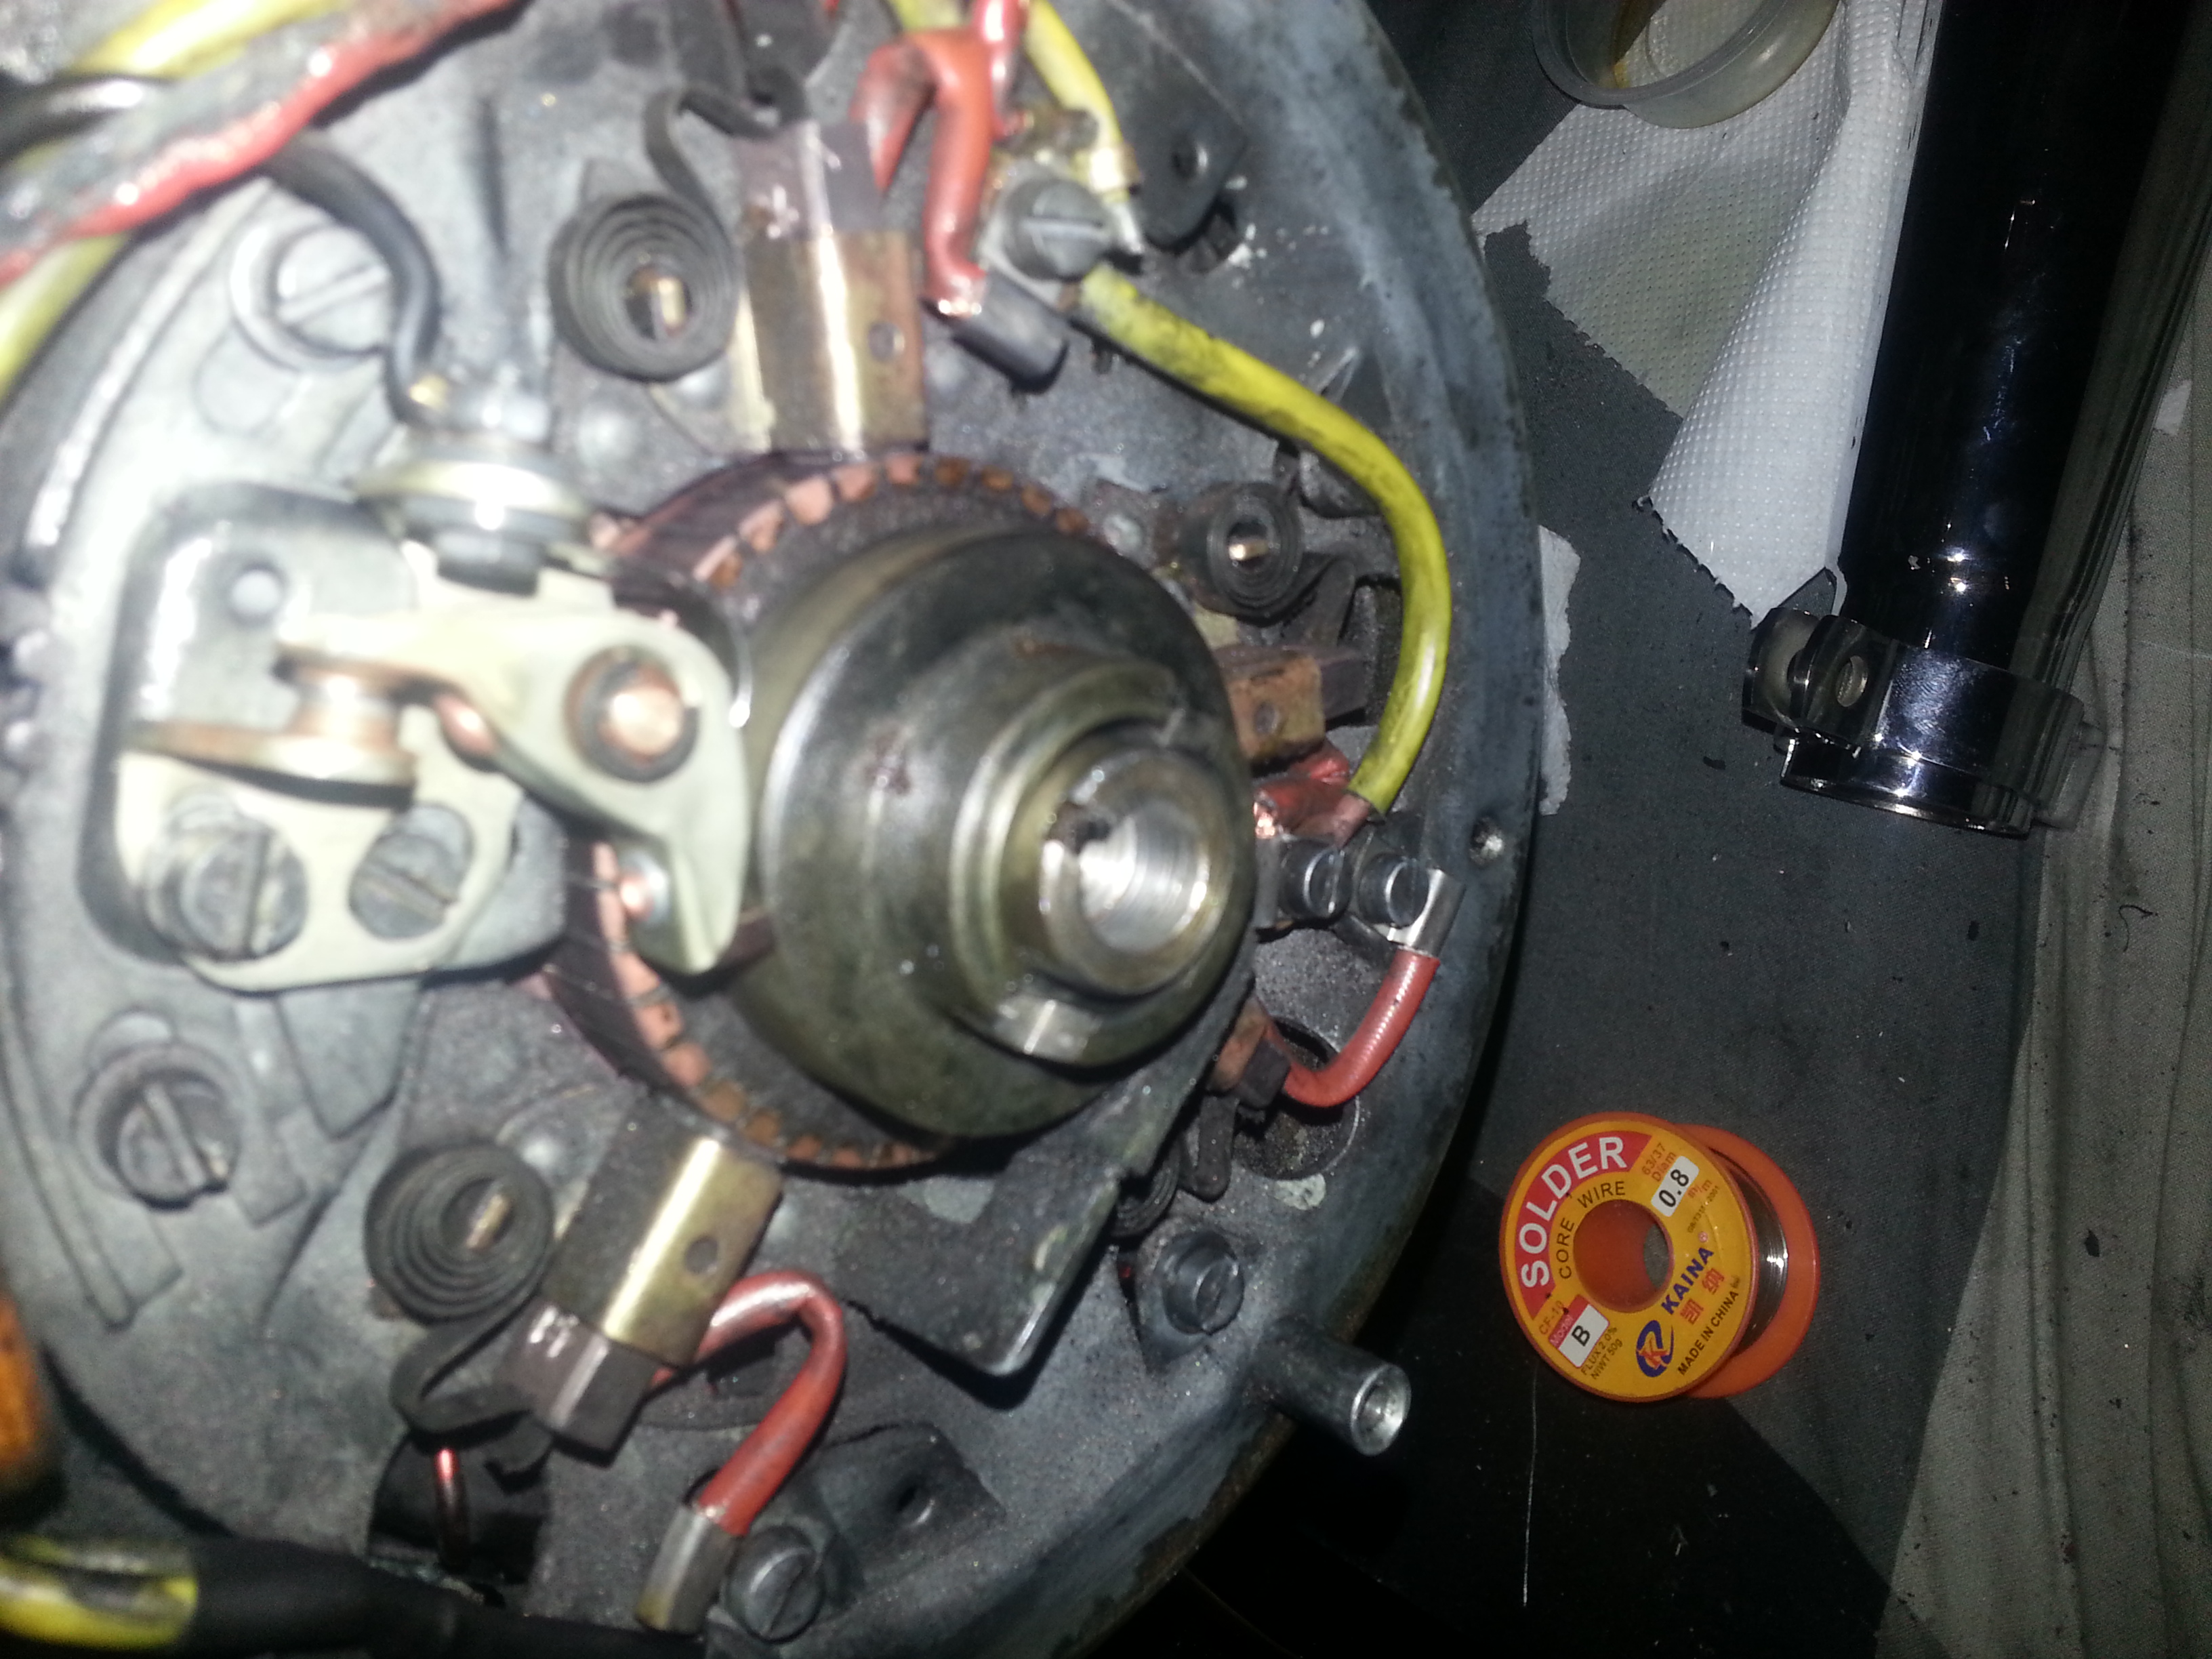
Next we’ll put the old dynastart housing on. You can see immediately that the carbon brushes need replacing:
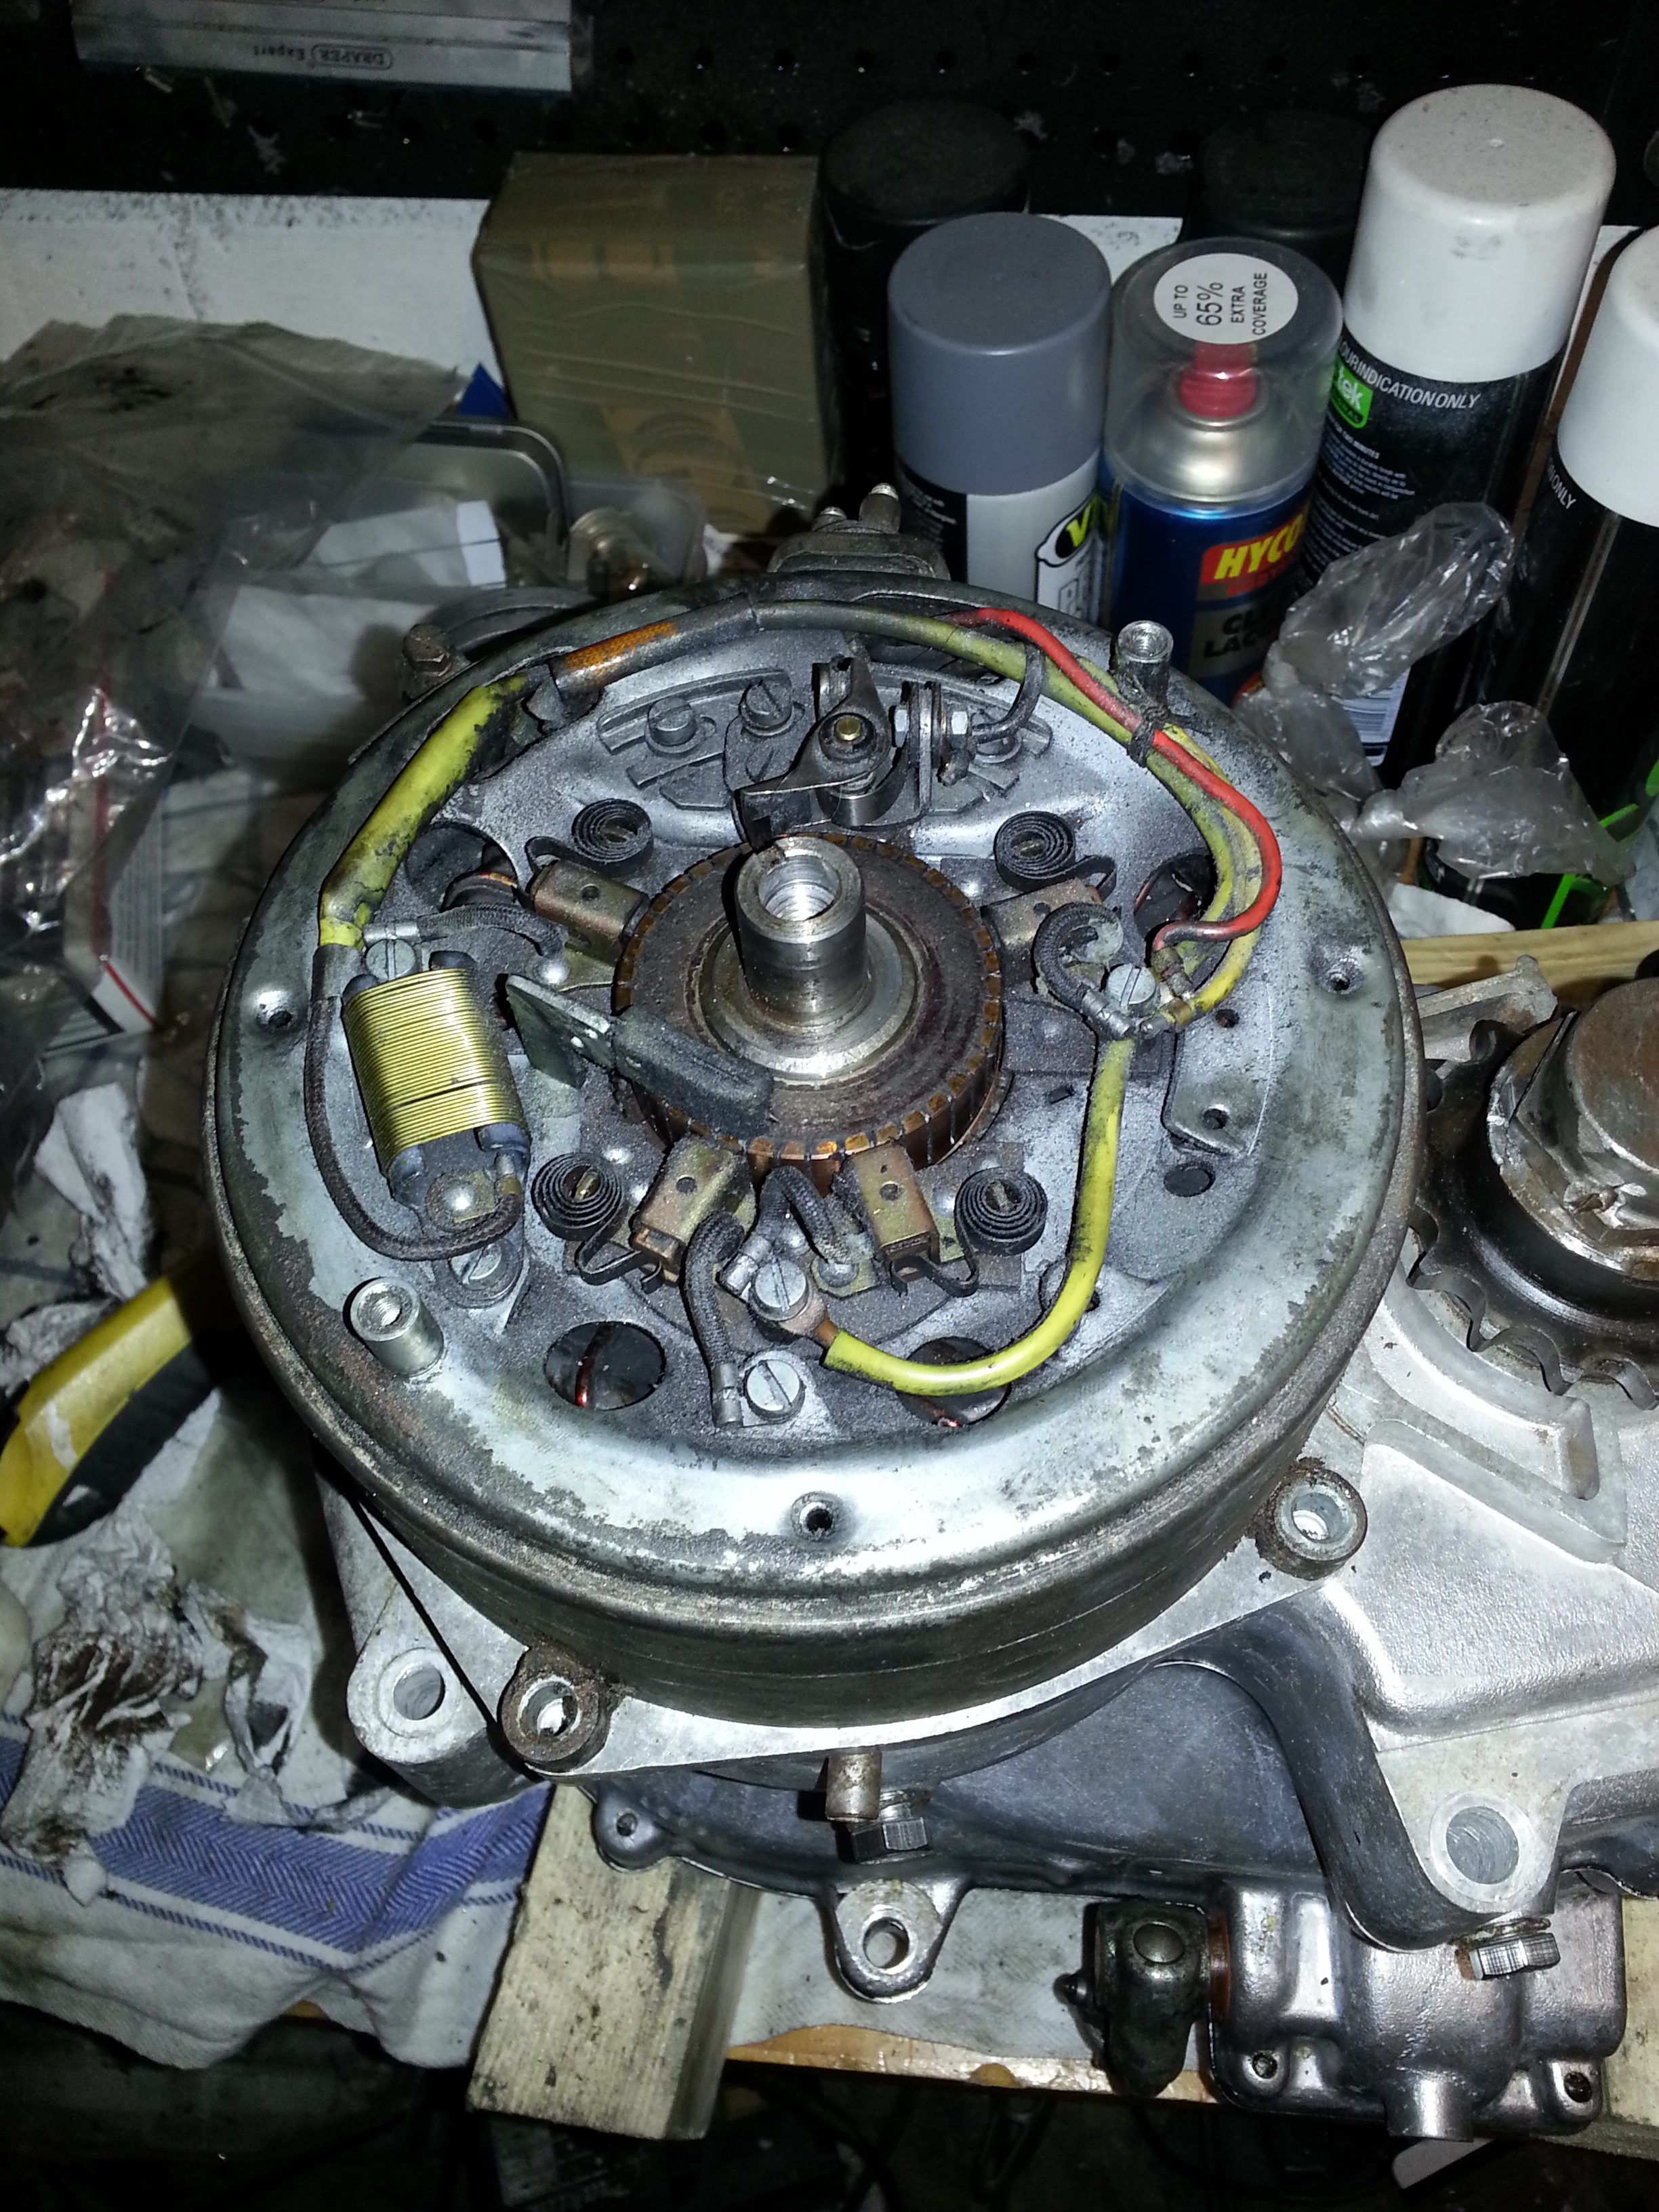
We’ll replace the points and the carbon brushes:
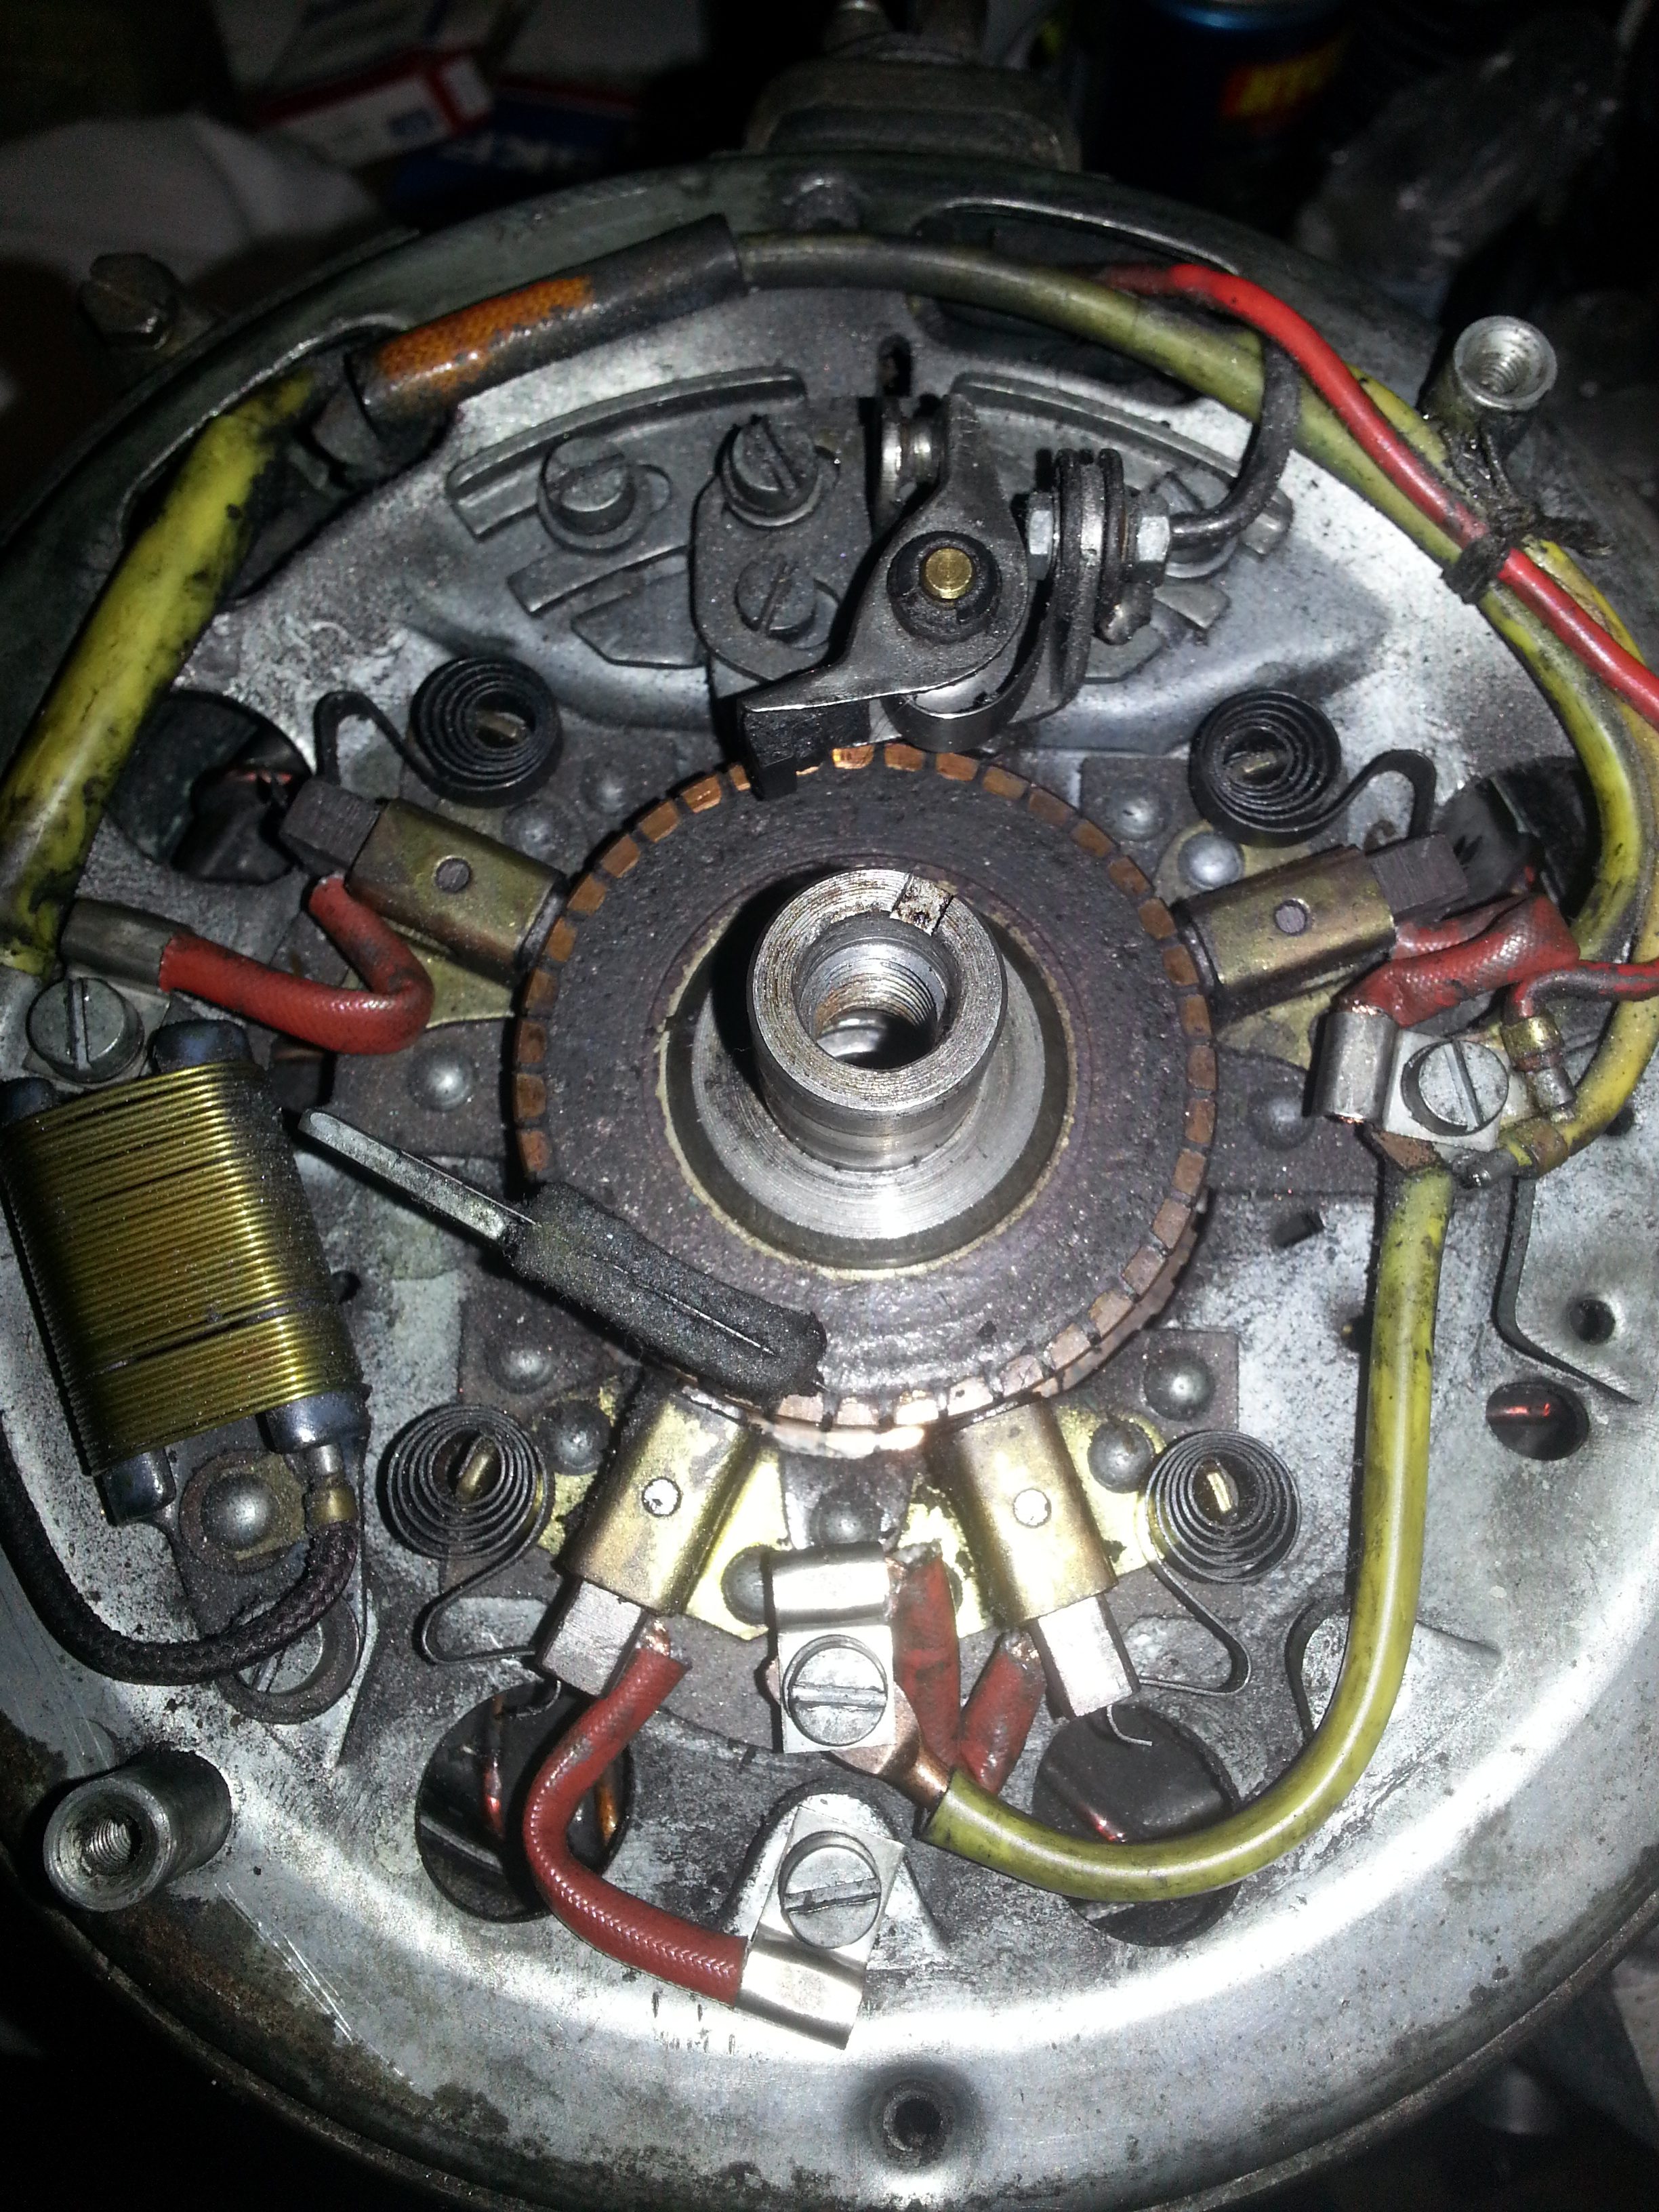
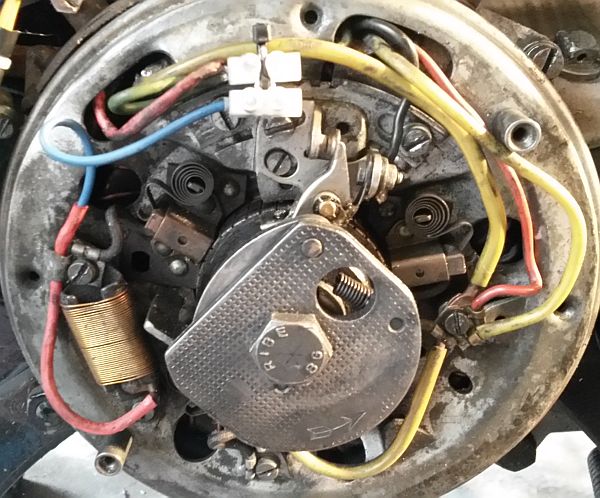
That will last us quite a while… we finish off by putting the advance ignition on the crankshaft. Note: it’s easy to get the advance 180 degrees off. Make sure that the moving part on the right on the photo below fits in the larger hole.

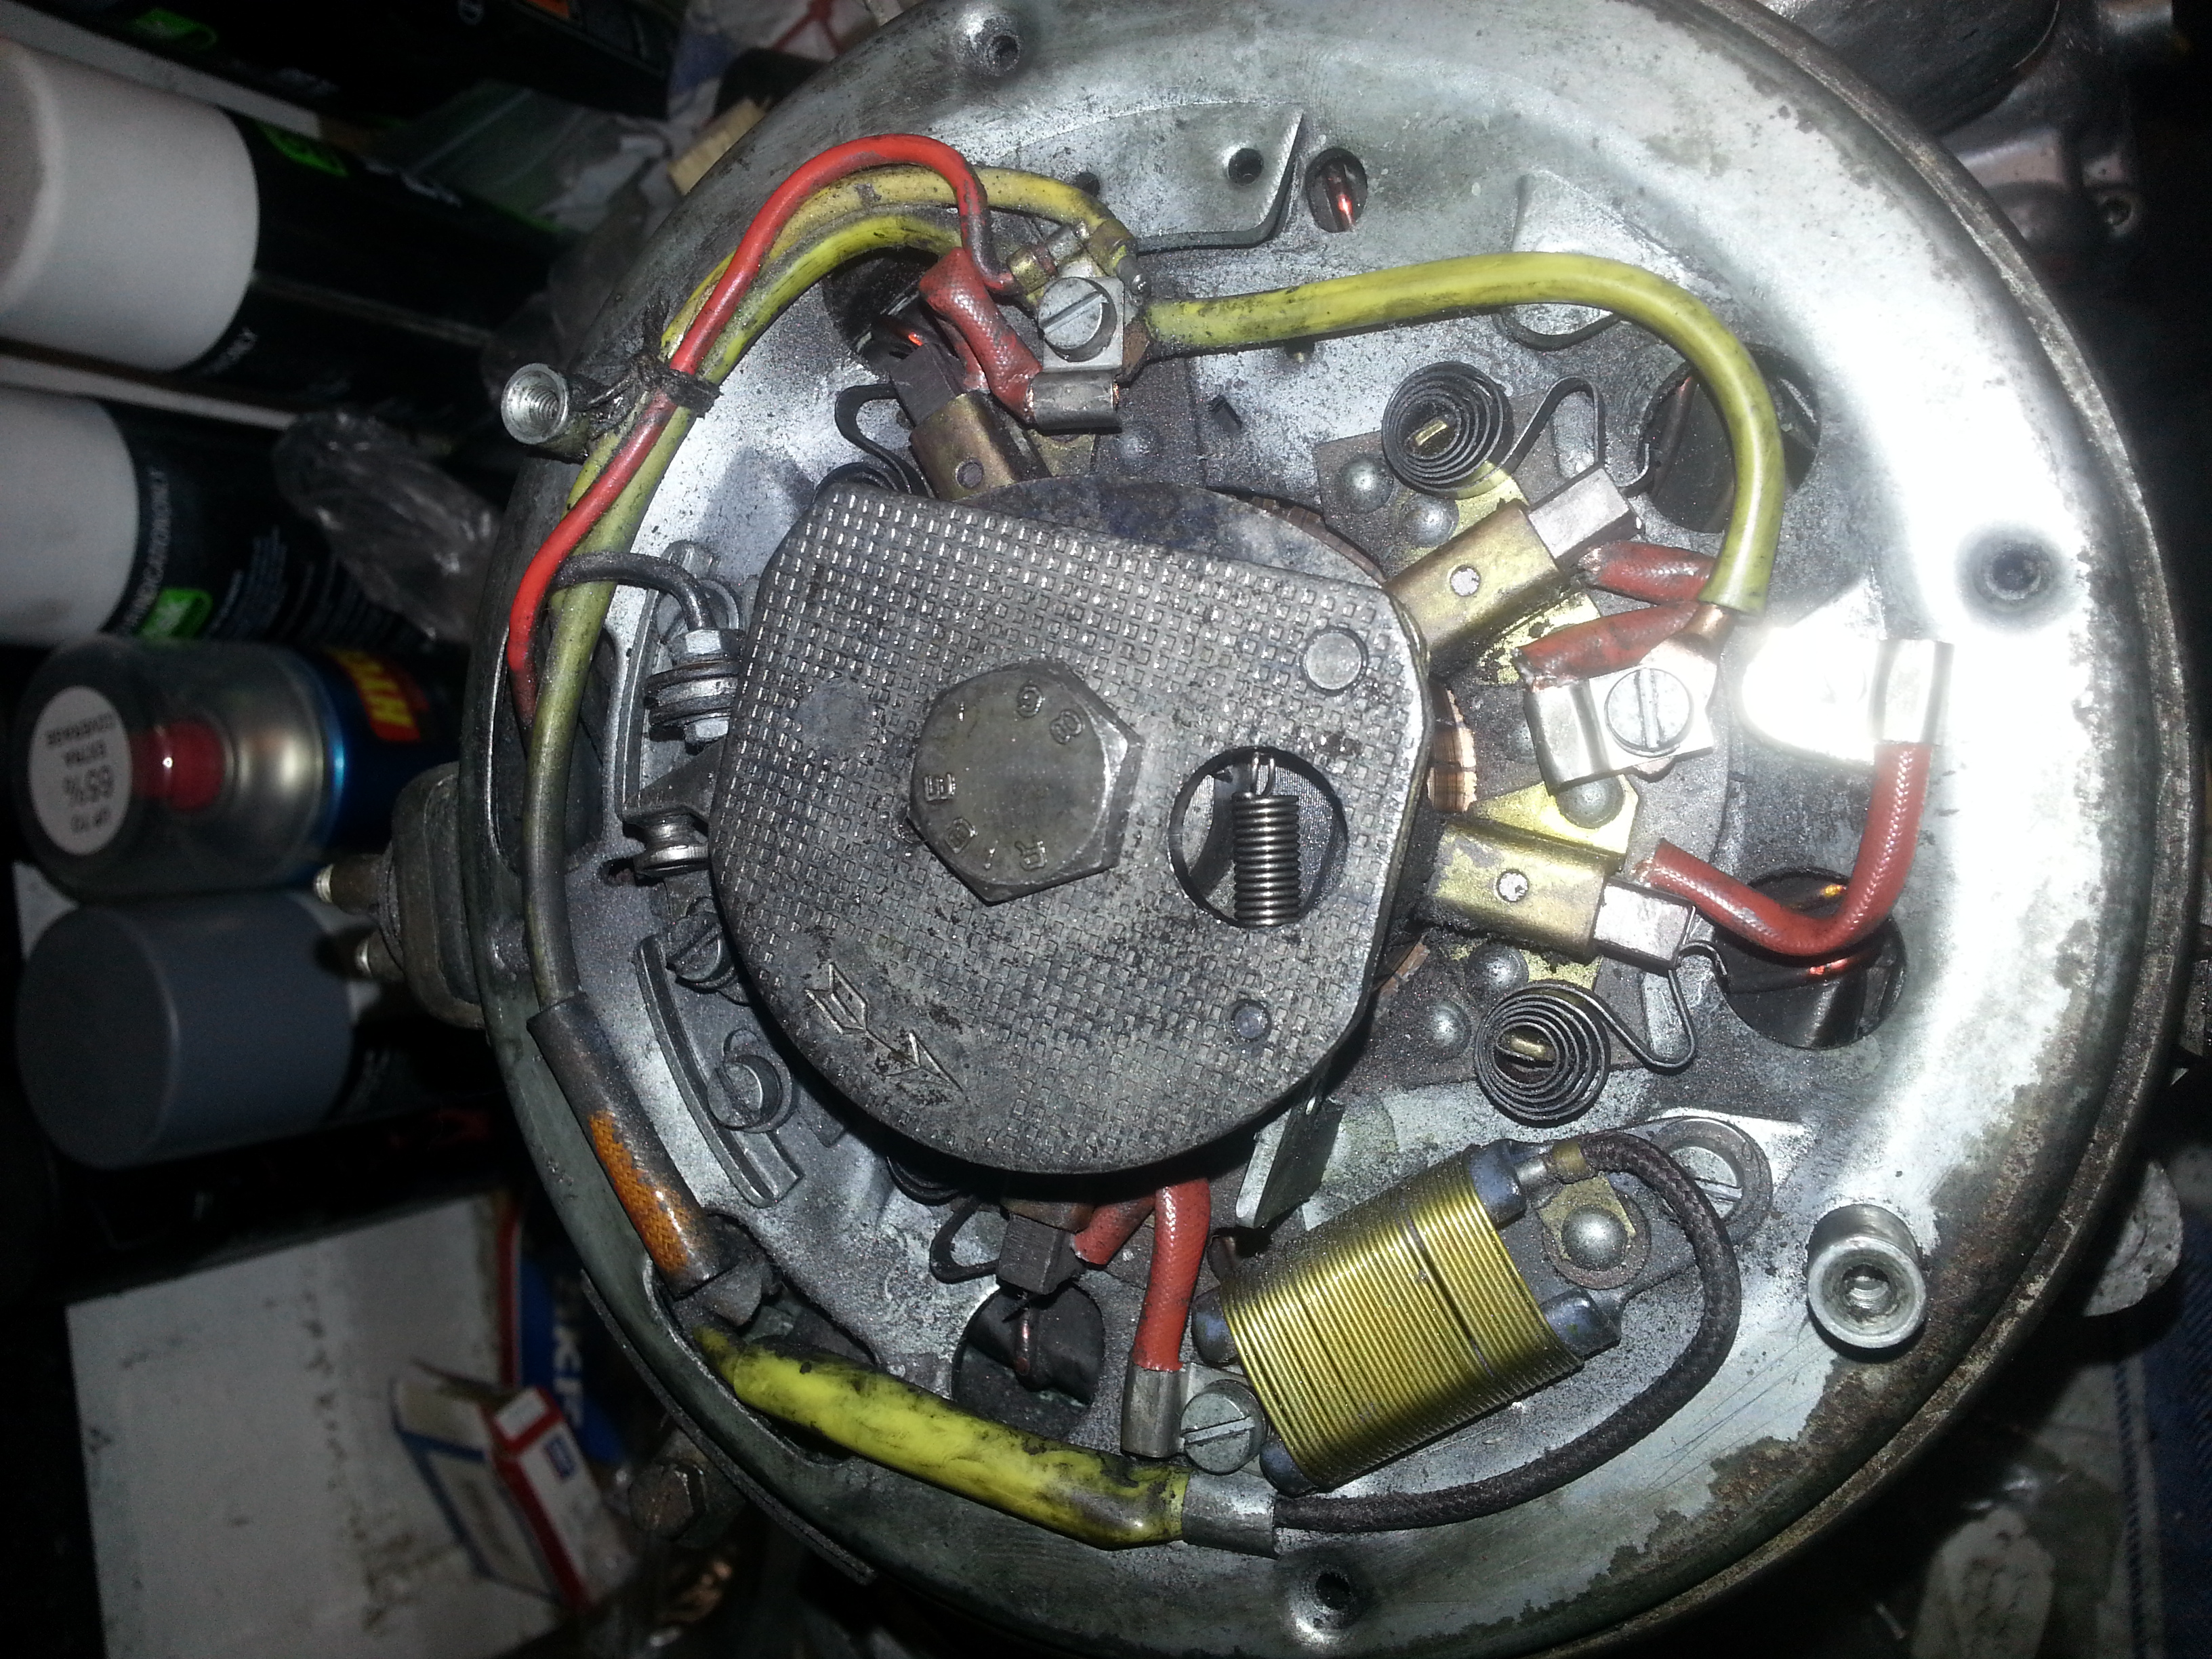
It’s time to do timing now, so let’s build the engine into the frame.


You will see that the old piston isn’t great, so I had the cylinder bored up from 64mm to 64.5mm and ordered a new piston from Gert Kräuter in Germany of oversize one (which is 64.44 mm, you must keep 0.06mm clearance. Great product; let’s compare old to new:

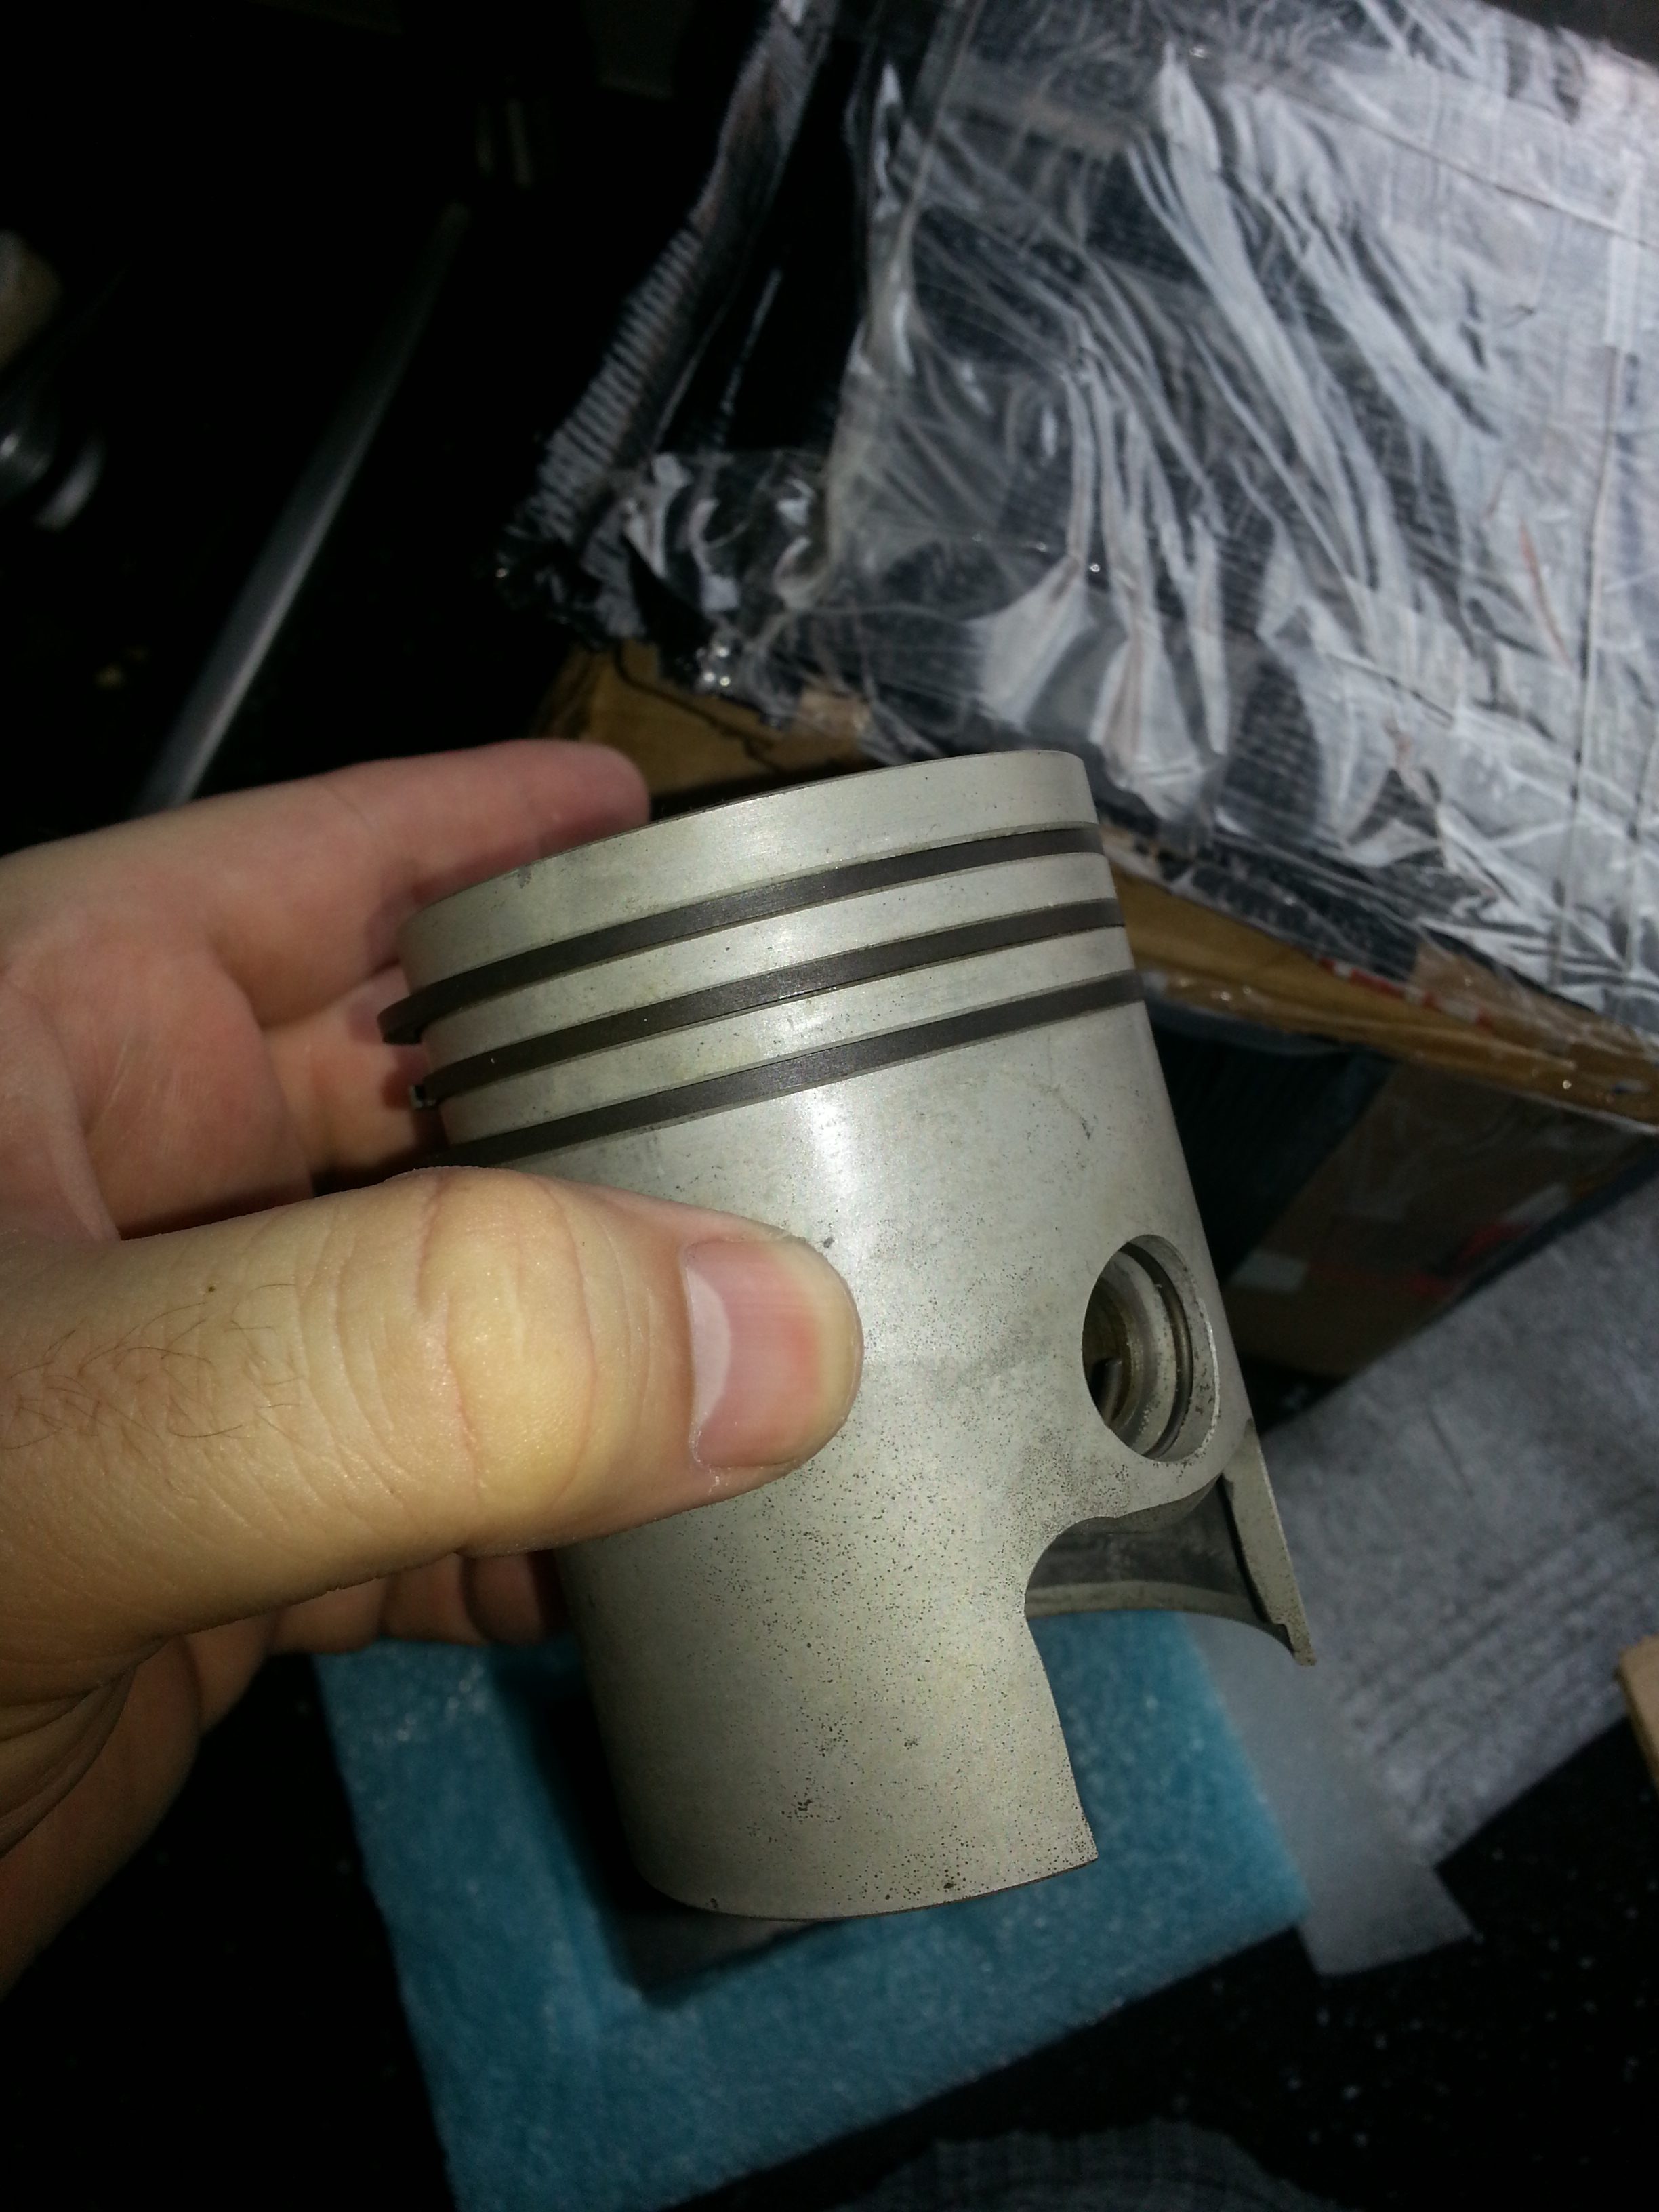
The blasted and painted cylinder returned from the new bore damaged due to bad packaging on my side; lost two rib parts. I’ll just have to risk it, no money for a new cylinder.
With the engine in place we now just need to do the timing. I use a timing wheel with degrees as well as a top dead centre micrometer. Please note though, you have to set the timing with the advance fully engaged; i.e. turn the ring open fully.
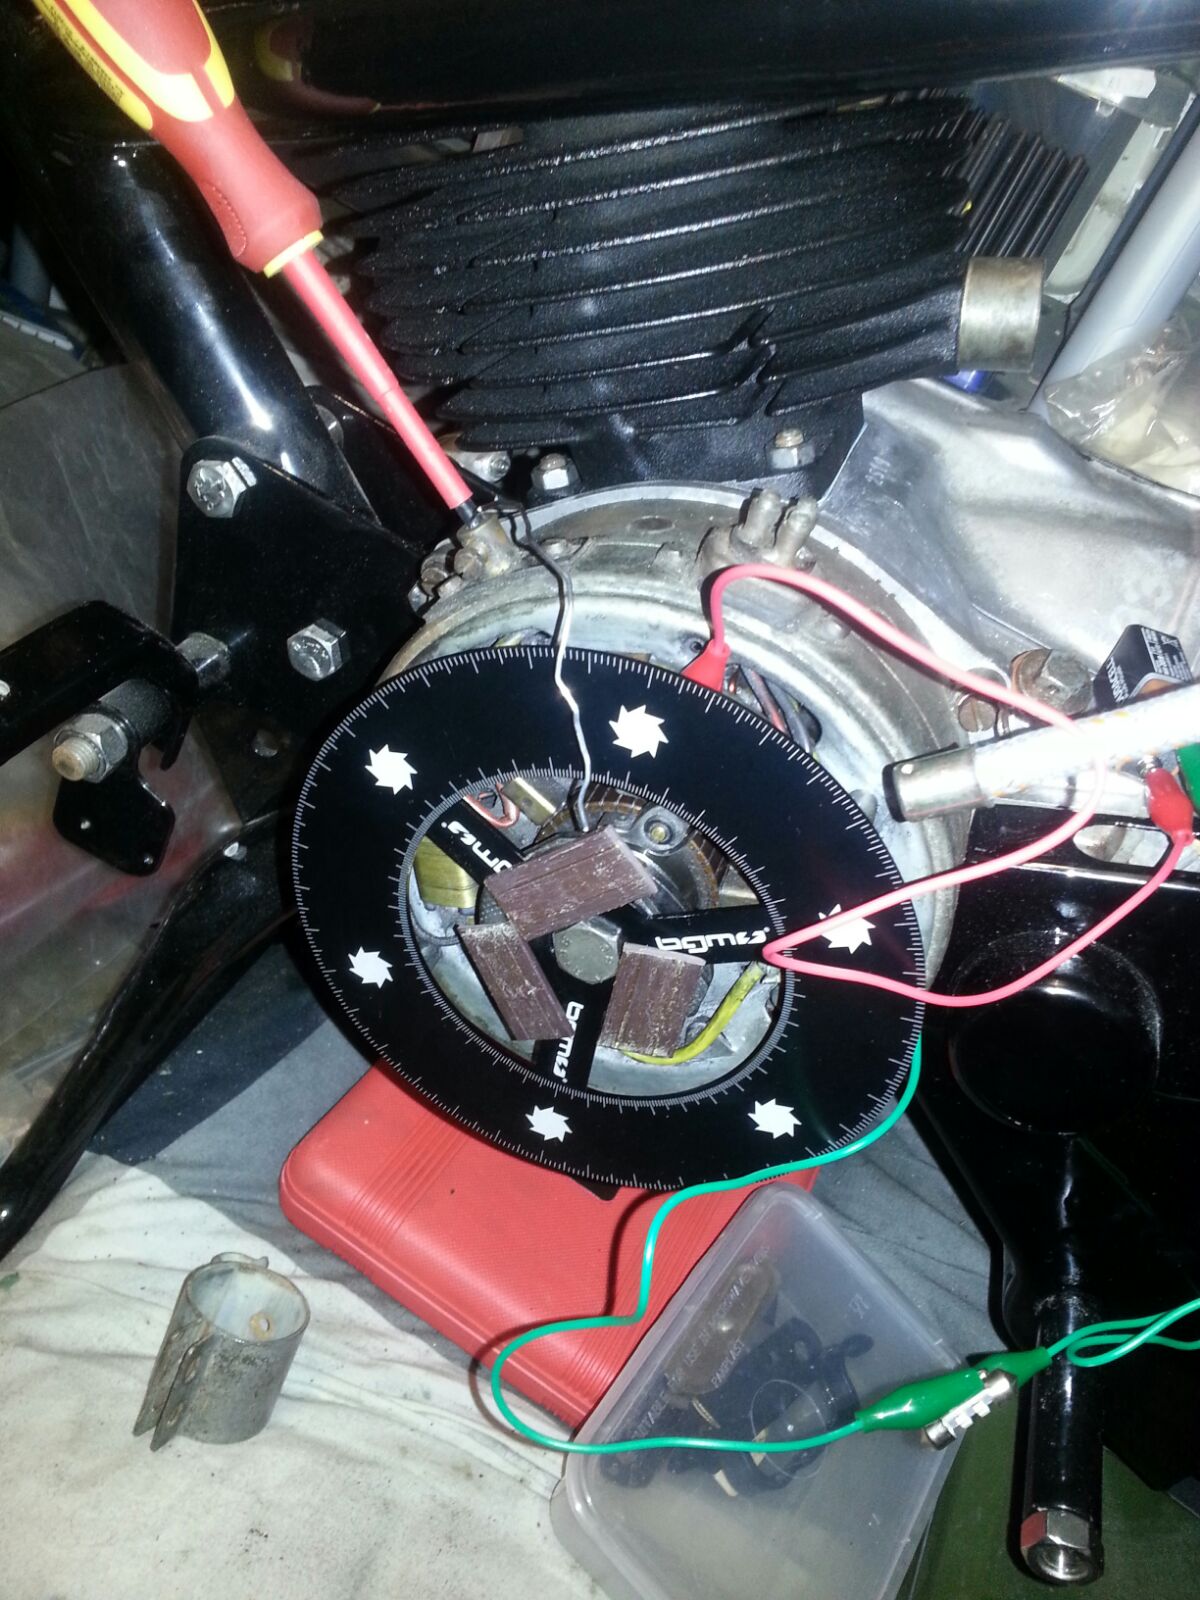
You can get the timings from the manual; 3 to 3.5 mm TDC or 23 to 24.5 degrees. Once done, just put the dust cover on the dynastart and that’s another job done. A good thing to note is the difference between 1950s fuel and current fuel. To compensate for the change you can change the ignition from 24.5 to e.g. 22.0. You’ll have to test the engine to come to something workable. The risk is the engine getting too hot with normal settings. The advance mechanism is probably a bit of engineering that could have been done better as you can easily get it wrong:
The crankshaft has a notch where the advance plate goes, but the timing disk moves freely so it’s easy to get it 180 degrees wrong:
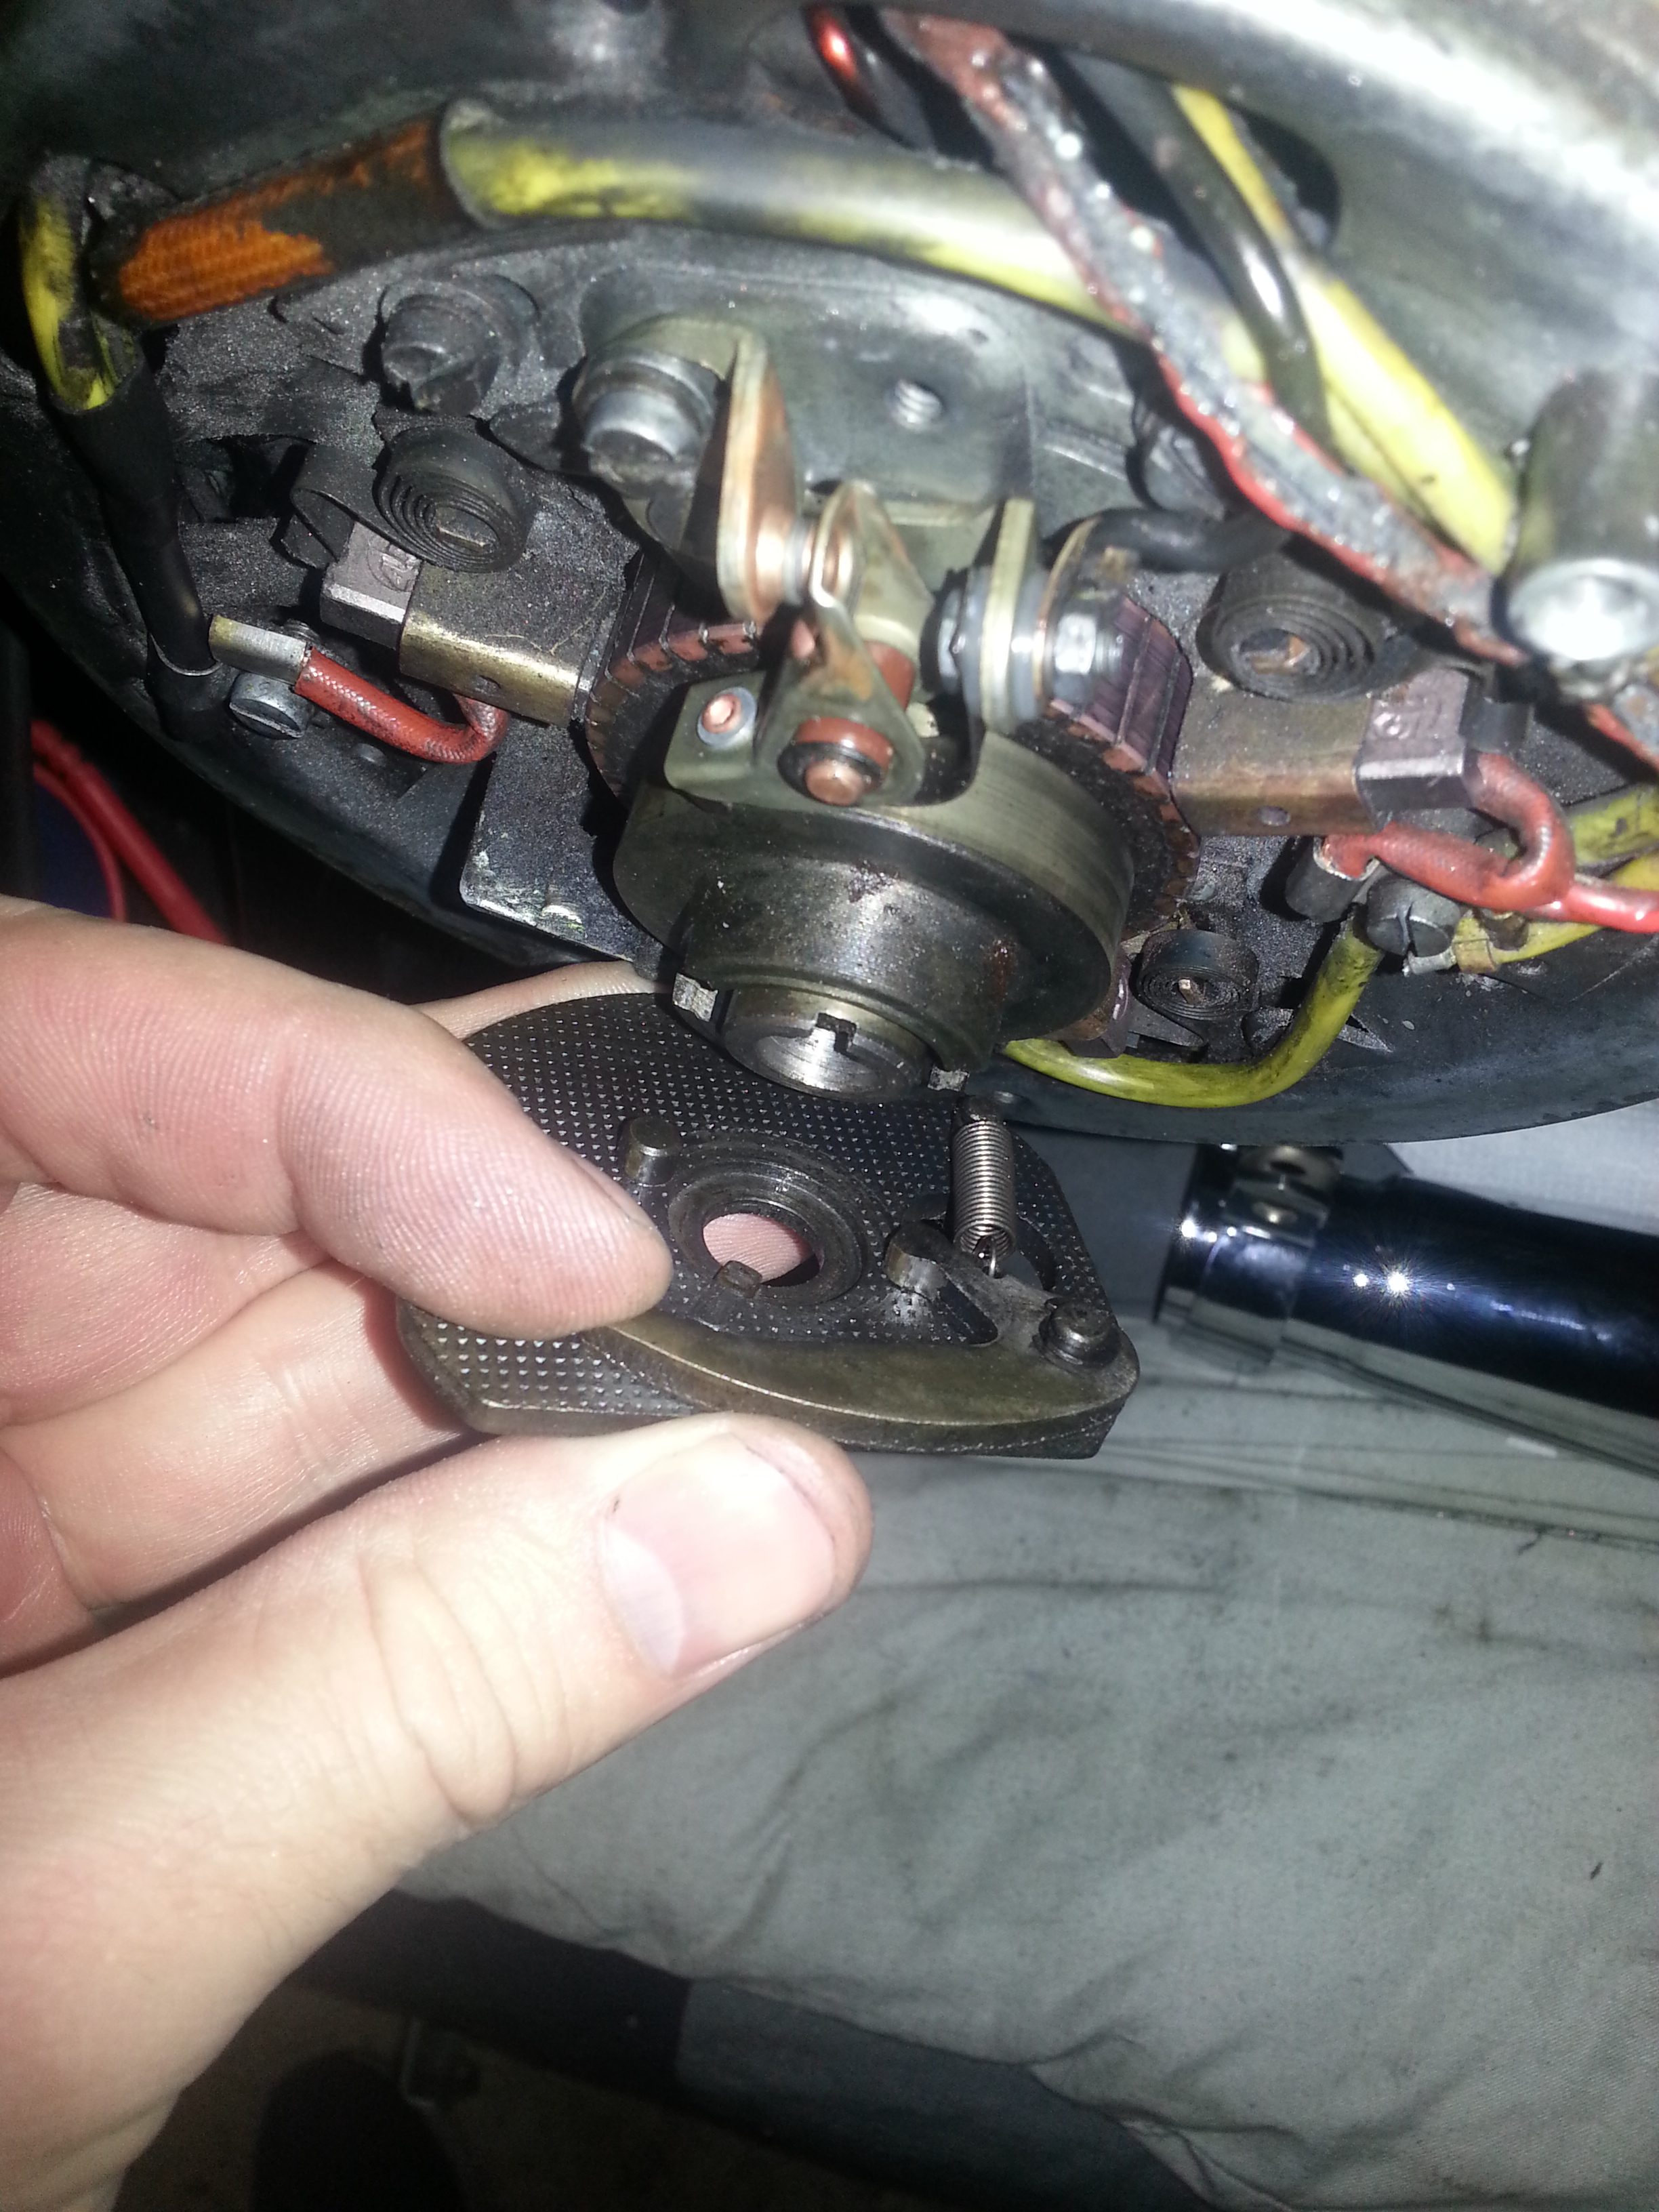
The fixed pin on the plate goes into the largest hole. You should find out when doing the degrees sooner or later, but it pays to do it right the first time.
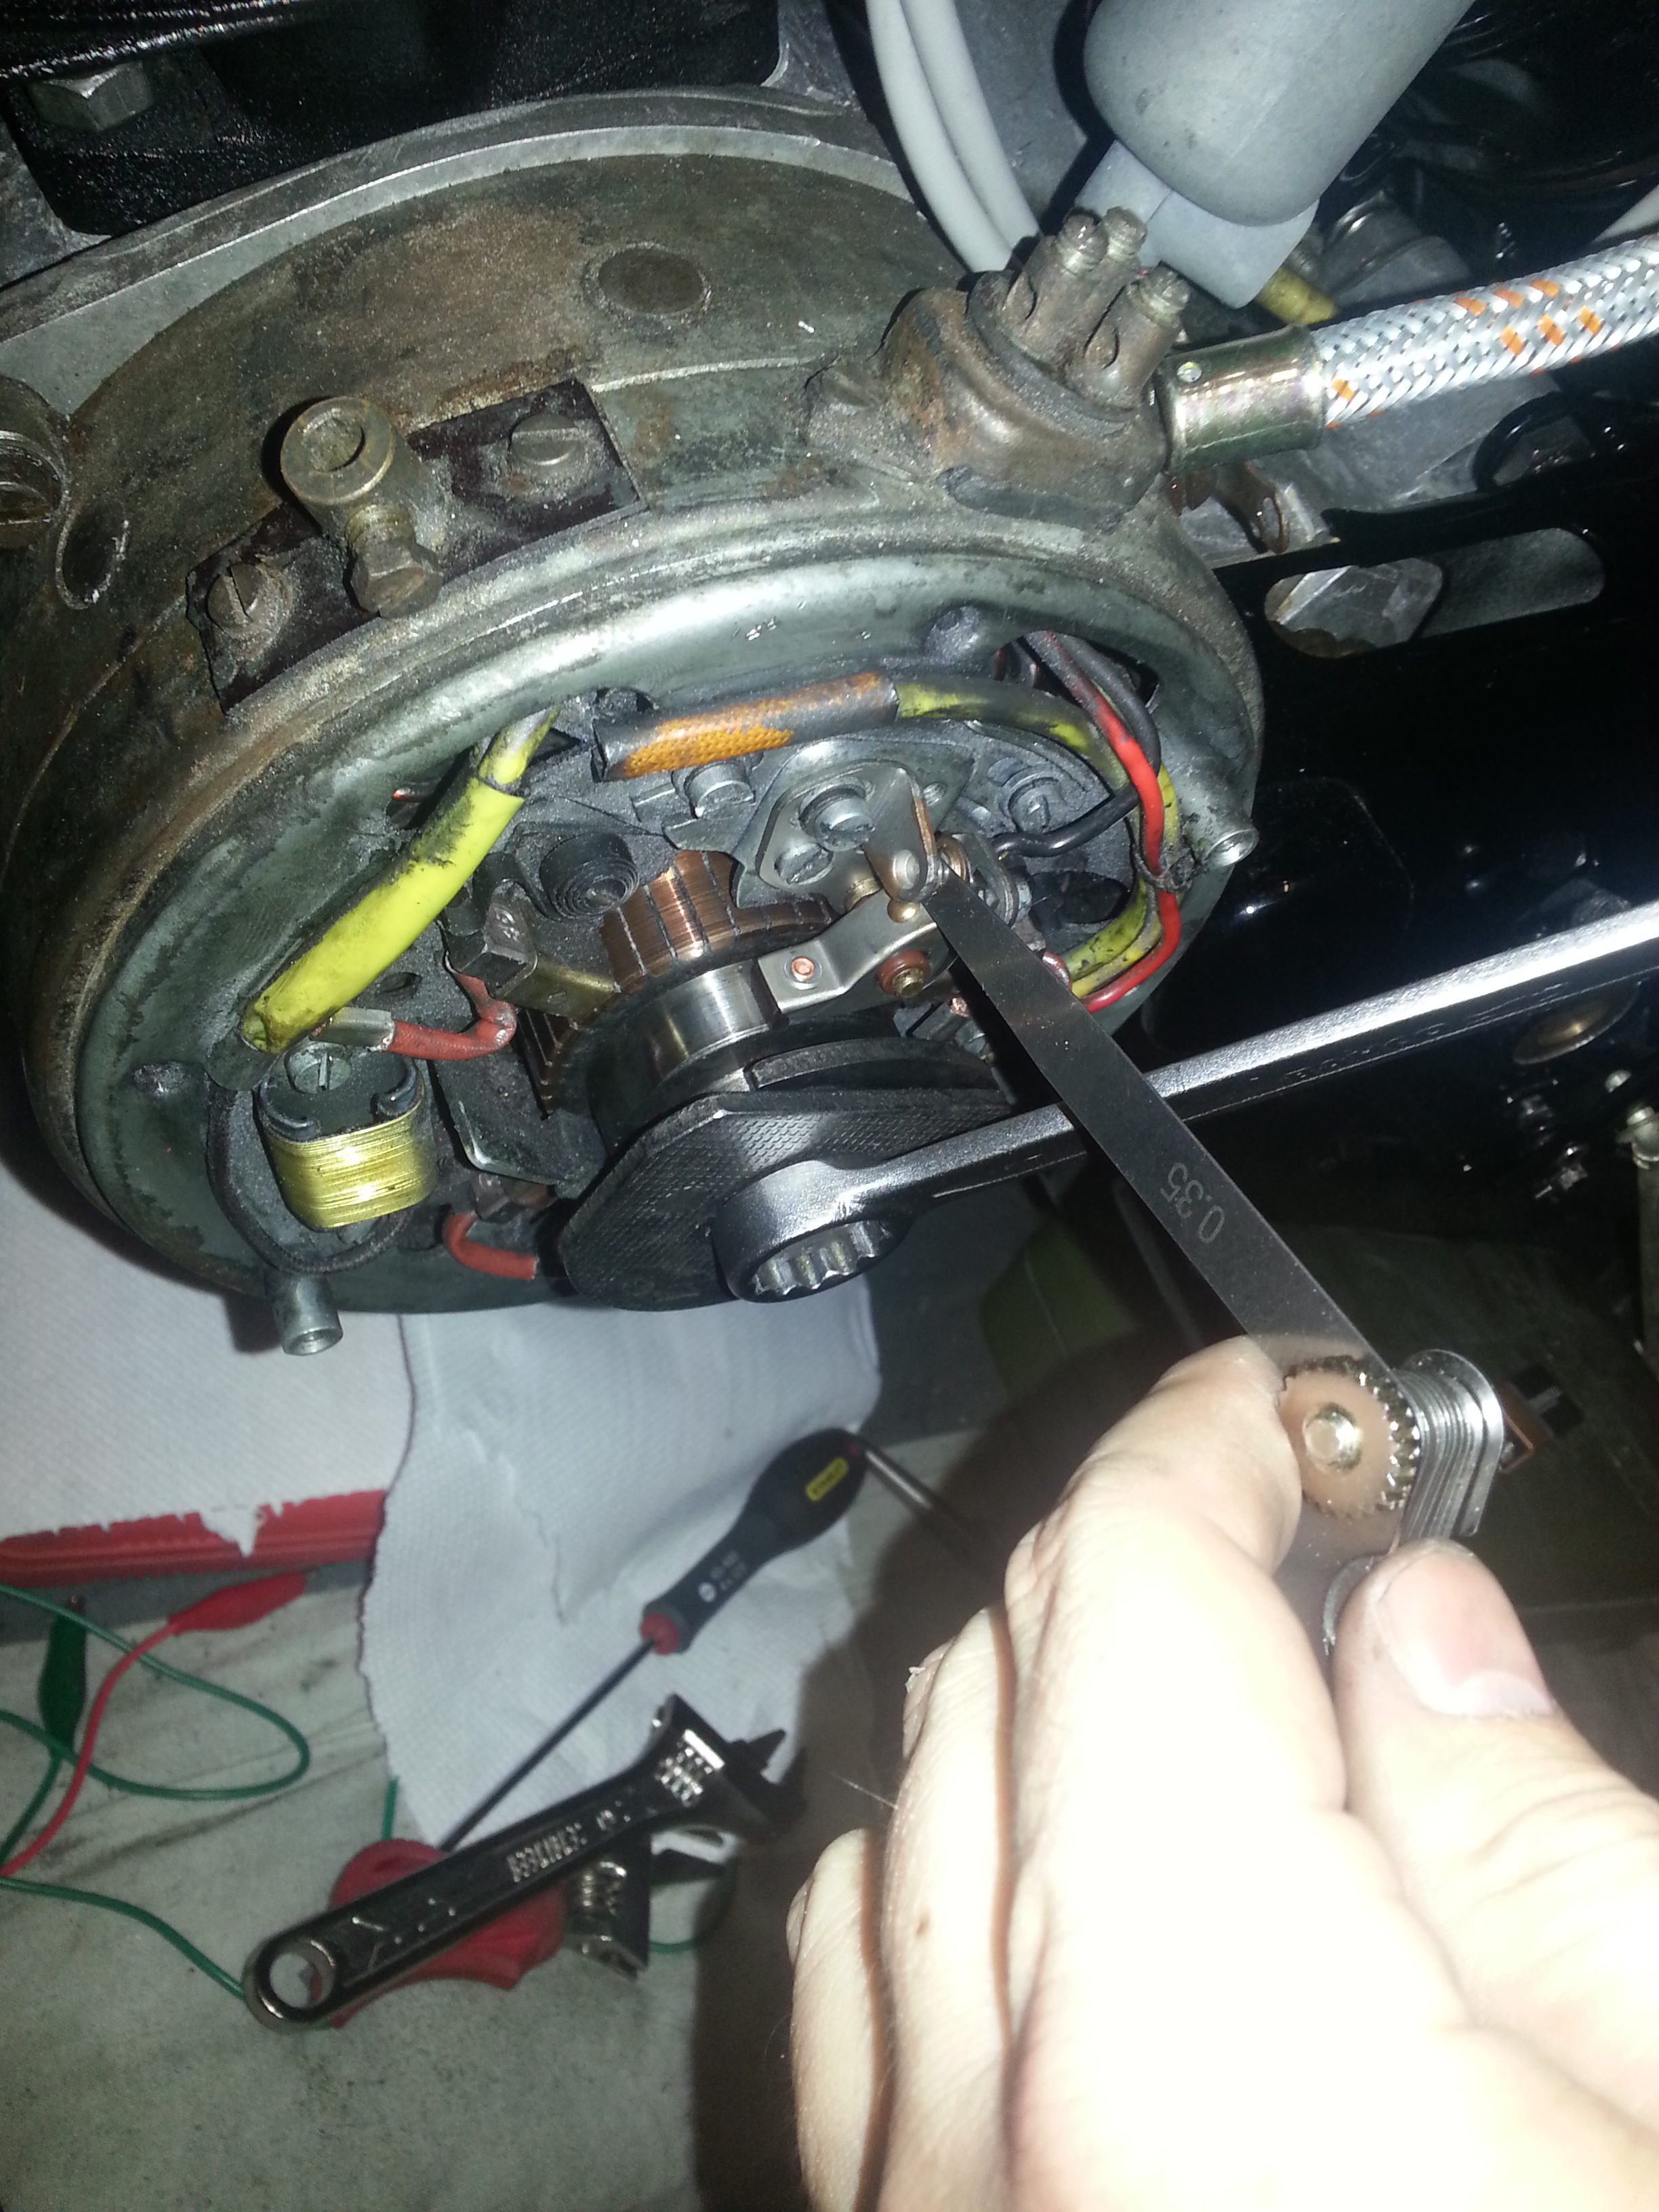
The points gap needs to be between 0.3 and 0.4 mm:
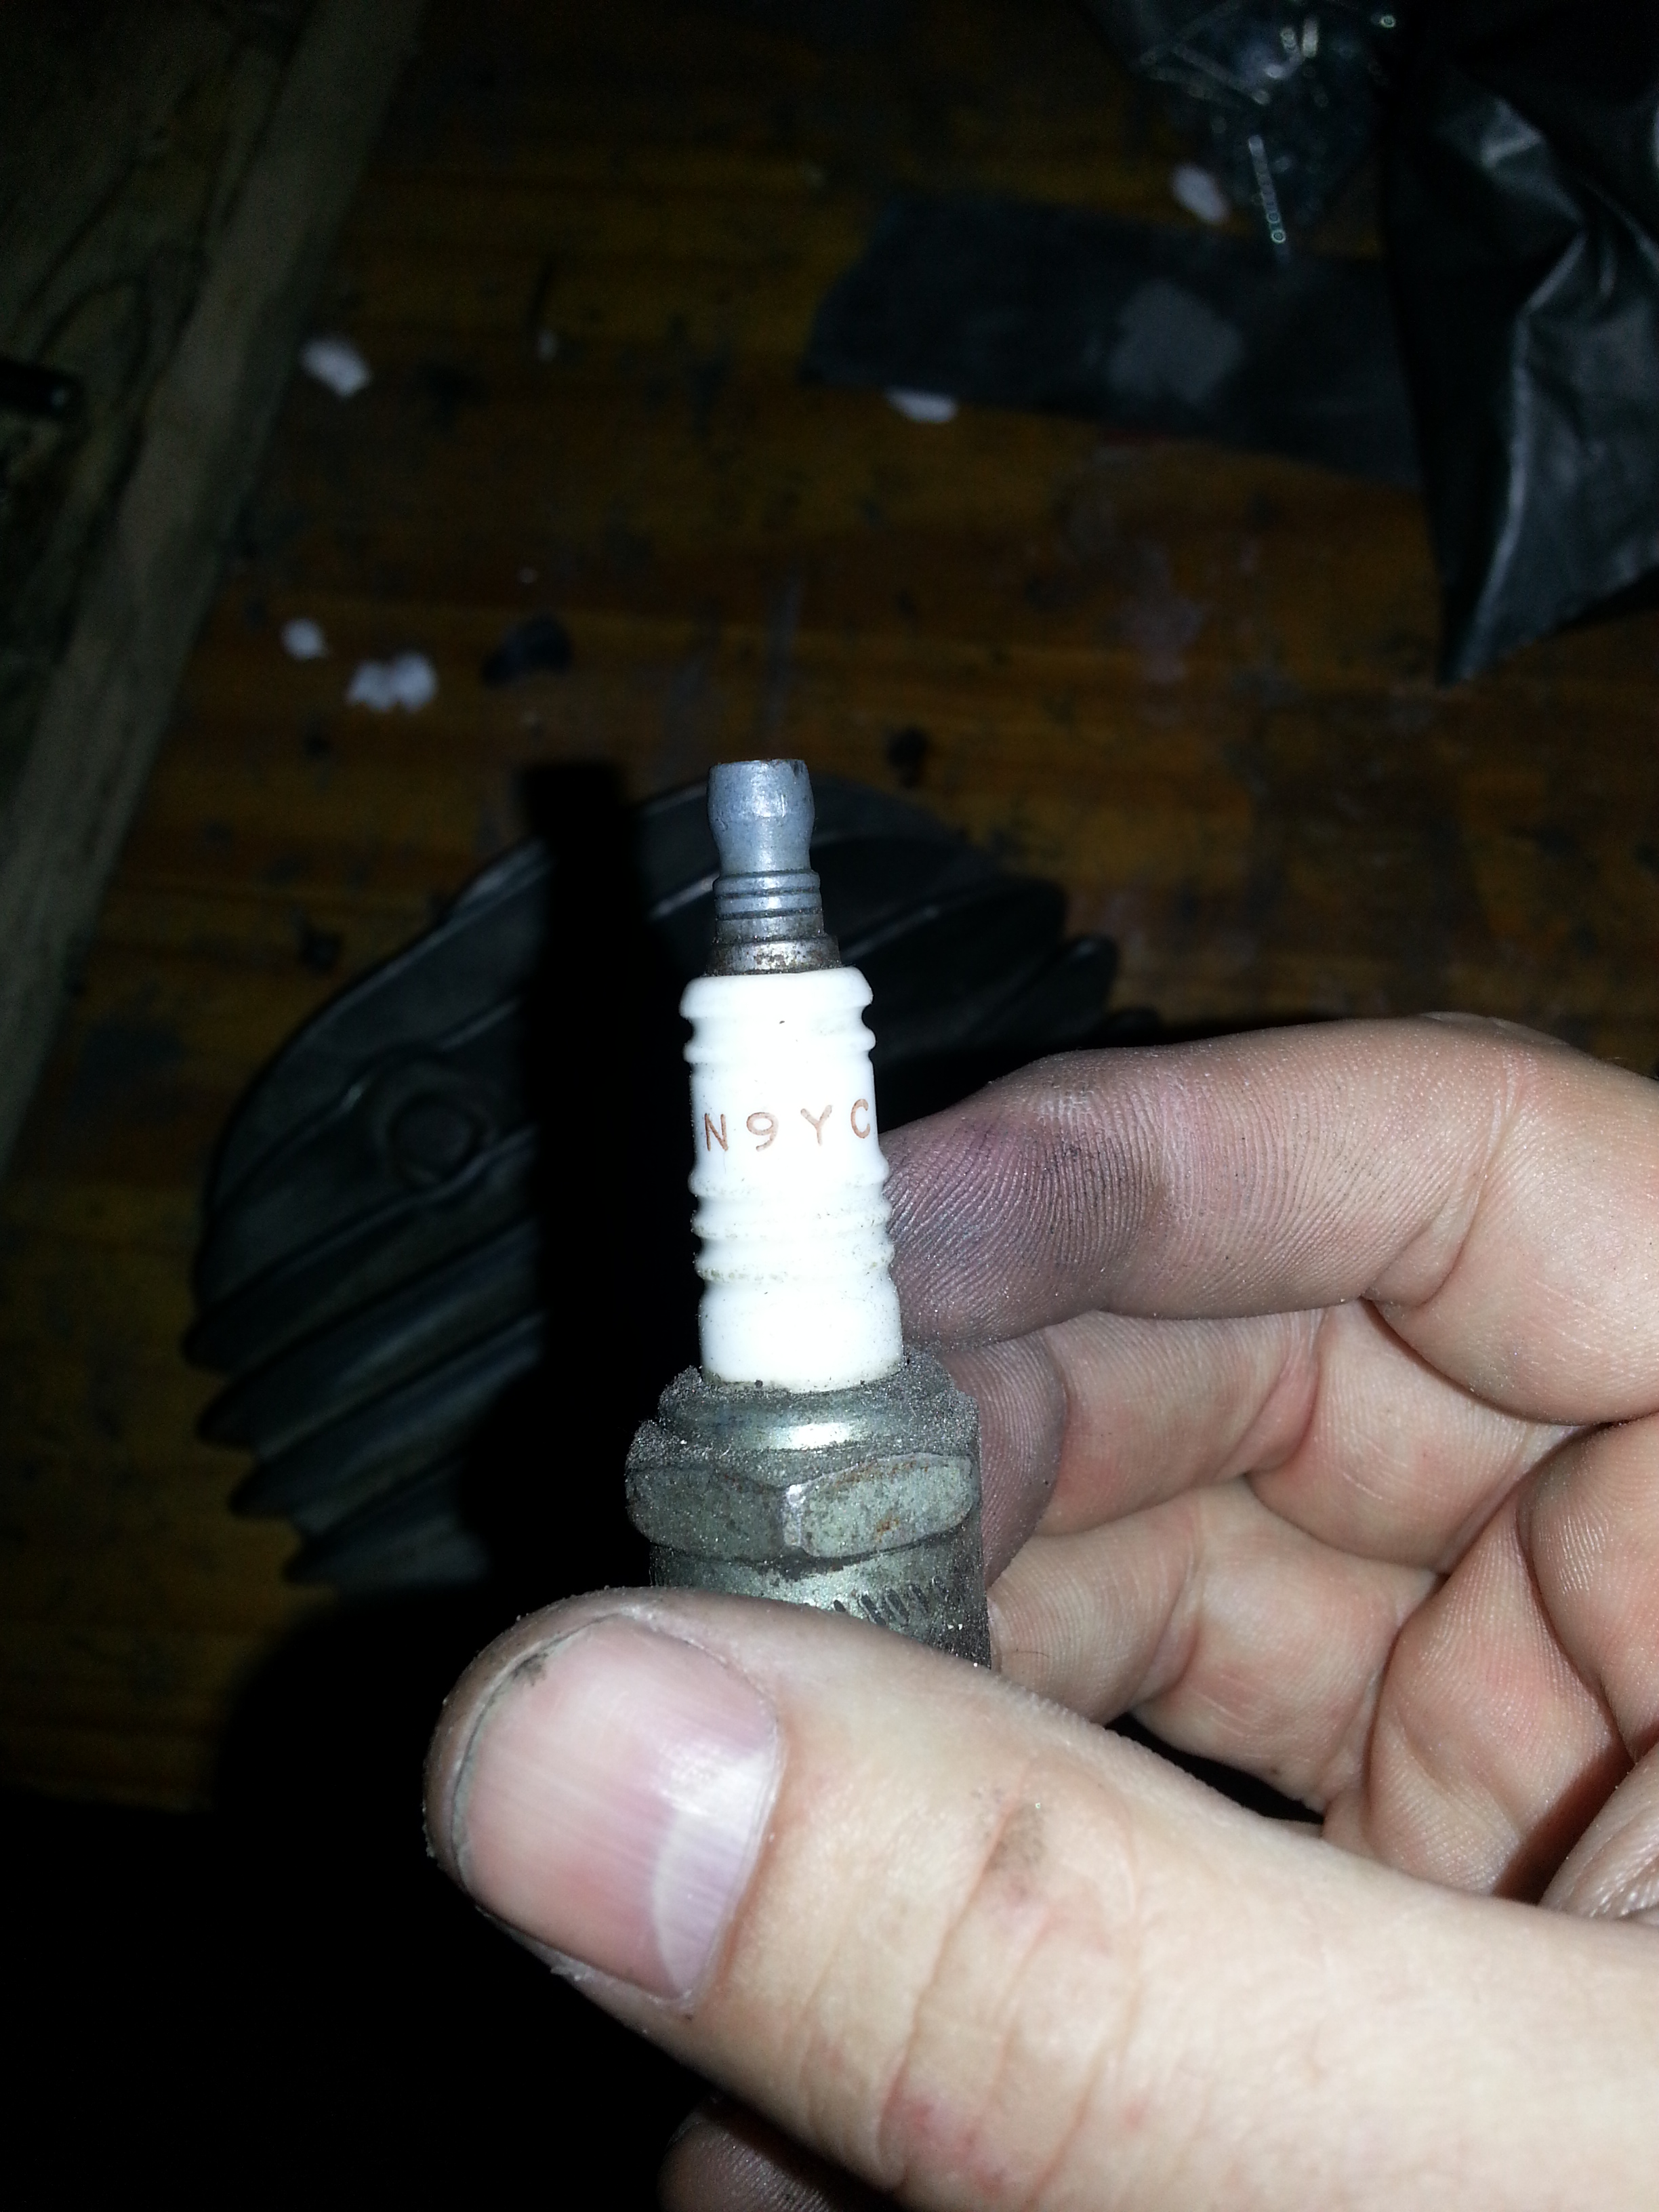
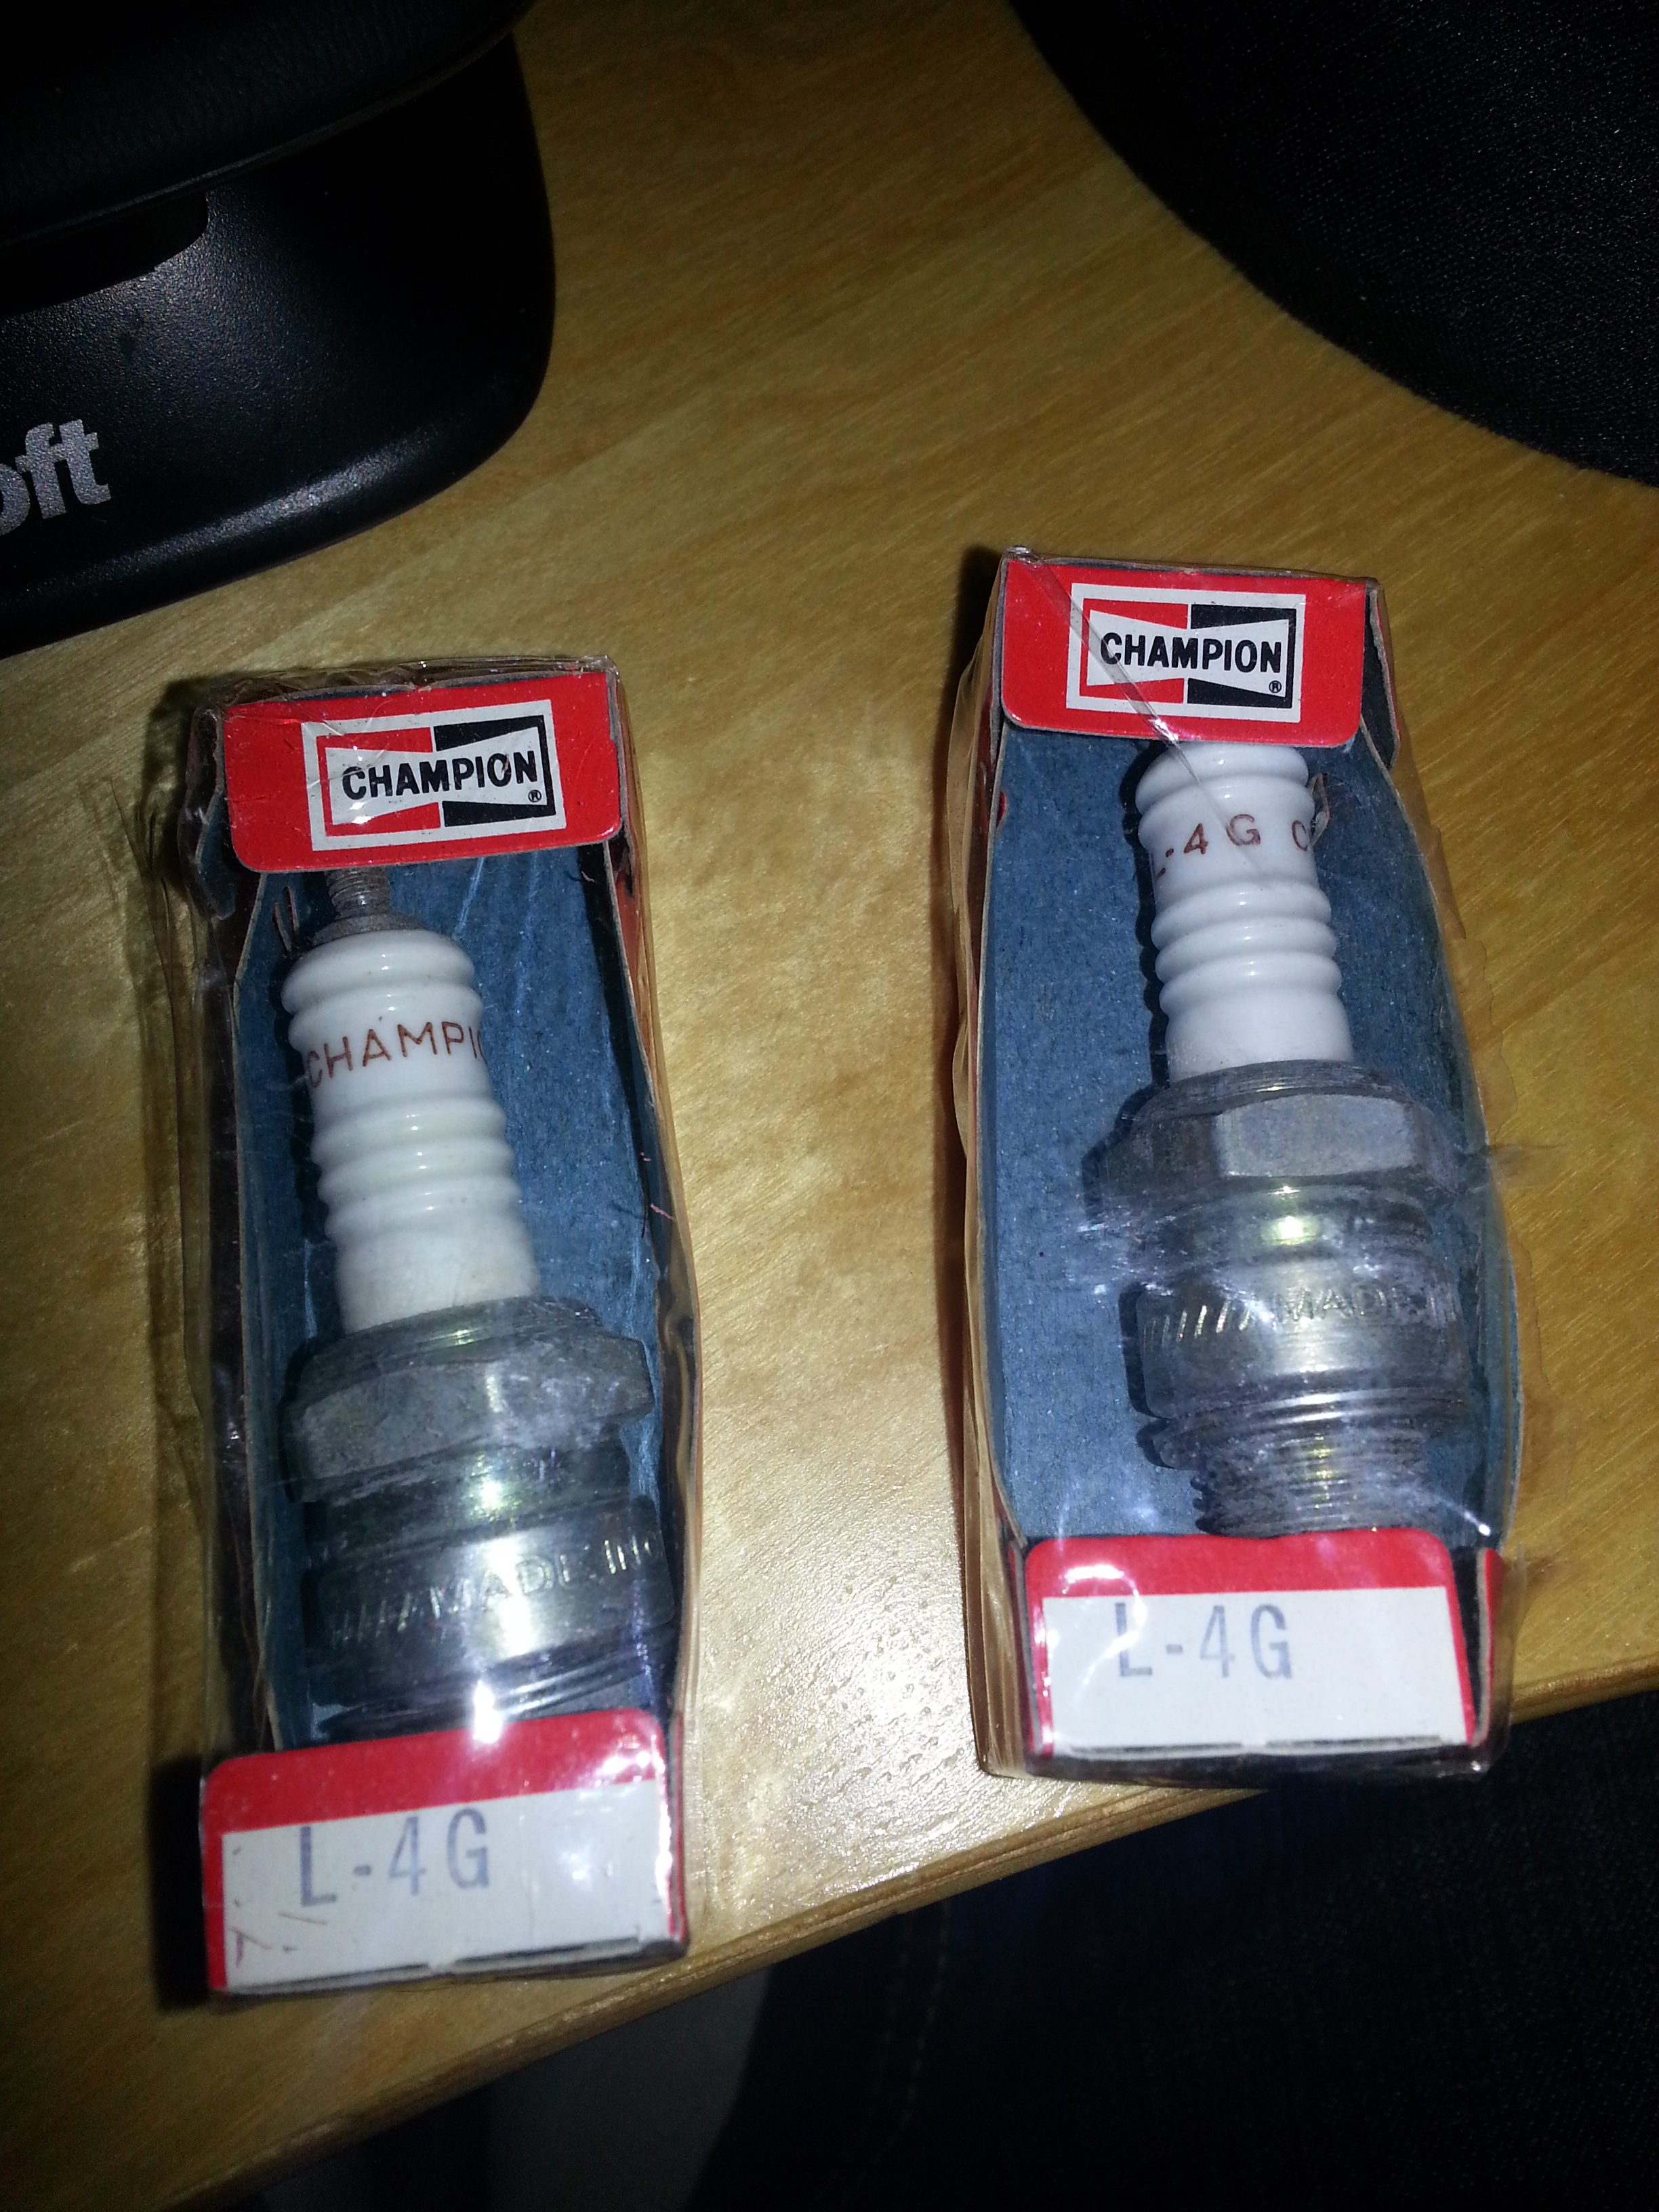
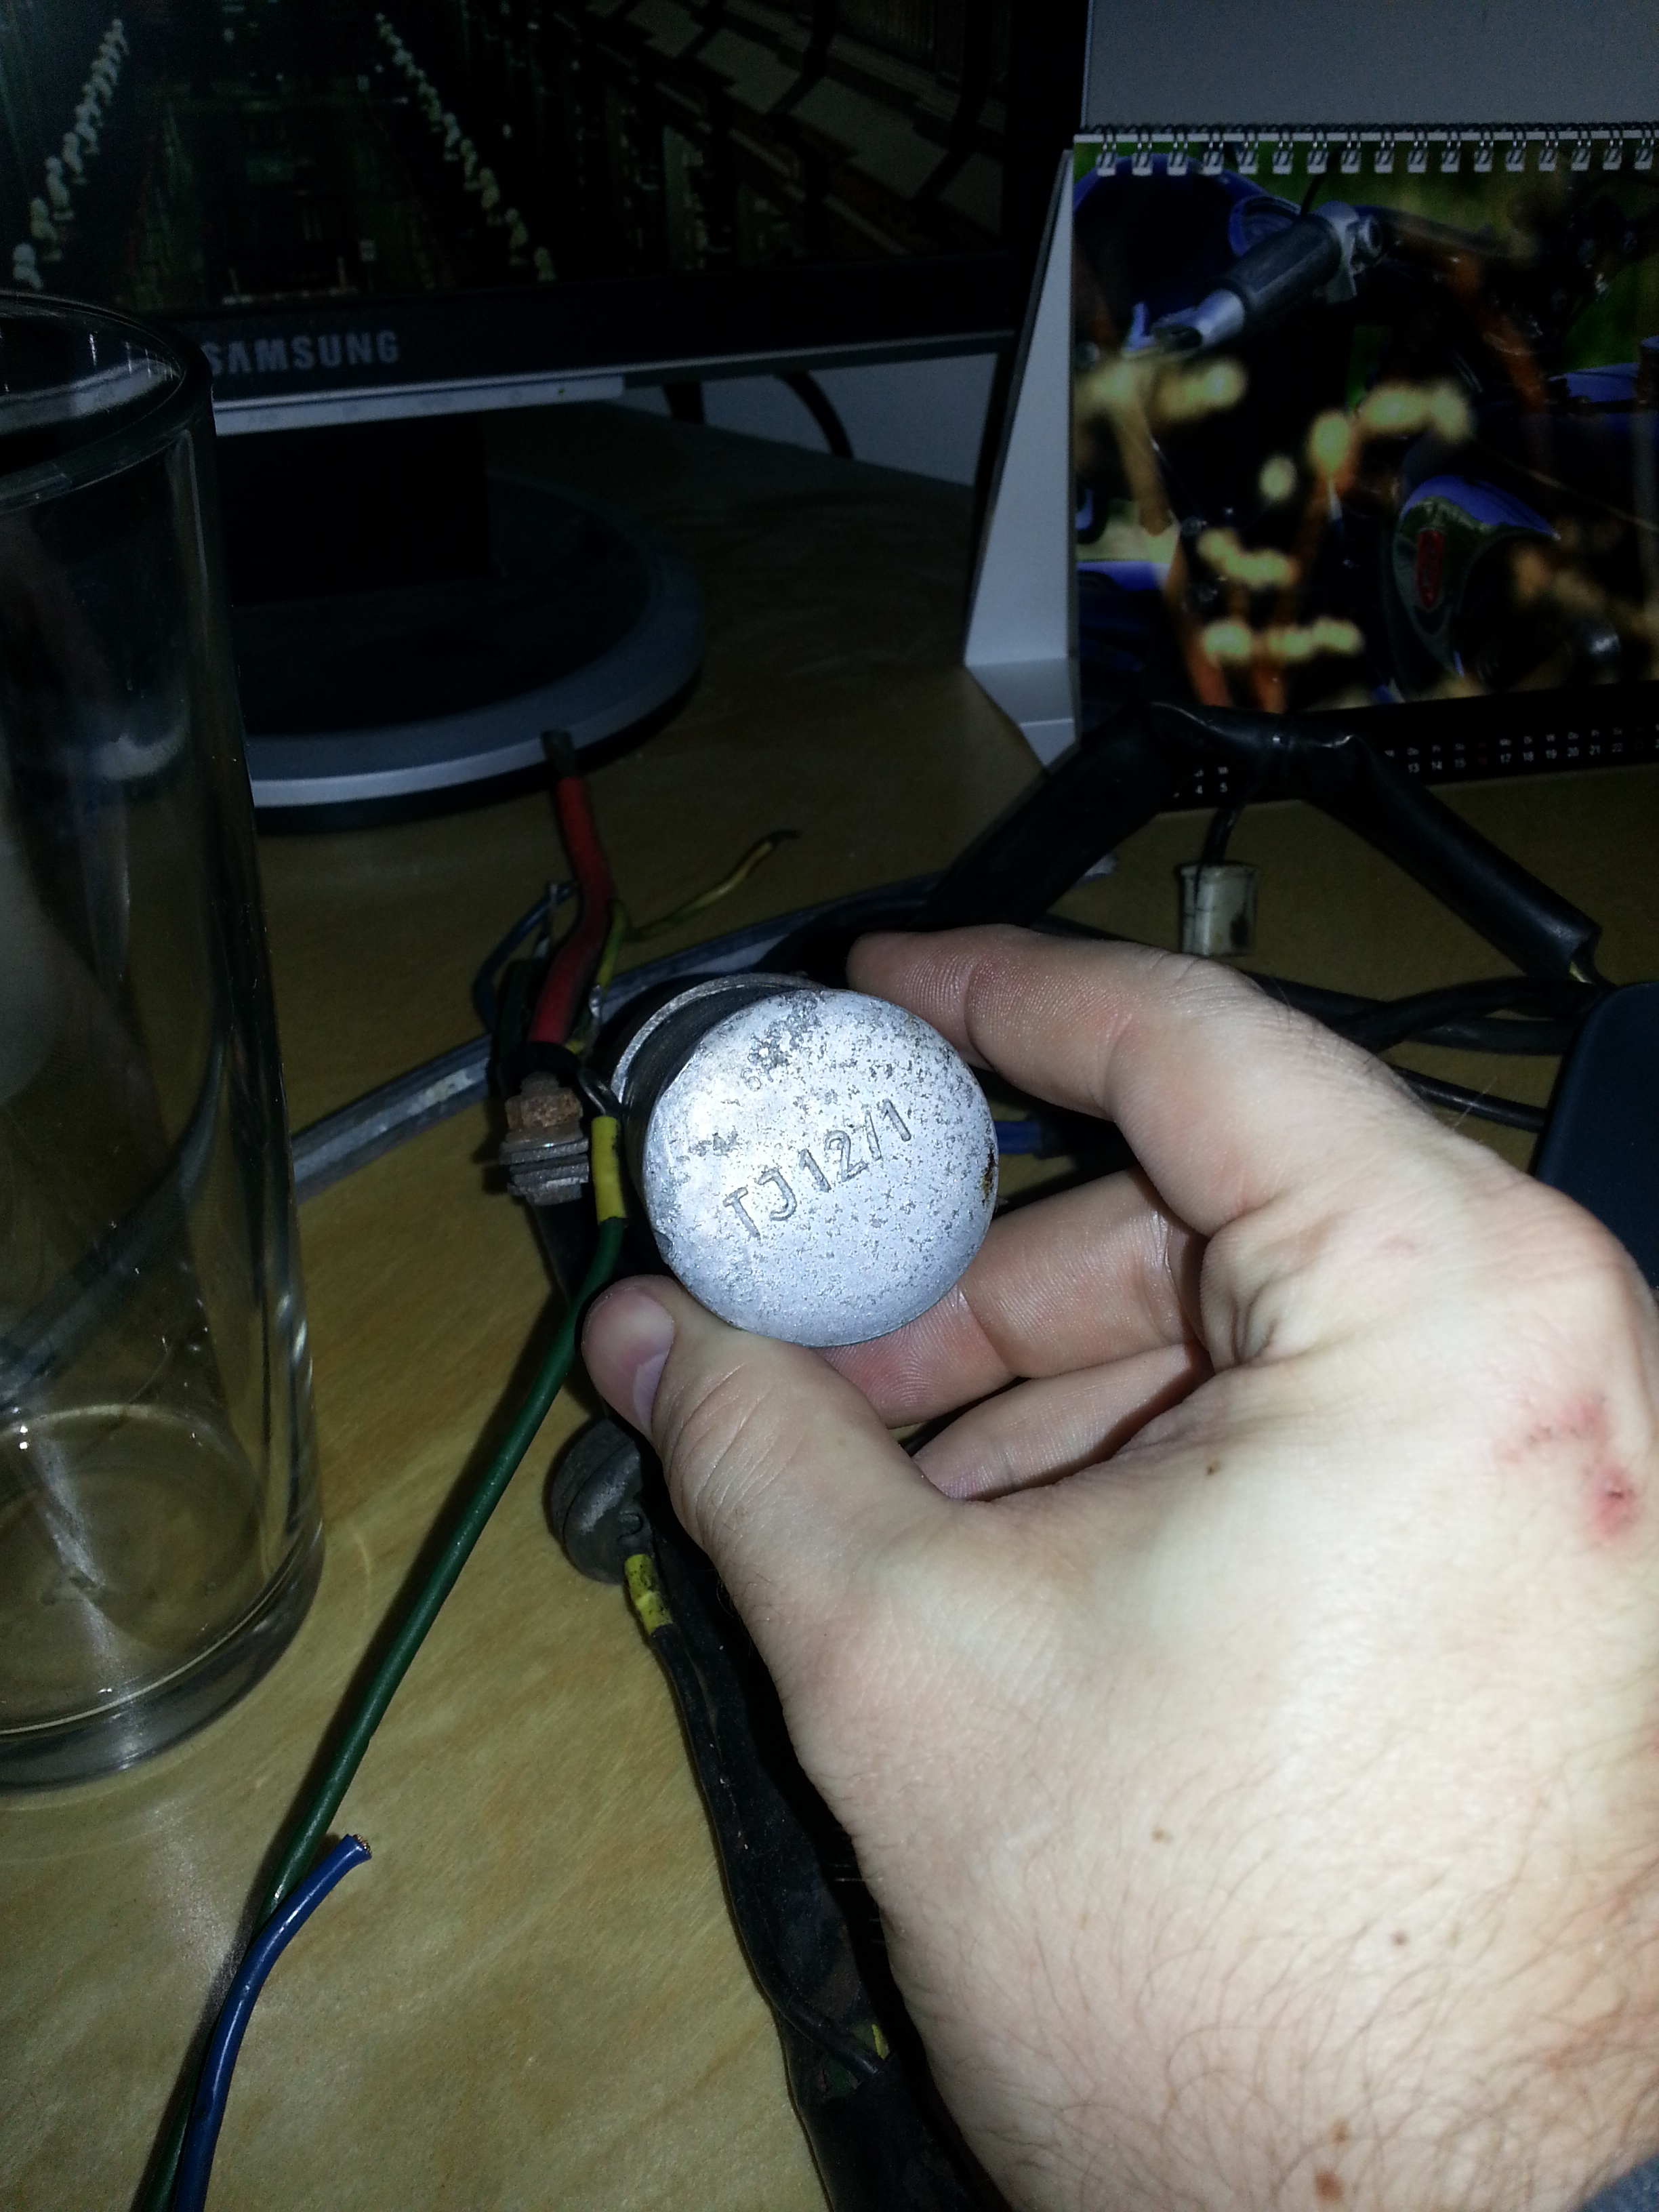
Getting the right spark plug is also important. Original plug is a Champion:
I’ve replaced it with this one:
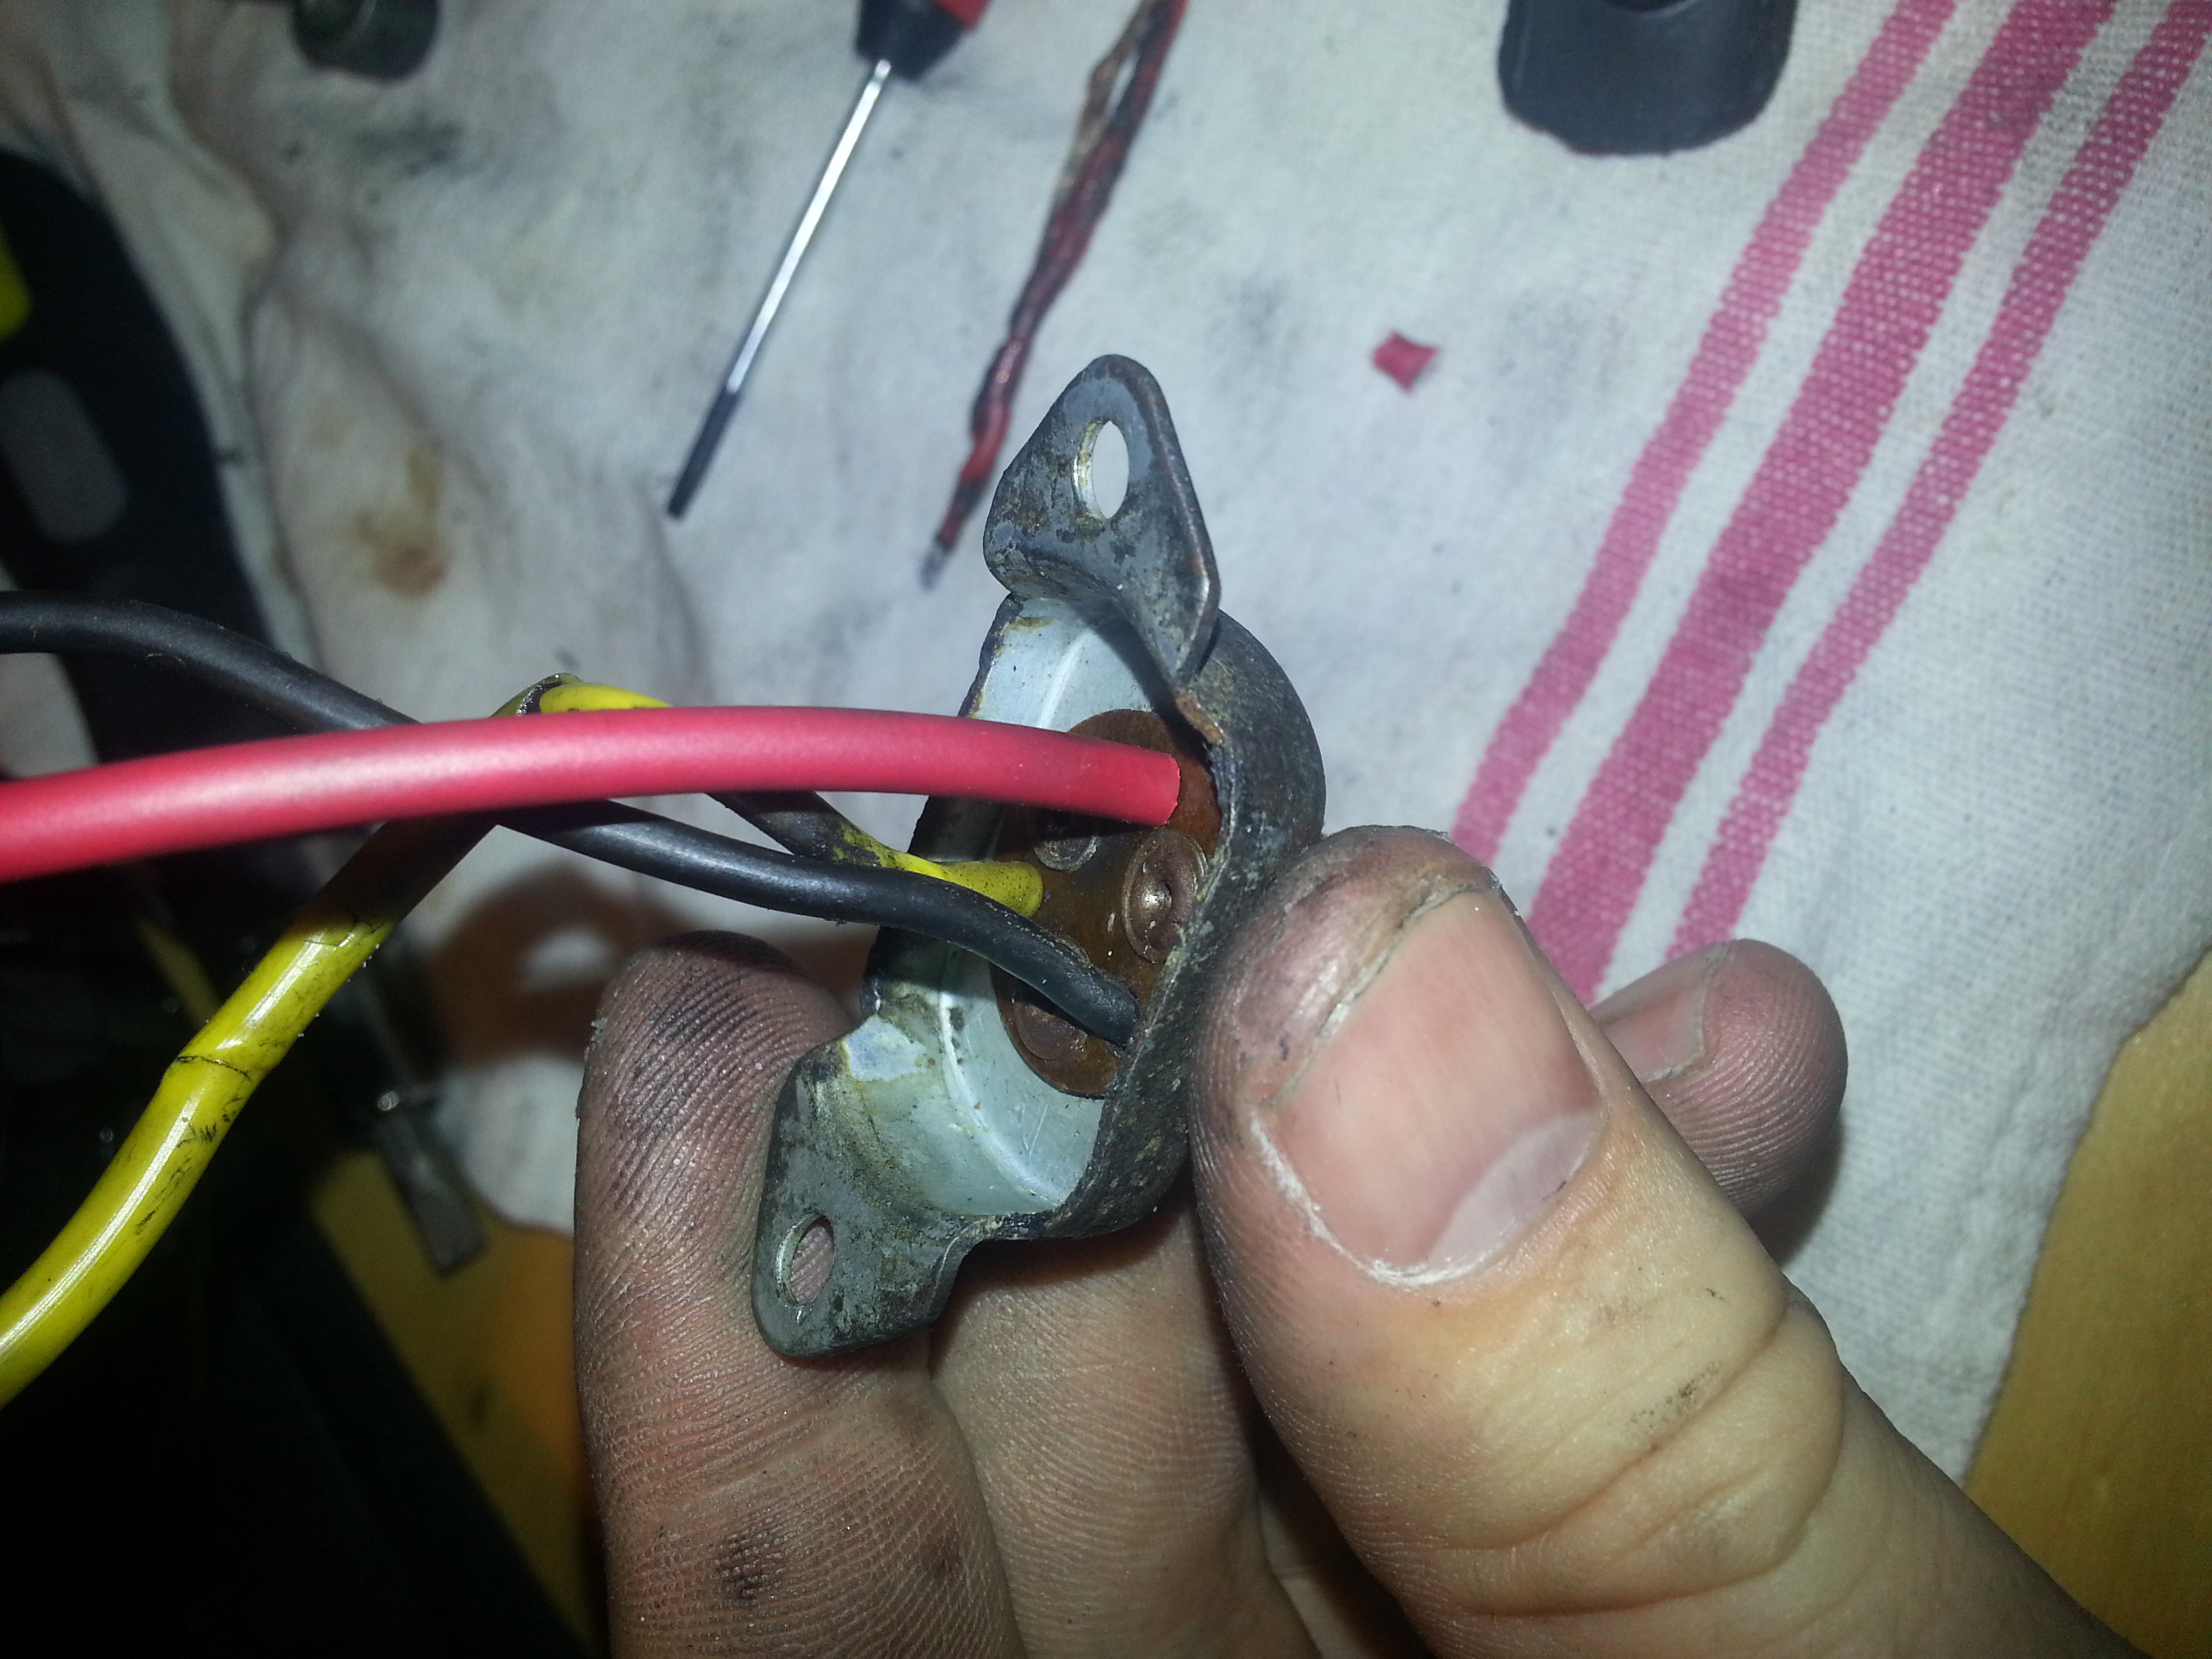
When done you can hook up the wiring on the engine. This is a key moment as if you do it wrong (as in my case) you can burn right through the wiring and the coils with it. You can learn from my mistake here:
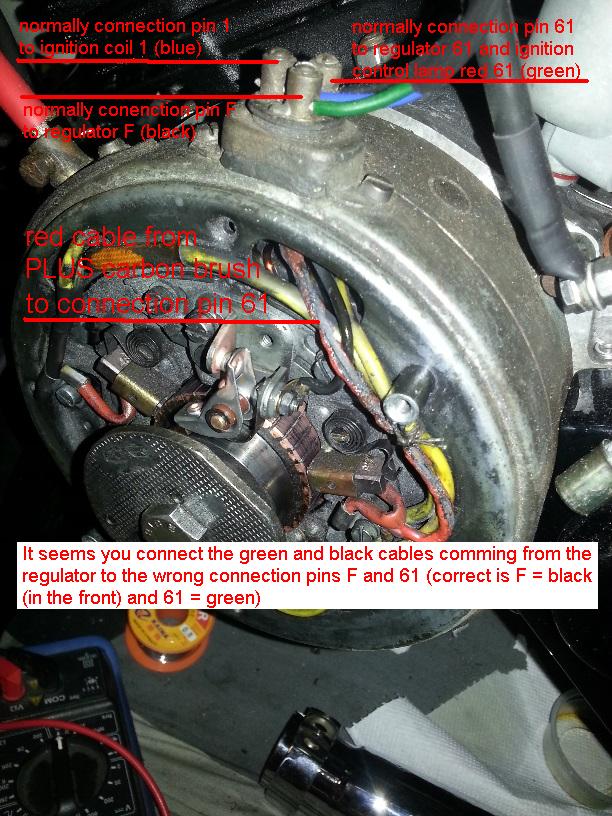
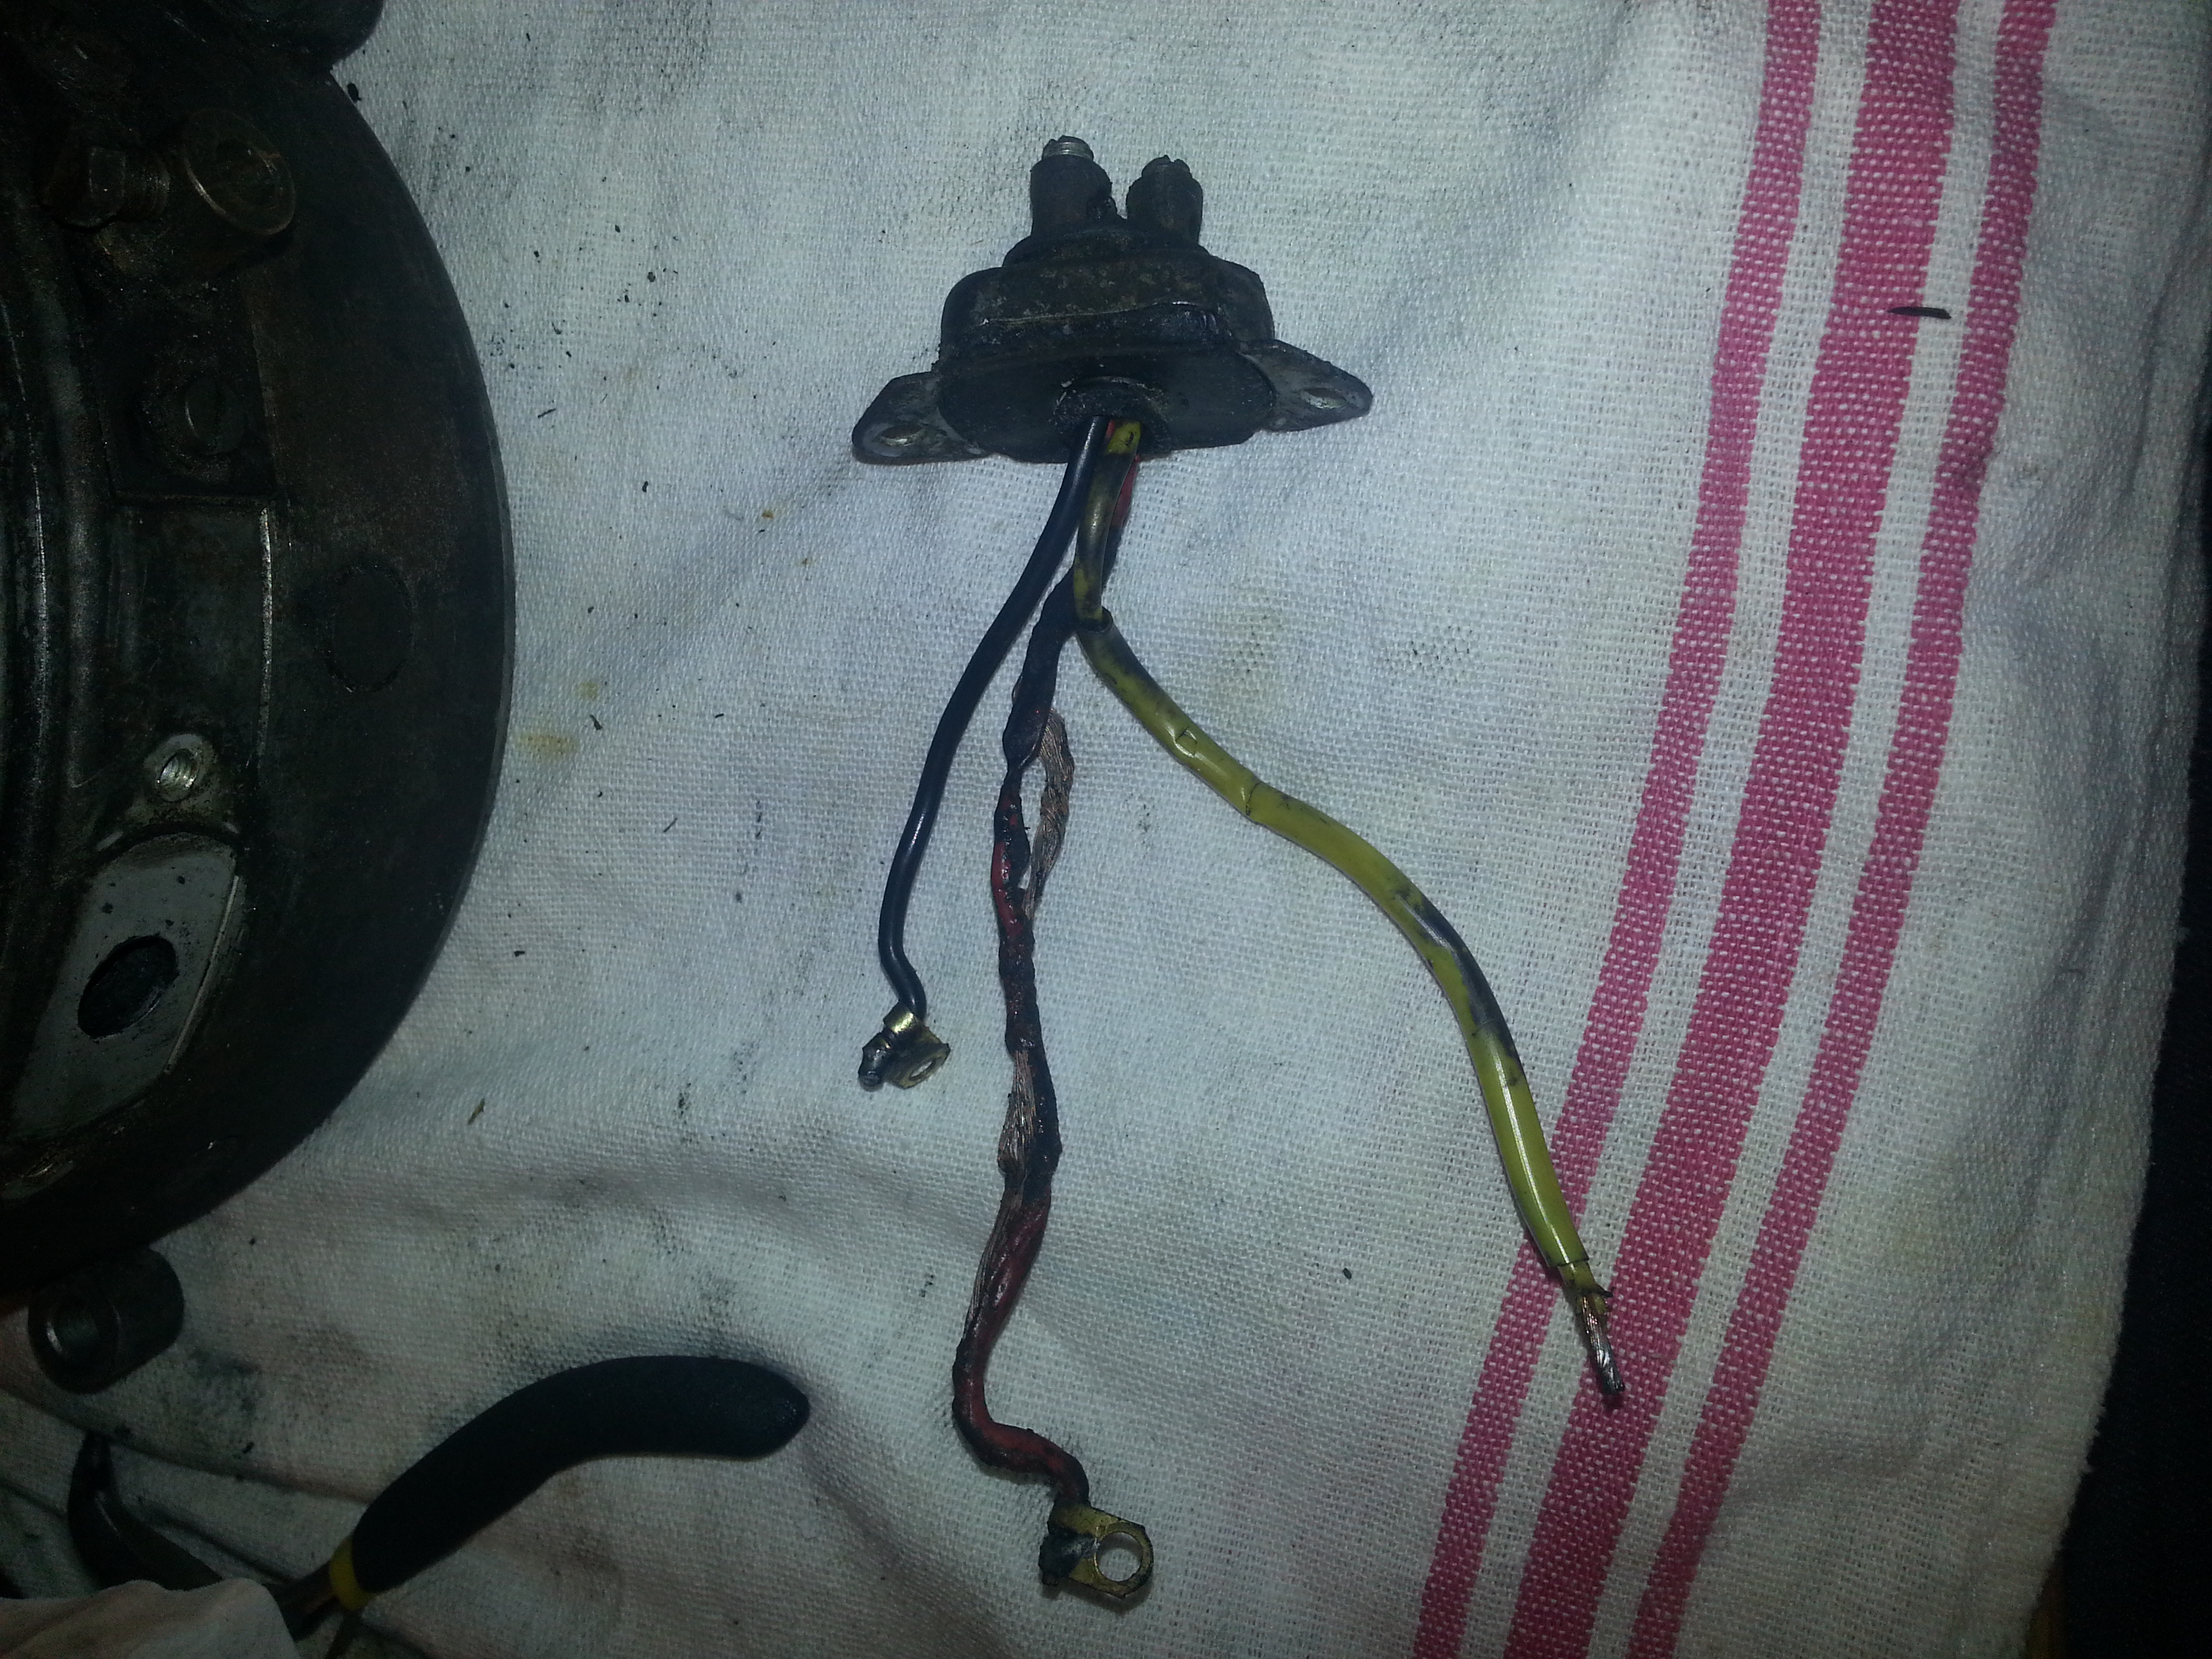
You can see the molten wiring! Incidentally, this also killed the electronic regulator, so a very expensive mistake. My mistake was pressing the starter button too long which melted the wires. The main tip: if the engine doesn’t turn over immediately pressing the starter: stop. You can always test turning over the engine by connecting positive lead of the battery directly to the plus on the engine housing and holding the minus to the engine. This is the result of getting it wrong:
Luckily re-soldering is easy:
Some more challenges later on in the restoration with the electrics. Entirely my fault it must be said as I connected the black wire you see to ground rather than the regulator which will blow your regulator and coils when you generate more than 12V (which is just above idle). But more on that later. Main lesson; do not use the same colour wiring for differing functions, even if the wiring diagram tells you to do so.
Finally before we close this part of the engine up, you need to decide on using the traditional F-type regulator or an electronic one. That’s original vs a bit more reliability (although the old regulators are quite rugged in design).
If you install an electronic regulator, always ensure you remove the resistor:

The easiest way to do it is to actually leave it in place and interrupt the wire so you can easily decide to change regulator types like a variant of this (thanks Hartmut):
When done, it’s time to close the engine up;

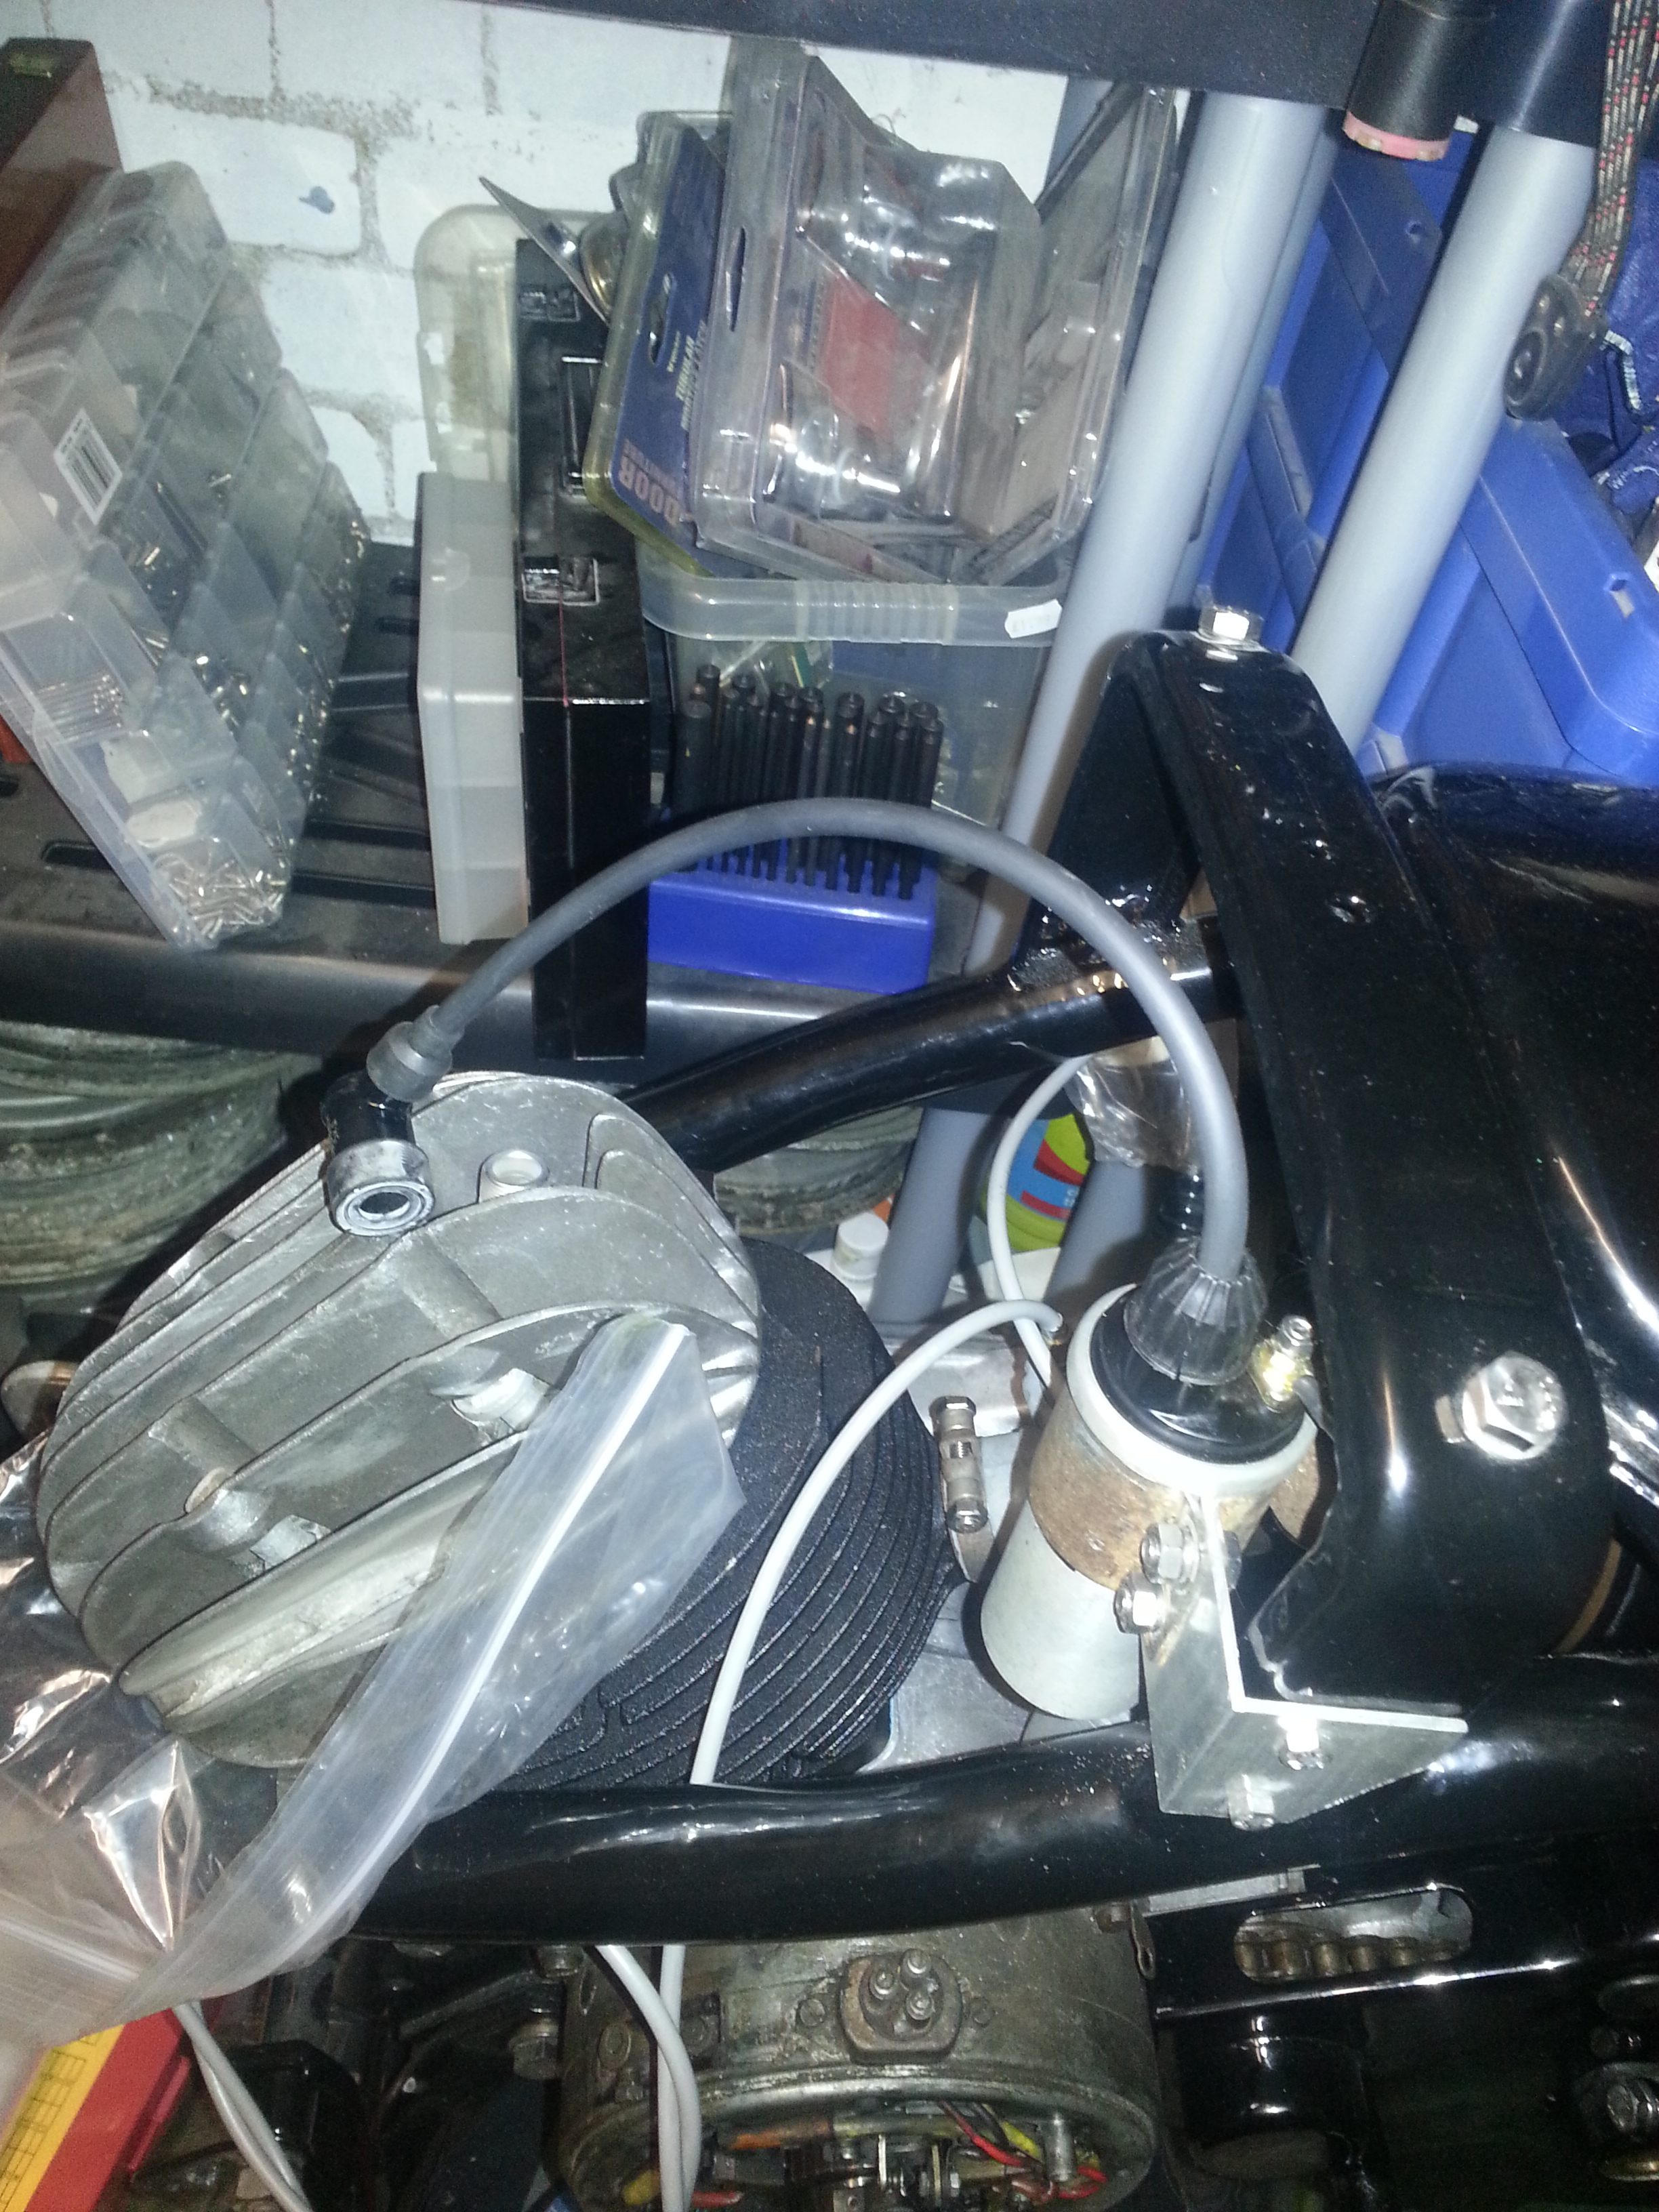
To finish off the ignition I had to reproduce a bracket for the ignition coil:
I used a cheap ignition coil; better to buy a good one! You can use the following alternatives:
- Beru ZS220
- Zwotec 20 1244 8352.1/2
- Bosch 0 221 119 027 (55mm diameter)
- You can also go with the Beru ZS172; this one is also thicker though and will require a non-standard clamp
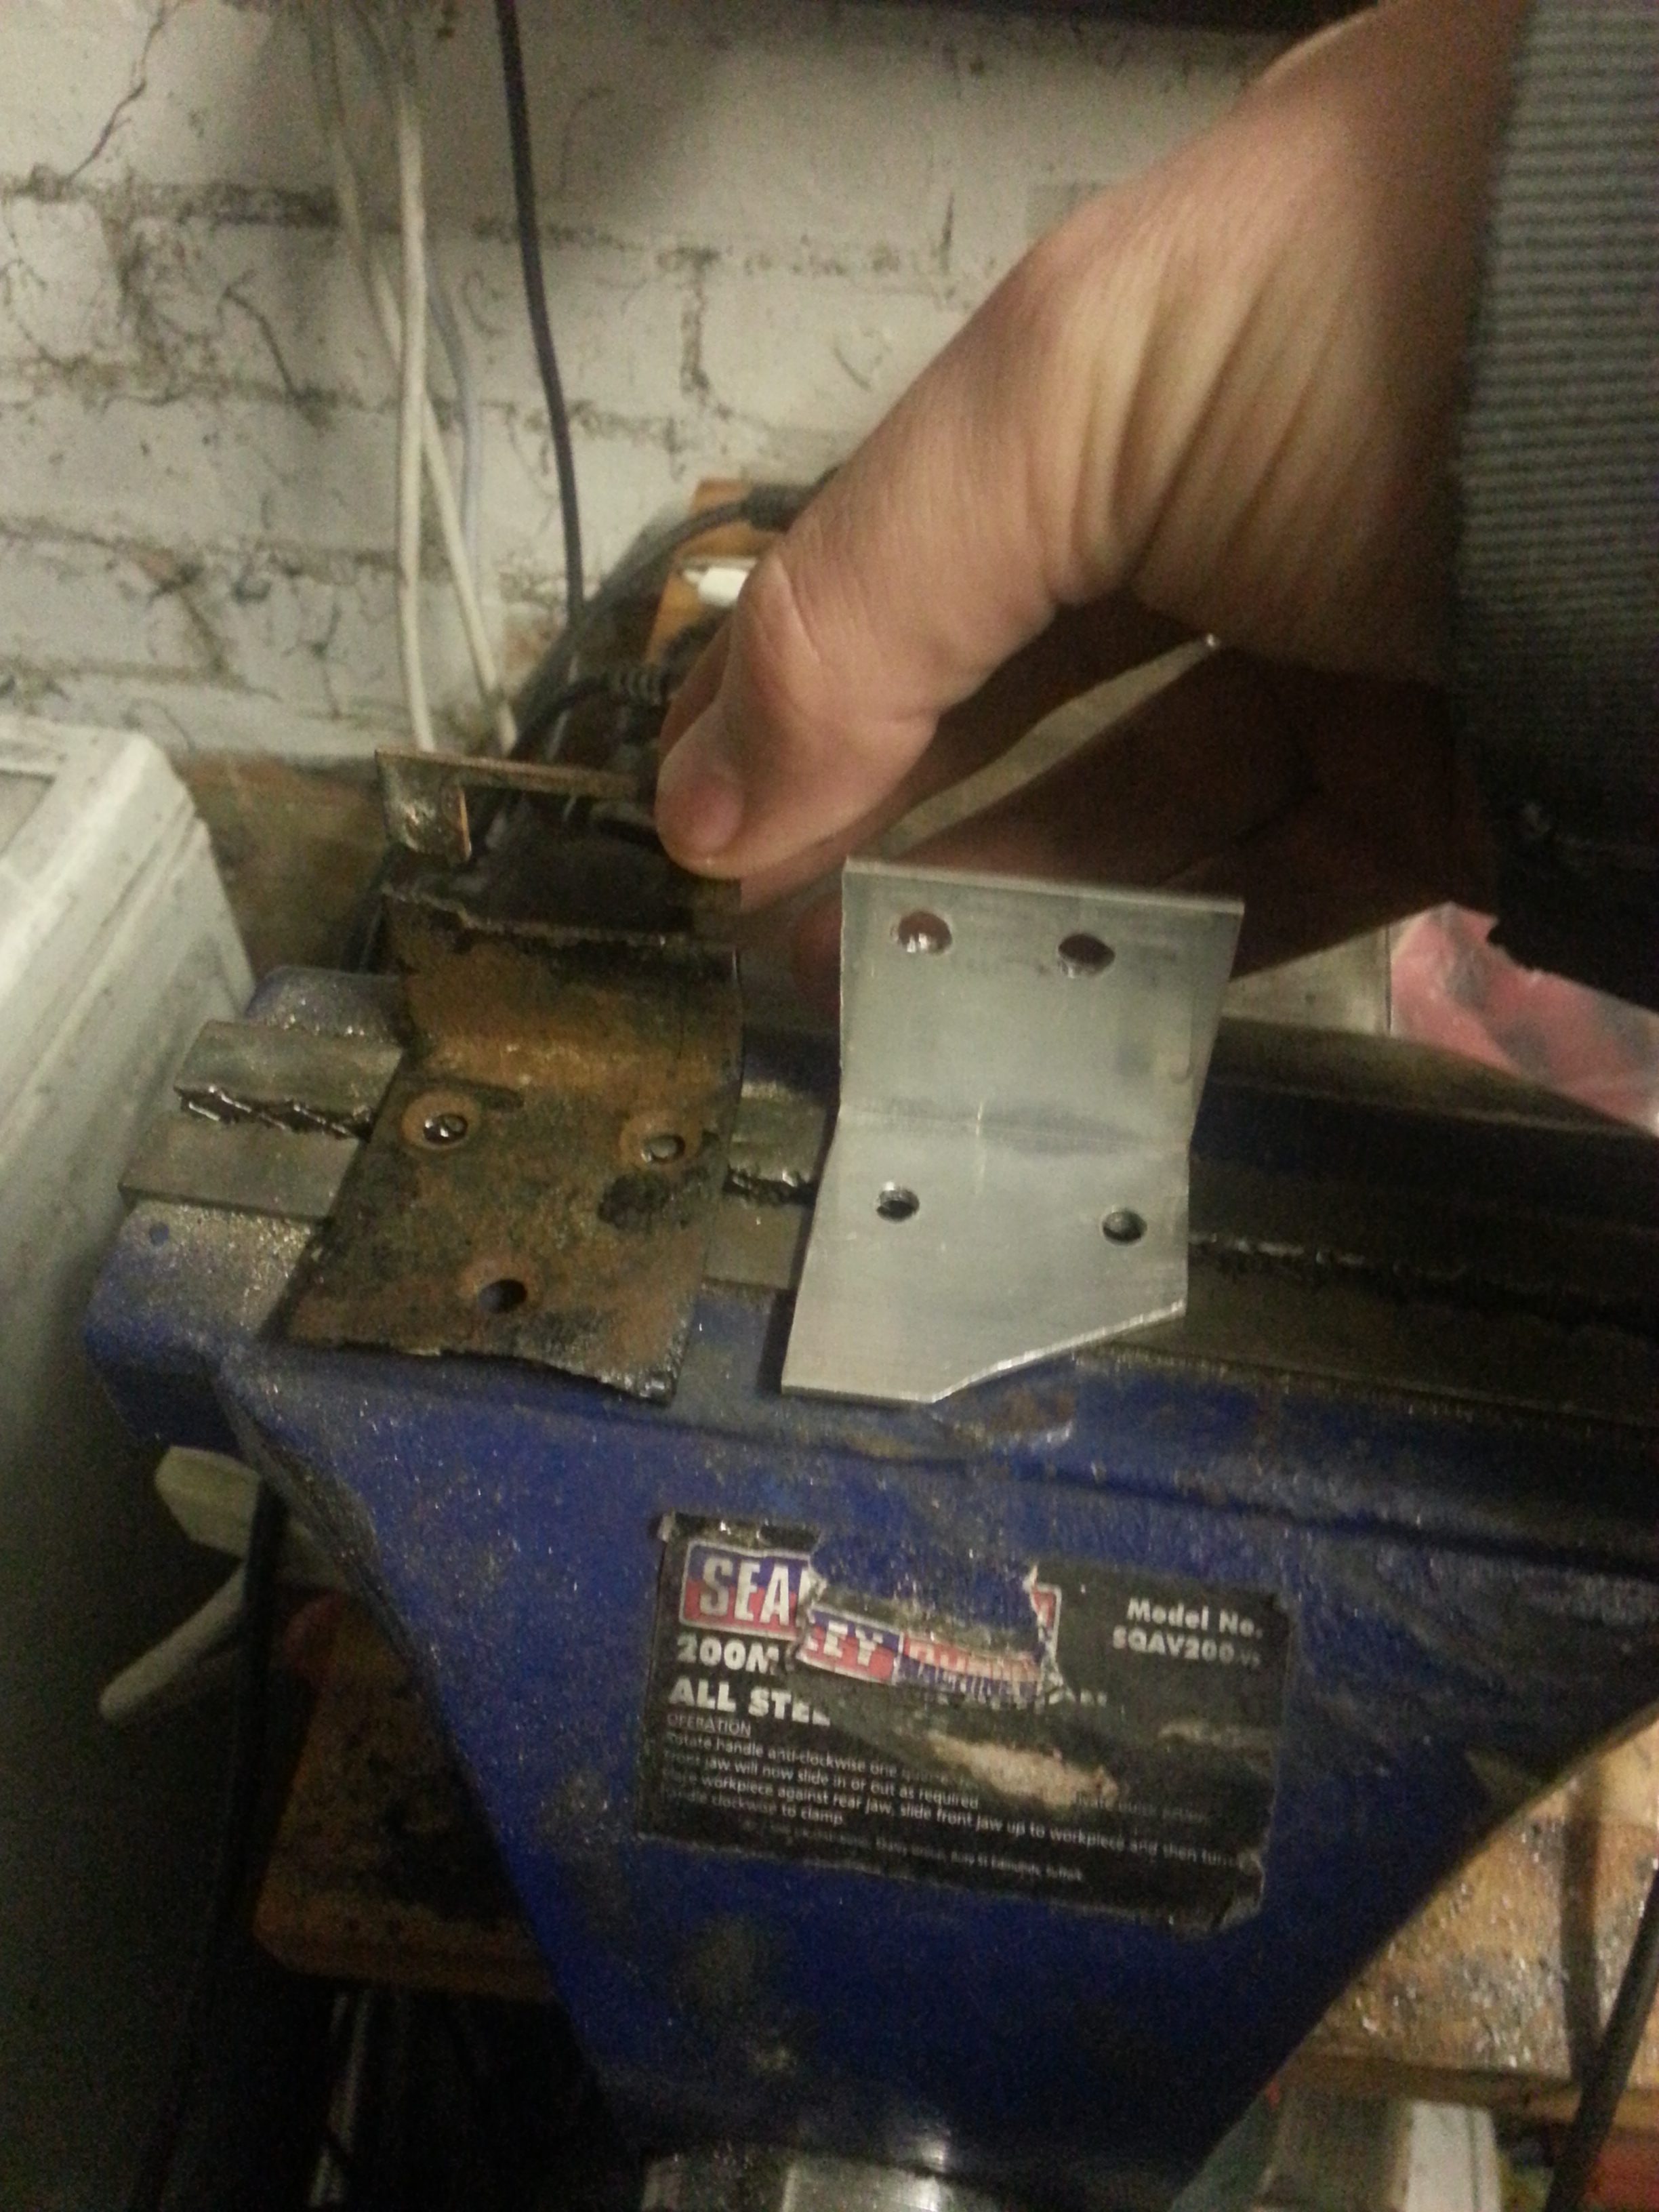
The first one died of metal fatigue and having seen the engine run I understand why. Let’s see how long this one lasts.