
Foot boards for Bellas come in many shapes and guises between the various models. They are not easily interchangeable. This is at the same time a more relevant problem for the R204; as time went by even Zündapp had to start reducing the cost of their scooters. The lower end models of the last production series lost some of their extras like the aluminium luggage supports; instead the rear body got a metal sheet in its place.
Similarly, where the first foot board series were aluminium and quite thick and heavy, the later series had thinner steel foot boards. As that is where water collects, rust is inevitable.
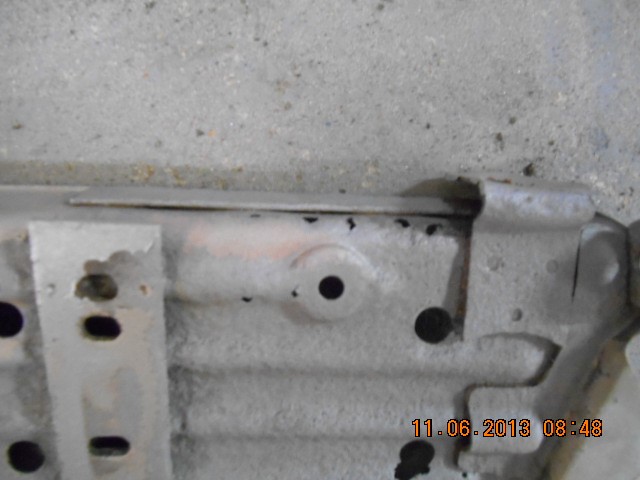
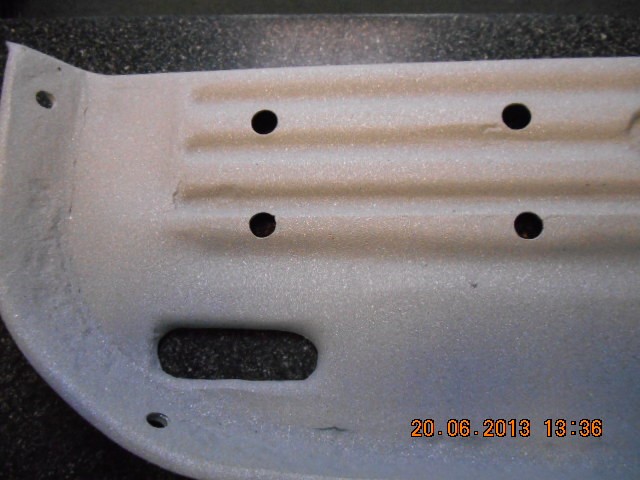
This is what my foot boards looked like mounted:
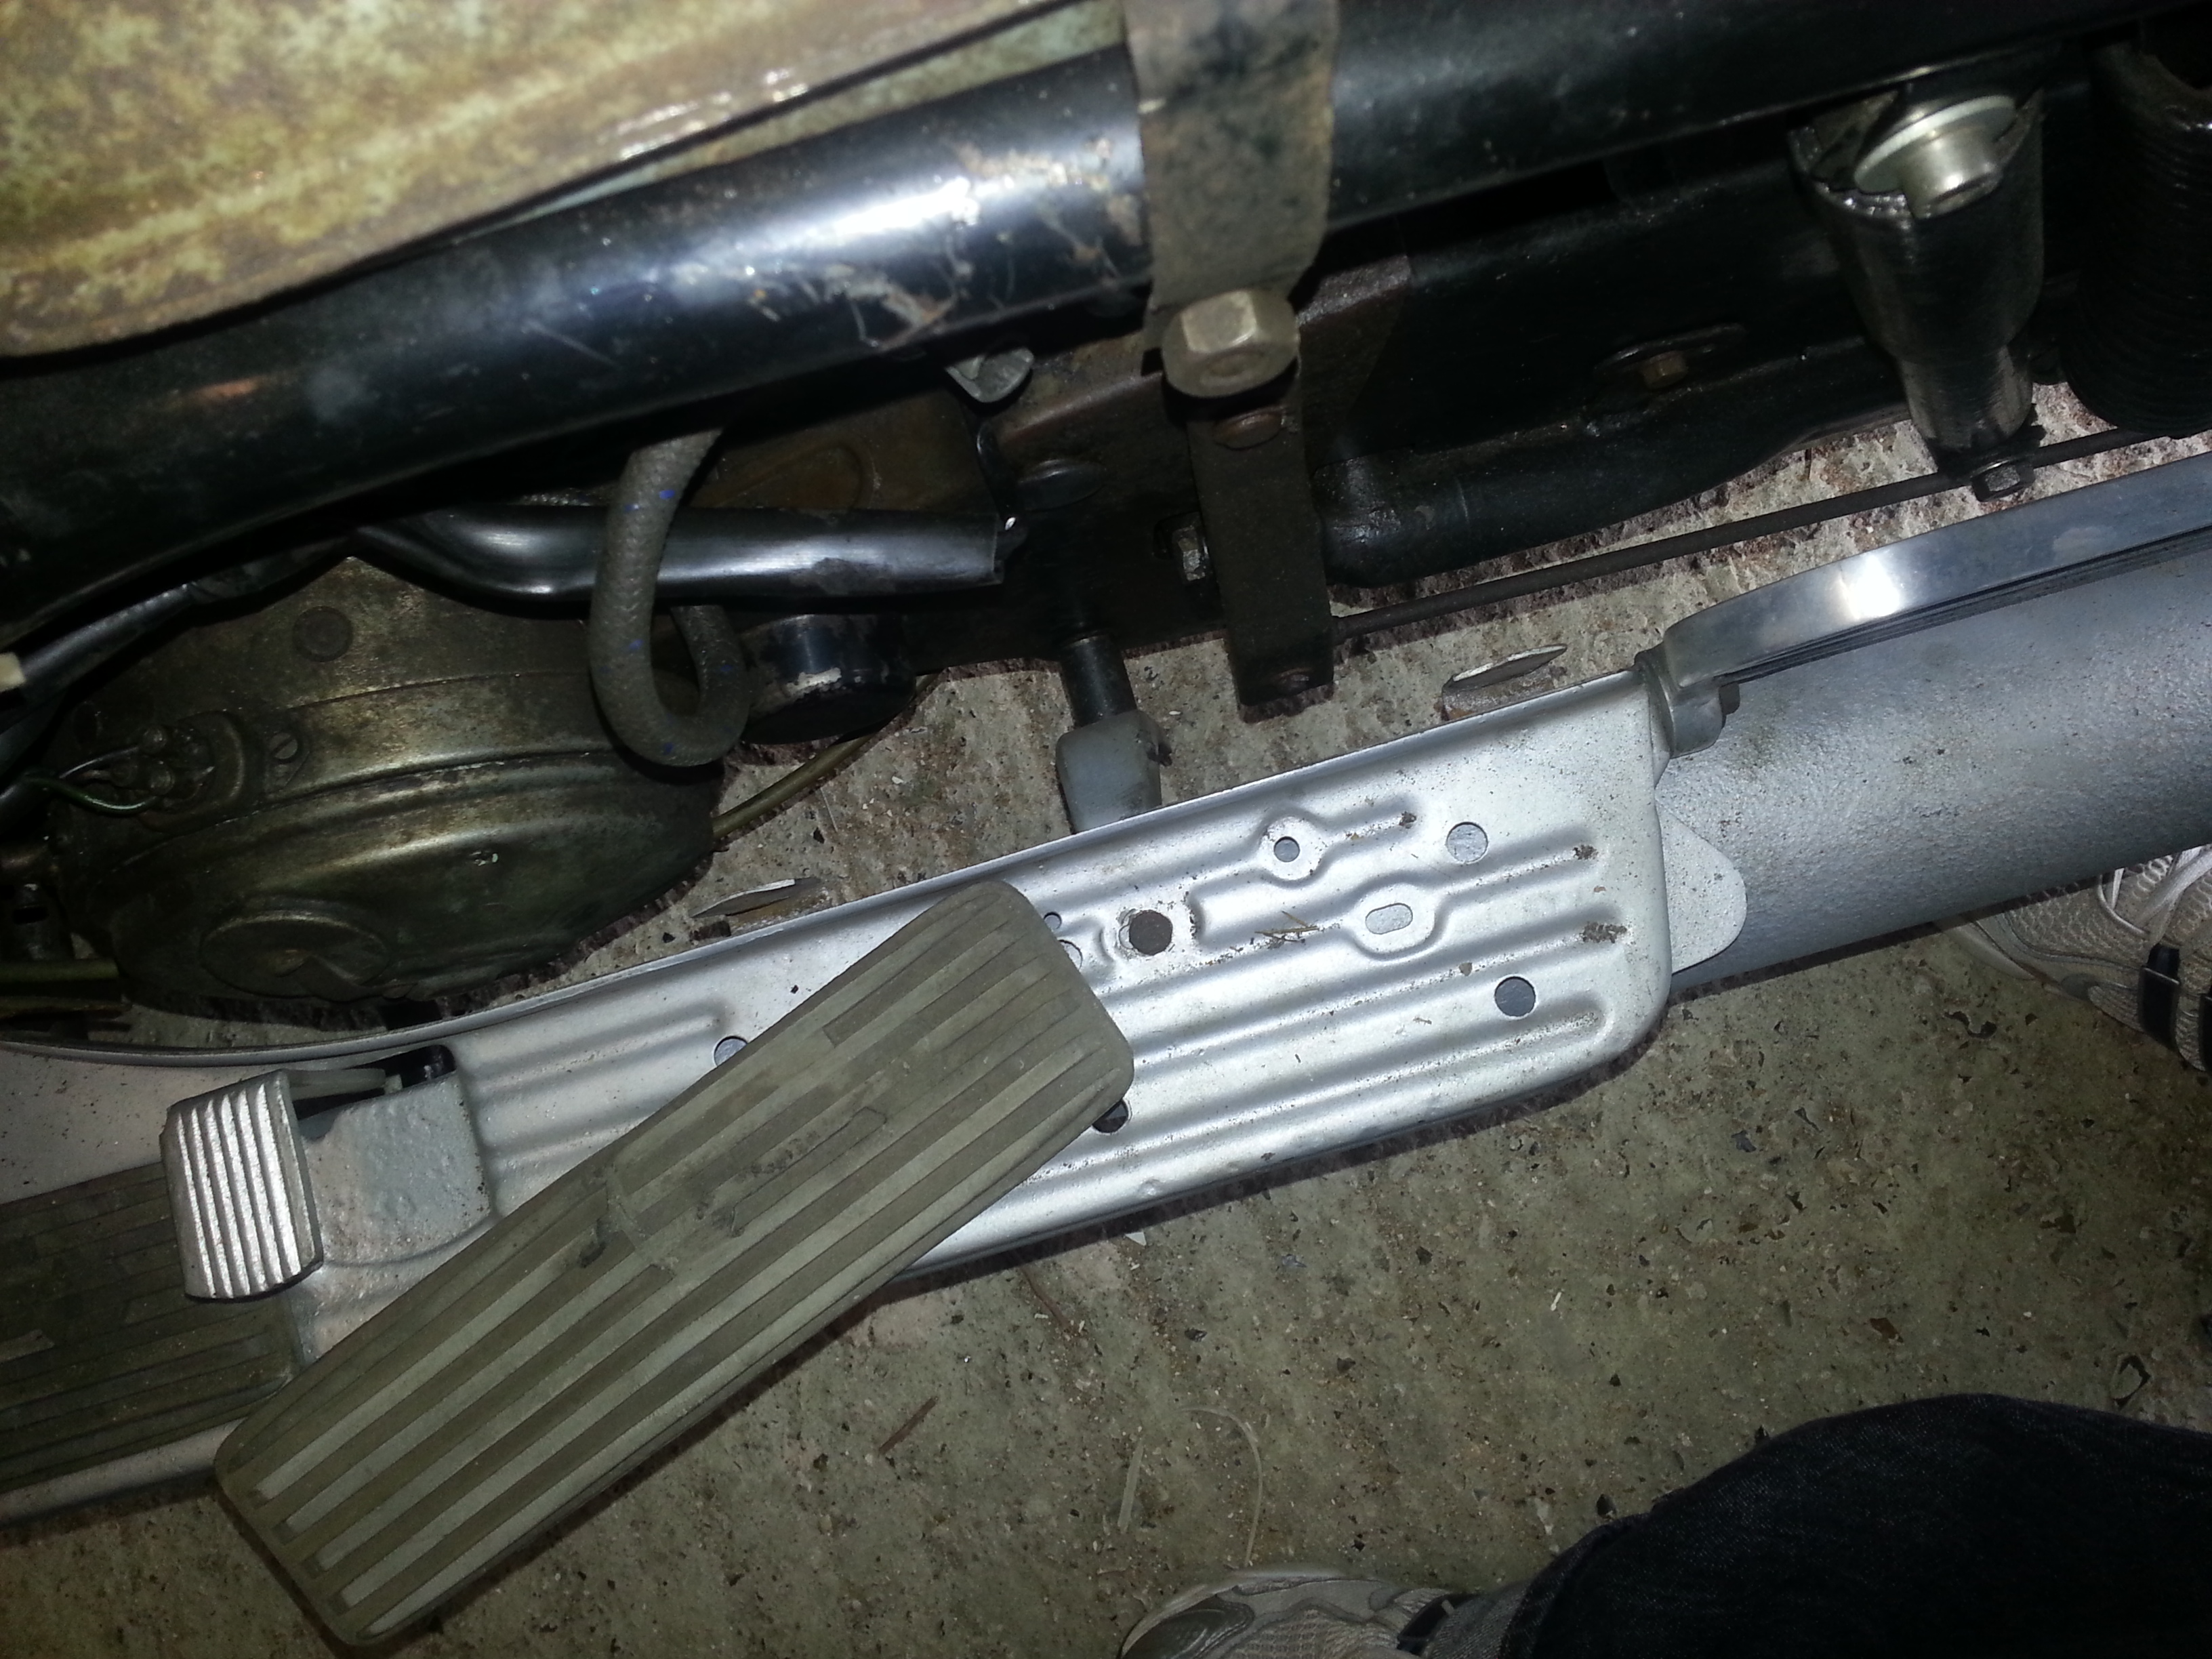
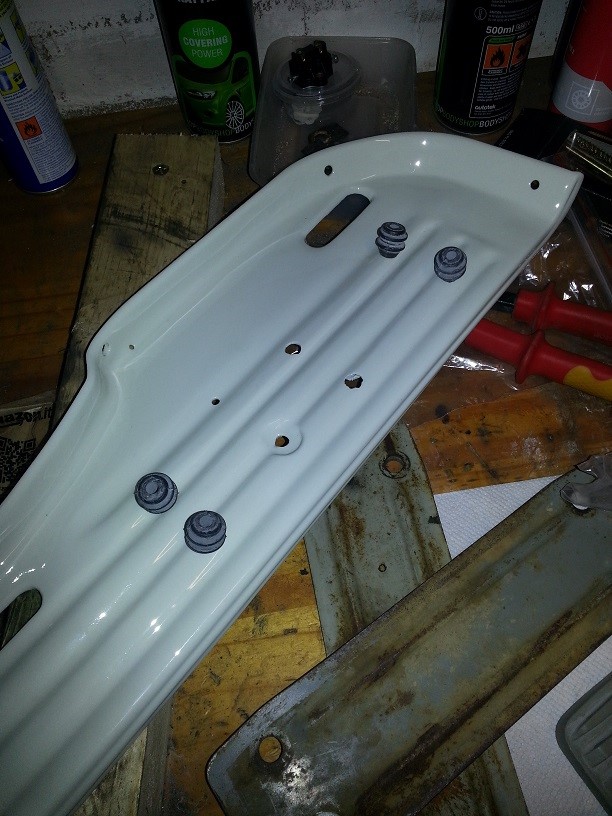
First thing to note is that the foot rubbers are not the variety that were mounted on rubber anti-vibration mountings. These anti-vibration rubbers and plates were mounted to address the well known vibration issues of the 2 stroke scooters. The rubbers and plates can be had from Helmut and Iris Bougé; the plates only as second hand. Helmut sold me a set of 4.
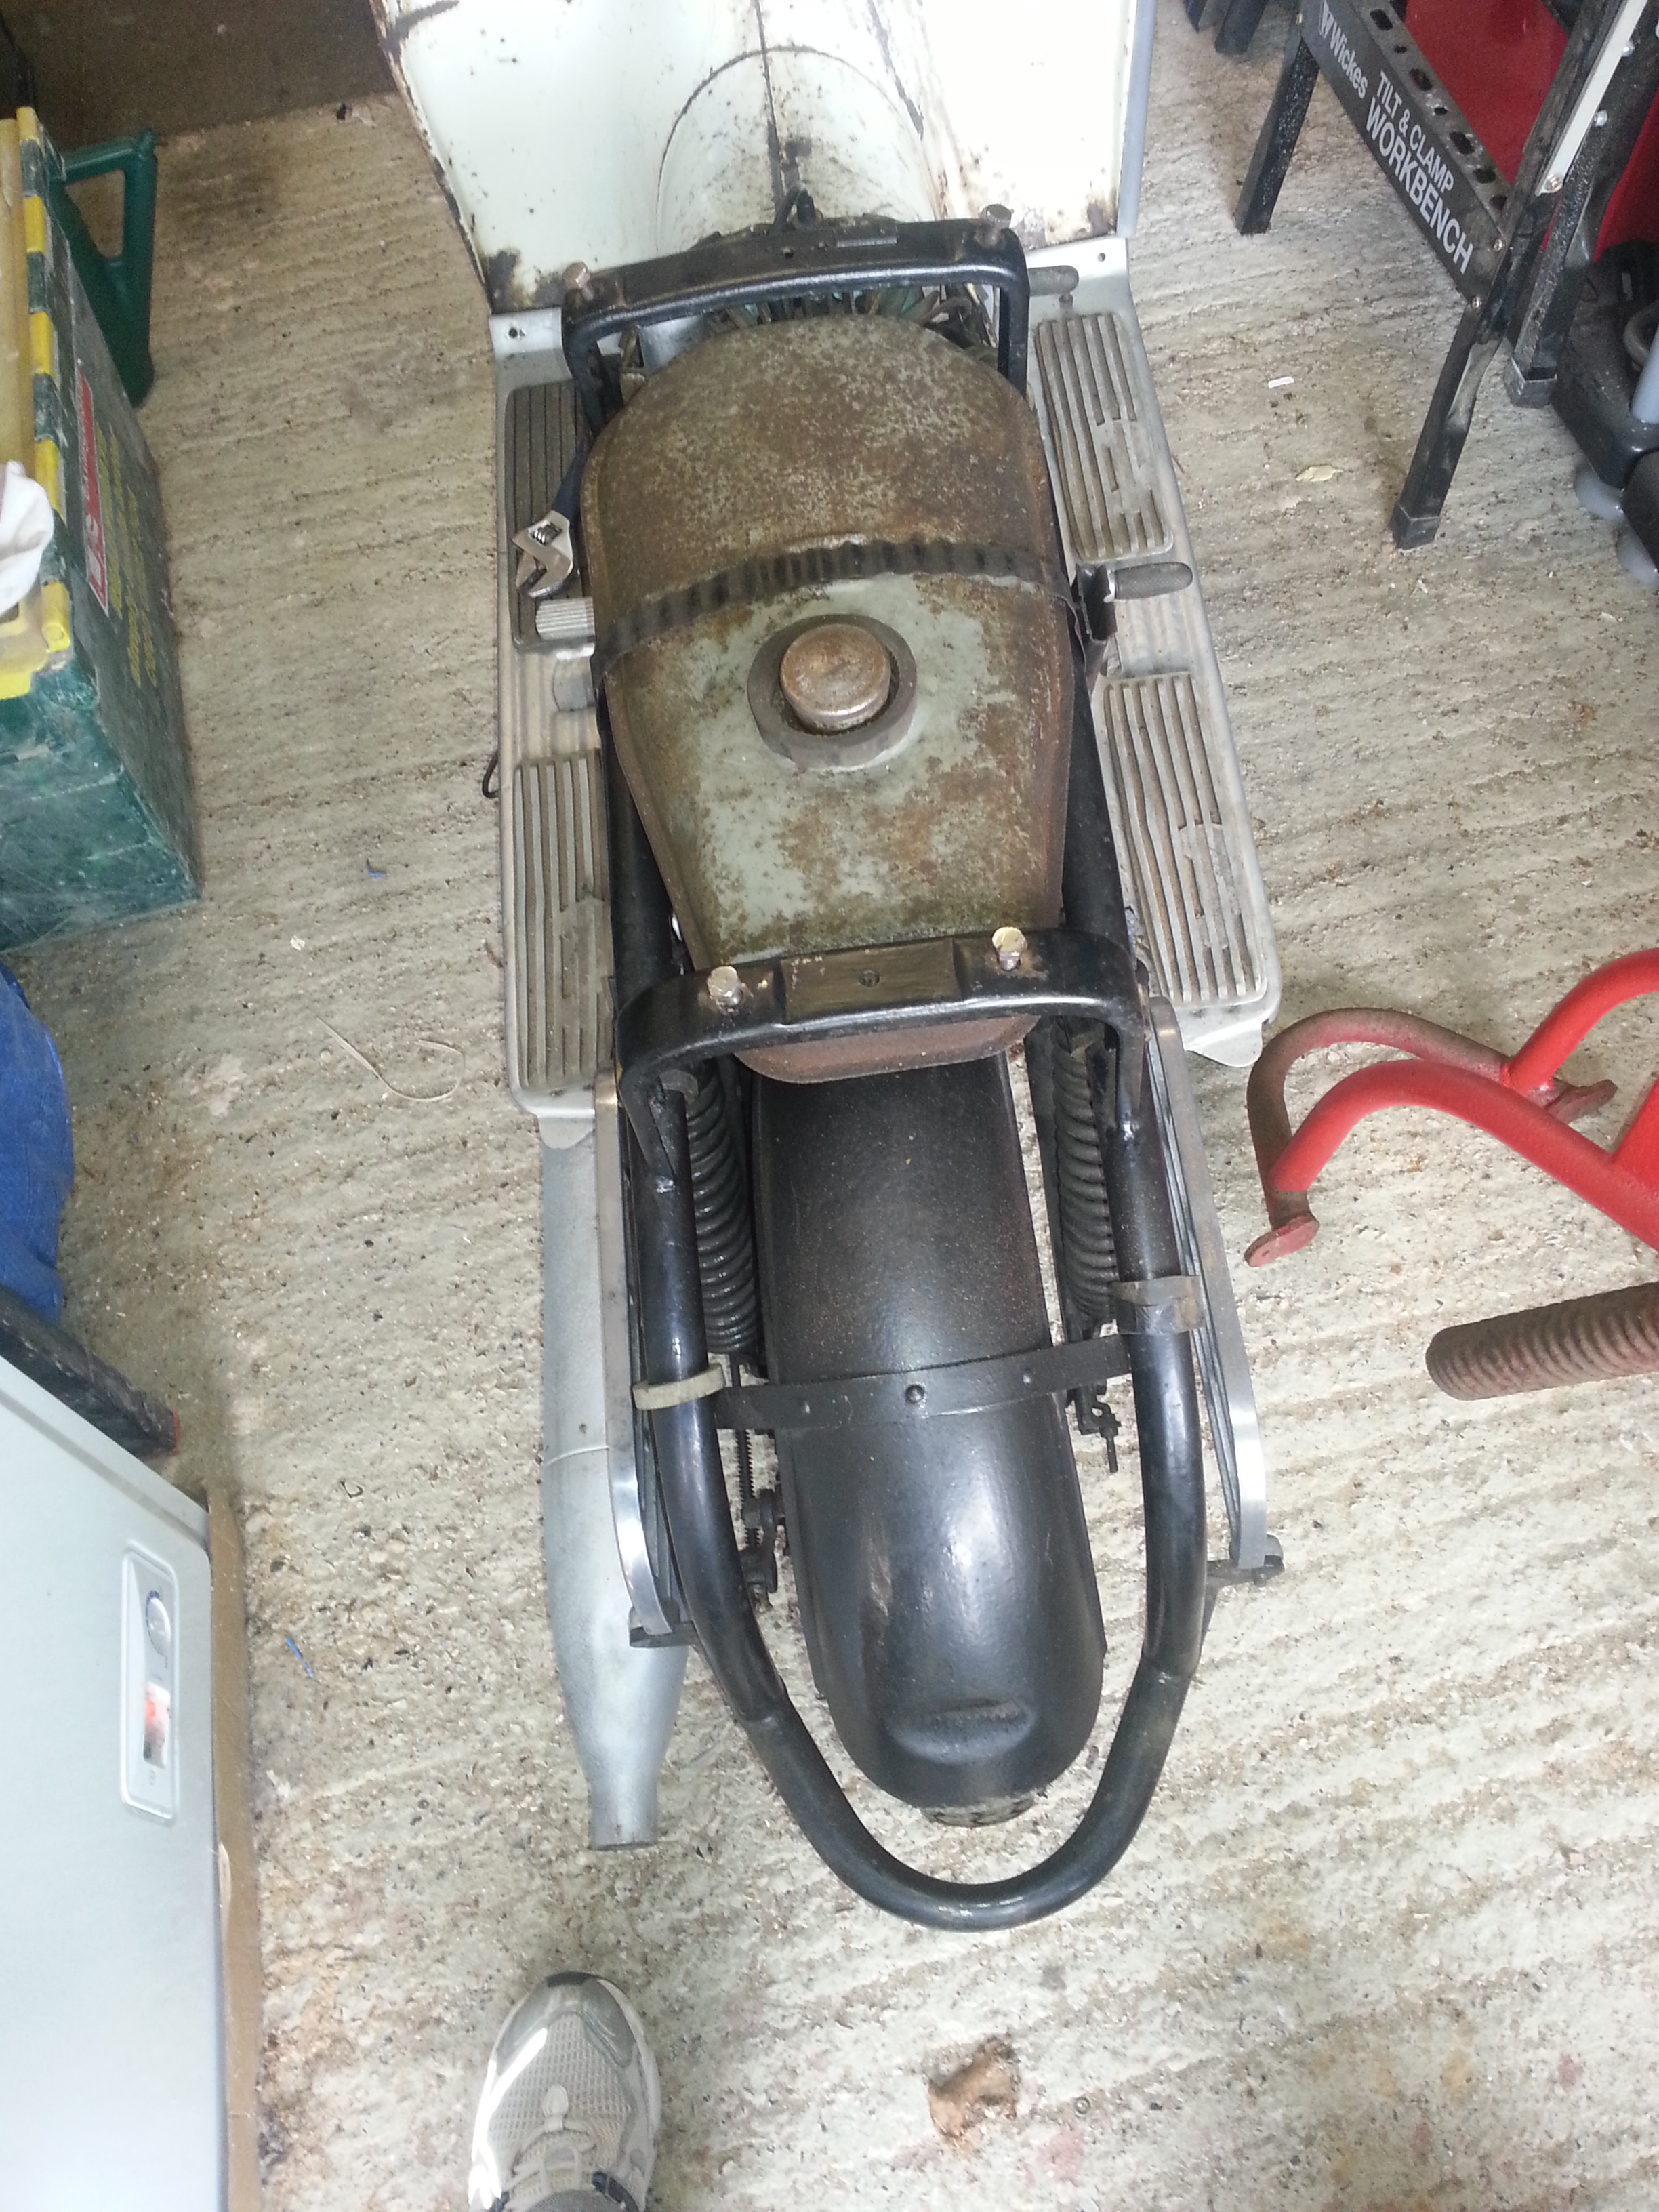
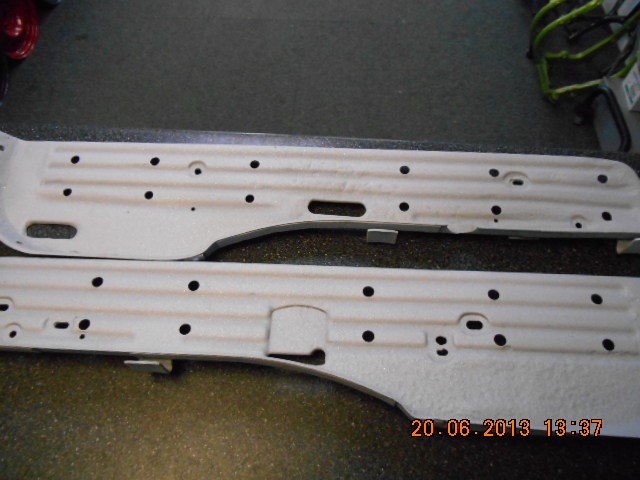
But first it is time to remove the boards:
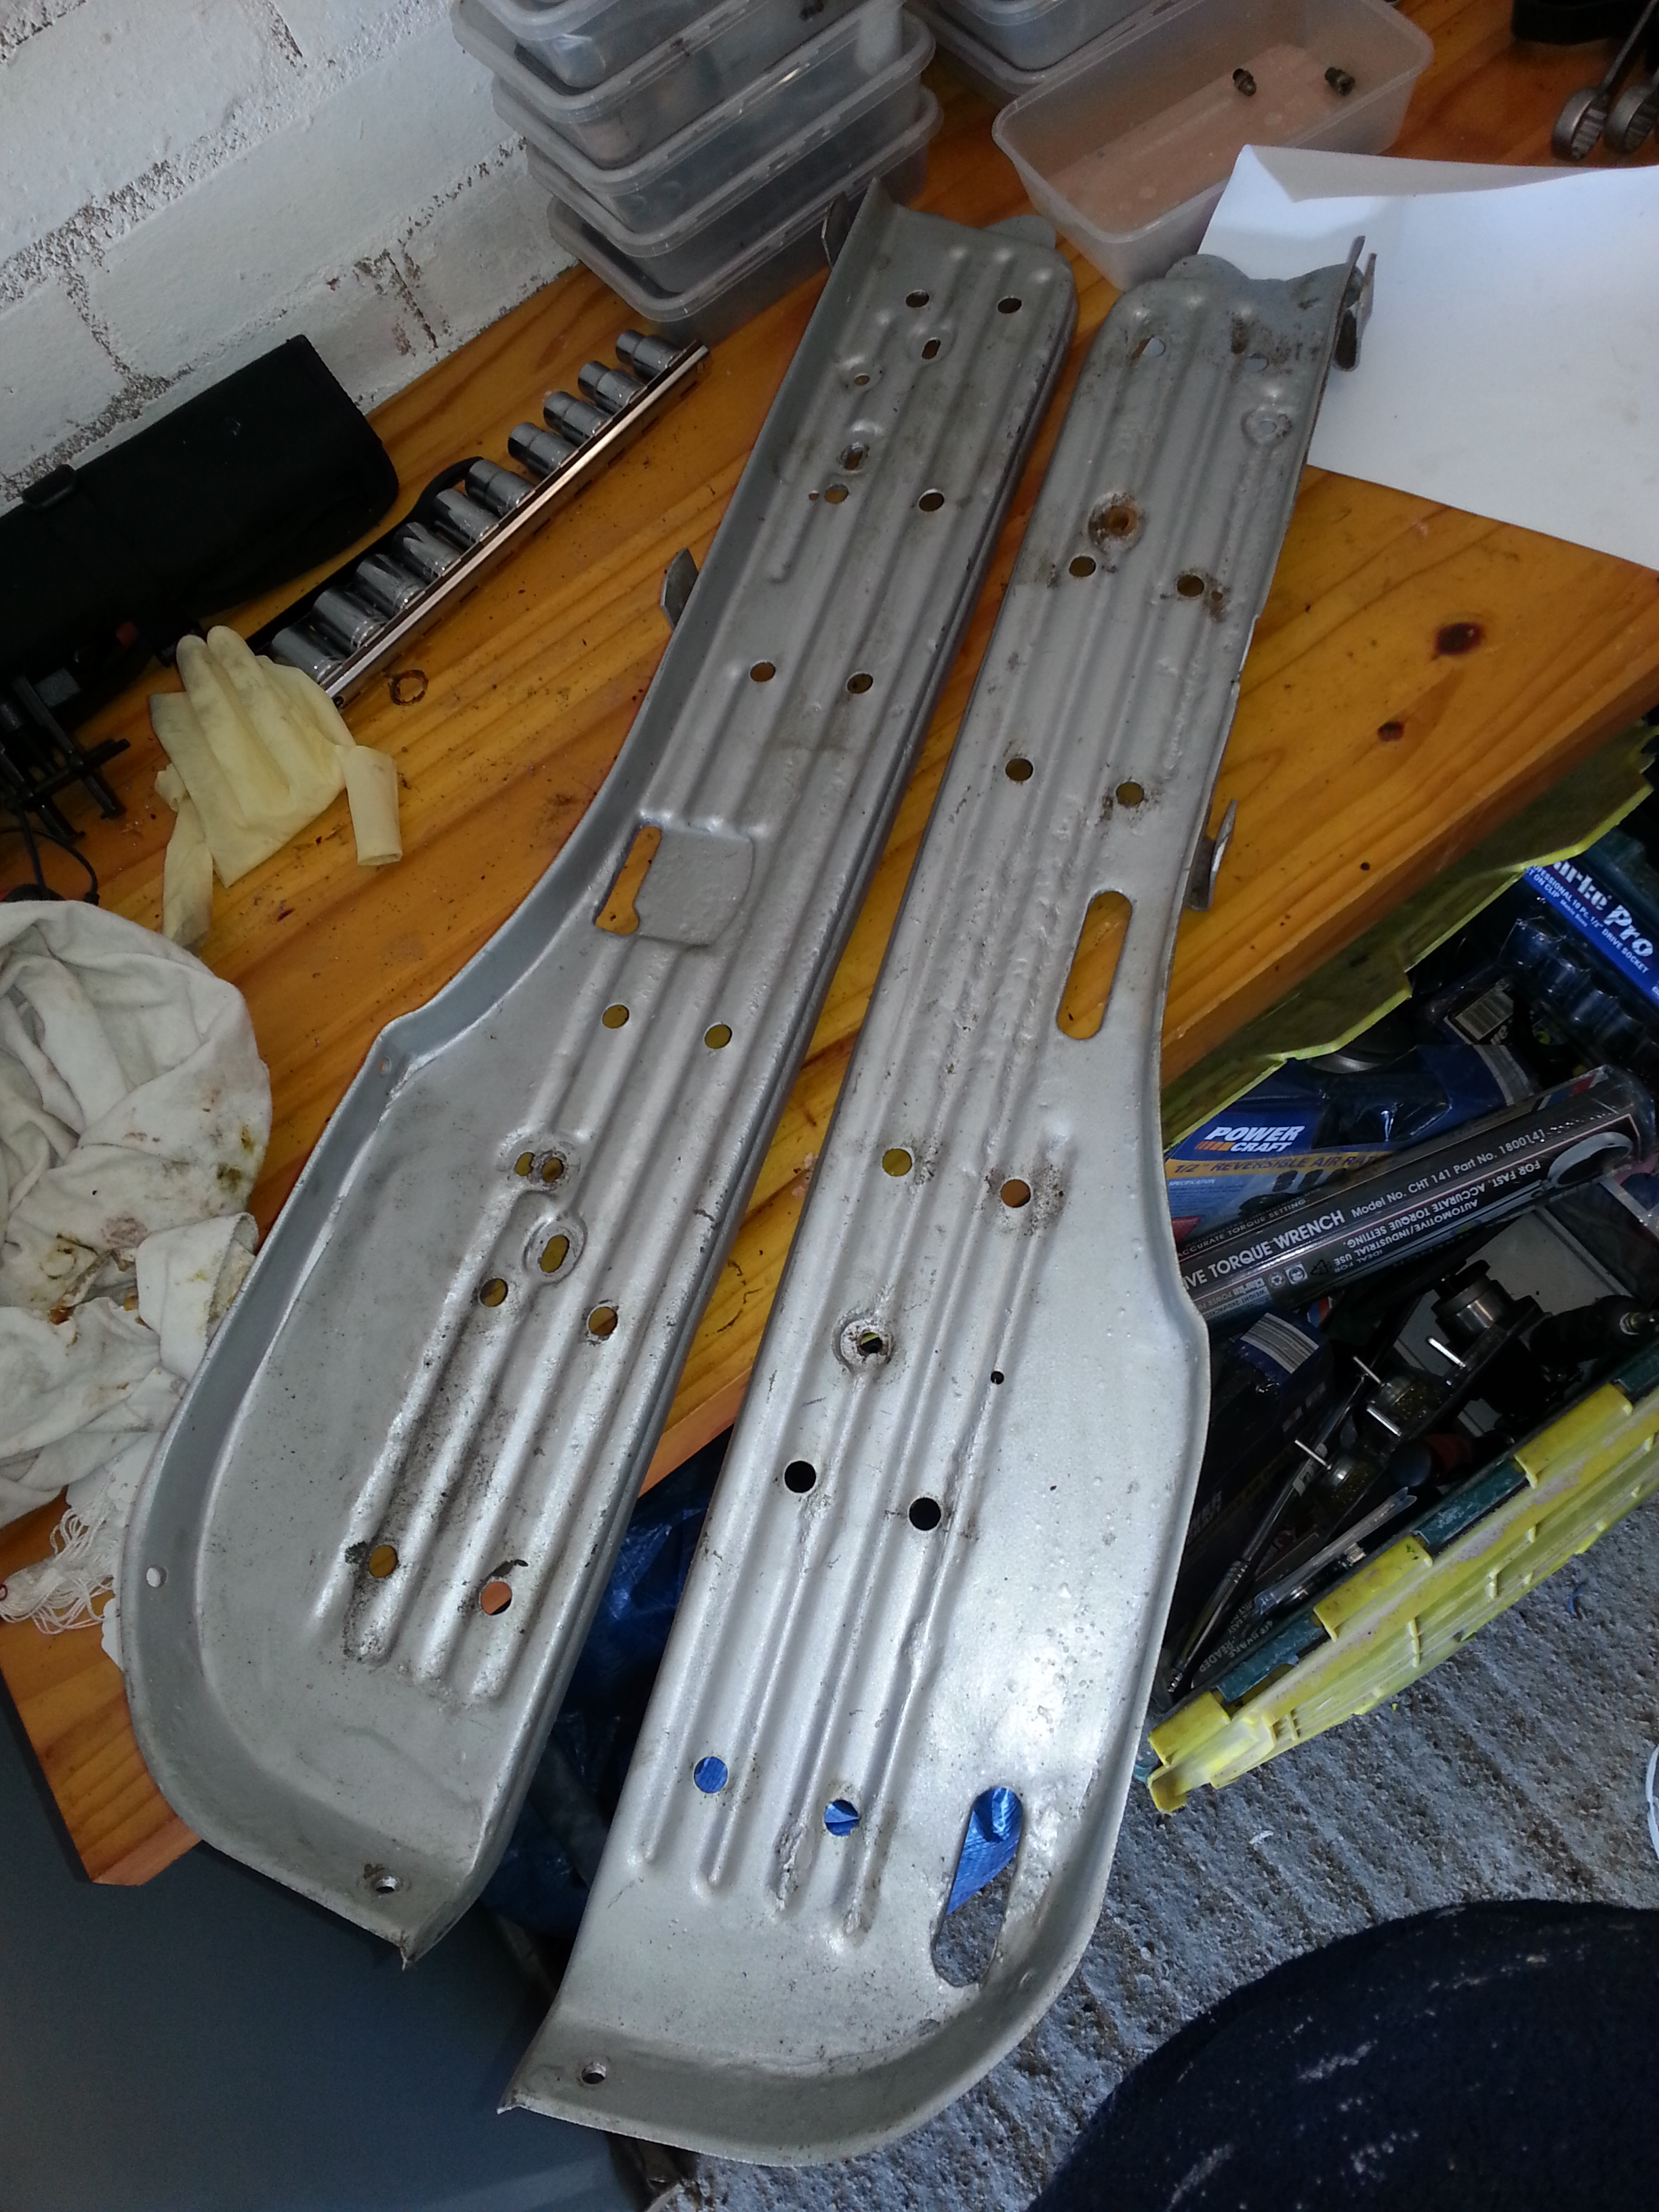
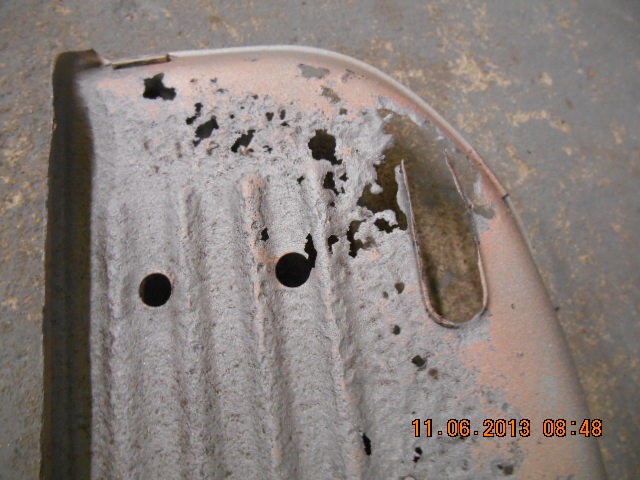
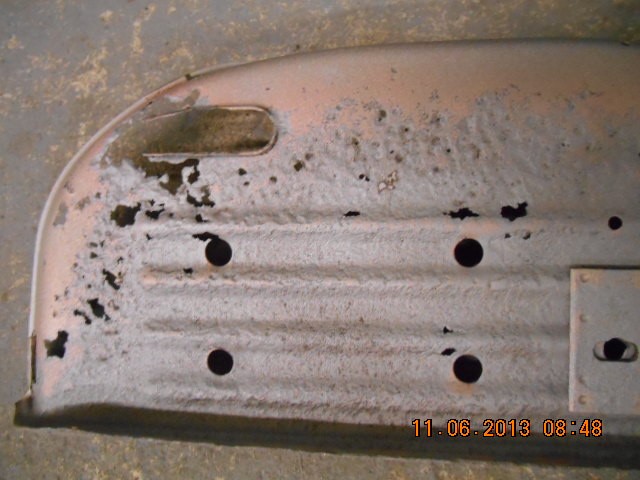
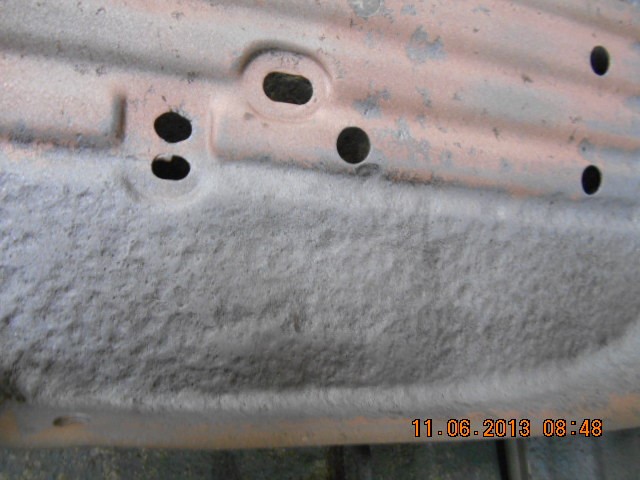
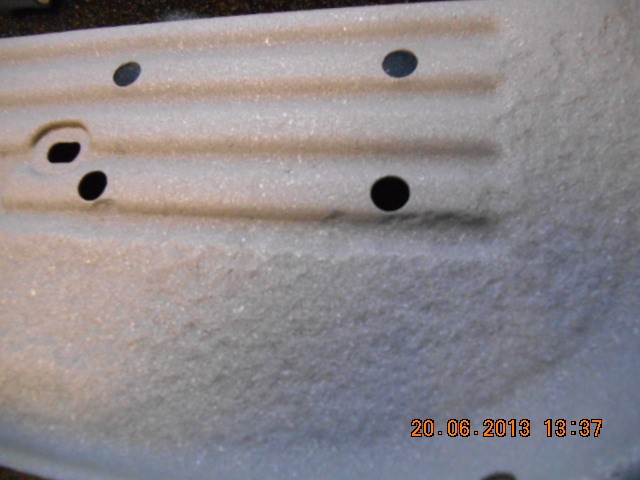
They don’t look too bad at first glance, but that’s because you’re looking at silver paint, not metal. In fact, the boards are in pretty bad shape. After blasting them they look like this:
This is where I had to make a decision; either have them rapaired if possible, or buy a replacement set.
Try as I might, I couldn’t find a replacement set of a similar model after looking for a few weeks, so I had them repaired. The folks at Maldon shotblasting did great work. They sourced a metal specialist who spent ten hours on them. The bill for these was 300 pounds to get them repaired, but you kind of need them. It’s not economical; you’re better off buying another Bella as a donor, but that’s only possible if they’re available…
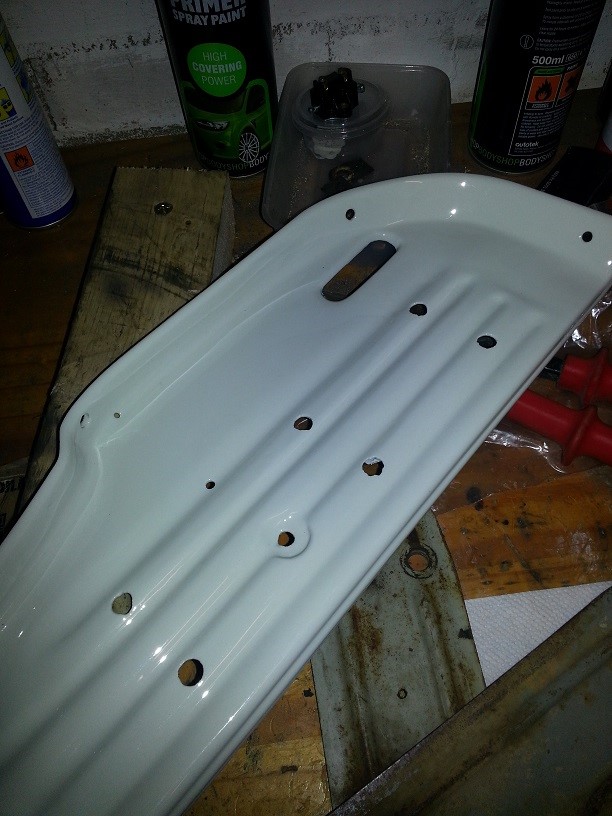
After metal repair they were zinc sprayed to thicken the metal remaining and look like this:
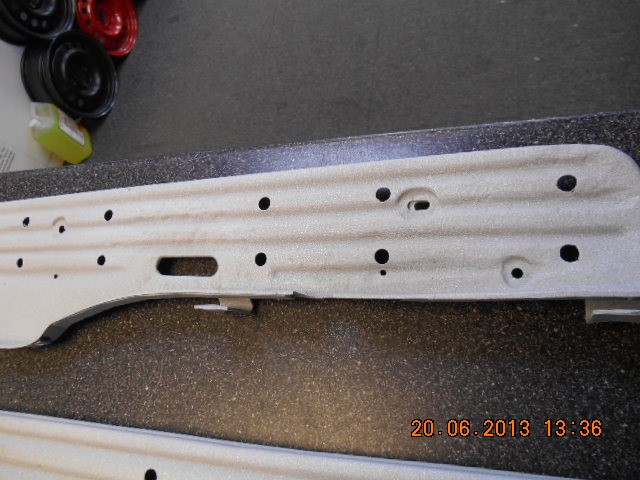
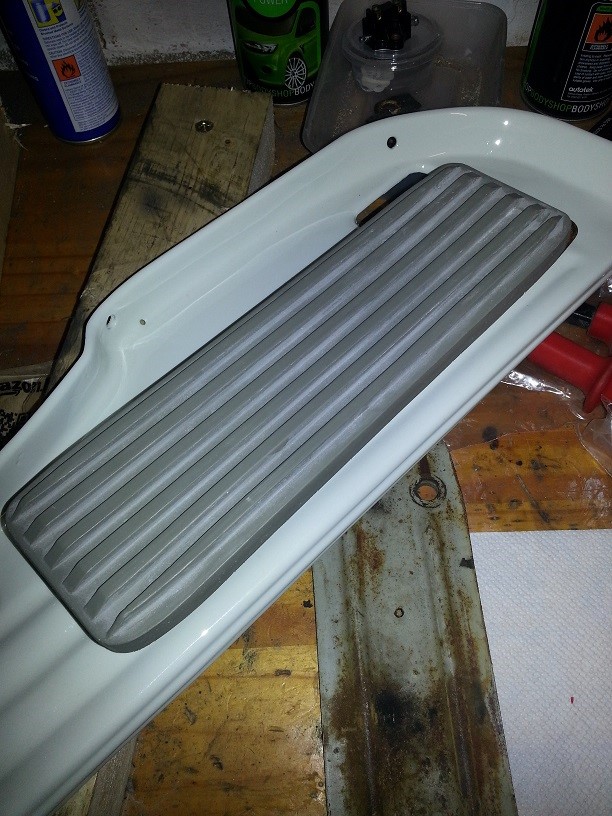
The pitting won’t go away, so powder coating is not an option. An expensive fill and spray job instead, but they look great now:
Next is installing the anti vibration rubbers:
The anti-vibration plates are put on top:
(photo pending)
And finally the foot rubbers are installed to cover the metal plates:
If you don’t want to fork out for the anti-vibration option, you can order rubbers from www.claussstudios.com that plug straigt into the foot boards without the plates or anti-vibration rubbers. It’s a cheaper option as these foot rubbers go for around 45 EUR each and the anti-vibration rubbers for about 25 EUR a set (H1 2014).