
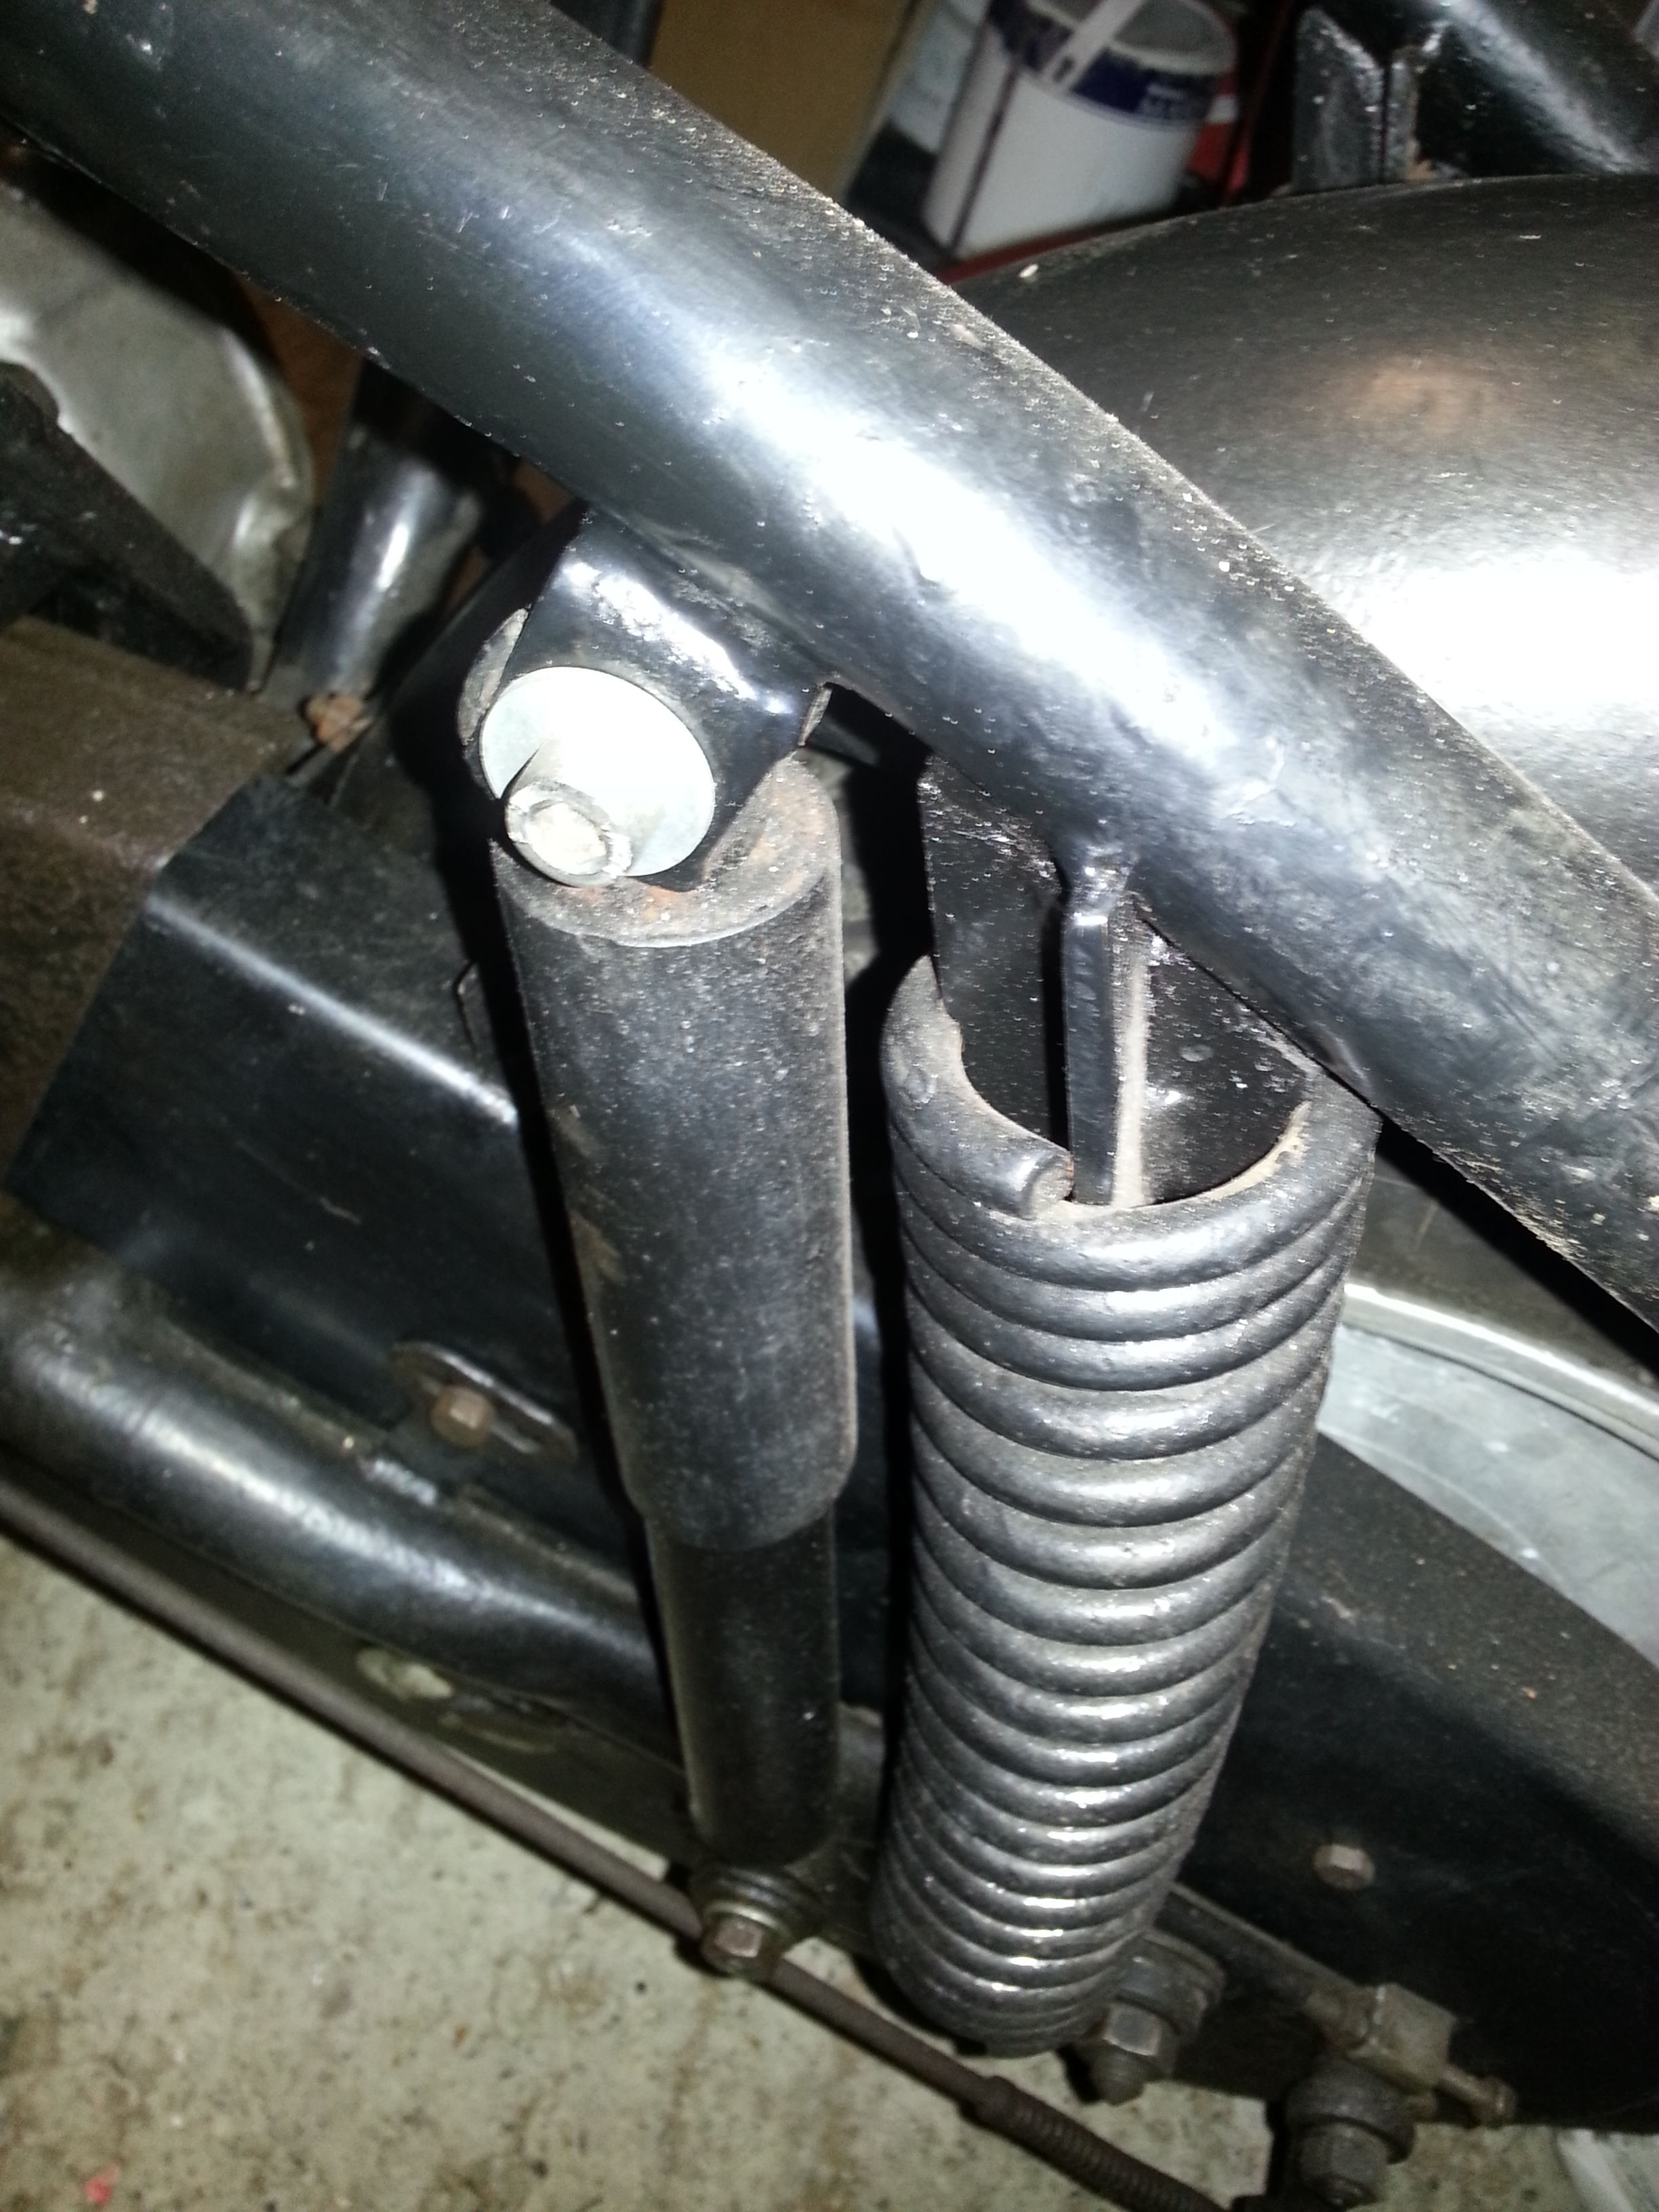
Here’s a Zündapp Bella R204 rear shock in place (clearly not with original bolts):
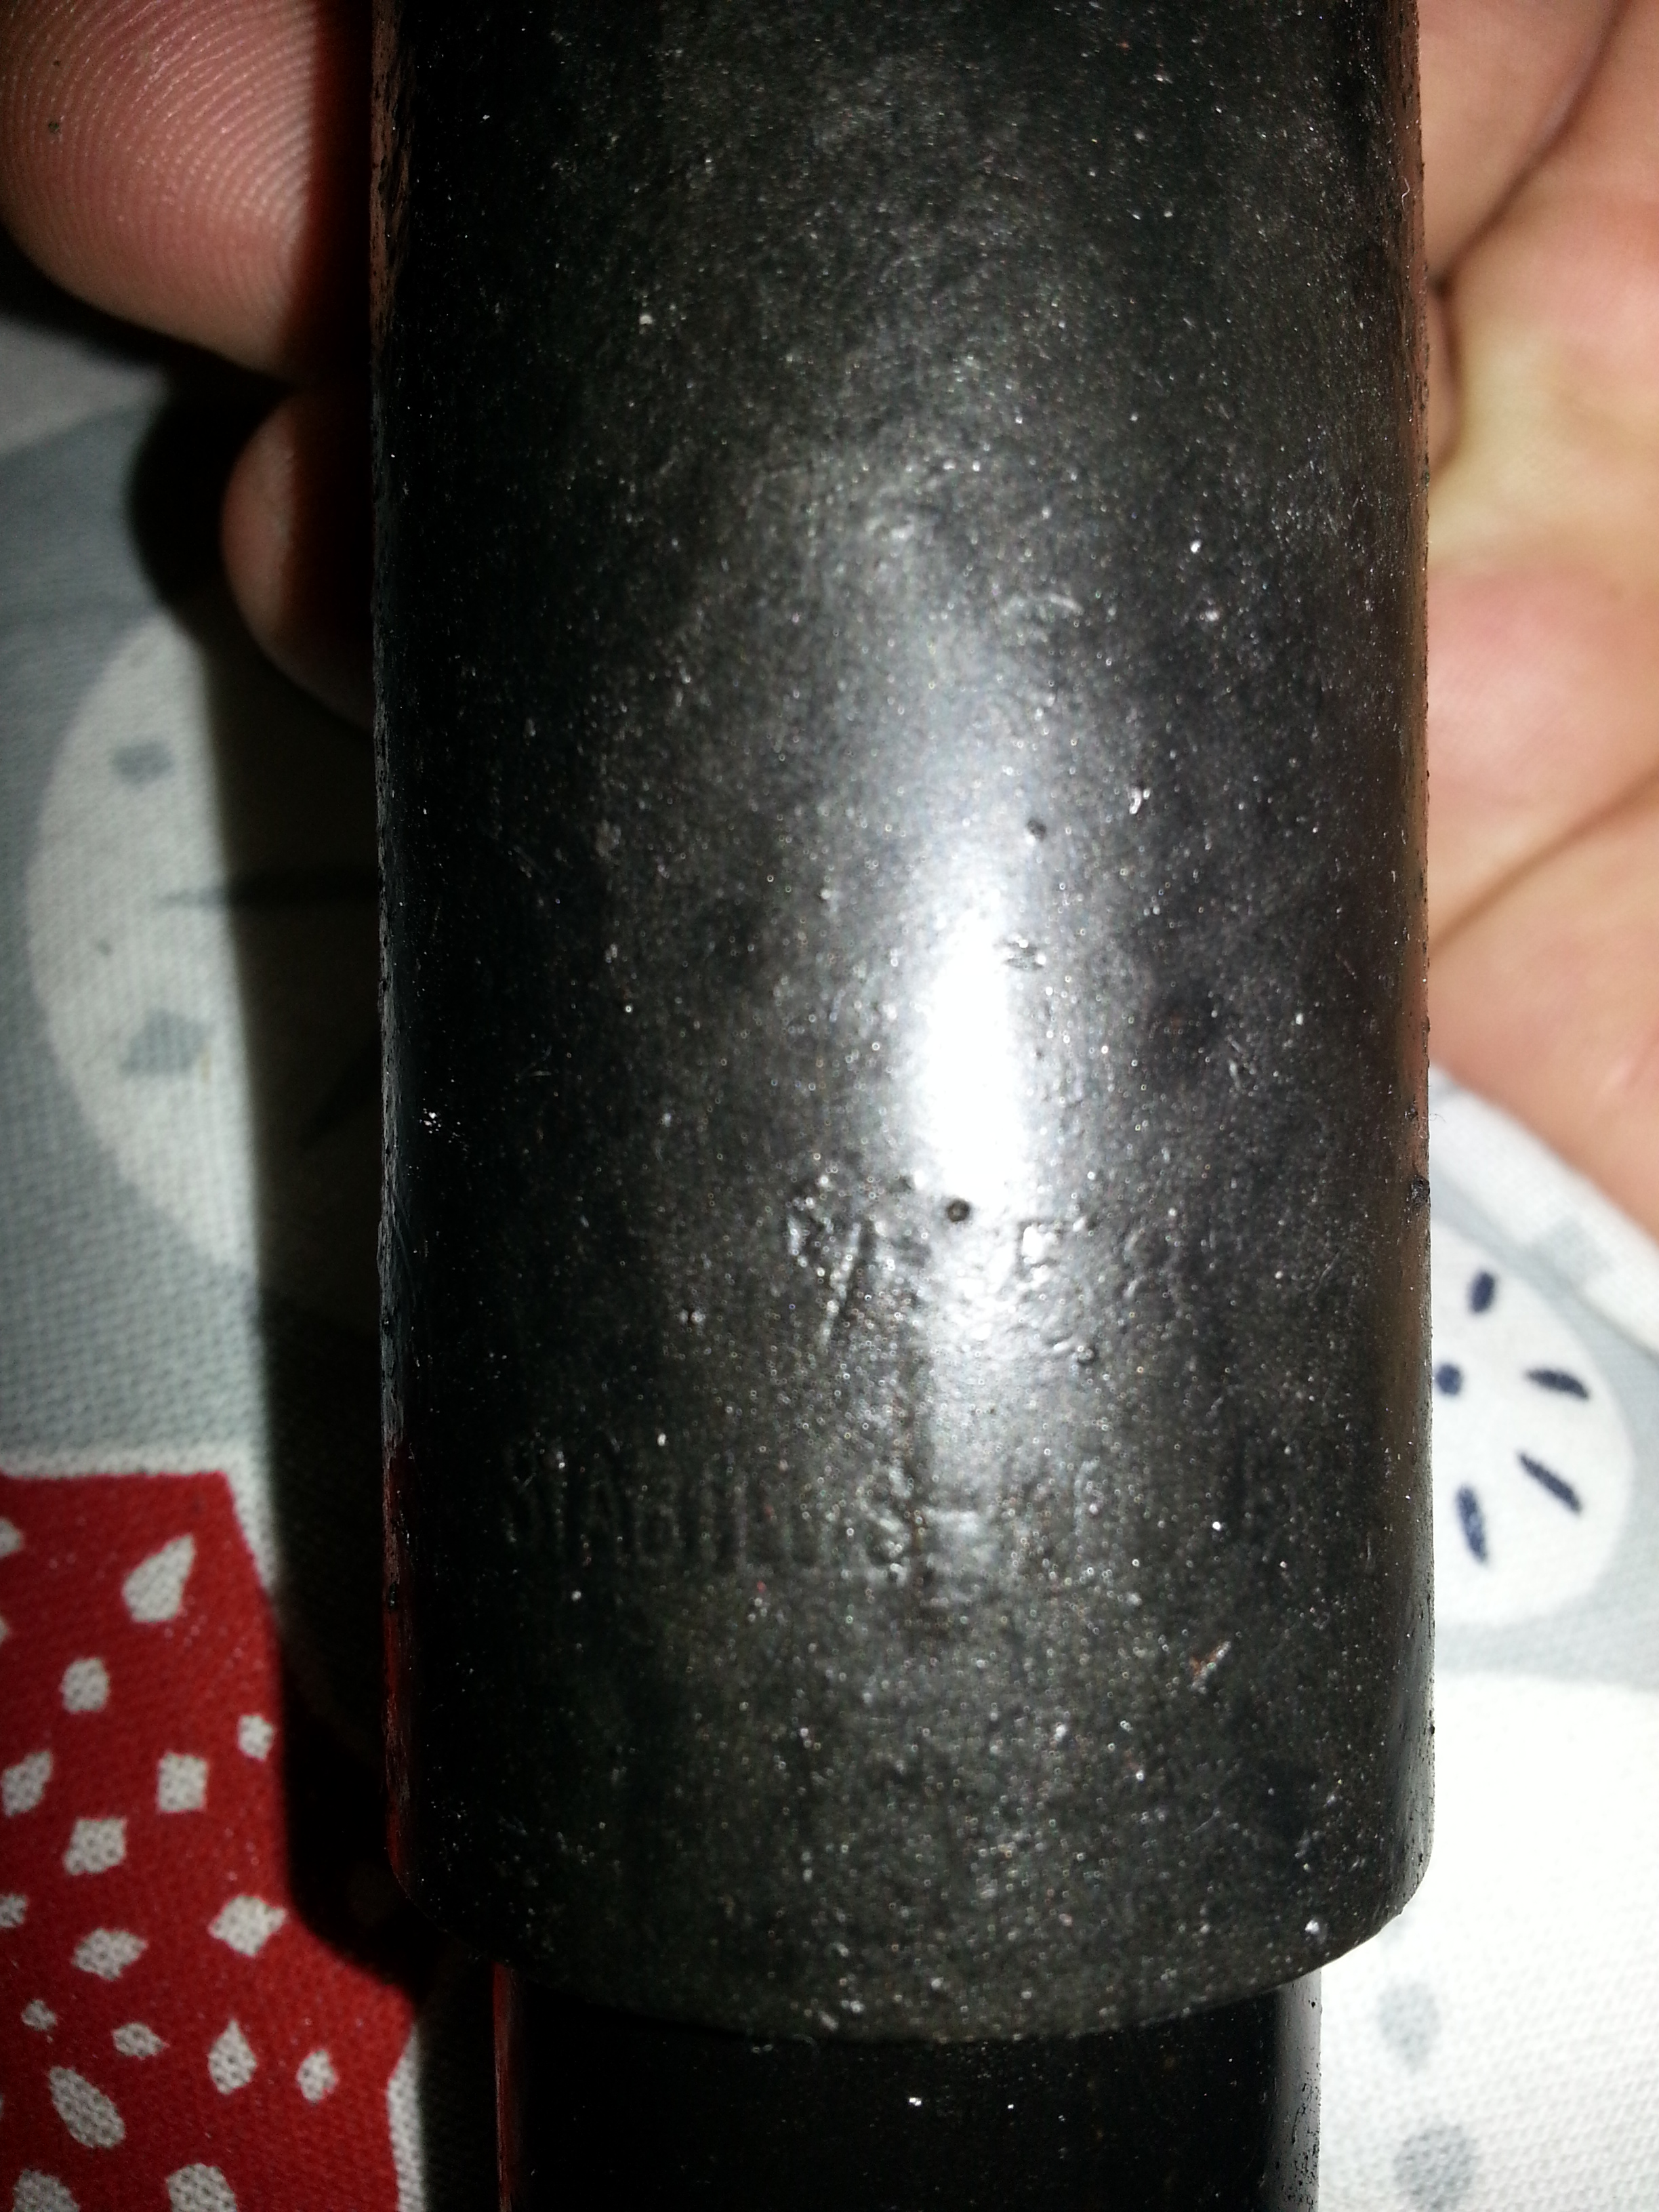
The rear shock absorber on the Zündapp Bella R204 was manufactured by the German firm Stabilus from Koblenz. They exist today, but unfortunately do not make the shocks anymore (shocker…). The type was ‘7 58’ as you can just about read here as well as how the entire shock looks when removed. Note: the bushings are missing:
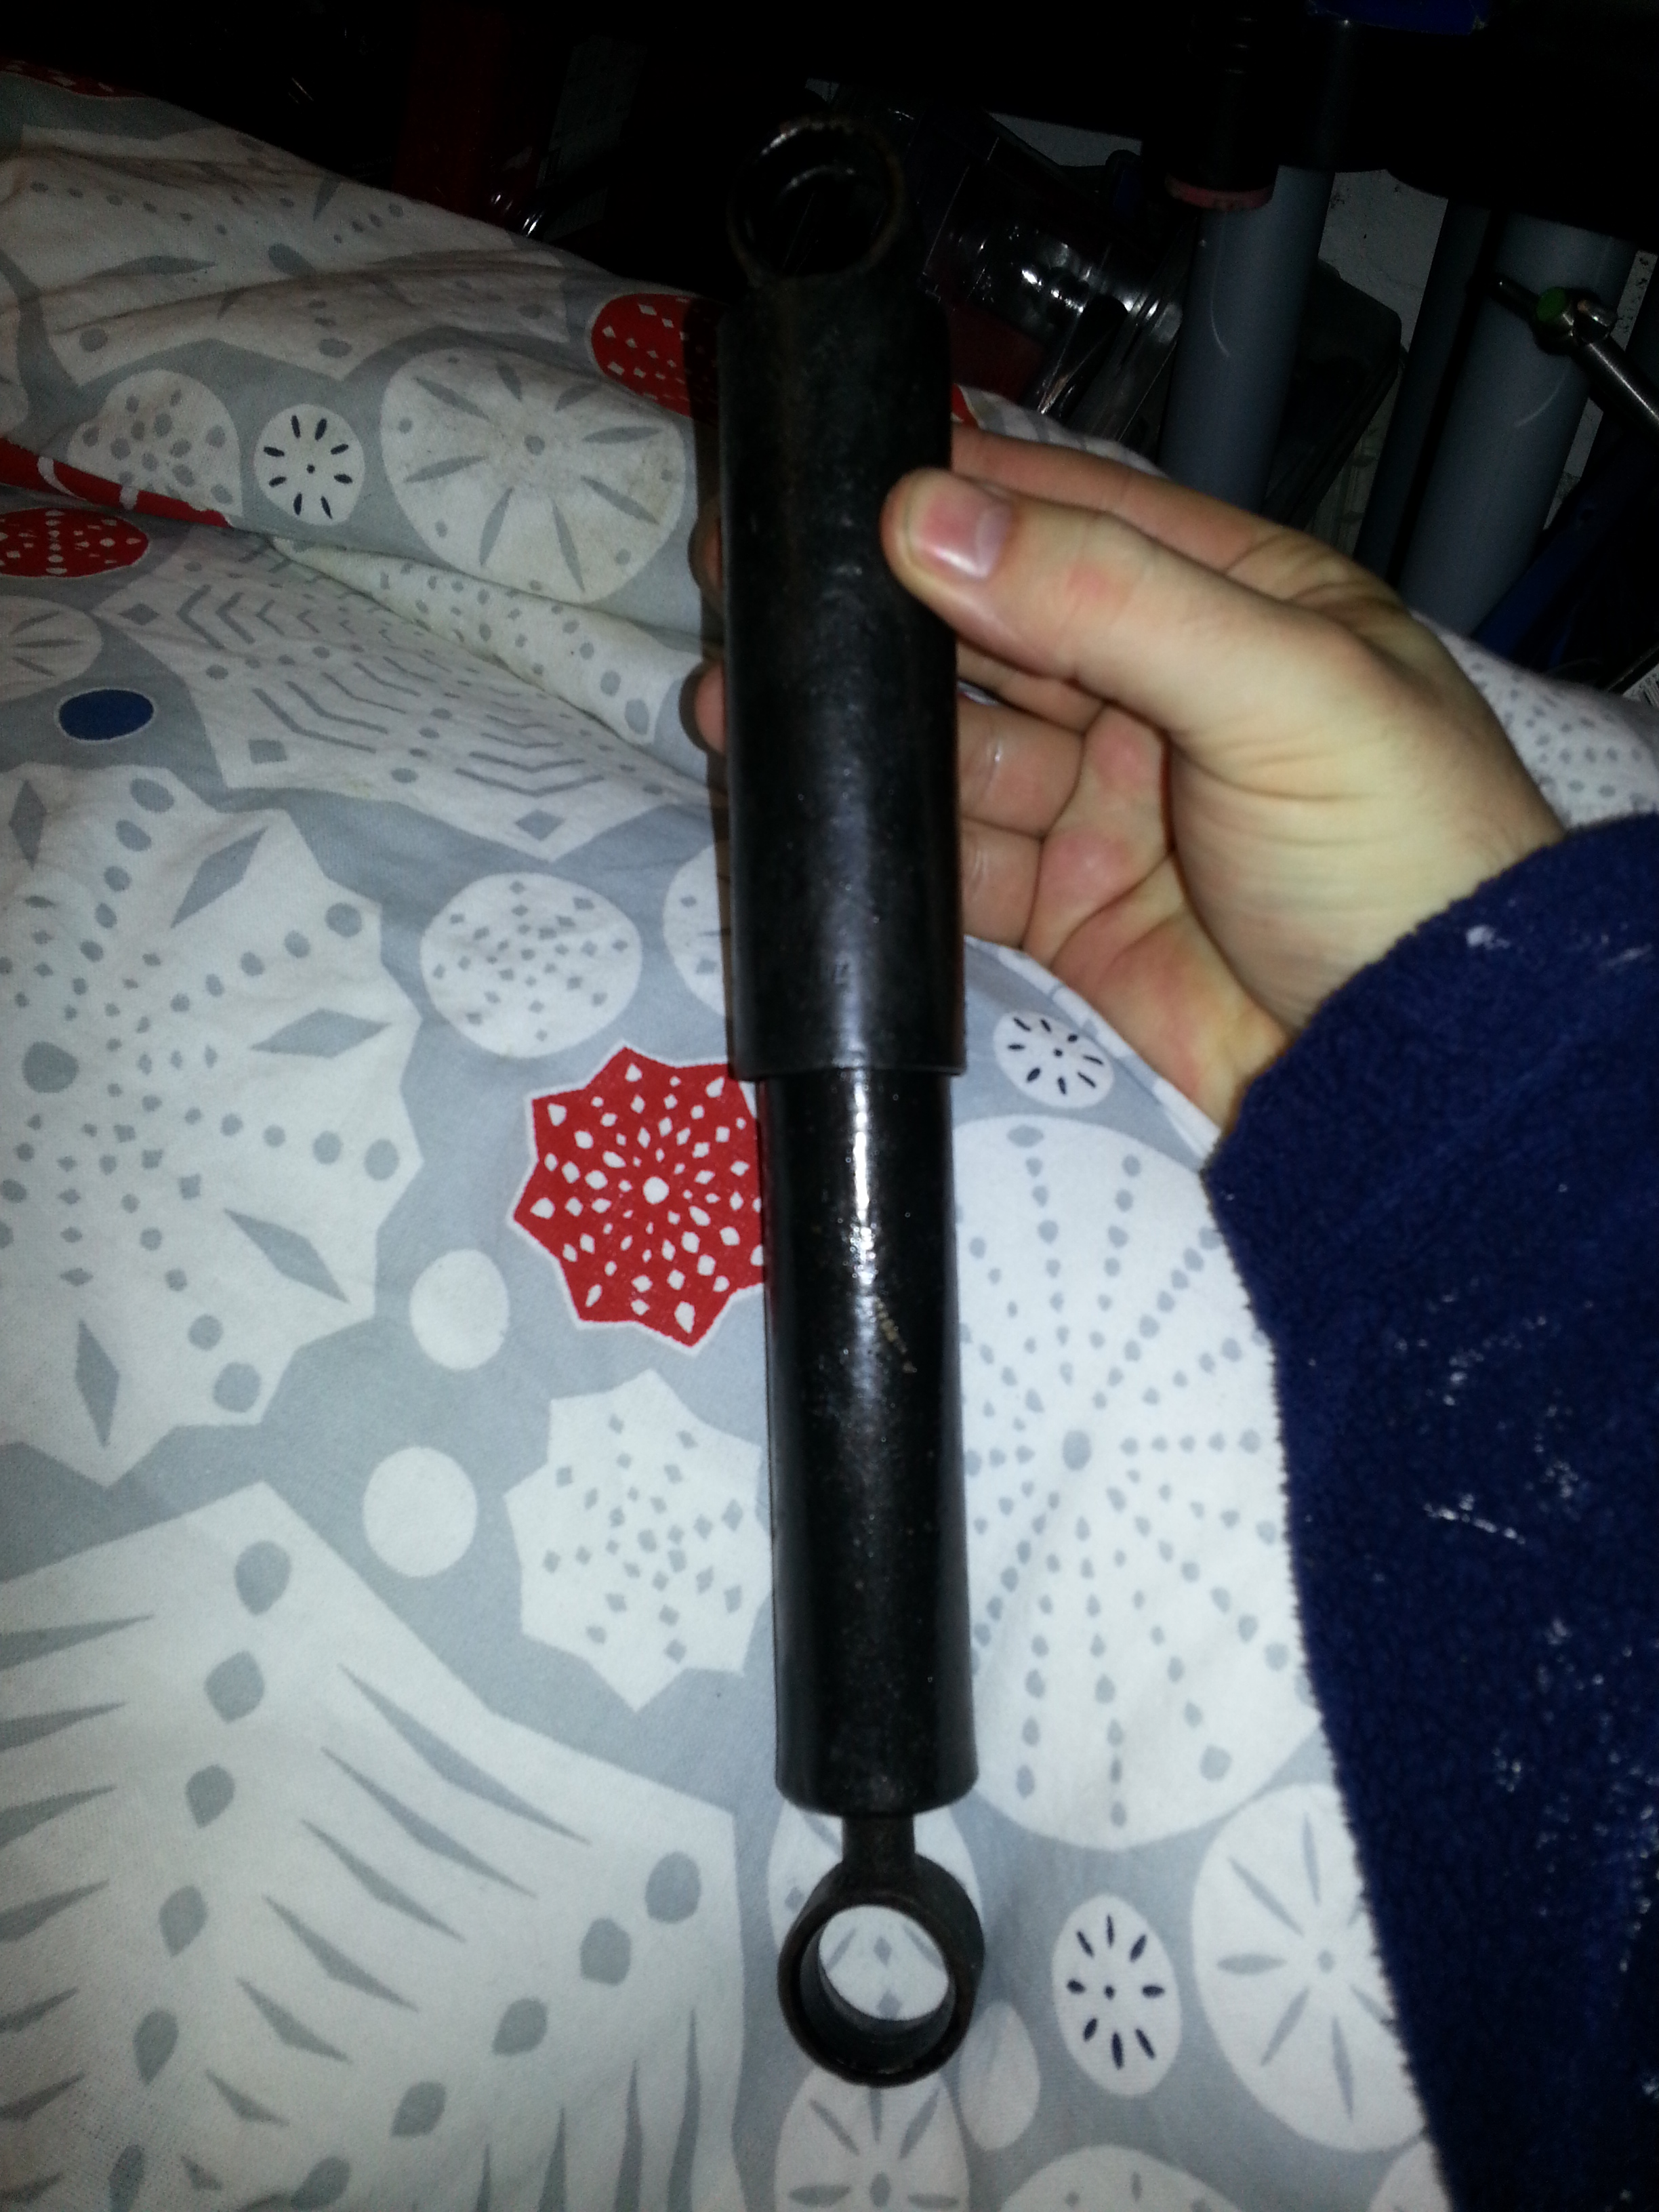
Now we have a bit of a problem as shock absorbers are typically treated as ‘throw-away items’. That is, they can rarely be re-built (the front shock on the Bella R204 being an exception). So when they are no longer any good they need to be replaced. If you expand and contract the shock by hand it should be pretty hard to do and the motion should be uniform. If there are sudden shocks or movements this means the shock absorber needs replacement. When you remove the existing shock, make sure that you retain the metal tube in the bushing; you will need it again as well as the bushings if they are still any good.
Finding a replacement is a bit of a challenge. As you can see in the picture, the eyelet on the bottom of the shock has a short pipe connected to it which in turn connects to the body of the shock absorber. This short pipe is what creates a bit of clearance between the swing arm and the shock itself when mounted. You can immediately see the problem when trying to mount a replacement shock in the picture below:
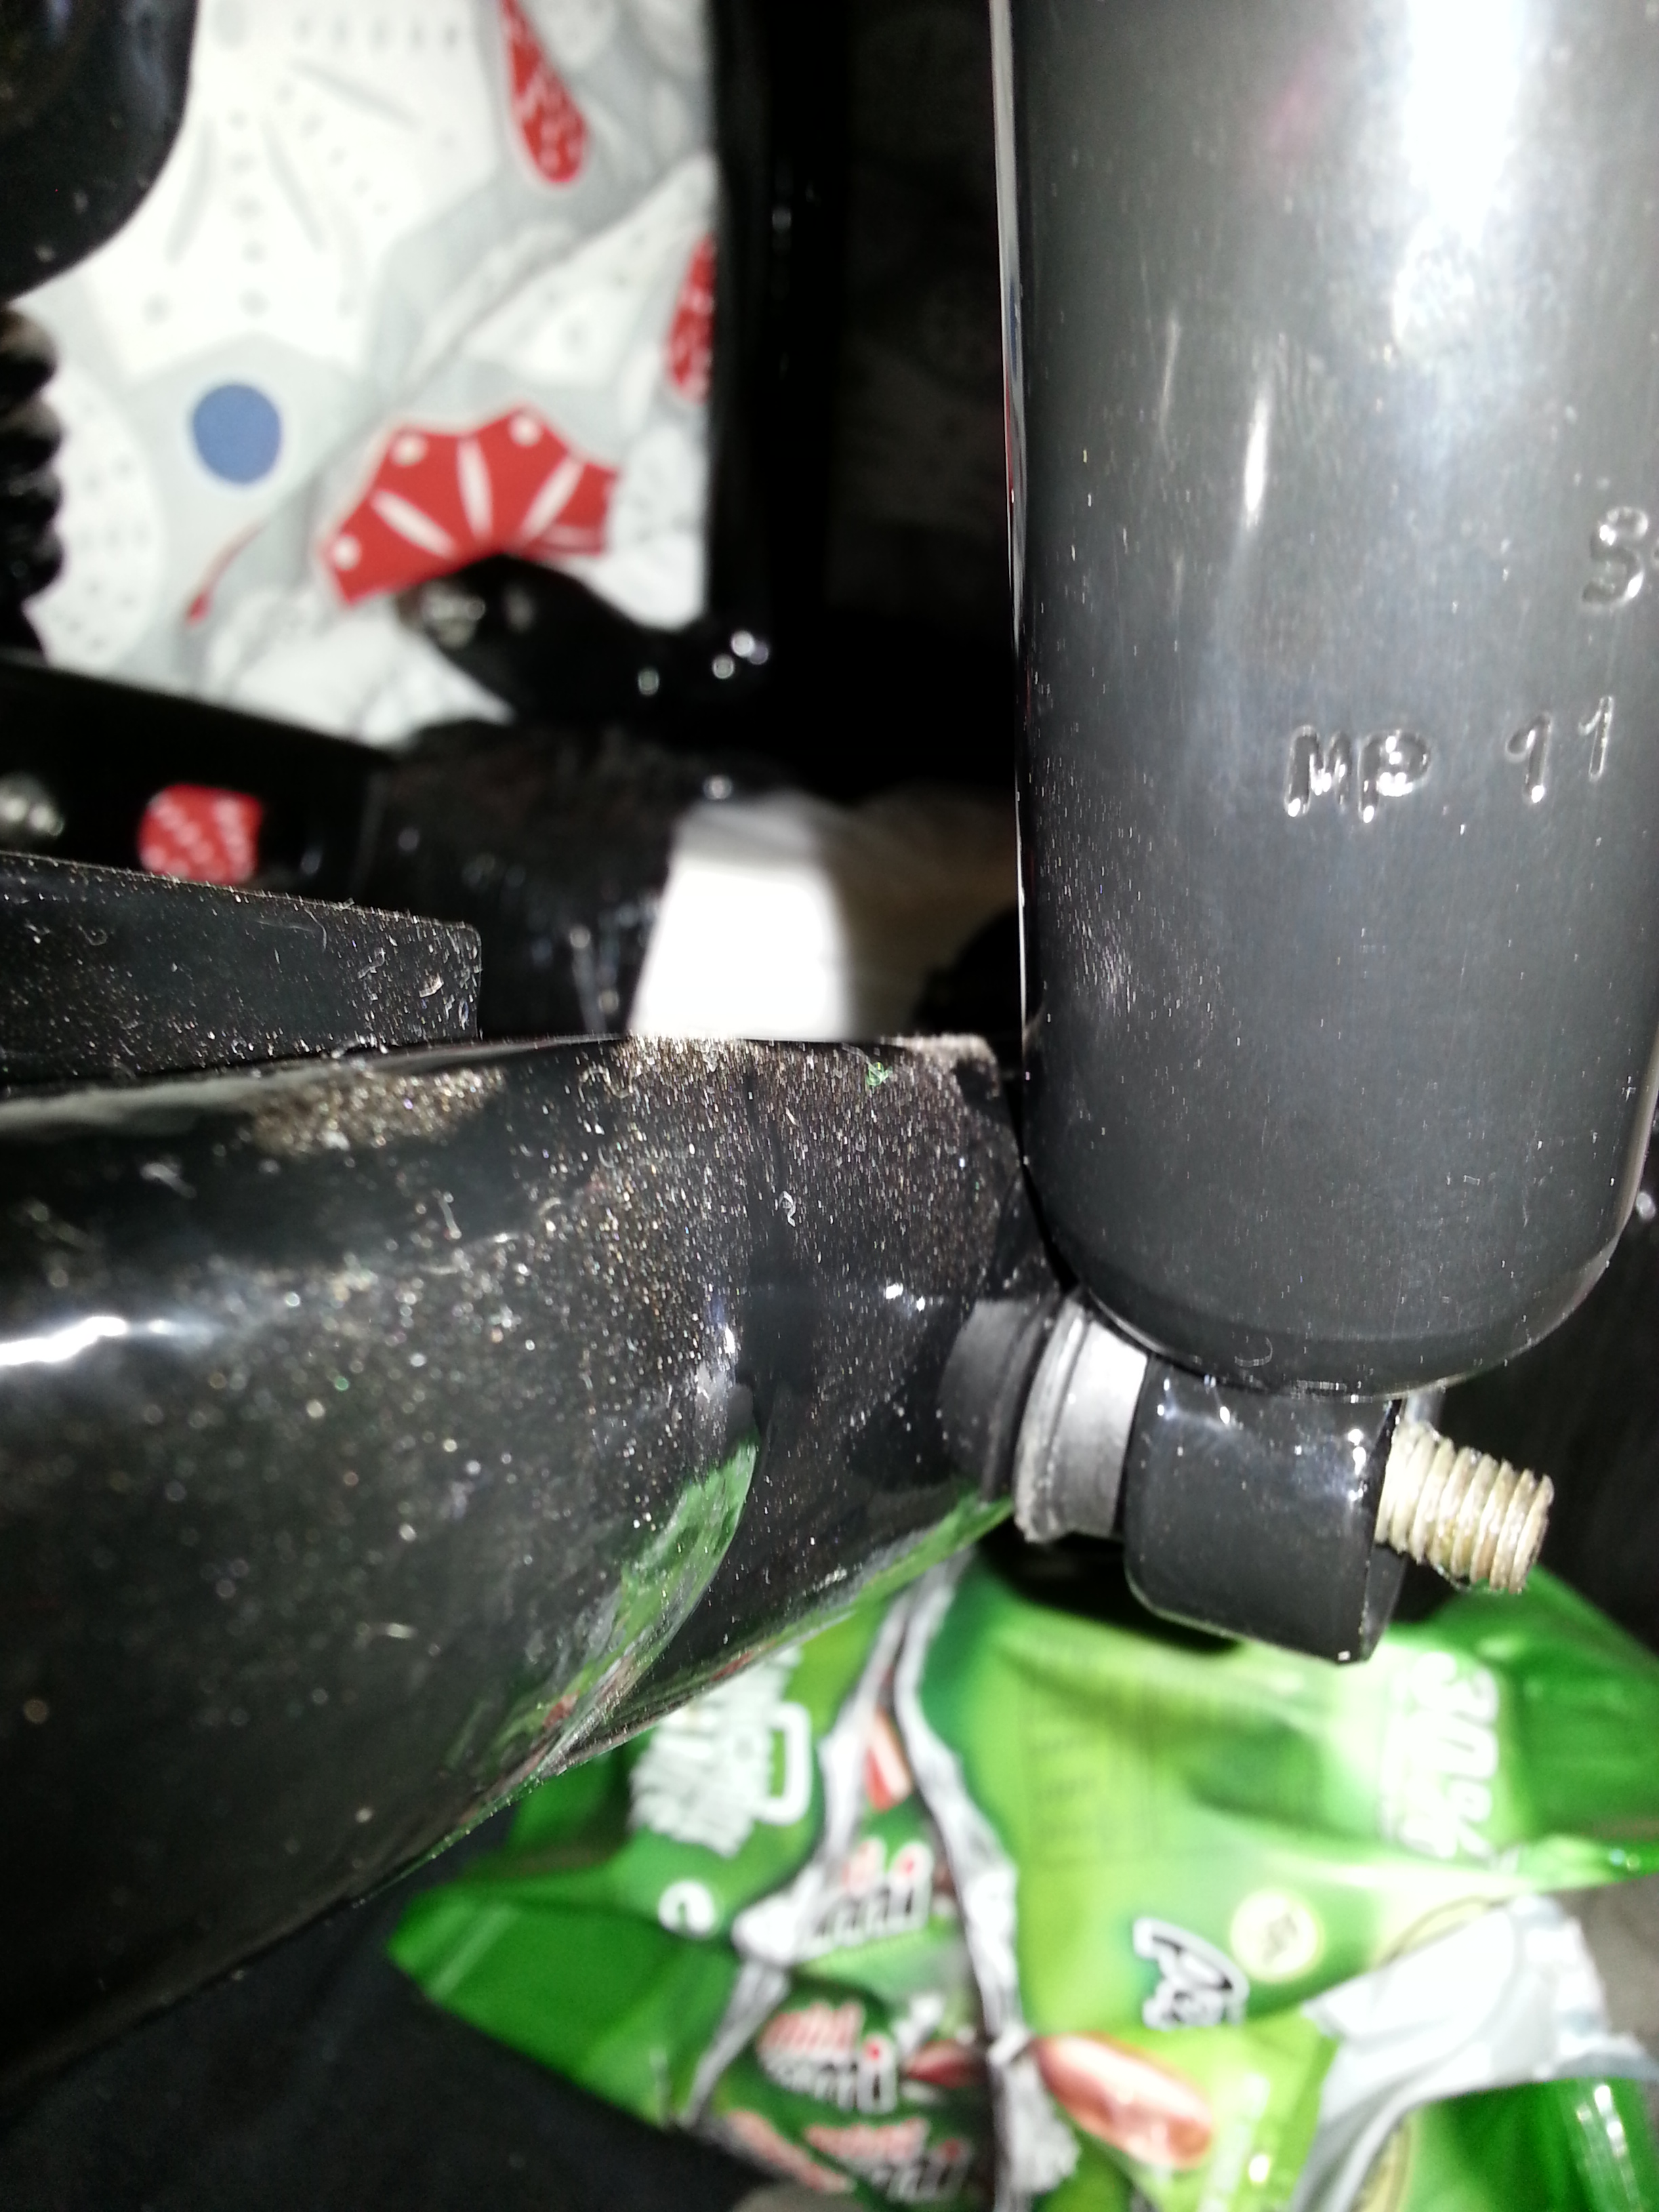
The shock touches the swingarm and that is a bit of a problem, but we’ll sort that later.
First we need to find an appropriate replacement shock absorber. We’re in luck because very similar shocks are still being produced. You can either:
- Buy a KYB shock absorber, type Premium, for the front of a Mini. Item number 442001, it can be found on-line in e-bay for about 15 GBP (H1 2014)
- Order one from www.bella-ersatzteile.de (Helmut and Iris Bougé). They have one for 45 EUR that is a bit nicer; specifically, the KYB eyelets are less fit to hold the bushings (more on that later), but both work. I can’t see what brand it is that Helmut sent me, but it has markings S-600803 on one line and below that MP 11 09 B 10 2. If you figure out where they come from, let me know.
- Sachs 944002 also works
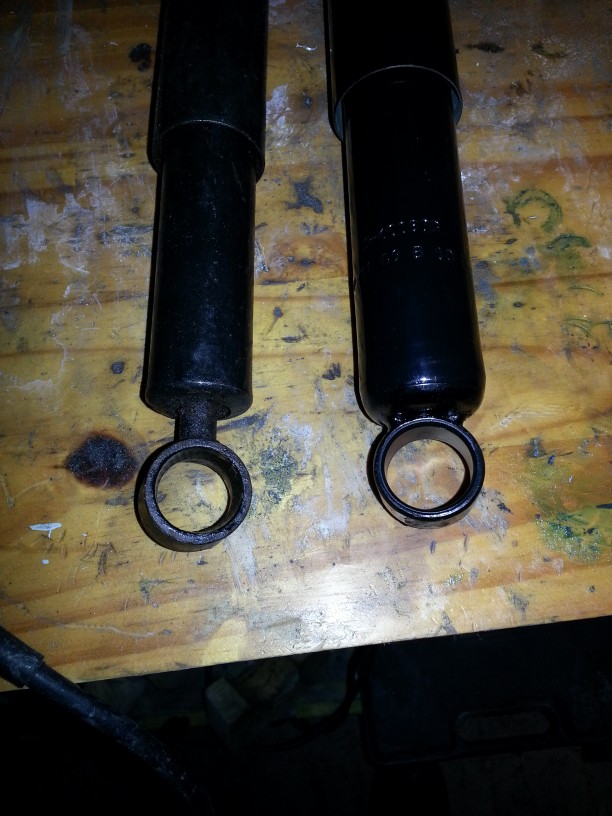
You can see the problem better when you lay them side by side (left is the original):
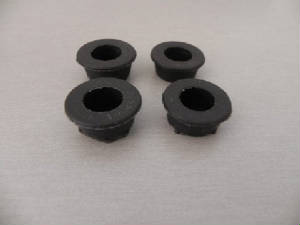
Next are the bushings. This is a bit complicated. The original Bella bushings are conical and probably shot. You can order replacement bushings from Helmut and Iris or from www.claussstudios.com in the US. They look like this and cost 16 USD (H1 2014):
The KYB shock comes with pre-installed bushings, so you will have to drill those out and put the Bella ones in:
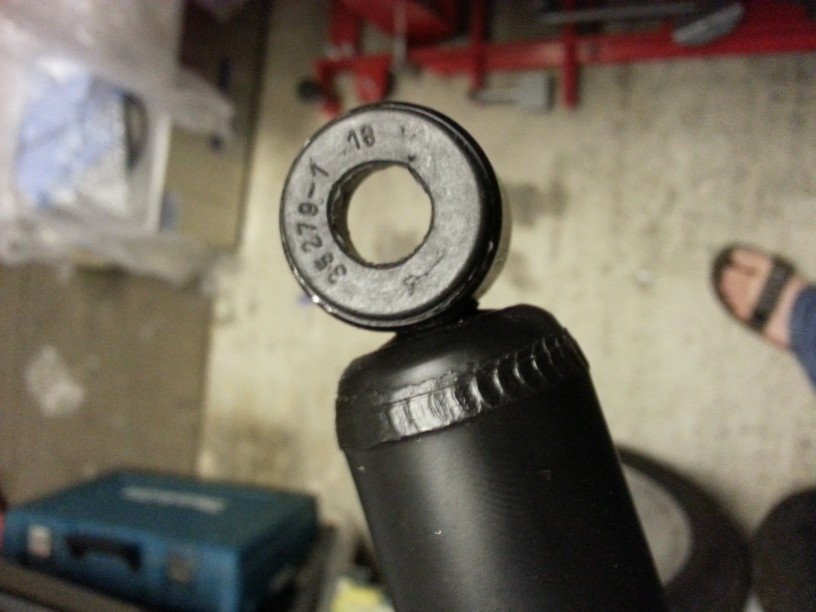
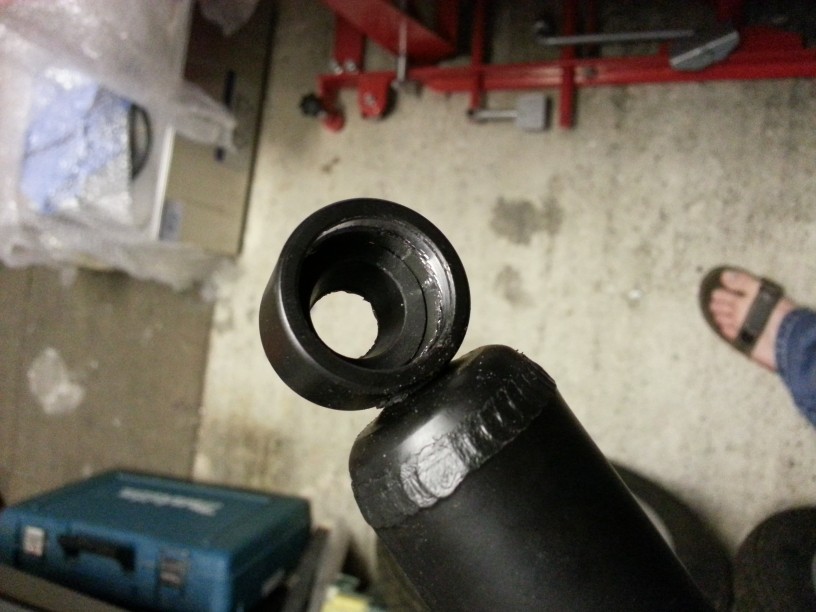
If you look carefully you can see that this eyelet is not conical so the bushings, while perfect for the old shocks, are not perfect for replacement shocks with a different form factor. But it will have to do… It would be better to make new bushings for a shock that will be around for a while that is specific to the eyelets. A project anyone?
Mount the bottom of the shock first (the other way around won’t work). I used two M14 stainless steel washers to create distance between the shock and the swing arm. They fit the frame extrusion perfectly. That does mean though that the original washer on the outside won’t fit as it is too thick. I used an M8 penny washer instead. This in turn means that the nut won’t come on as far as normal (although still far enough). I used Loctite to make sure it doesn’t fall off mid-trip. Don’t throw the original washer away as it is a non-standard size and you may need it in the future.
Subsequently you can mount the top with some effort. Be careful not to bend the metal brackets on the frame too much as they can break. As with everything: gently gently. When done the whole setup looks like this:
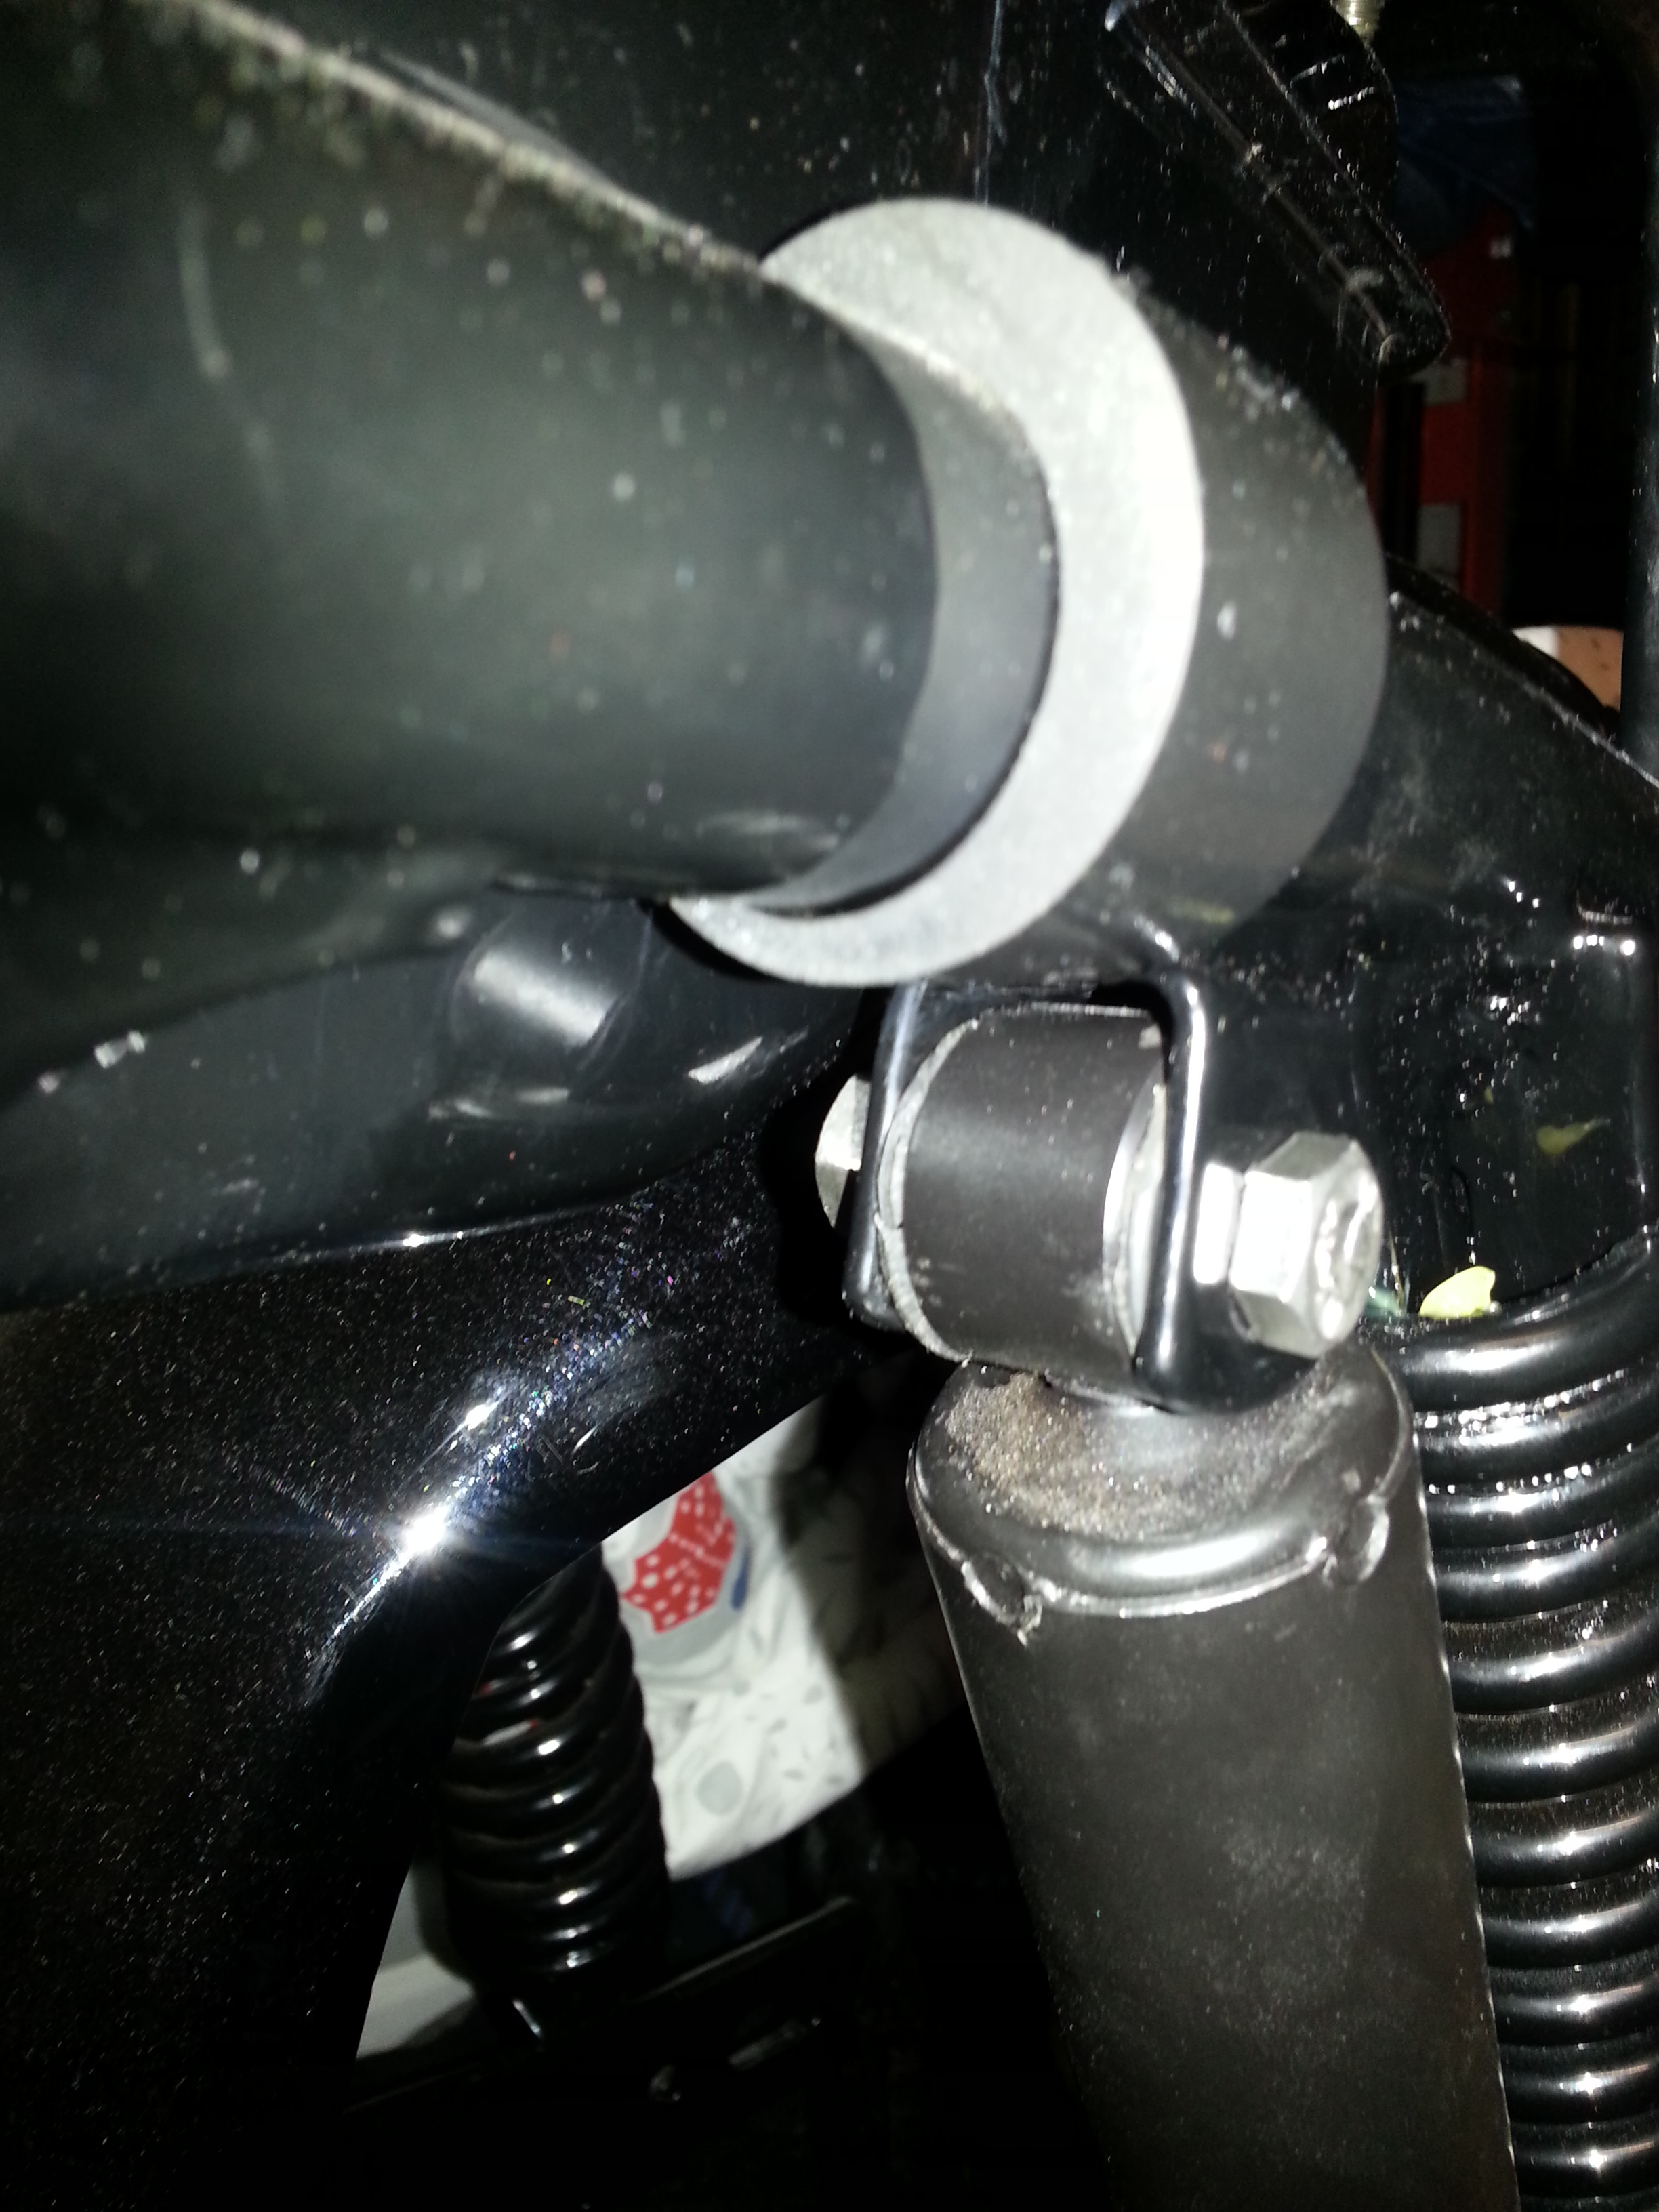

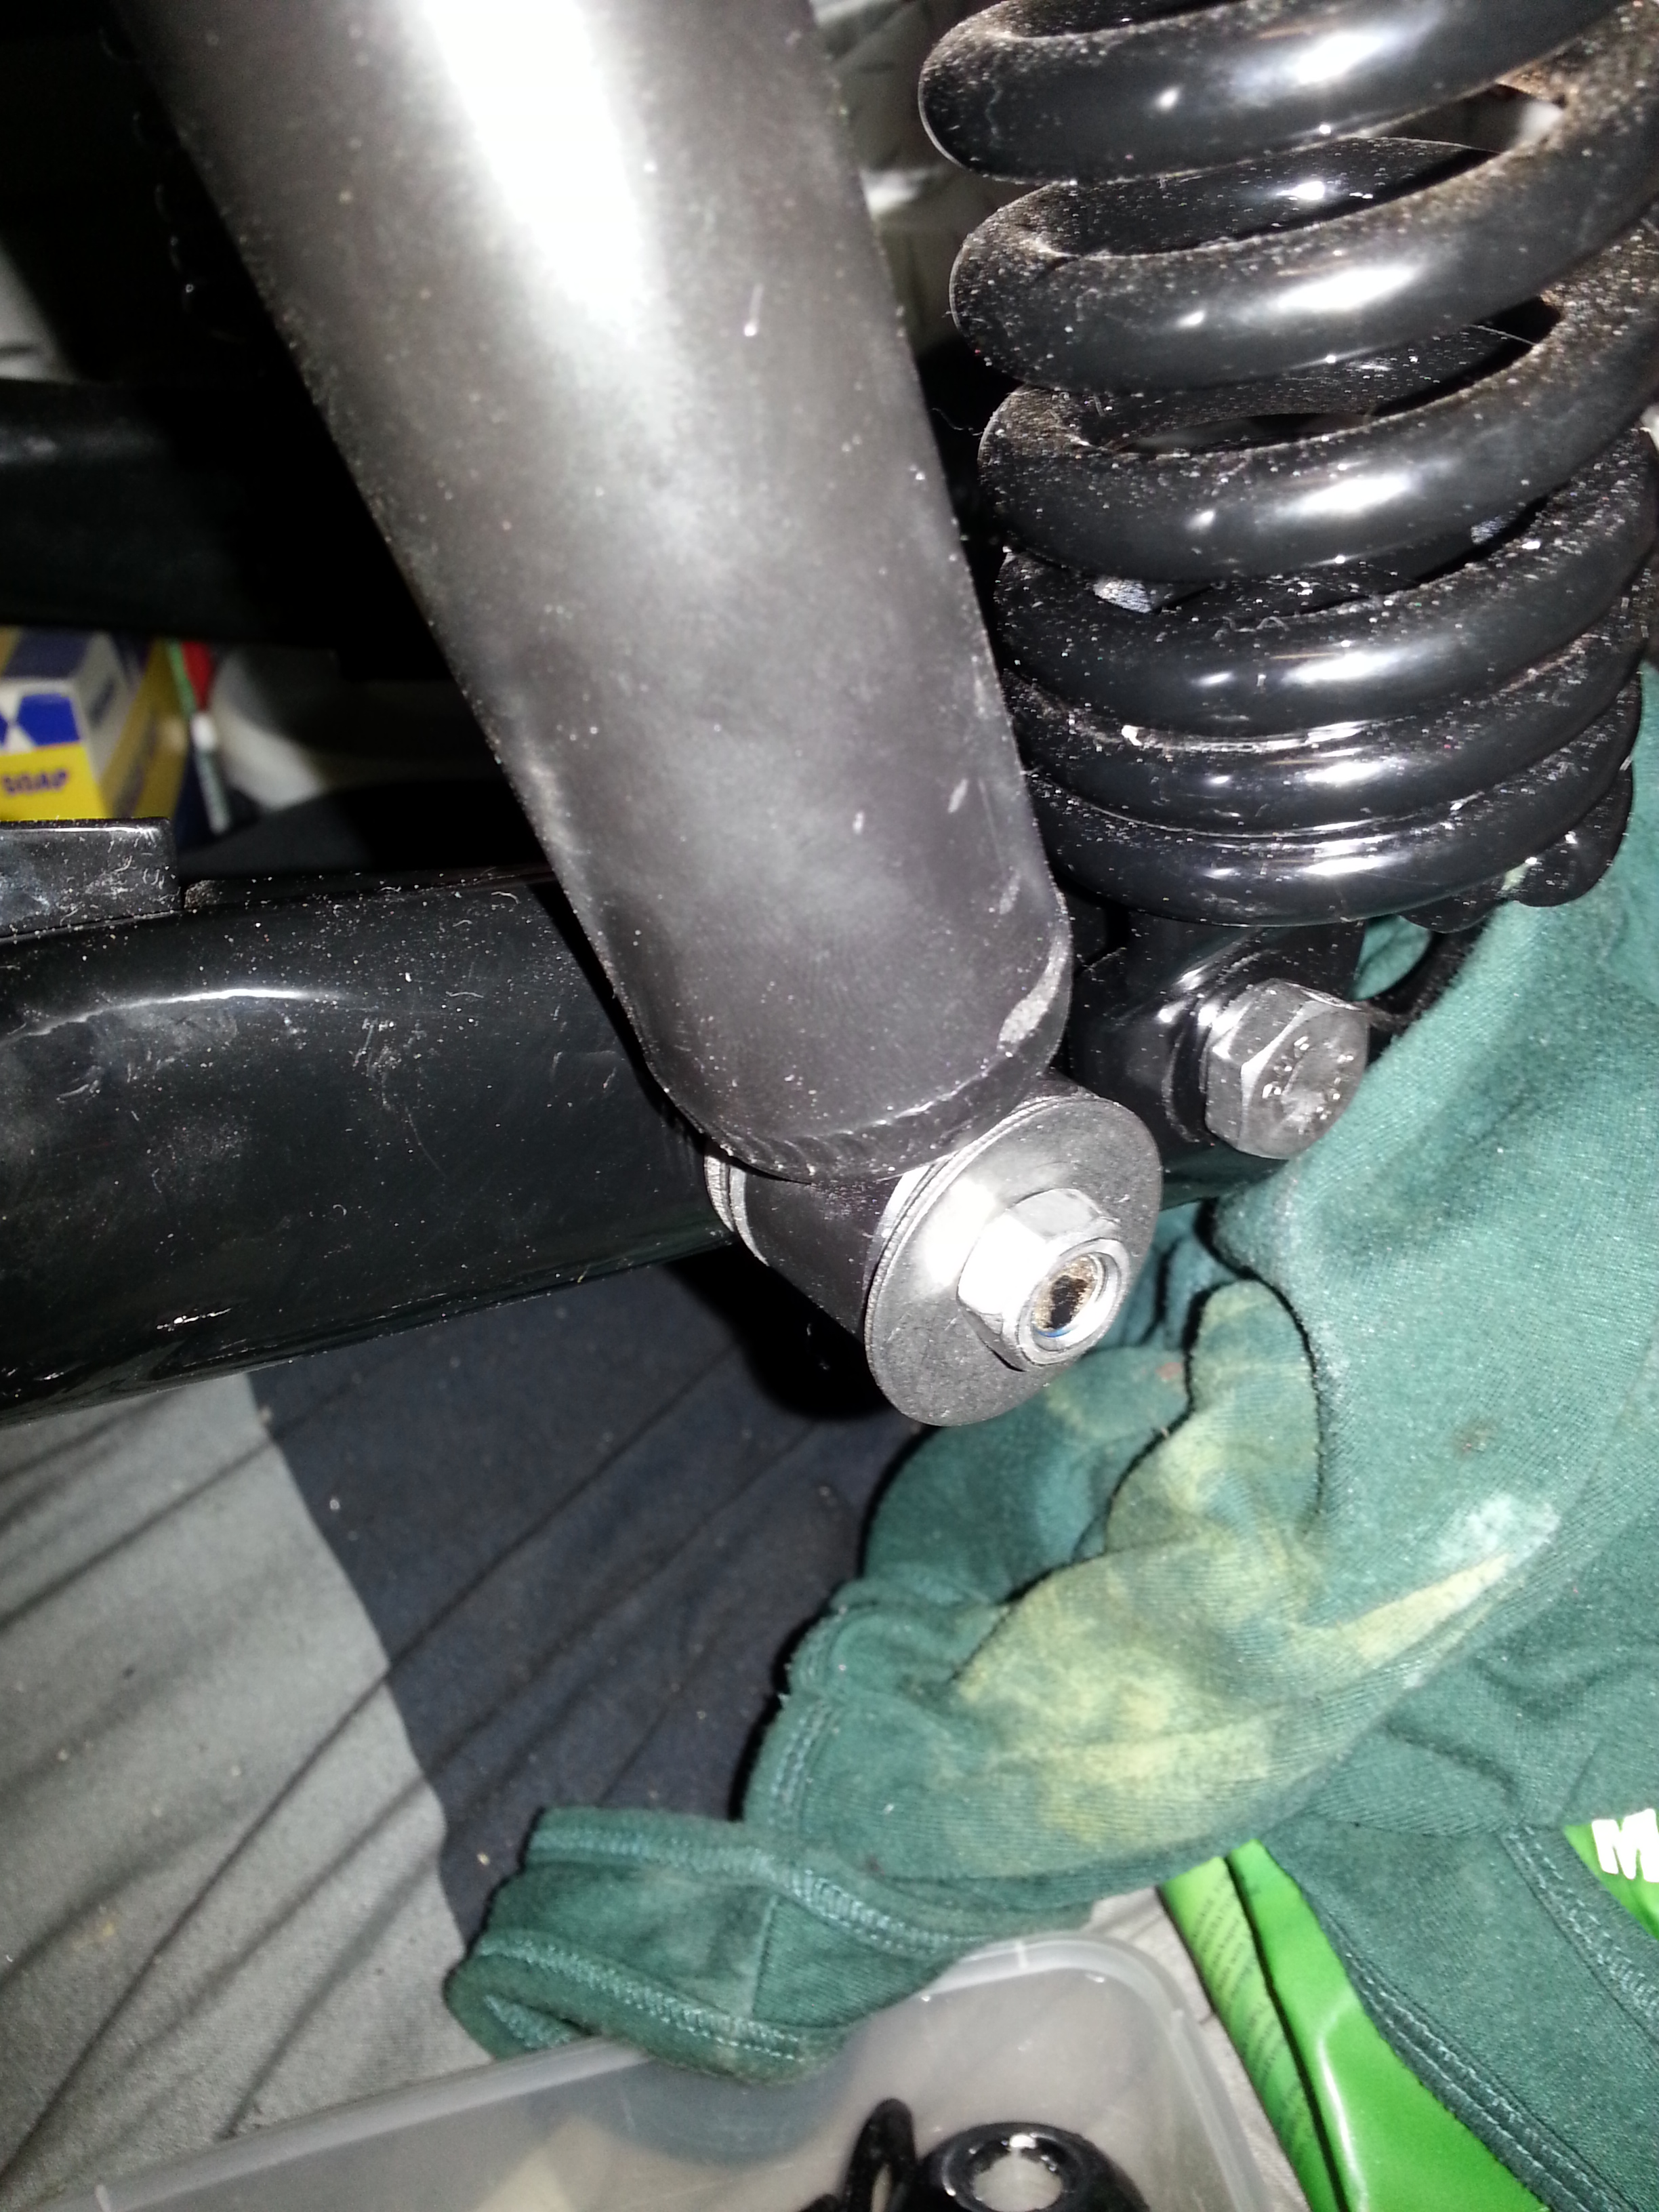
So let’s be clear, this is not a perfect solution. The shock is now mounted under an angle (the bottom part sticks out about 4 millimeters) so the shock will probably suffer some wear, but I hope it will do the job.